Merging COC Element to the OEM Manual Structure
Customer Oriented Changes (COC) can be inserted to the OEM Manual structures in the Manual Catalog Management. These components can be added as one of the following elements:
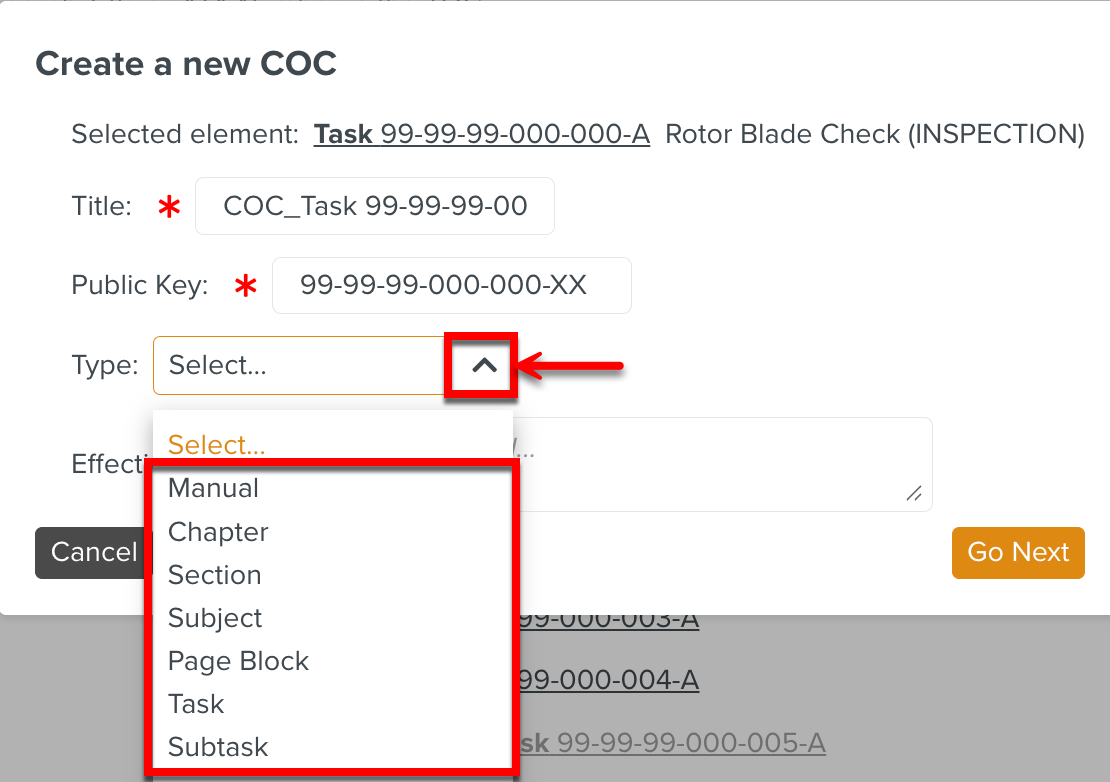
Manual
Chapter
Section
Subject
Page Block
Task
Subtask
To merge a new COC to the OEM Manual structure:
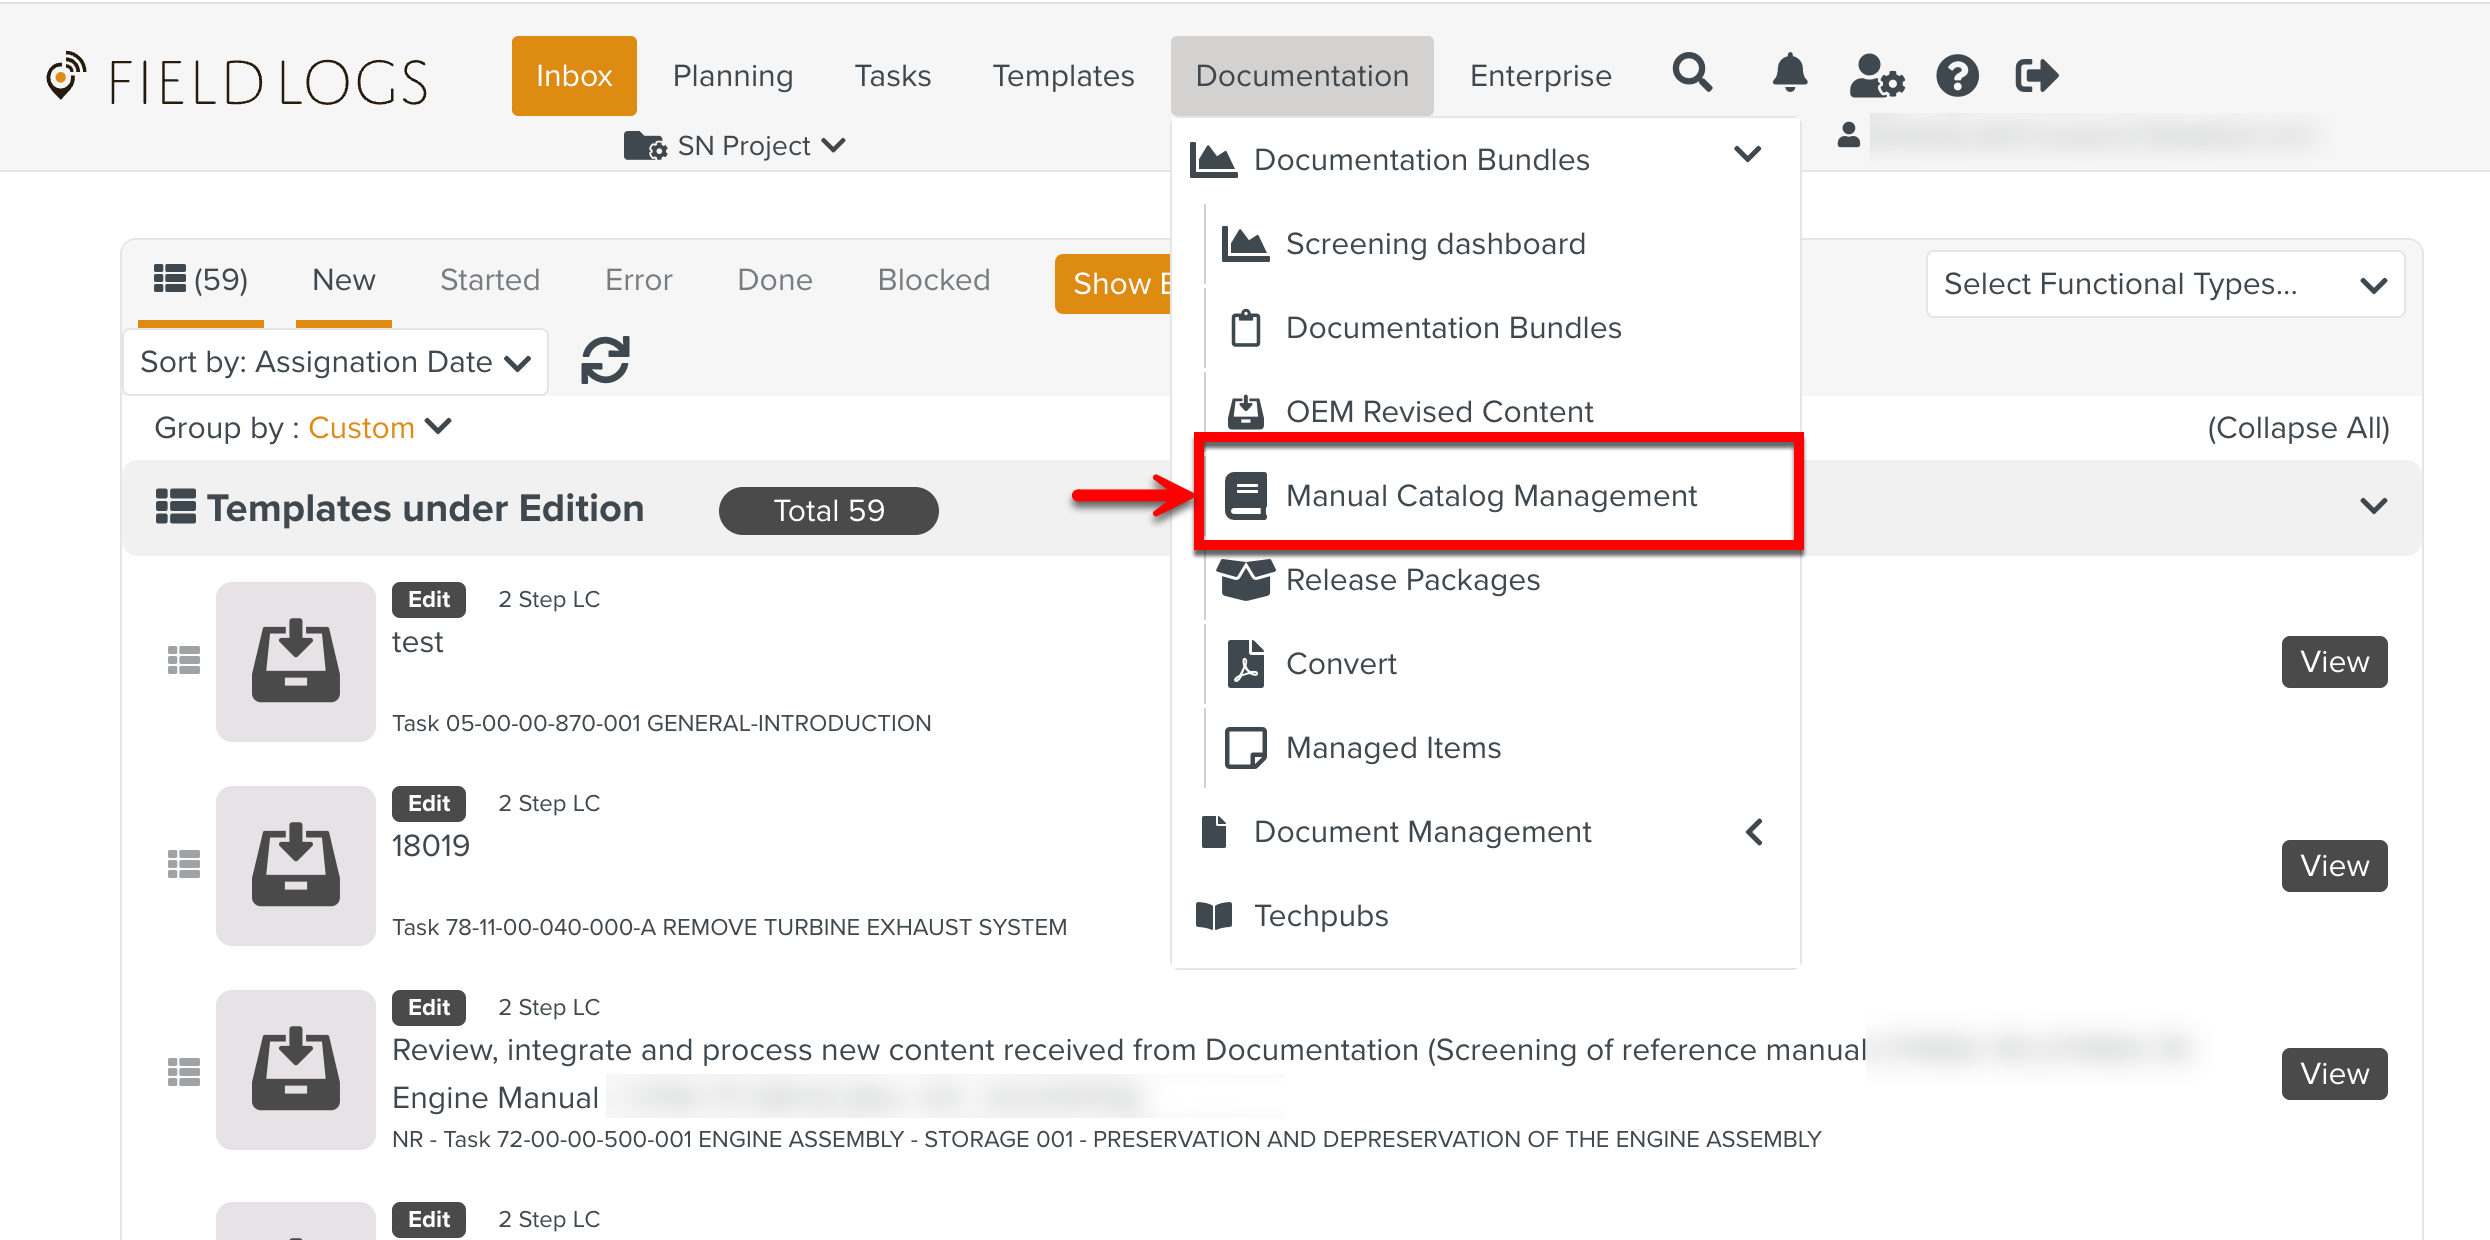
From the main menu, go to > > .
Select the required Manual Describer.
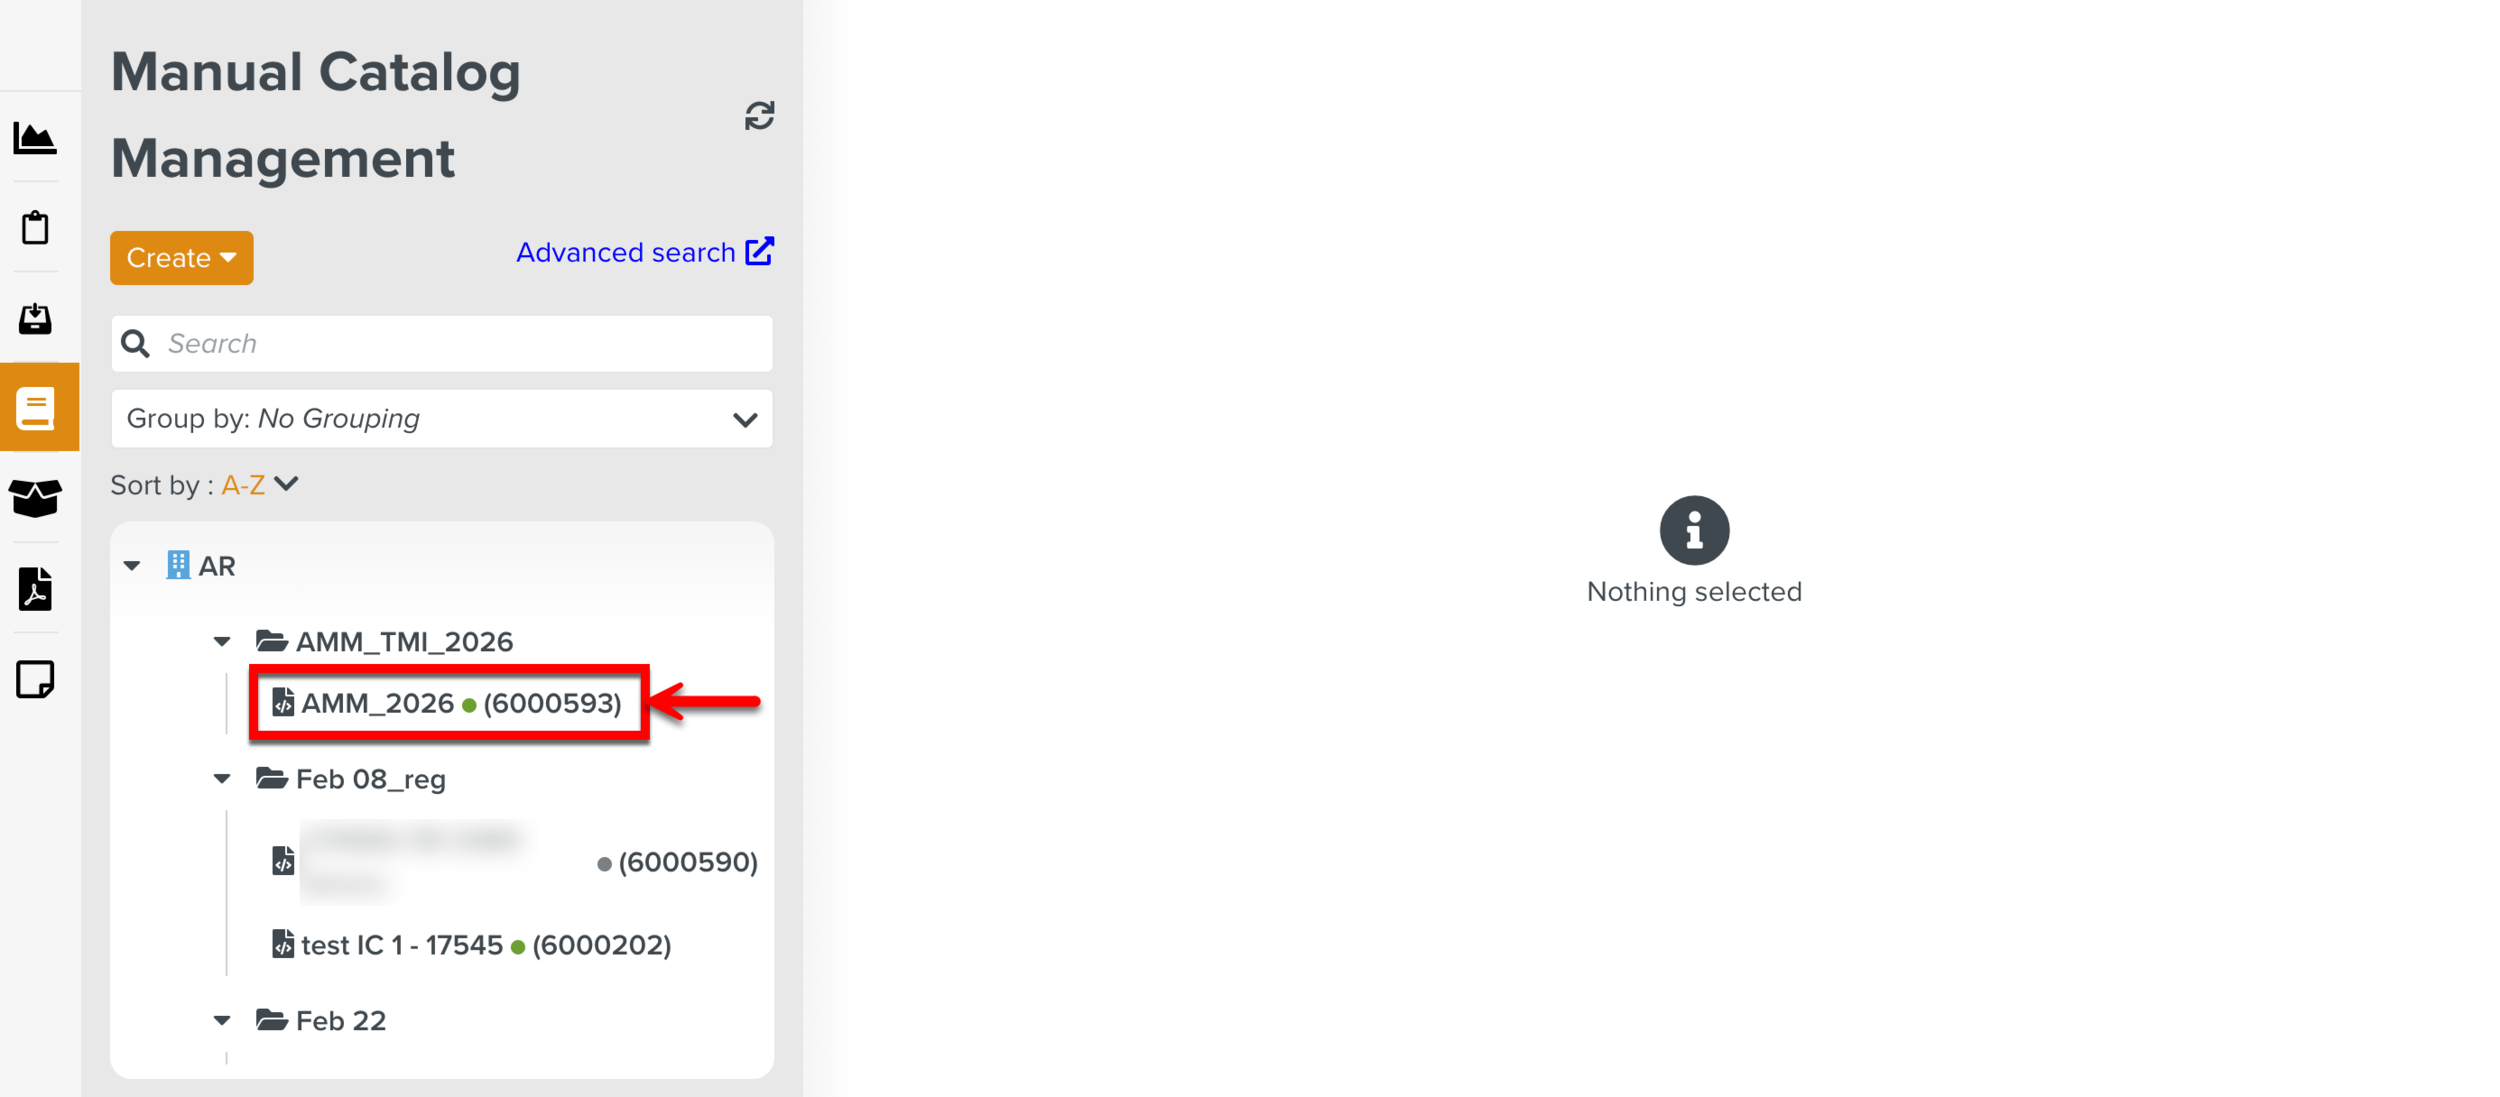
In the Manuals tab, click on the required OEM Manual revision.
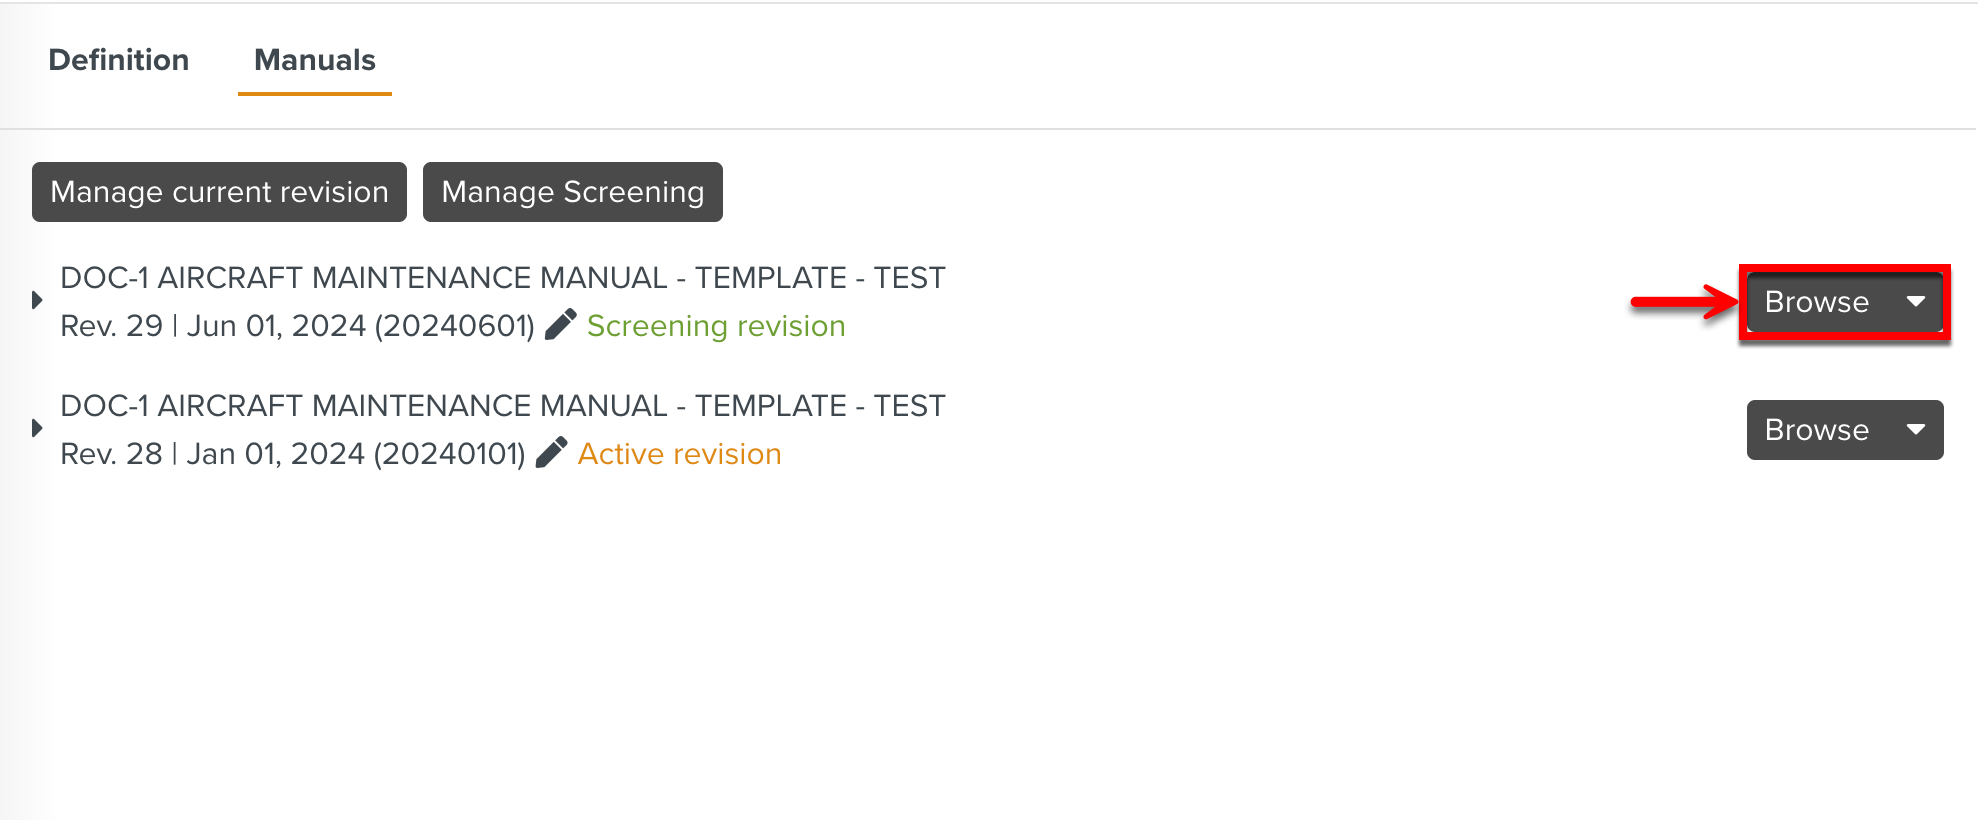
Click
 on the elements to expand the structure of the Manual.
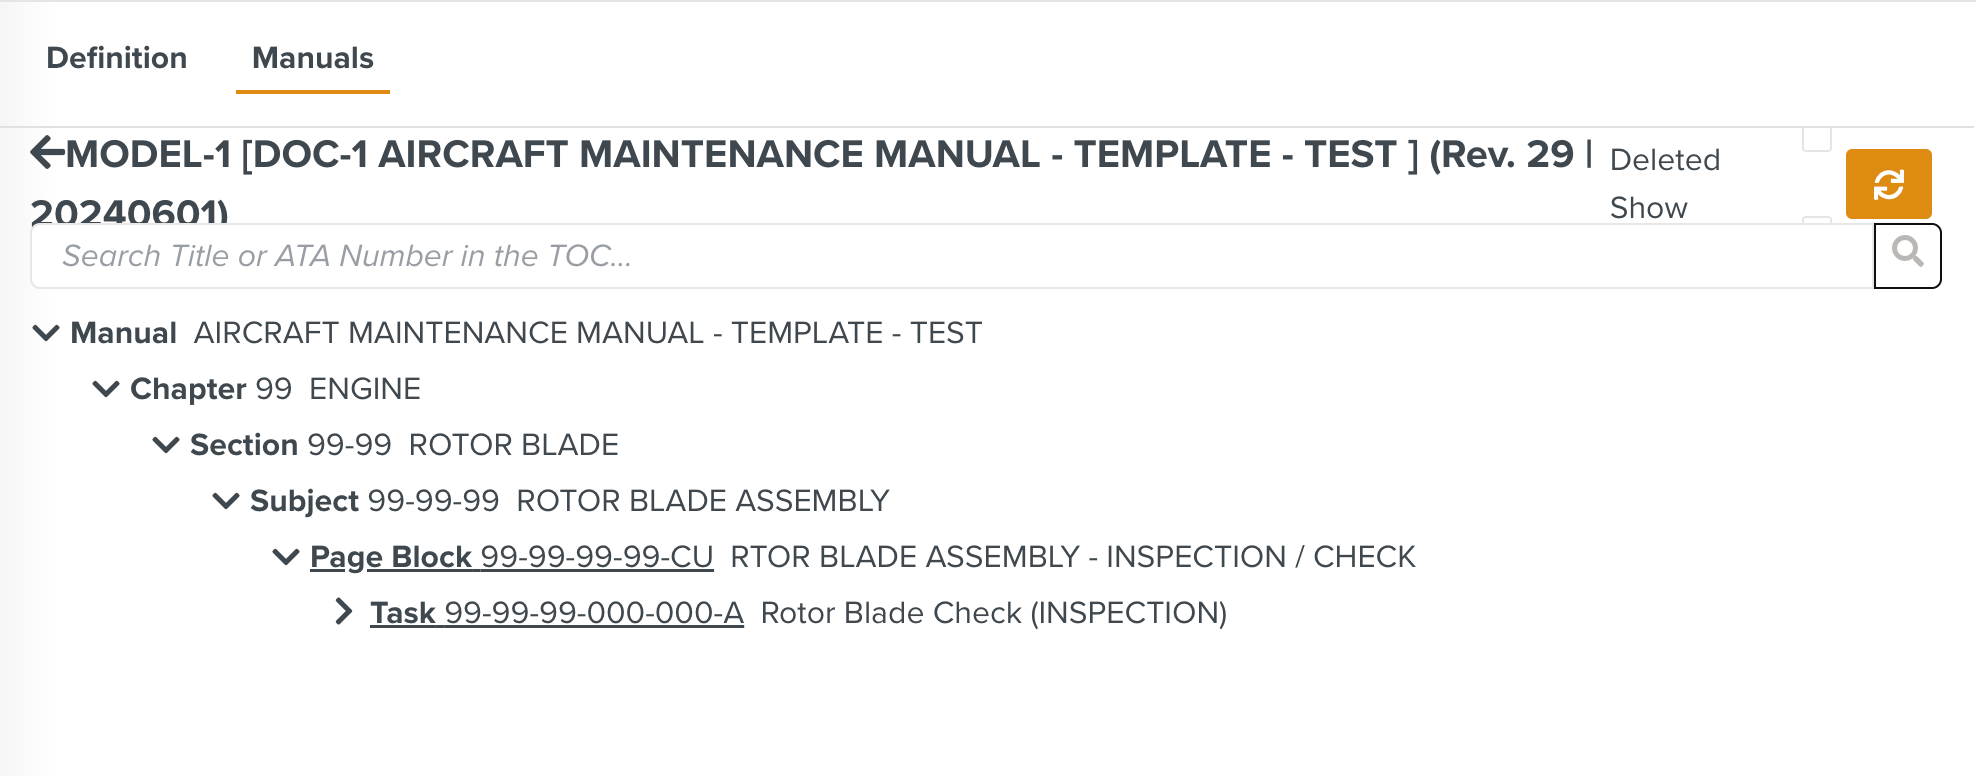
Click
 on the required element as shown below.
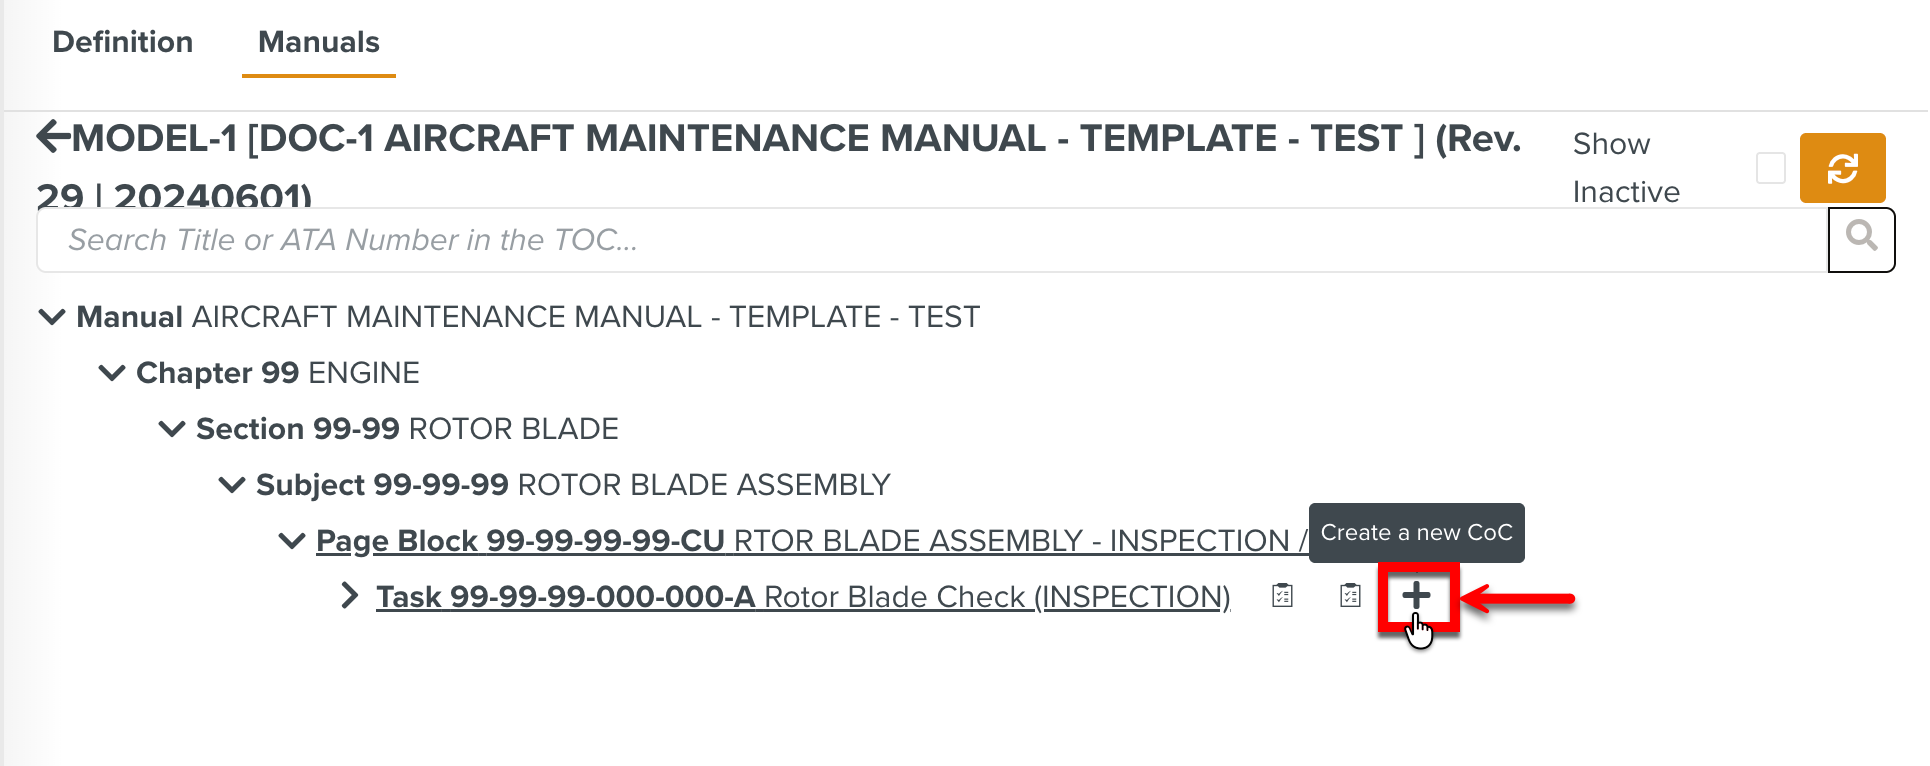
The Create a new COC dialog appears.
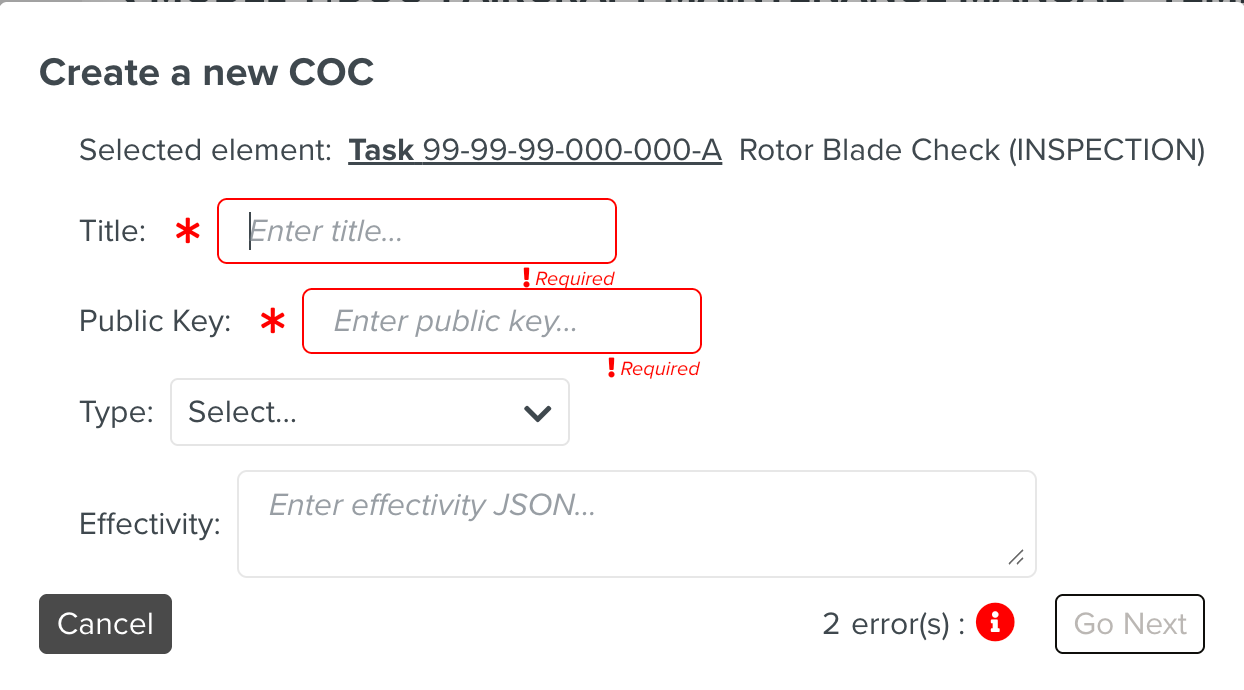
[Mandatory] Enter the title of the element.
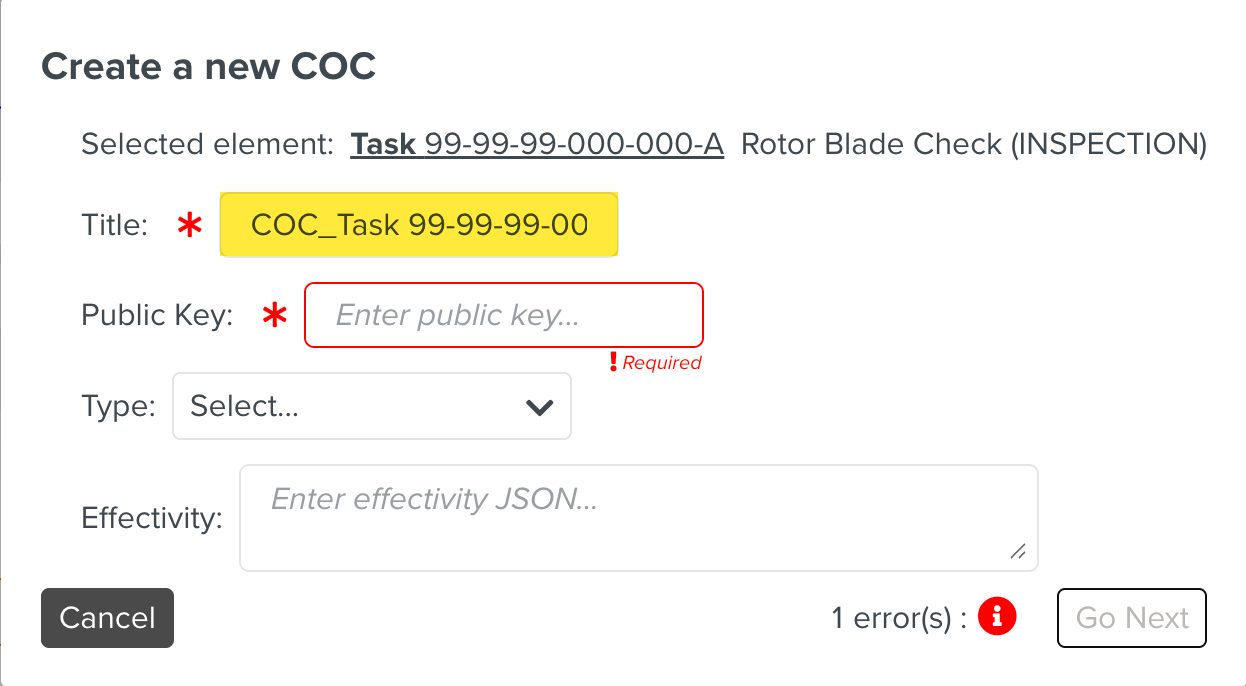
[Mandatory] Enter the Public Key.

Expand the Type dropdown and select the required element type.
Enter the Effectivity details.
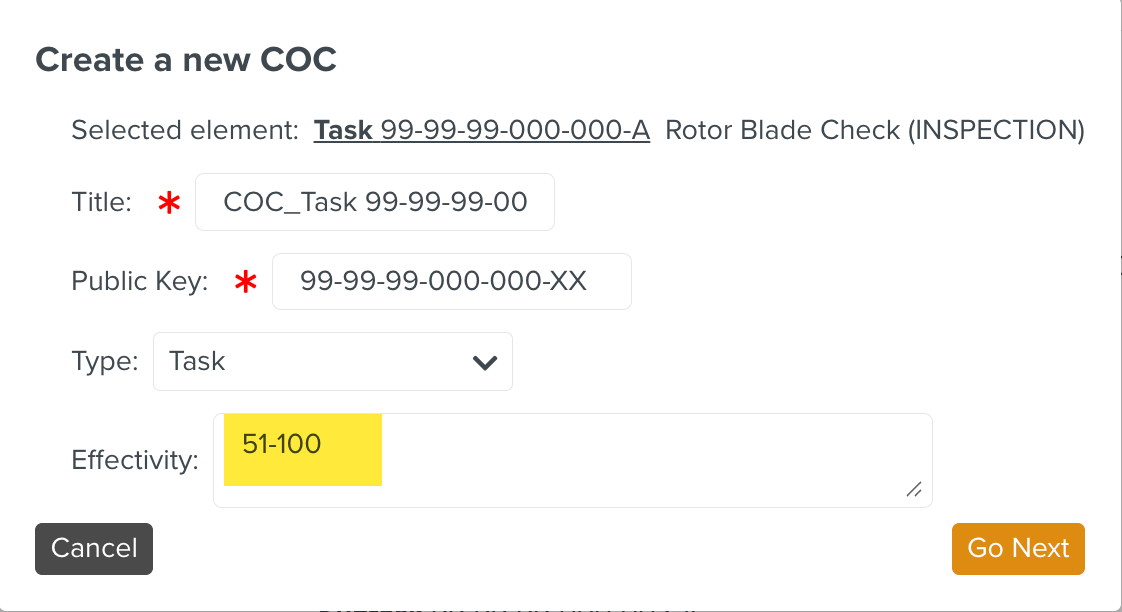
Click .

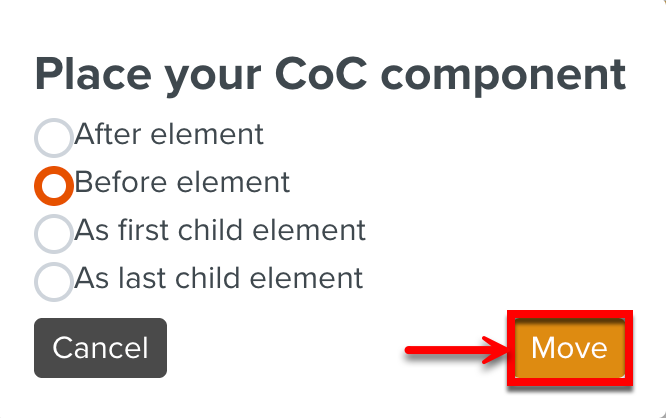
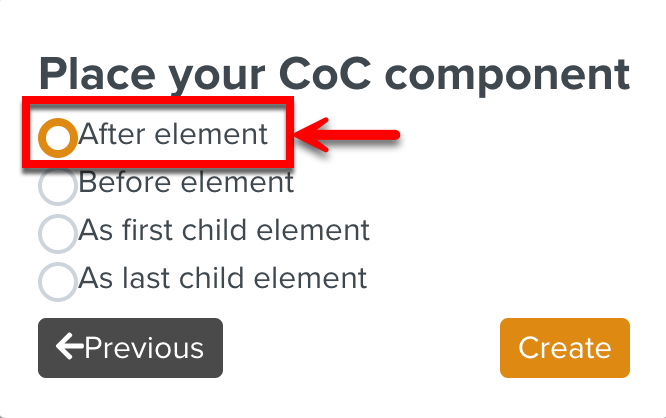
The Place your CoC component dialog appears.
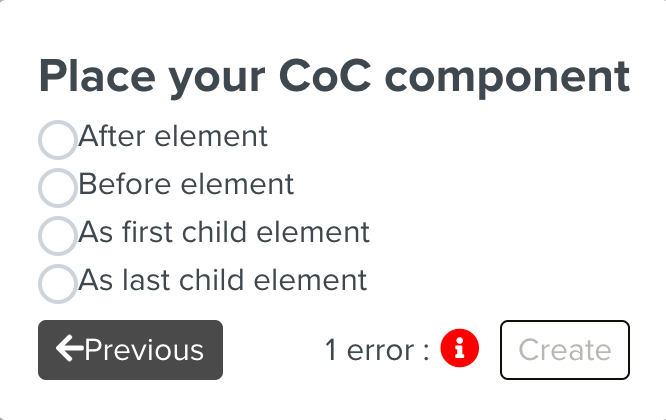
Select the required position to add the COC component.
Click .
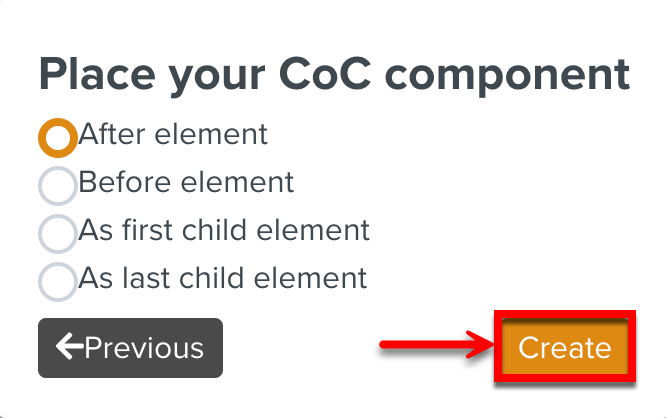
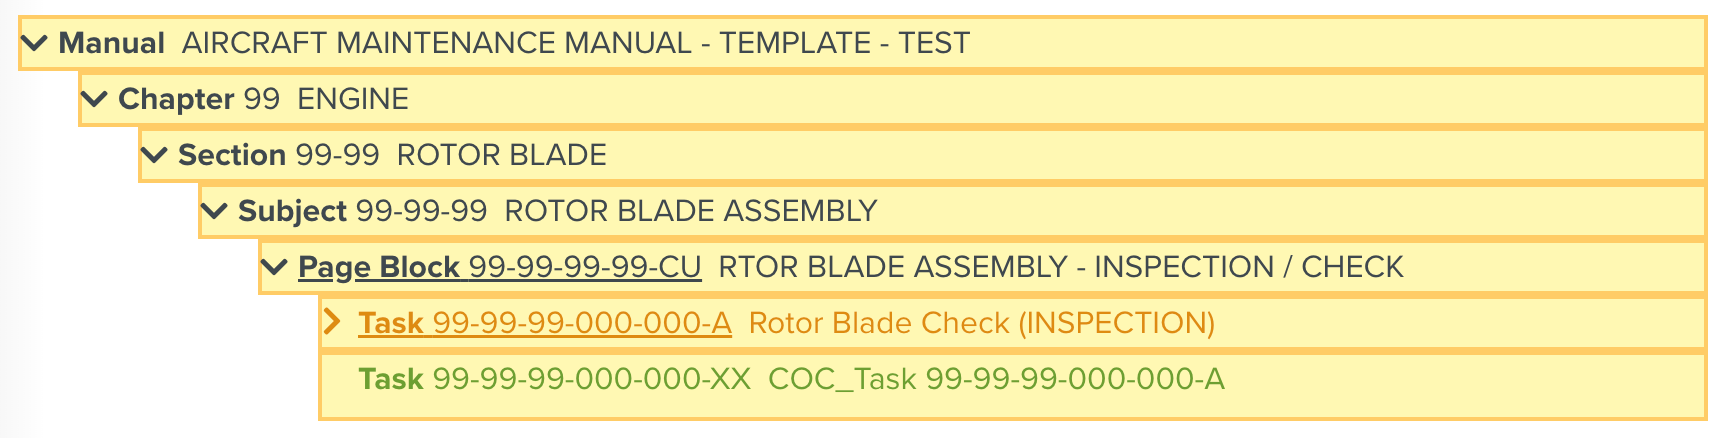
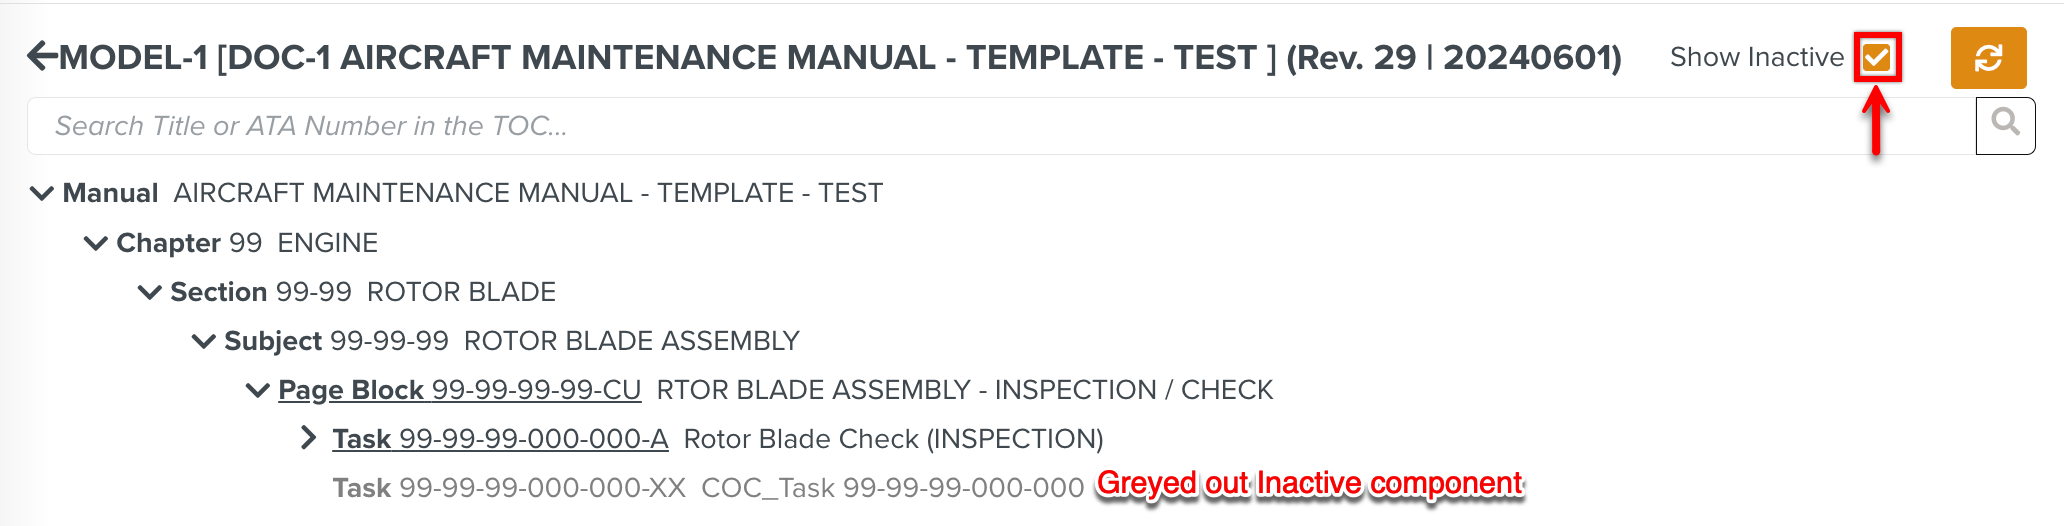
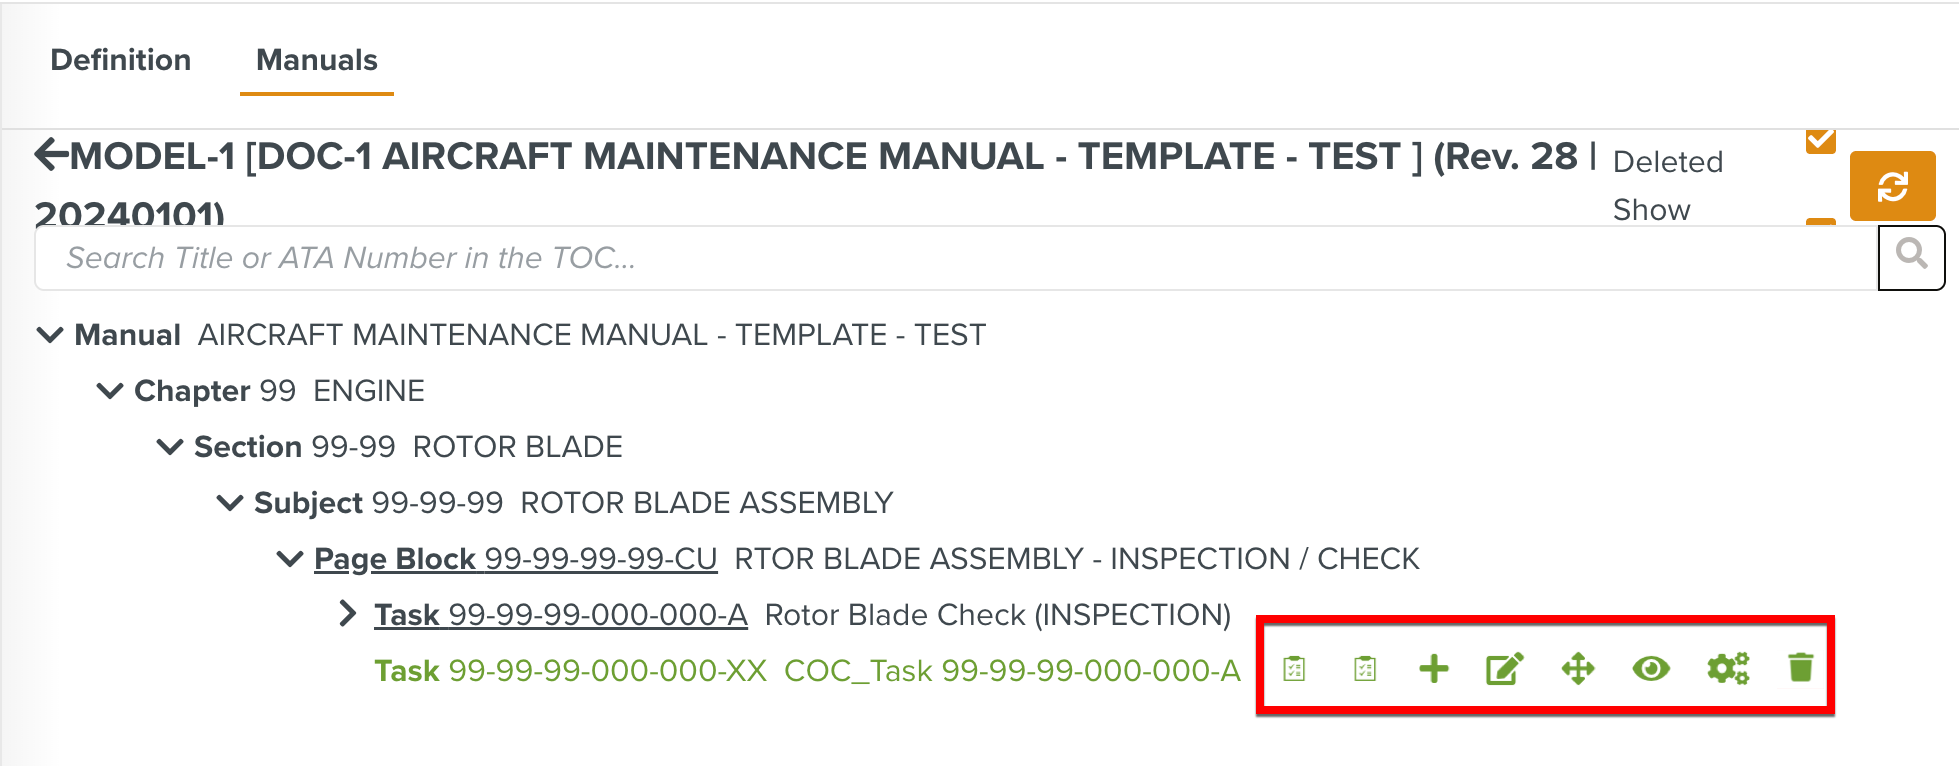
The CoC component is added to the Manual structure after the selected element as shown below. These Components are displayed in green color to differentiate them from the other elements.

The merged COC component in the OEM Manual can be modified, repositioned, activated or inactivated.
The options available on the COC component are highlighted below:
 |
Option | Description | |||
|---|---|---|---|---|
| Allows you to view all the Customer Oriented Changes (COCs) and manage the statuses of the Template versions linked to the selected element. | |||
| Allows you to release the COC Template versions that have not yet been released. | |||
| Allows you to create a new COC component. NoteThe Create option is available on all the elements in the structure. | |||
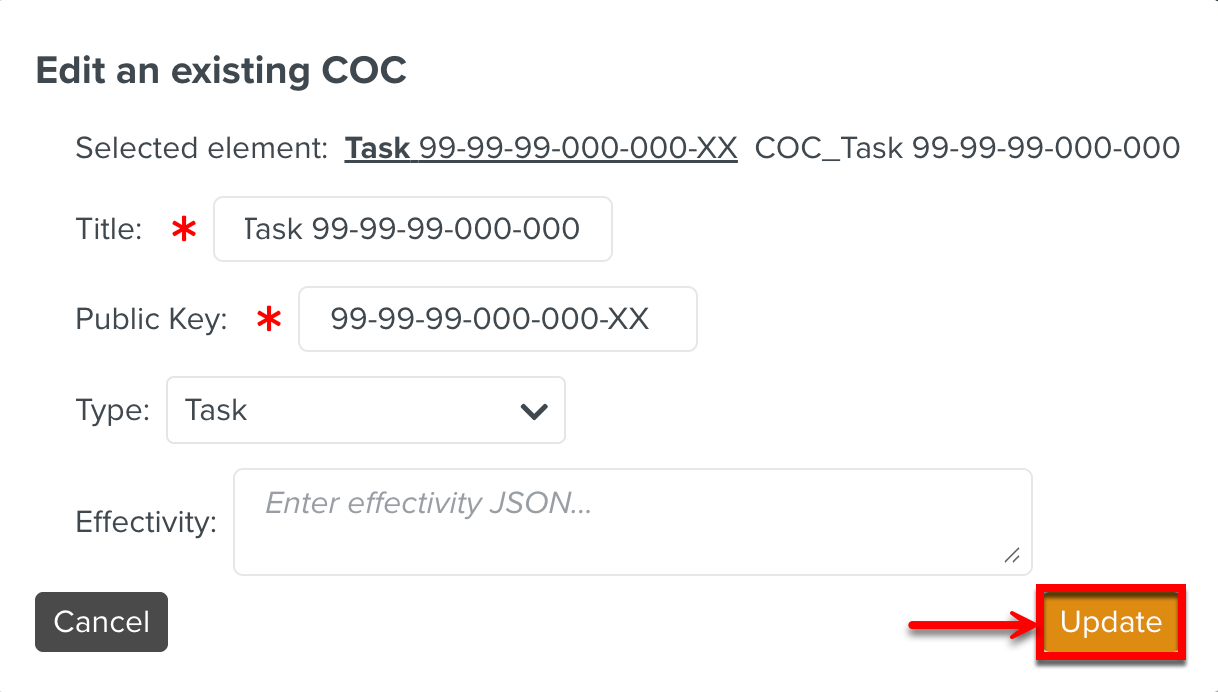
| Allows you to edit the current COC component details. Click to save the modifications.
| |||
| Enables you to reposition the COC component. When you click the move icon, all the elements in the structure are highlighted in yellow.
Click the required element and position the existing COC component relative to it as show below.
| |||
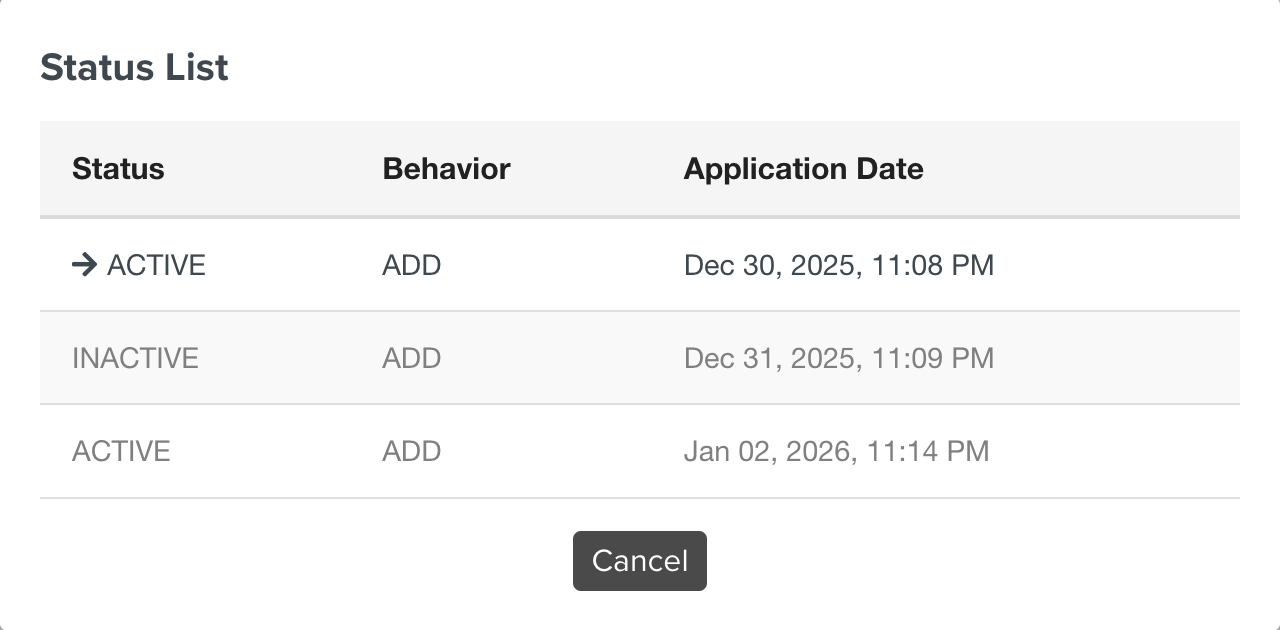
| Displays the status of the COC component. The statuses scheduled for the future dates are also displayed in the status table.
| |||
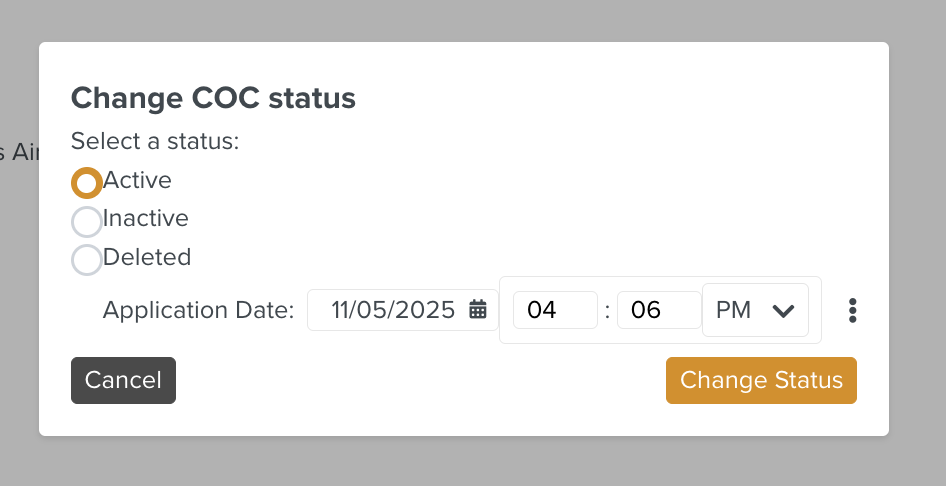
| Allows you to change the status of the component. The available statuses are listed below:
You can also schedule status changes by selecting the date and time in the future. | |||
| Allows you to delete the merged COC component. NoteThe Delete option is available only for the admin users. Click the Delete icon to delete the COC component in the structure. A confirmation dialog Delete a COC appears. Click .
|