Creating a Template
What is a Template?
Templates are structured workflow definitions. They are built with common user interface components (input fields, text, media) to define standard work procedures. A FieldLogs Template has additional features that make it particularly useful for this role:
Structuring elements like Label, Table, Form and Loop to provide a logical structure depending on your data acquisition needs.
Input elements such as Yes/No, Multi-choice, Check or Free text input to input various types of data.
Ability to add translations of a Template for different languages.
Add documentation and media to Steps in the Template to guide users executing the Template. This provides detailed reference material while the user runs the Task.
Add powerful script executions to build computation, external calls to third-party services, or Template manipulations.
To create a Template:
From the main menu, go to Templates > Your Templates.
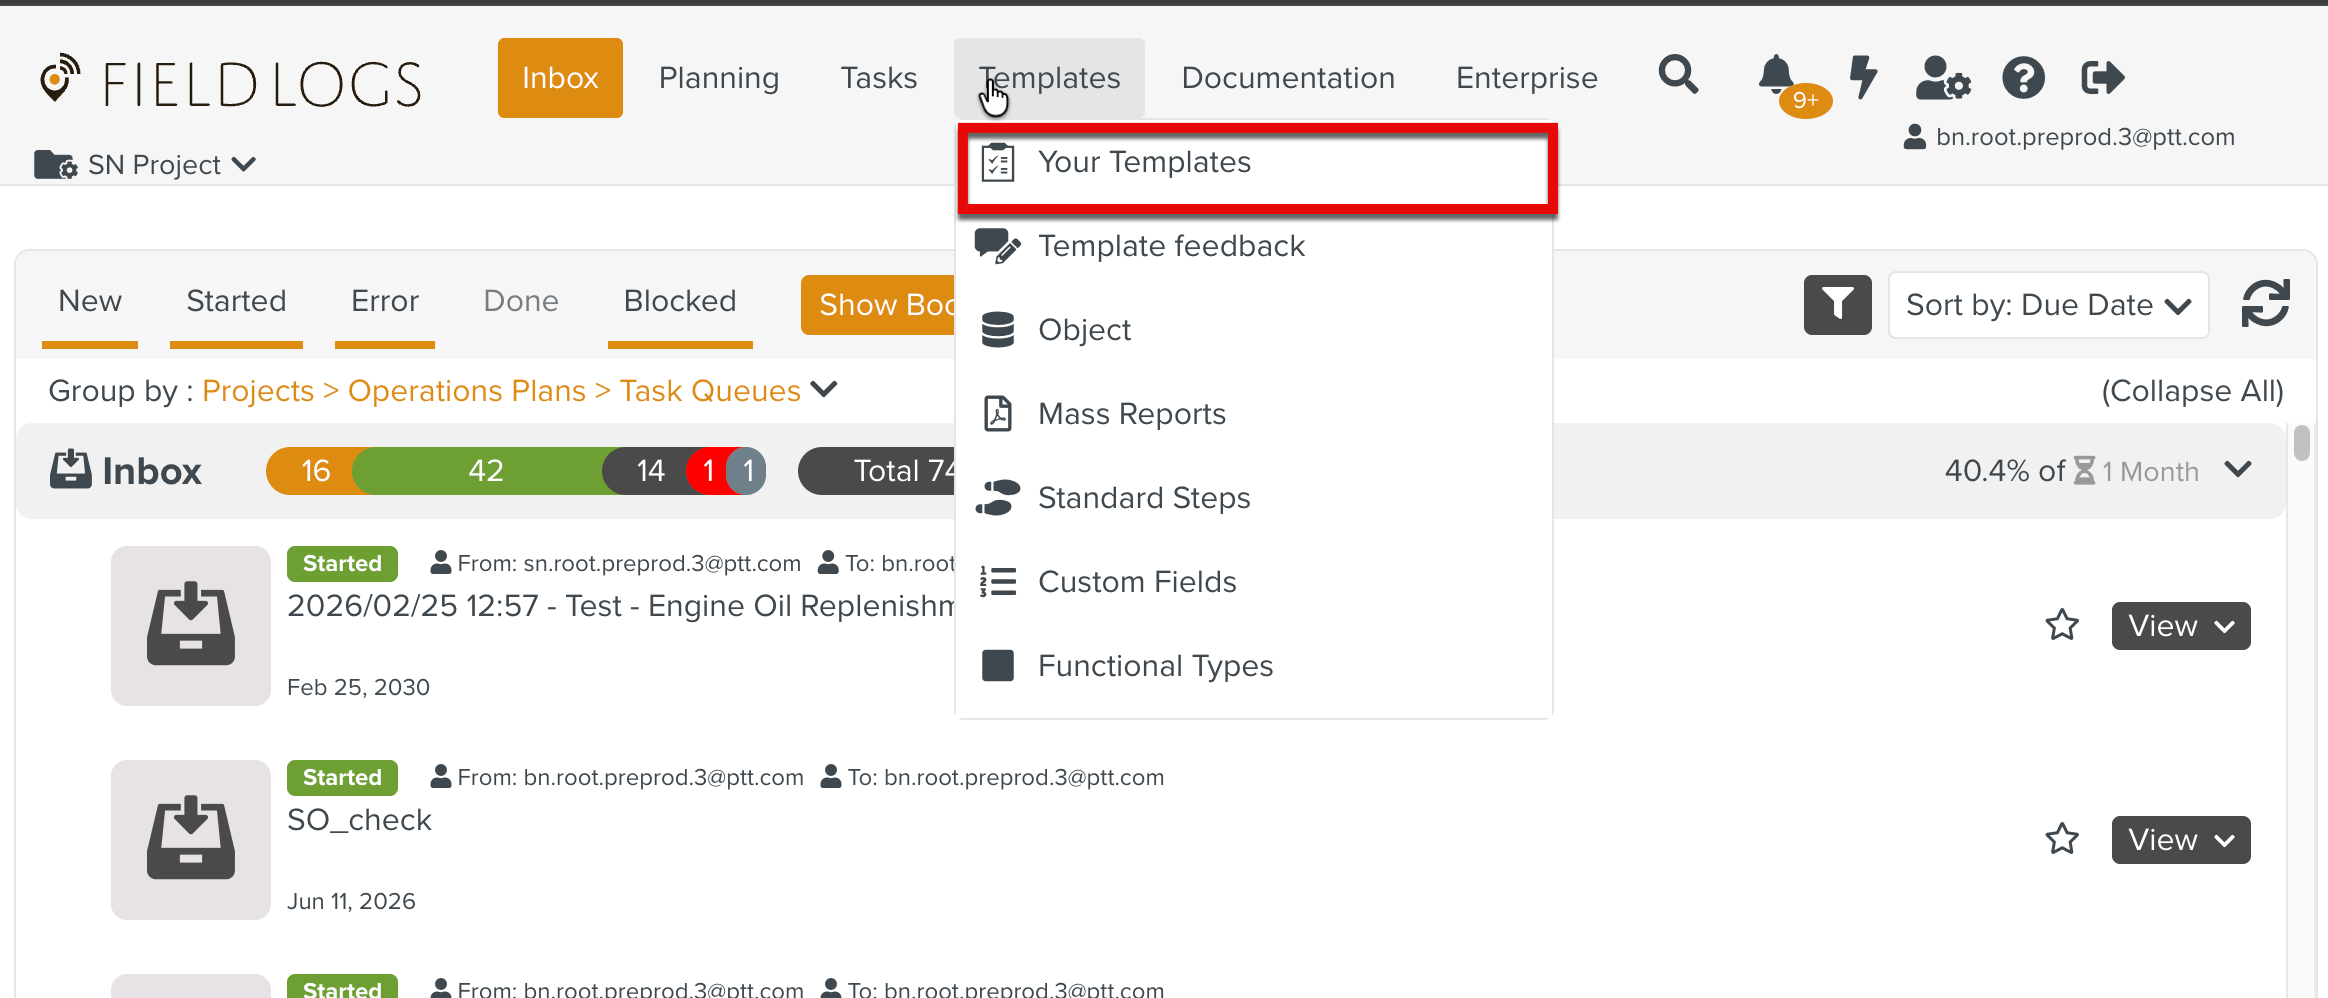
In the Library pane, the Template list is available.
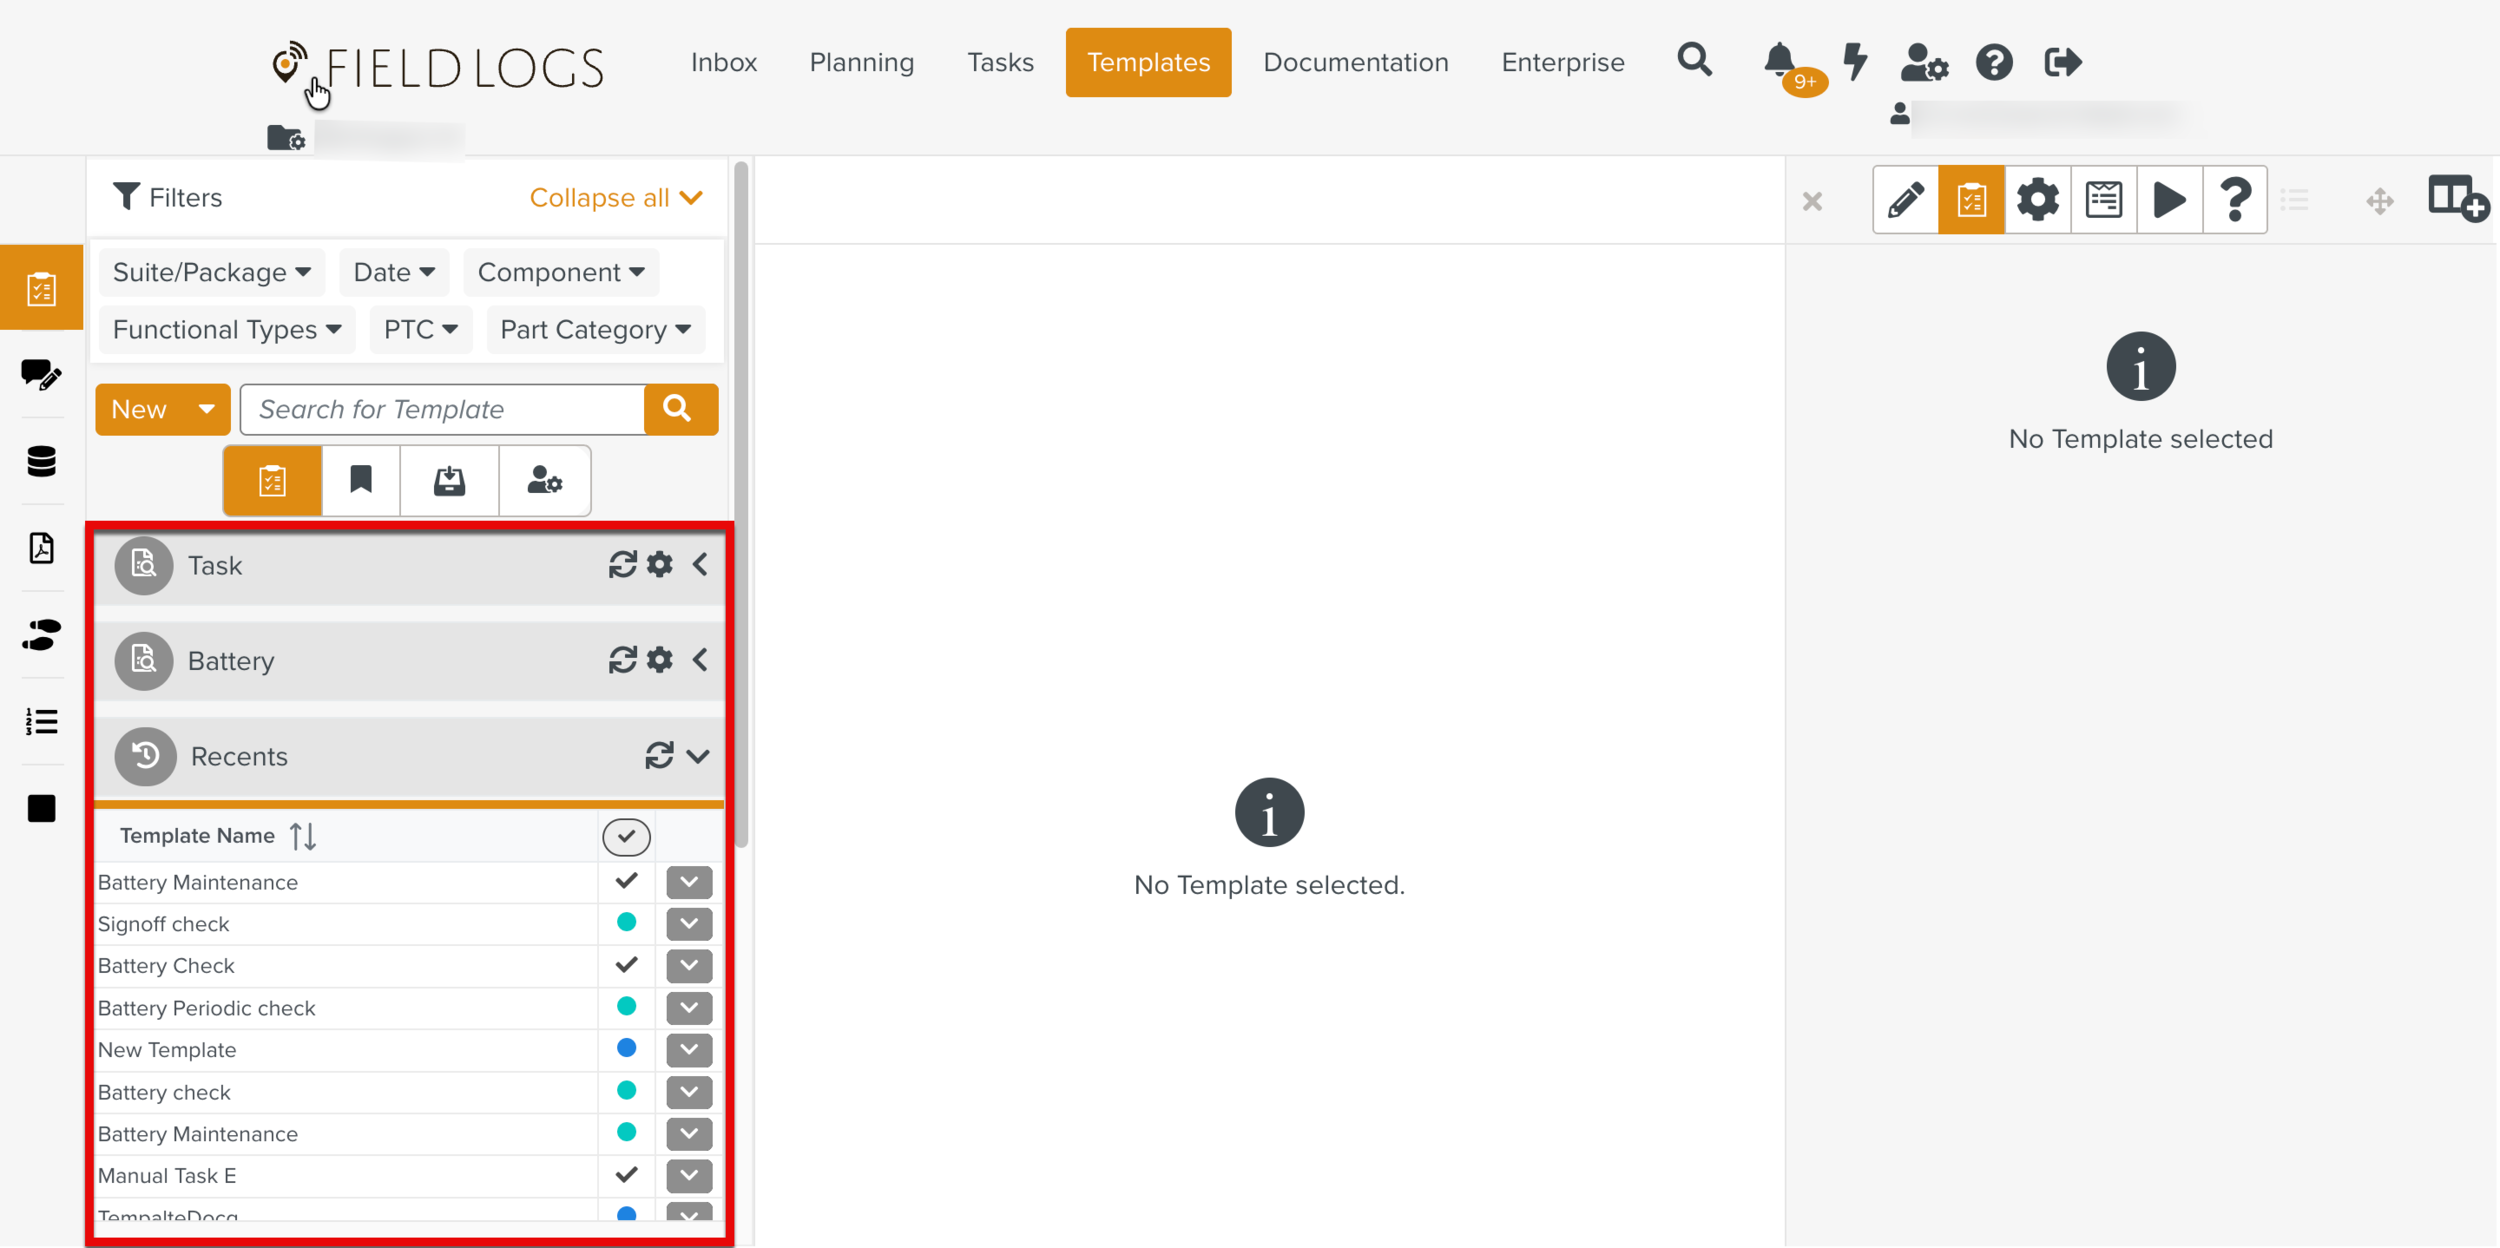
Click .

The New Template pop-up appears.
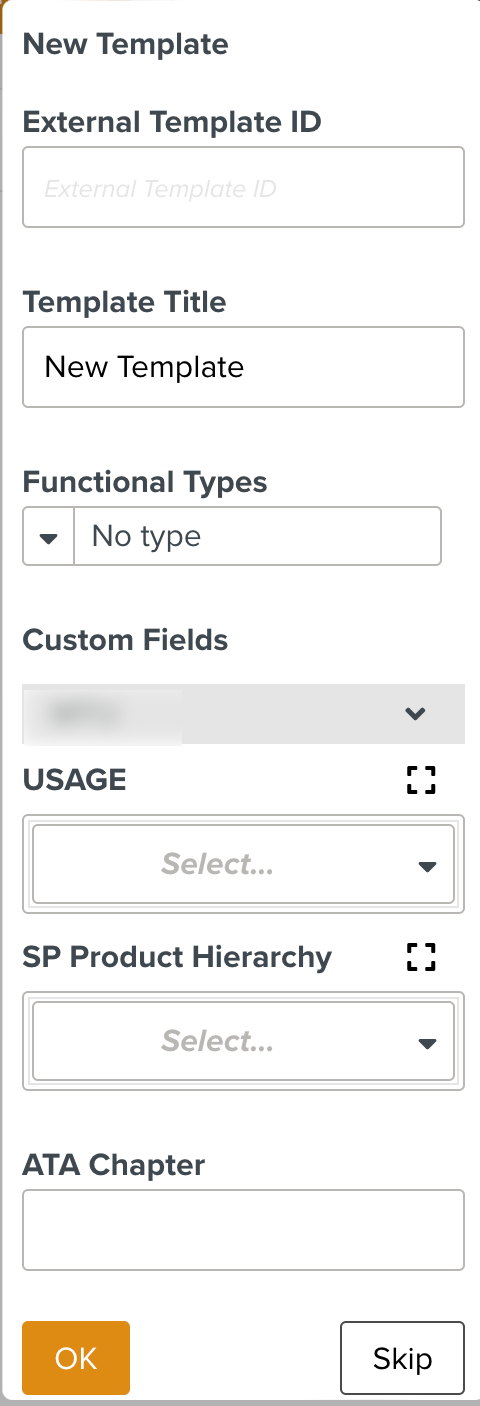
Note
The values entered in the New Template pop-up populate the corresponding fields automatically.
[Optional] Enter the required details as shown below.
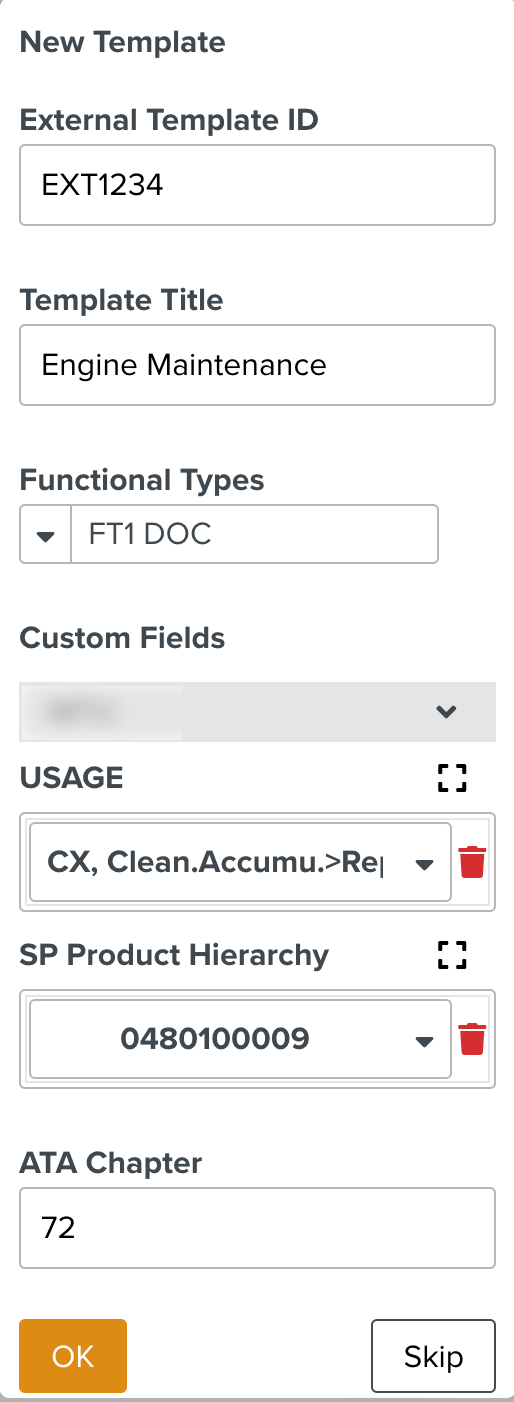
Fields
Description
External Template ID
Set an ID to identify the Template outside FieldLogs.
The Template is saved under a Package with the same name as the External Template ID.
Note
The Package creation occurs only for External Template IDs entered in the New Template pop-up.
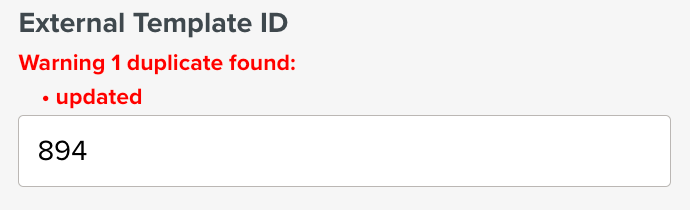
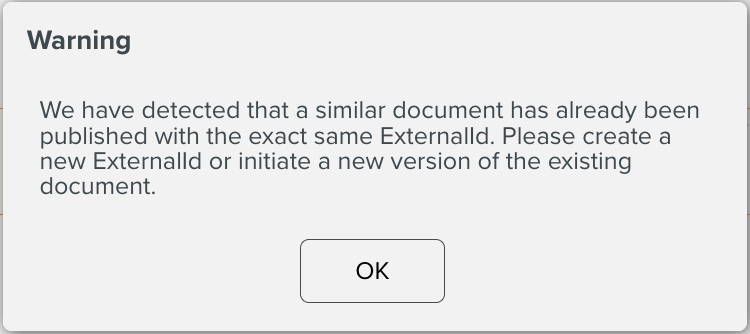
If you enter an External ID that is already in use, the system displays a warning listing all templates with the same External ID. This does not block publishing, it simply helps identify potential duplicates
Template Title
Enter the name of the Template.
The Template Title must not be empty. The value has a maximum limit of 1024 characters. If these conditions are not met, an error is displayed.
Functional Types
A sticker/label on the Template for easy identification. Functional Types are initially created and then associated with the Templates.
Custom Fields
Select the values for the Custom Fields.
In the above example, USAGE and SP Product Hierarchy are the pre-defined Custom Fields.
The description of SP Product Hierarchy is set as value for the Suite of the Template and the level one value of Part Category.
The USAGE Custom Field value is set as the level two value of Part Category.
ATA Chapter
Enter the ATA Chapter from the respective OEM Reference Manual.
This is set as the level 3 value of Part Category.
Click .
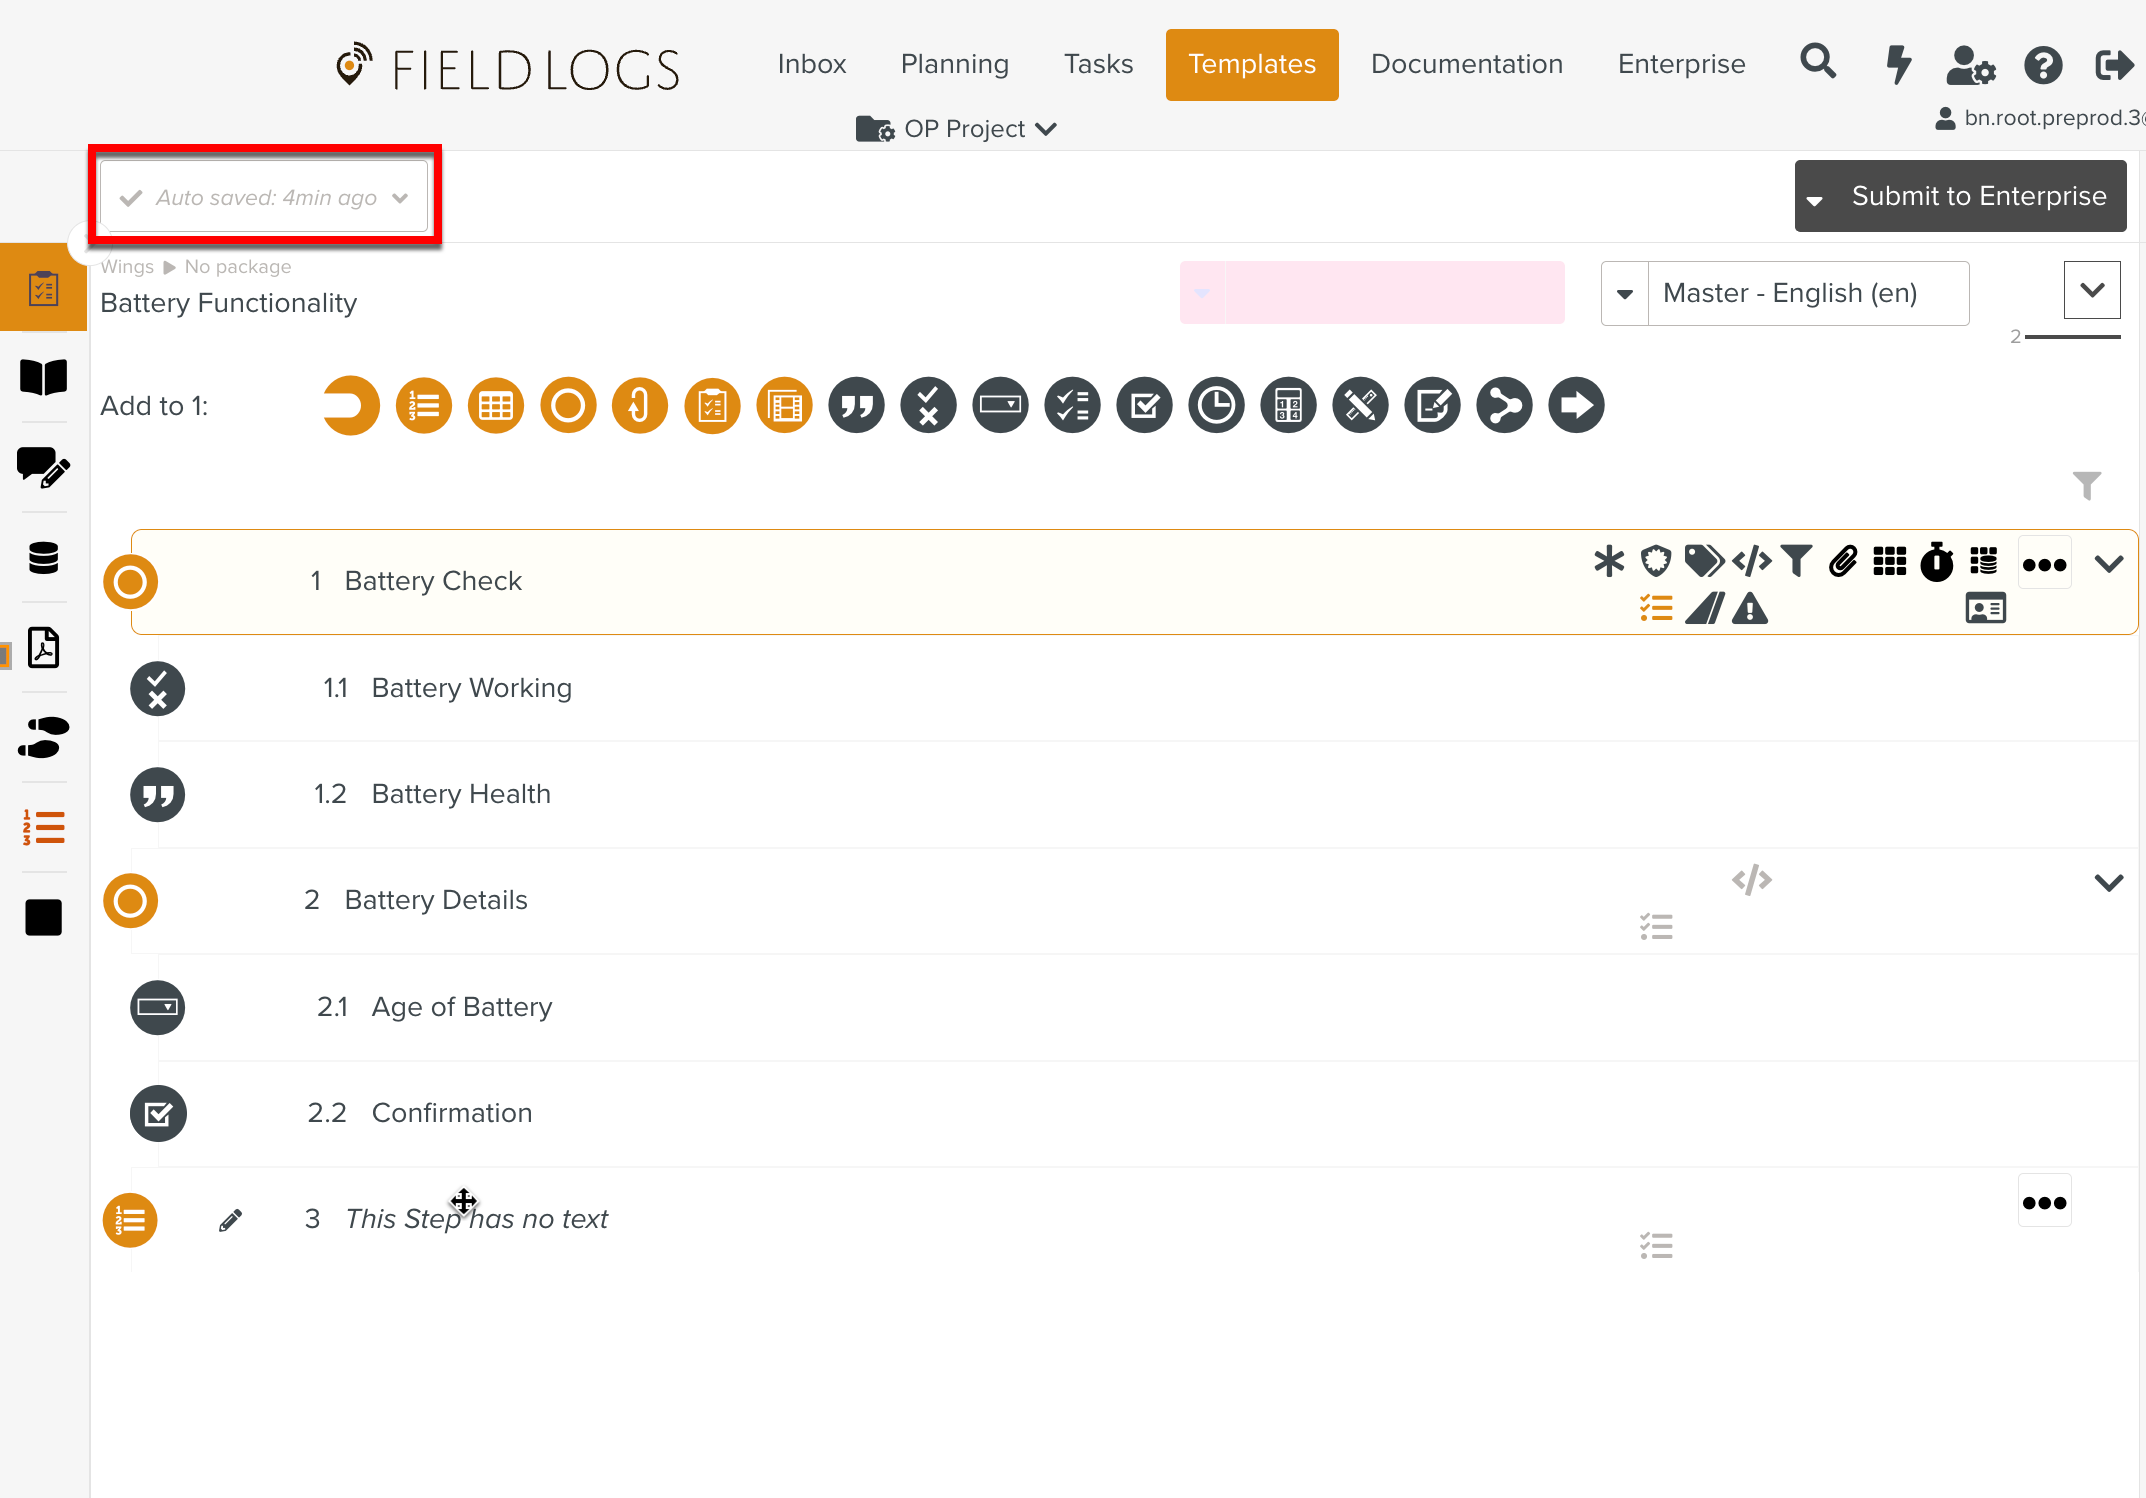
An empty Template appears in the Workspace pane.
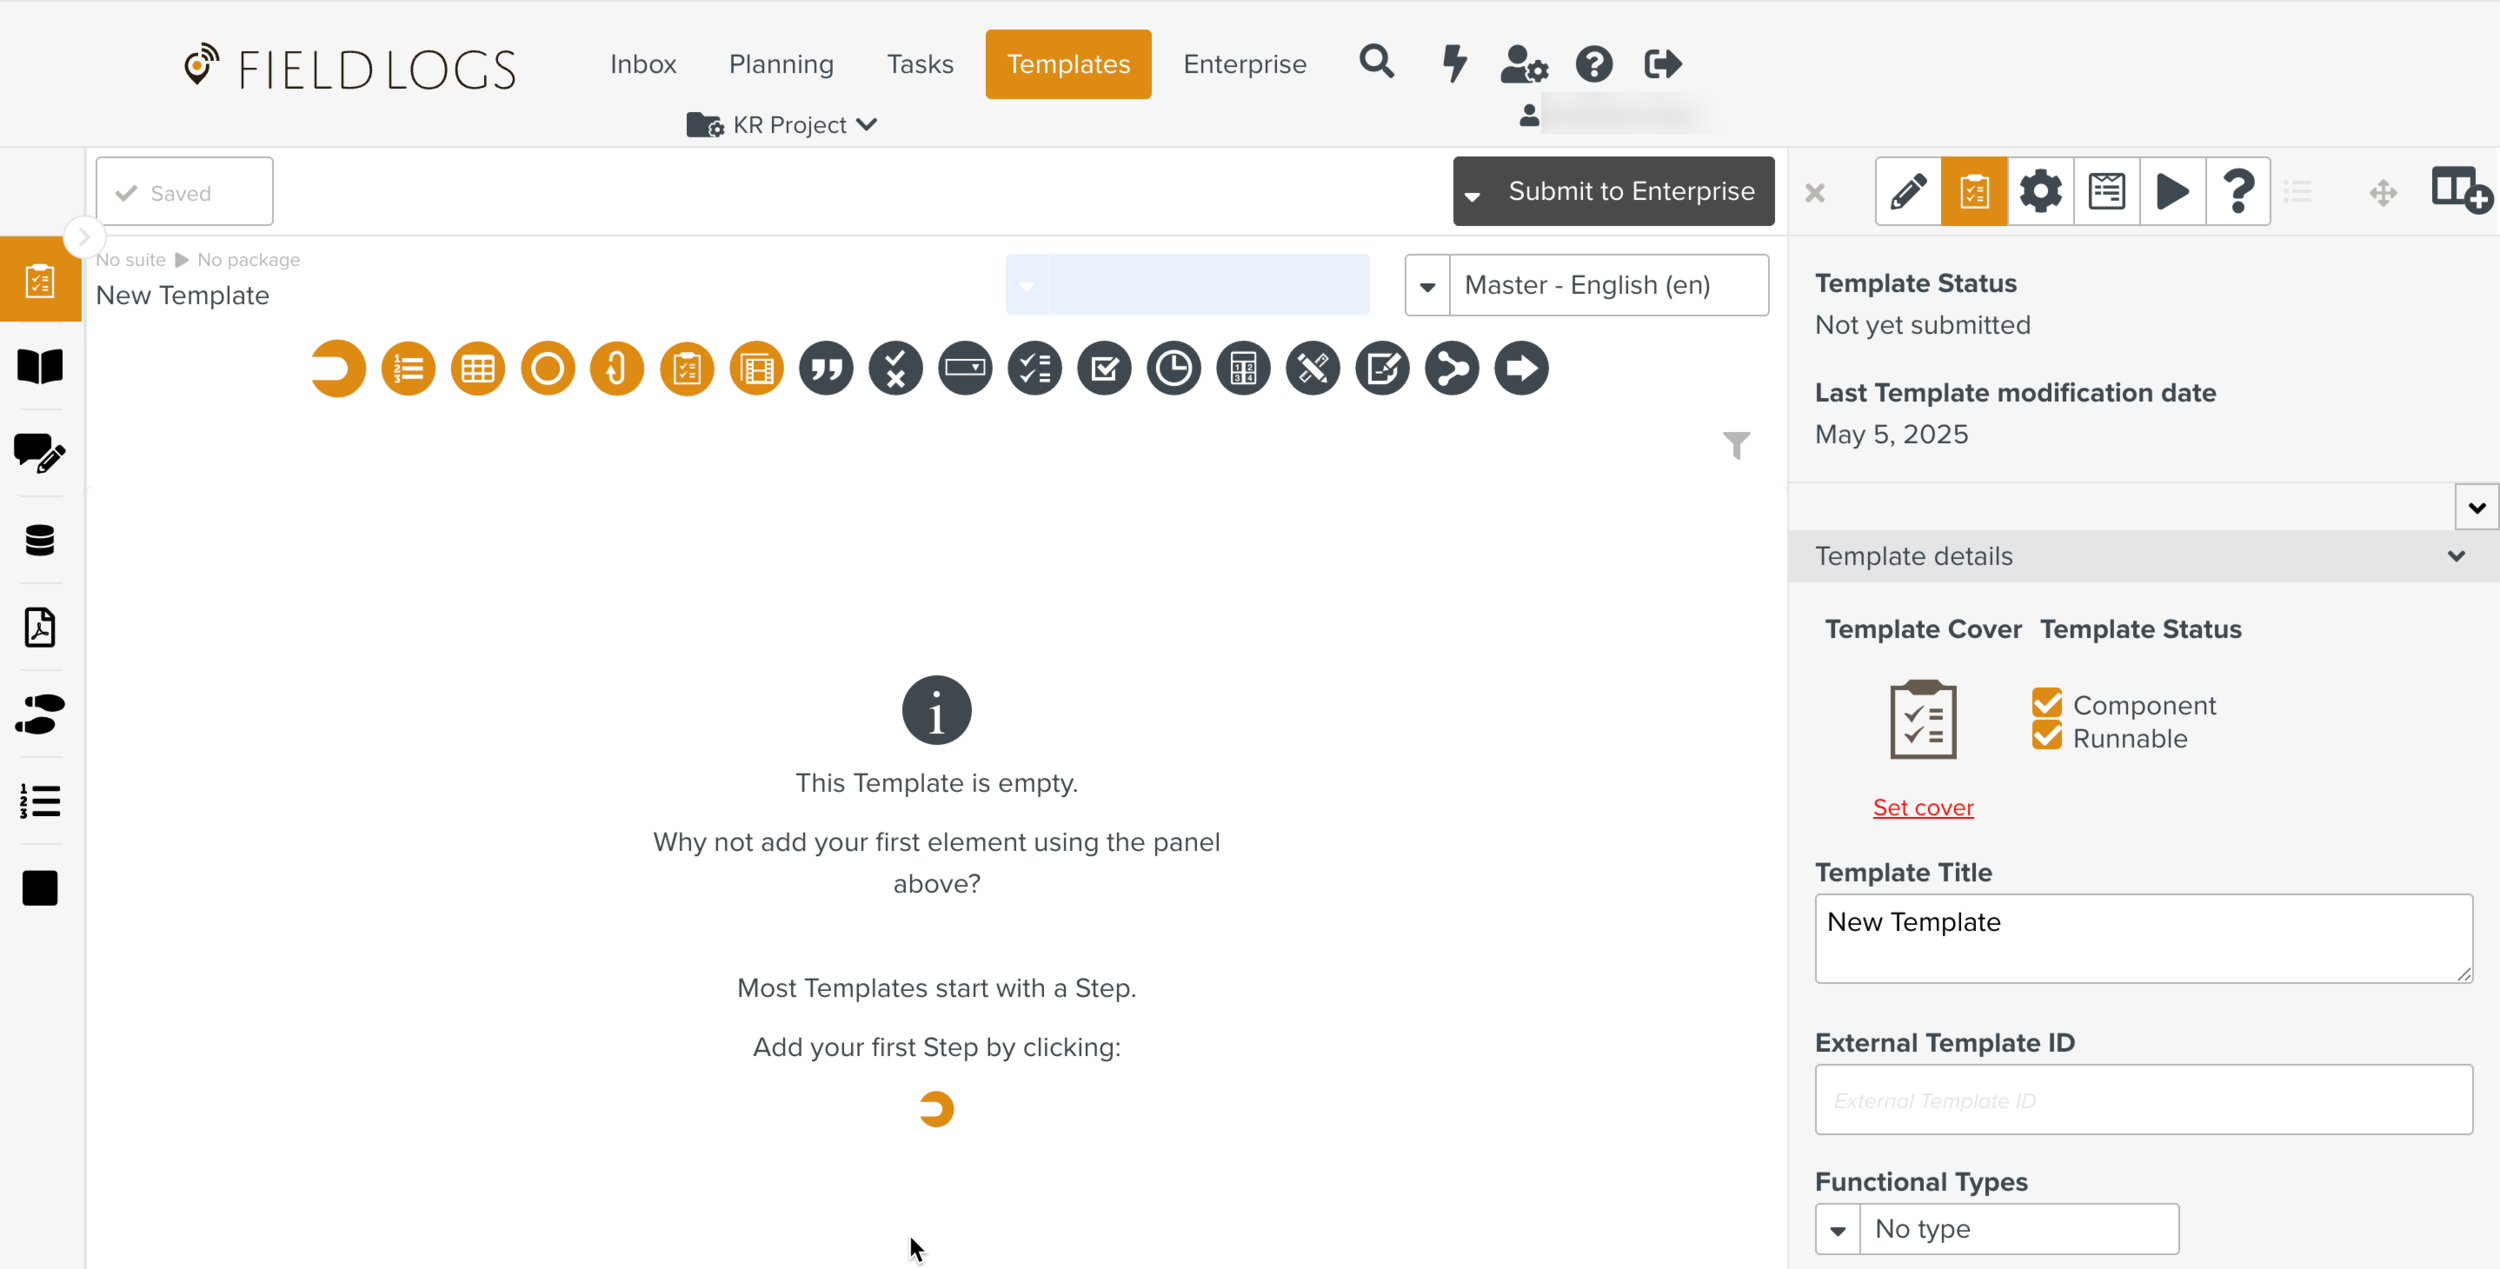
The values entered in the dialog box are reflected to appropriate fields in the Templates Information Editor.

Click
 to open the property pane.
In the Templates Information Editor tab, enter the values and set the parameters of your Template.

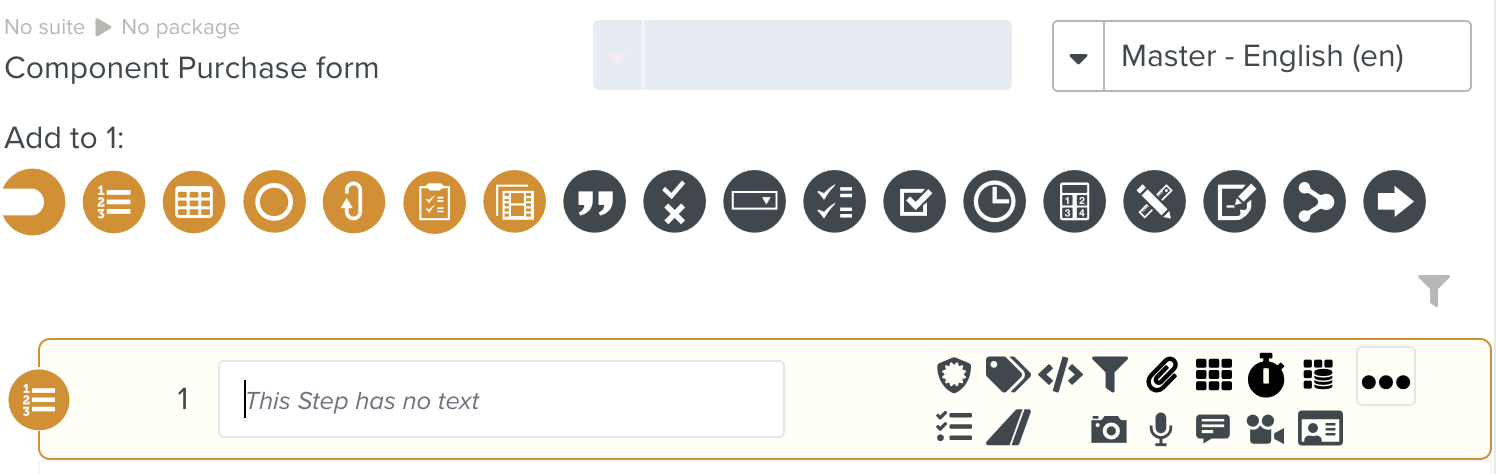
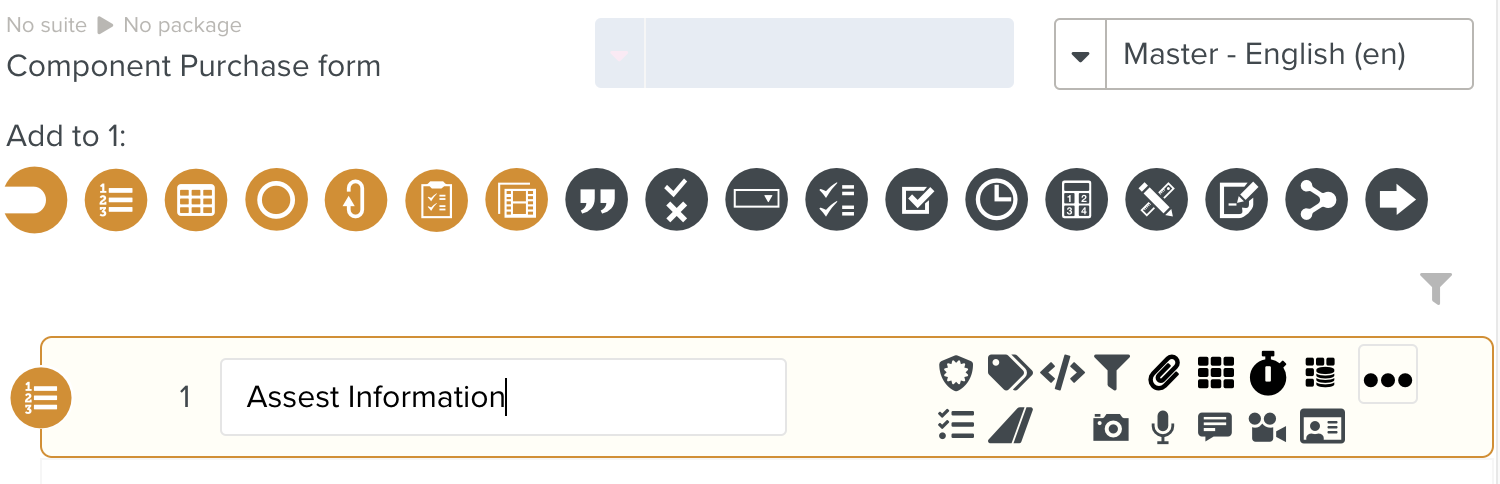
Click or drag the Steps from the Element panel to the workspace pane.
Note
There are two types of Steps: containers and input elements. According to the Step you select, different options are available.
Click the Step to enter a Step title.
In the tab, set the properties of the Steps.
Click .

The Template is Saved.
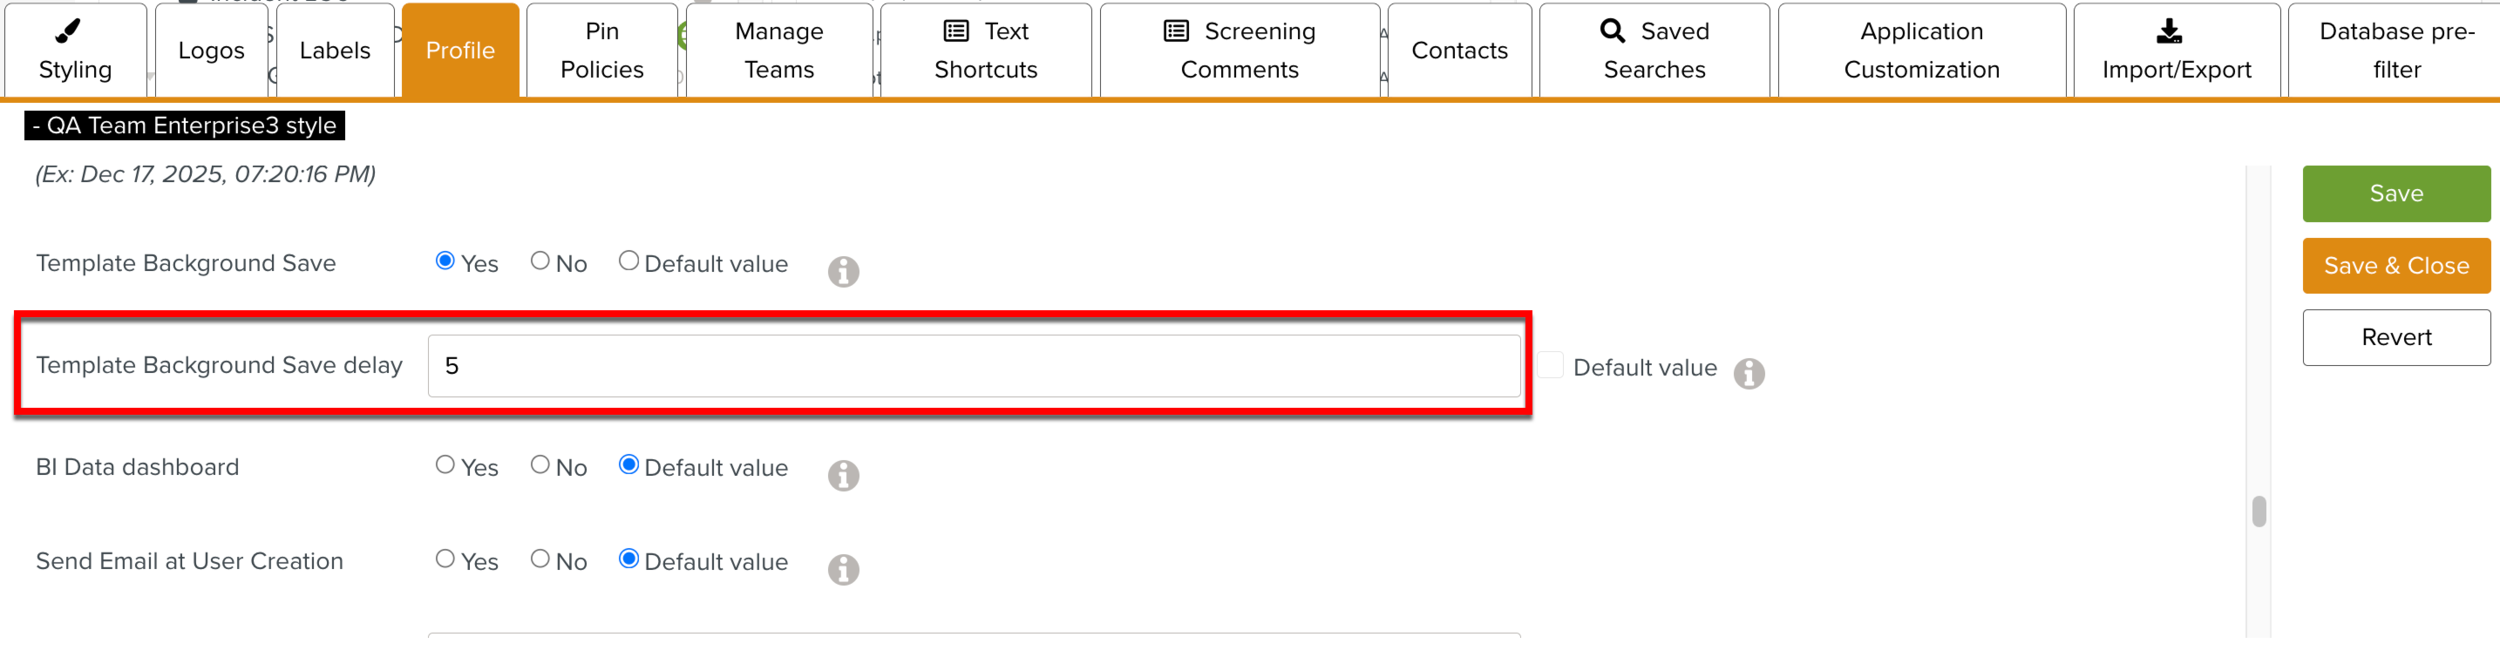
The Template is automatically saved when the Enterprise setting Template Background Save is enabled/set to Yes.
The Auto Save interval is set by the administrator in seconds, using the Template Background Save delay field in the Enterprise Settings.
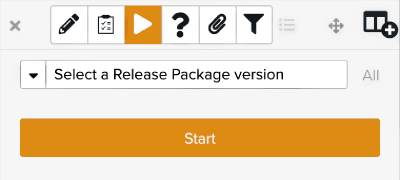
Click to publish your Template.

Tip
You can test your Template in the tab .
 |