Step Condition
When you create a Step, you can add a condition to the Step. This enables you to change the behaviour of the current Step based on the result of another Step.
To set a condition to the current Step, you need to identify:
Behavior: The behavior(s) of the current Step that need(s) to be changed, and
Condition: The other Step(s) in the Template whose result(s) decide(s) the behavior of the current Step.
To apply conditions to a Step:
Select the Step to which the condition needs to be applied.
Click the Condition Editor
 .
.
The Condition Editor opens.
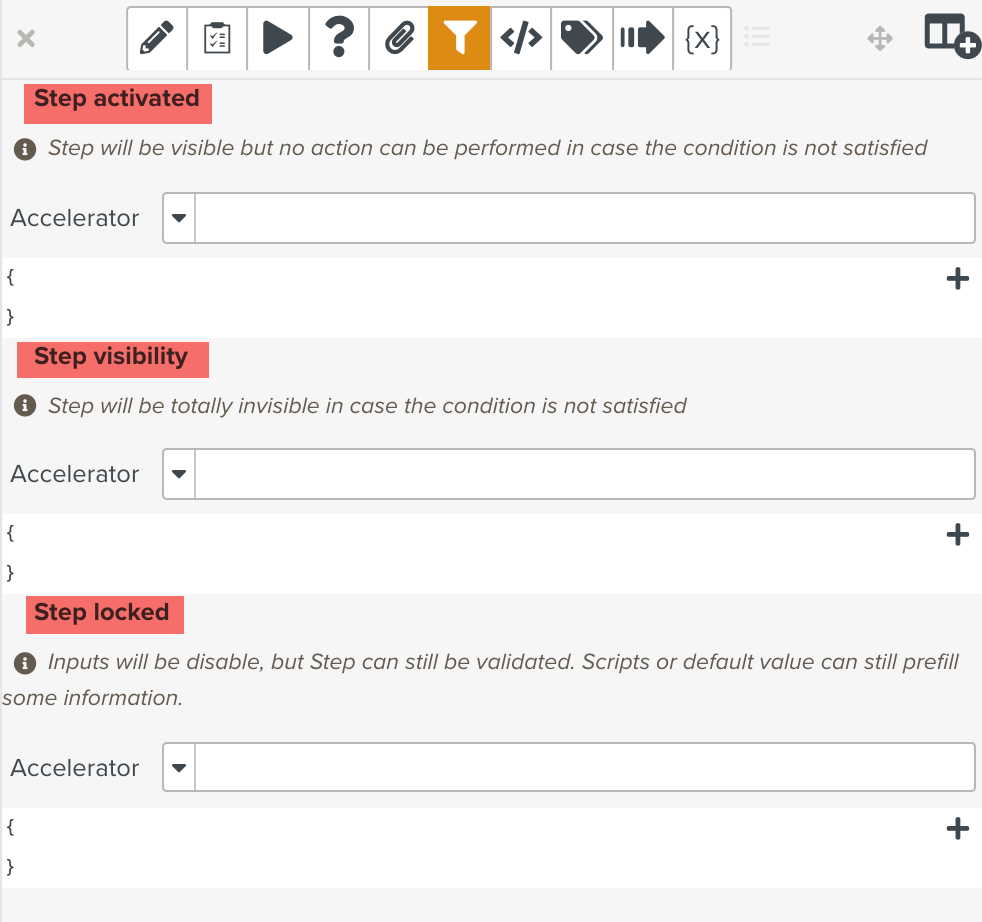 |
The Condition Editor is divided into three sections to highlight the three possible behavioral changes a Step undergoes.
Based on the conditions, the behavior of a Step can be changed in three ways.
: Based on the specified conditions, a Step can be activated or deactivated. If the Step is activated, the user can answer it. Otherwise, it cannot be answered and will appear greyed out.
This option can be used when the field employee needs to answer a Step only if some conditions are met.
: Based on the specified conditions, a Step can be made visible or invisible to the user.
This option can be used to display relevant steps to field employees based on user roles and evaluation results of the condition.
: Based on the specified conditions, a Step can be locked or unlocked. If a Step is locked, it is still visible, but the user cannot change the value of the Step.
This option can be used if a Step value is calculated through a script and the value must not be changed by the user.
The table below lists the behaviors that can be controlled based on the Step type.
Current Step Type | Step Activated | Step Visibility | Step Locked |
|---|---|---|---|
Free |
|
|
|
Yes/No |
|
|
|
Multi-choice |
|
|
|
Multi-check |
|
|
|
Check |
|
|
|
Date / Time |
|
|
|
Numeric |
|
|
|
Drawing |
|
|
|
Signature |
|
|
|
Master Data Selector |
|
|
|
Go To |
|
|
|
Label |
|
|
|
Form |
|
|
|
Table |
|
|
|
Task |
|
|
|
Loop |
|
|
|
Component |
|
|
|
Media |
|
|
|


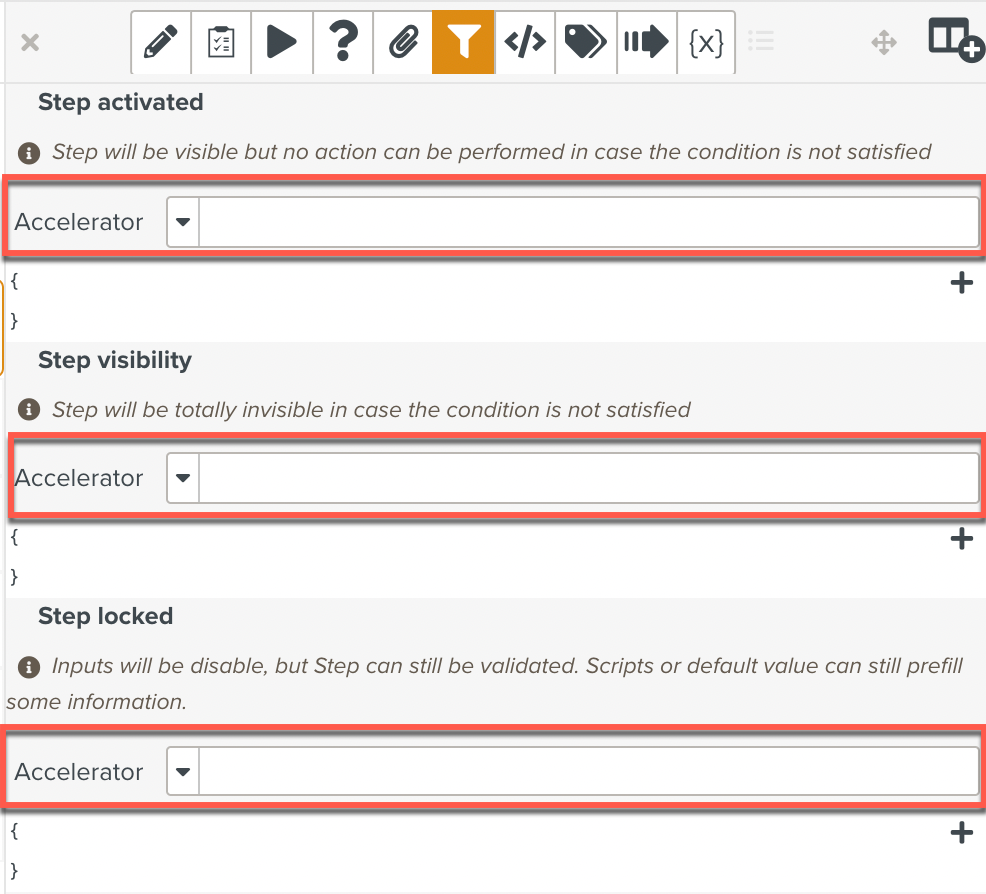
There is an dropdown list corresponding to every Step behavior available to the current Step.
 |
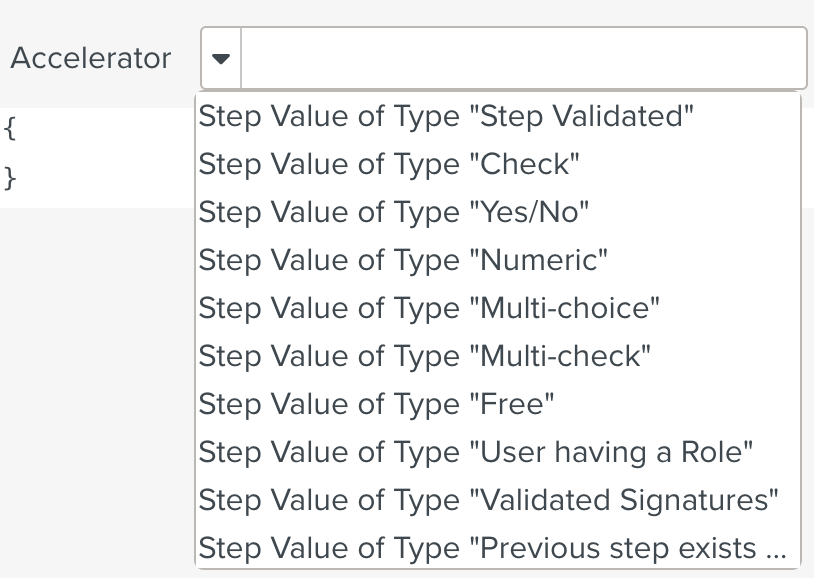
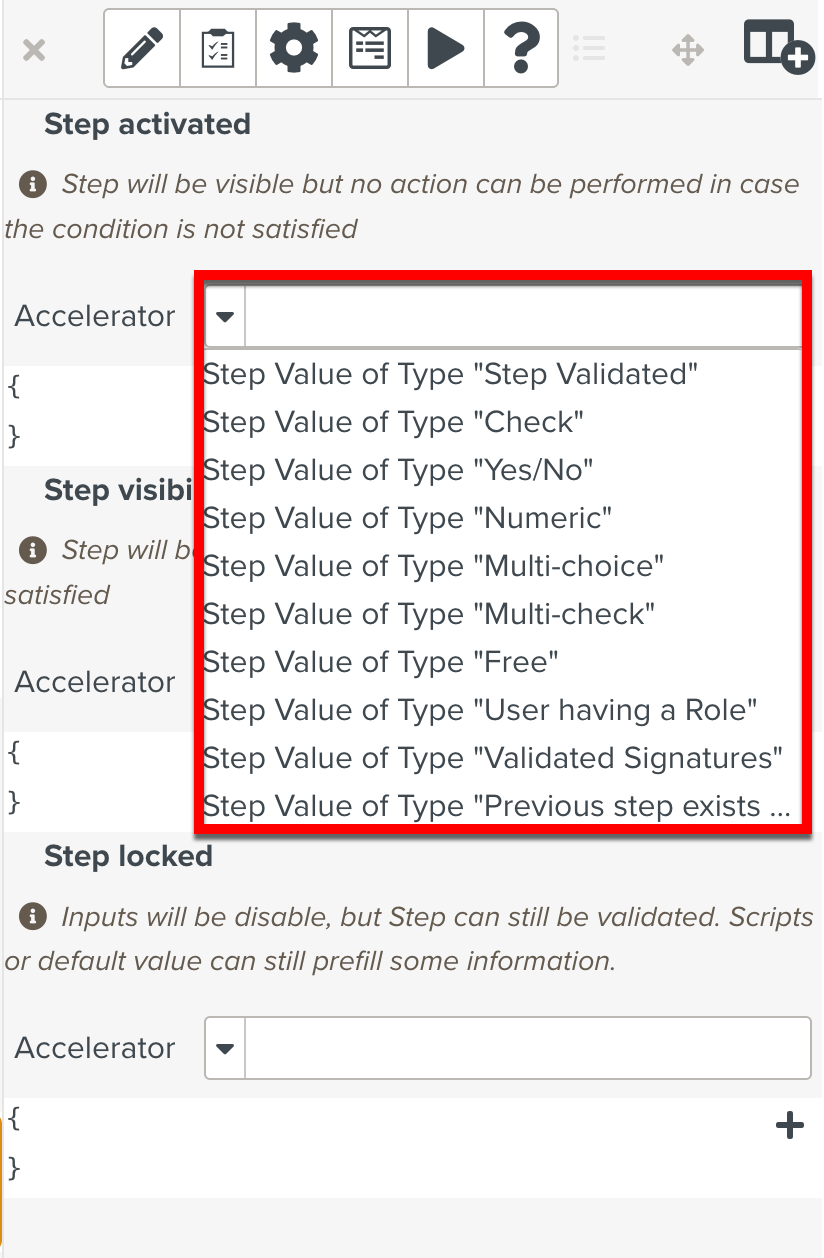
The dropdown list has a list of pre-defined conditions.
 |
Note
The Step Value of Type "Validated Signatures" can be applied on any Step. The Condition Accelerator for the Step Value of Type "Validated Signatures" will list only the Signoff Steps that are available for Task and Form Steps.
You can select one of the pre-defined conditions to be applied on the current Step.
To set a condition :
Select a condition from the dropdown list.
Here, the member has chosen to conditionally activate the current Step. Hence, the dropdown list under the section is used.
The dialog opens.
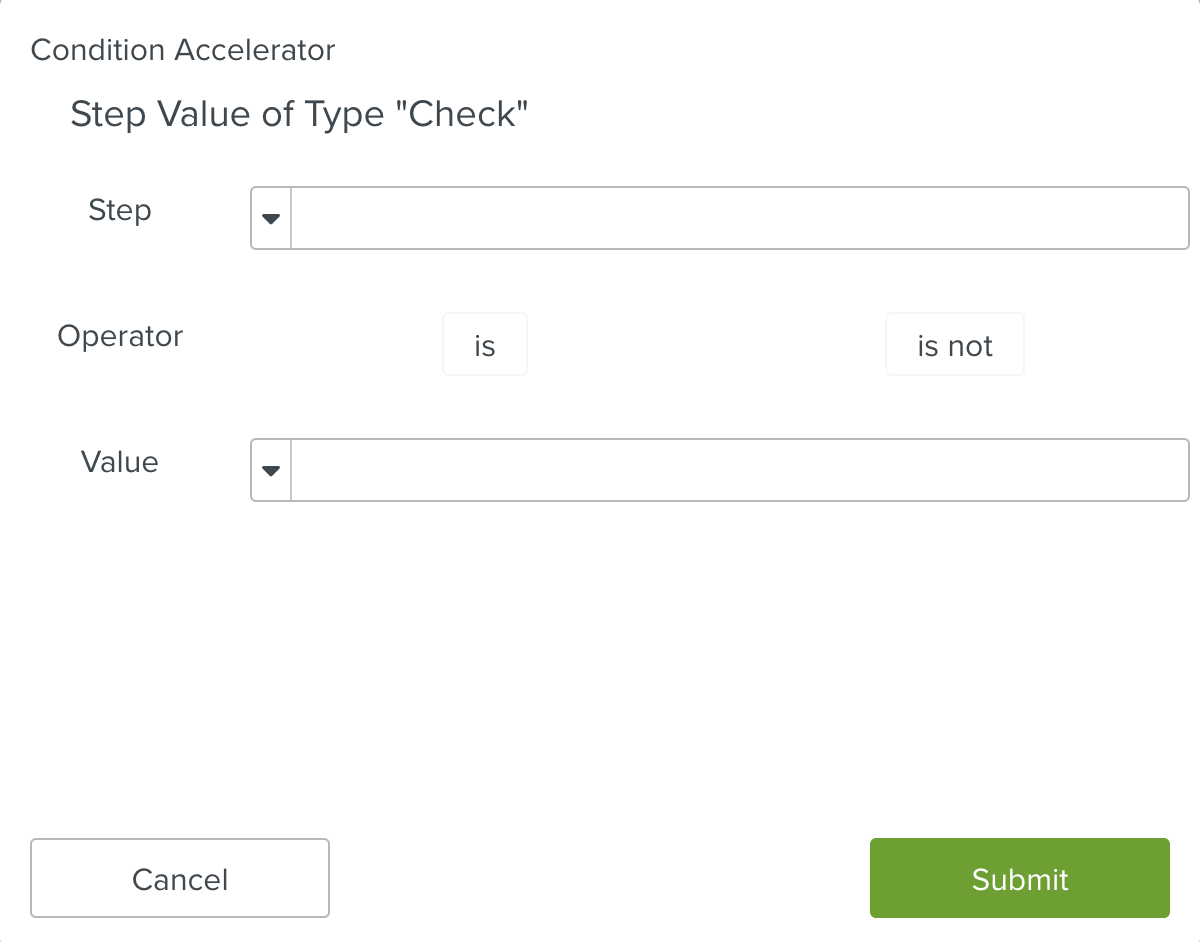
Choose the Step whose result determines the condition. Based on the value of this selected Step, a condition is applied on the current Step.
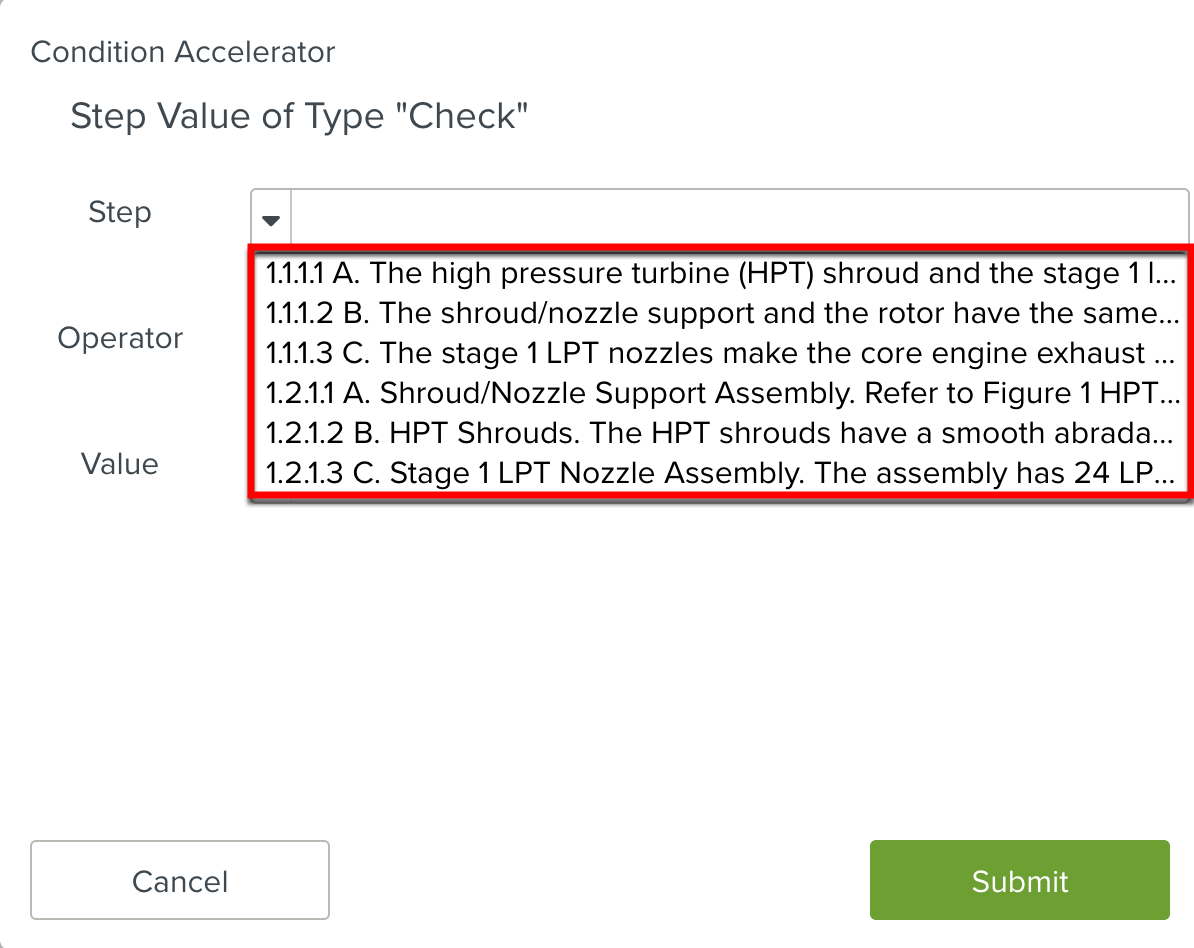
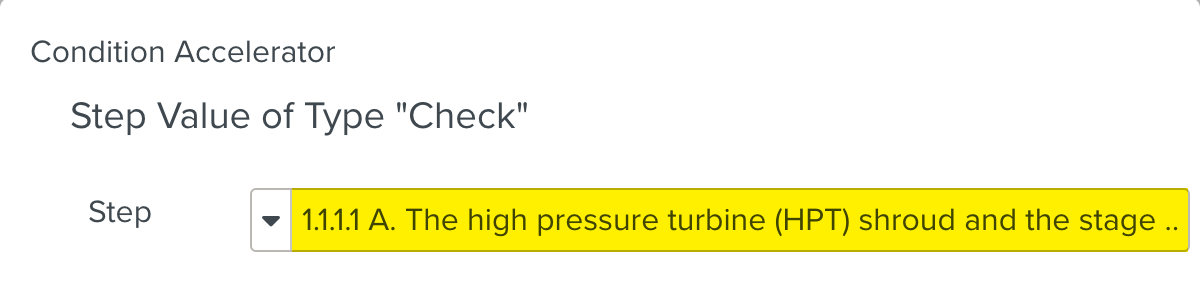
Here, the member has chosen to use the result of the Step 1.1.1.1 A of the Template, which is a Check Step.
Set up the condition by choosing an operator and a value.
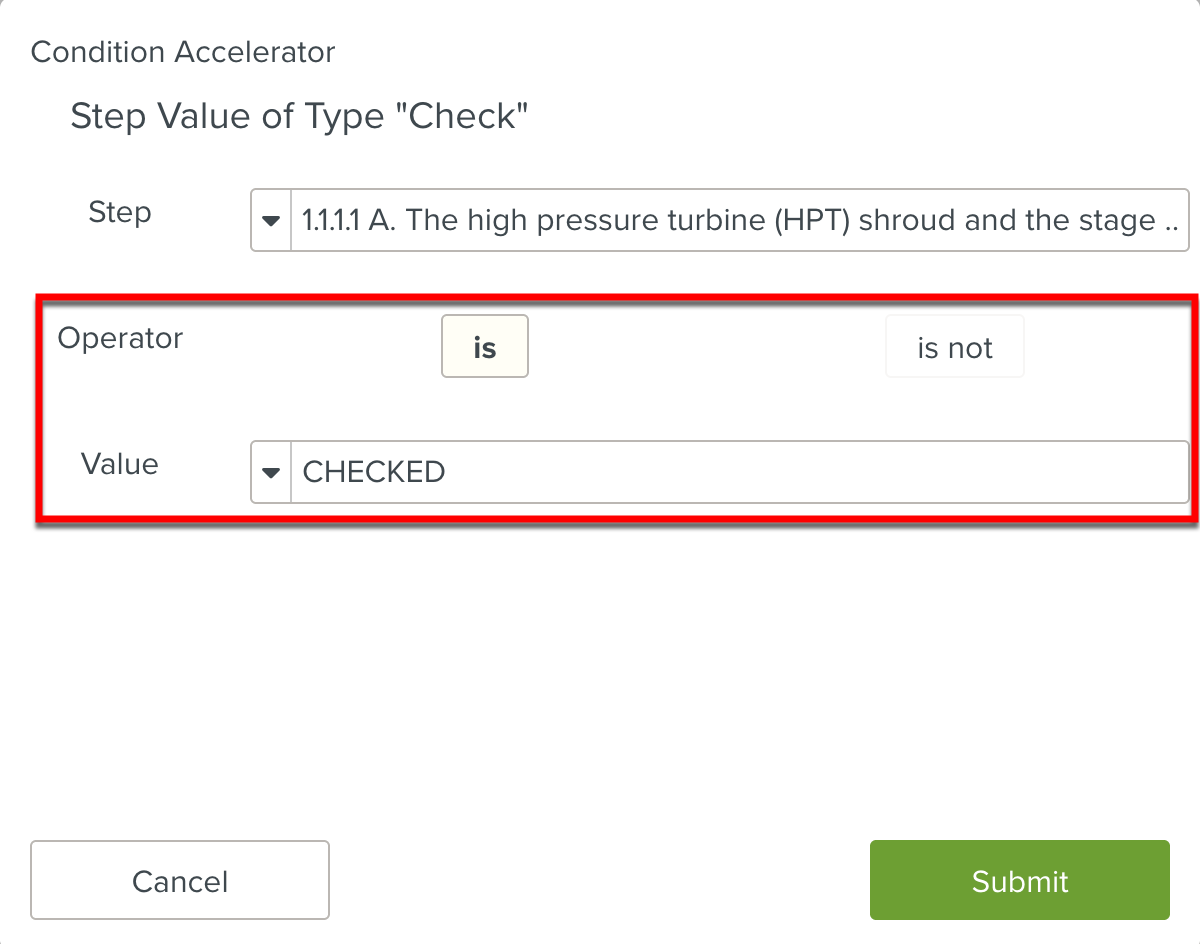
Here, the member has chosen to build the condition:
If{ the step 1.1.1.1 A of the Template is checked }Then Make Current Step ActiveClick Submit.

The condition is created. The script editor is populated with the script to execute the condition.
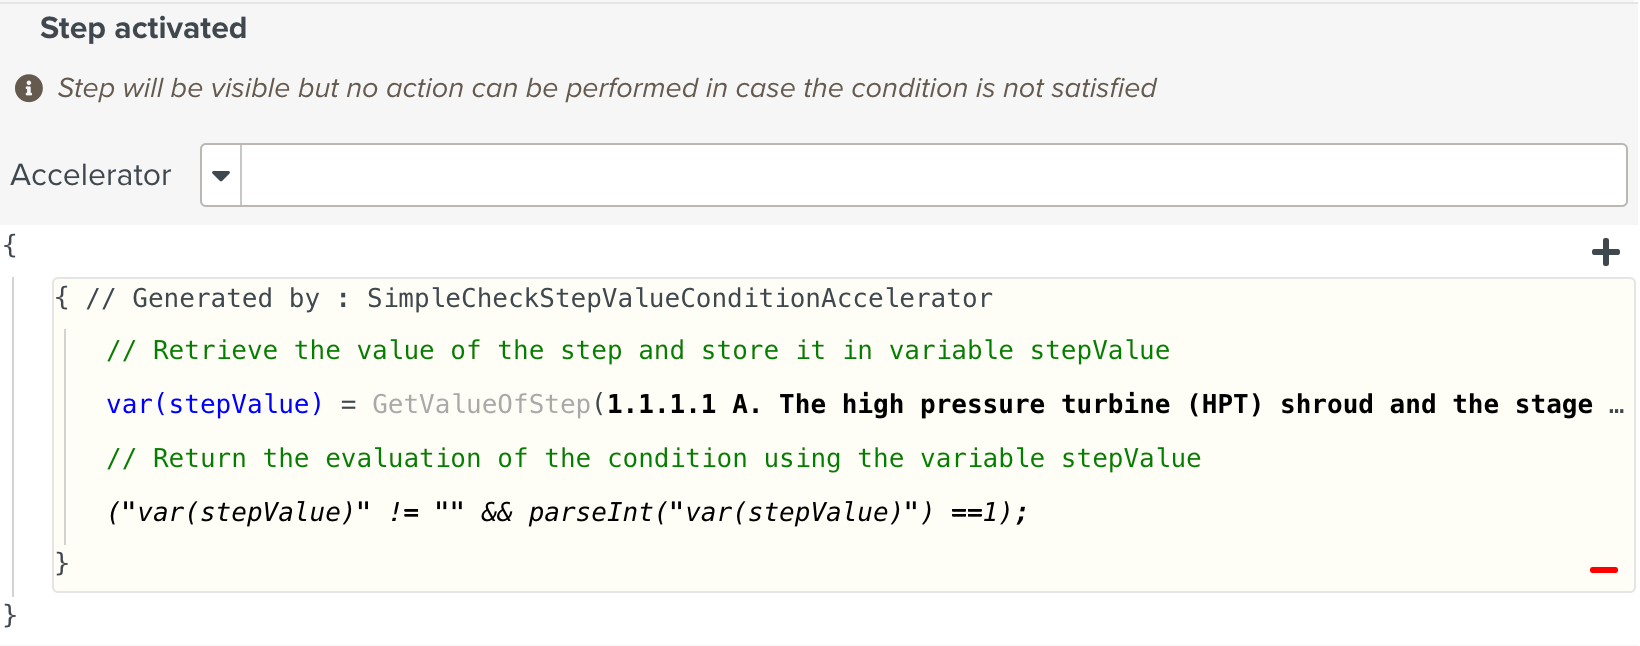 |