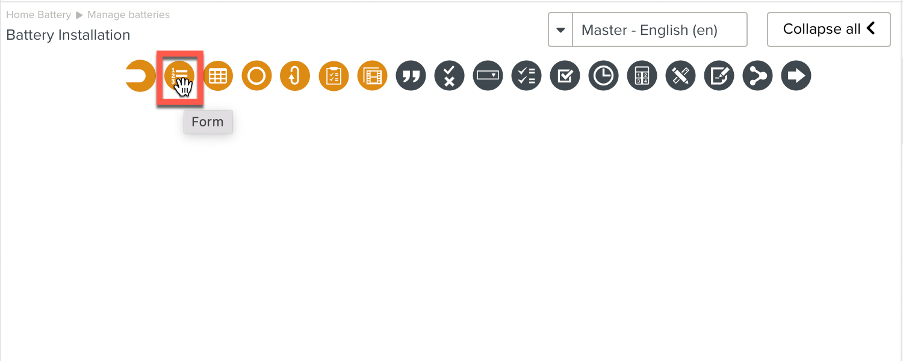
Form

You can group related inputs using a Form. A Form offers you a structure to collect data in an organized way.
To create a Form:
Click or drag the Form container from the element panel.
Follow the steps listed in Adding Steps.
A Form element helps the user understand that the set of inputs requested are related.
Important
All the elements inside the Form have the same numbering as the Form itself.
This is unlike other container types, where child Steps of a container Step ‘x’ will be numbered as ‘x.y’
Note
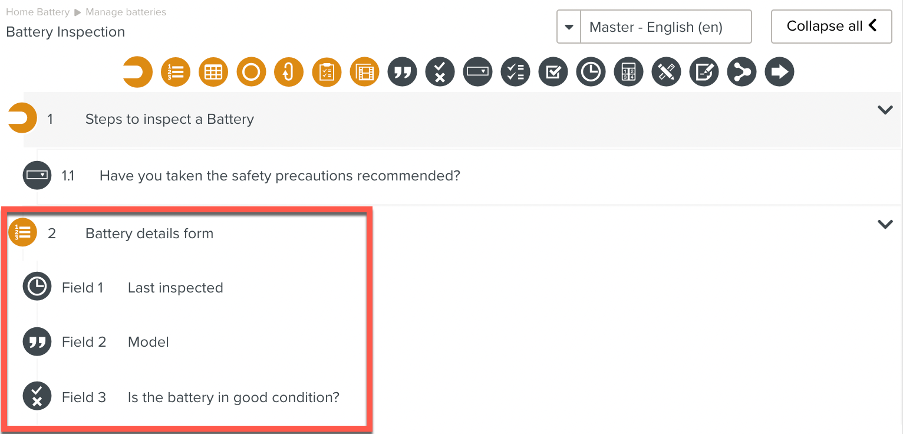
In the figure, all the child Steps of the Form Battery details form share the same Step number 2.
This is unlike the numbering of child Steps under other types of containers. Note how the child Step of the Label Steps to inspect a battery is numbered as 1.1
Ensure the Form is set up as detailed in Setting Up a Step.
A Form has two additional options:
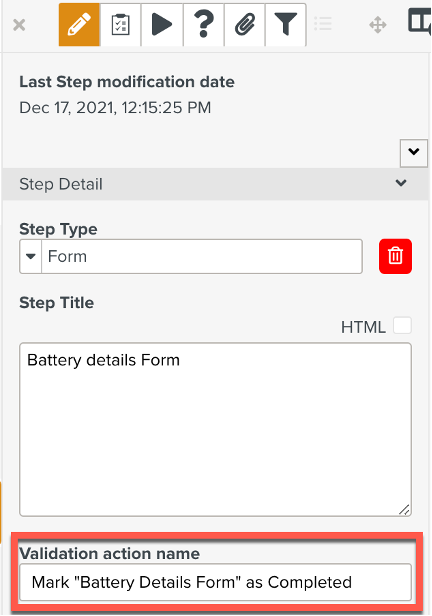
Validation action name
Signoff flow
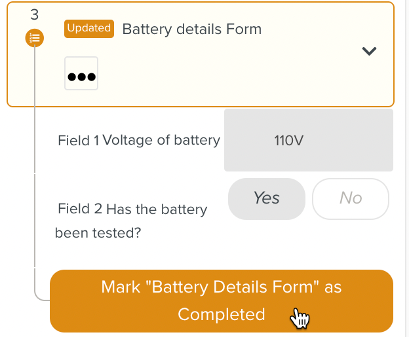
The user needs to validate the Form. In the , you can customize the text displayed to the user by setting up the field .
 |
The Form appears with the validation button to the user as seen below.
 |
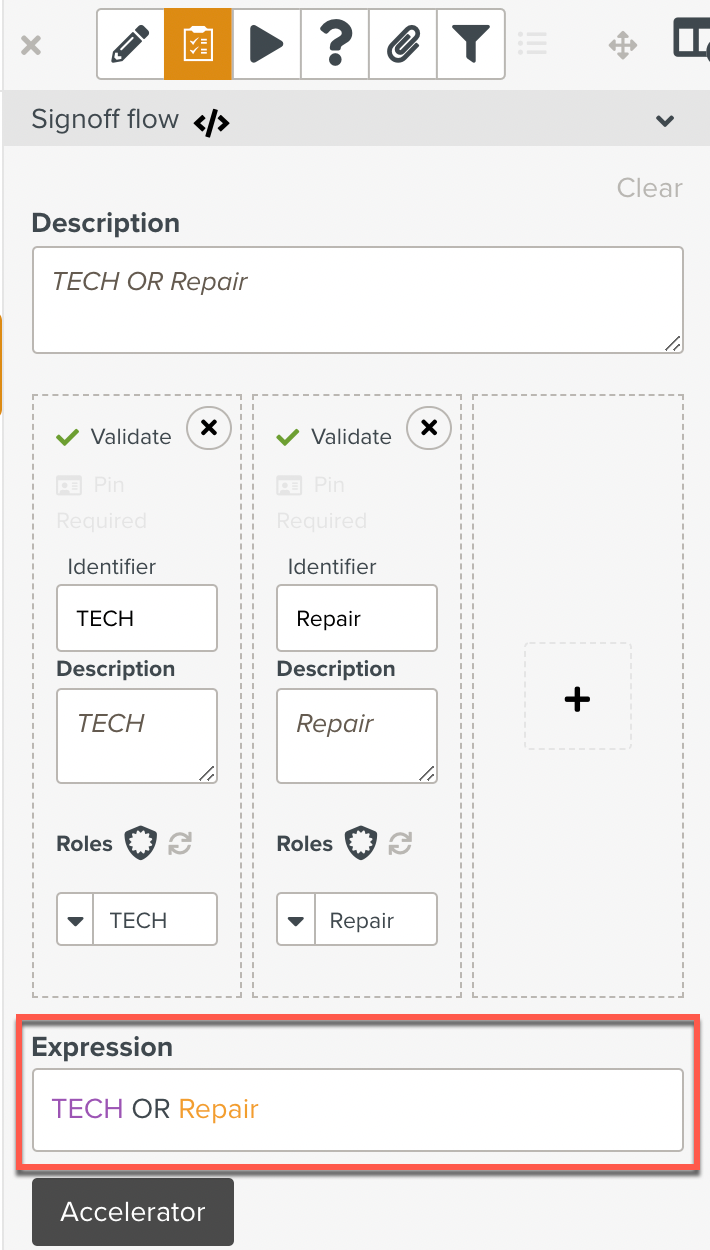
A specific user or any user with a specific role may be required to sign off the Form. One or more conditions might need to be met in order for a Form to be signed off.
To enable this, a can be set on the Form. The field displays the condition(s) that need to be met for the Form to be signed off. In the example below, either a user with a Role 'TECH' or 'Repair' can sign off this Form.
 |
The following input elements can be child Steps of a Form:
Free
Yes/No
Multi-choice
Multi-check
Check
Date/Time
Numeric
Drawing
Signature
Master Data Selector