Creating a Tryout
The Tryout can be created on the following Artifacts.
Templates
Incidents
Documents
Operation Plans
Tryouts
Note
Access to this feature is restricted. Contact your administrator to enable it.
To create a Tryout:
On the main menu, go to Enterprise > Tryouts > Tryouts.
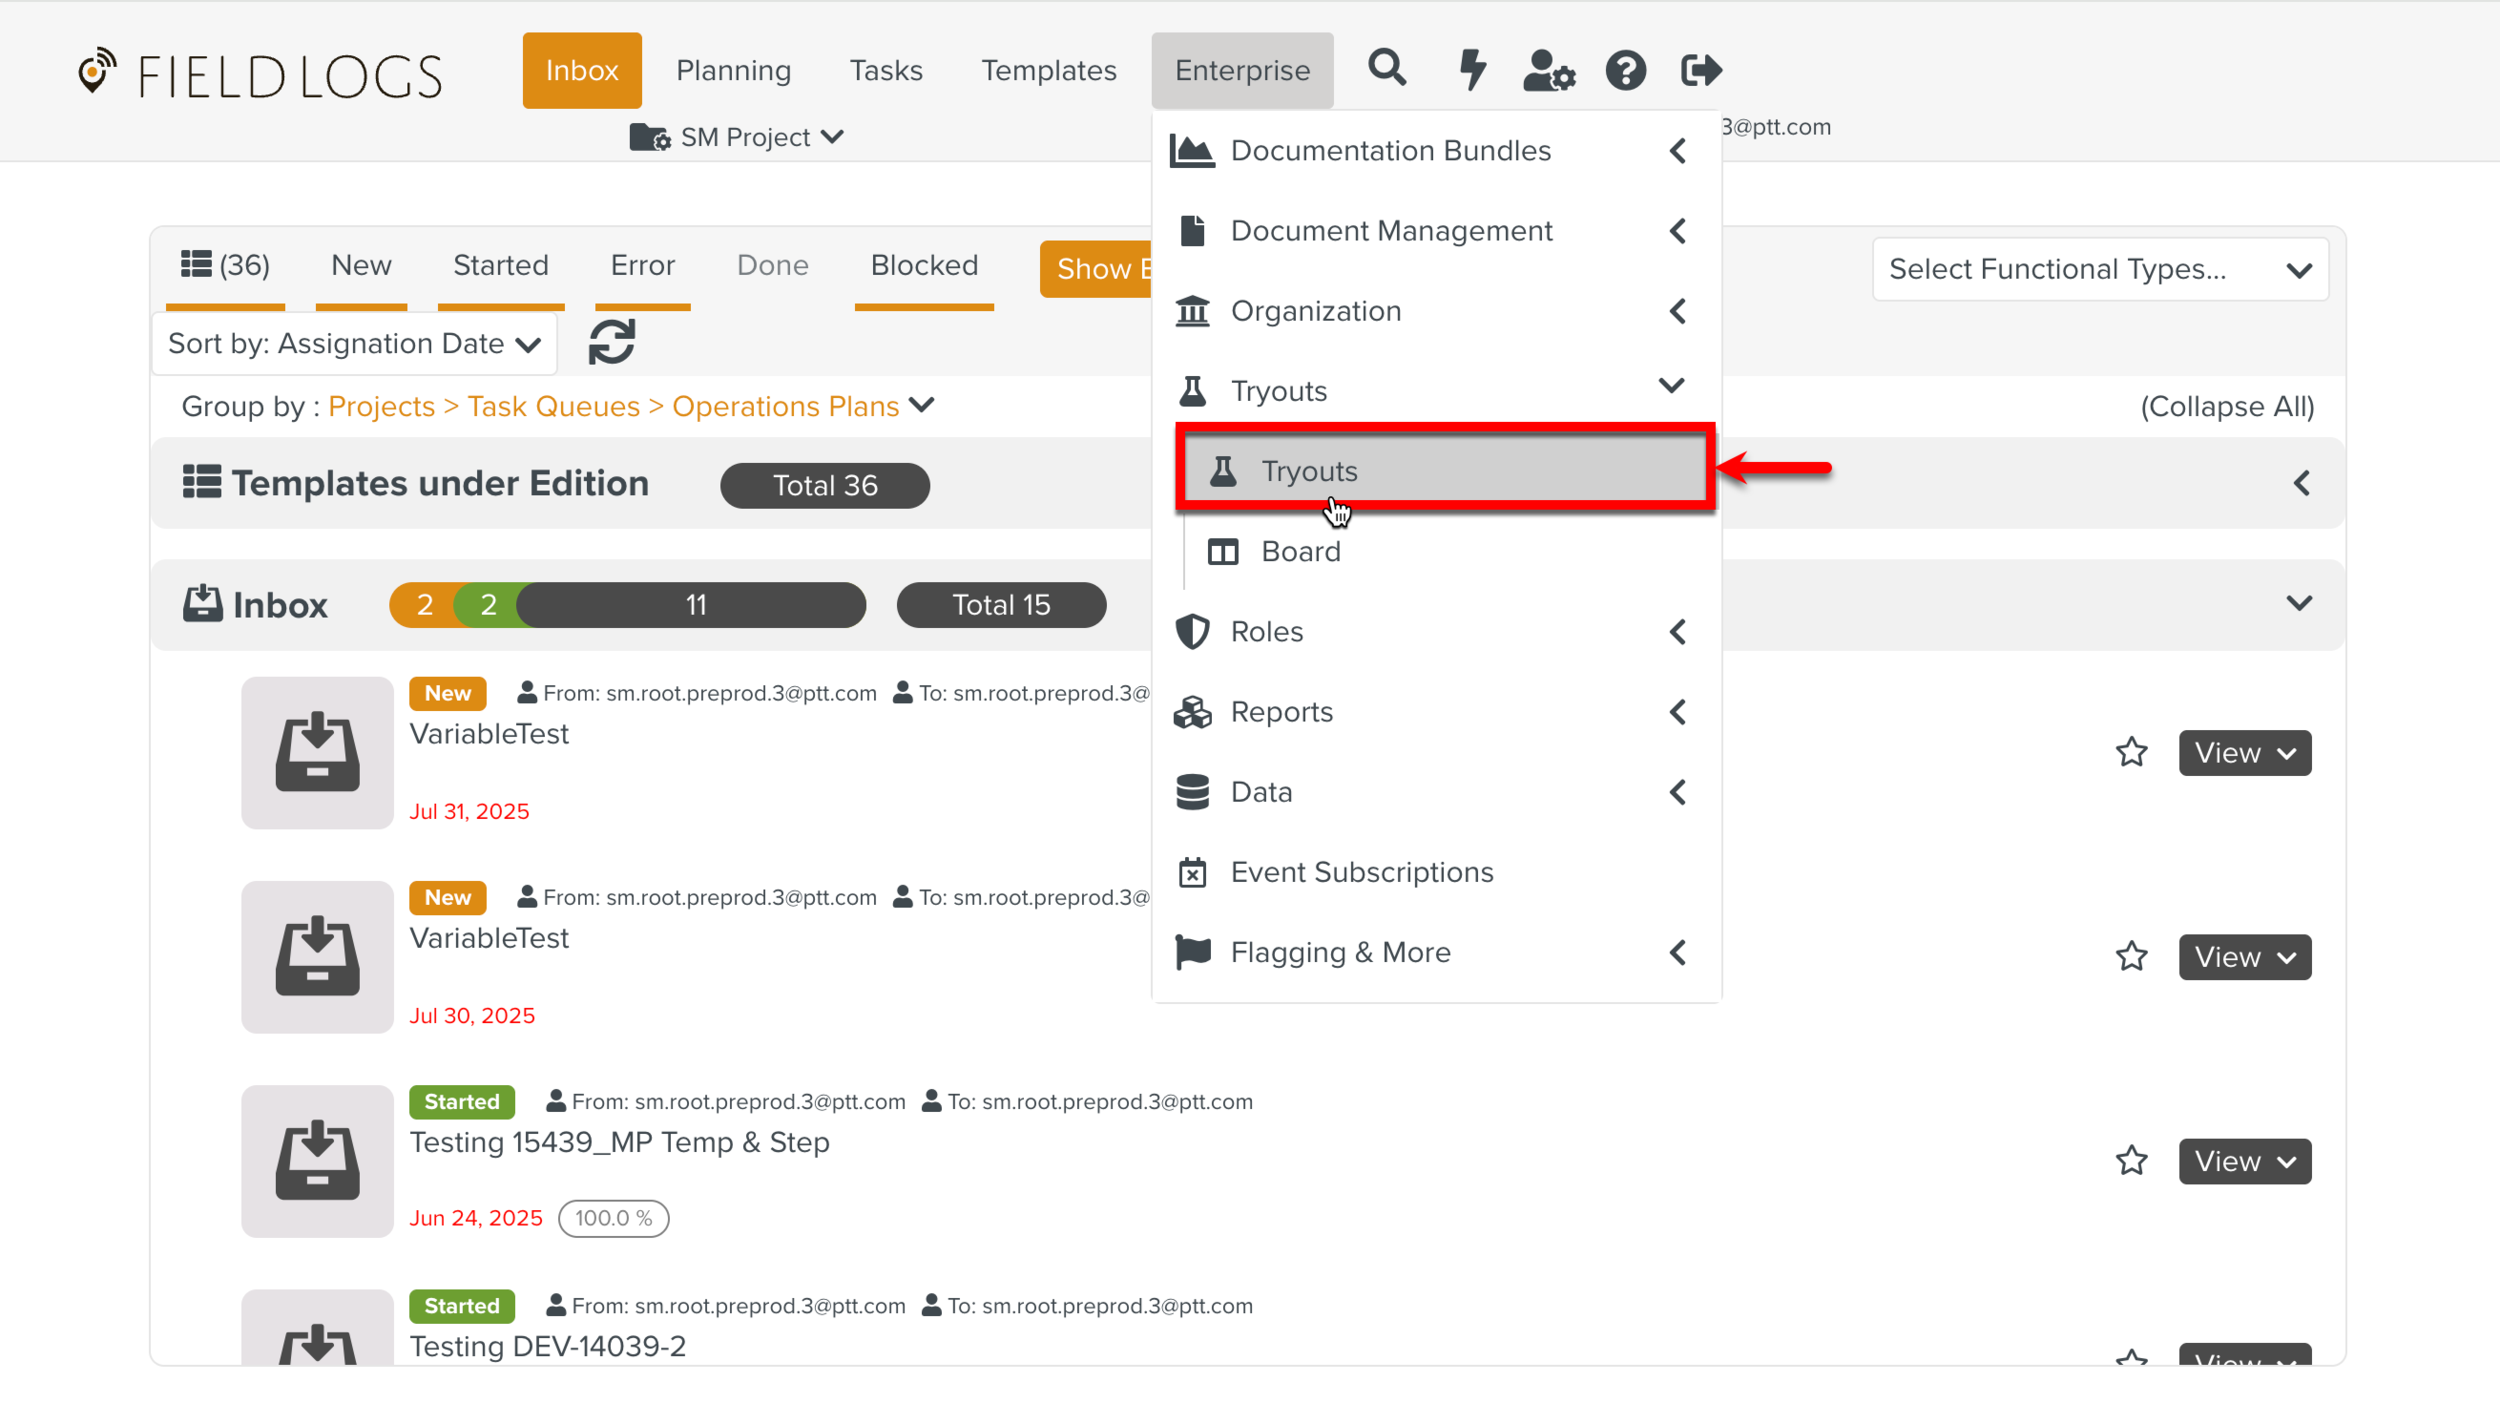
The page Tryouts appears.
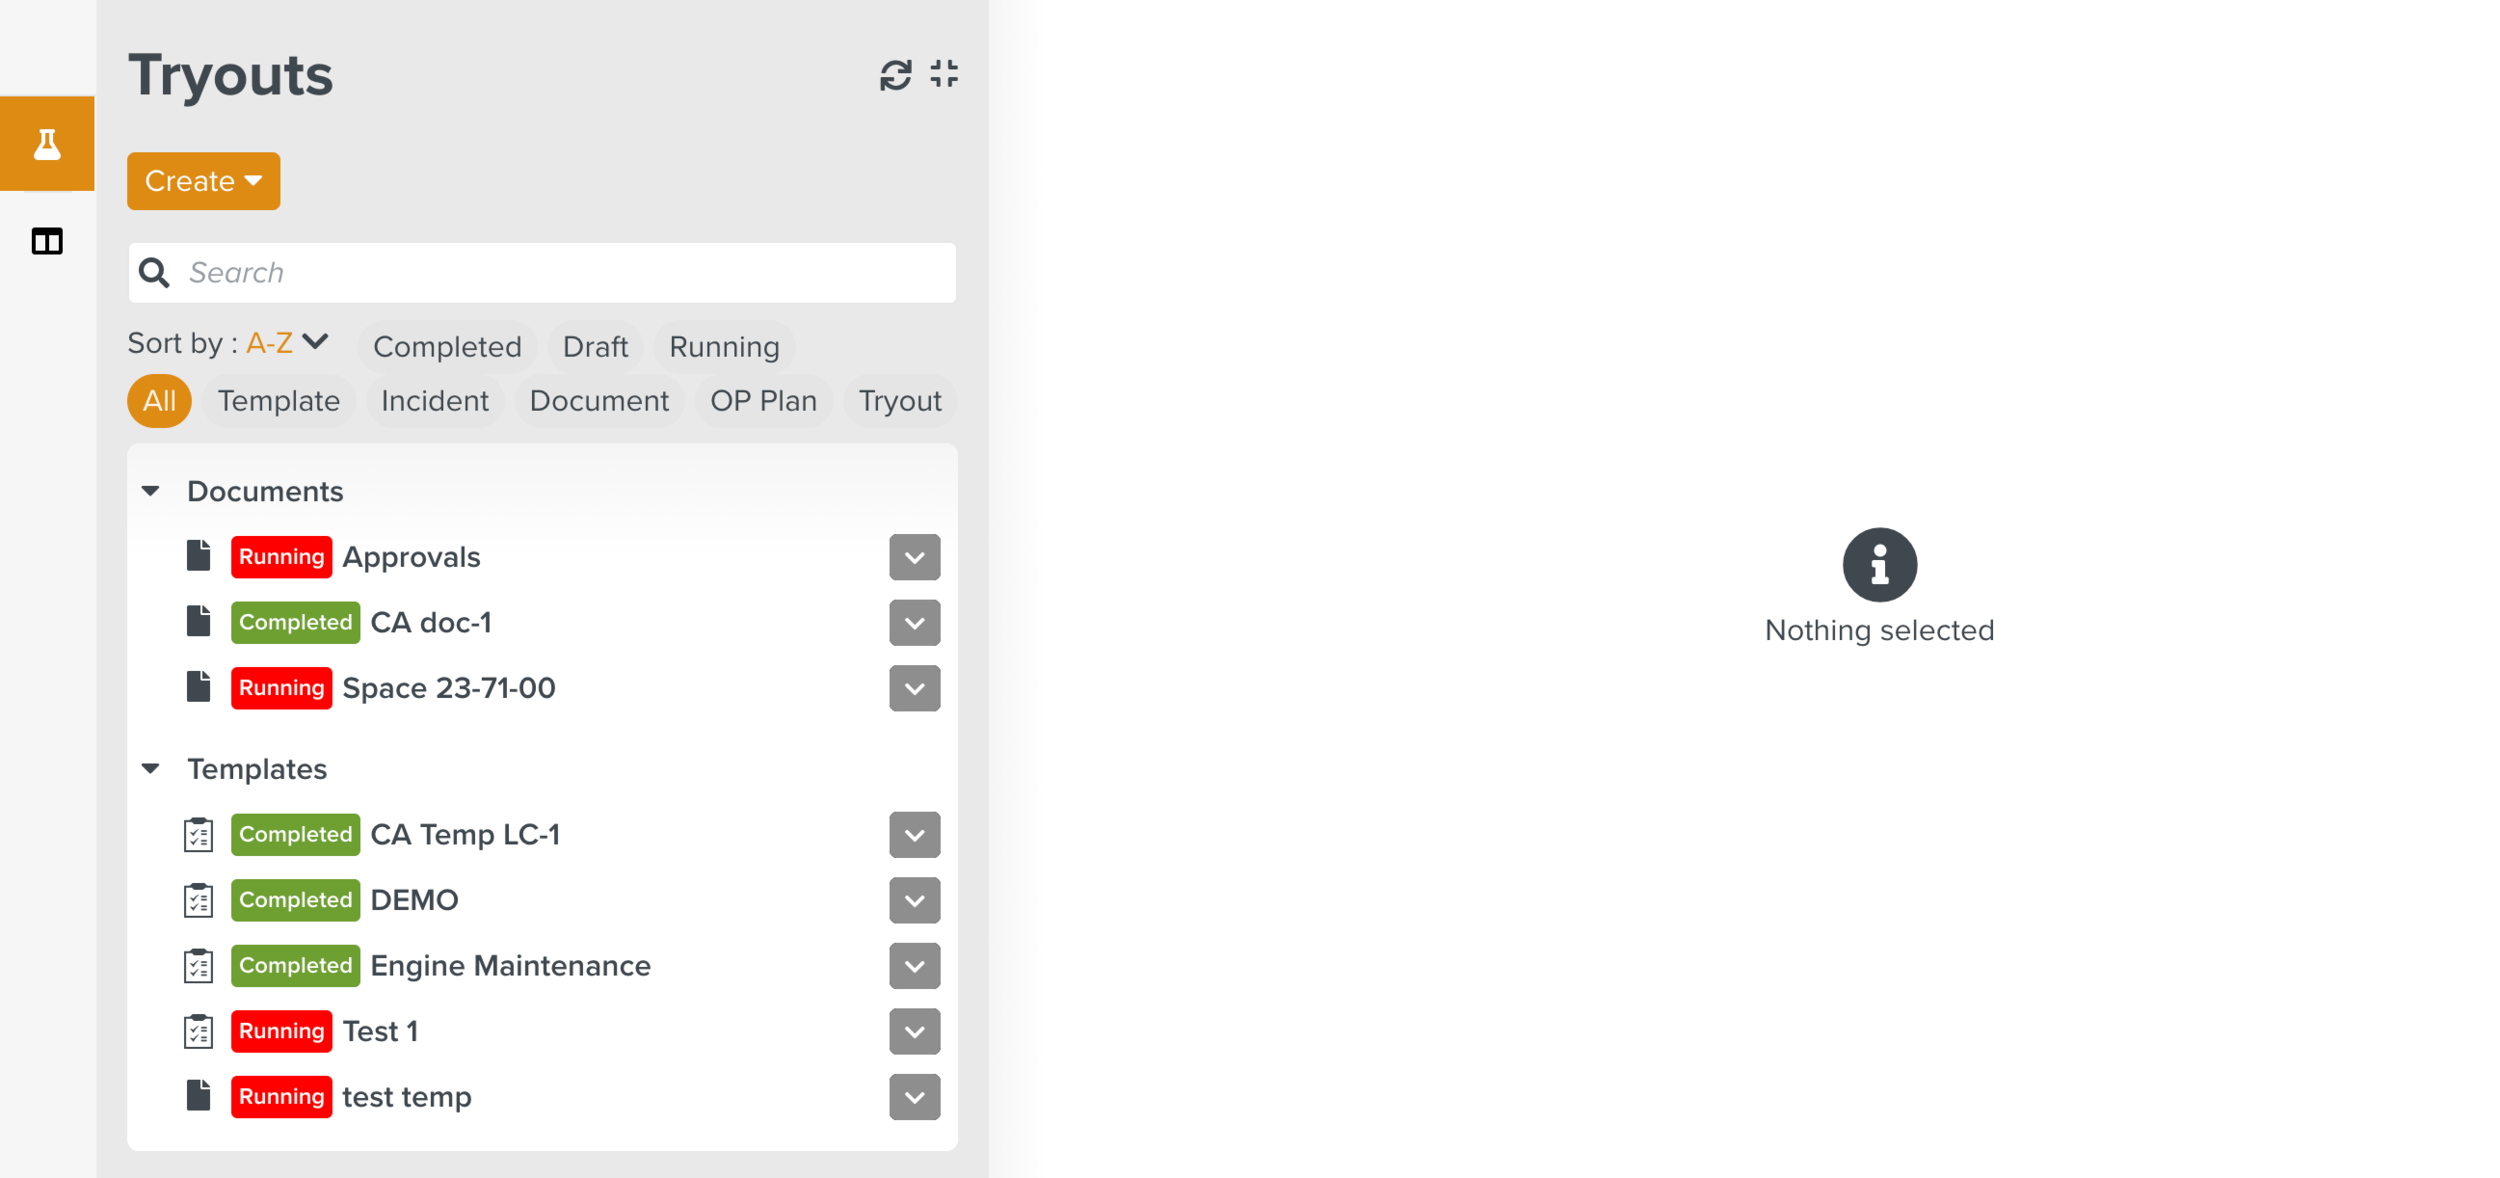
Click .
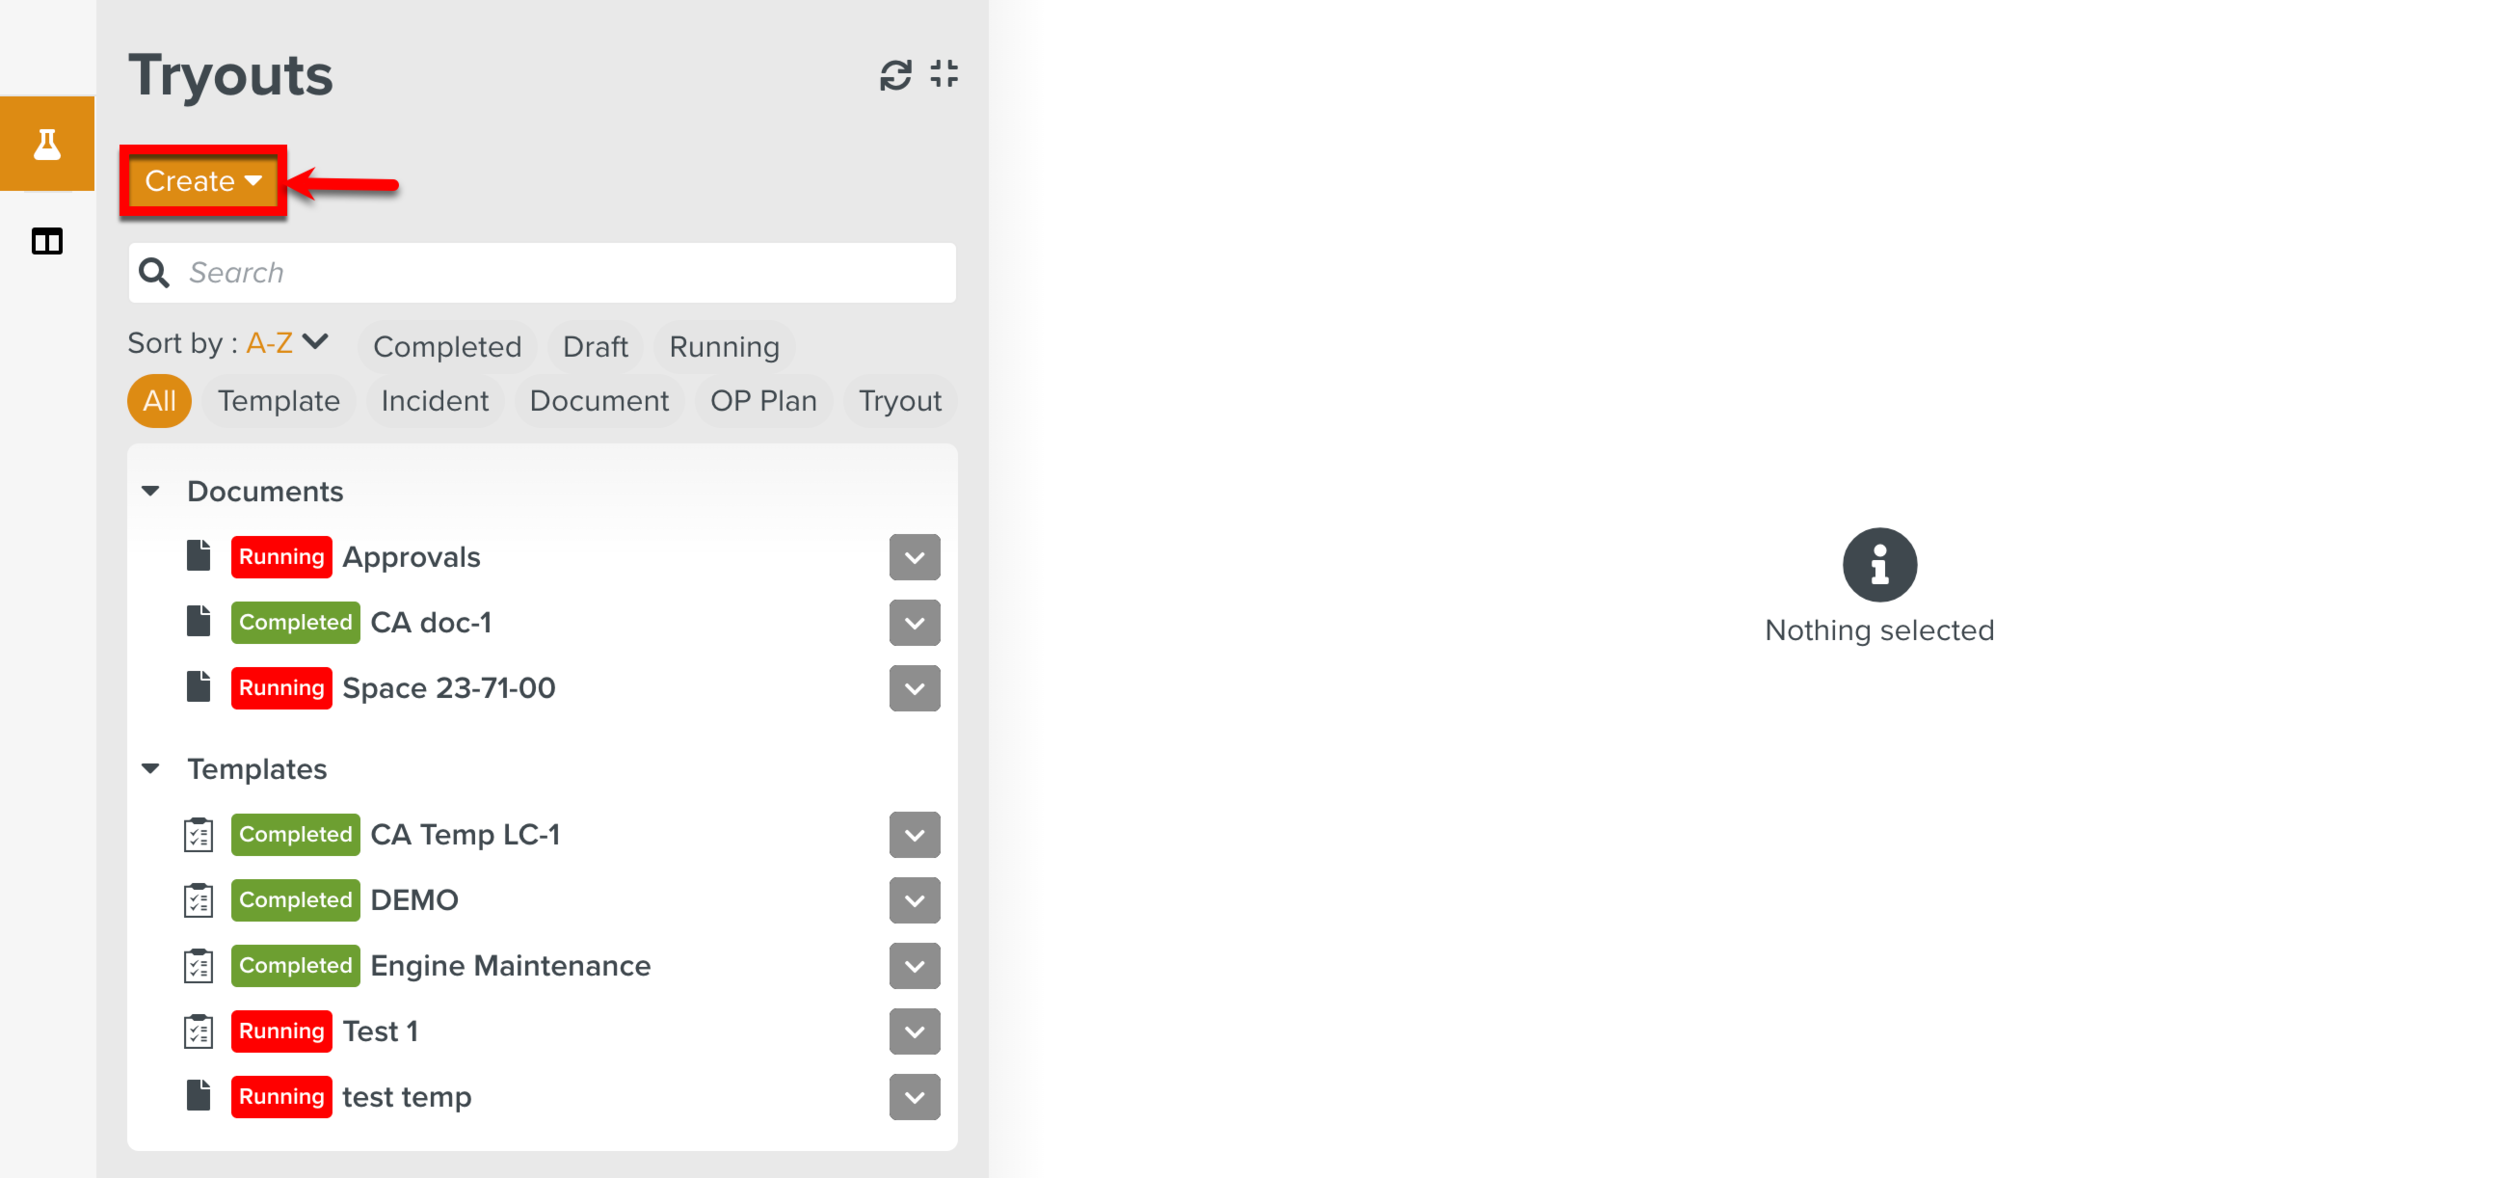
The page Create Tryout appears.
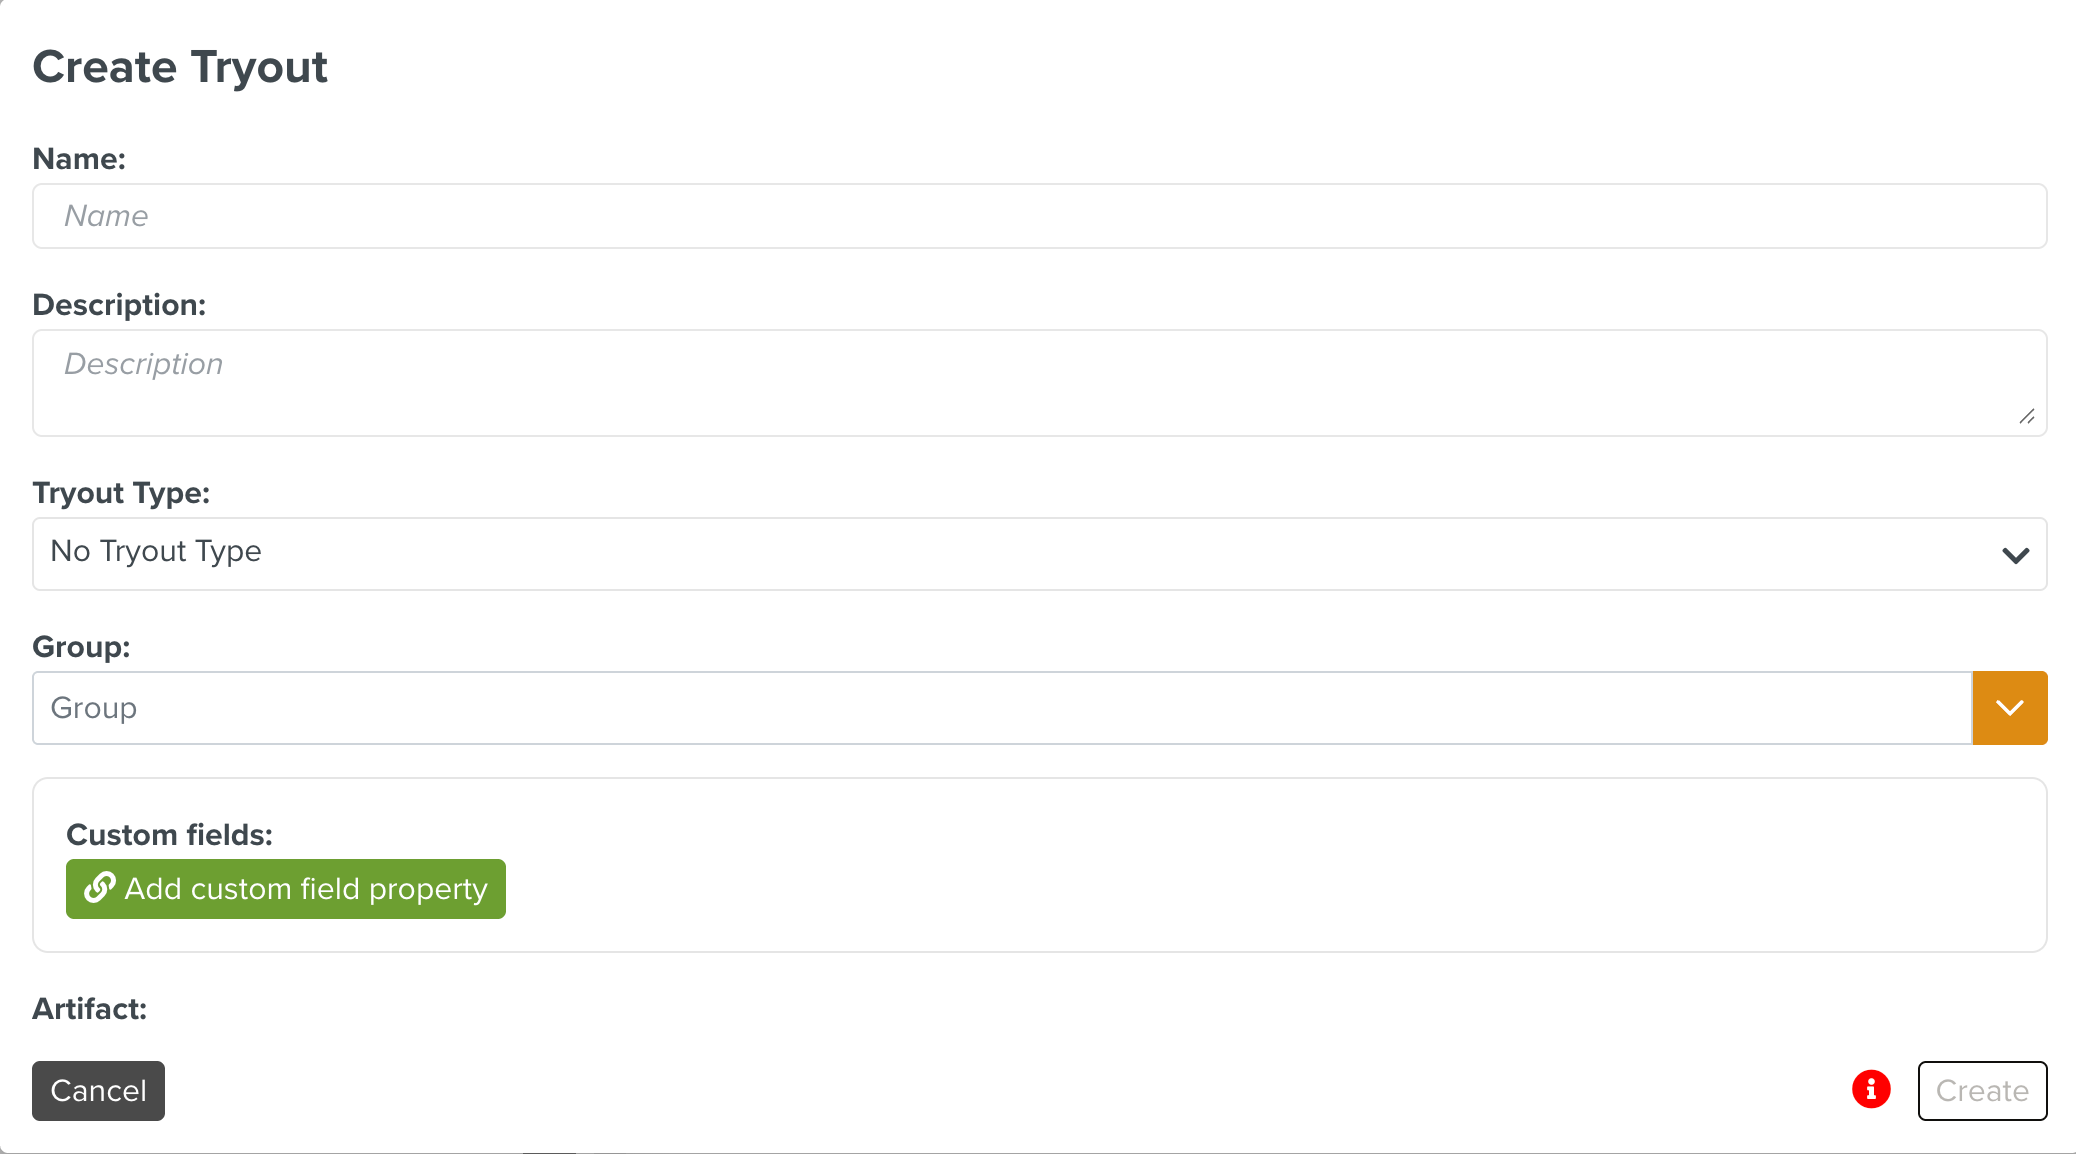
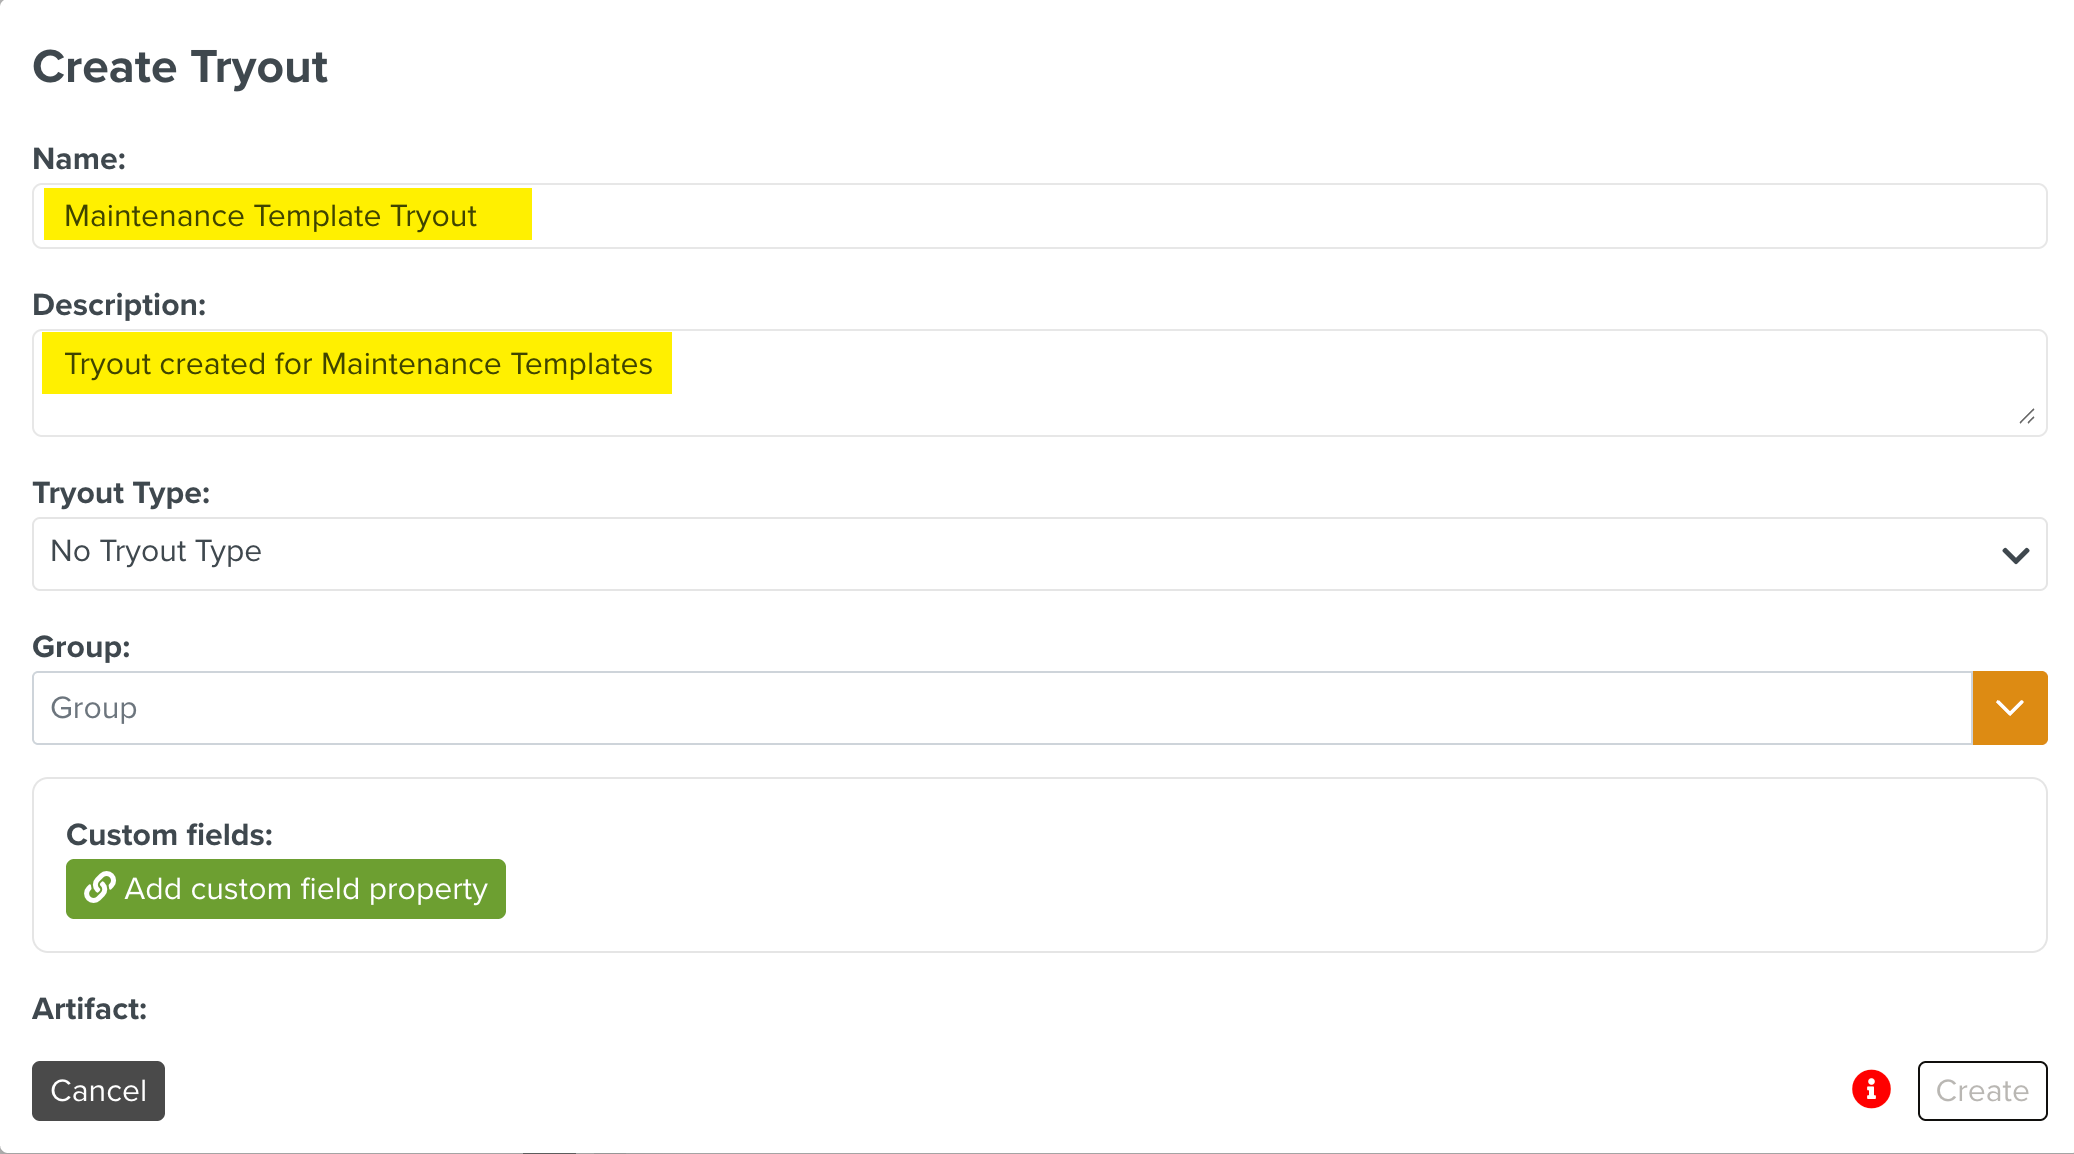
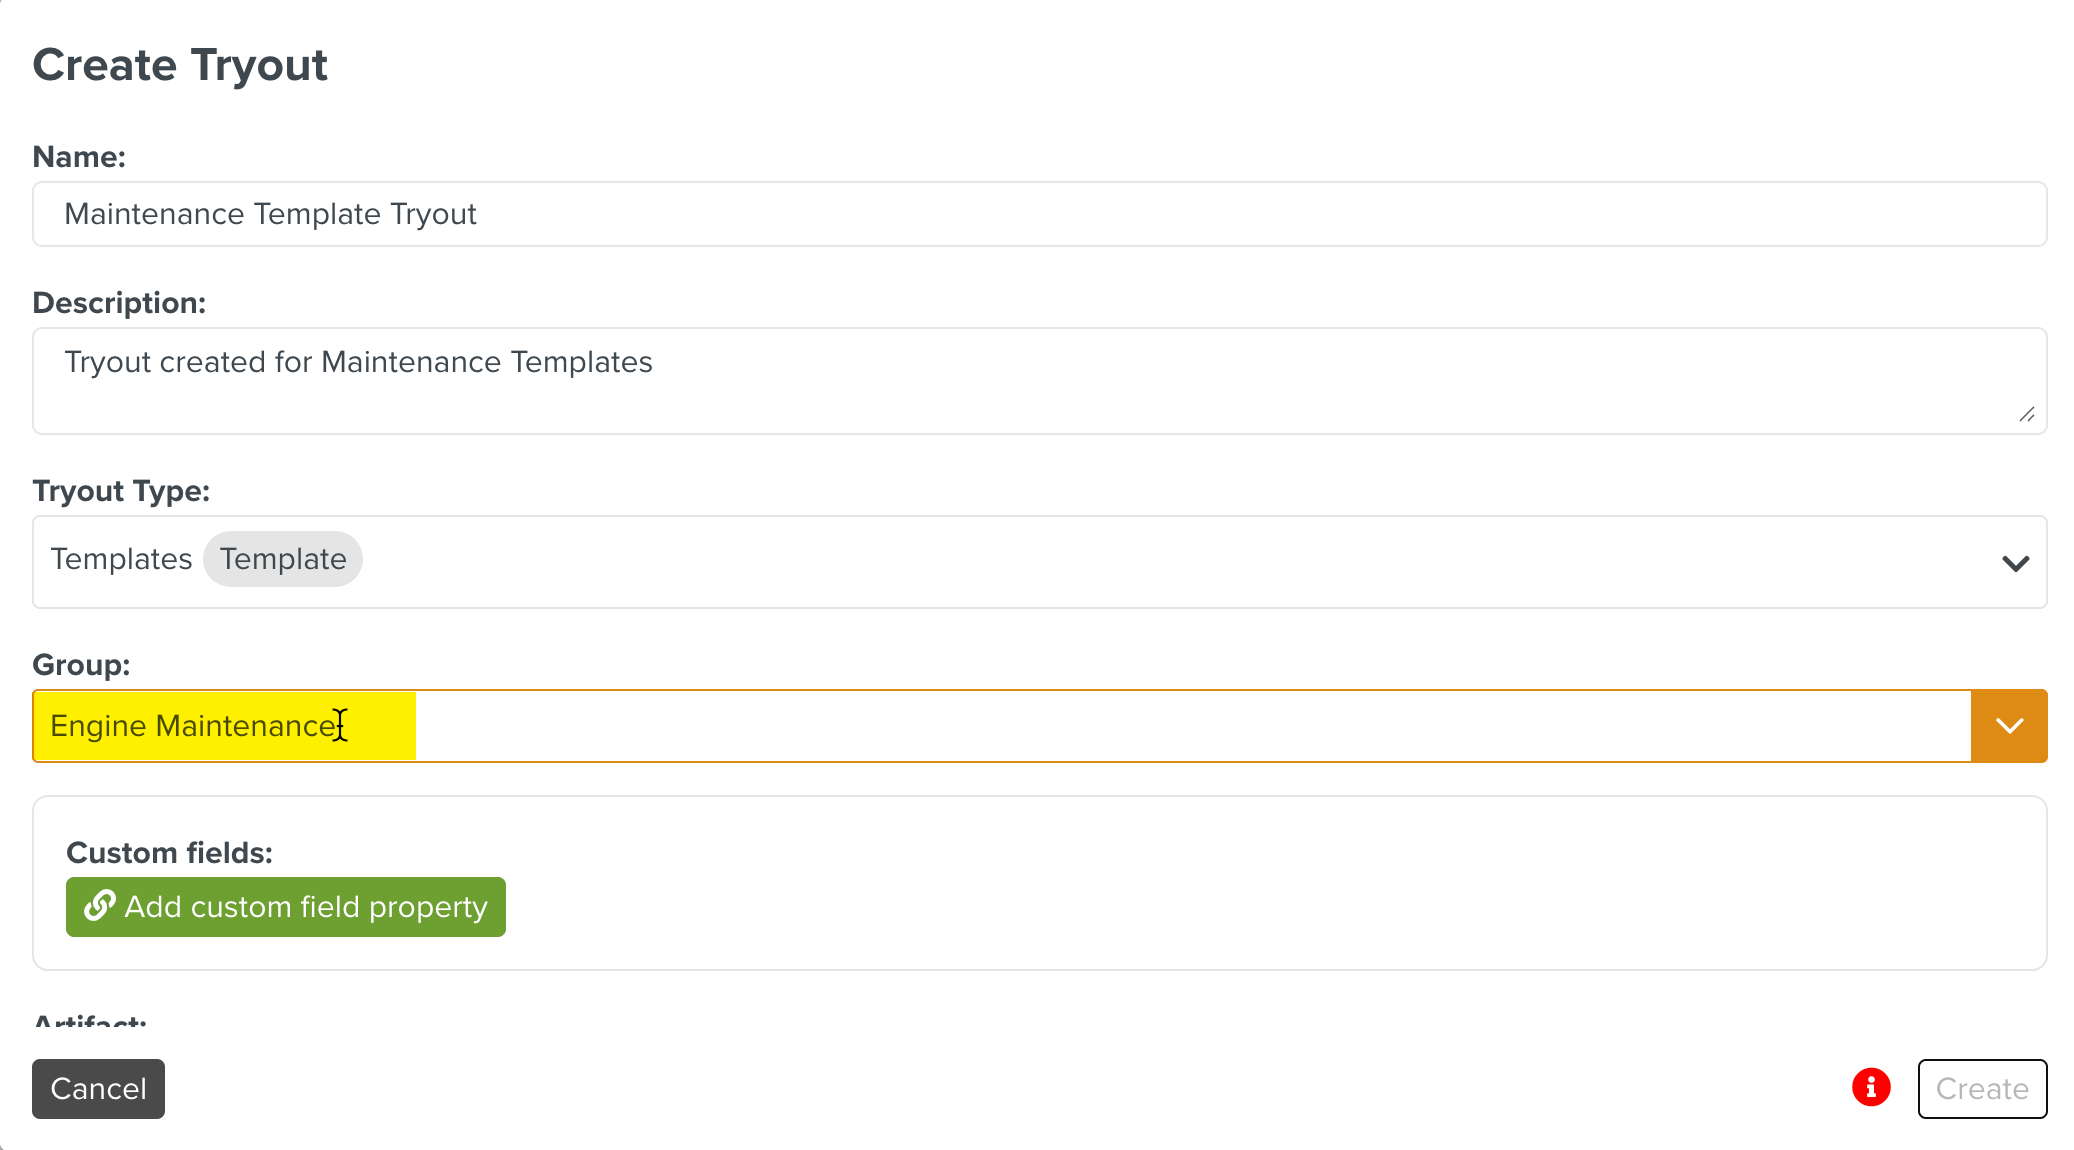
Enter the name and description.
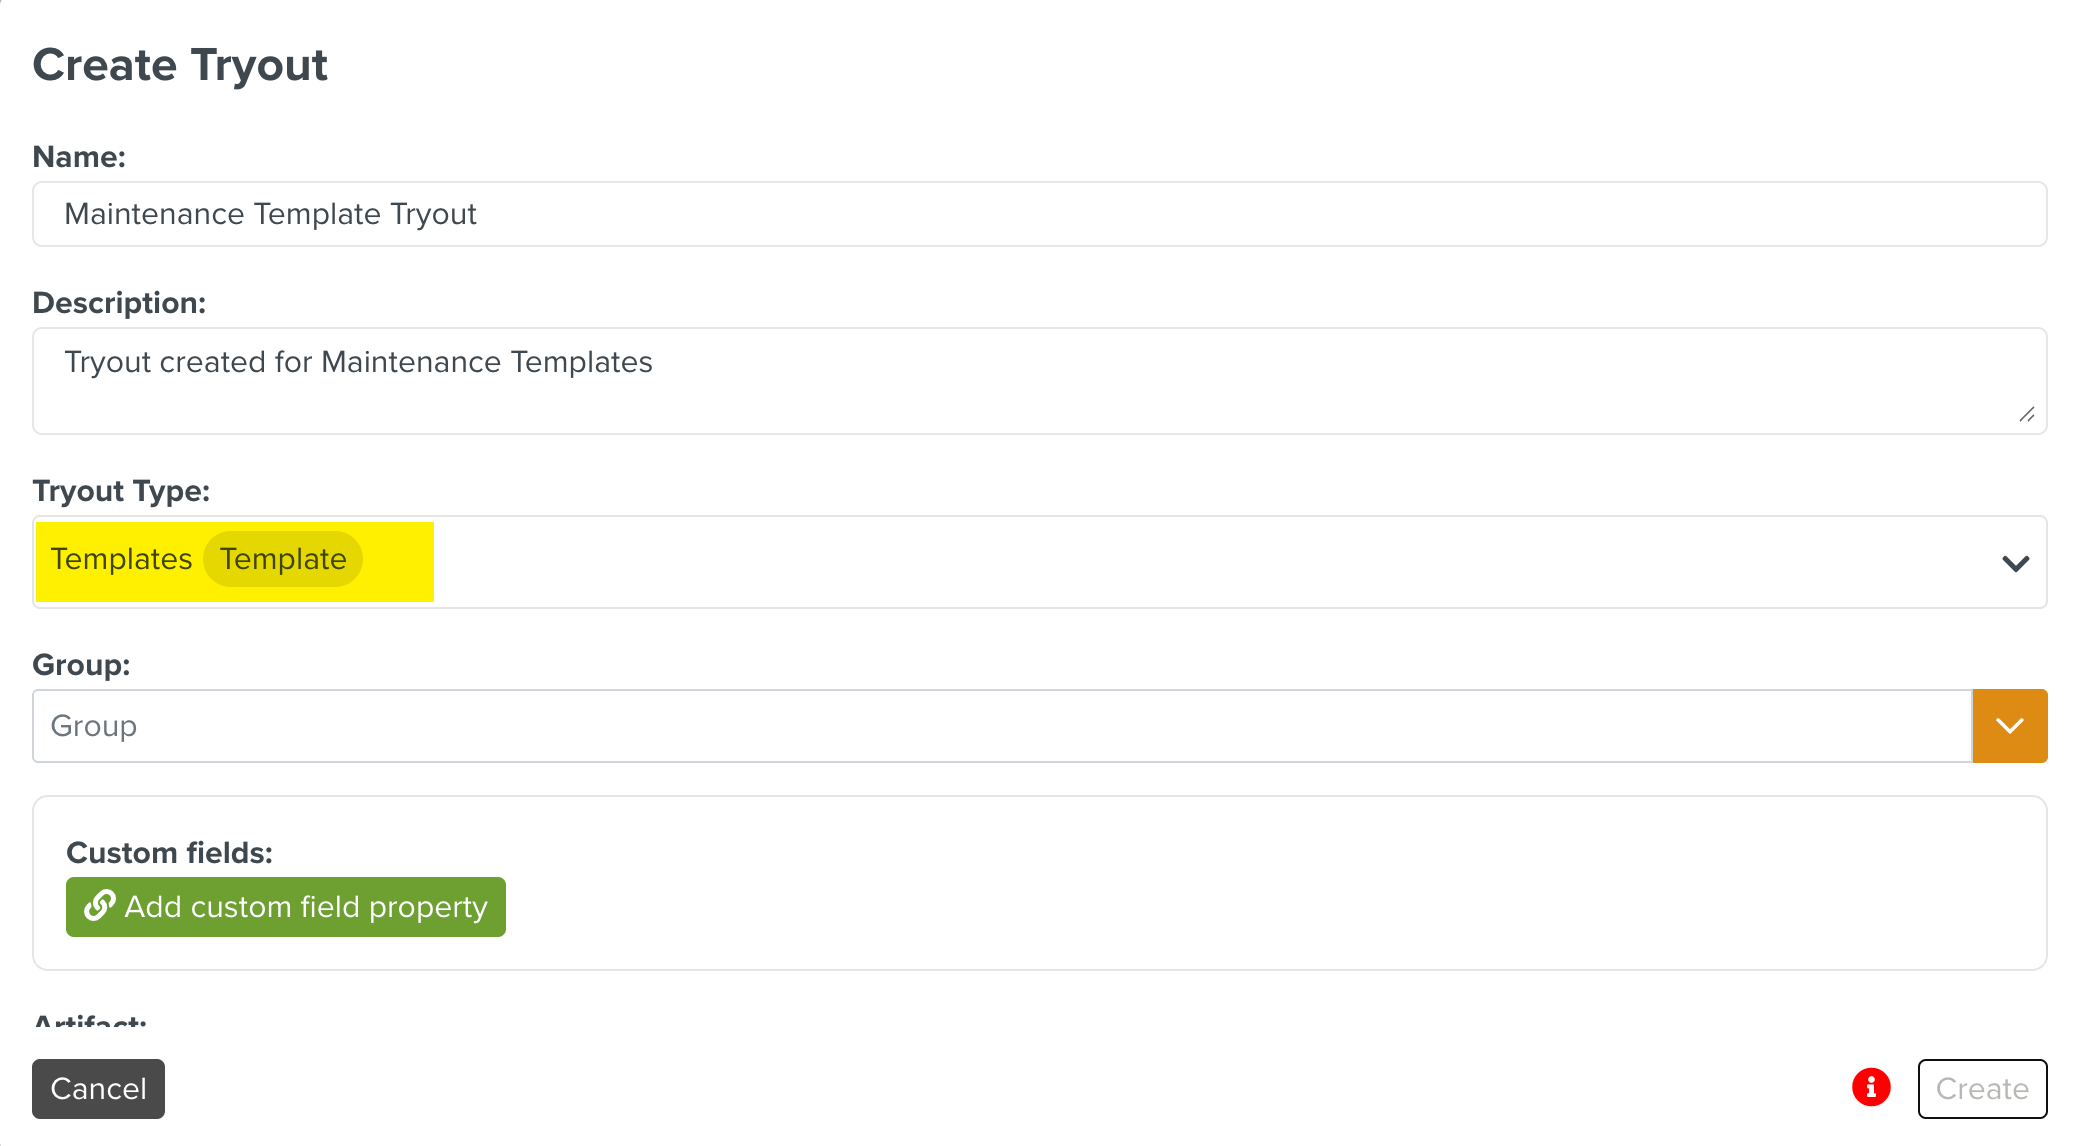
Select the Tryout Type.
Note
The Tryout Type associates the Tryout with an Artifact type.
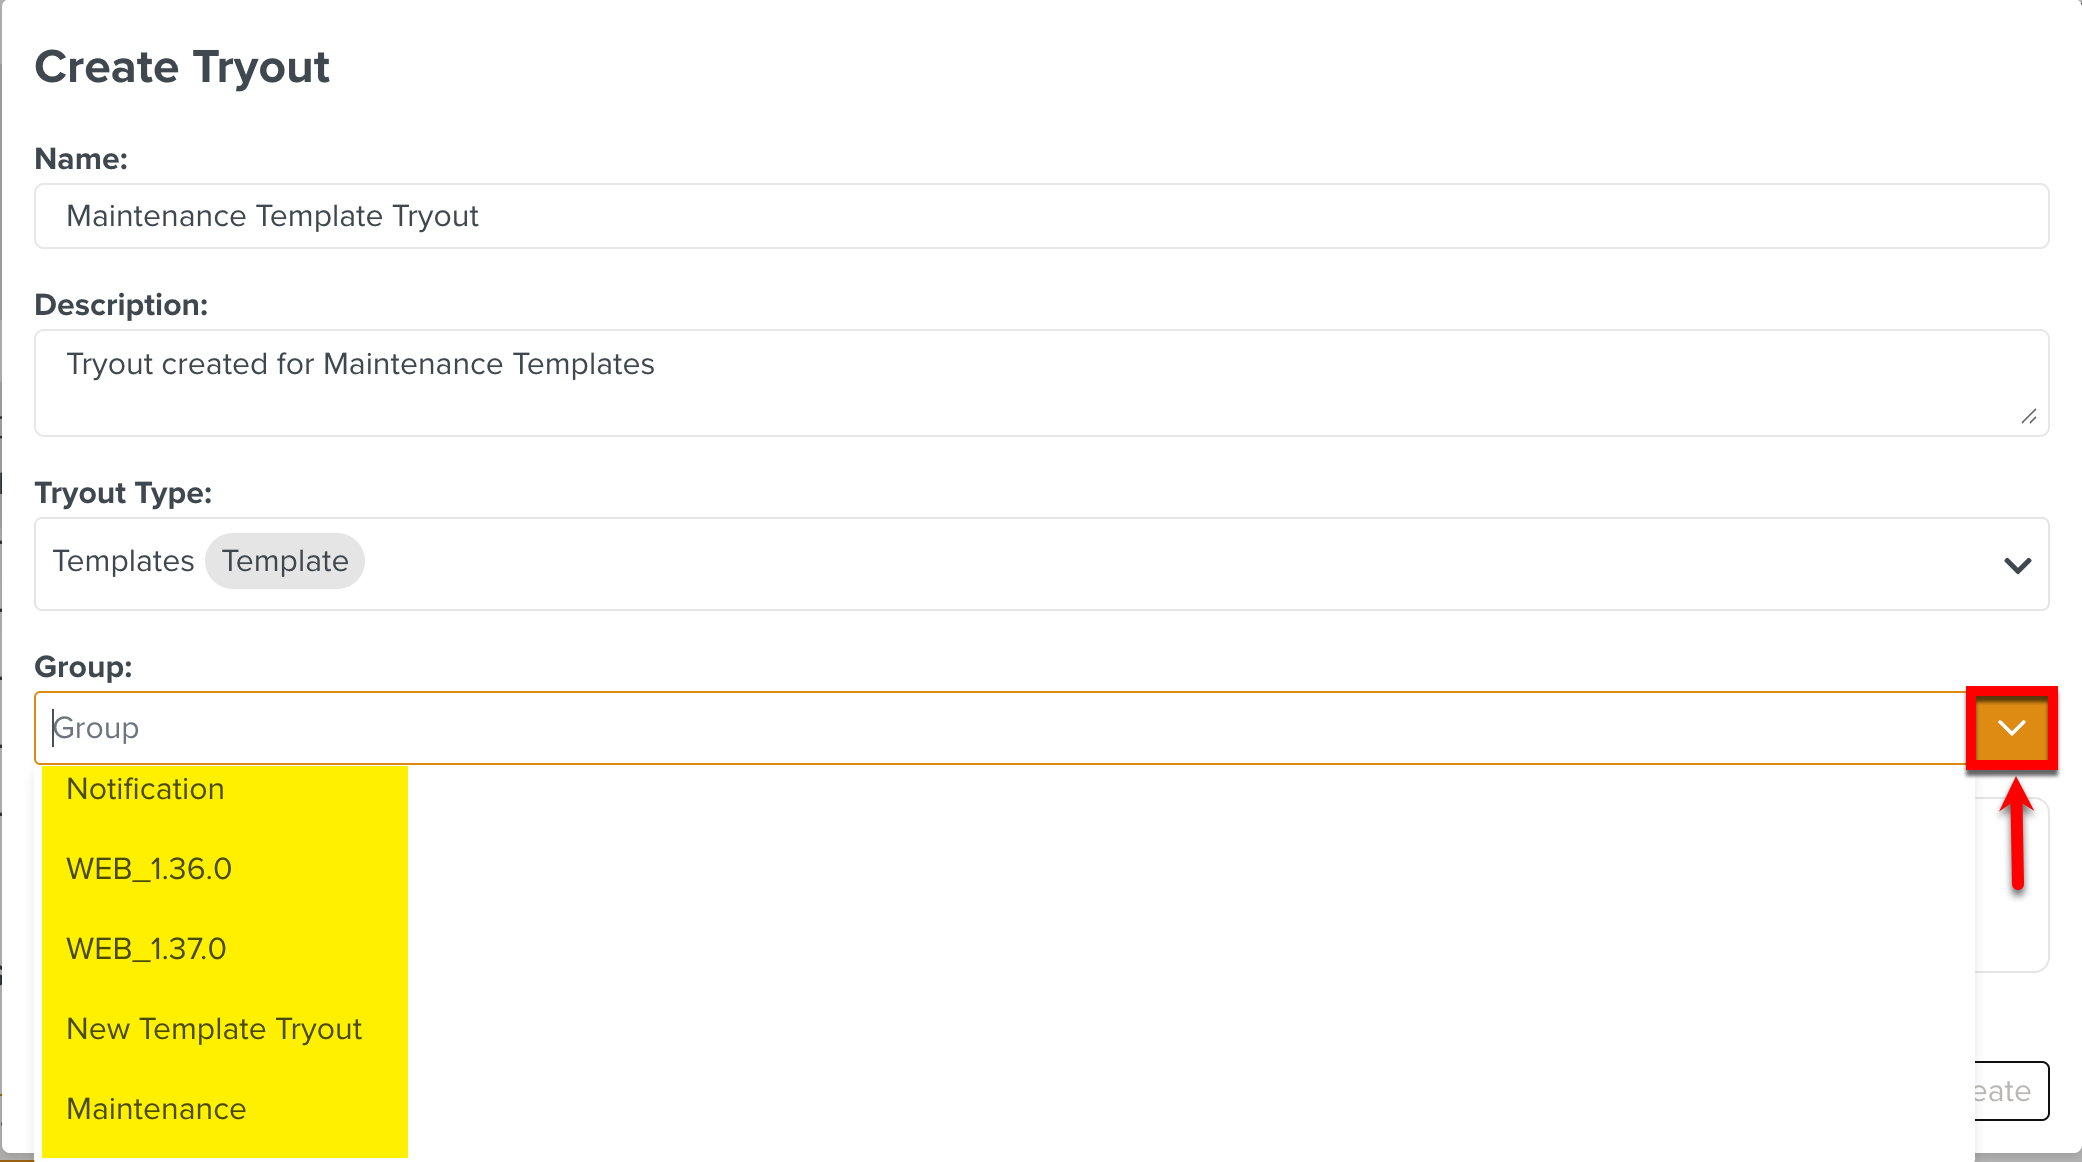
[Optional] Select an existing Group by expanding the dropdown. If required you can create a new Group by entering the Group name as shown below.
The Group is used to logically group related Tryouts.
Note
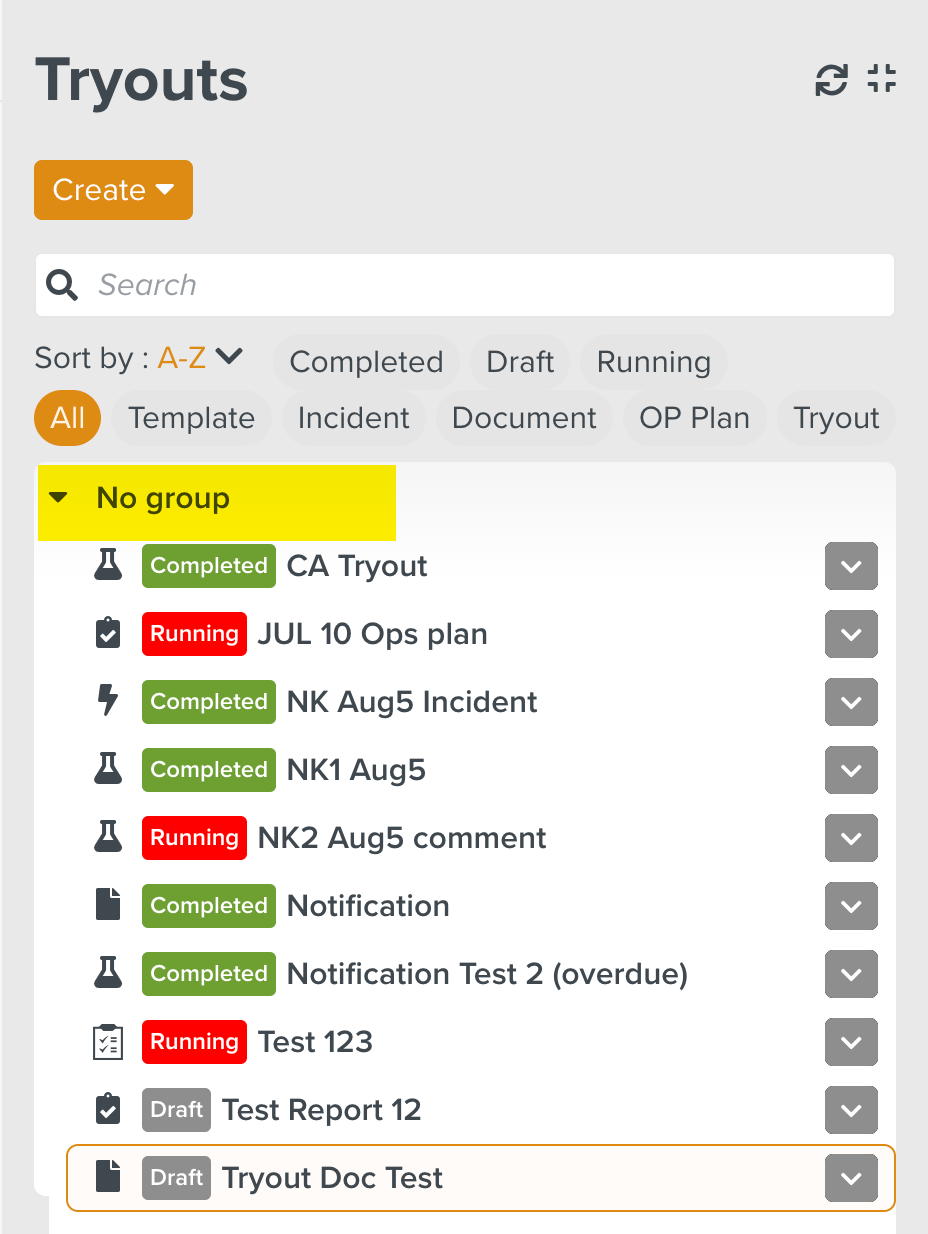
If a Group is not selected, the Tryout is added under the No group category as shown below.
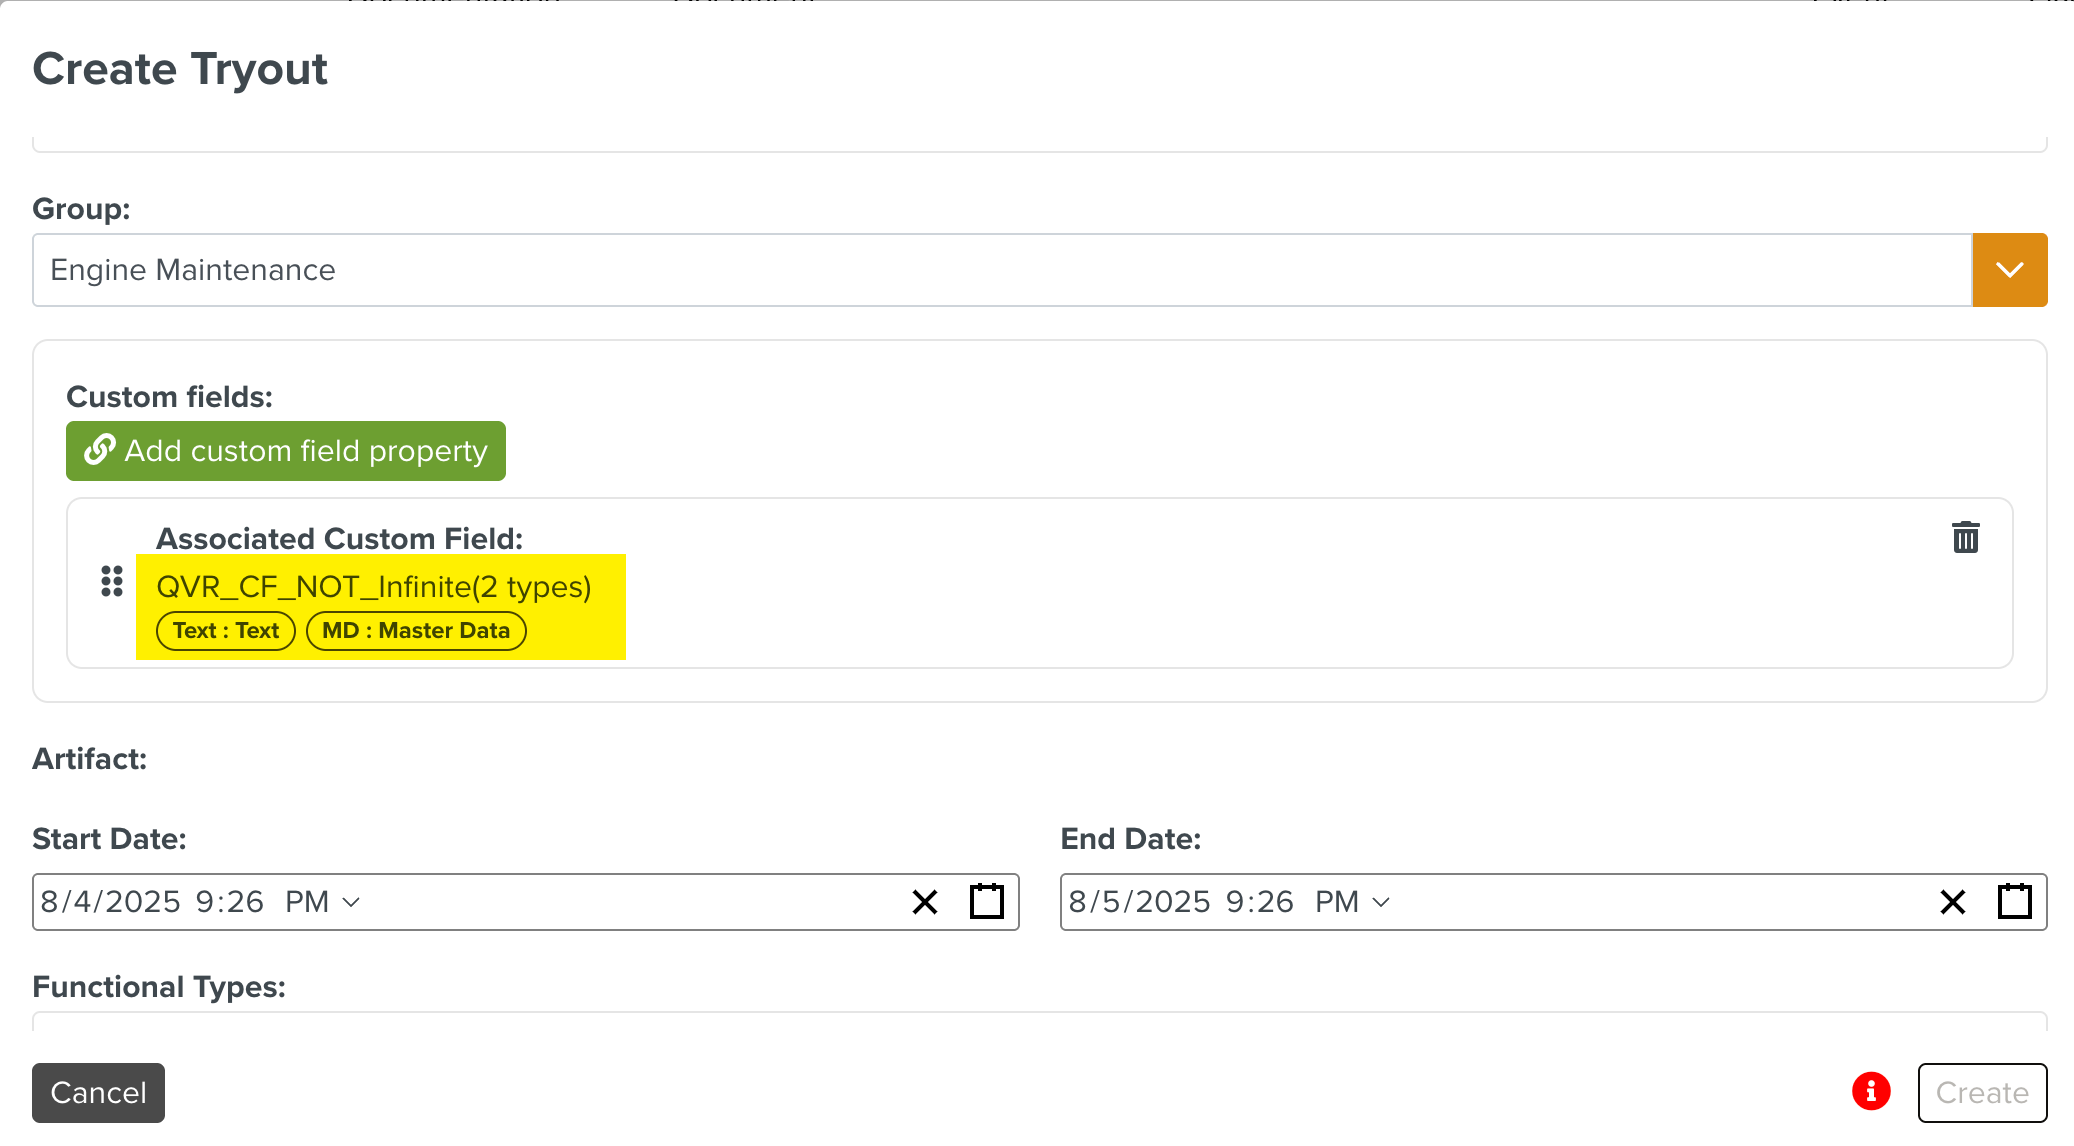
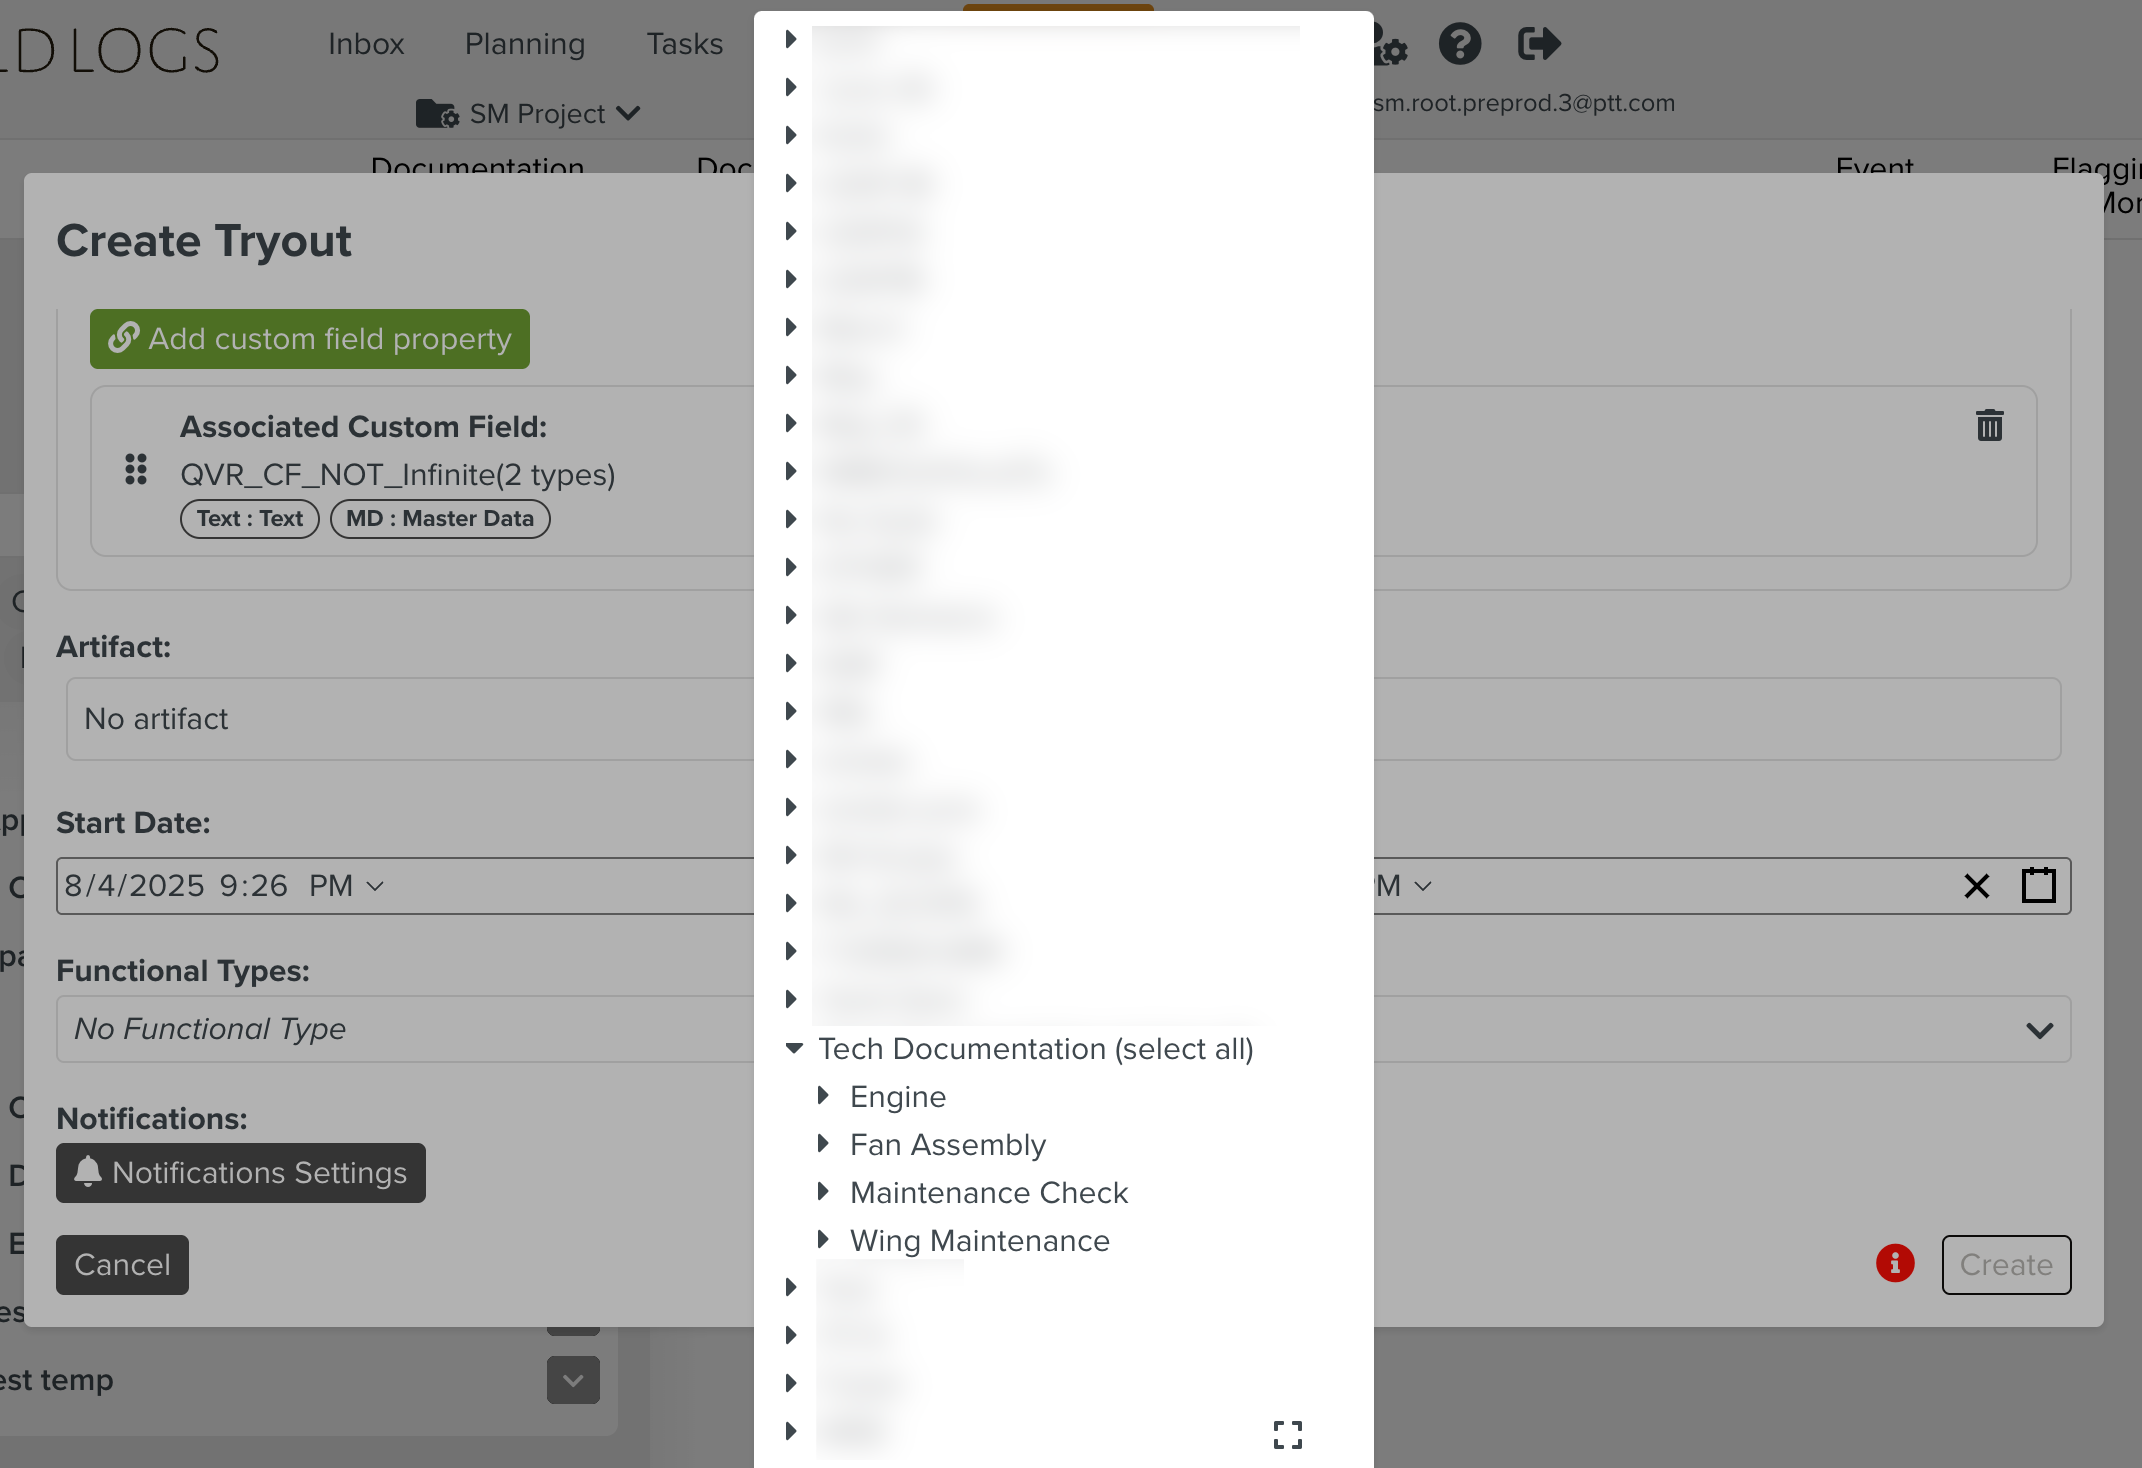
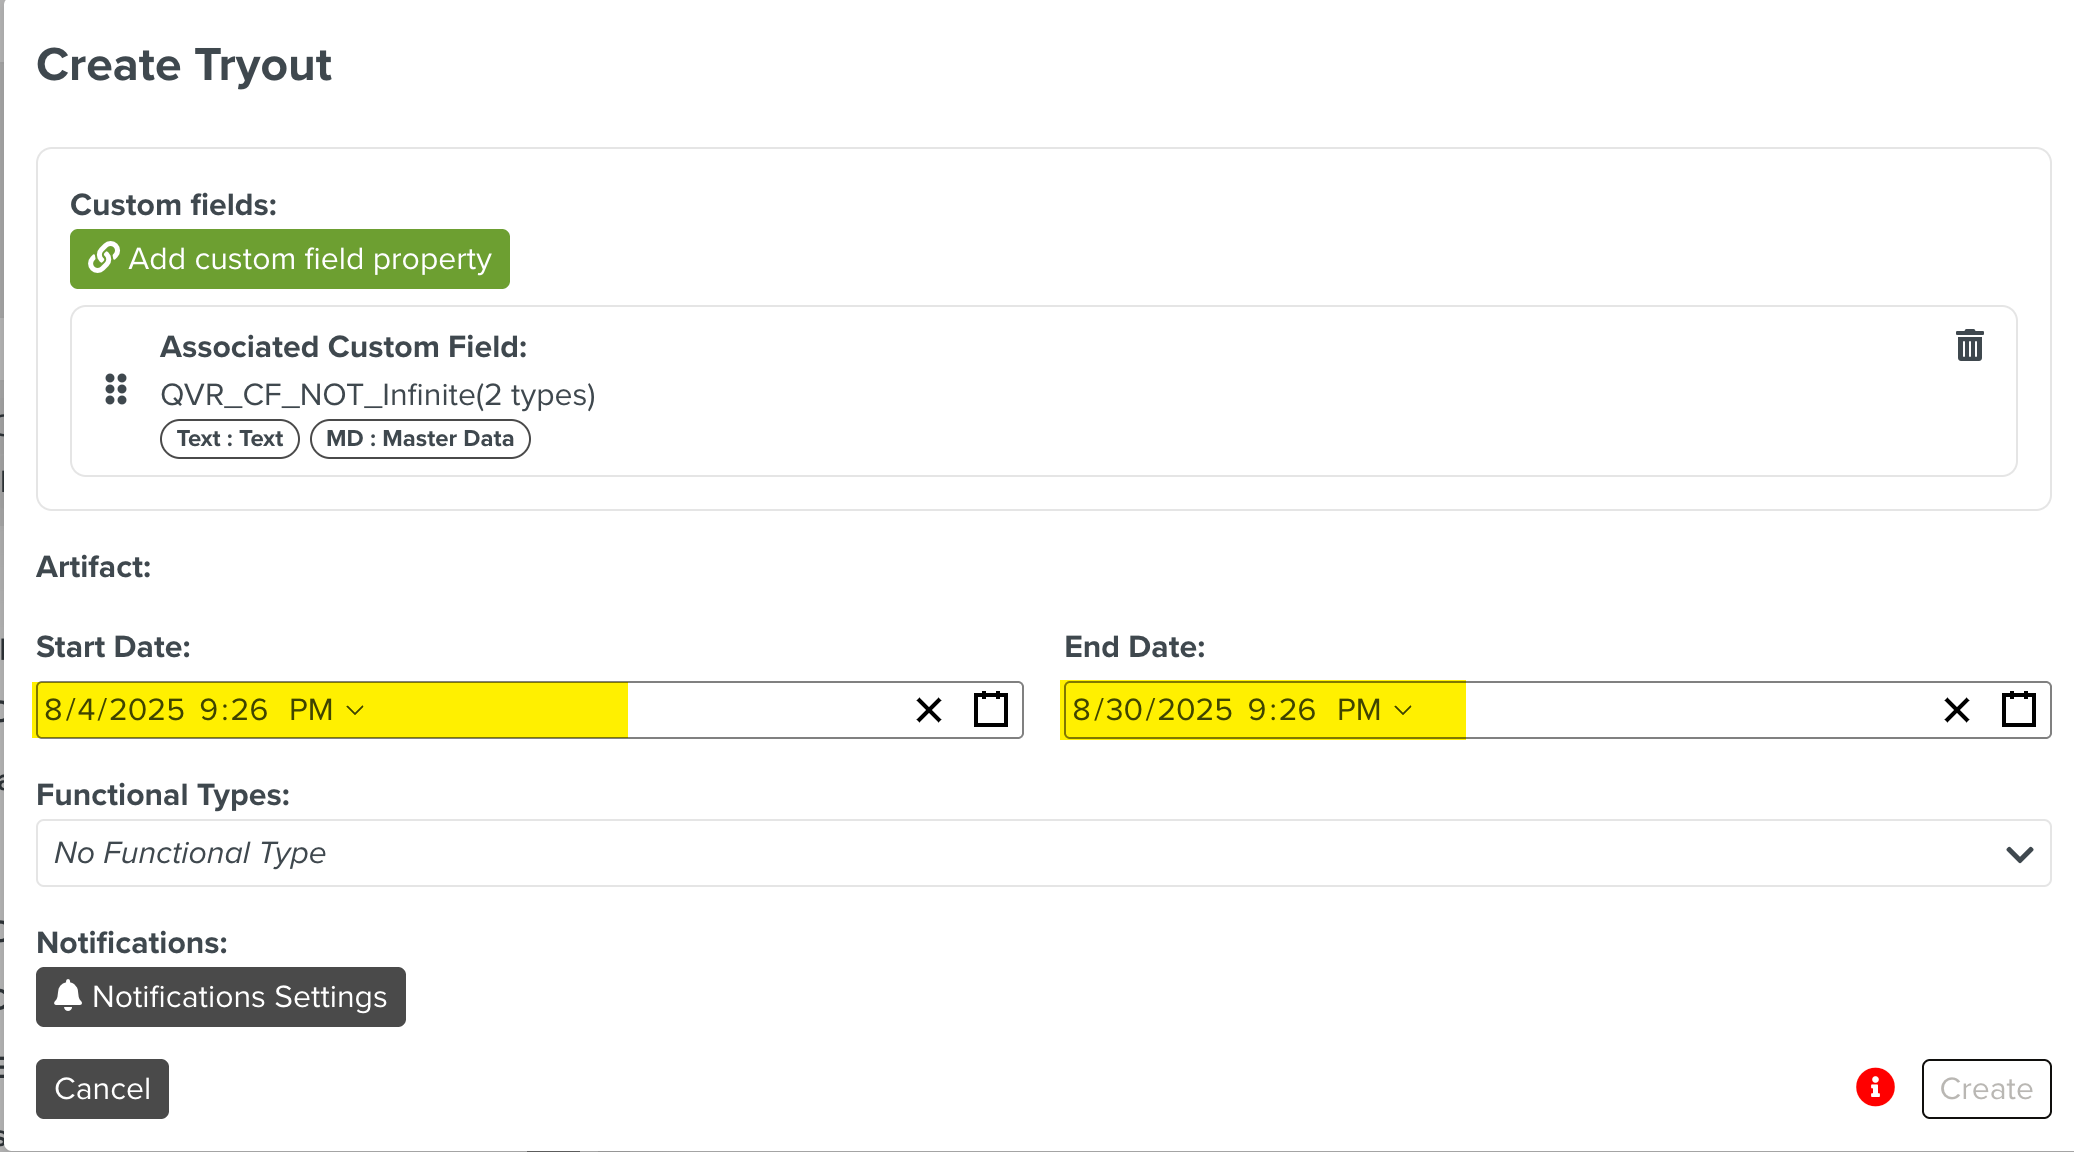
[Optional] Add Custom Fields.
Select an Artifact. The Artifacts vary based on the Tryout Type selected. Artifacts could be one of the following:
Templates
Incidents
Documents
Operation Plans
Tryouts
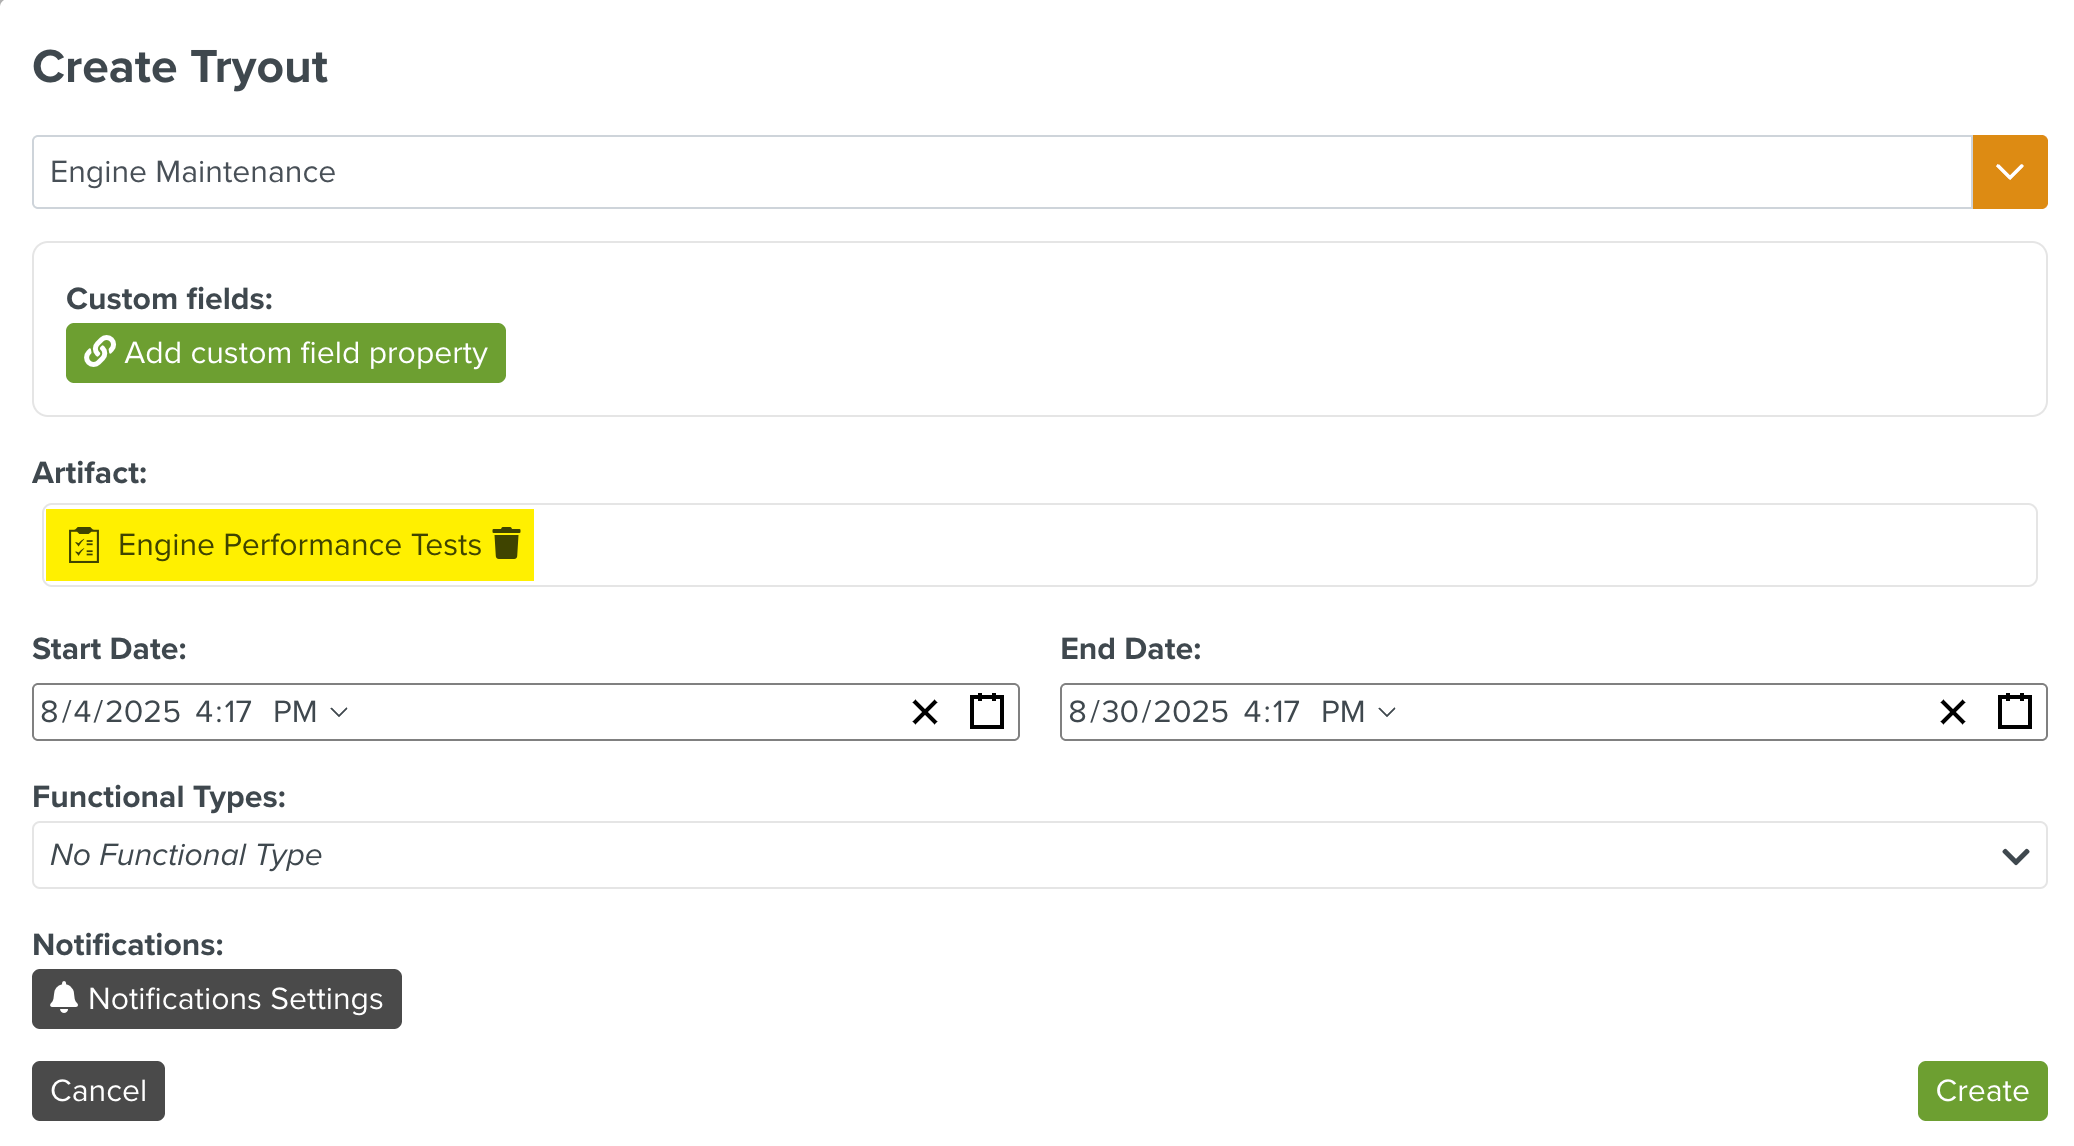
In the above example, the Artifact is a Template, as the selected Tryout Type is linked to Template.
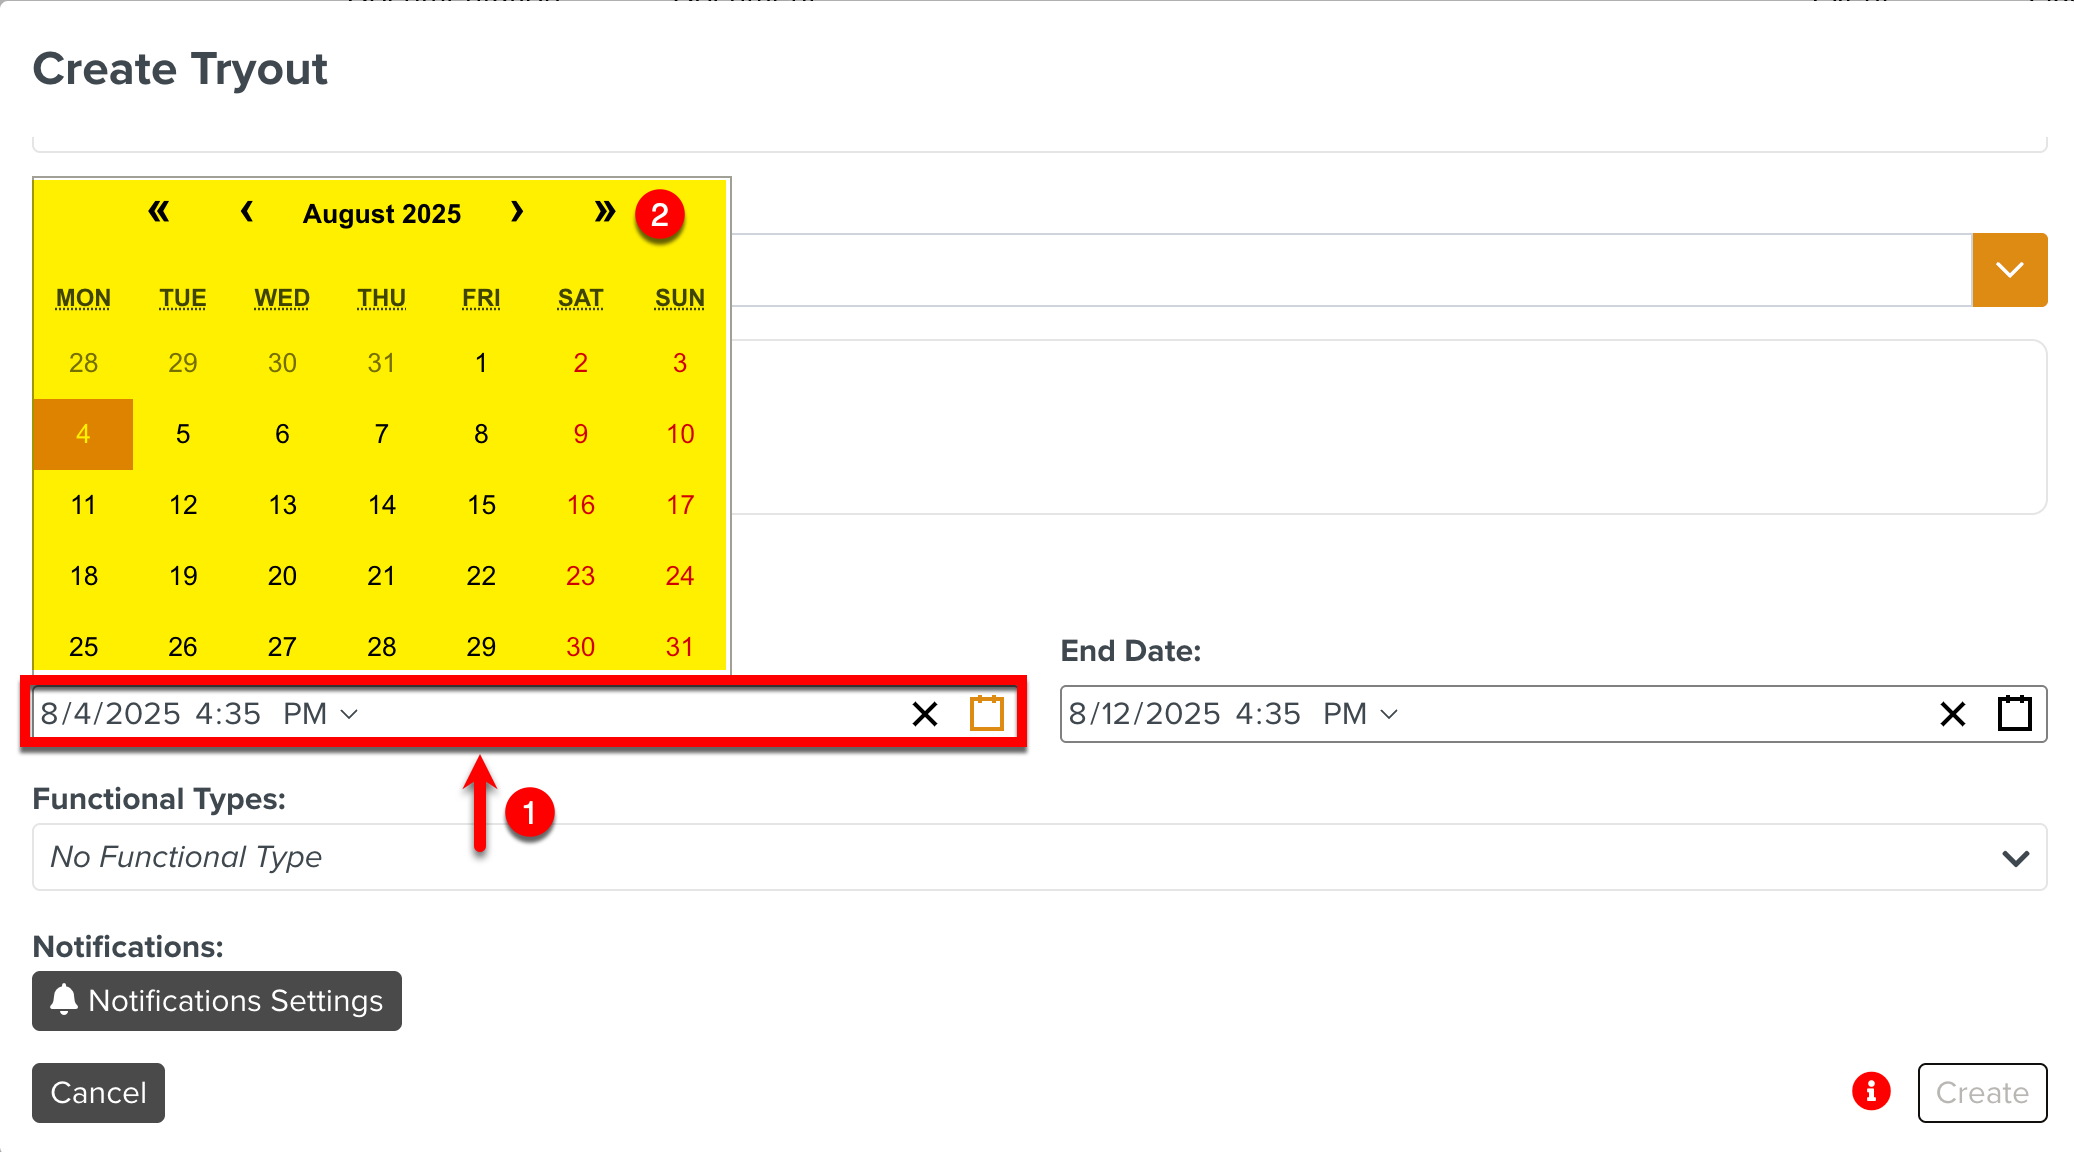
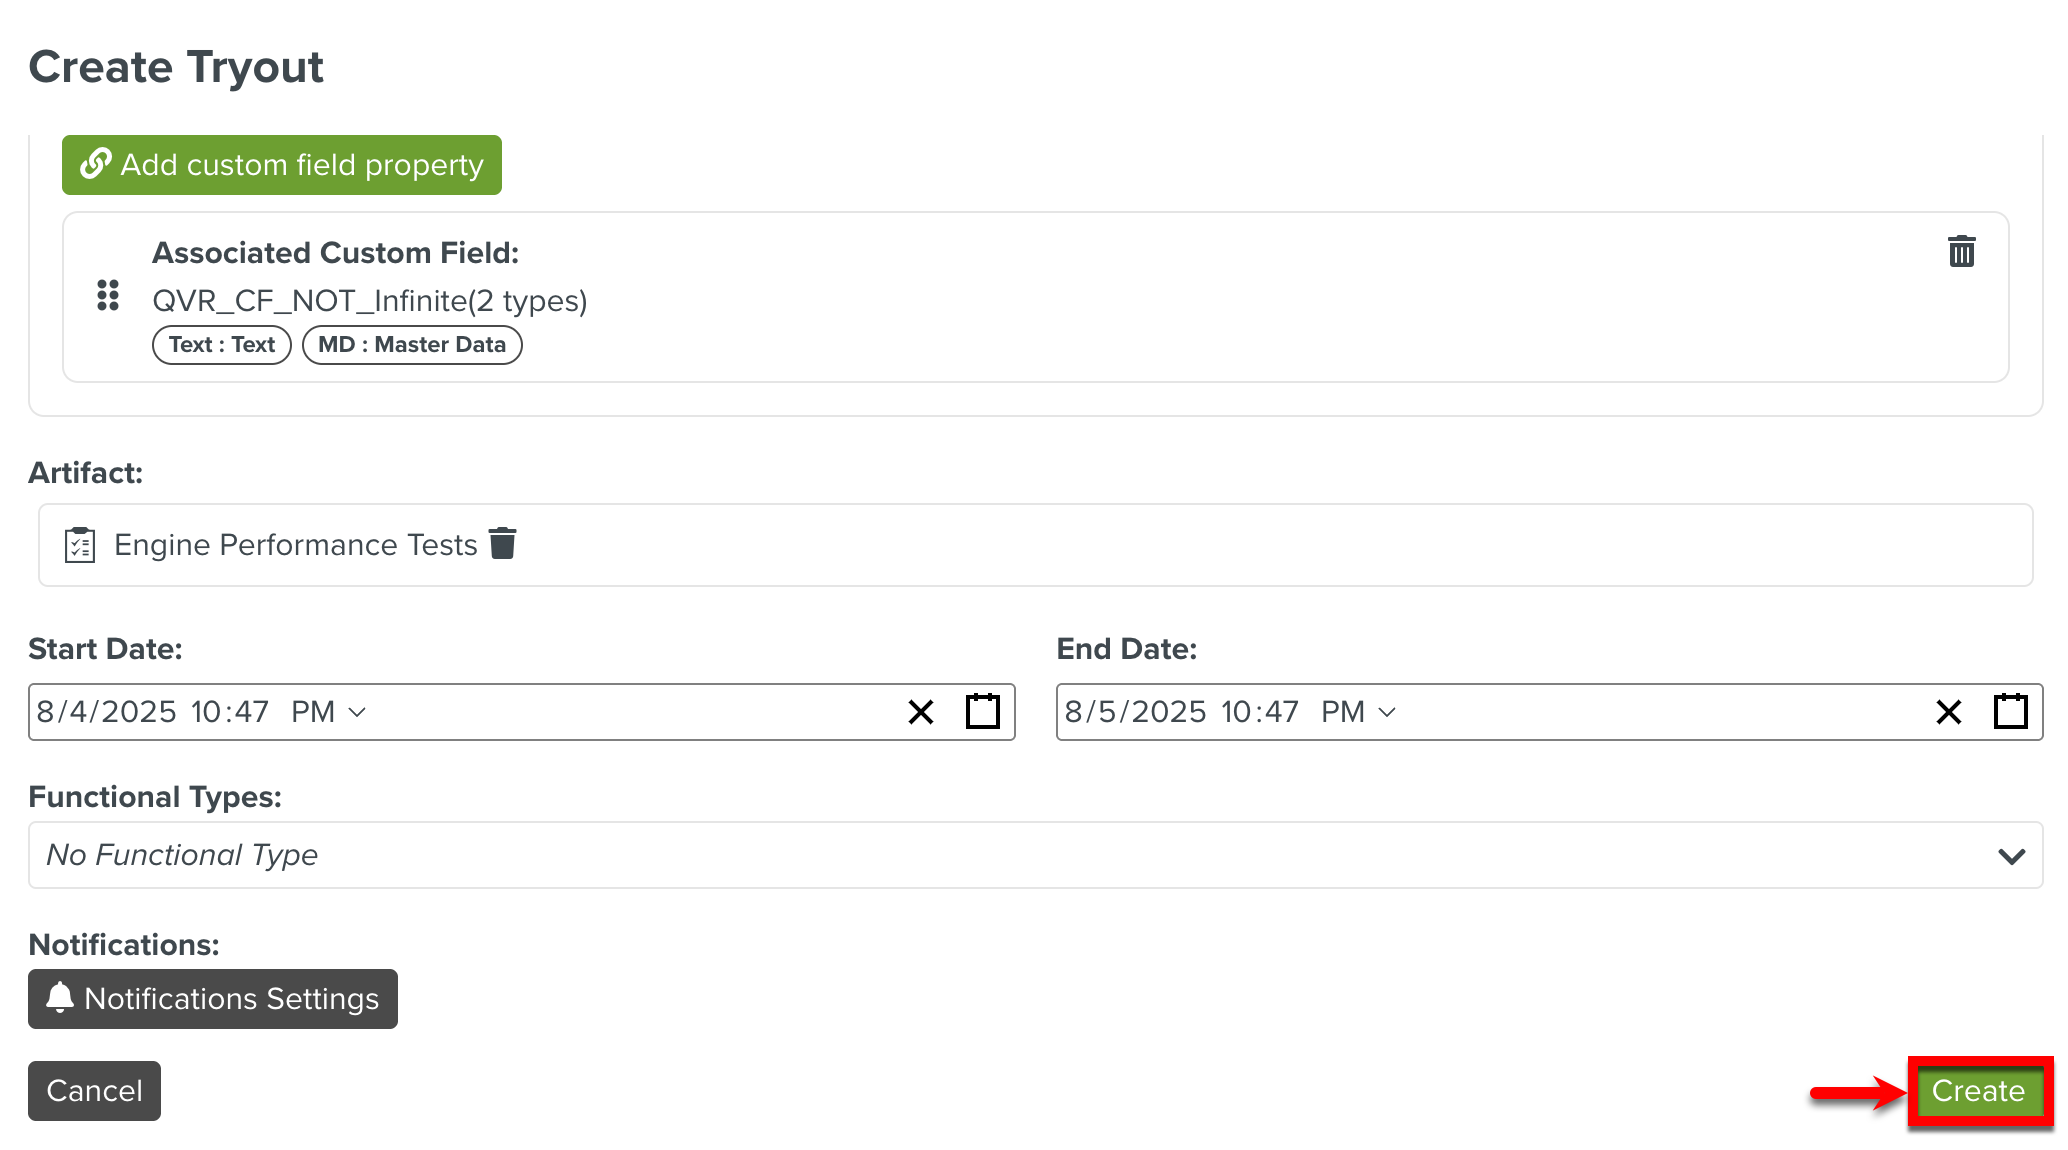
Select the Start Date and End Date as shown below.
[Optional] Select the required Functional Types.
[Optional] Click the button to activate notifications.
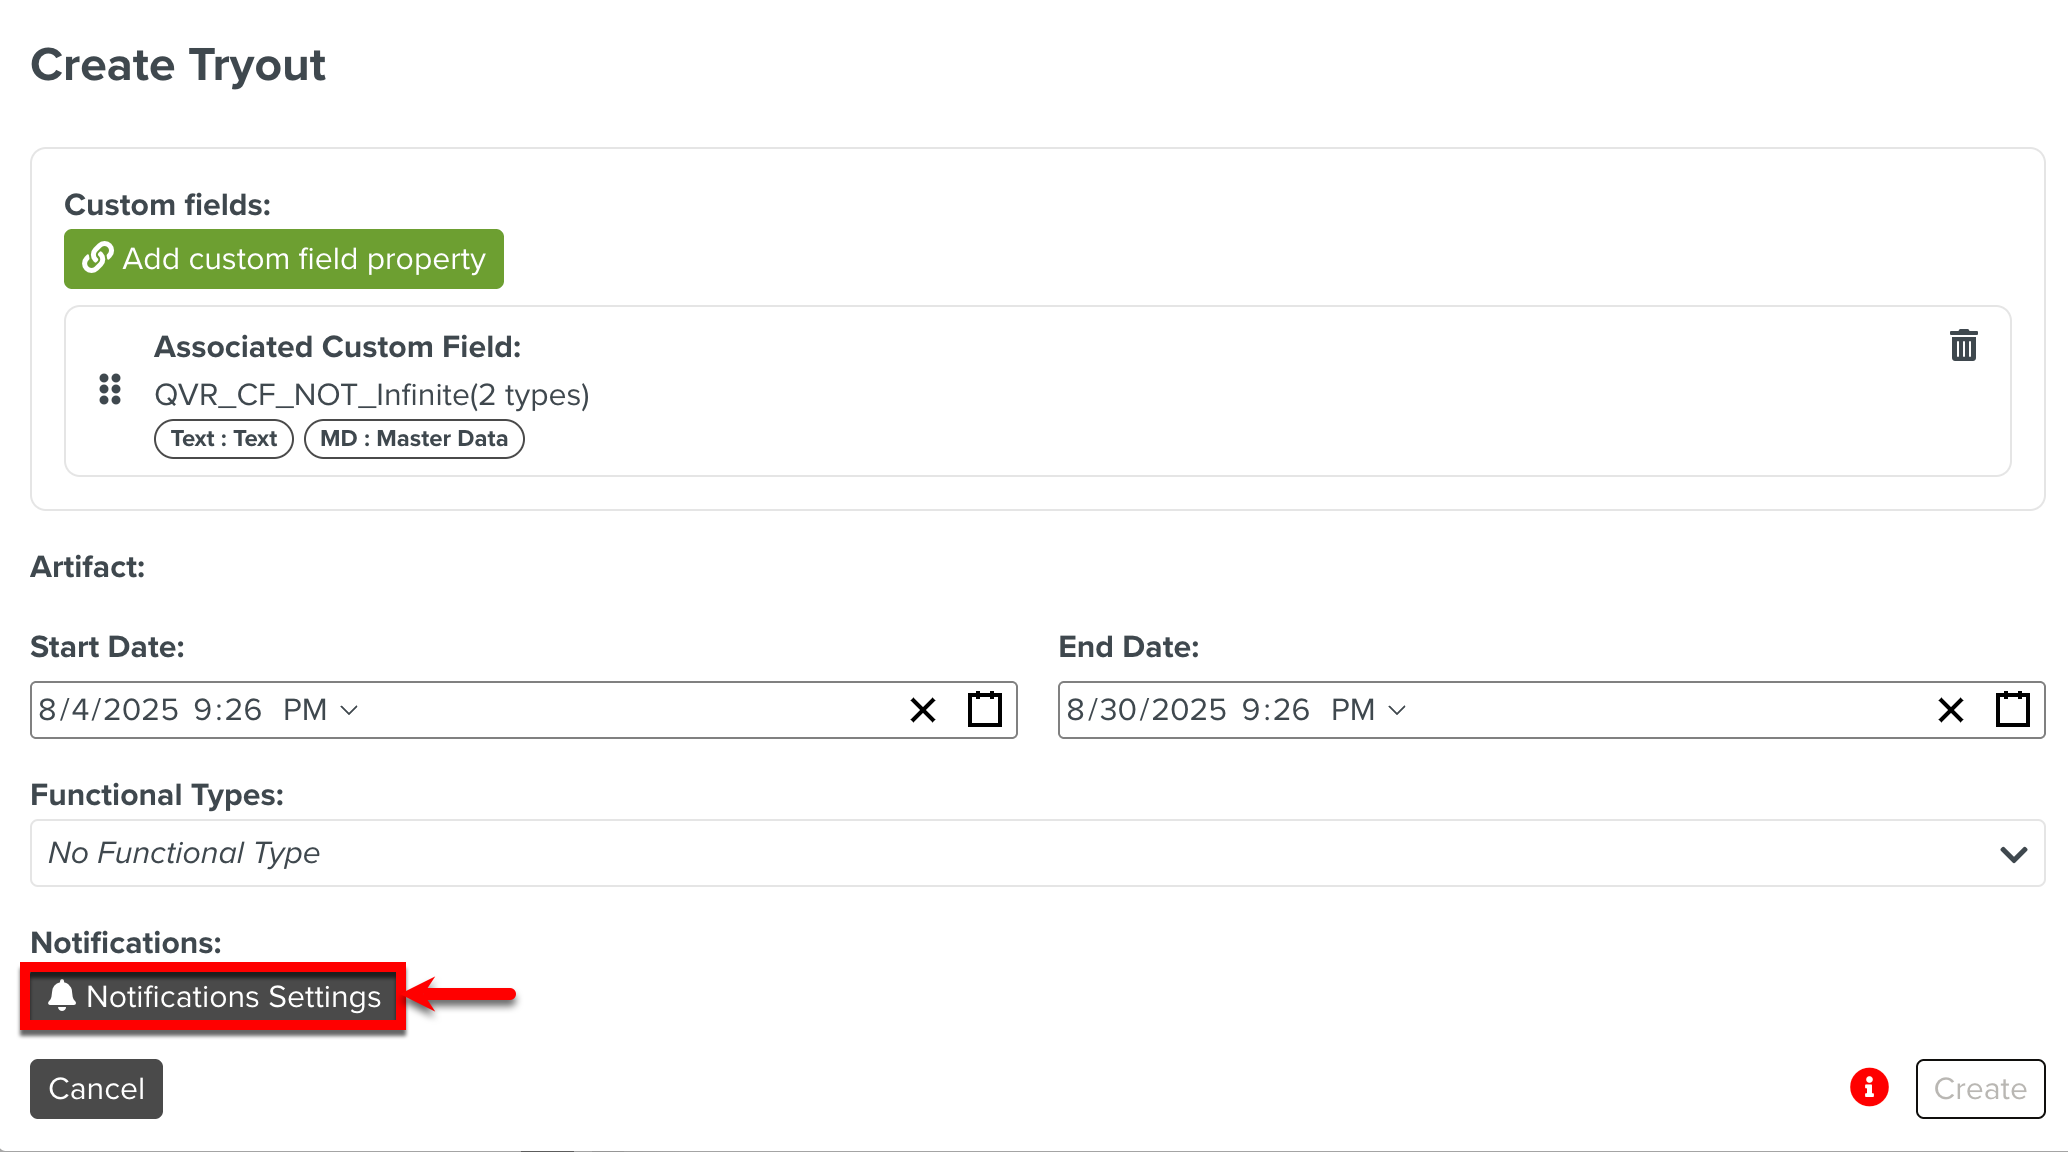
Select the following details in the dialog Notification Settings and click :
Notification Type: The type of notification to be sent - Email or In-App.
The email IDs used are taken from the corresponding User Sets. Please ensure valid email IDs are used there.
Notification Target: The User Set to which the notification should be sent.
Settings: The event trigger for the notification.
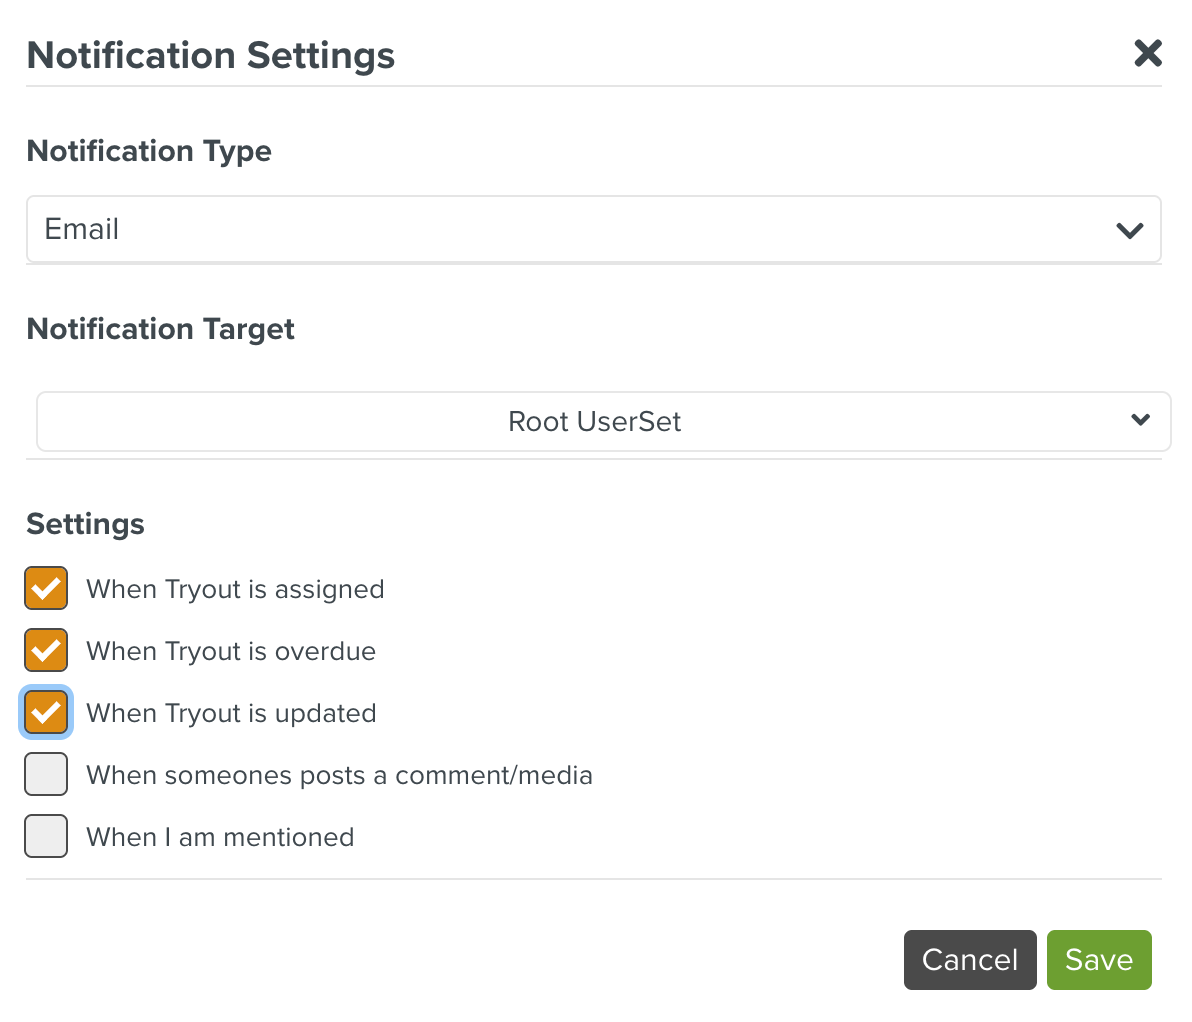
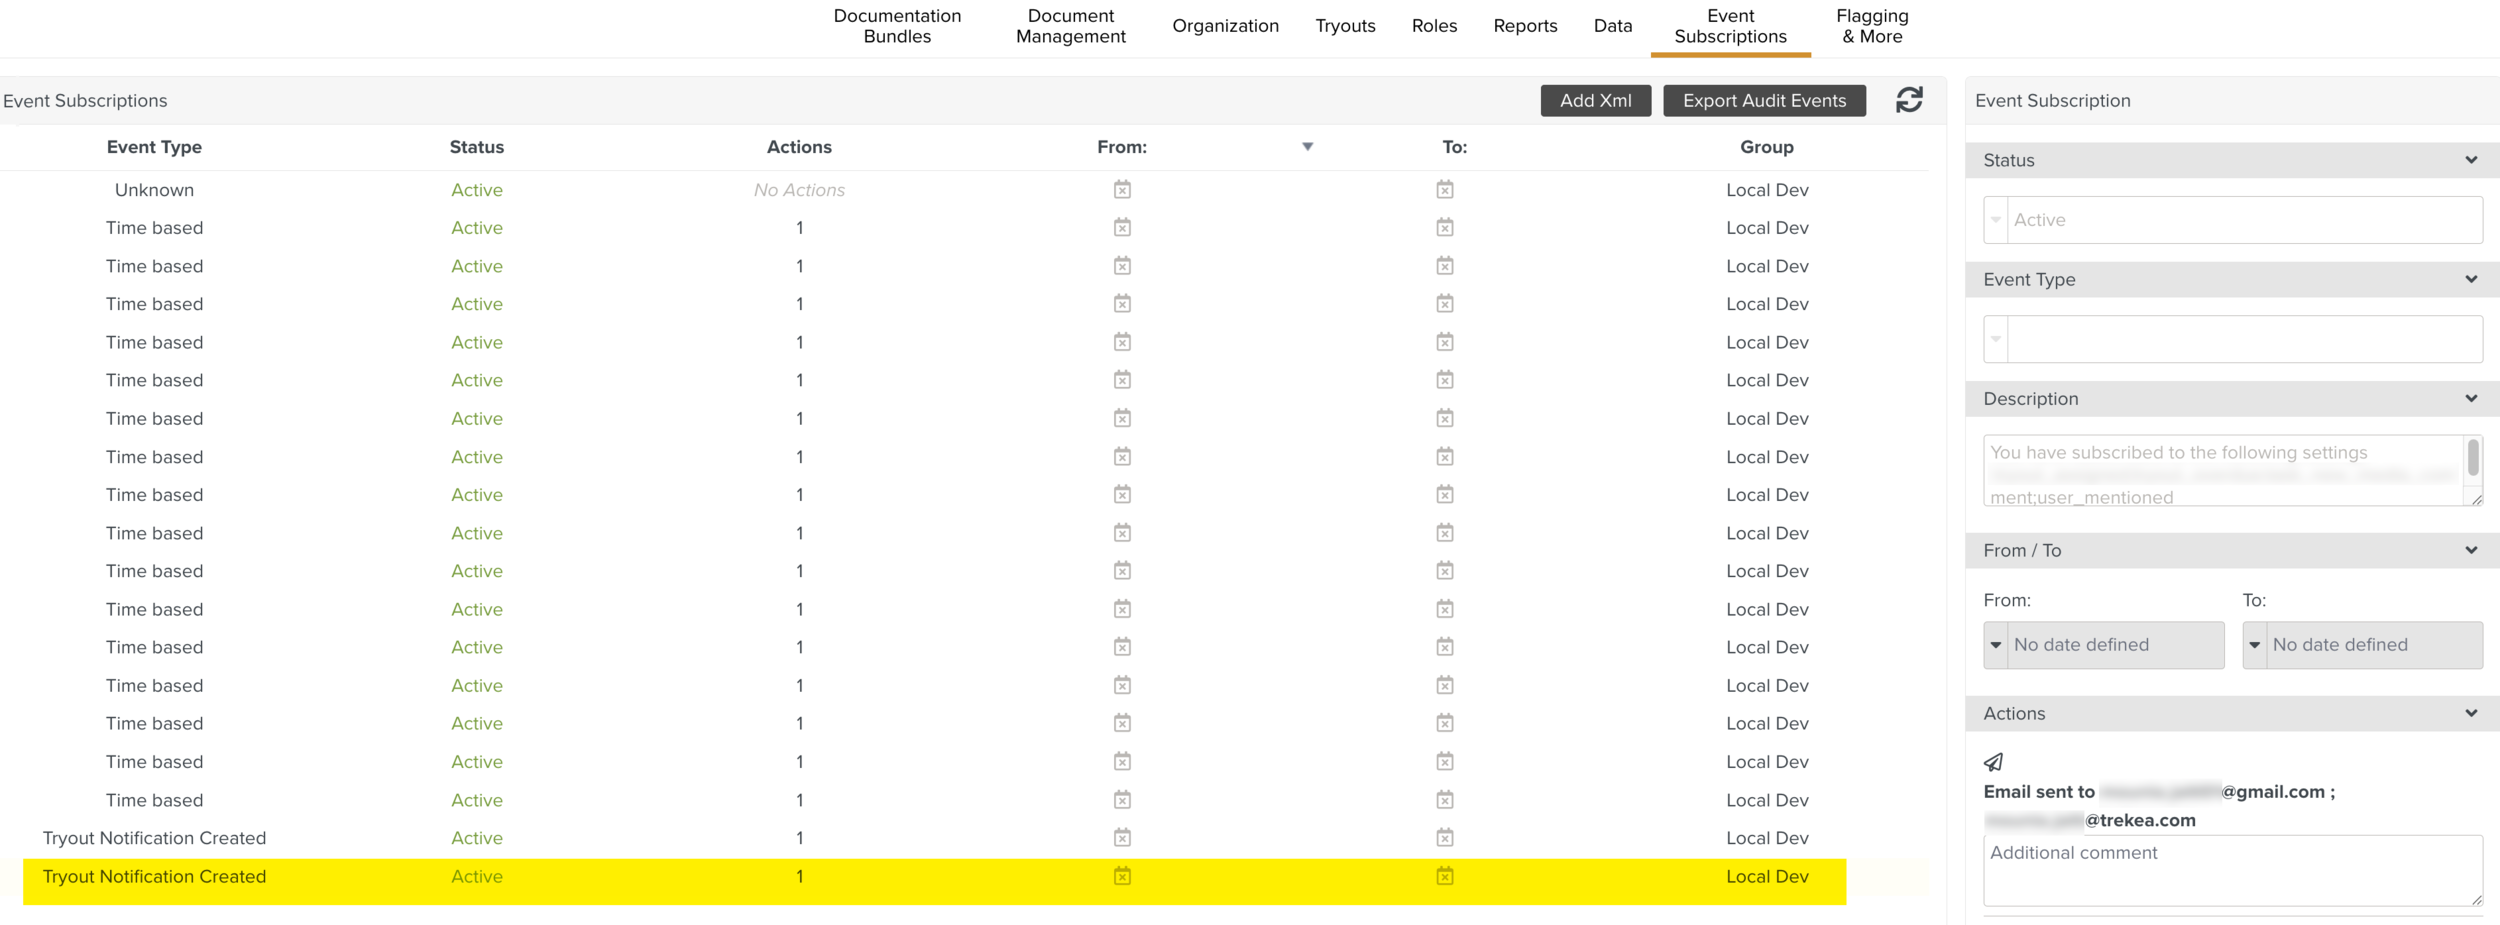
When a Notification is set up, an Event Subscription is added. This notifies the target users whenever the event occurs in the system.
Click .
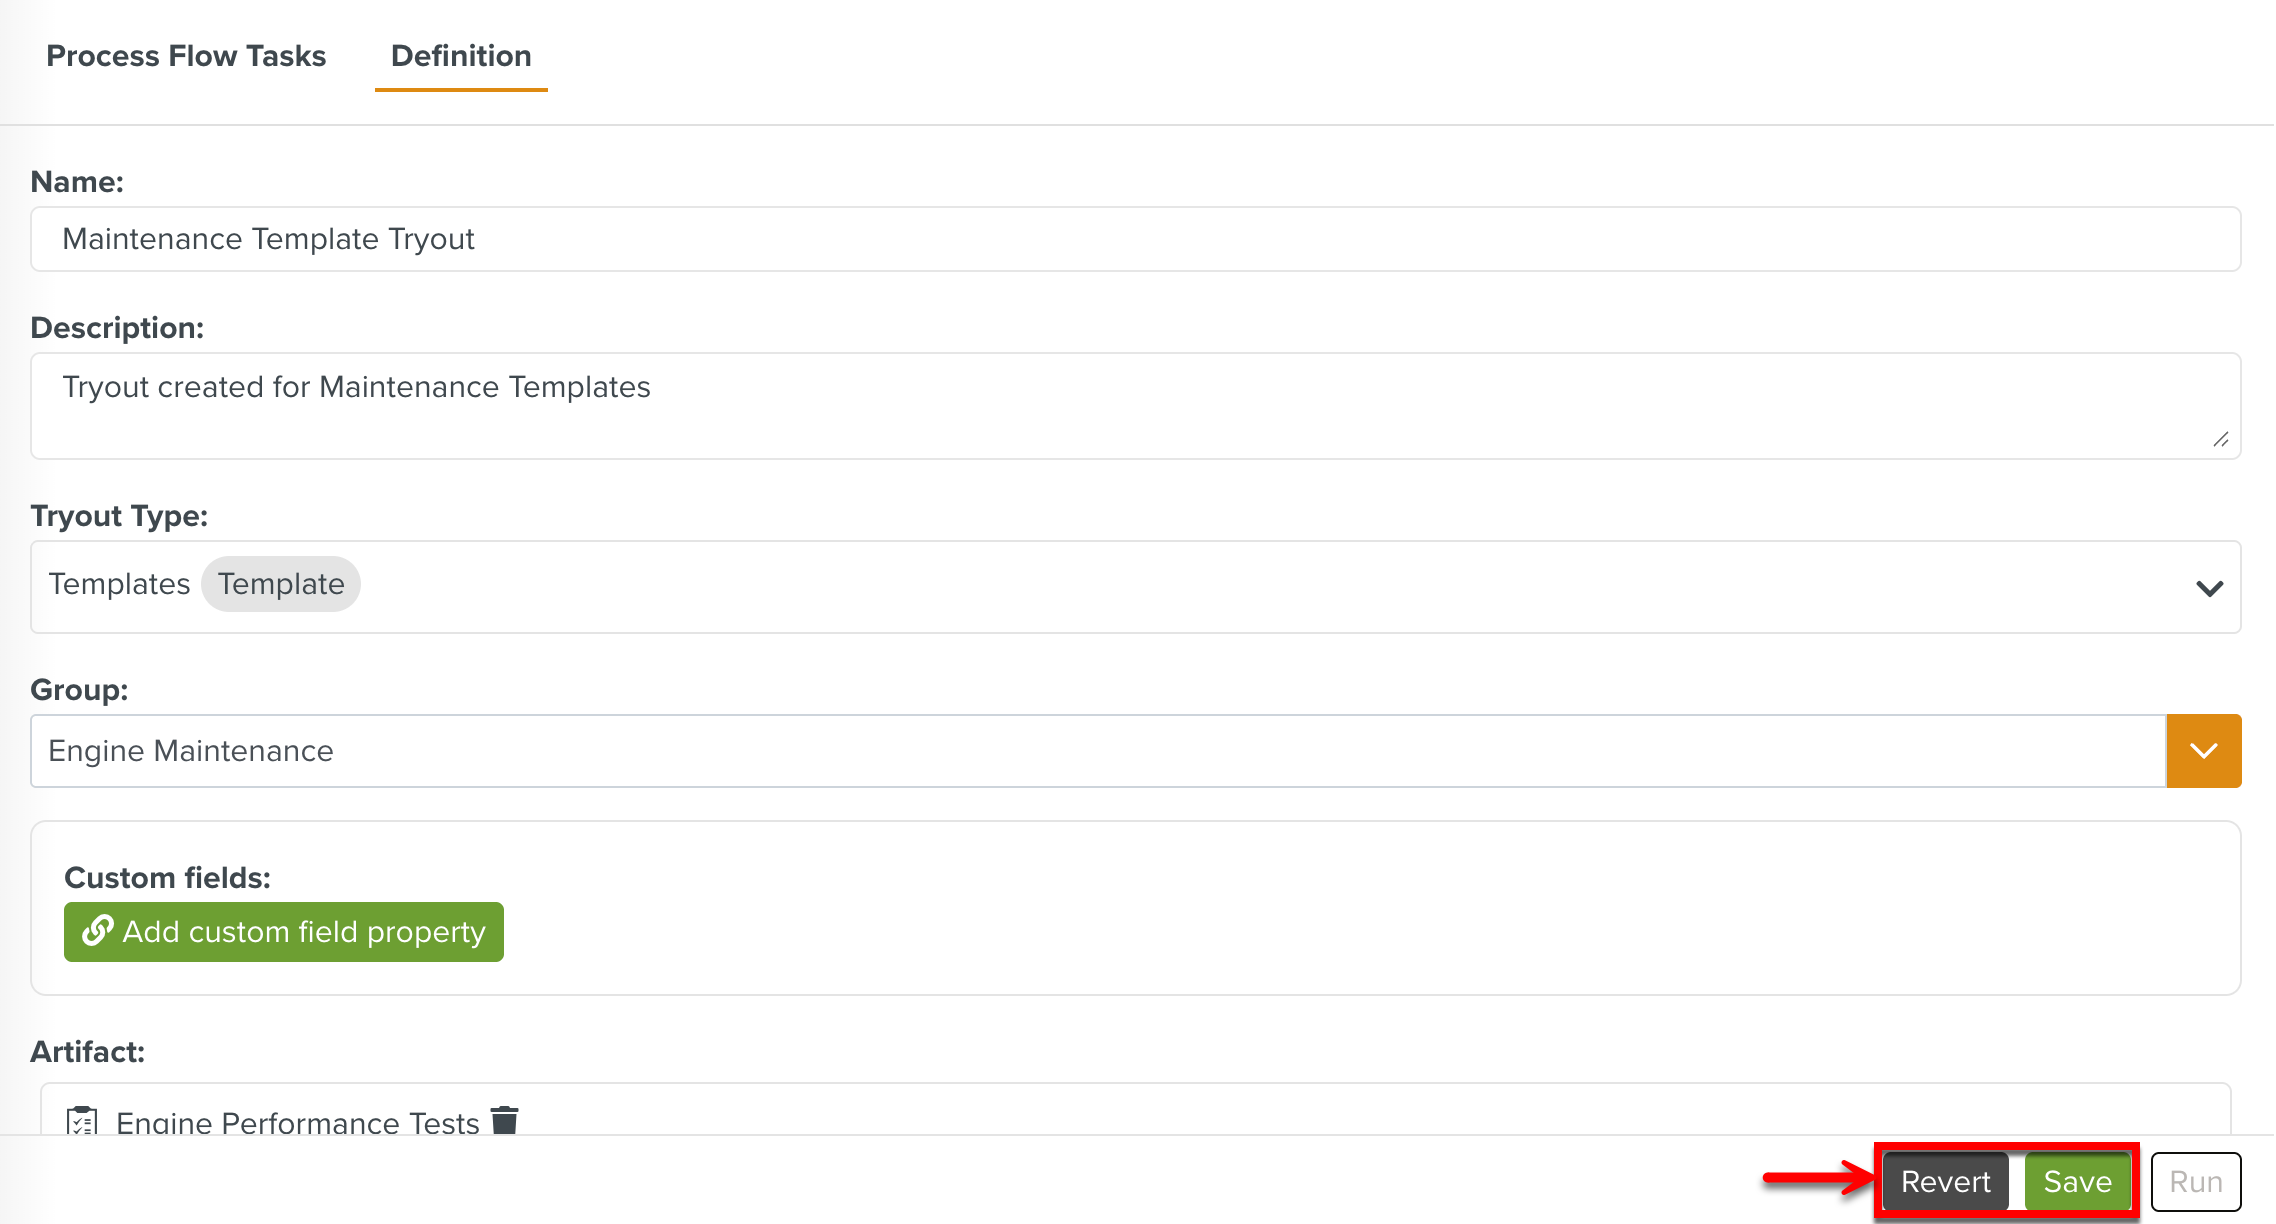
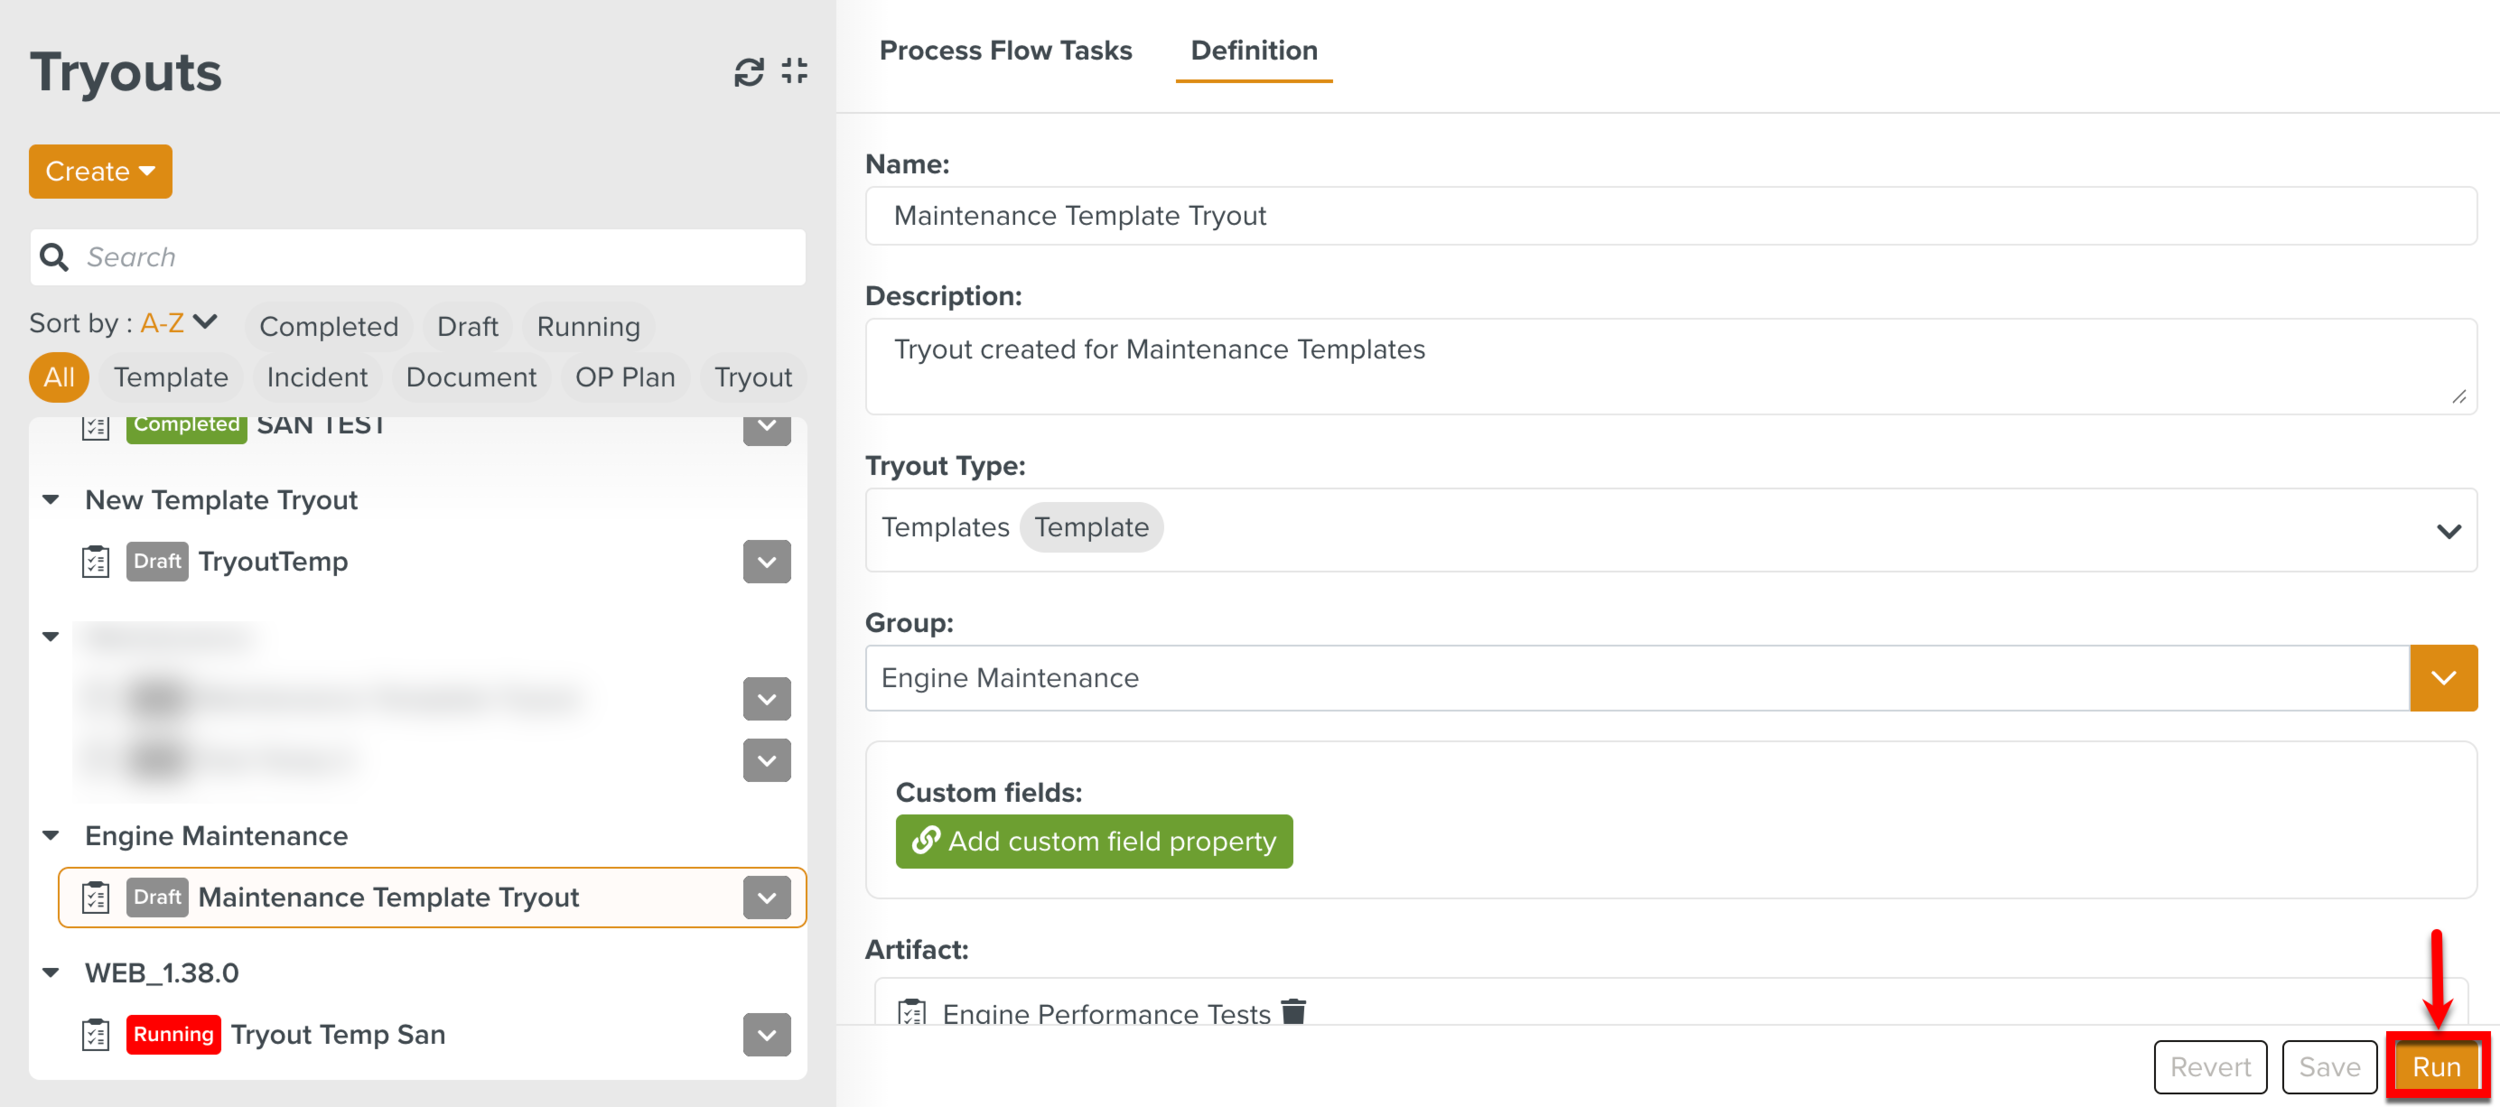
The Tryout Maintenance Template Tryout is created under the Engine Maintenance Group. It is in Draft status.
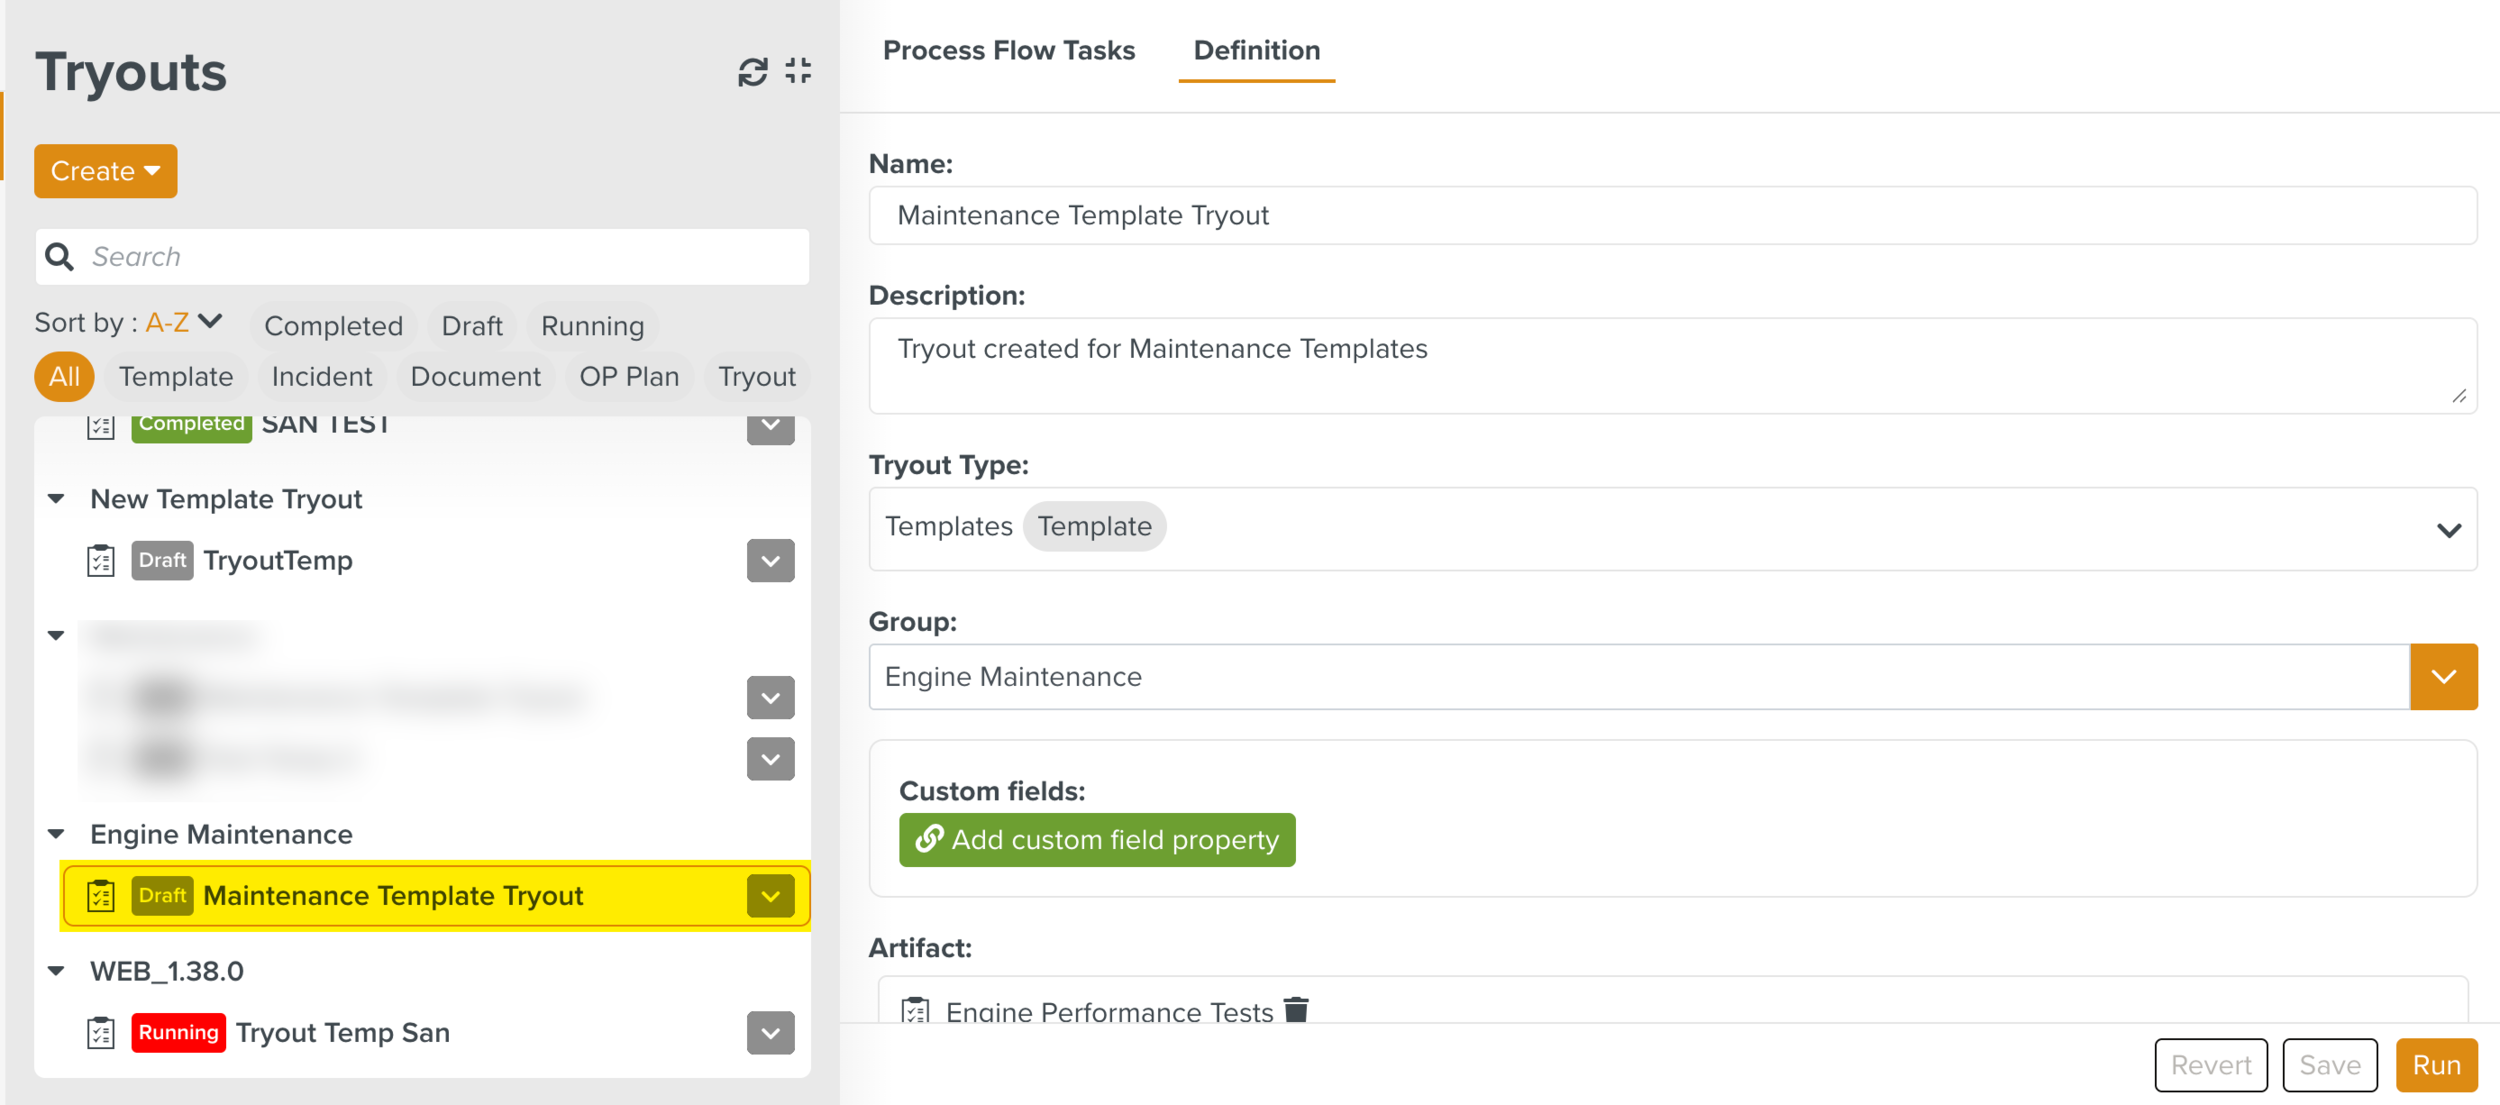
The details of the created Tryout now appears under the Tryouts Definition section. You can modify the Tryout details if required. Click to save the modifications or revert to the original definition by clicking the button.
When you click a Process Flow Task is created and the details are displayed under the Process Flow Tasks section. The status of the Tryout changes to Running. This Process Flow Task is based on the Lifecycle linked to the Tryout Type used for the current Tryout.

The Tryout Tasks generated allows you to validate the different Artifacts. It follows the Tryout Lifecycle linked to this Tryout.
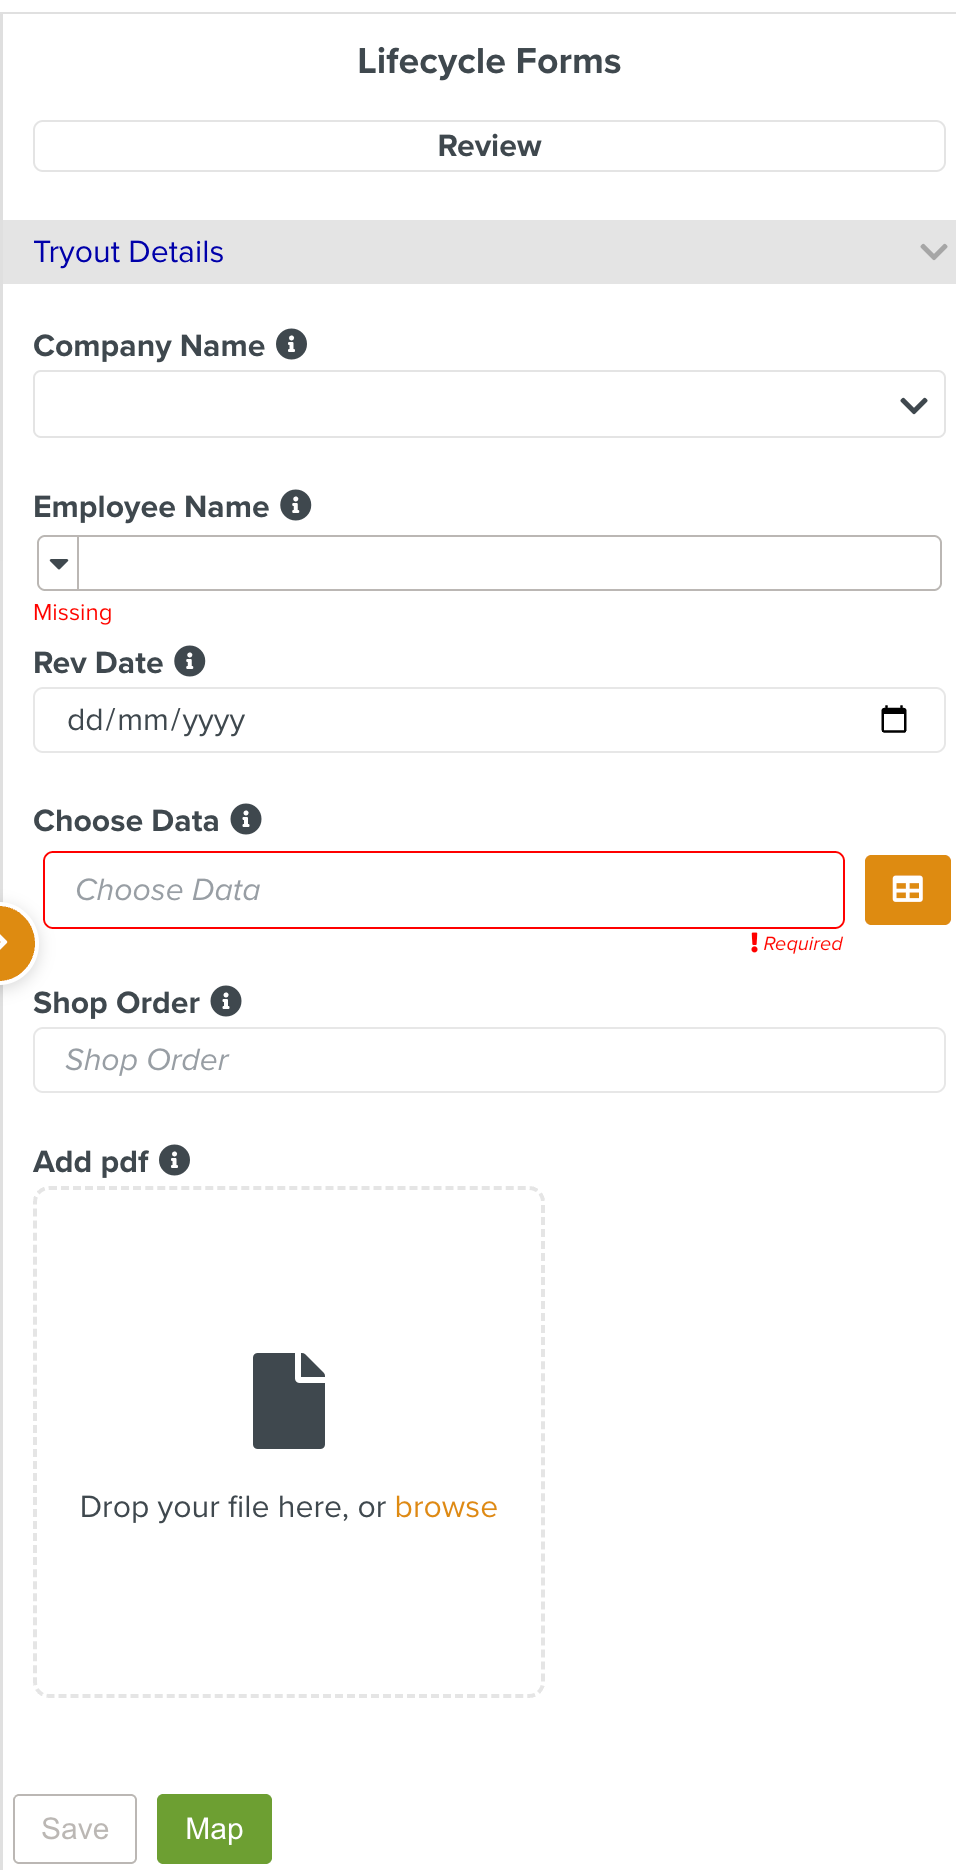
Every Task can be picked up and moved through the different stages. The Artifact to be tried out can be assigned to the respective users for validation from the Process Flow Task. The Lifecycle Forms ensure that the Tryout data or feedback corresponding to the Artifact or Task is being captured at different stages of the process.
The layout of the Process Flow Tasks section is as shown below:
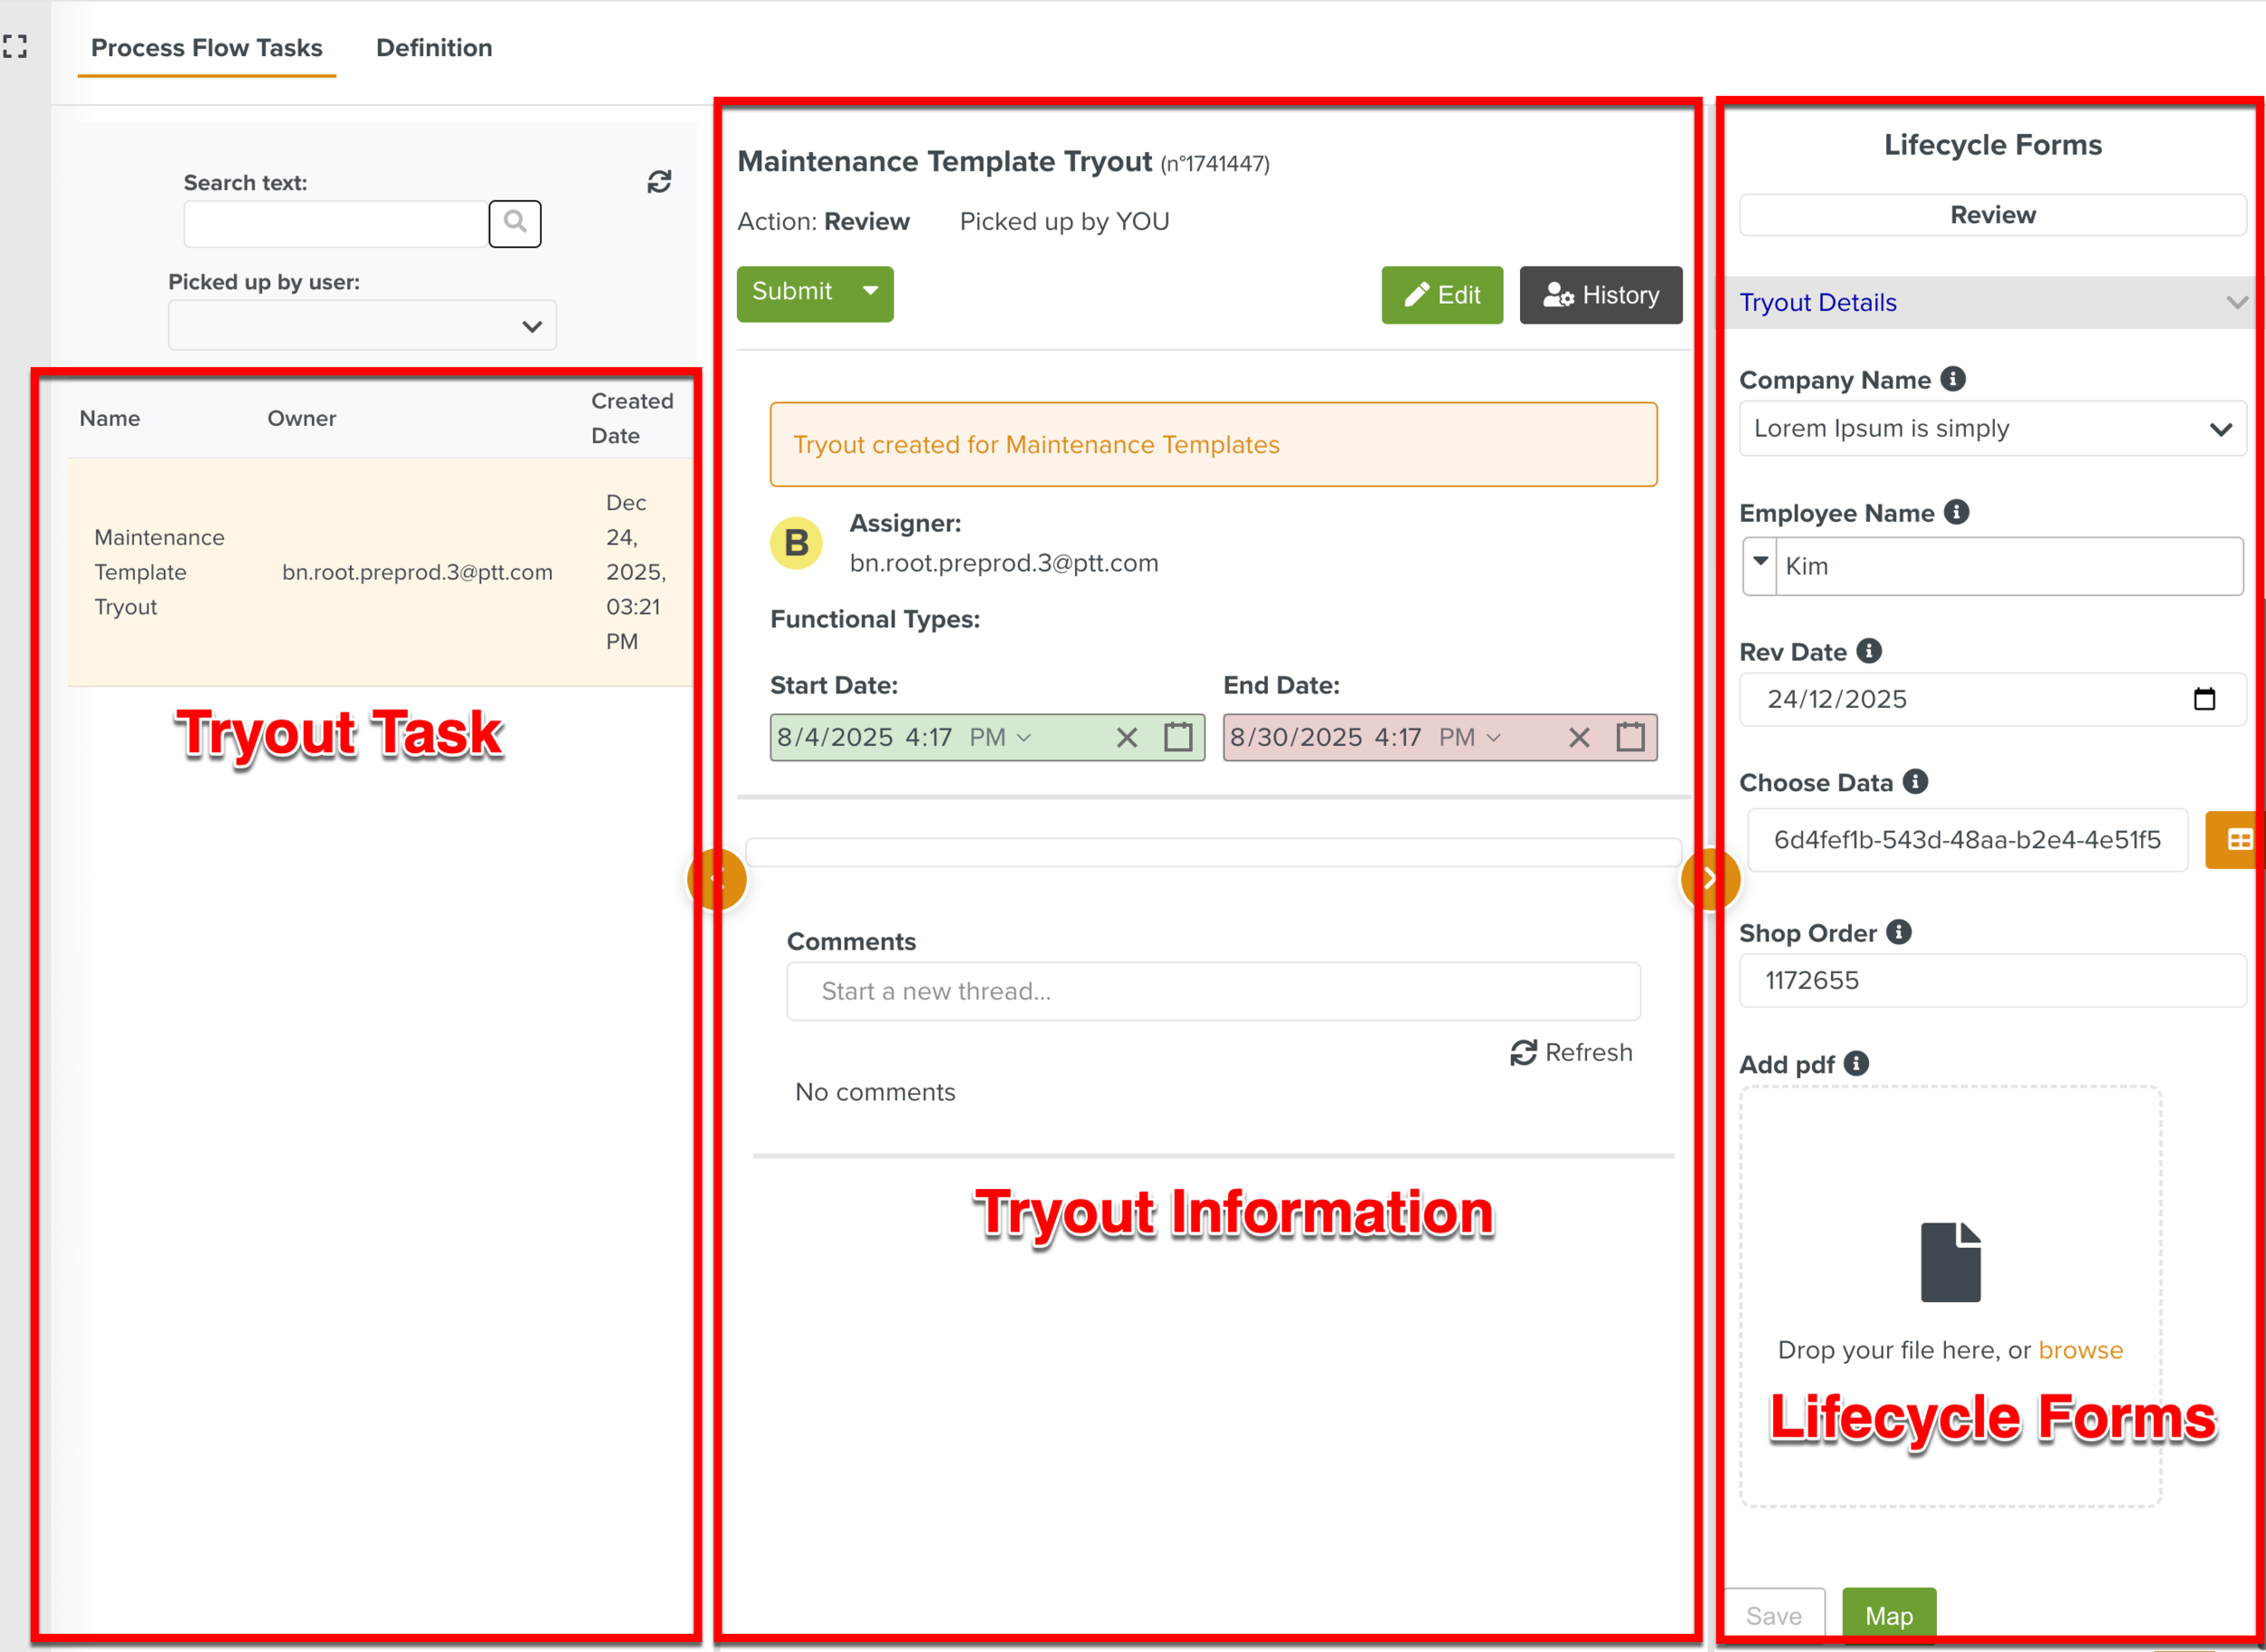 |
Tryout Task: You can view the Tryout Task details of the Tryout. The Tryout Task name, the owner's ID (user who picked up the task), and the creation date and time are displayed.
When the validation is complete, the Tryout Task no longer appears in the table.
Tryout Information: The Tryout information and Task actions are available in this section. Information such as the Tryout name, description, start and end dates, the Artifact to be validated, Functional Types, and comments are displayed.
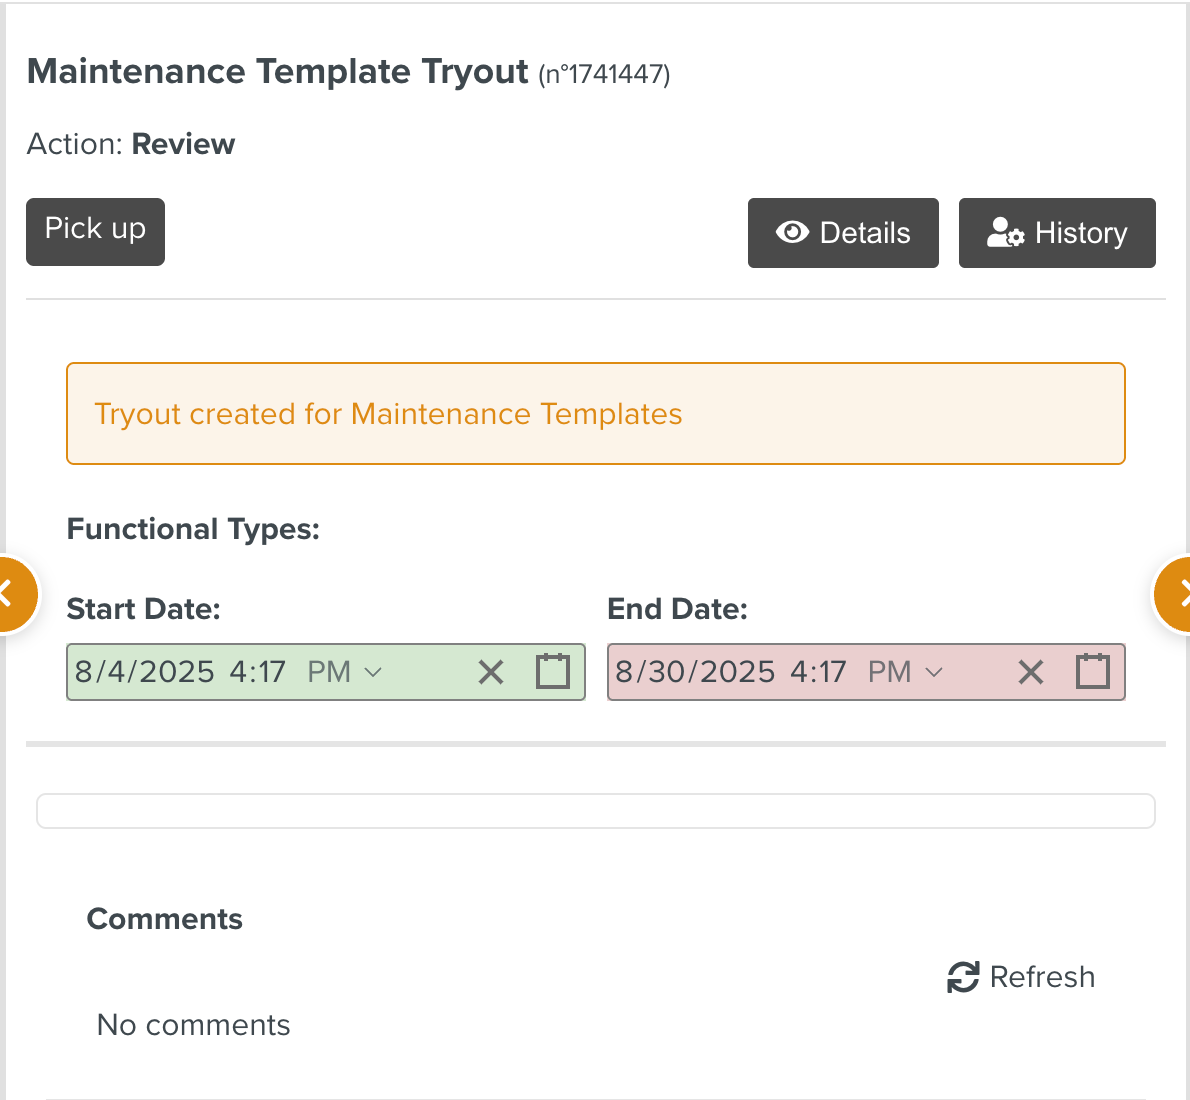
You can perform the following actions in this section:
Pick up a Task: Click
 to pick up the Tryout Task and validate the workflow.
Once you pick up the task, you may see other actions displayed. These actions are customizable and could vary based on the current state of the task.
View Tryout Details: Click
 to view the Tryout definition details.
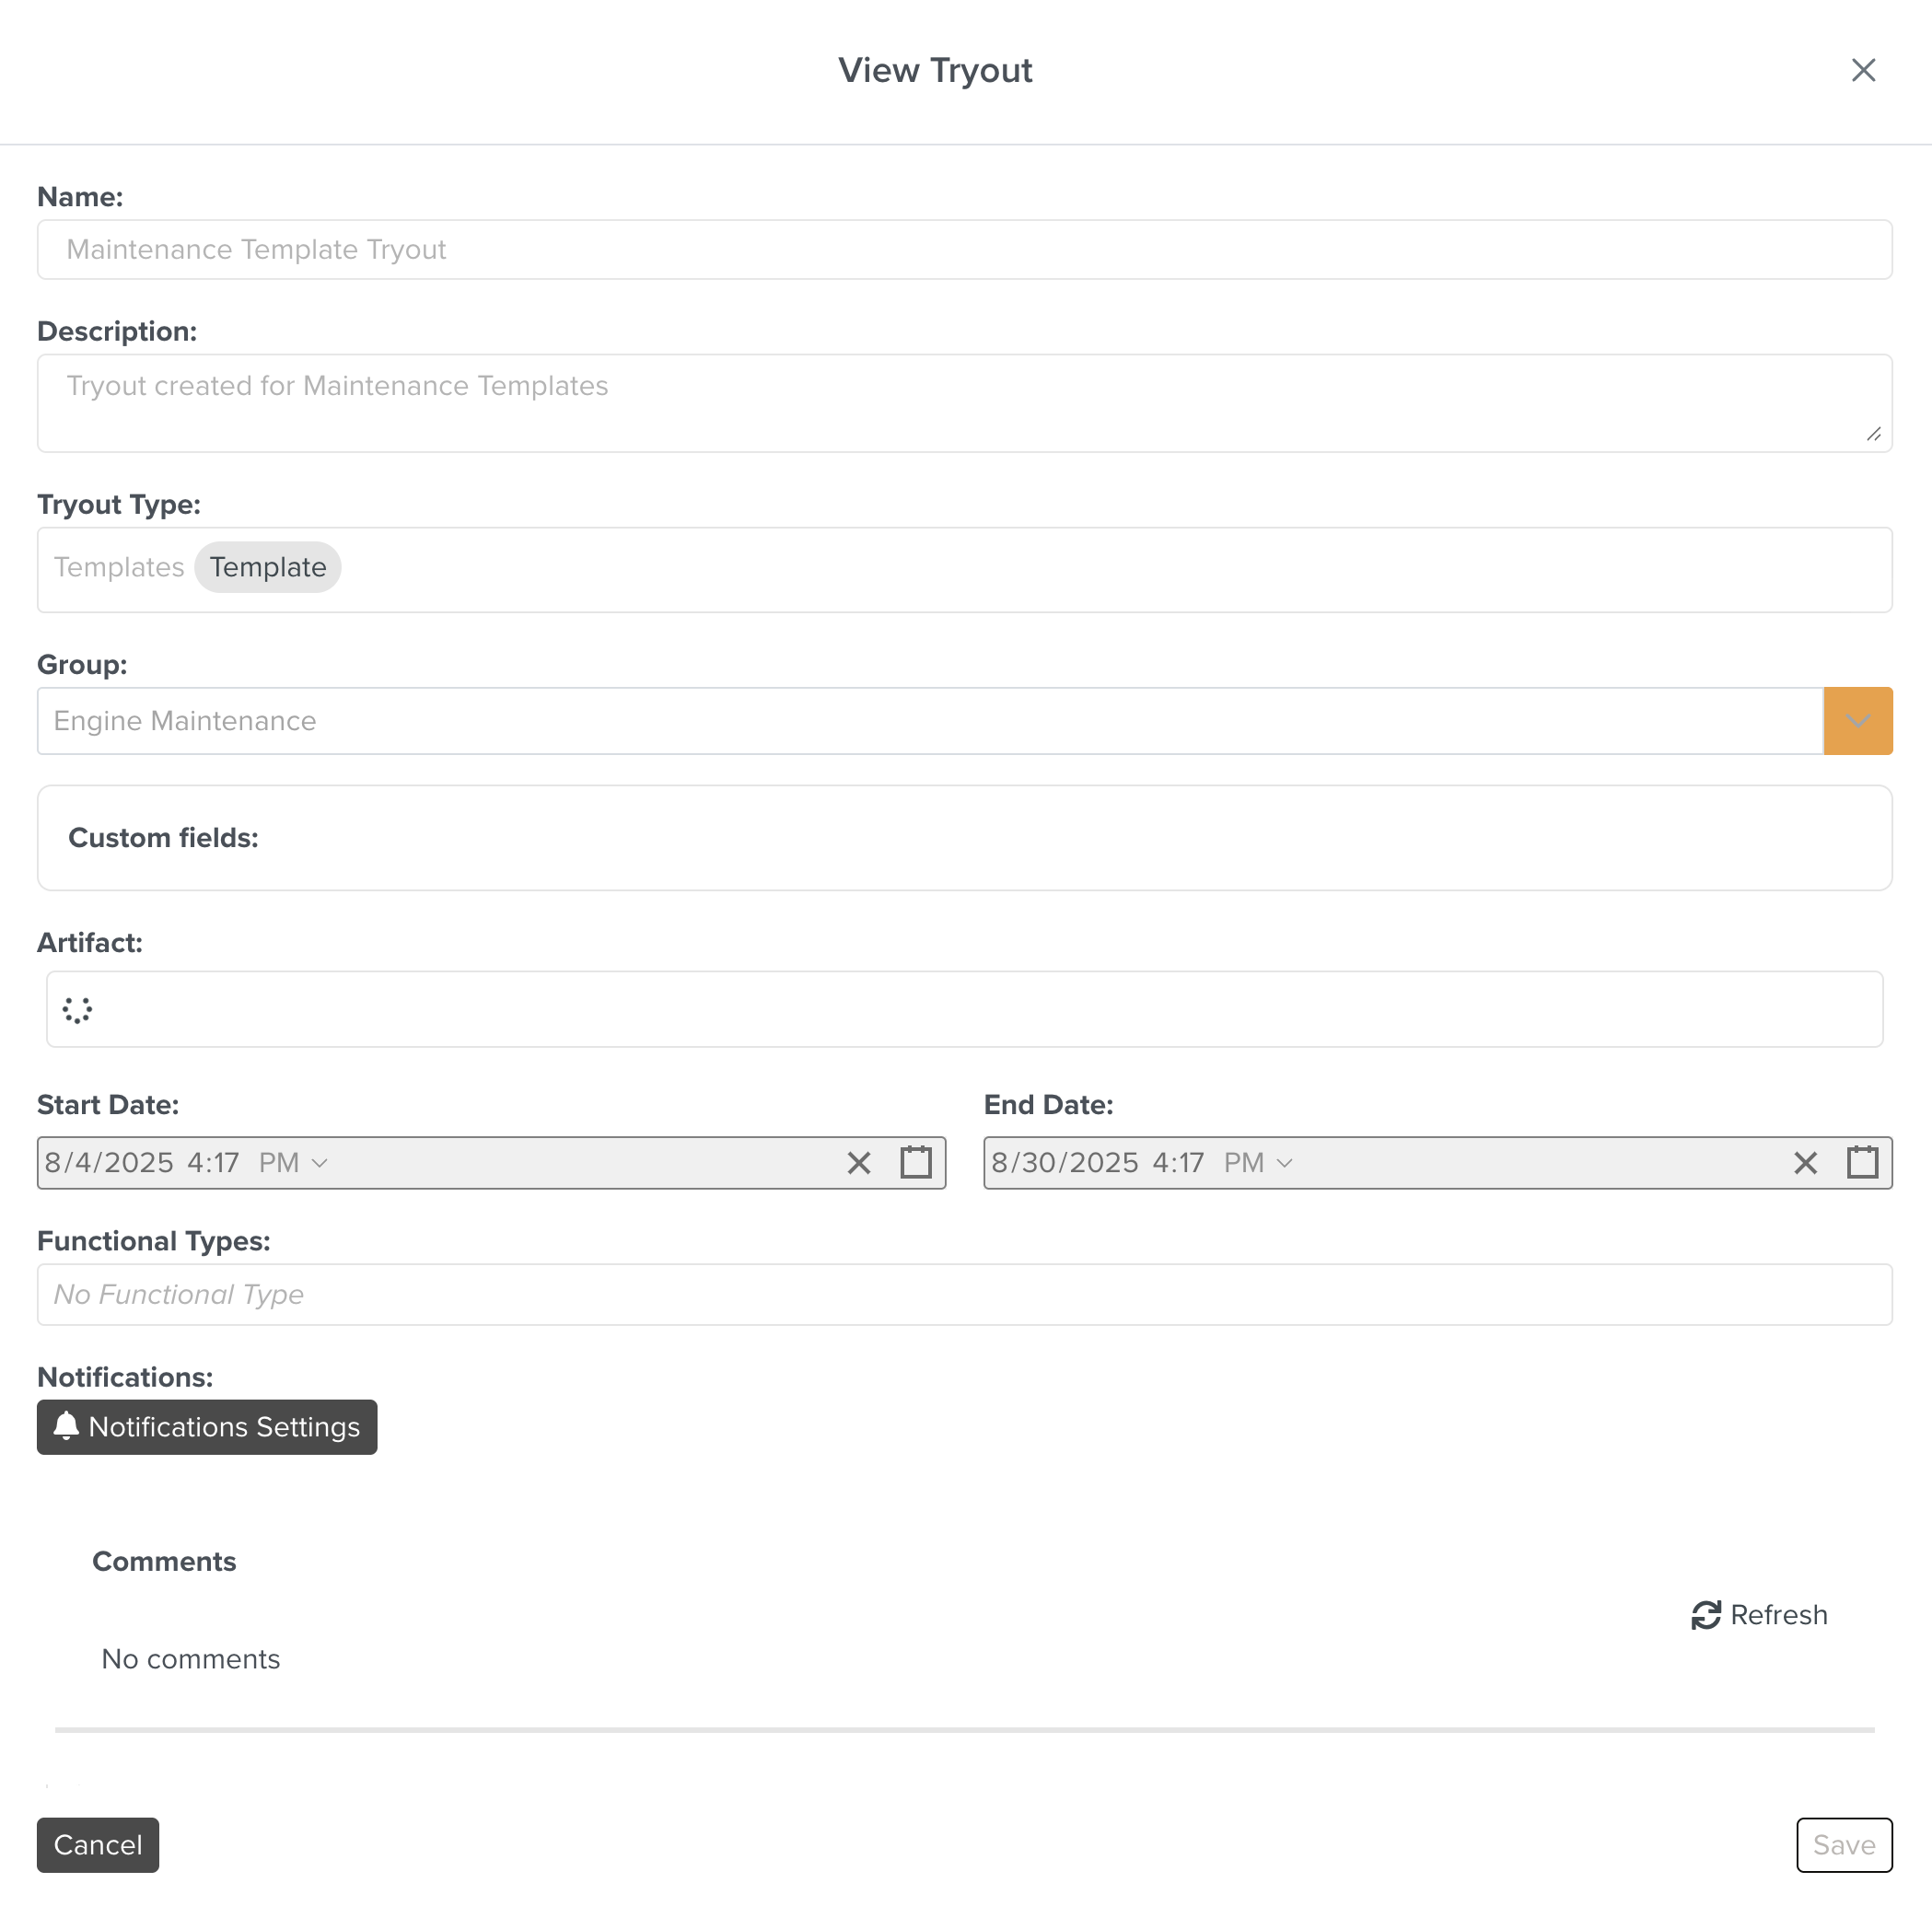
Note
The option is visible instead of if a stage of the task is configured to be editable in the Lifecycle.
View Task History: Click
 to view the associated Lifecycle and the history of actions in the Task History section.
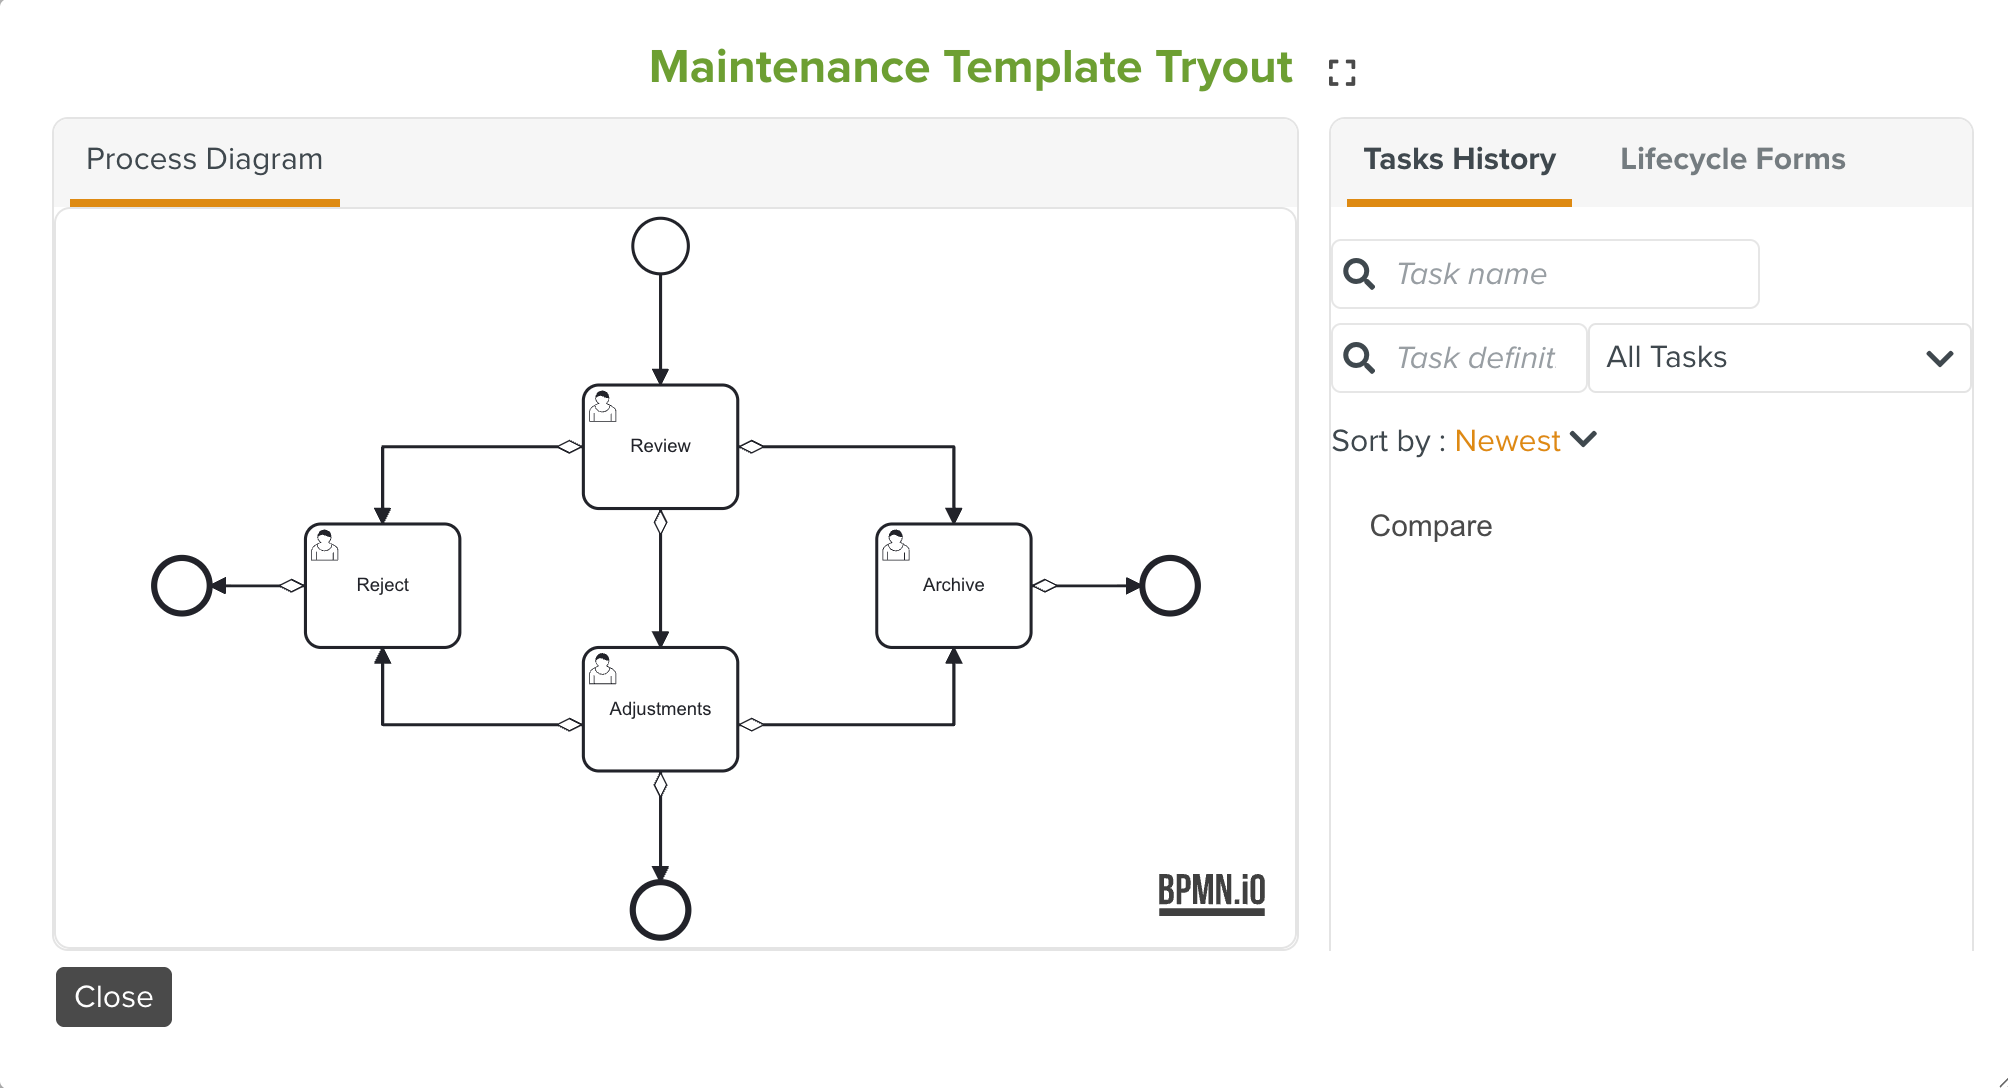
On an Artifact, you can perform the following:

View the Artifact: Click
 to preview it in a popup window.
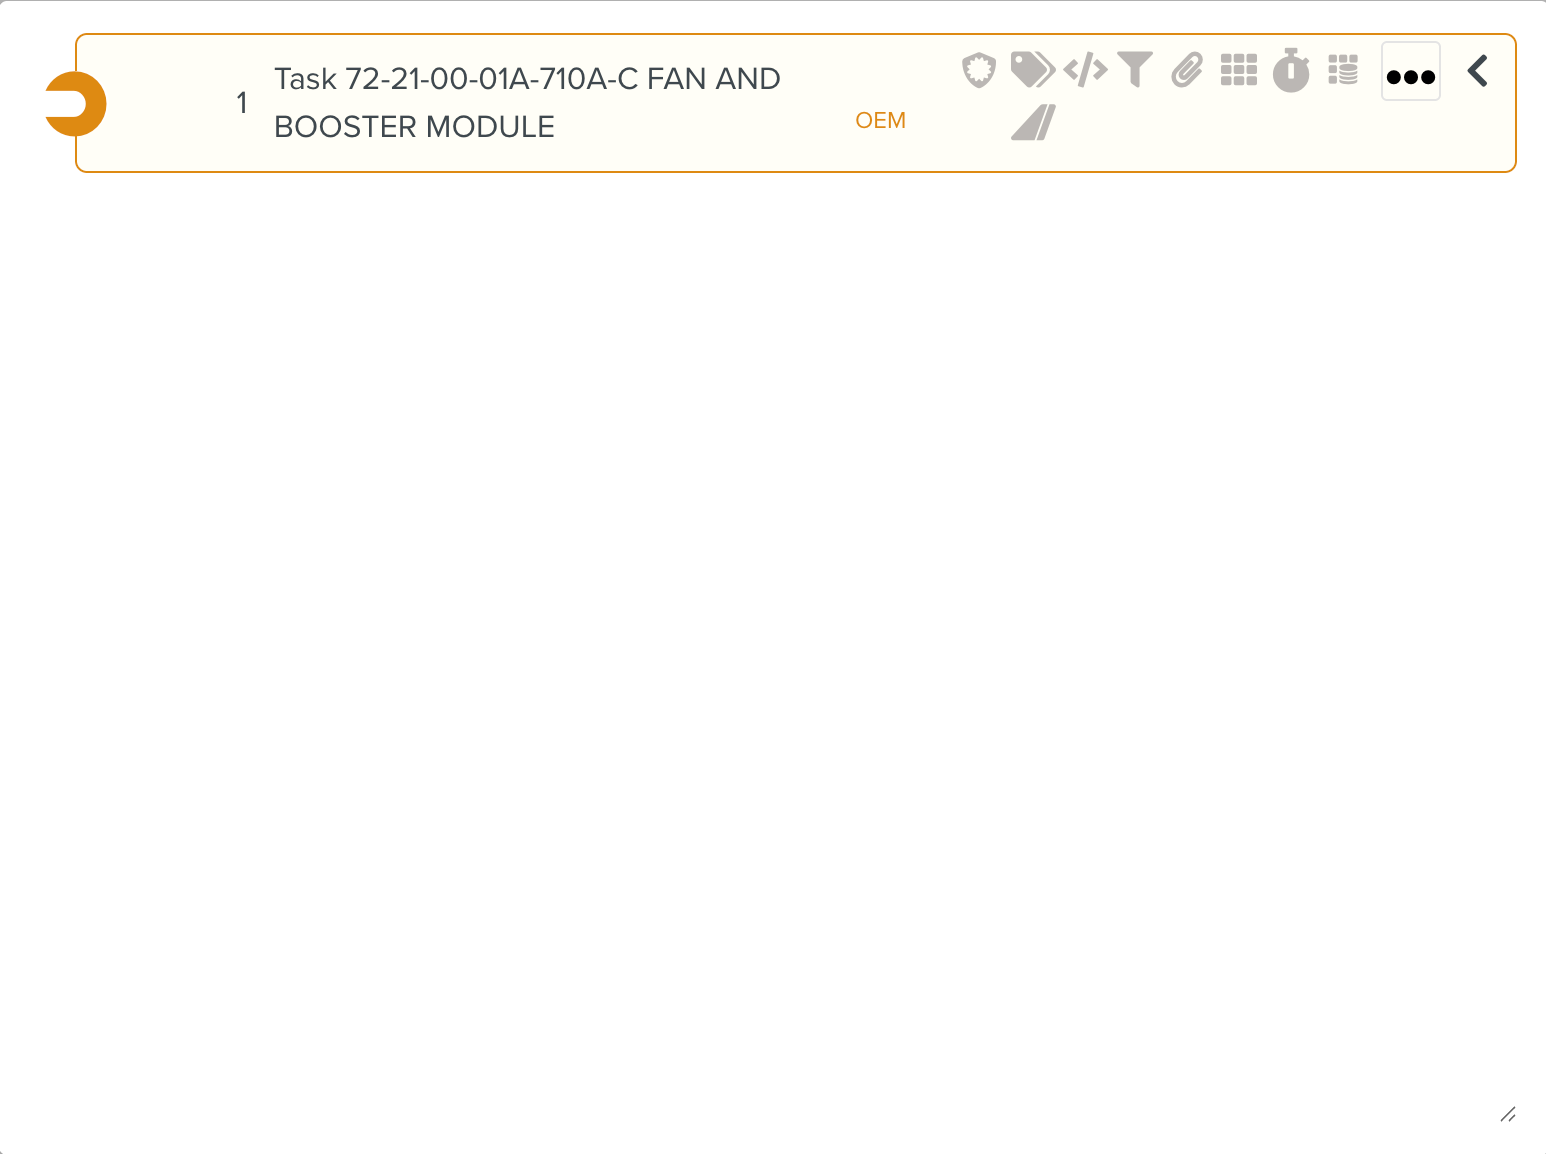
Navigate to the Artifact: Click
 to view the Artifact in the corresponding page in FieldLogs.
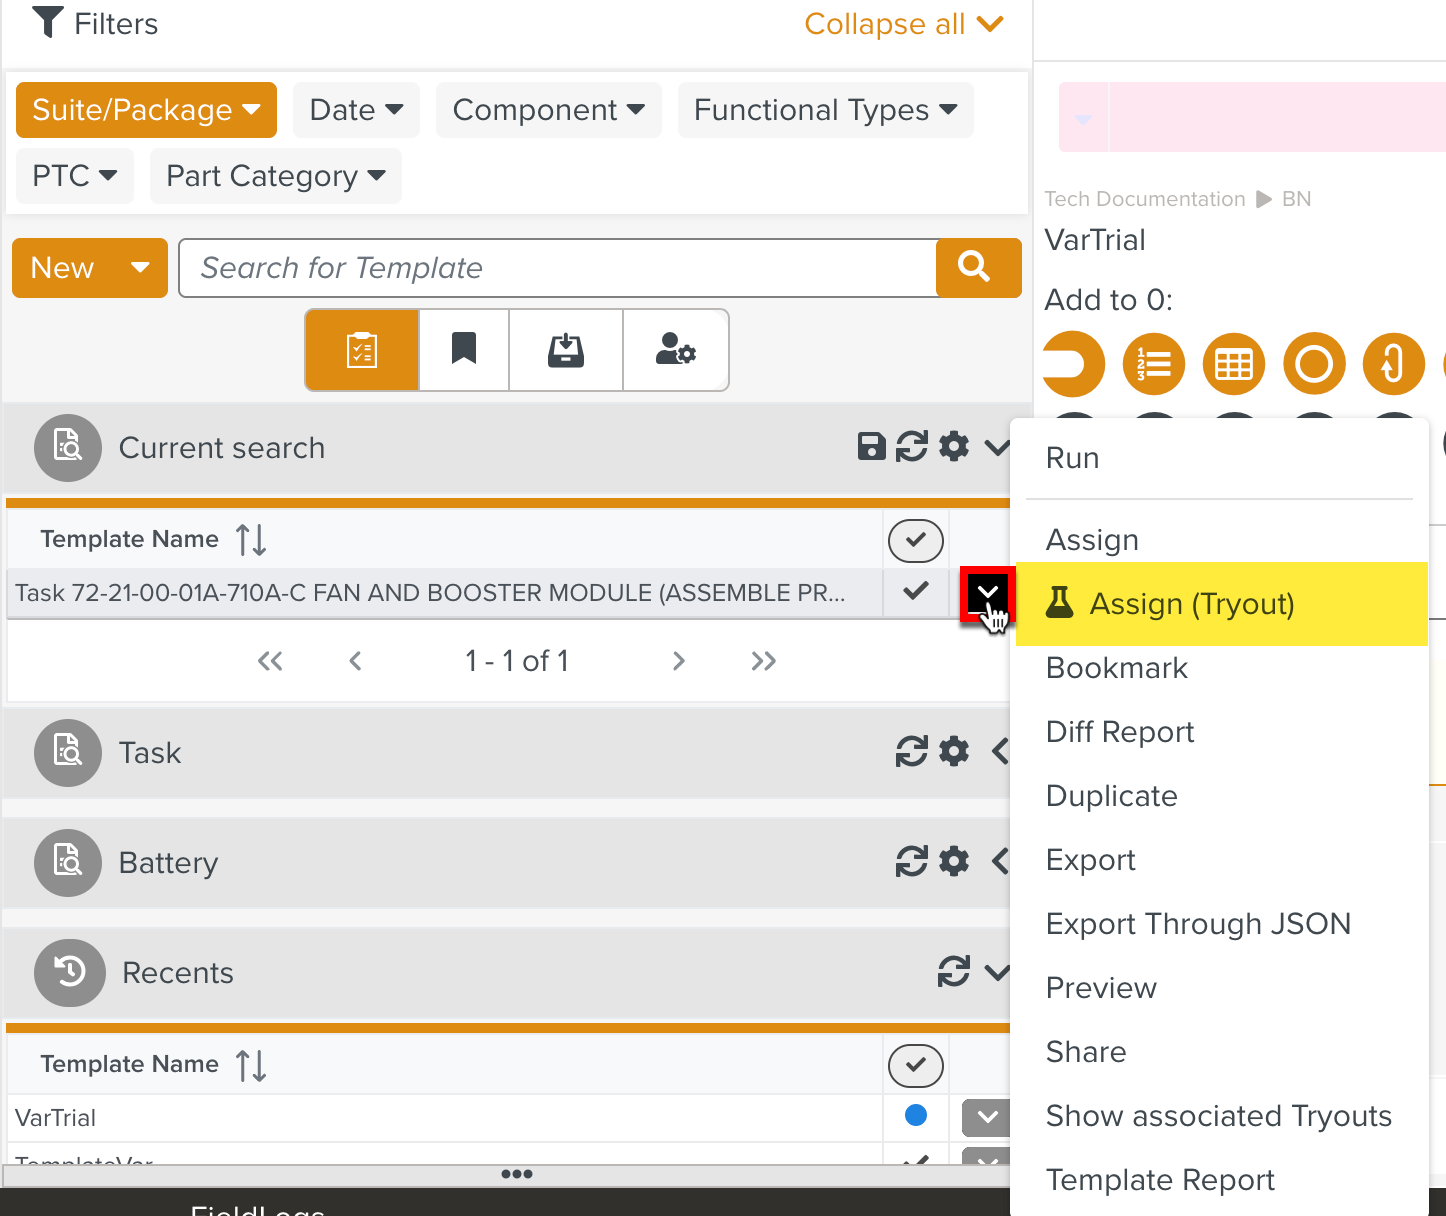
Assign the Artifact for Tryout: Click
 to assign the Artifact for validation.
The Artifact attached to a Tryout Task can also be assigned for Tryout directly from the corresponding feature page.
The below example highlights the Assign (Tryout) option on a Template in the Template page.
Lifecycle Forms: The Lifecycle Forms associated to the different stages of the workflow are displayed.