Creating a Project
A Project is a package of User Sets, Task Queues, and other resources with a start and an end date. A Planner can select a Project and Assign a Task to field workers. The field workers select the same Project and see all the Tasks assigned to them in the scope of the Project.
Projects organize members in an Enterprise Hierarchy using the Data Scope named Hierarchy.
Why do we require a Project?
A few scenarios where a Project is required are given below:
You must assign several Tasks to a specific set of members and/or a specific Task Queue.
For example, you need to assign several Tasks to a set of members working on area A.
You want a specific set of users to access a specific Project.
For example, area B workers cannot access Users/Tasks in the Project of area A workers. Similarly, area A workers do not have access to users/Tasks in the project of area B workers.
You want an overview of a specific set of Tasks or Users.
For example, you want to see the status of specific Tasks of area A workers.
To create a Project:
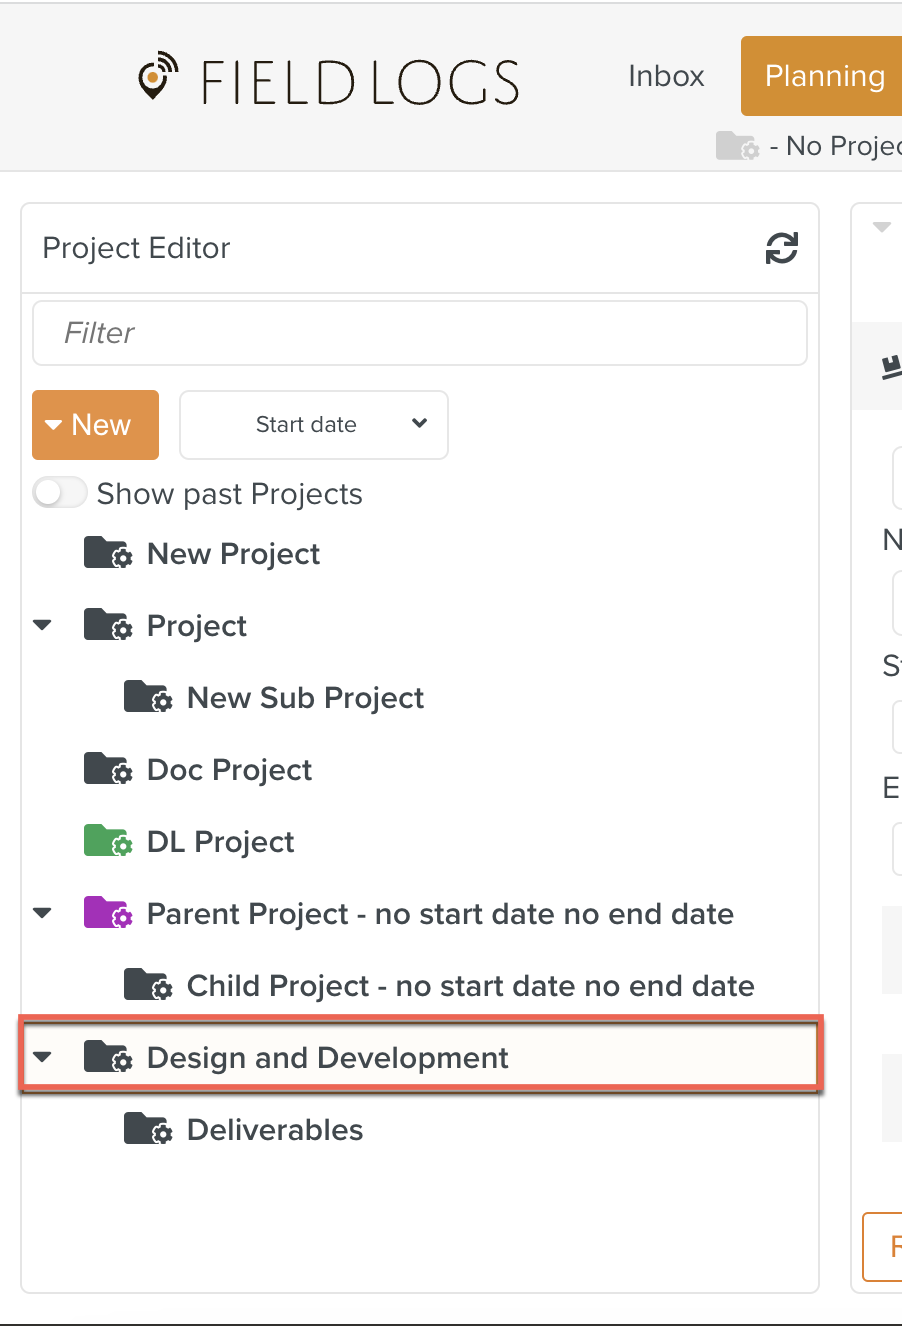
On the main menu, go to > .
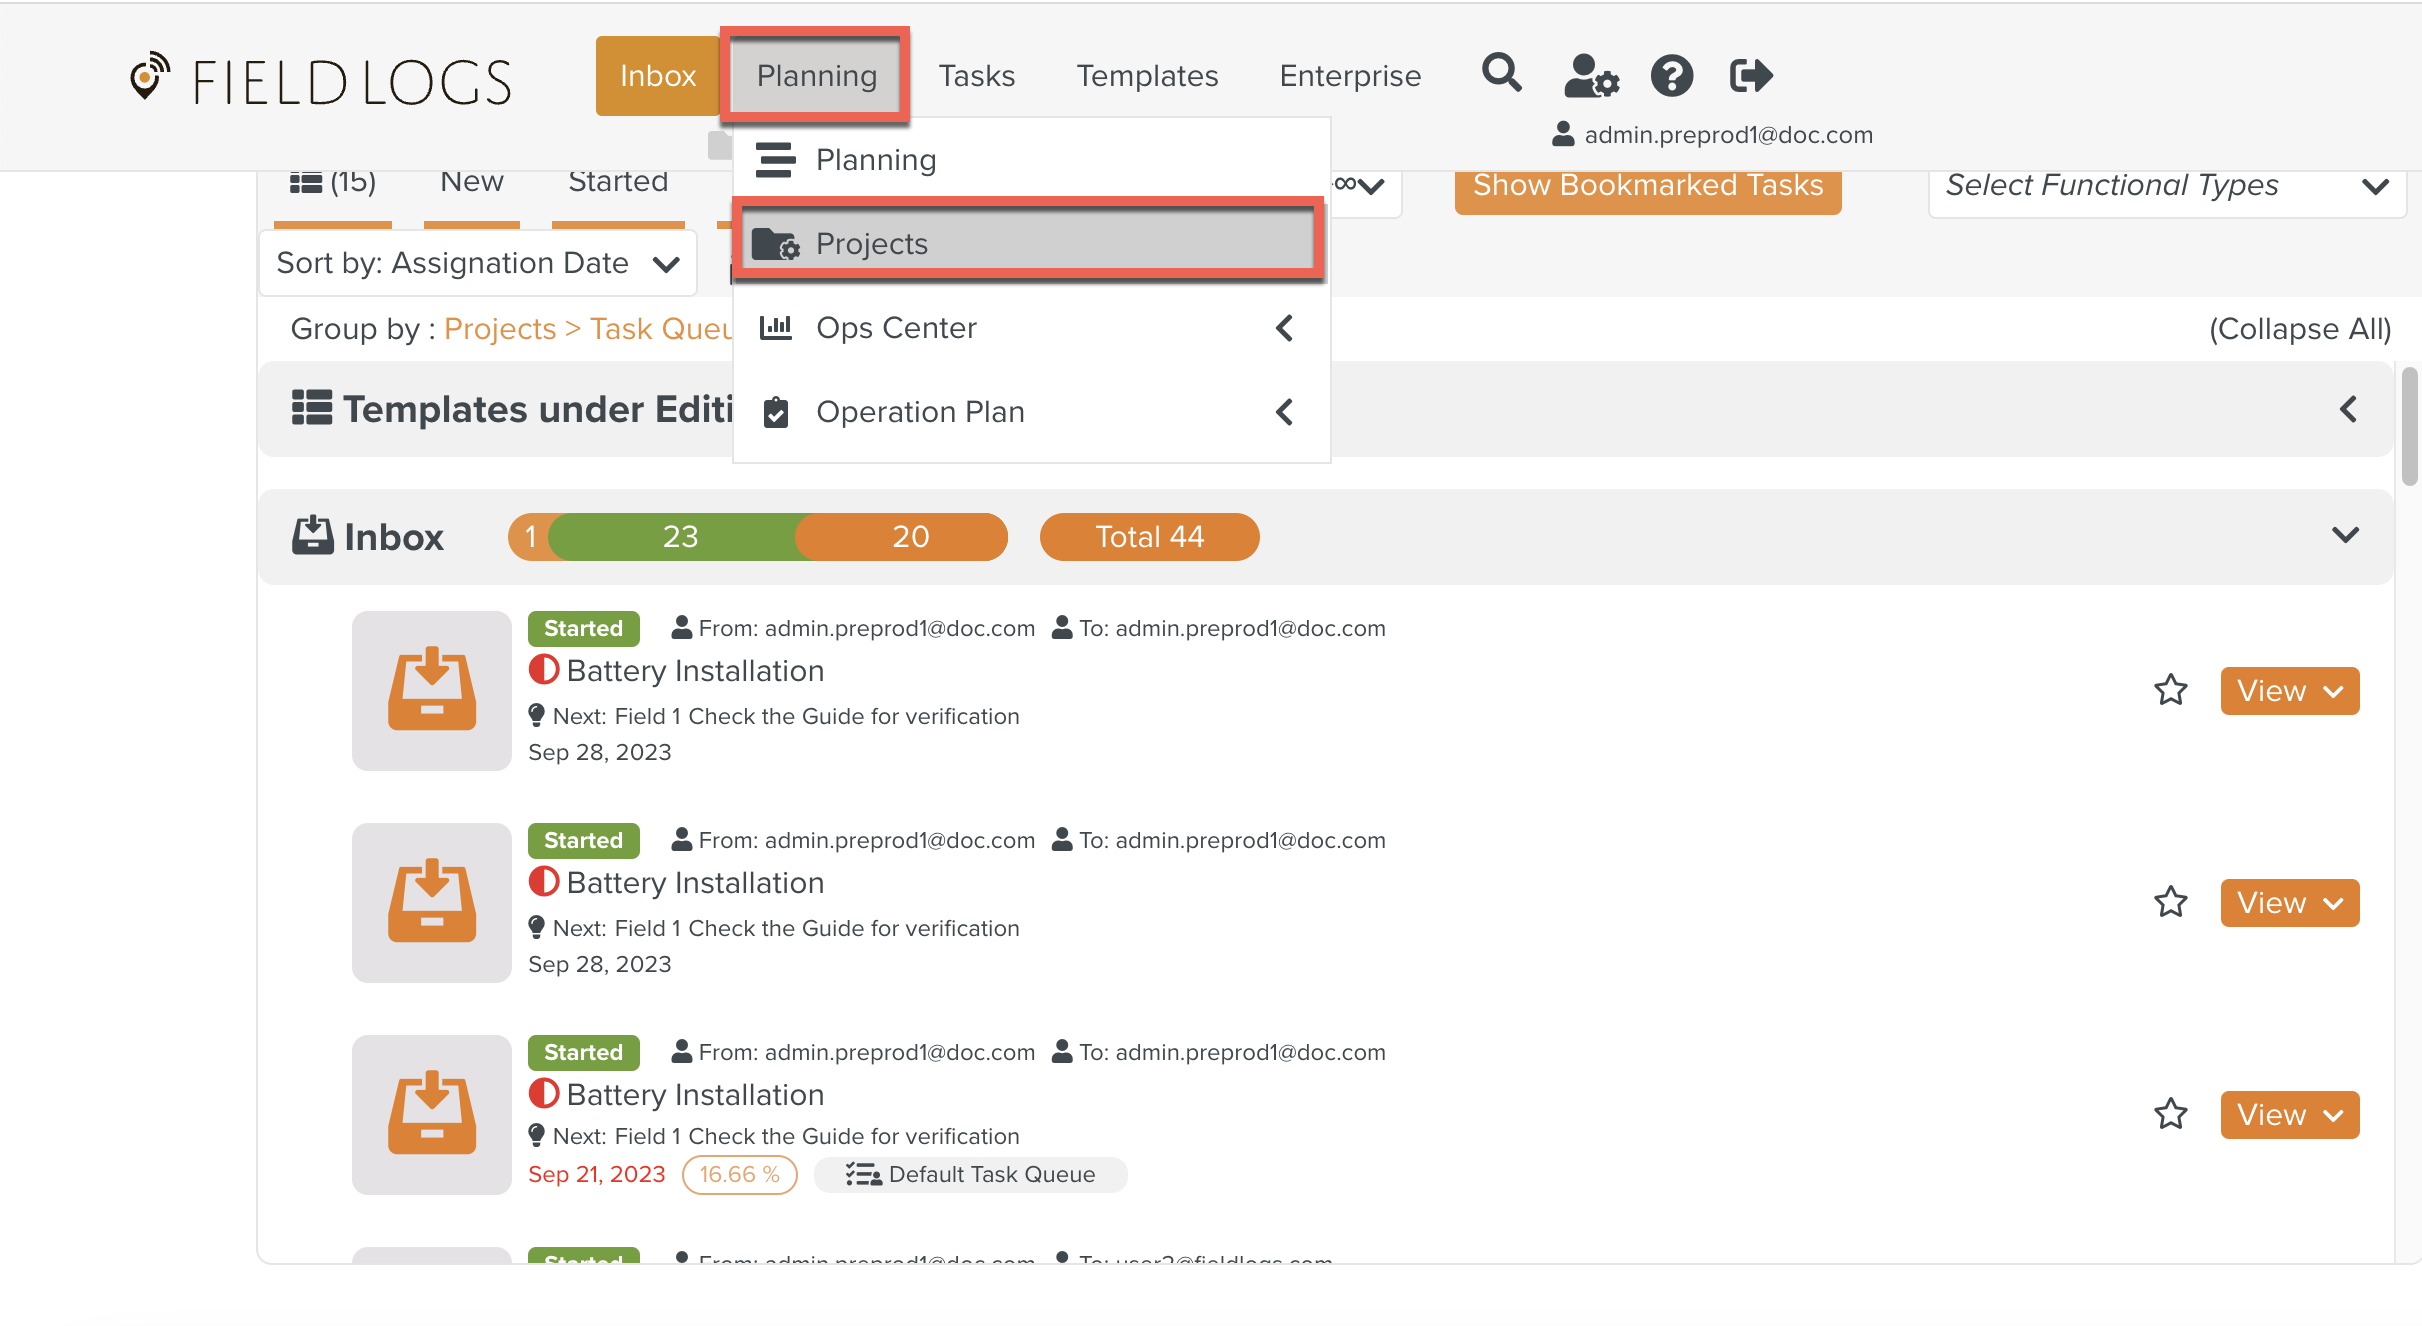
The section opens.
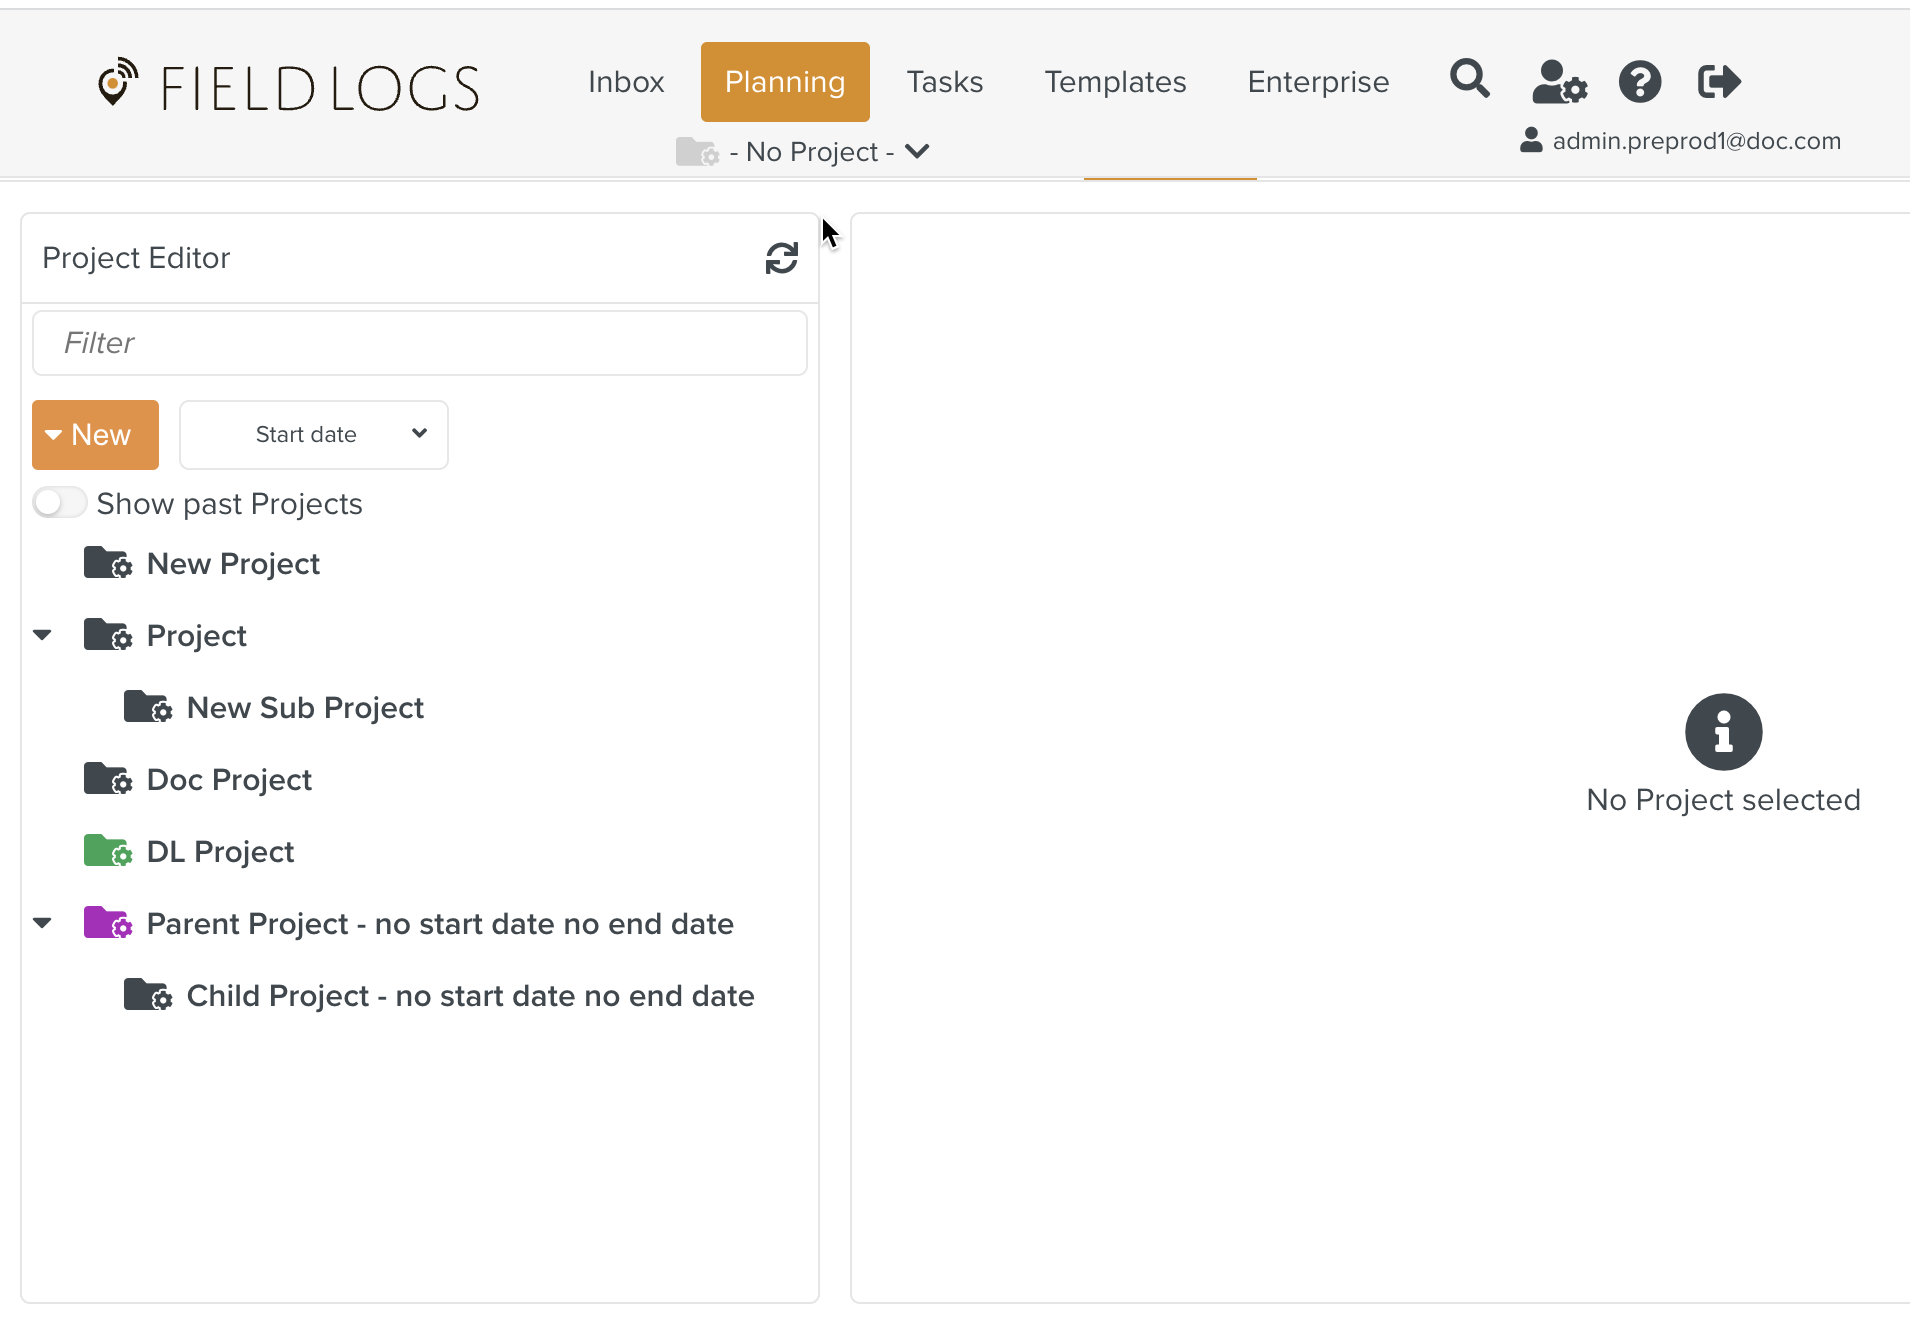
Expand the dropdown
 .
.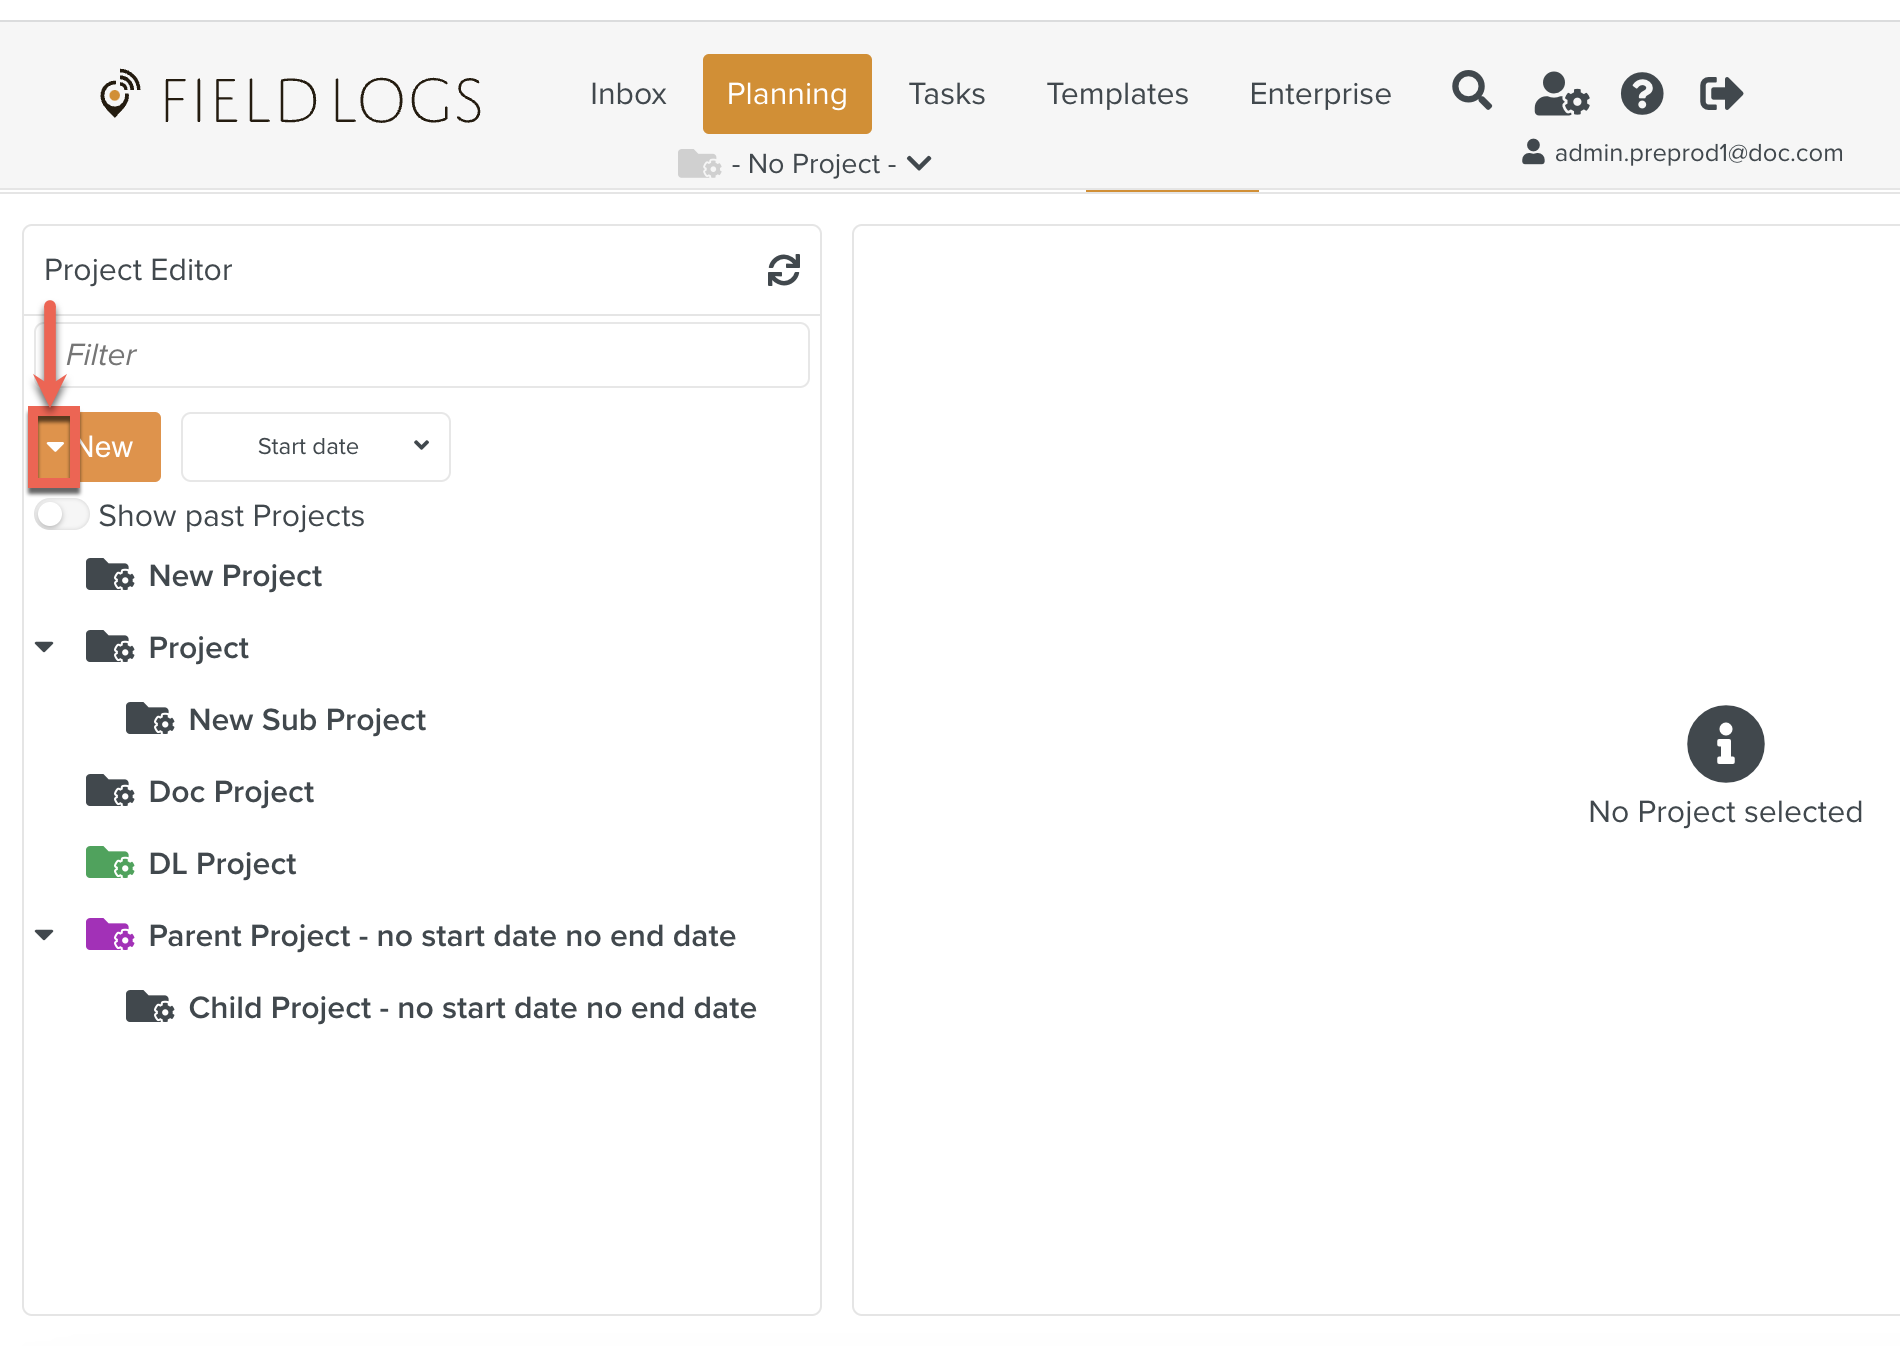
The dropdown menu opens.
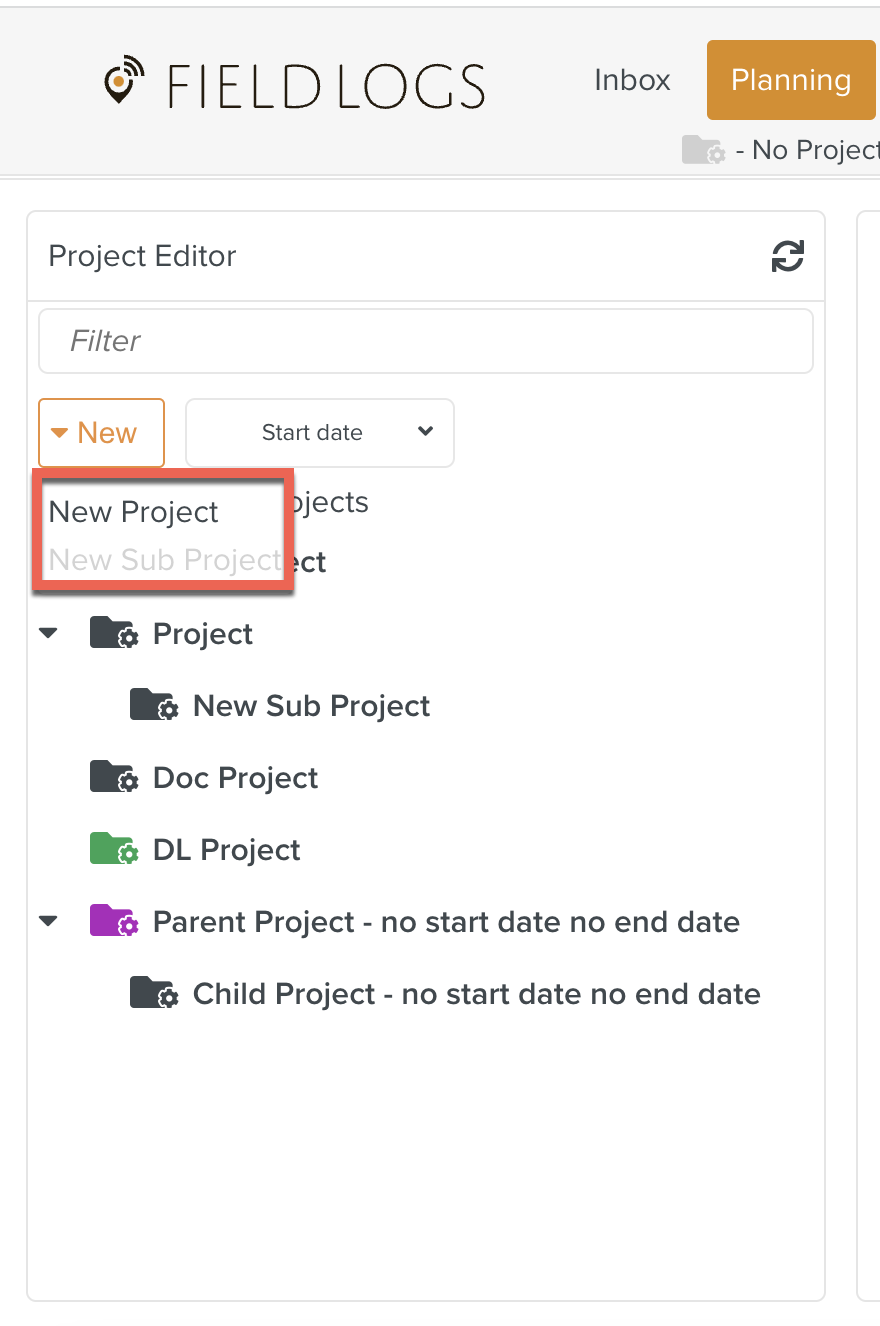
Click New Project.

The section Project Details opens.
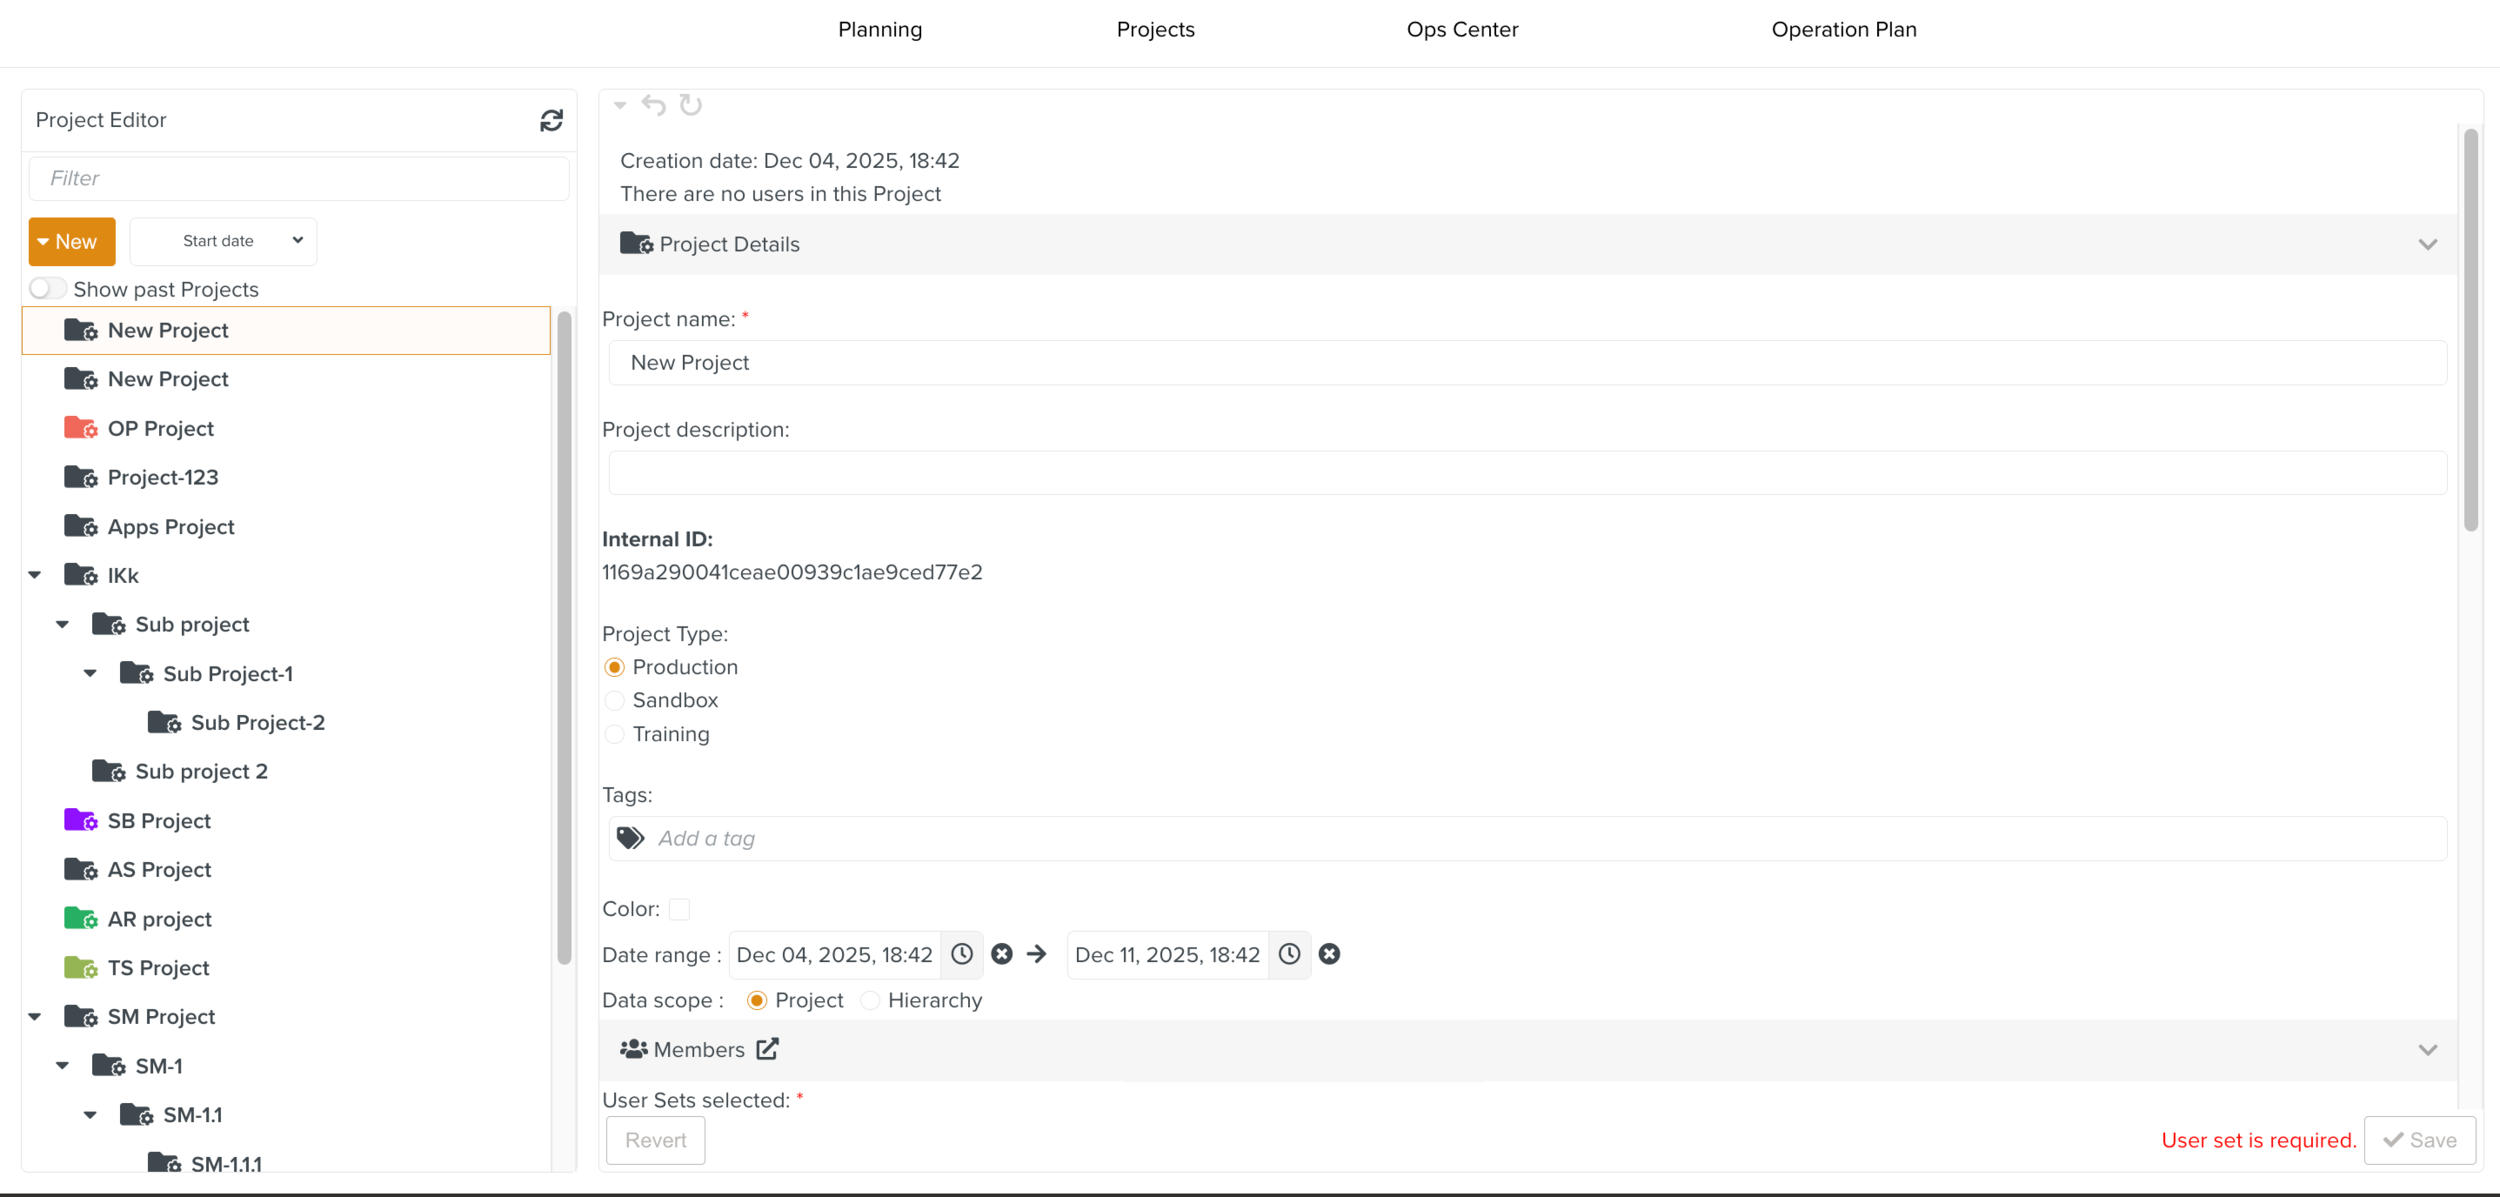
Enter the following details in the Project Details section.
Enter .
[Optional] Enter .
refers to a Project ID, which is used in API calls.
[Optional] Depending on the part of your Project, choose the option from .
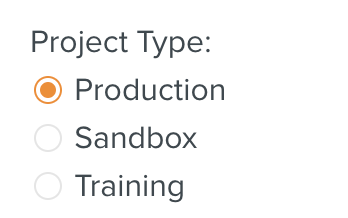
Production: This Project is currently live, and customers are using it.
Sandbox: This Project Type is created within the Production to test the Project.
Training: This Project Type is used for Training purposes.
[Optional] Add a Tag with which you represent your Project.
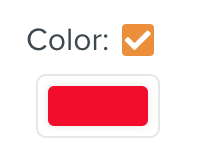
[Optional] Choose a color to recognize and differentiate your Projects.
[Optional] Enter the start and end date of the Project by choosing .
Note
If you create a Sub Project, you can choose to inherit the Date range defined in the parent Project.
Note
When creating a new Project, the Date range field is not mandatory. You can enter either the start date or the end date, or neither.
The default Date range will be a duration of 8 days, along with the time of creation.


: Select either or .
Project scope: The users belonging to the Project can run and continue the Tasks assigned to the Project members.
Hierarchy scope: The users who belong to a Project can run and continue the Tasks assigned to the Project as long as they have a hierarchy level equal to or superior to the member who first ran the Task.
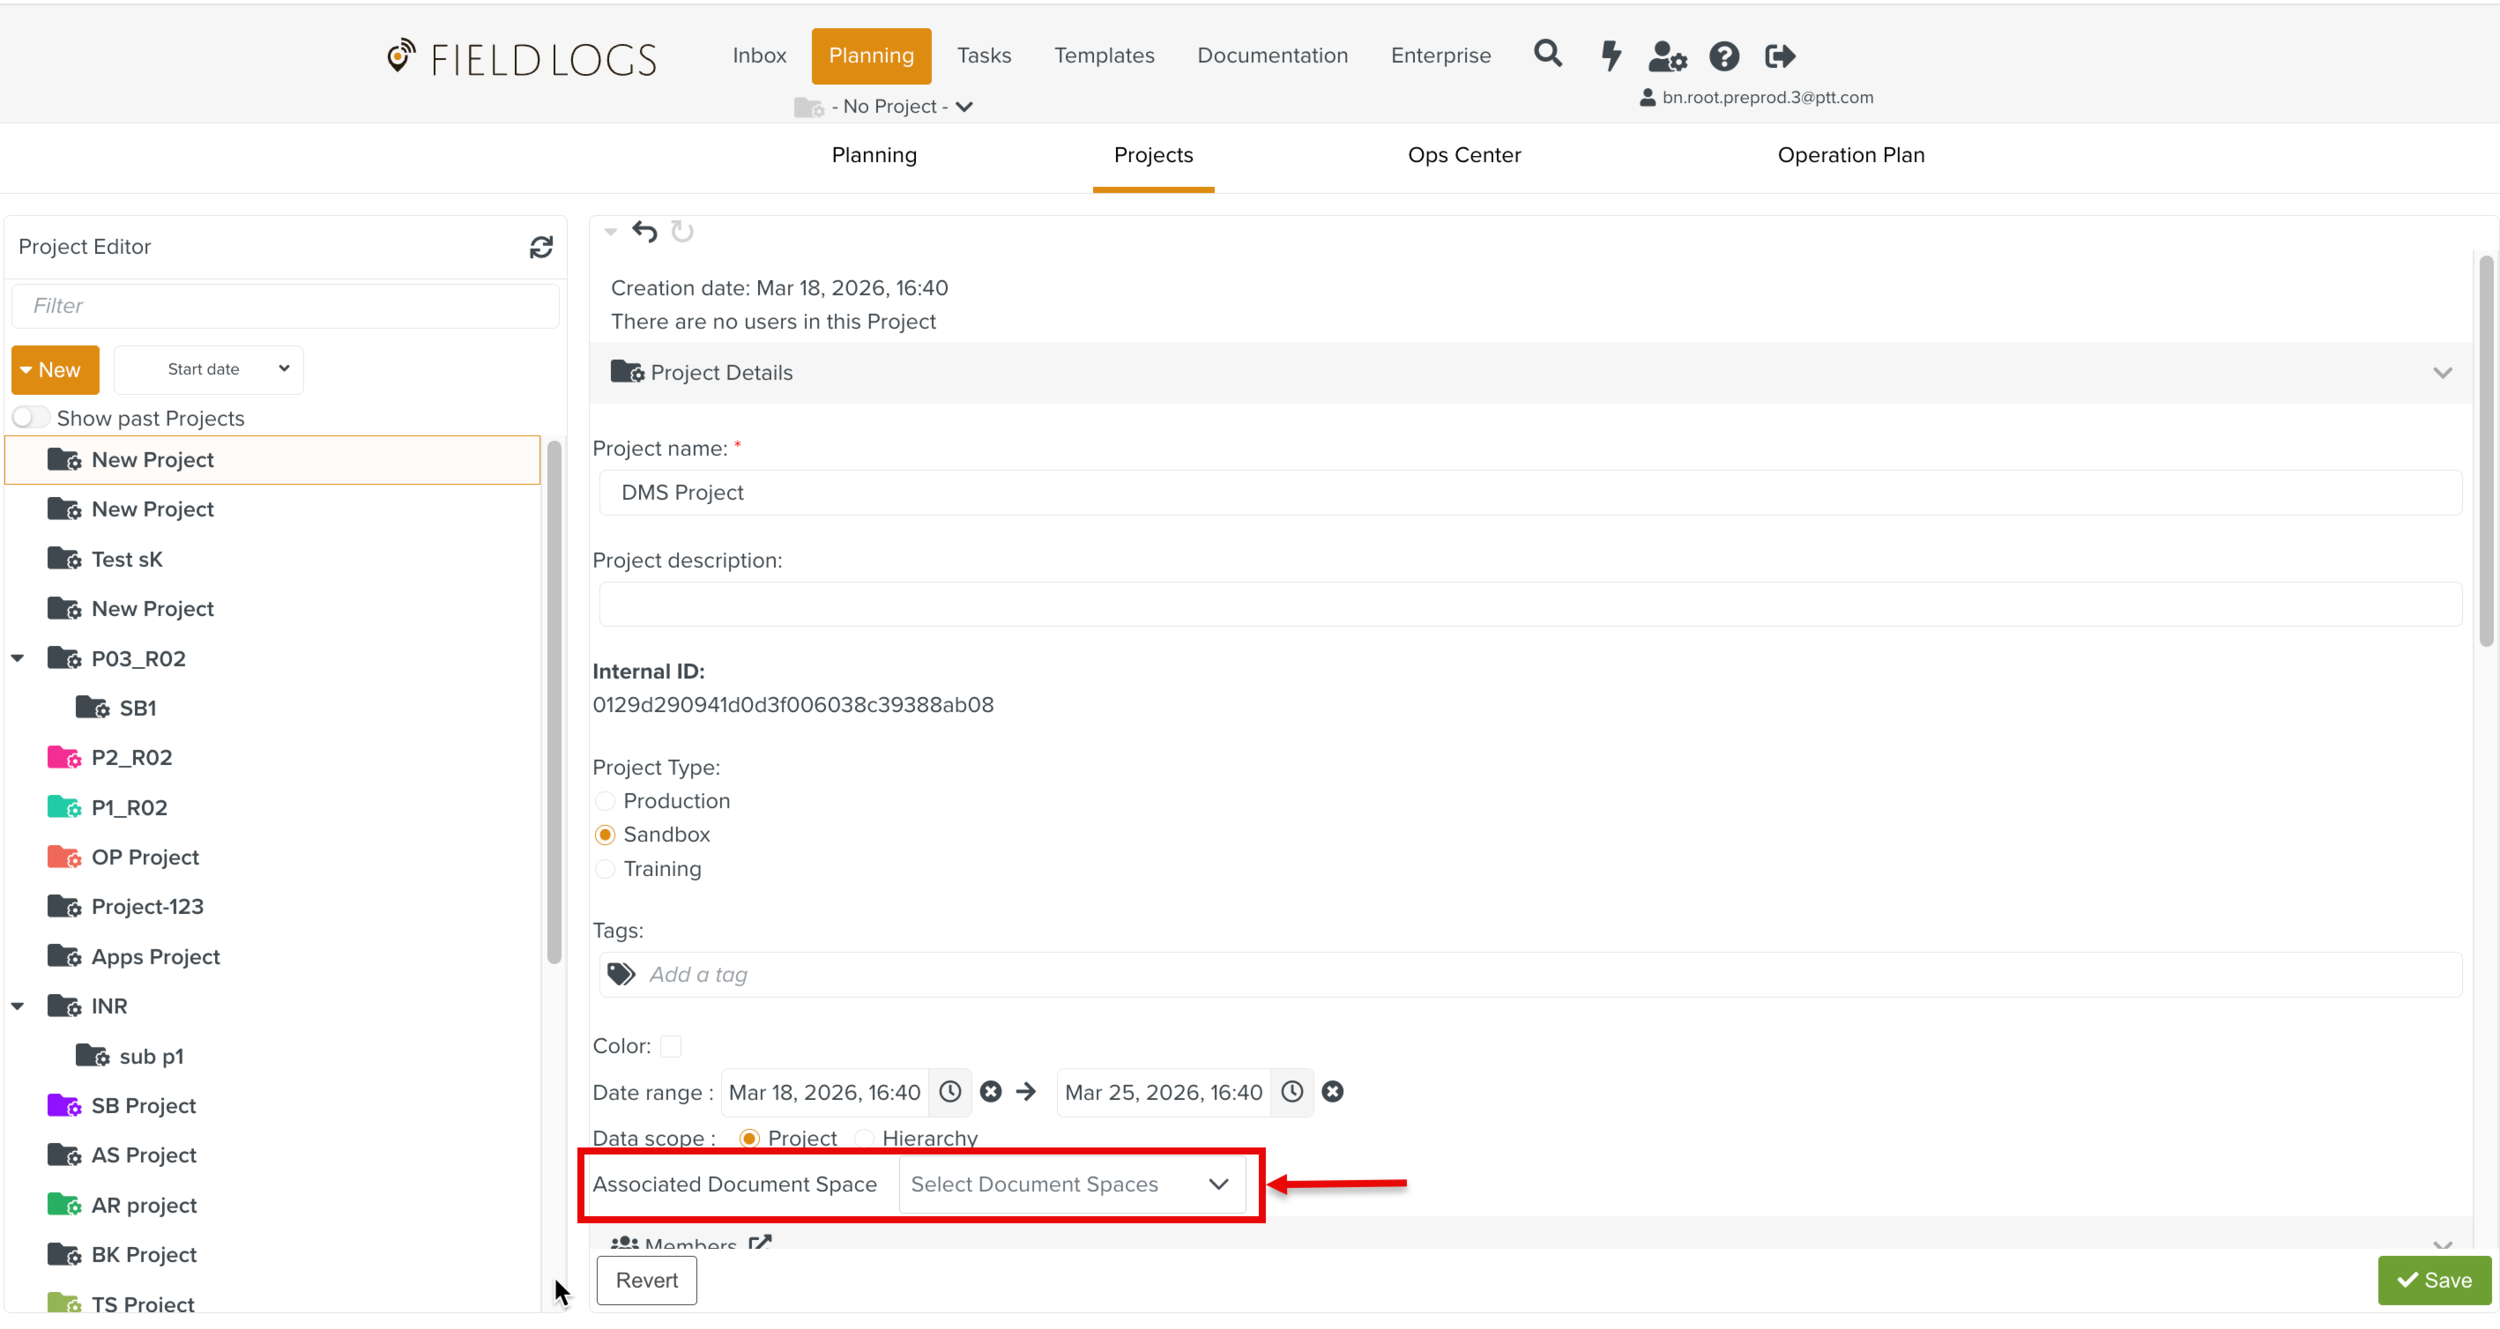
: Select a Document Space to associate it to the Project.
Multiple Projects can be linked to the same Document Space; however, each Project can be associated with only one Document Space.
[Mandatory] Click .
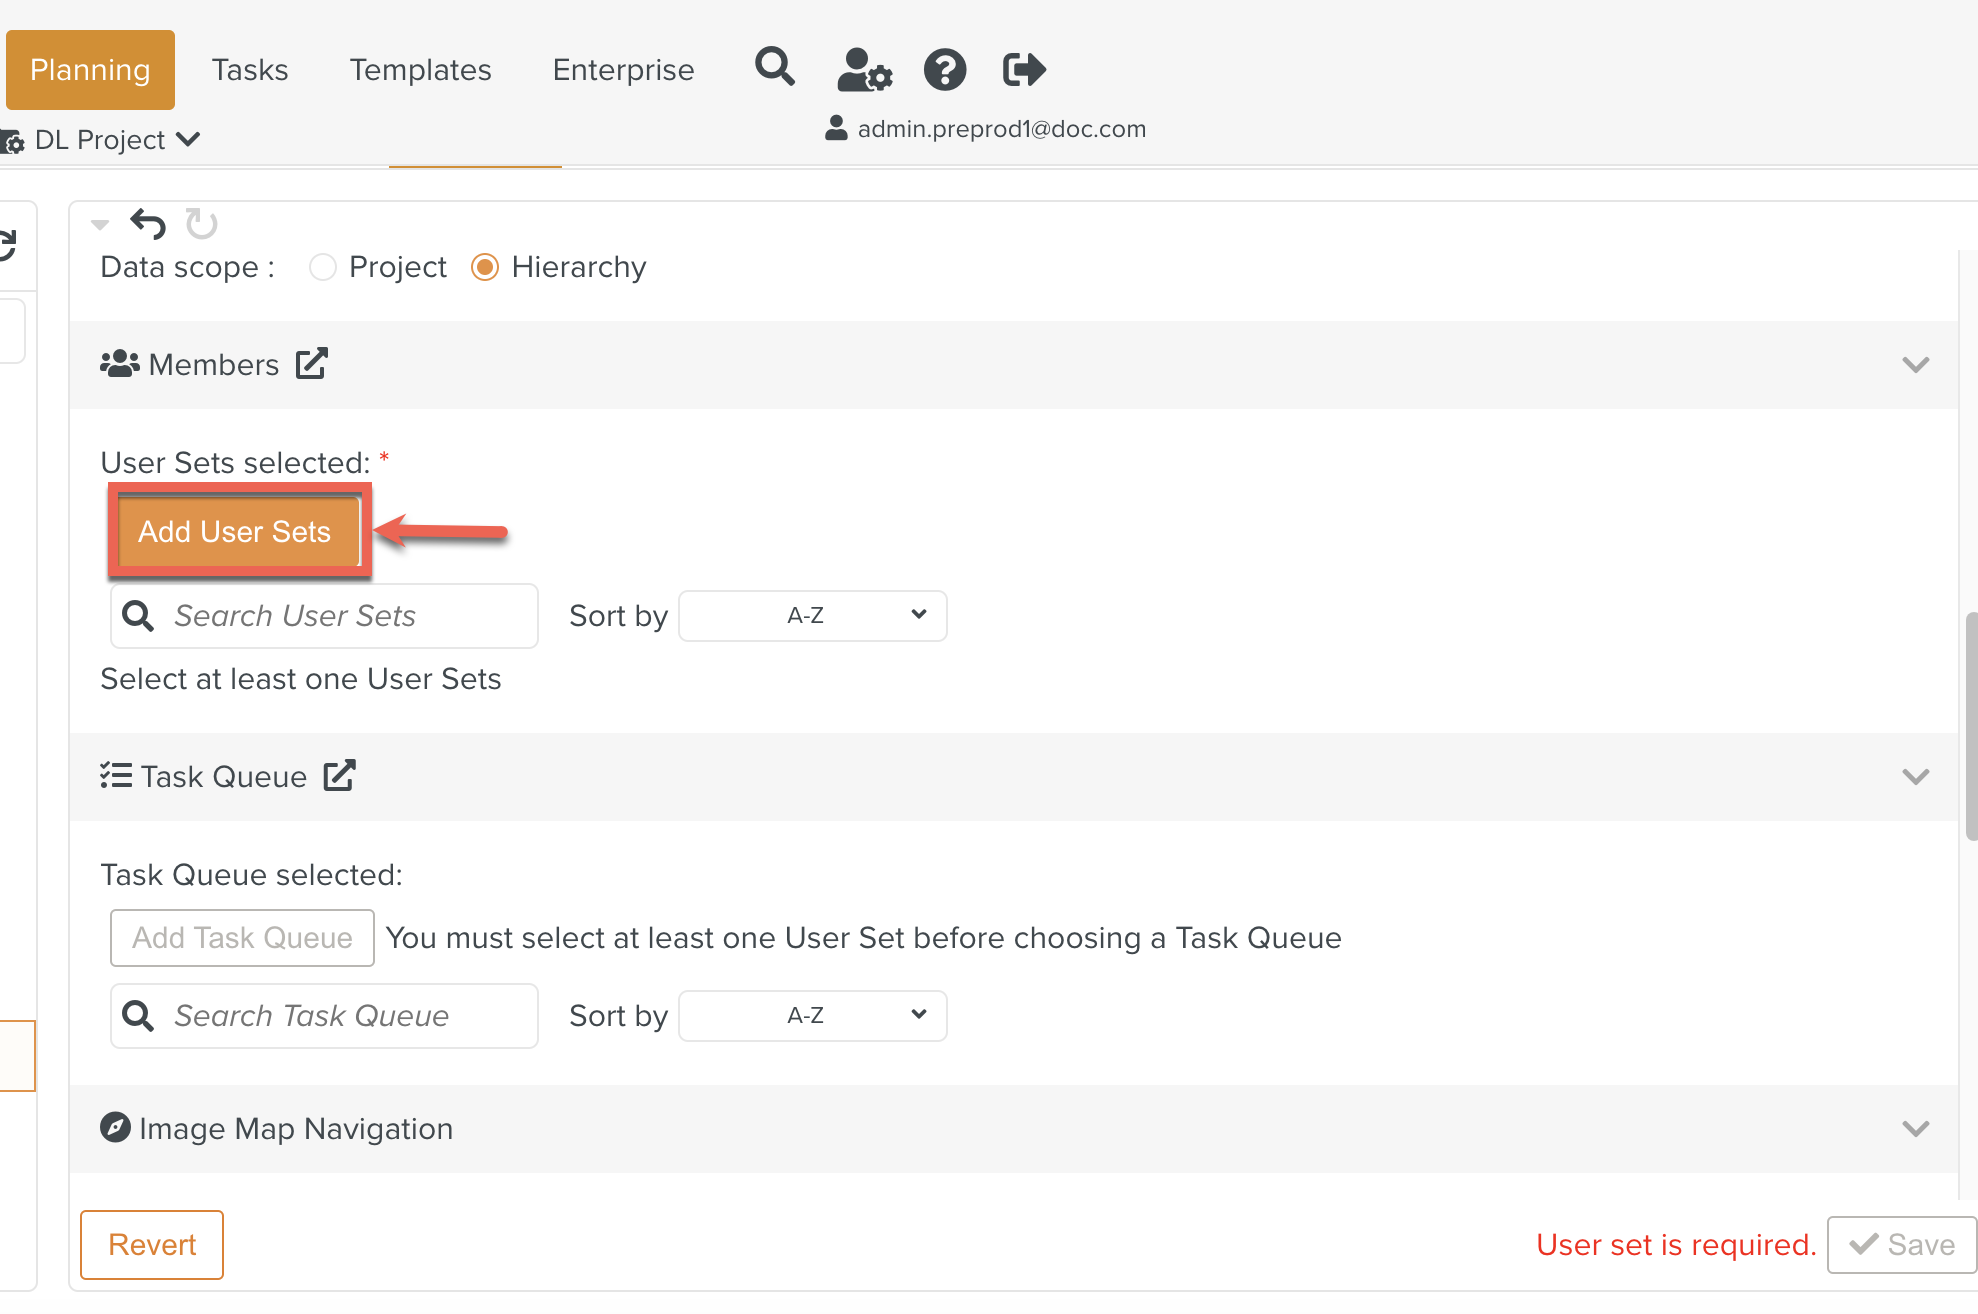
The User Sets dialog opens.
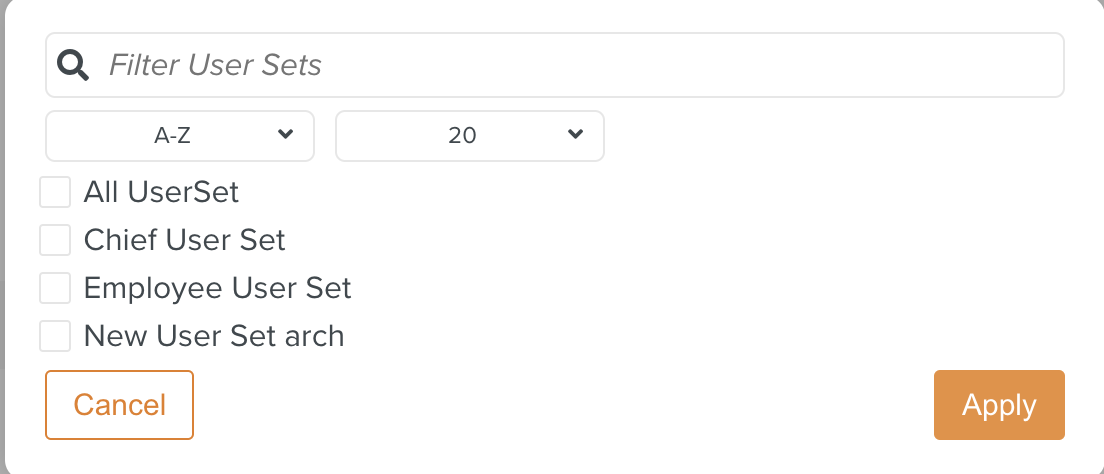
Select one or more User Sets.
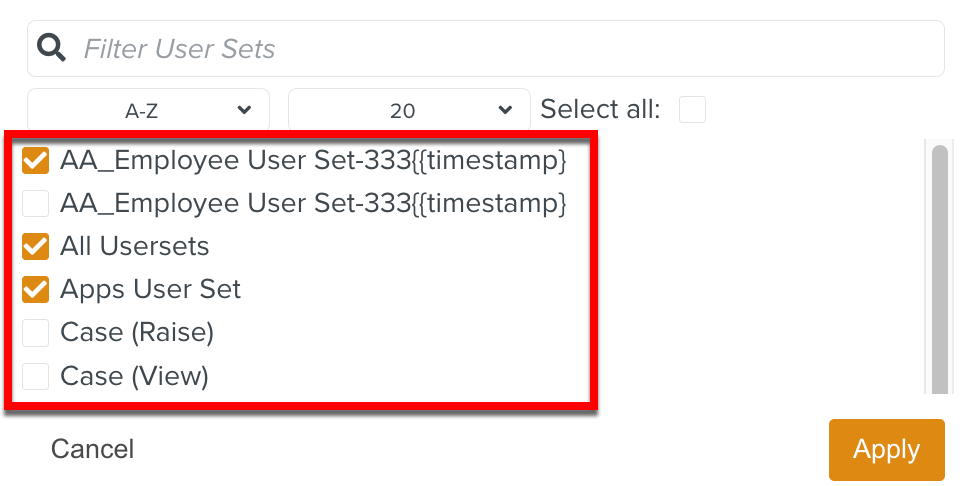
You can check to select all User Sets. To deselect all the User Sets, uncheck the Select all option.

Click .
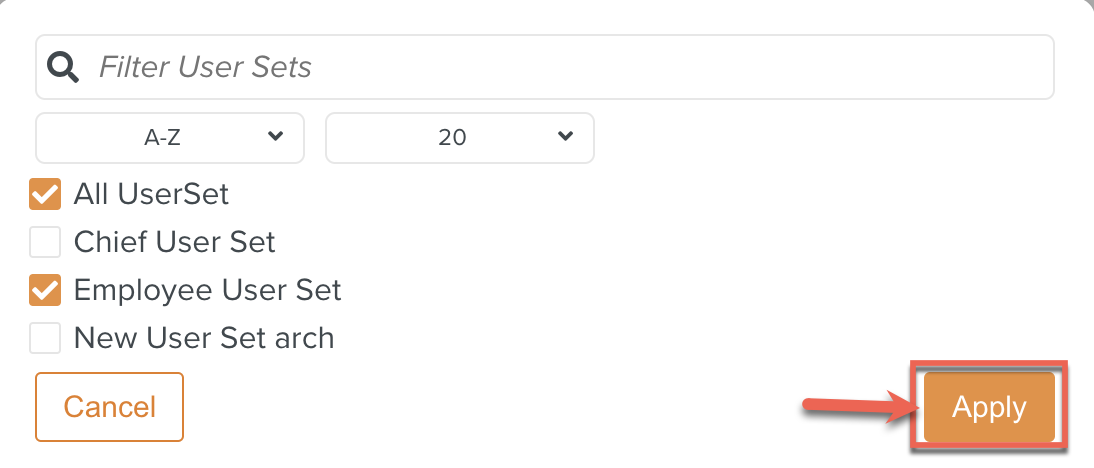
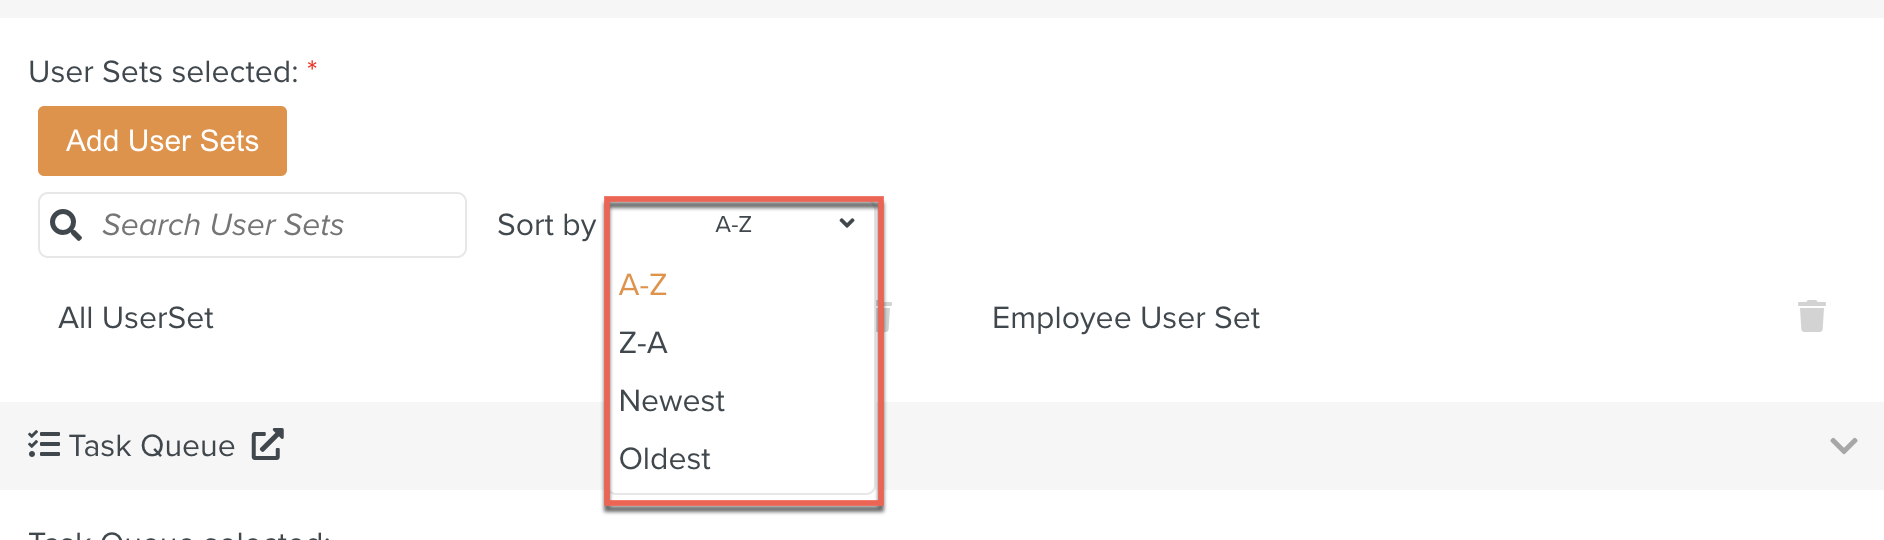
The User Sets are added to the Project. Only members from these User Sets can work in the scope of the Project.

The listed User Sets can be searched alphabetically (A-Z or Z-A) or from Newest to Oldest using the Sort by option.
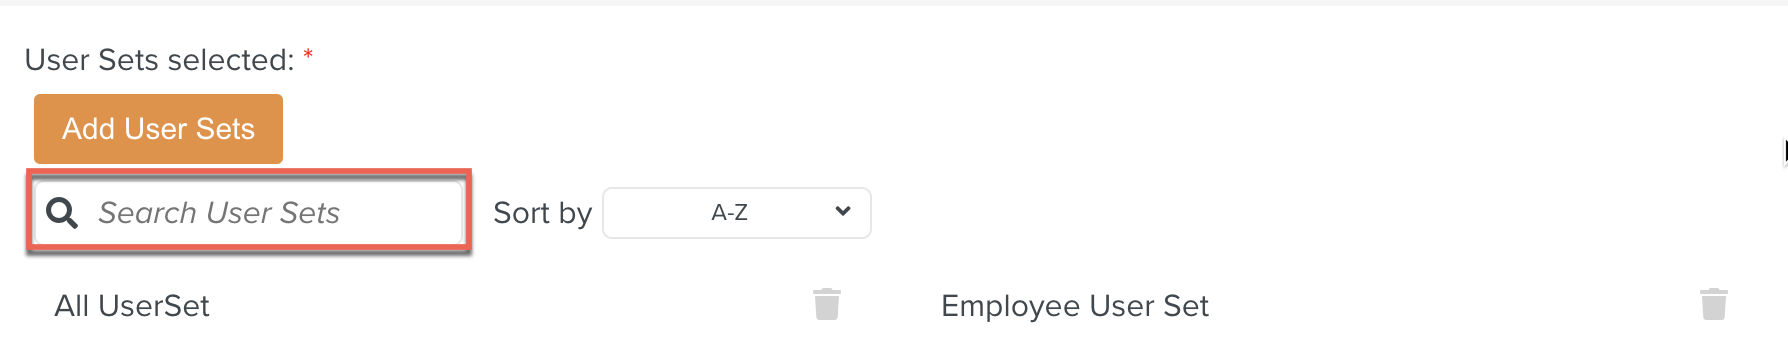
You can also search the User Sets by using the Search filter as shown below.
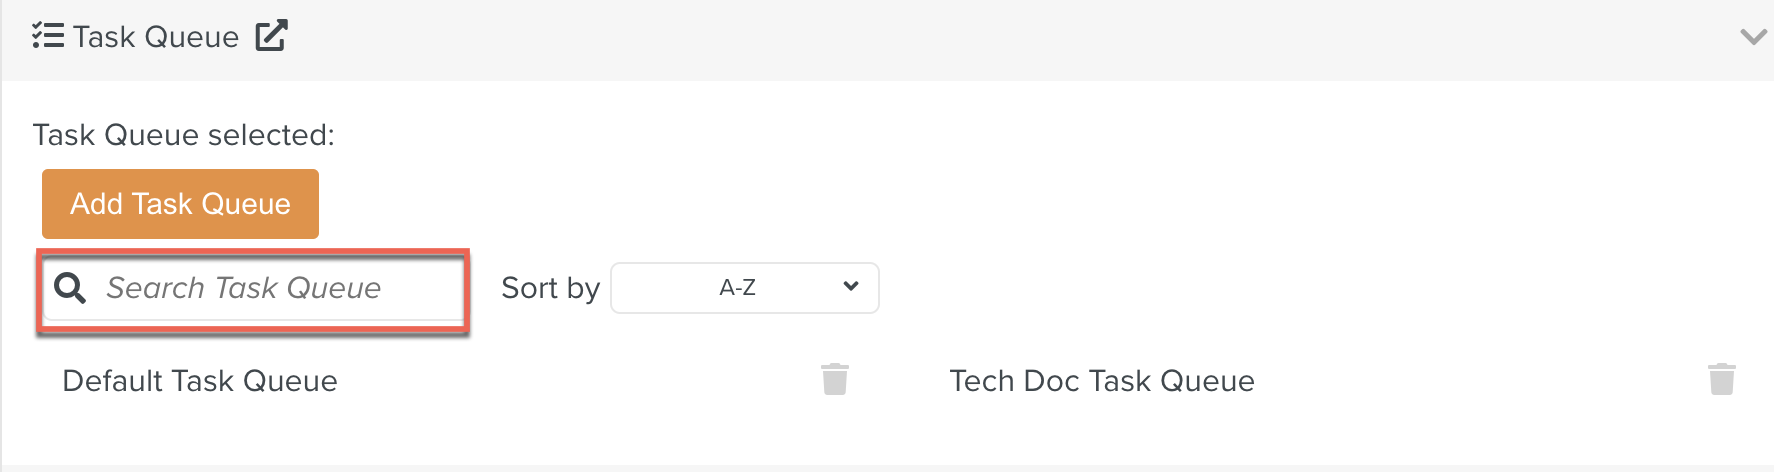
Click .
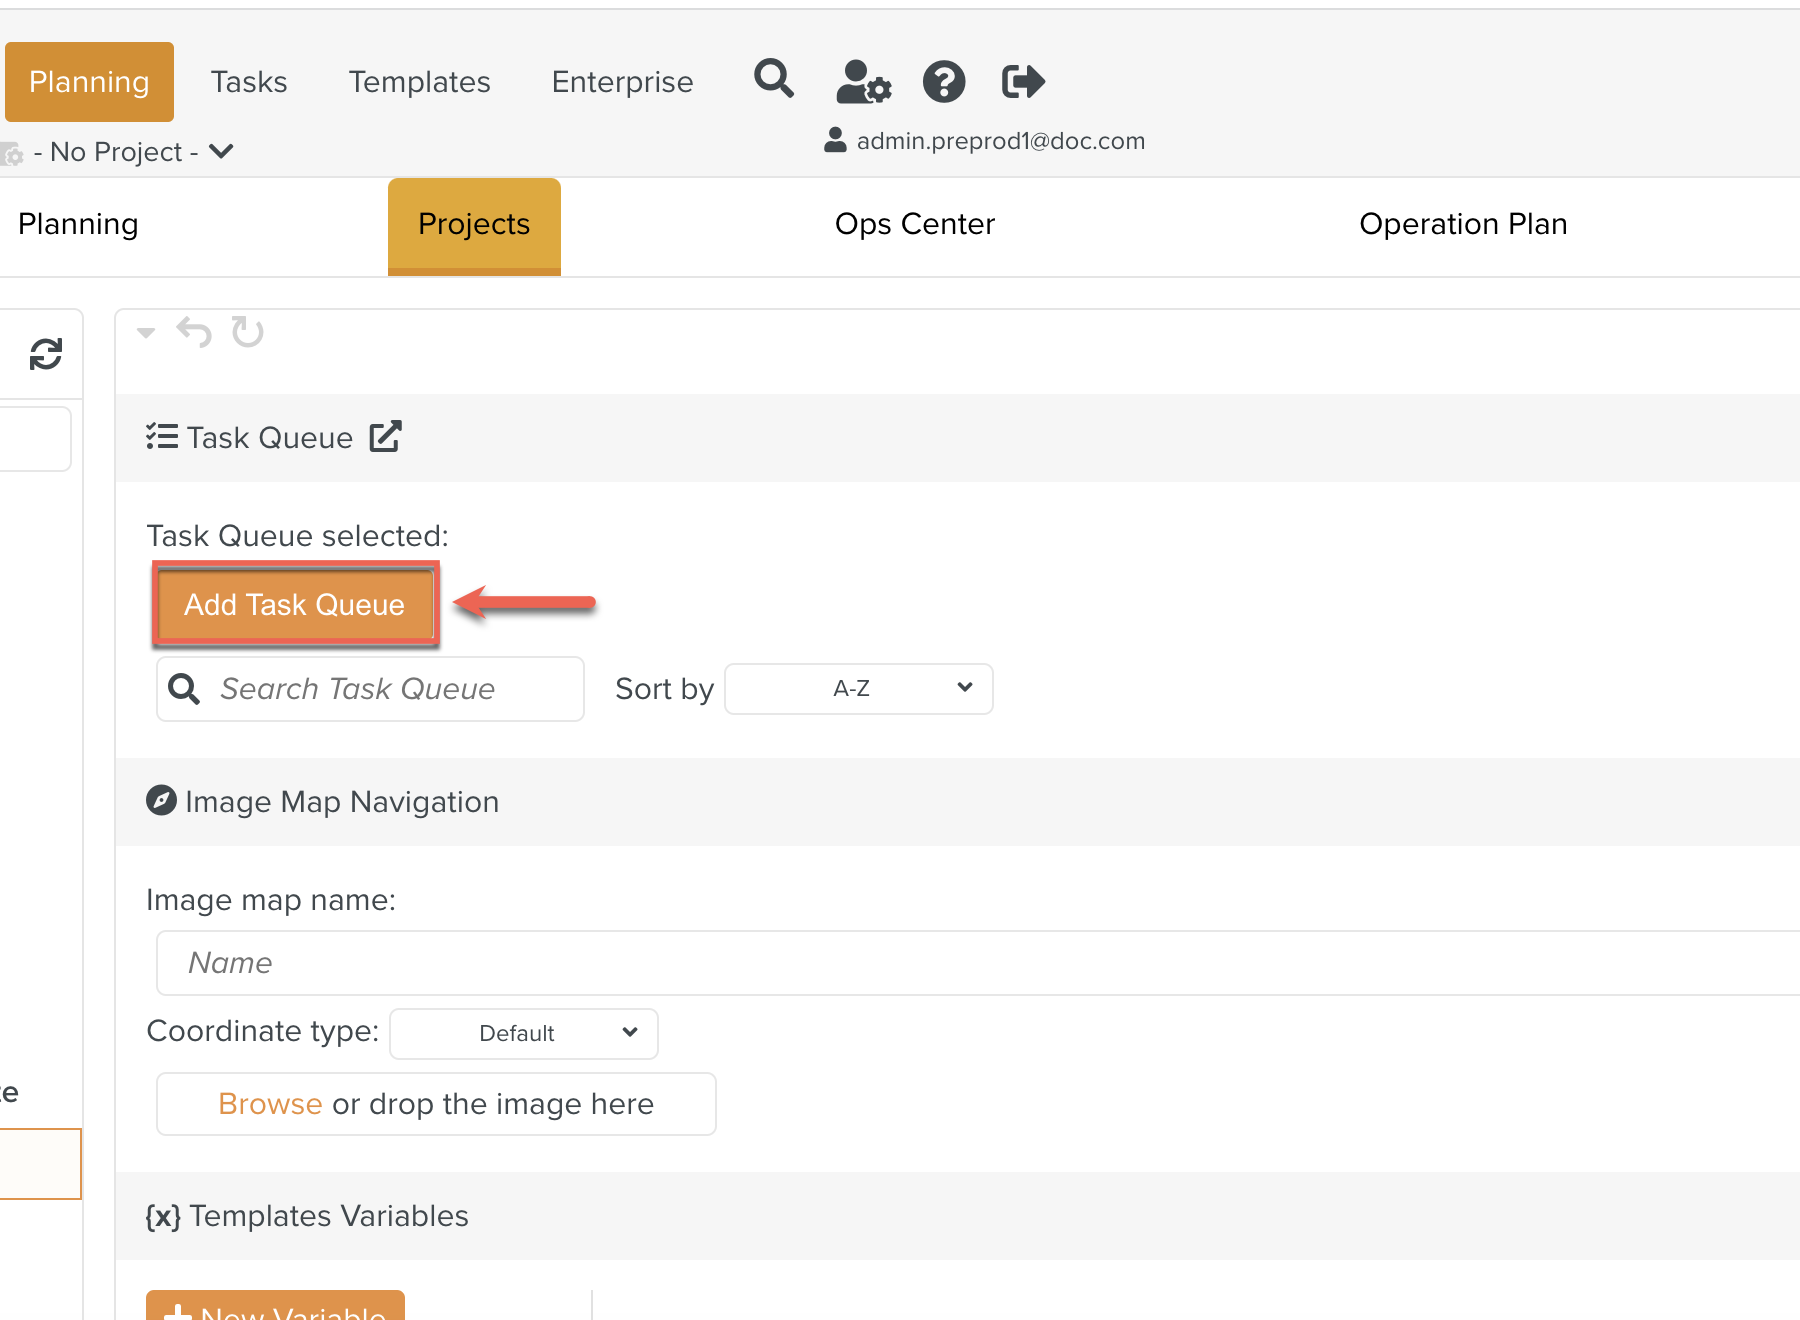
The dialog box appears.
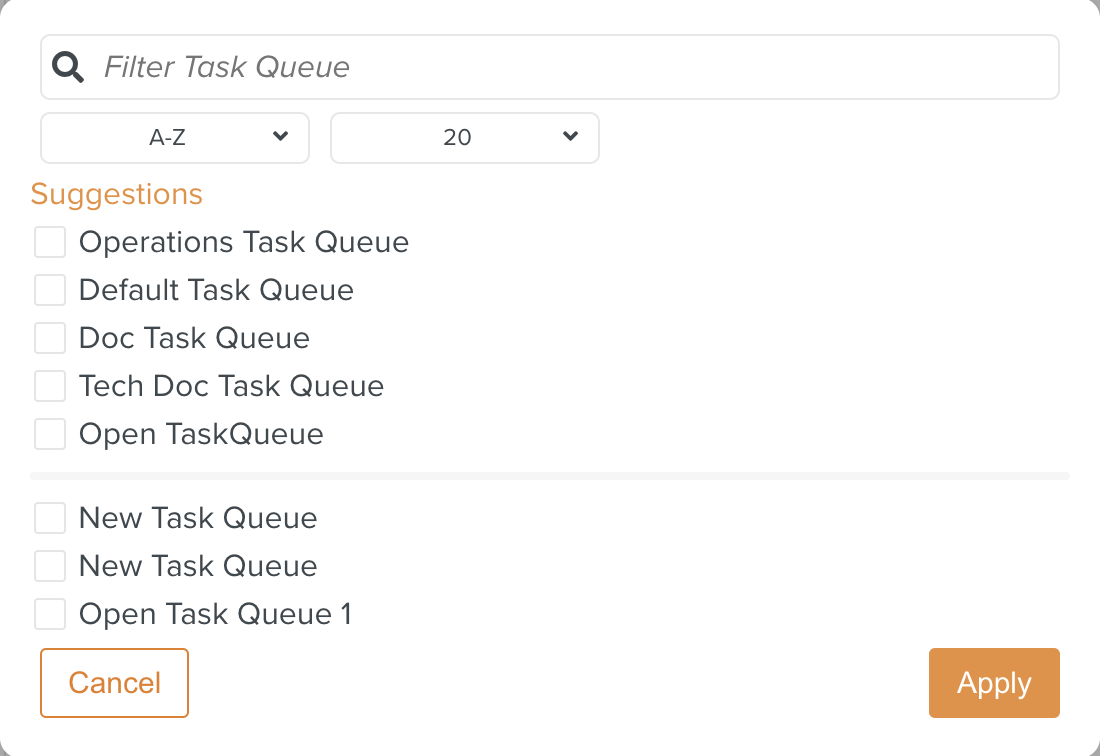
Select one or more Task Queues from the list as shown below.
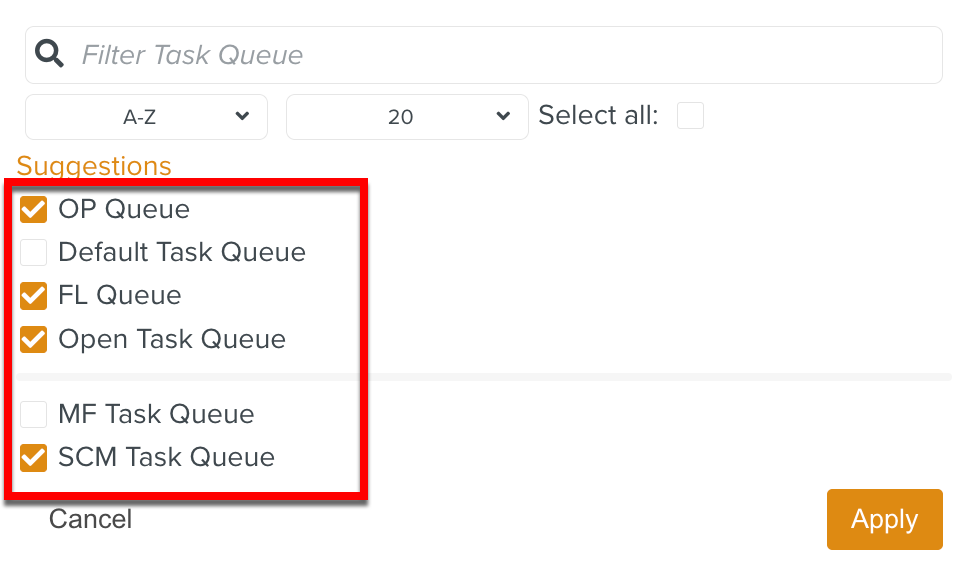
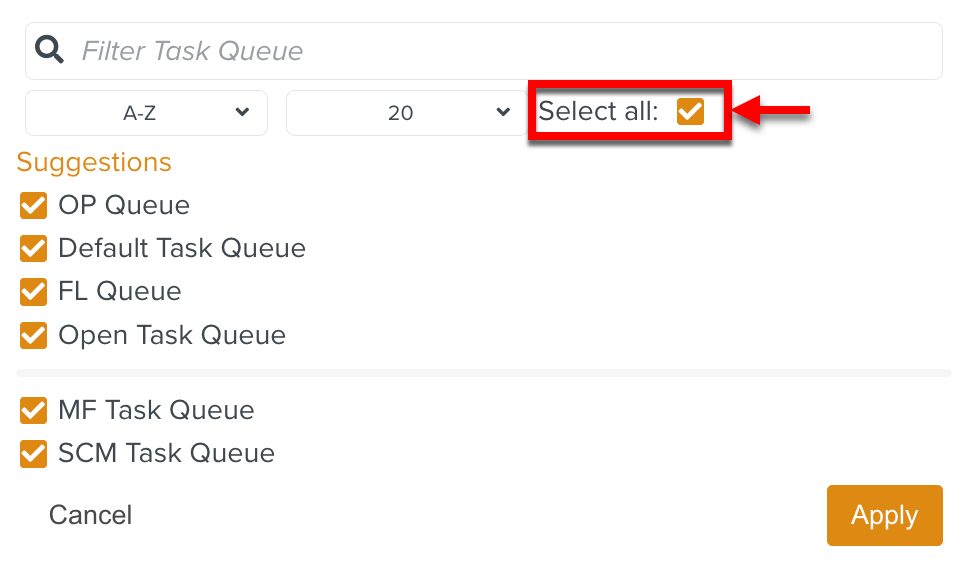
You can check to select all Task Queues. To deselect all the Task Queues, uncheck the Select all option.
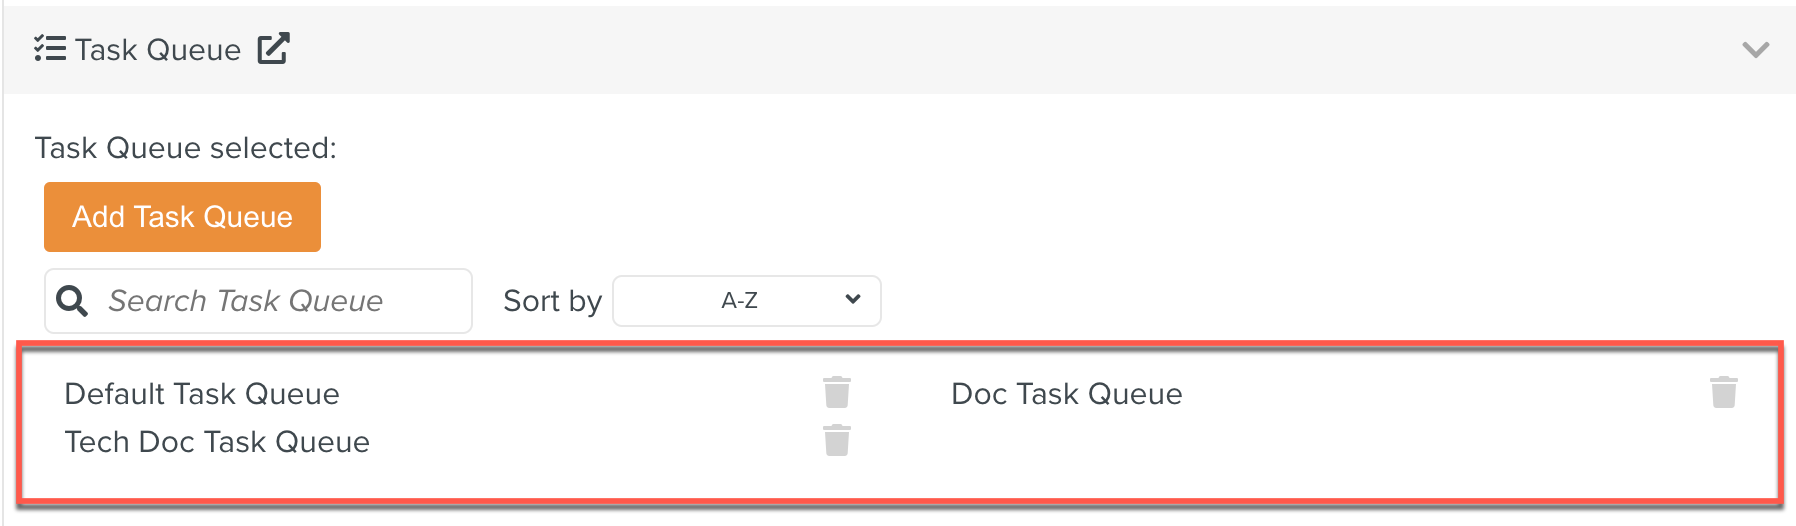
Click .

The Task Queues are added to the Project.
The listed Task Queues can be searched alphabetically (A-Z or Z-A) or from Newest to Oldest using the Sort by option.
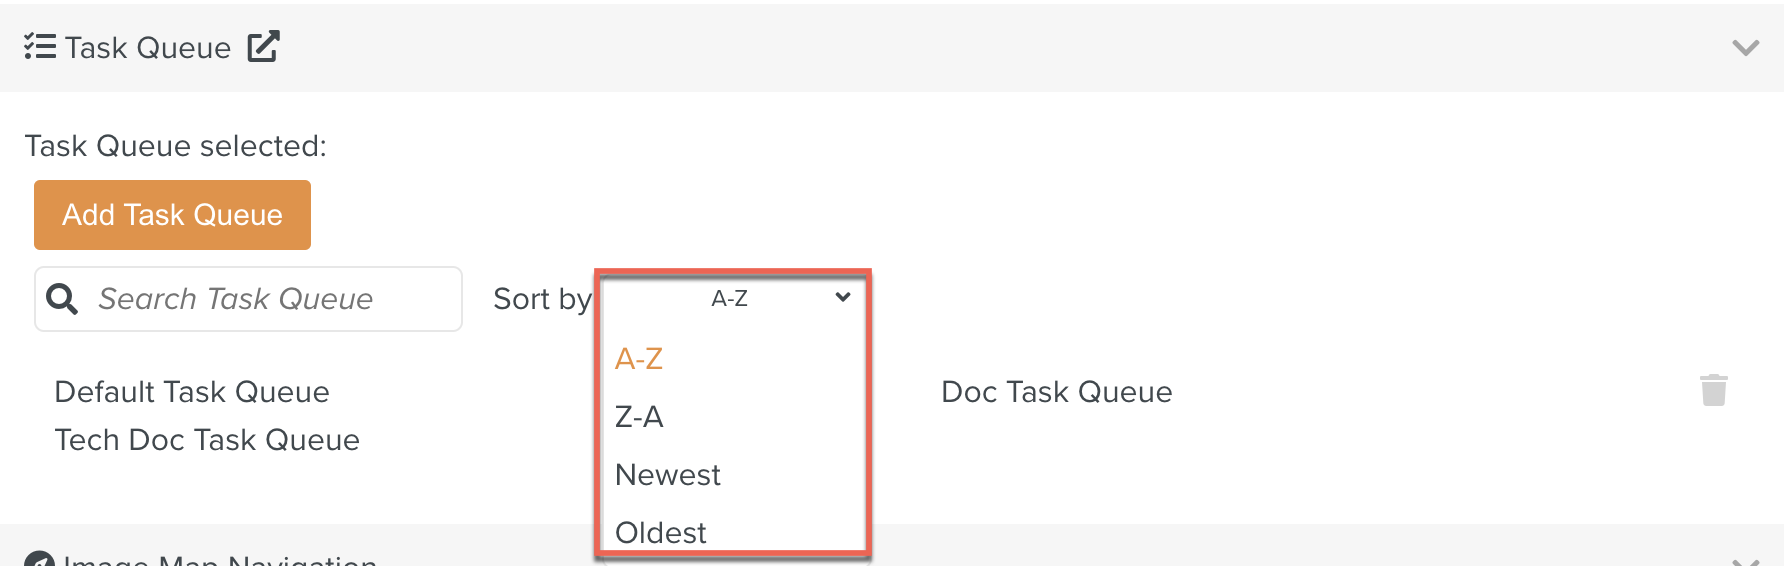
You can also search the Task Queues by using the Search filter as shown below.
Click .
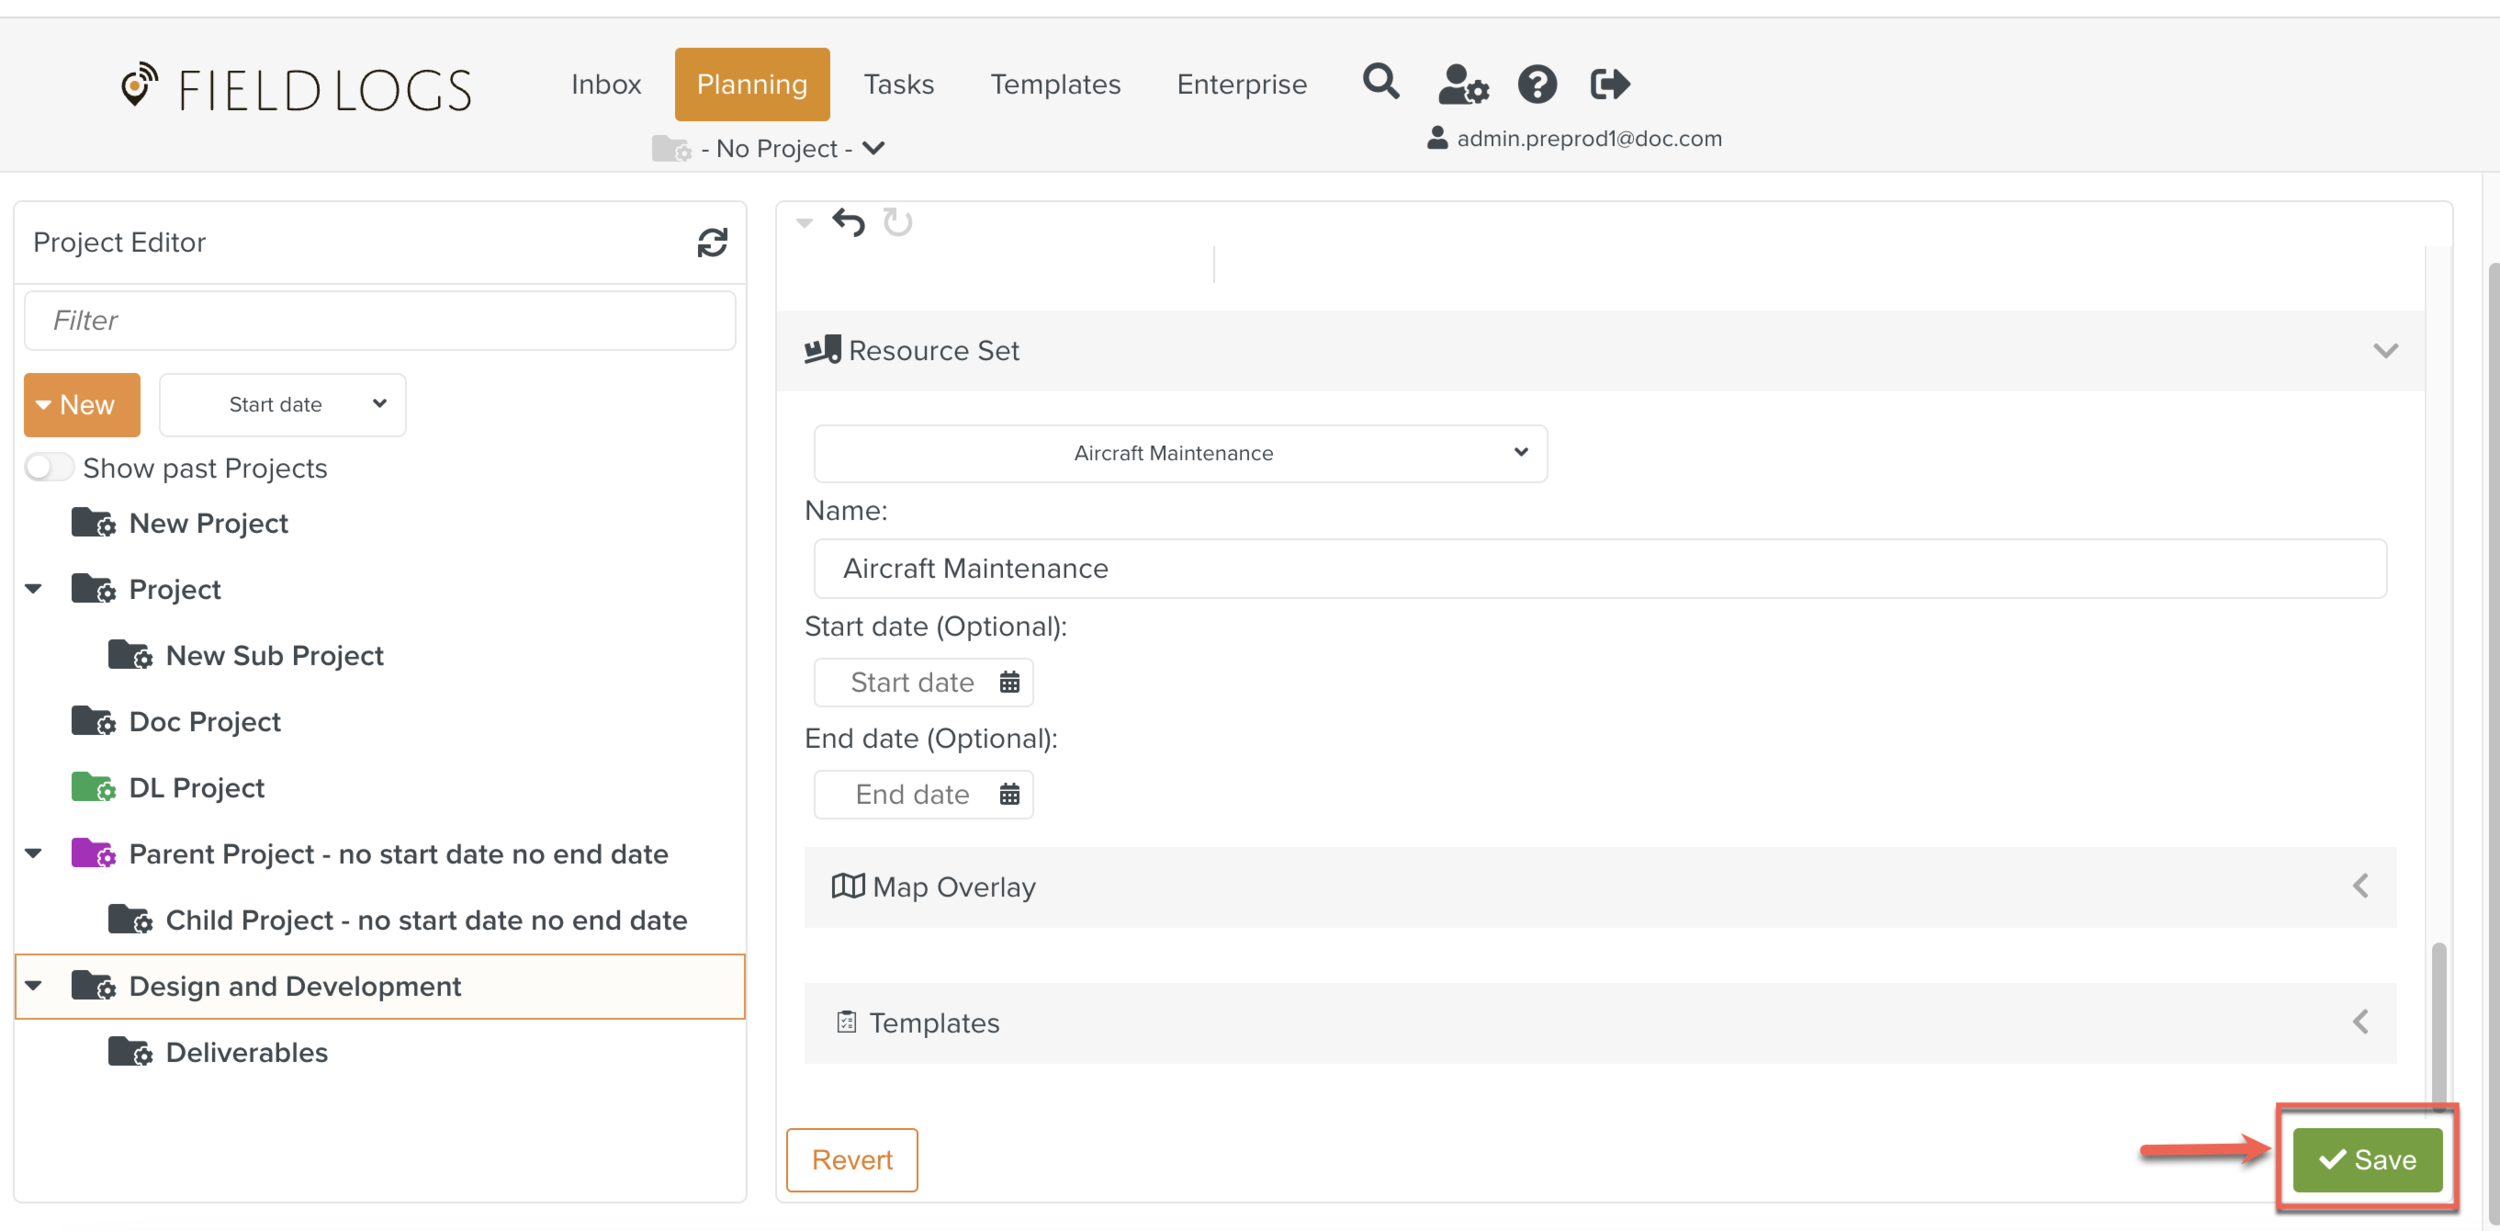
The Project is created.
You can select a Project to work on Tasks from that Project.