Adding Data to an Object
The Object Model defines the structure of a database table as a collection of properties.
Properties are the columns defined for the table.
An Object is a database table containing rows of data.
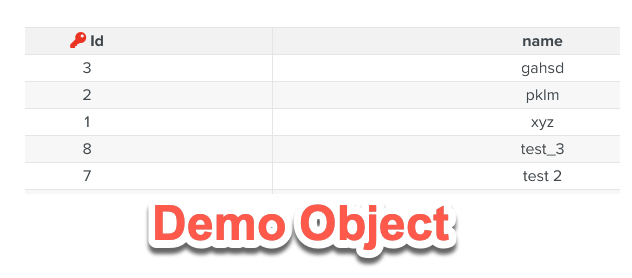
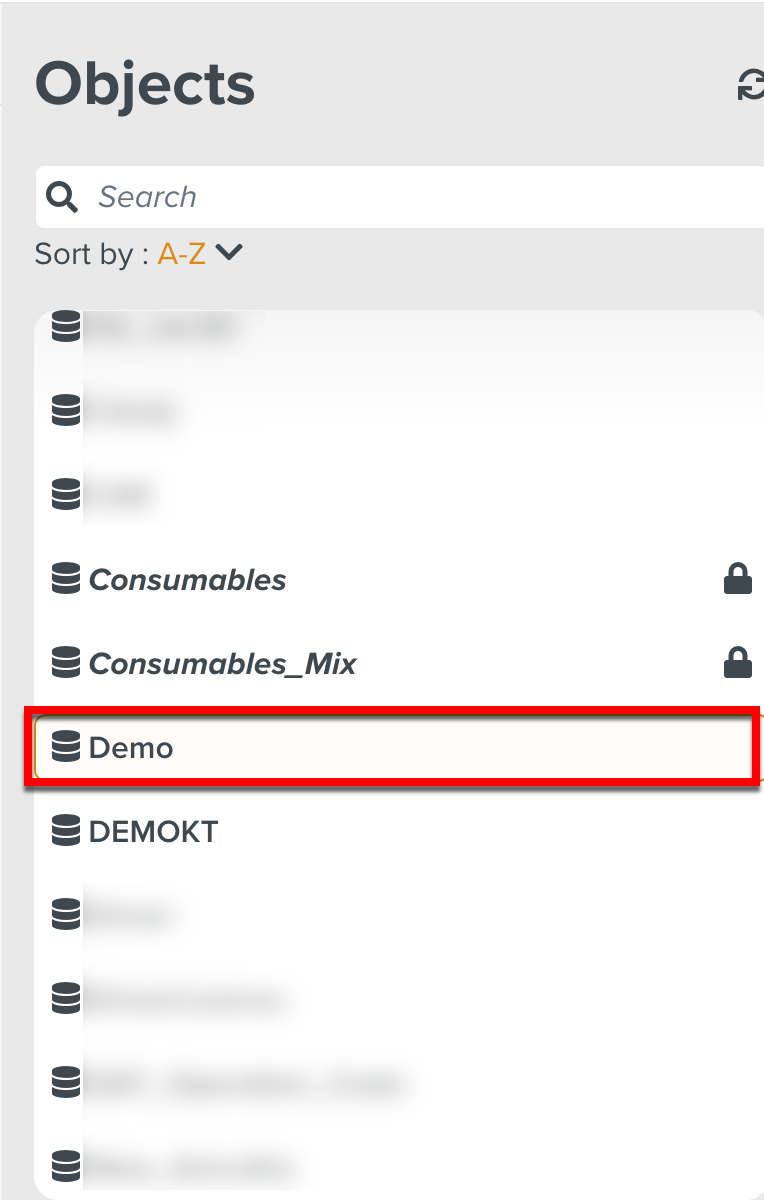
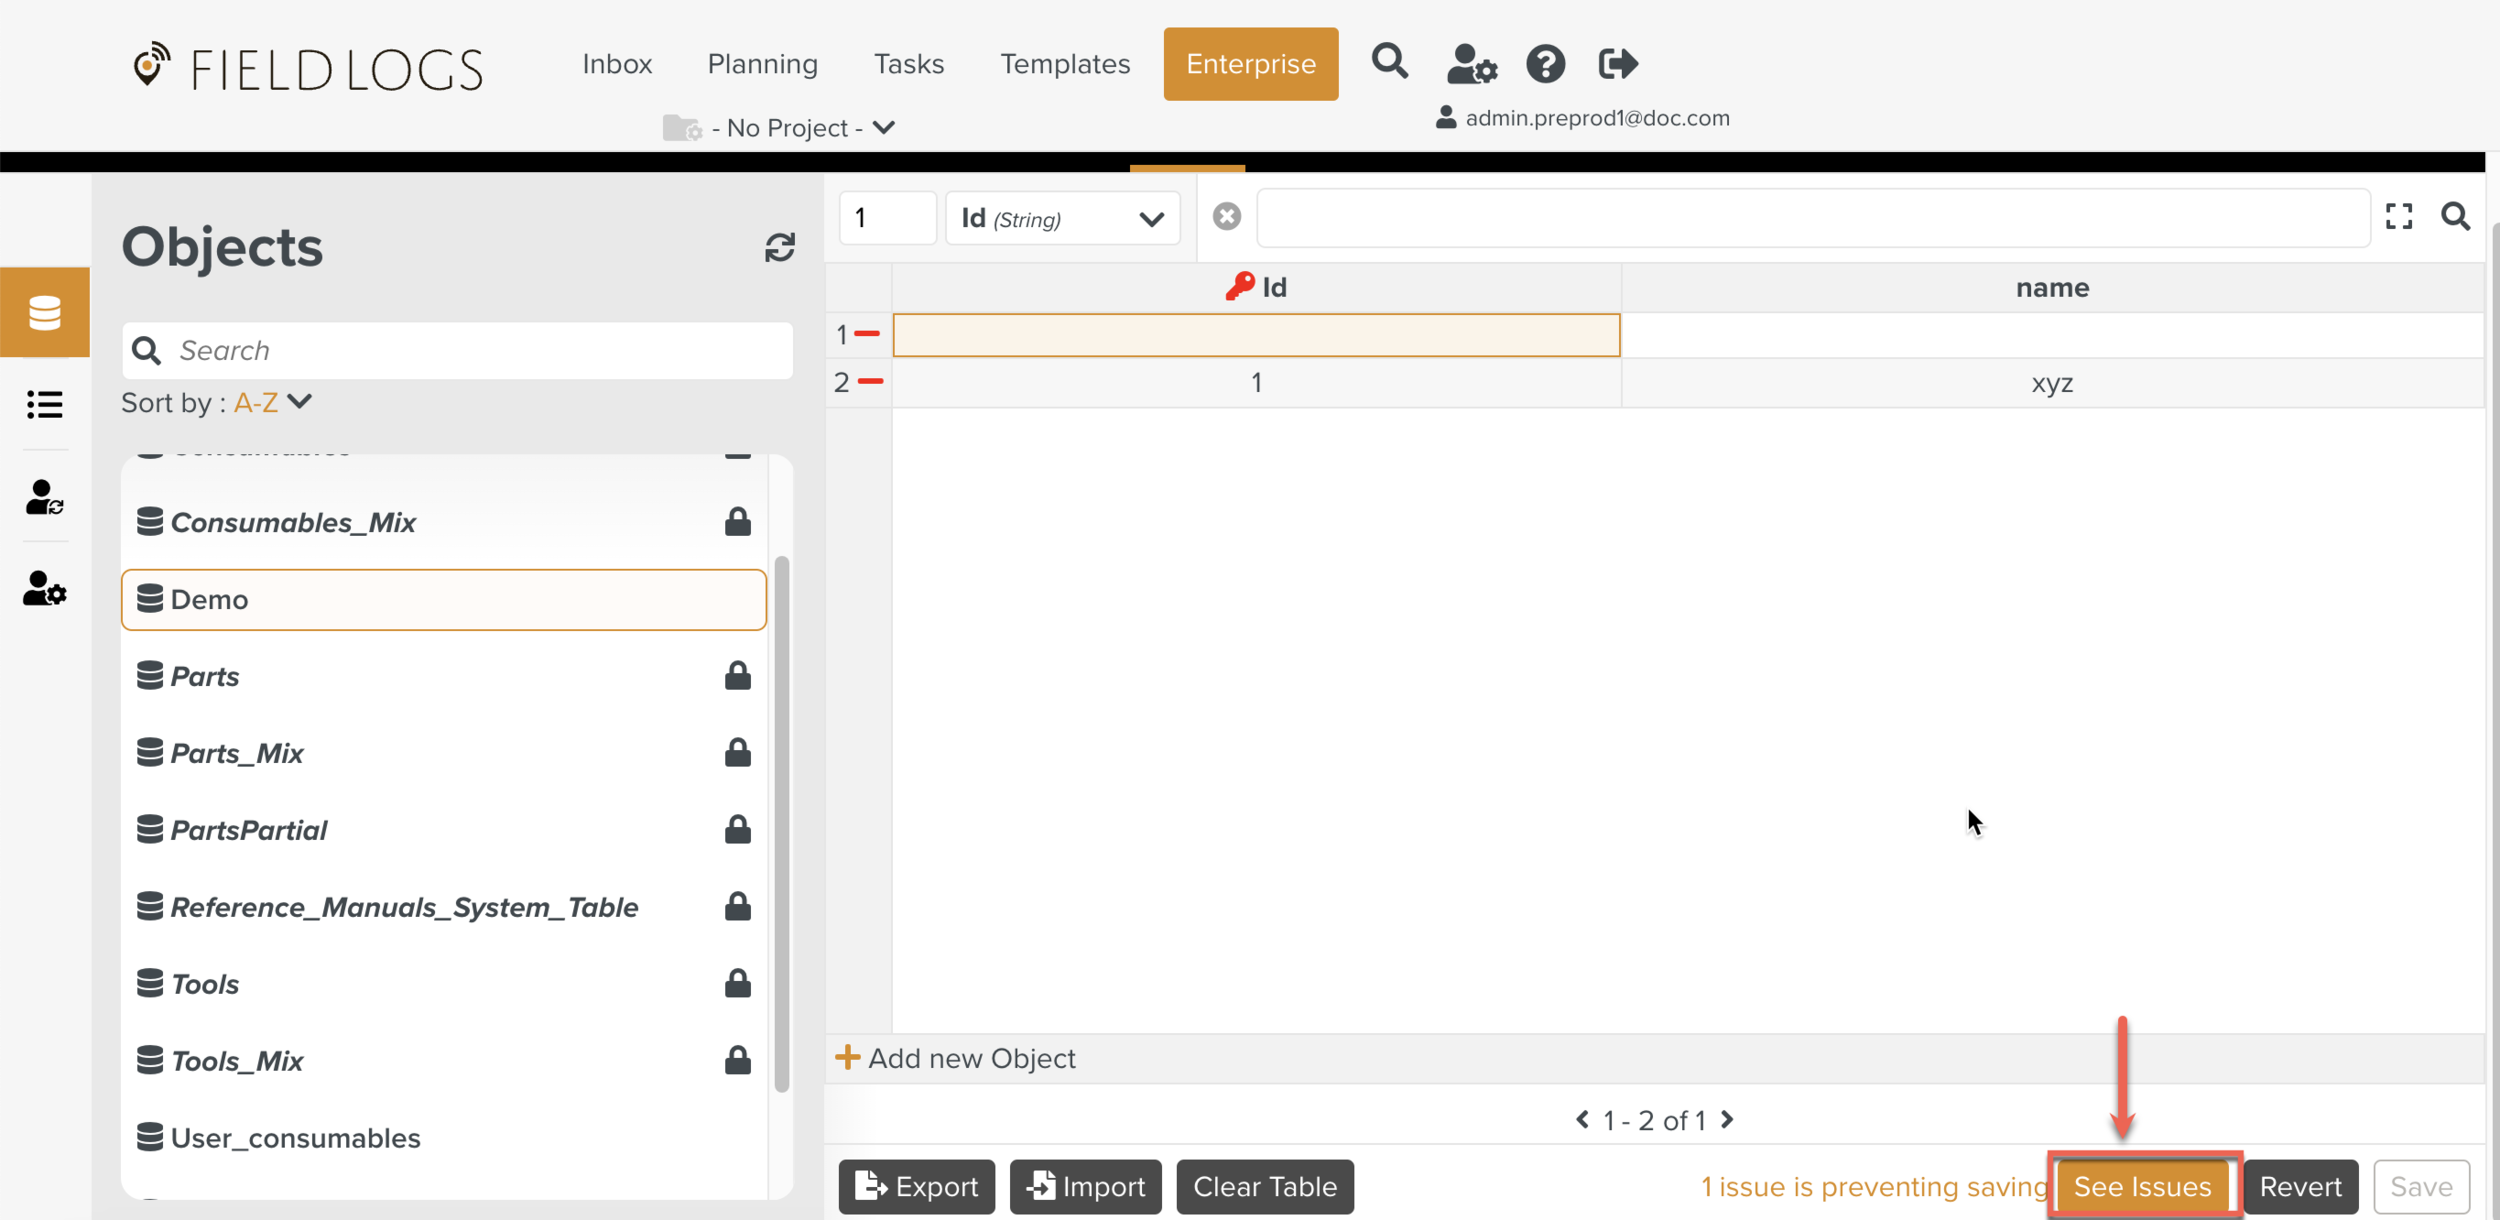
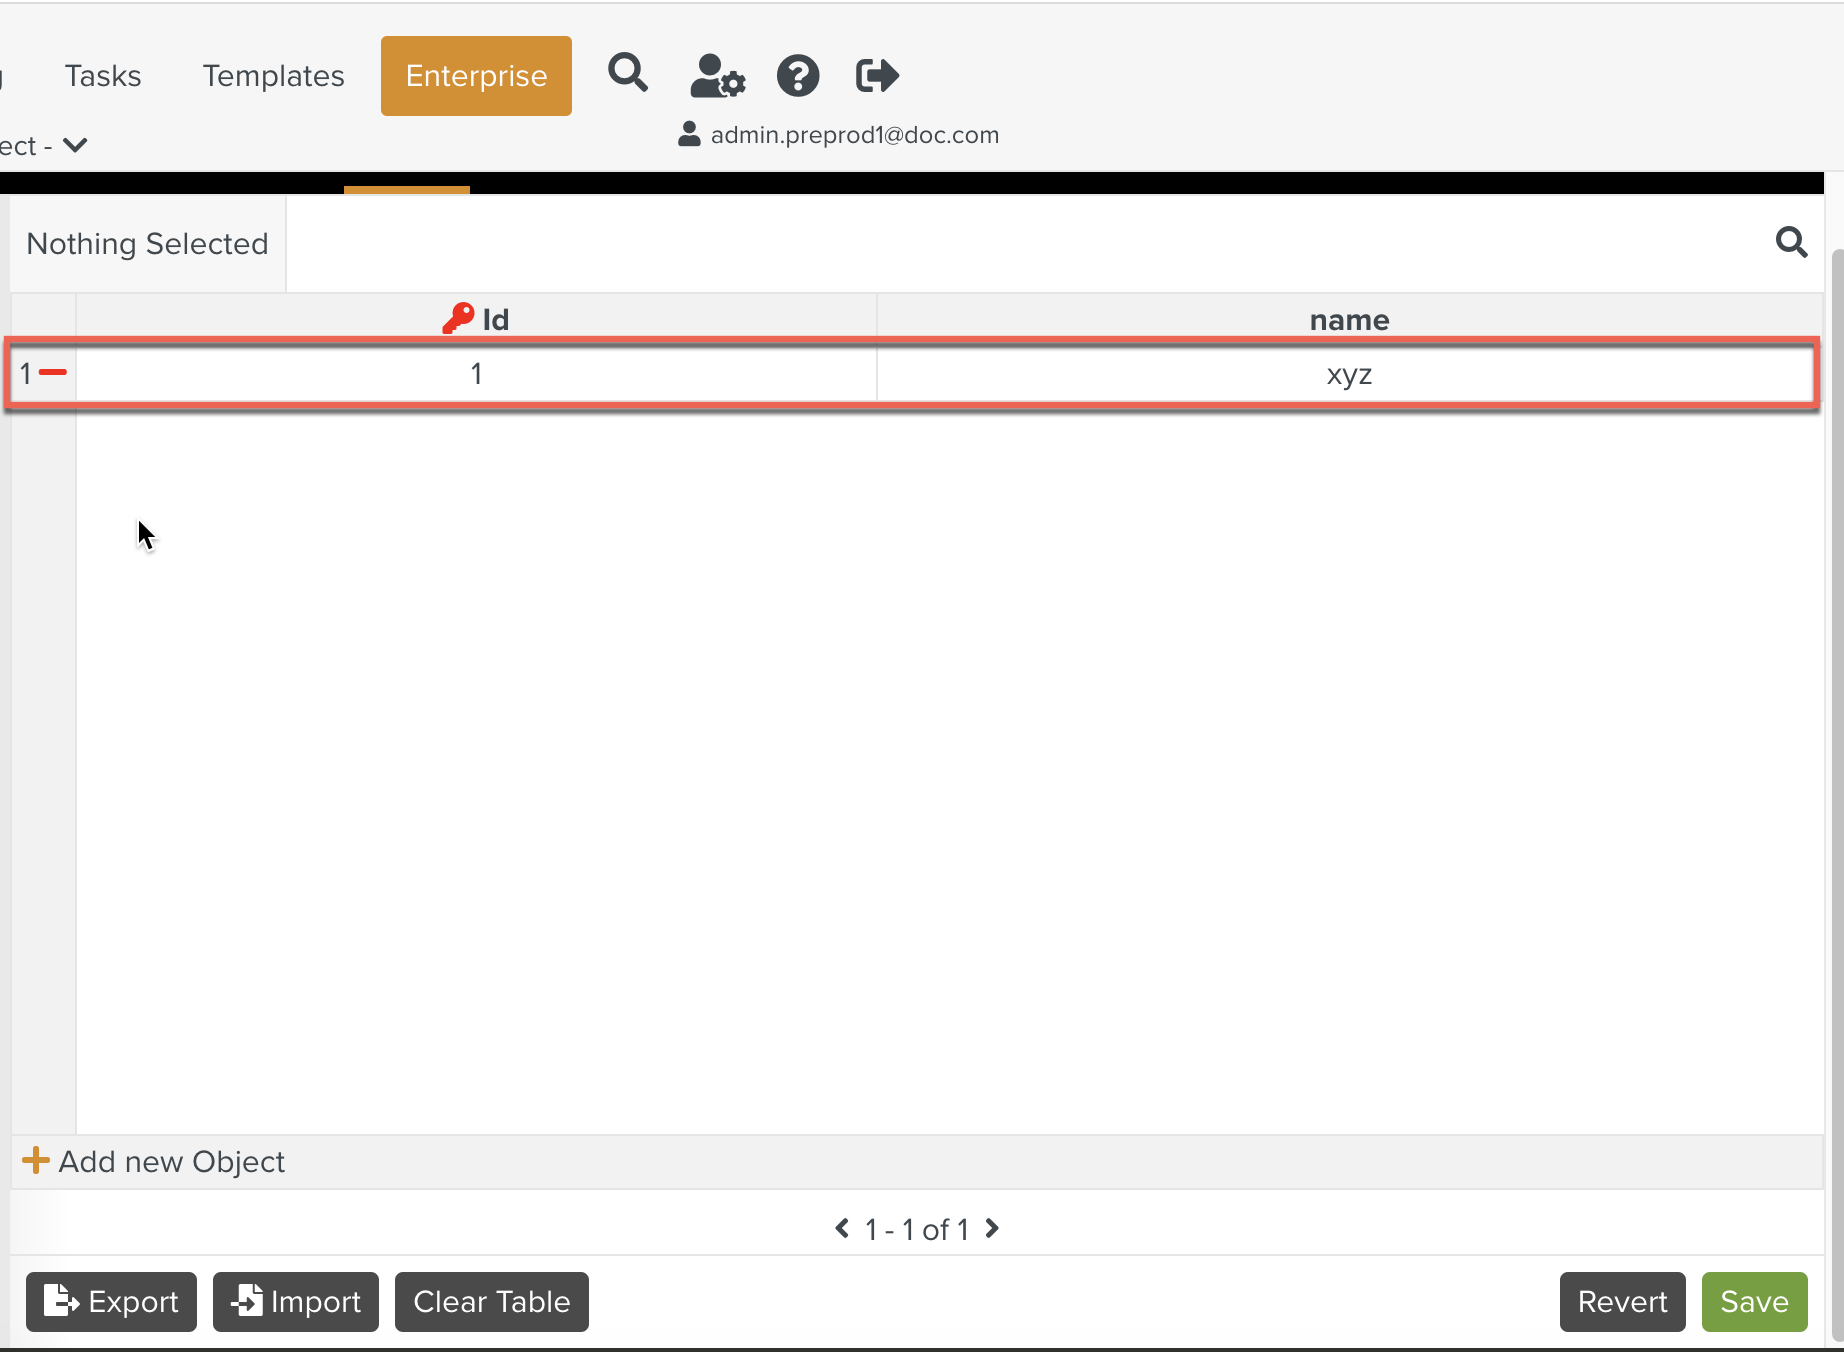
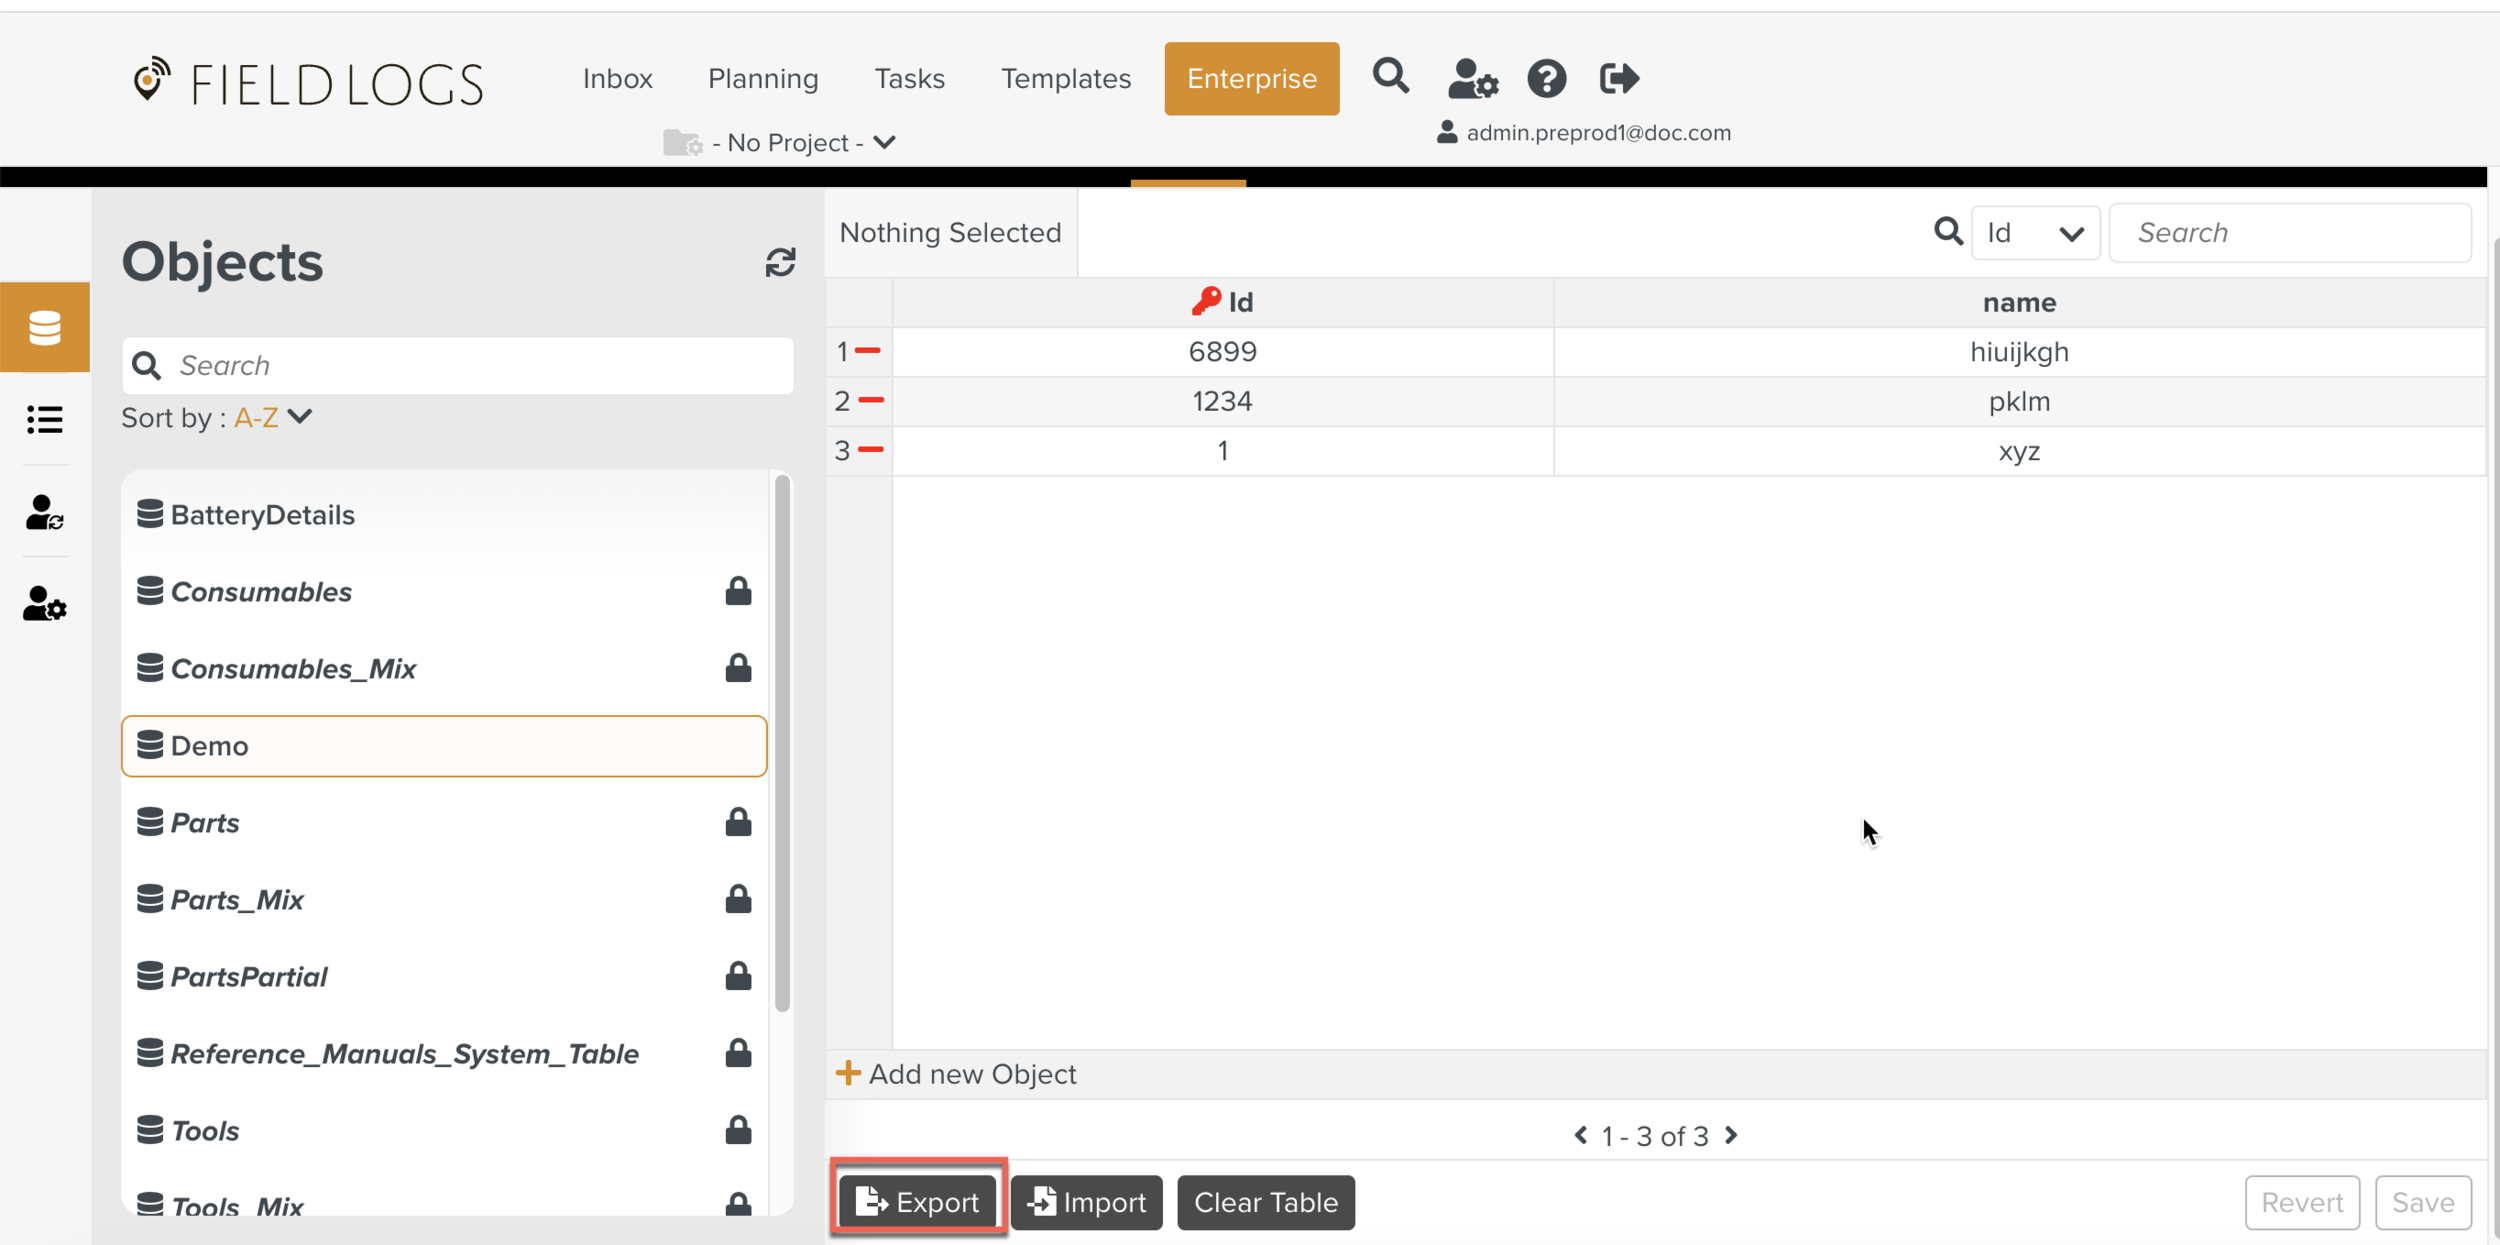
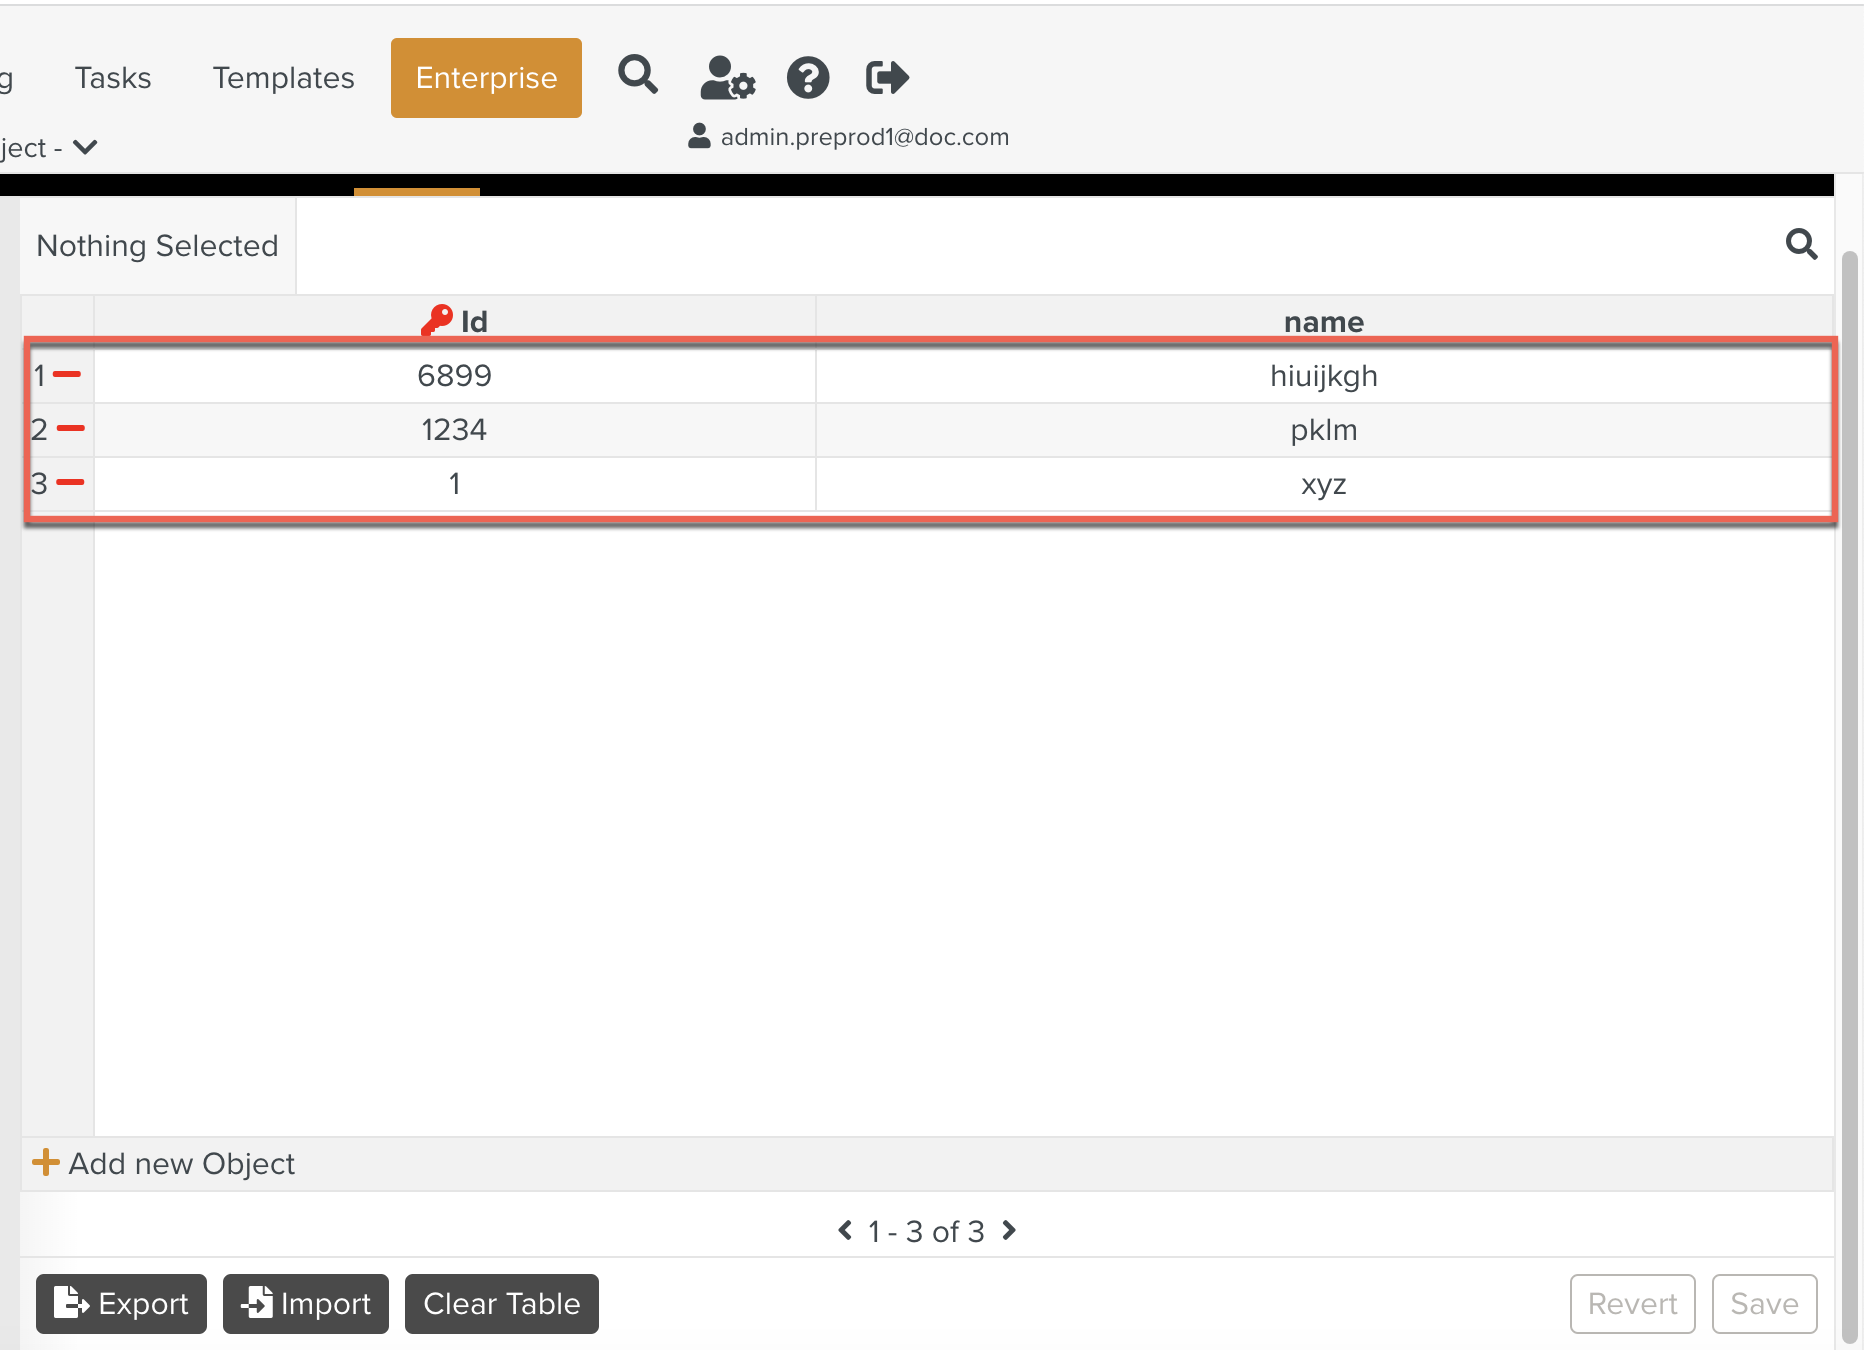
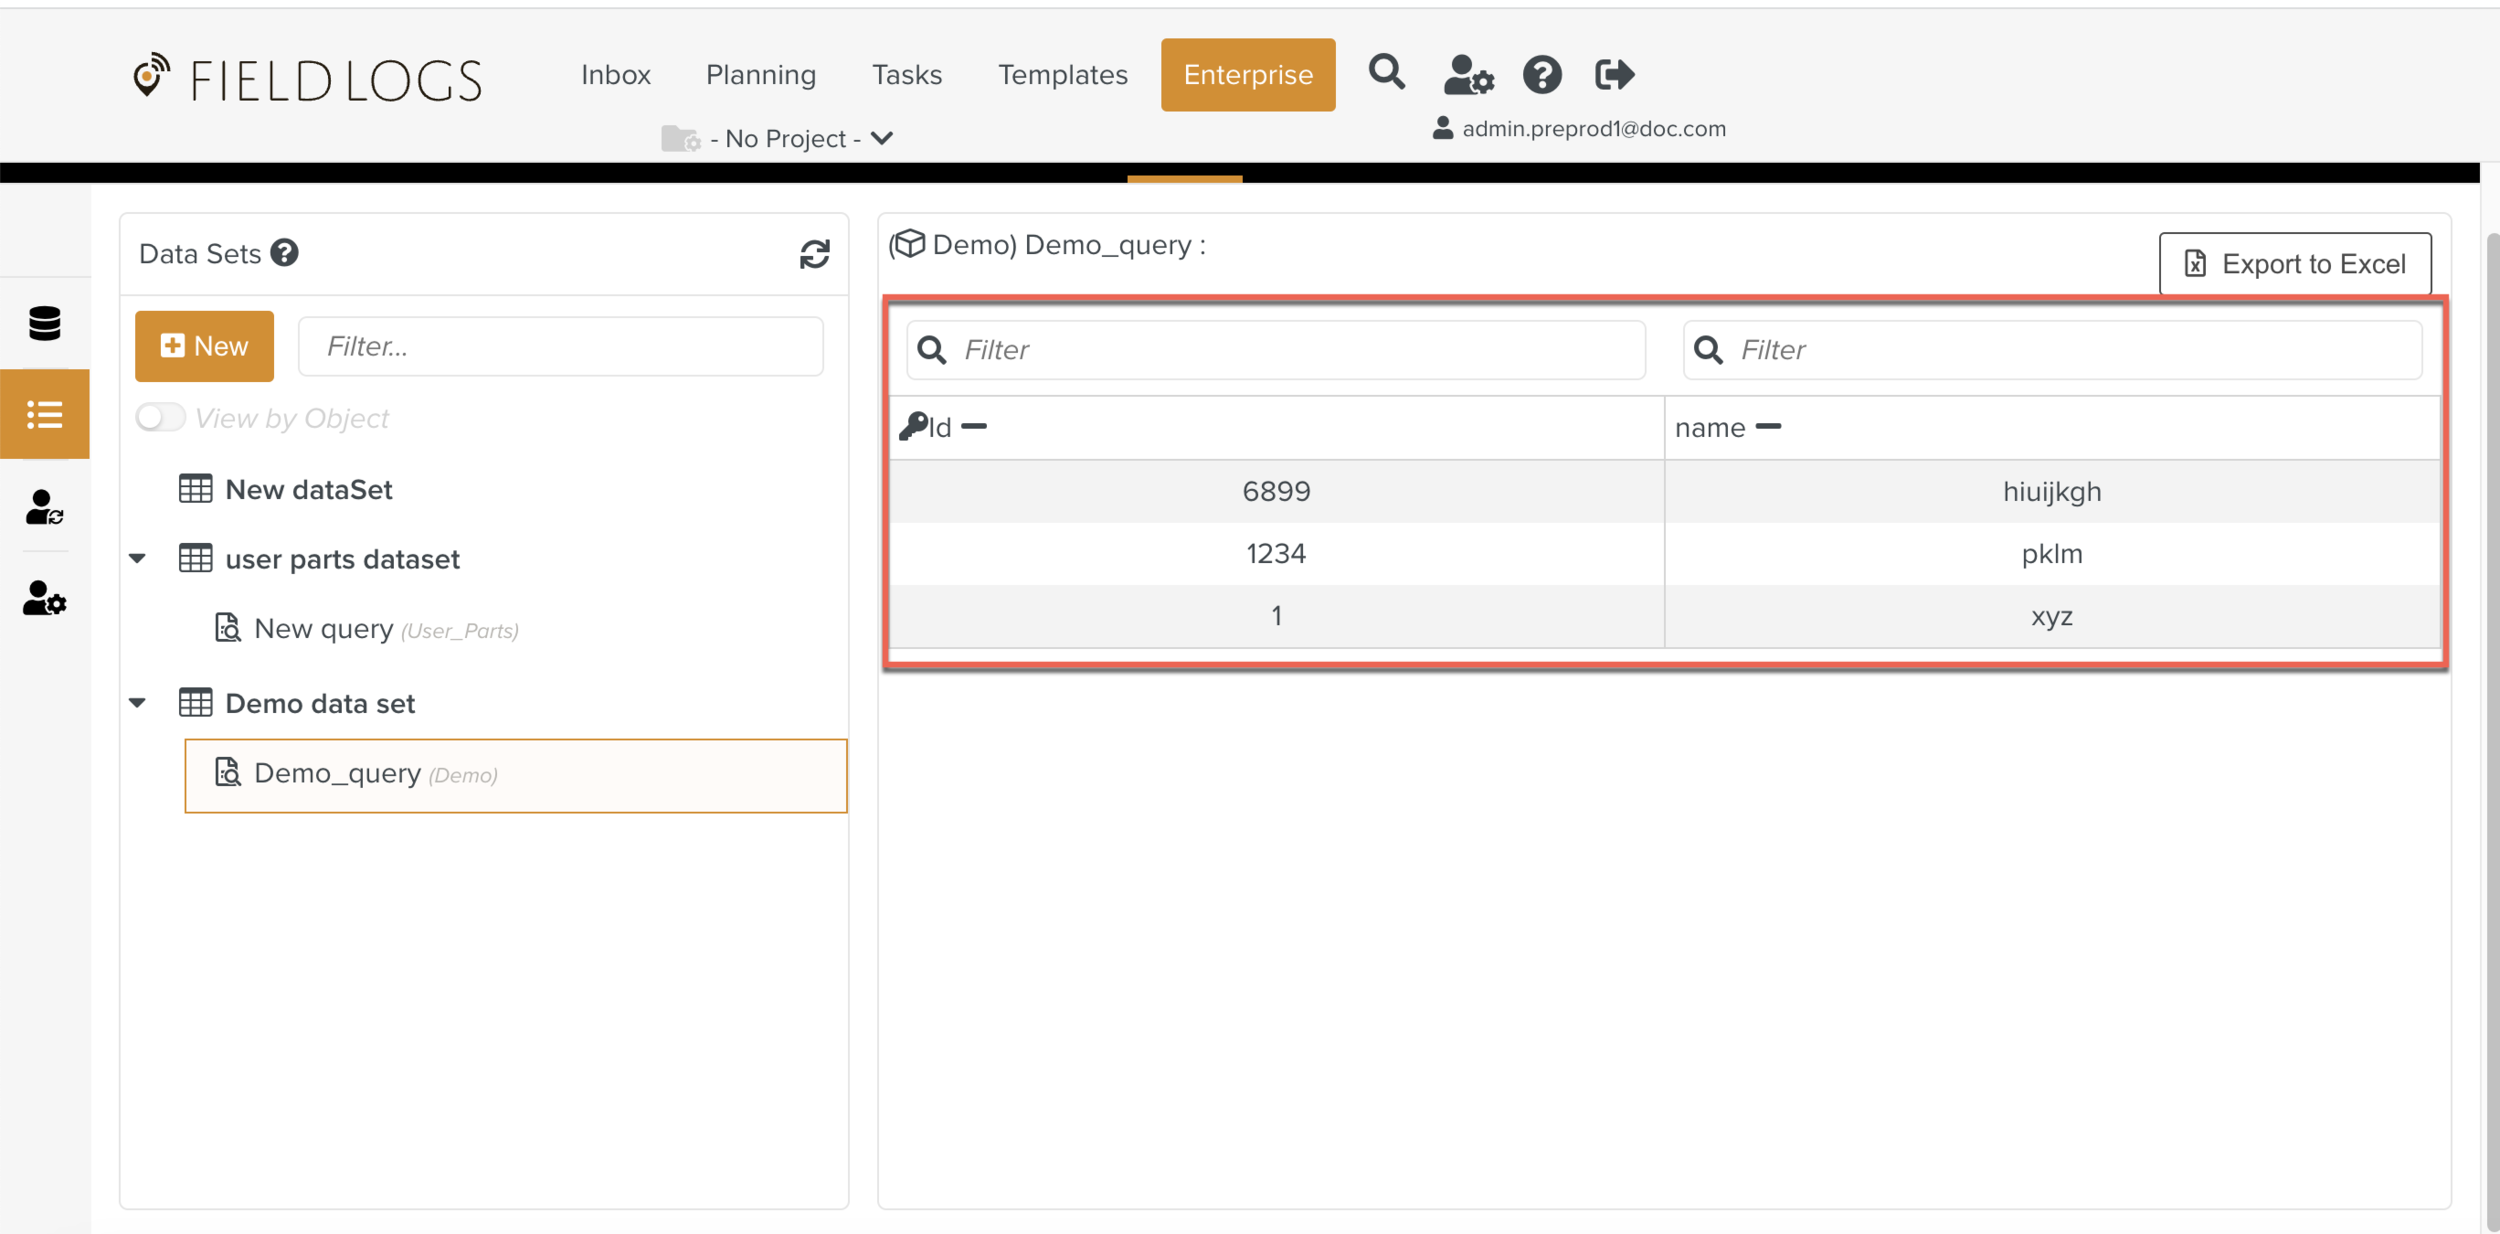
The example below highlights Demo Object Model and Demo Object.
The Demo Object Model is the definition of the Demo table having two properties - Id and name.
The Demo Object contains several rows of data as seen.
 |
 |
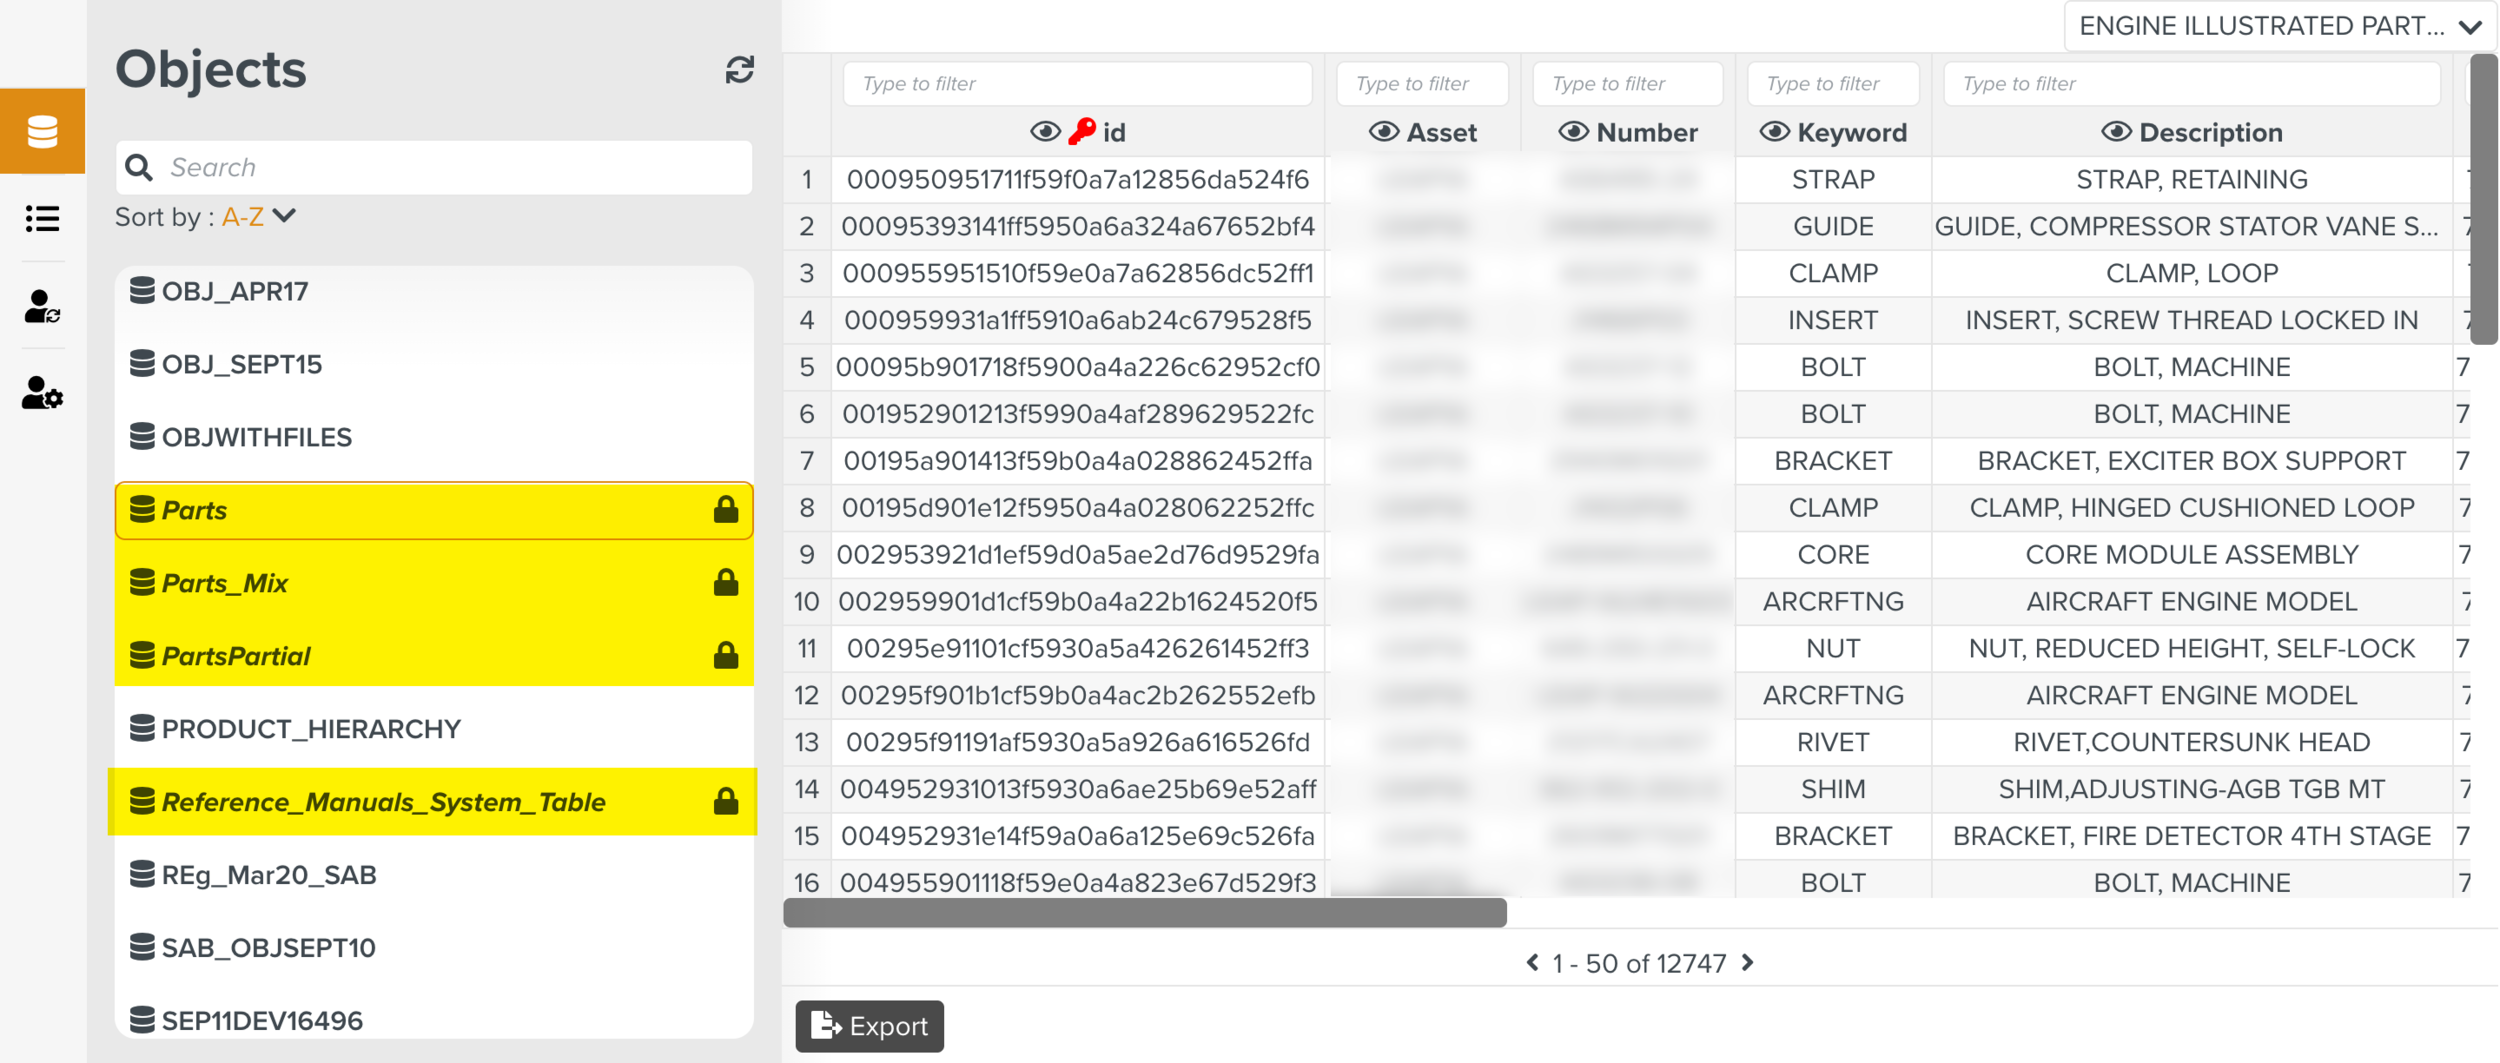
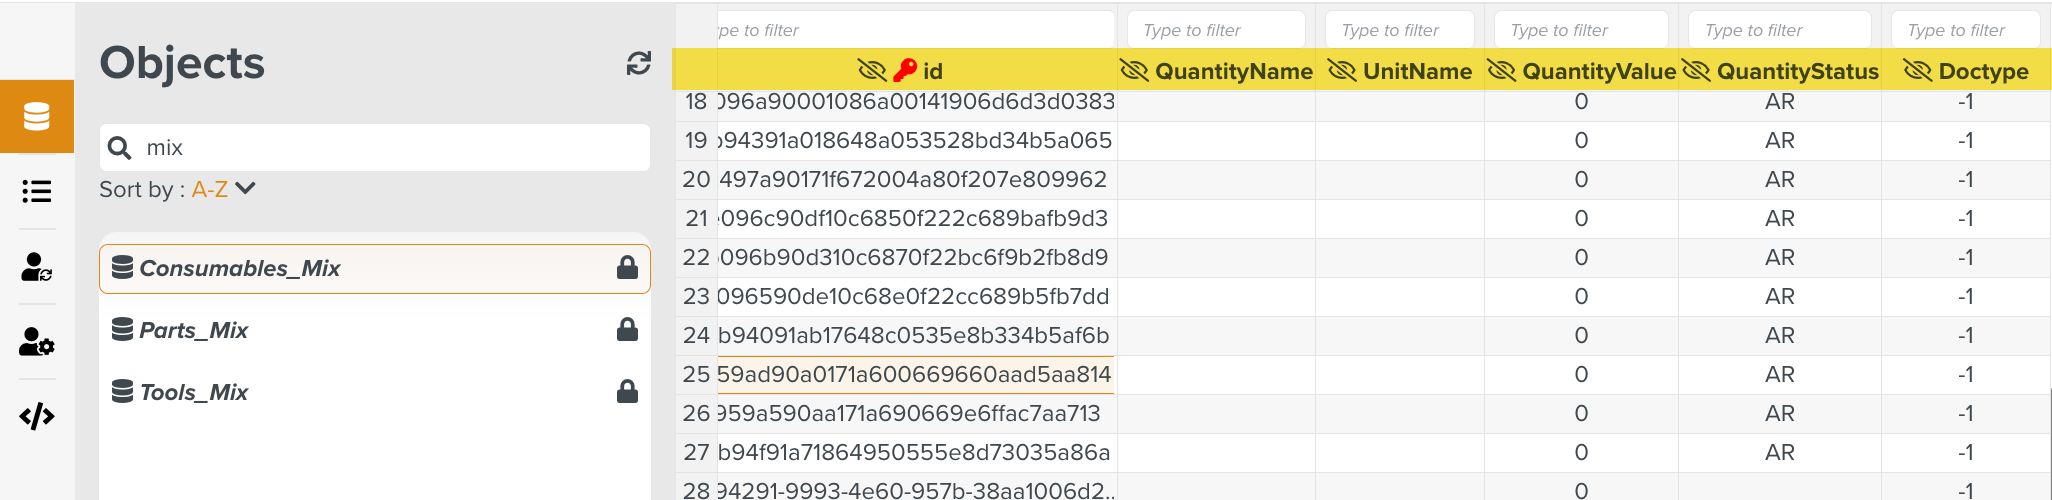
Objects pertaining to Parts, Tools, and Consumables can have pre-defined data that are non-editable indicated by the lock  icon.
icon.
 |
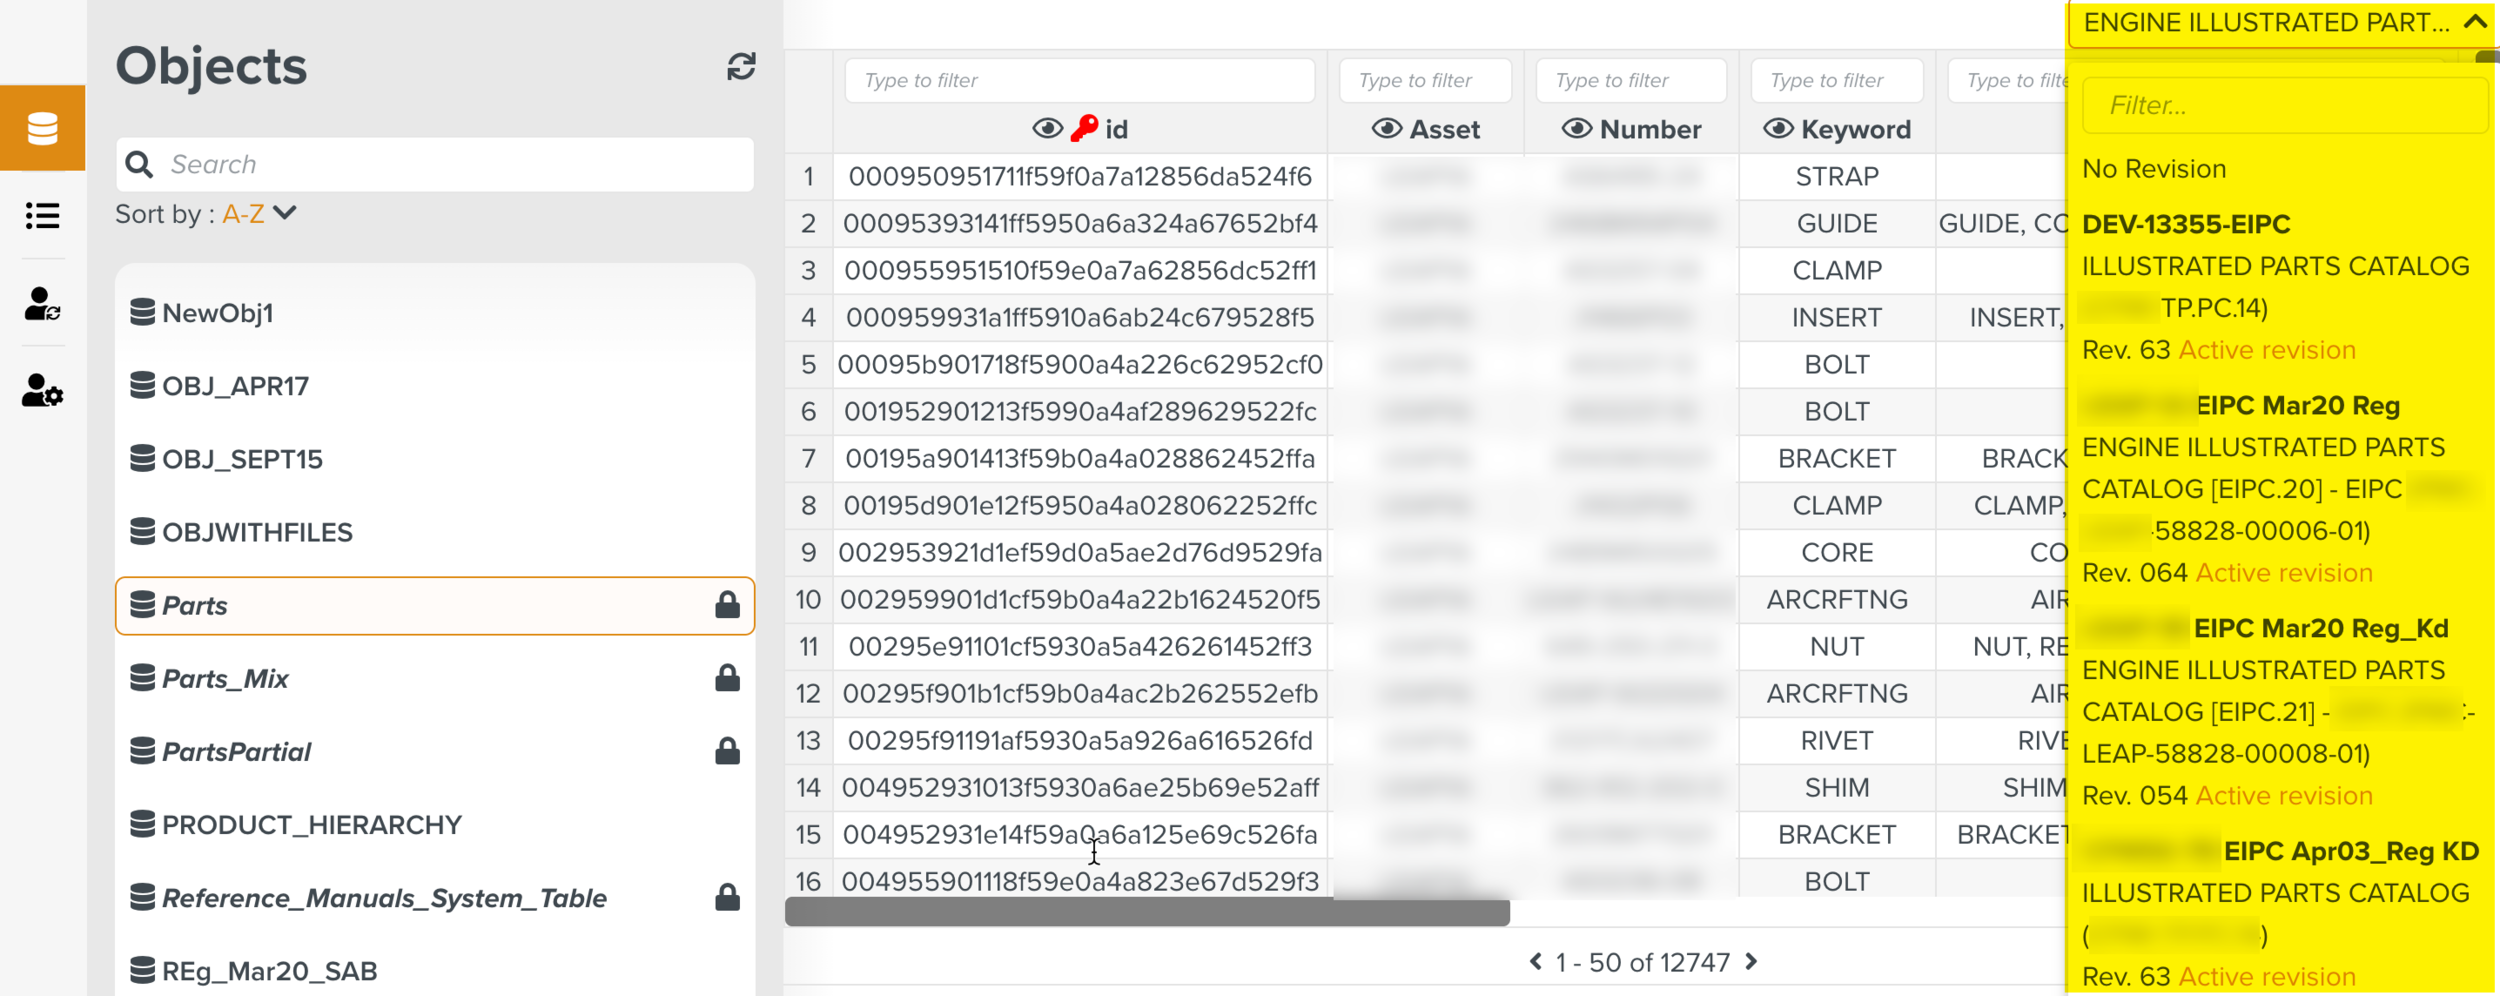
The various revisions of the Manuals are listed under the corresponding Manual Describers.
 |
To add a new Object:
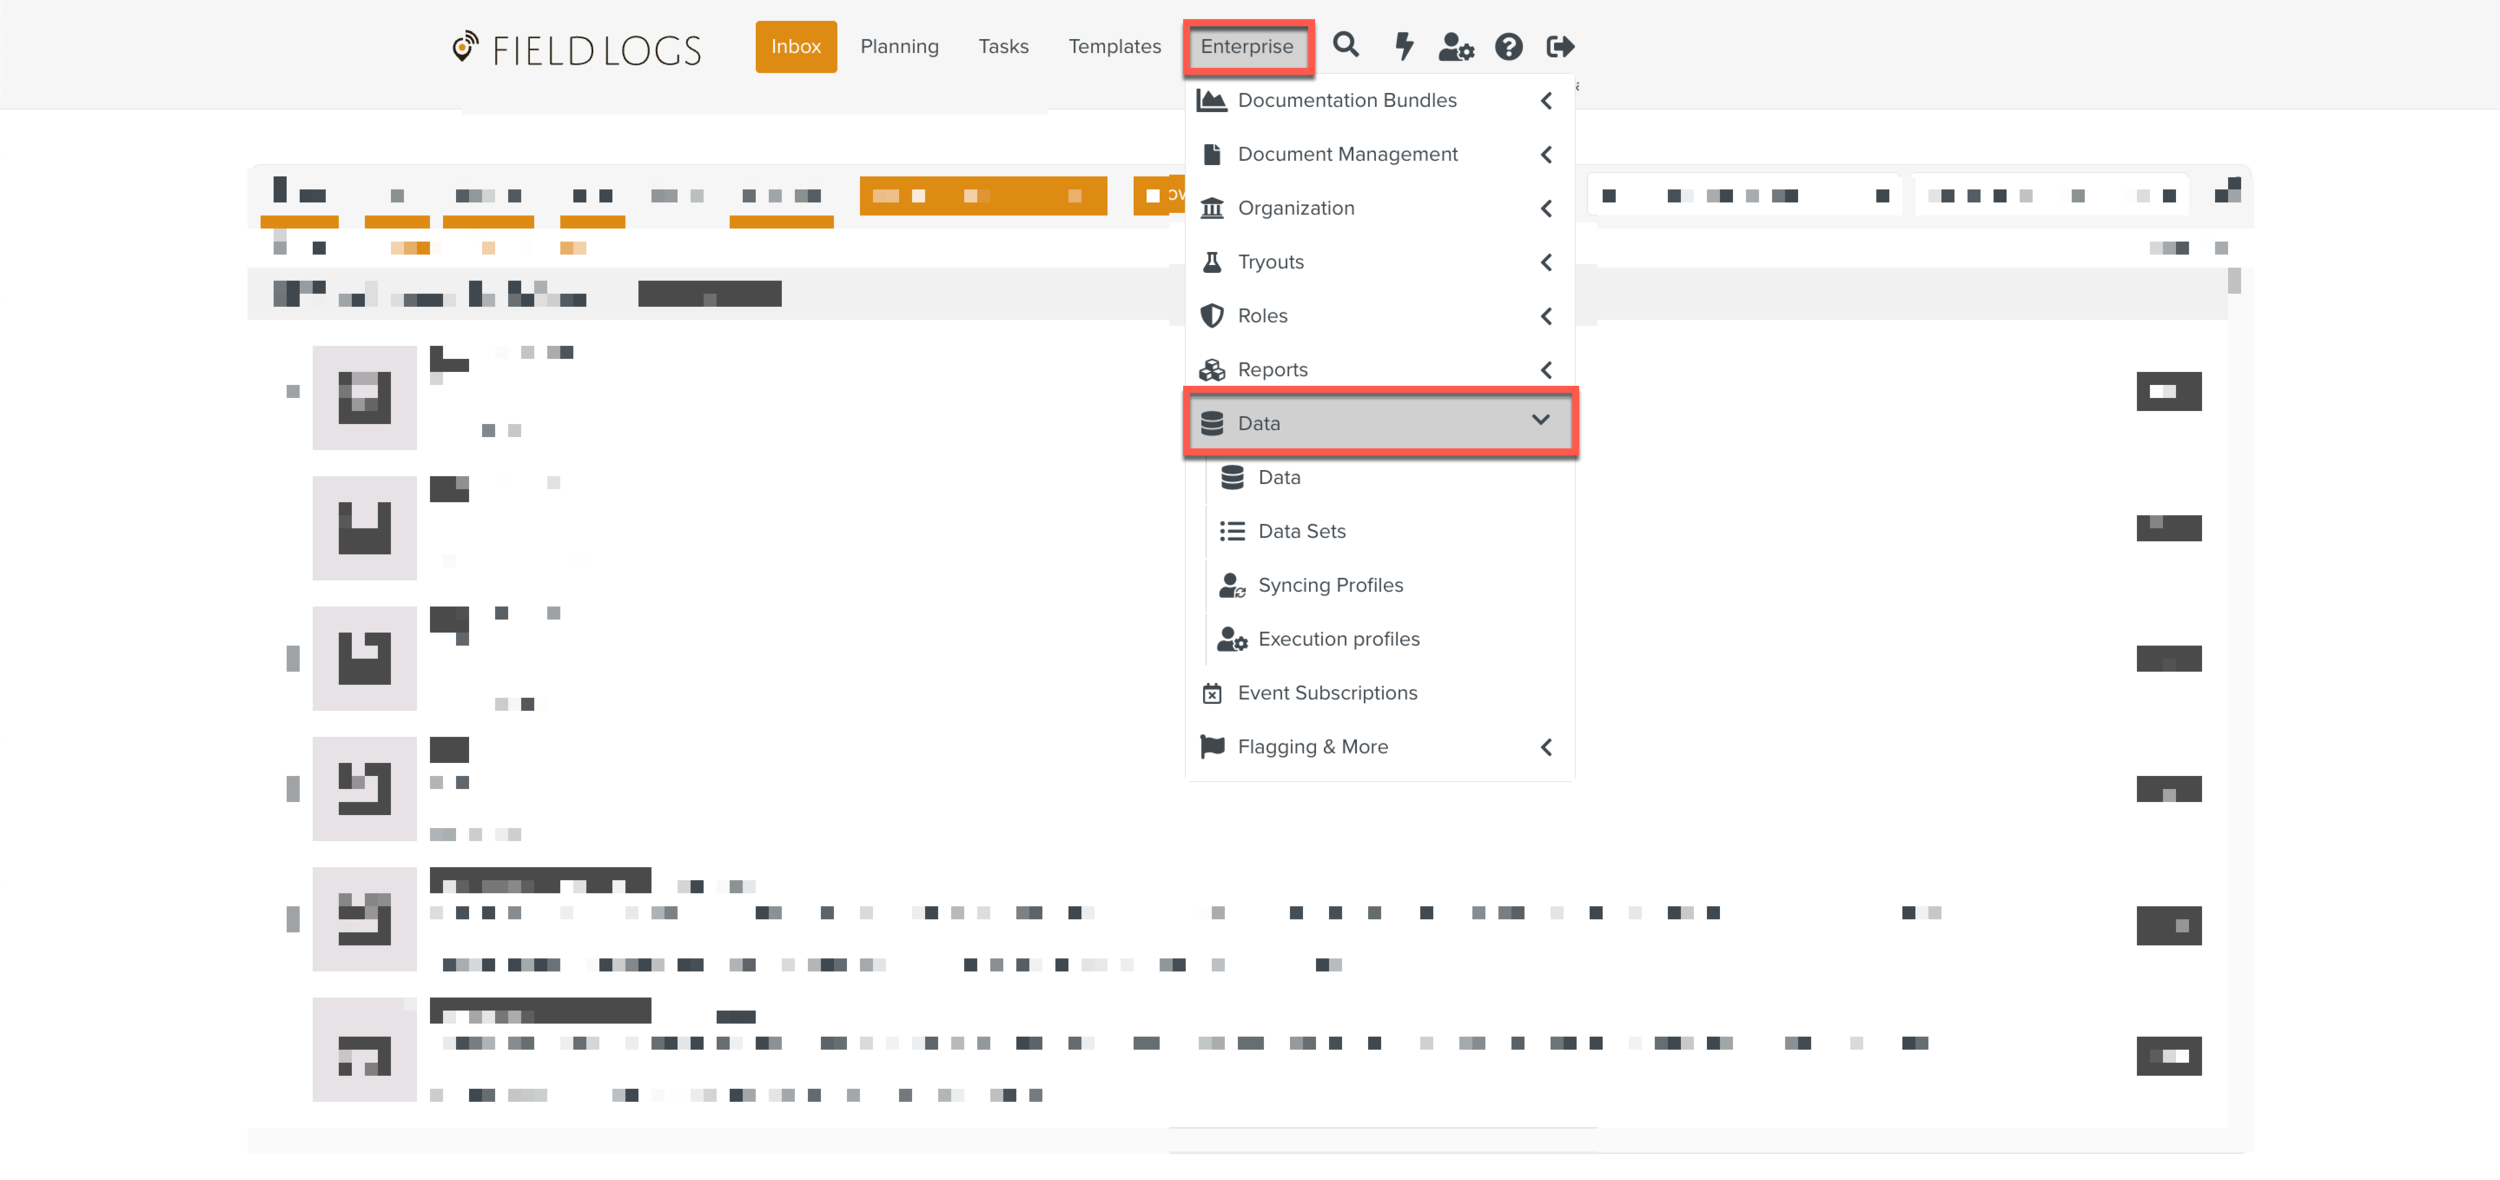
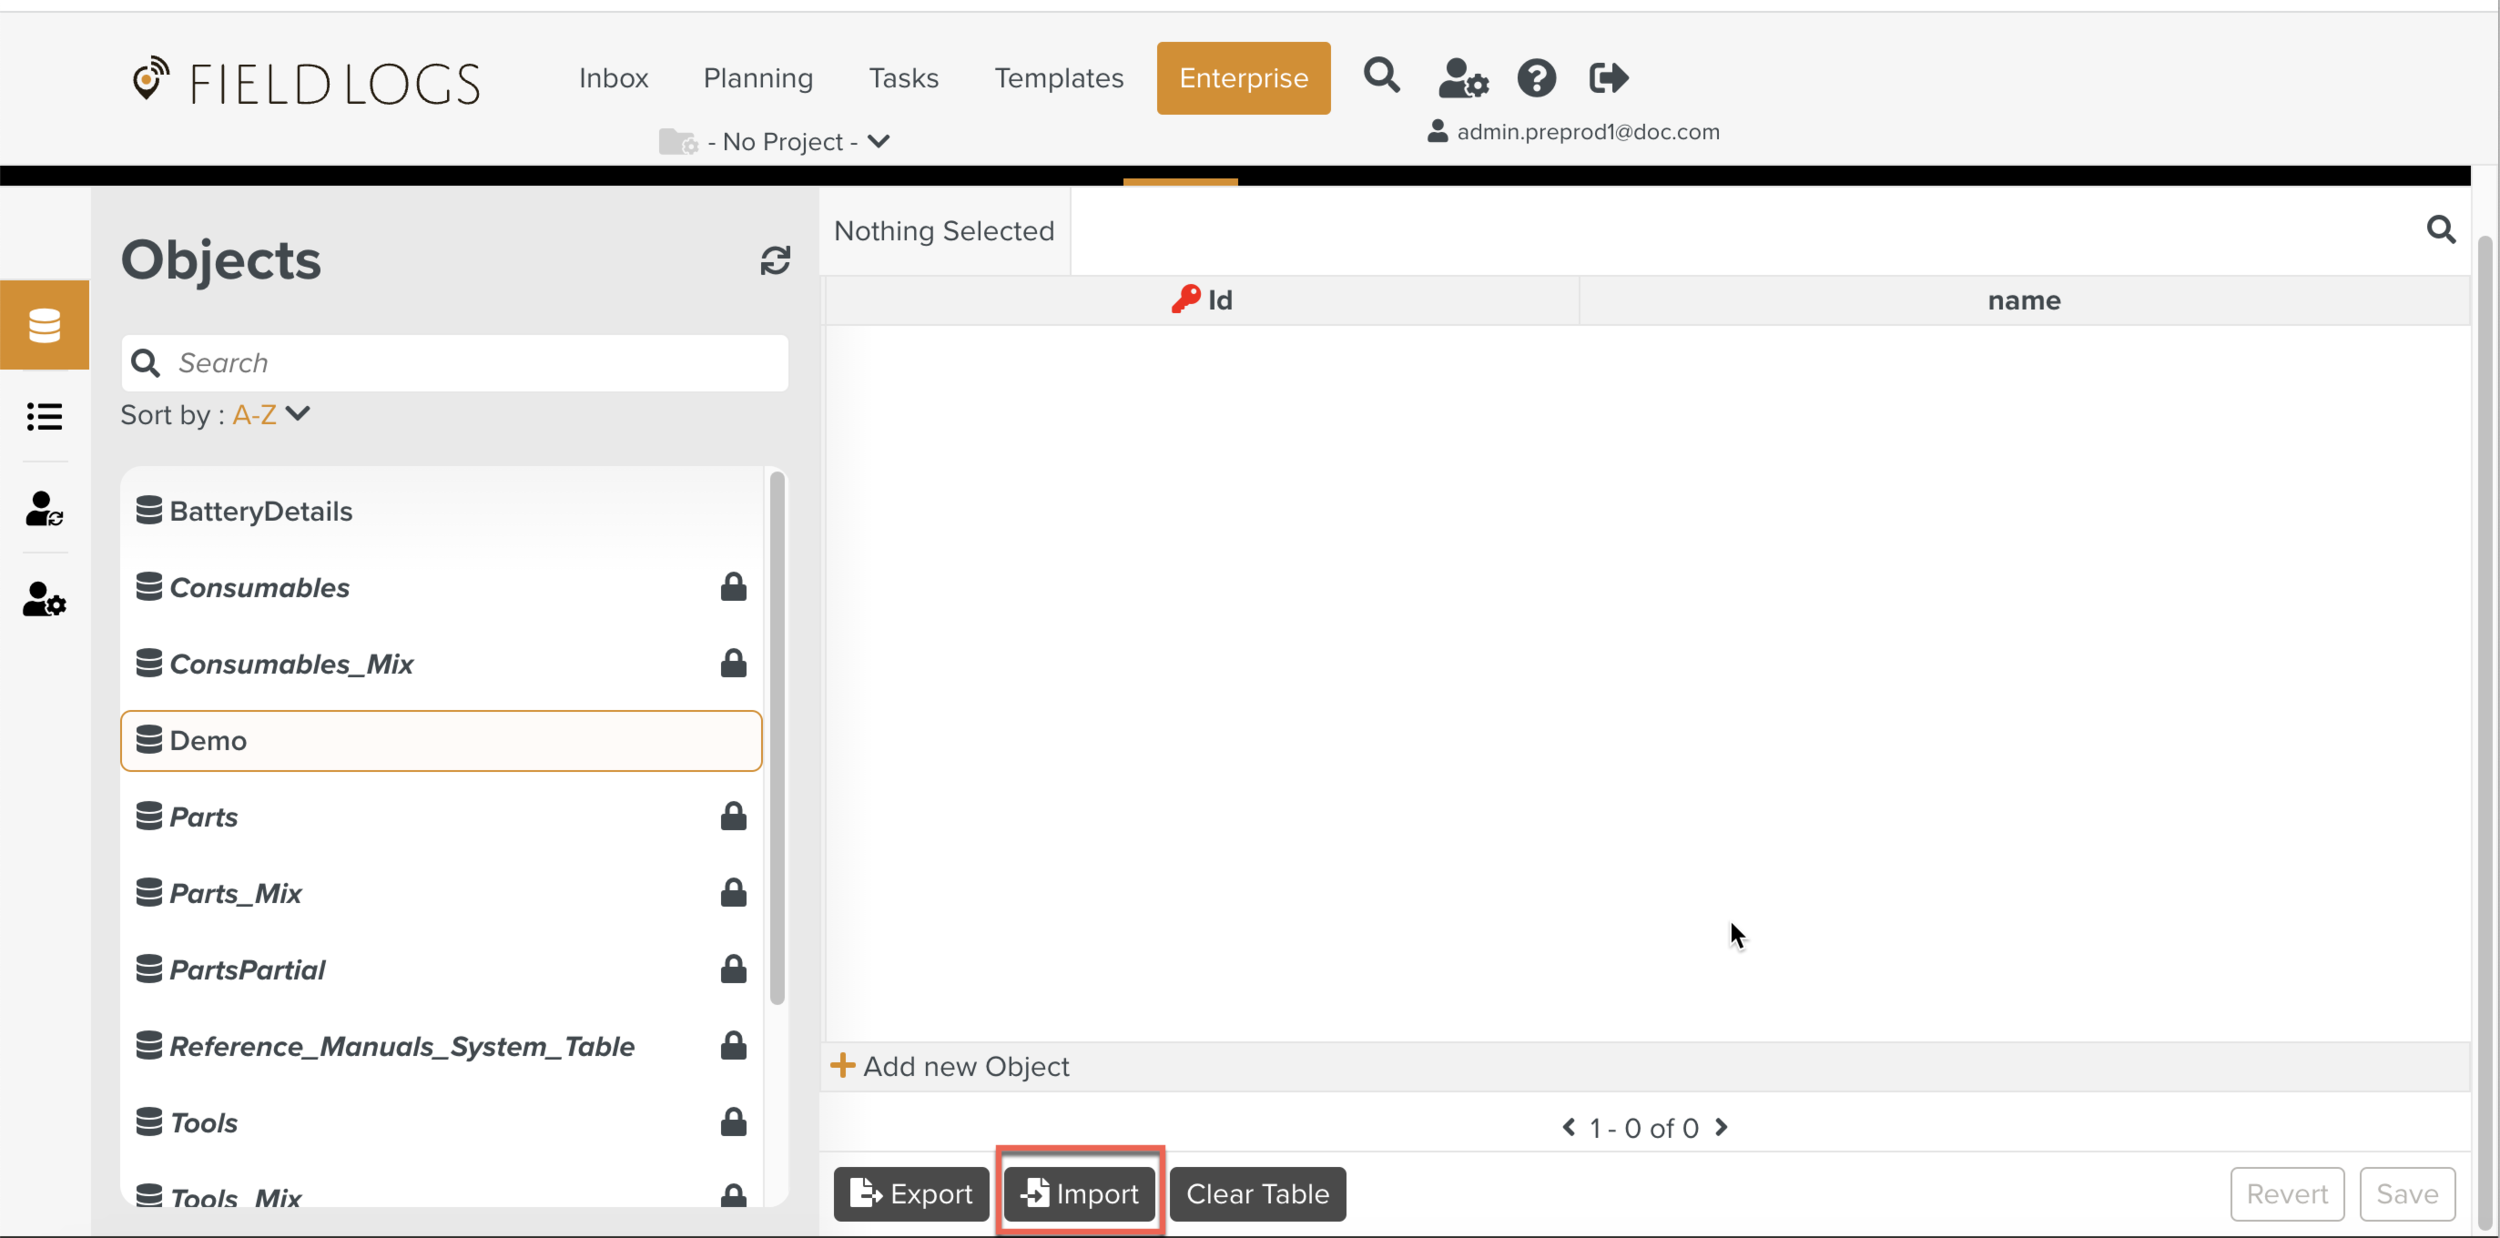
On the main menu, go to Enterprise > Data > Data.

The Objects page is displayed.
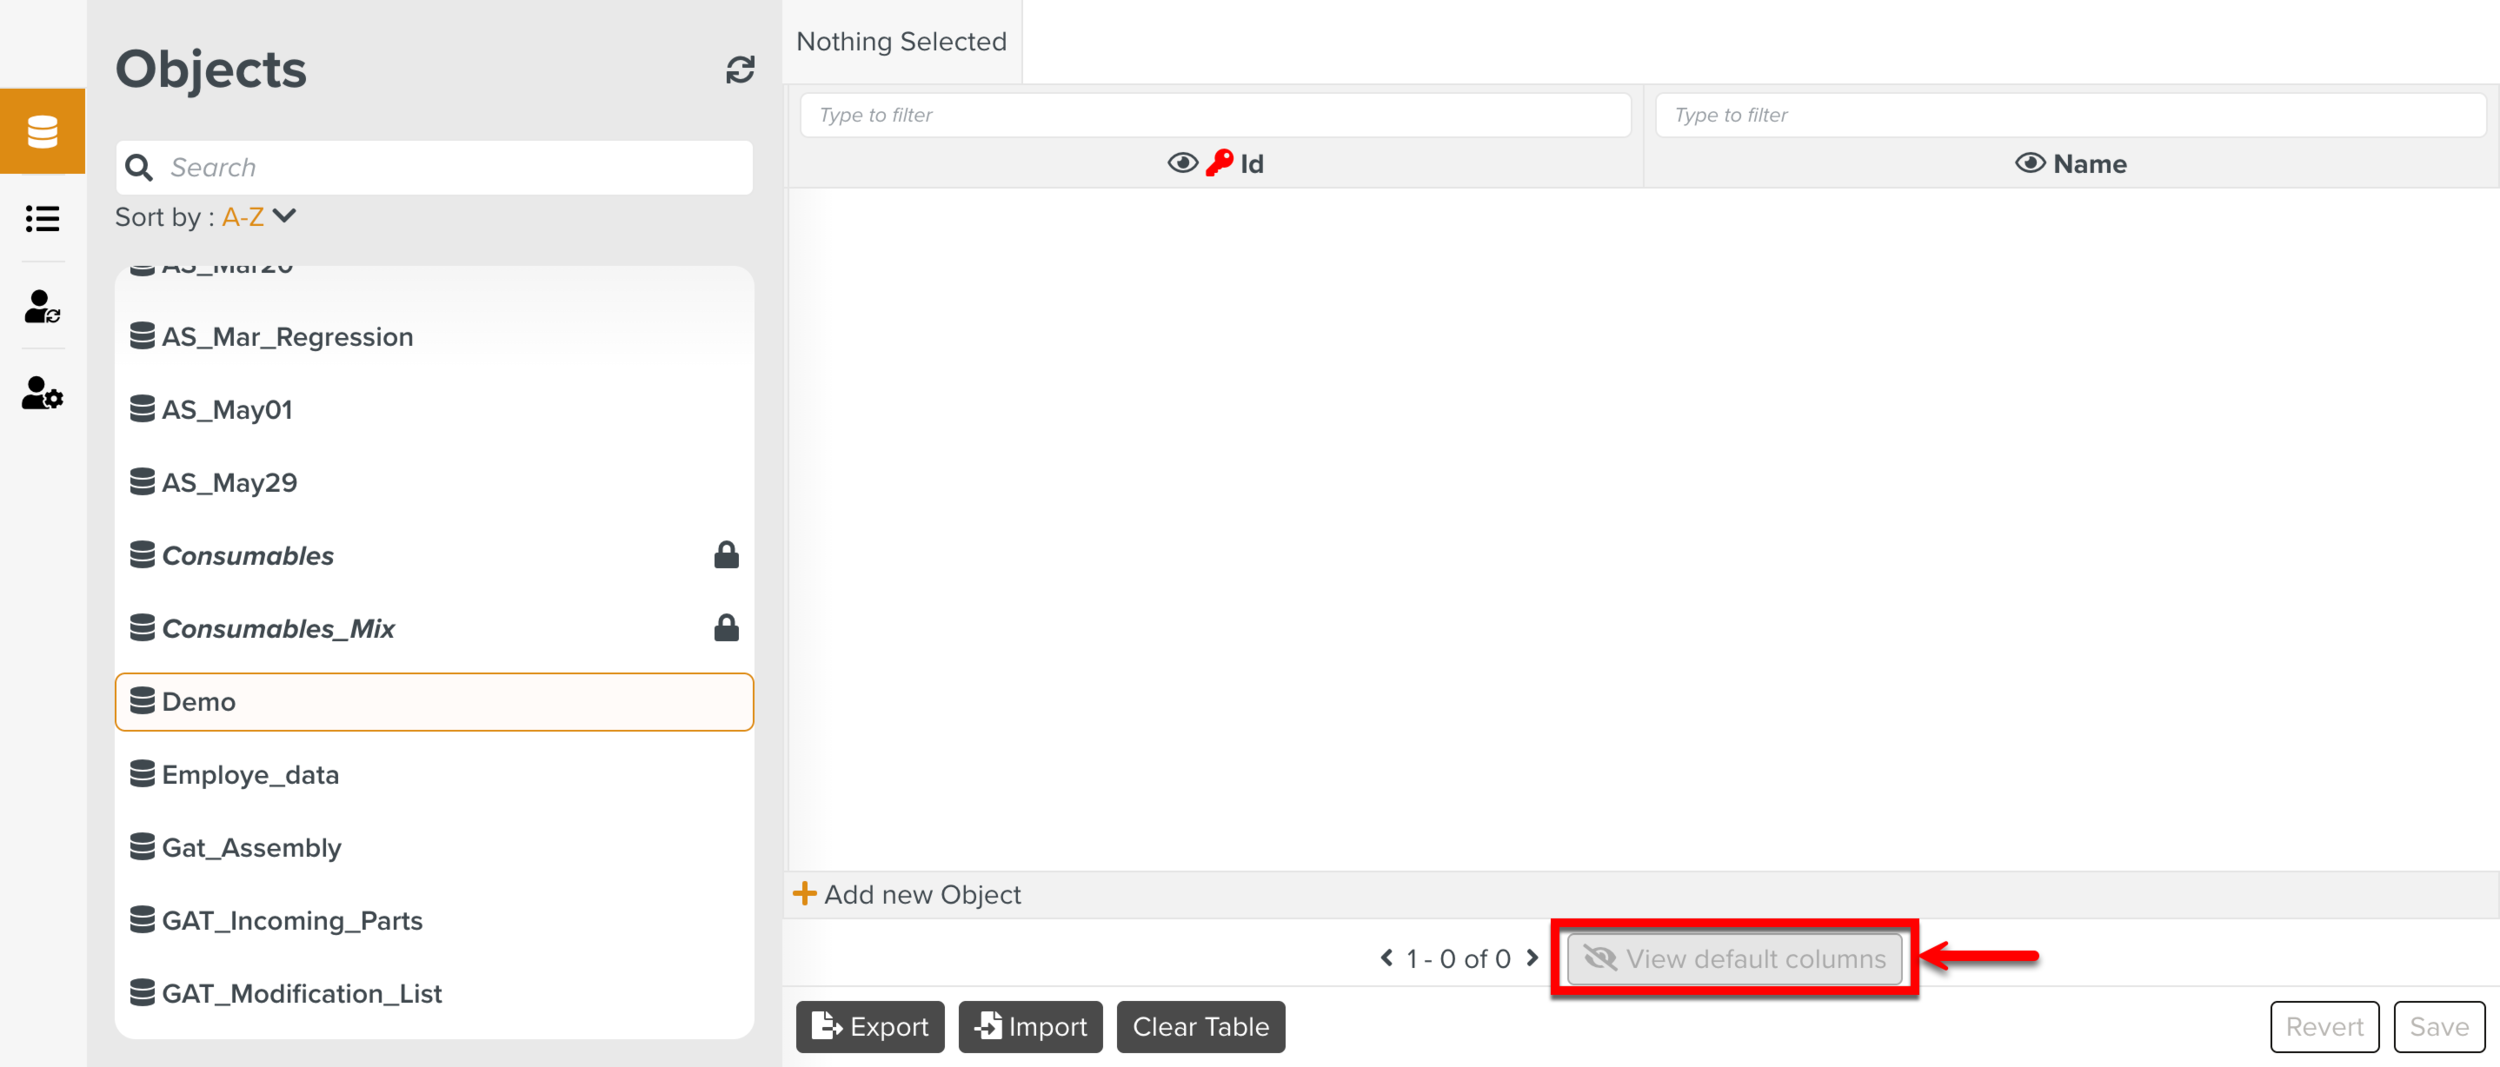
Select an Object to add rows.
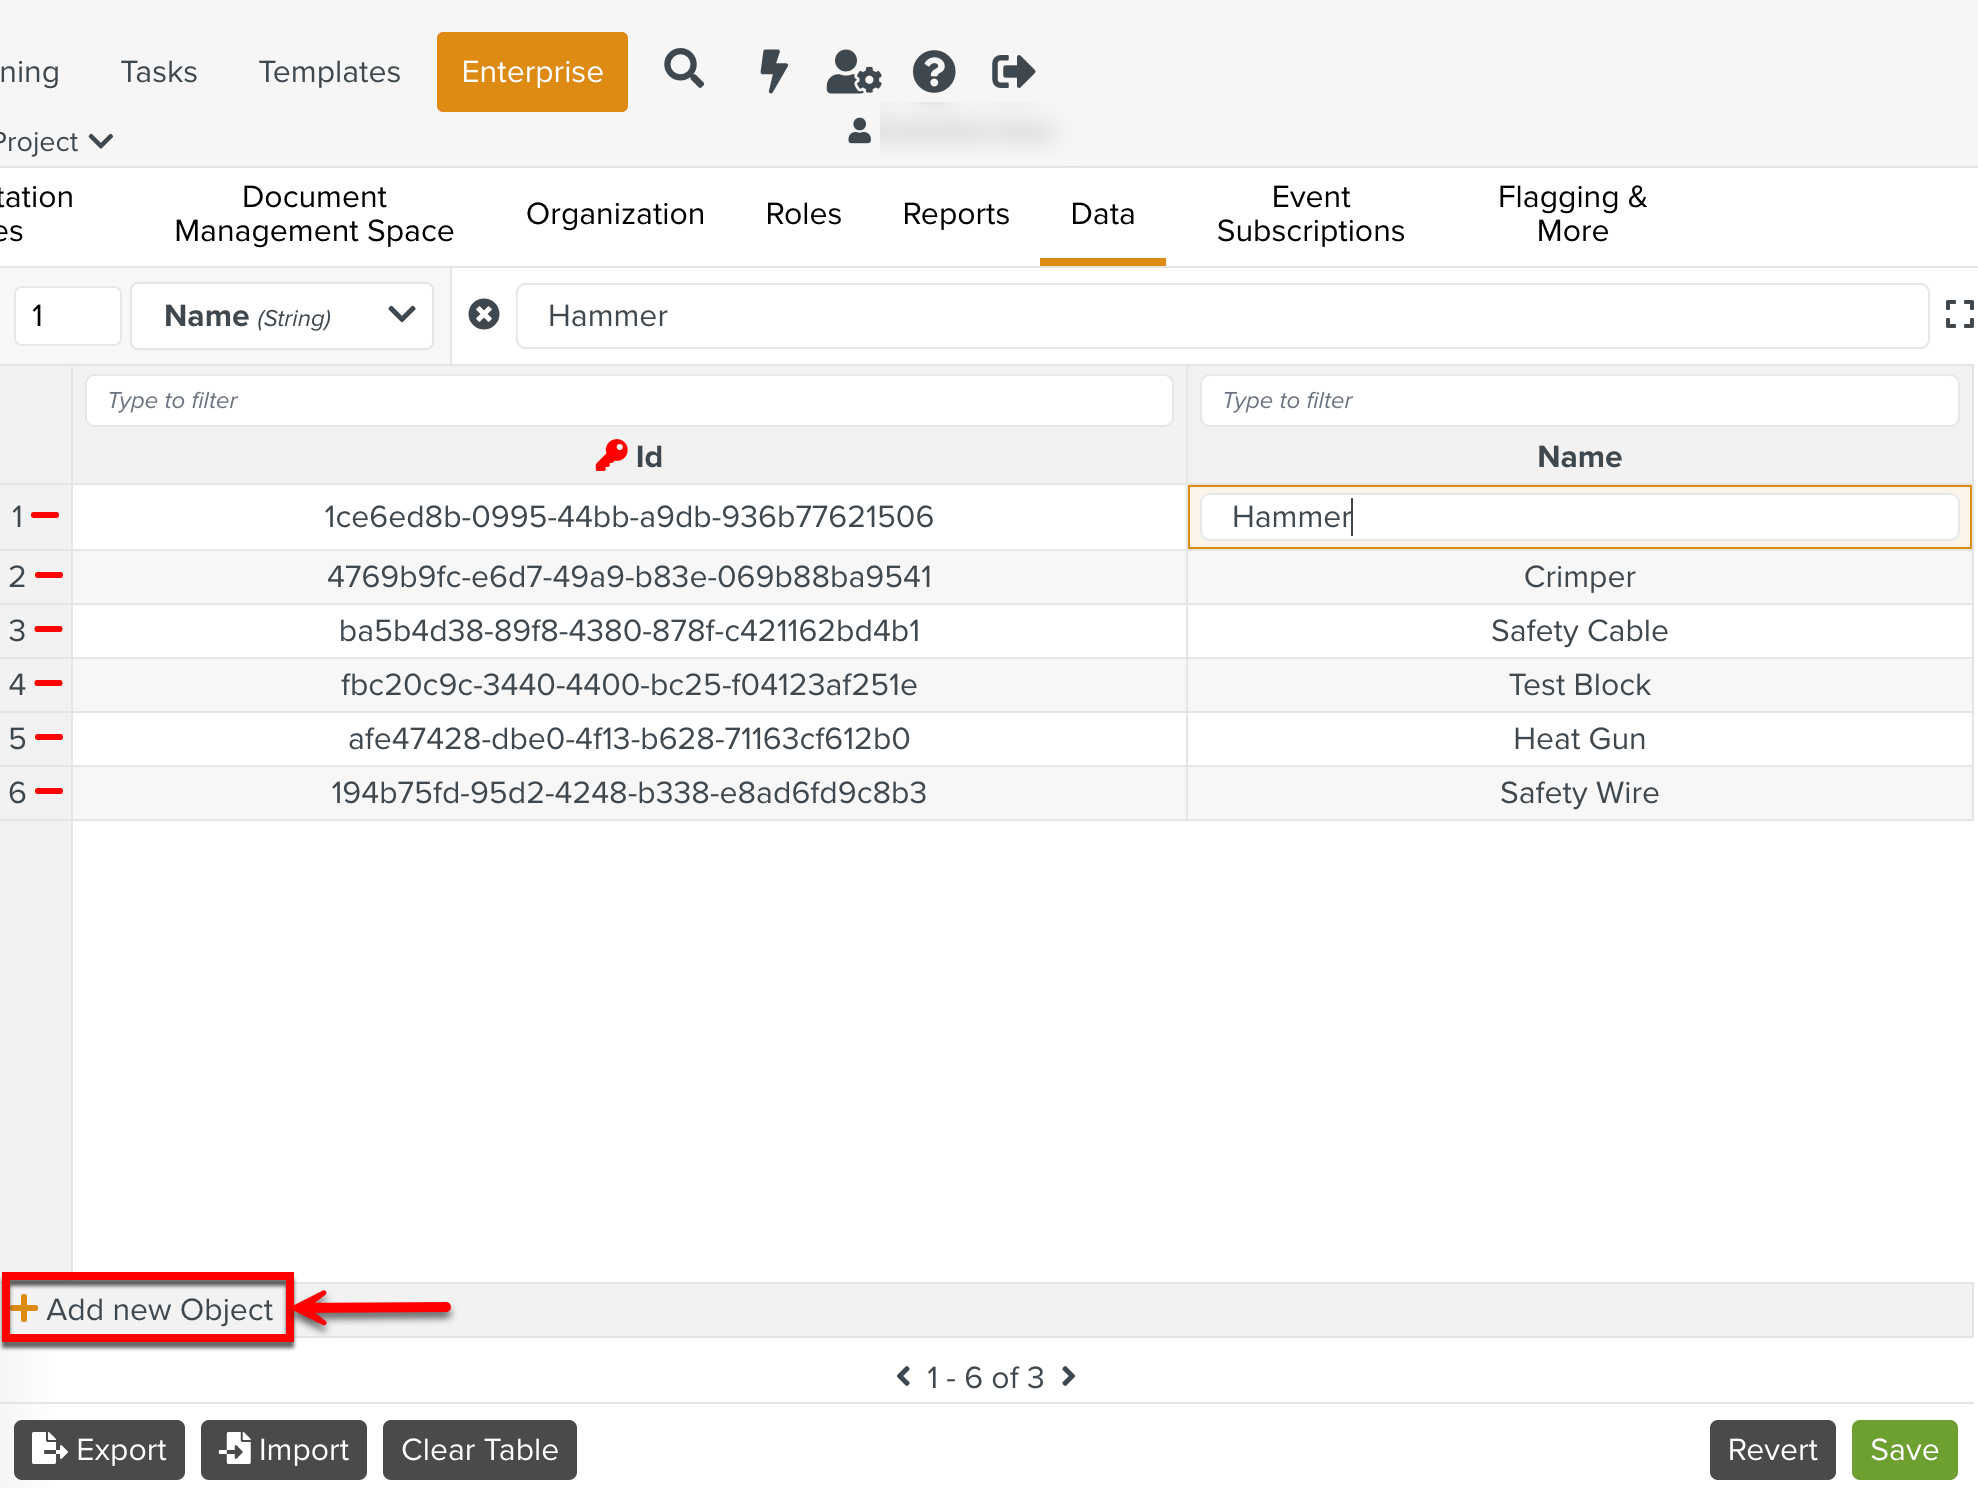
Click Add new Object to add a new row to the table.

Note
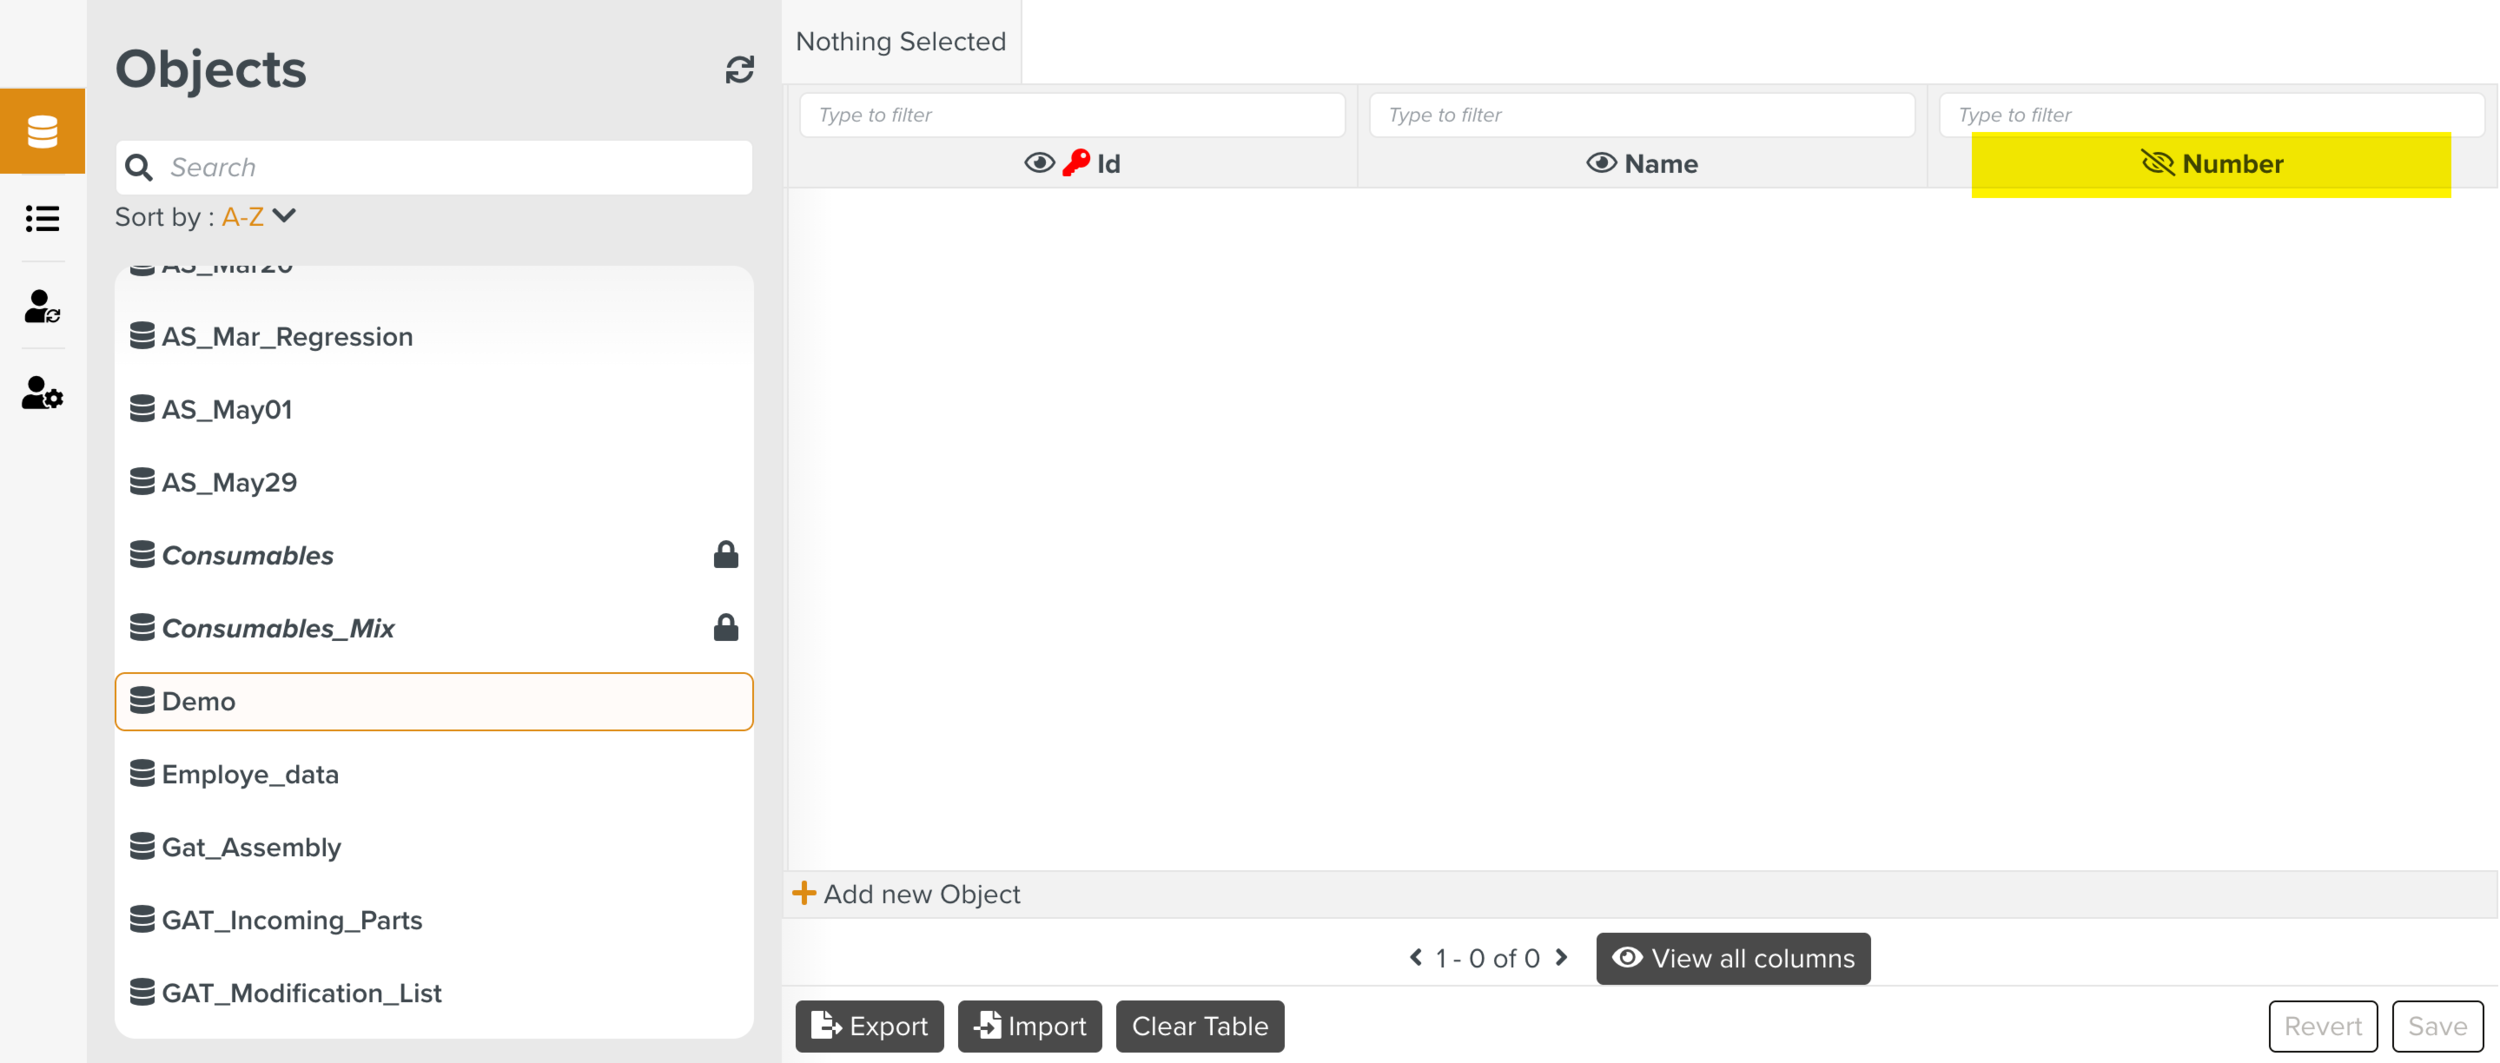
Some columns of the table can be hidden. To view these columns, click .
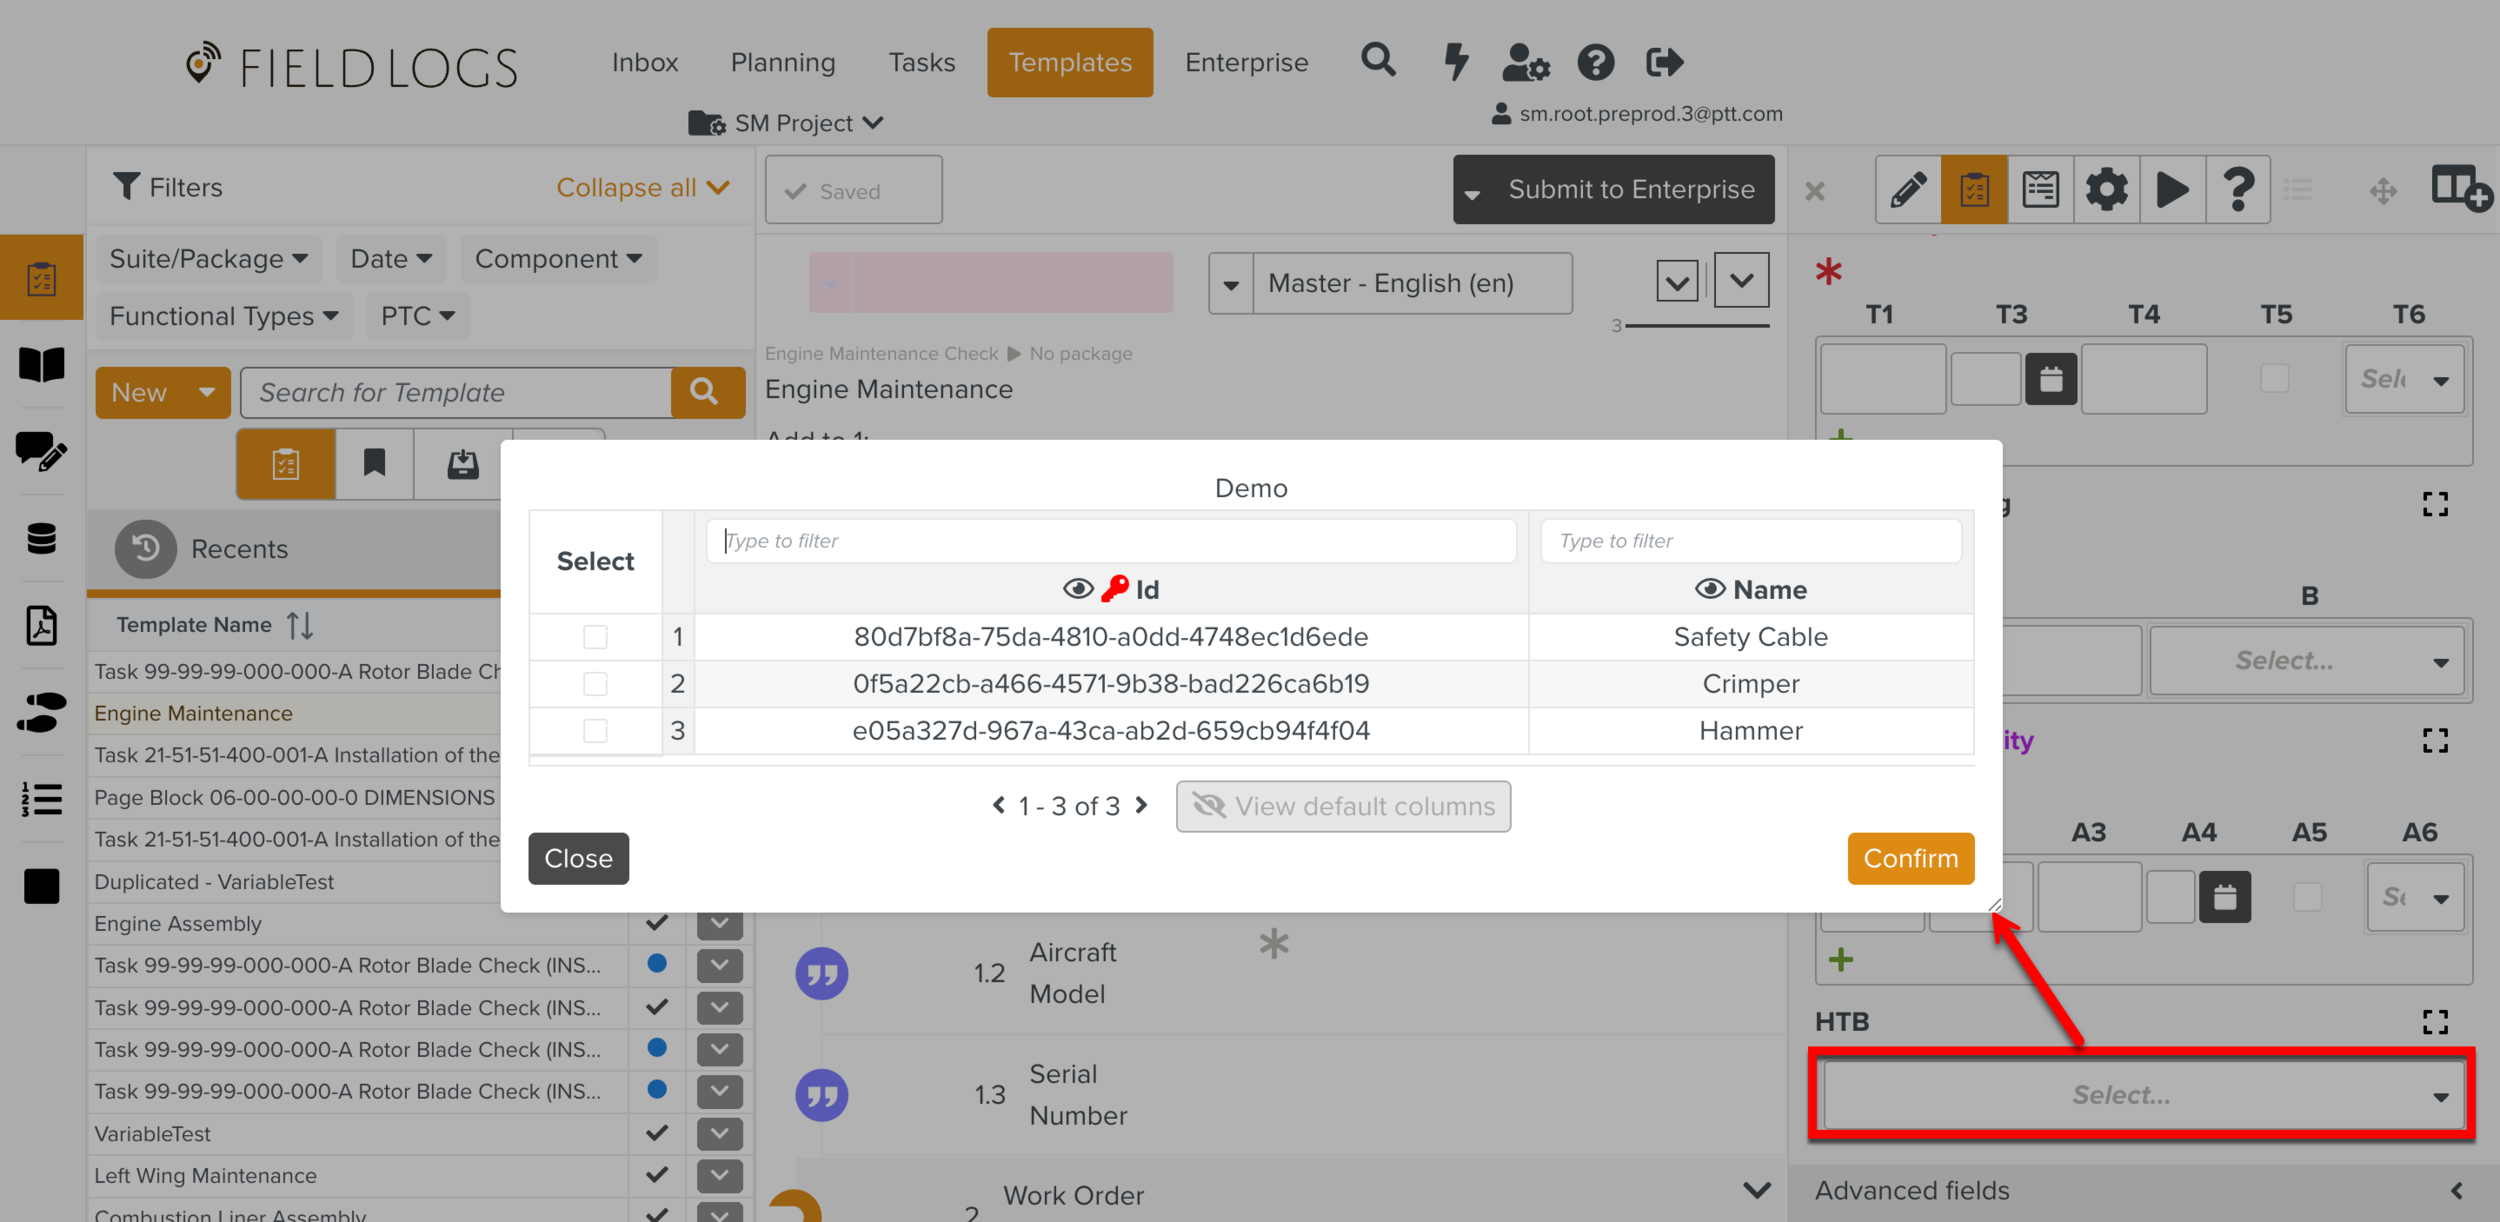
These hidden columns can also be reflected in the respectives areas where the Master Data table is used. The example below highlights the hidden column in the Master Data table of the Custom Field HTB.
The following columns in Parts_Mix, Tools_Mix, Consumables_Mix tables are hidden by default.
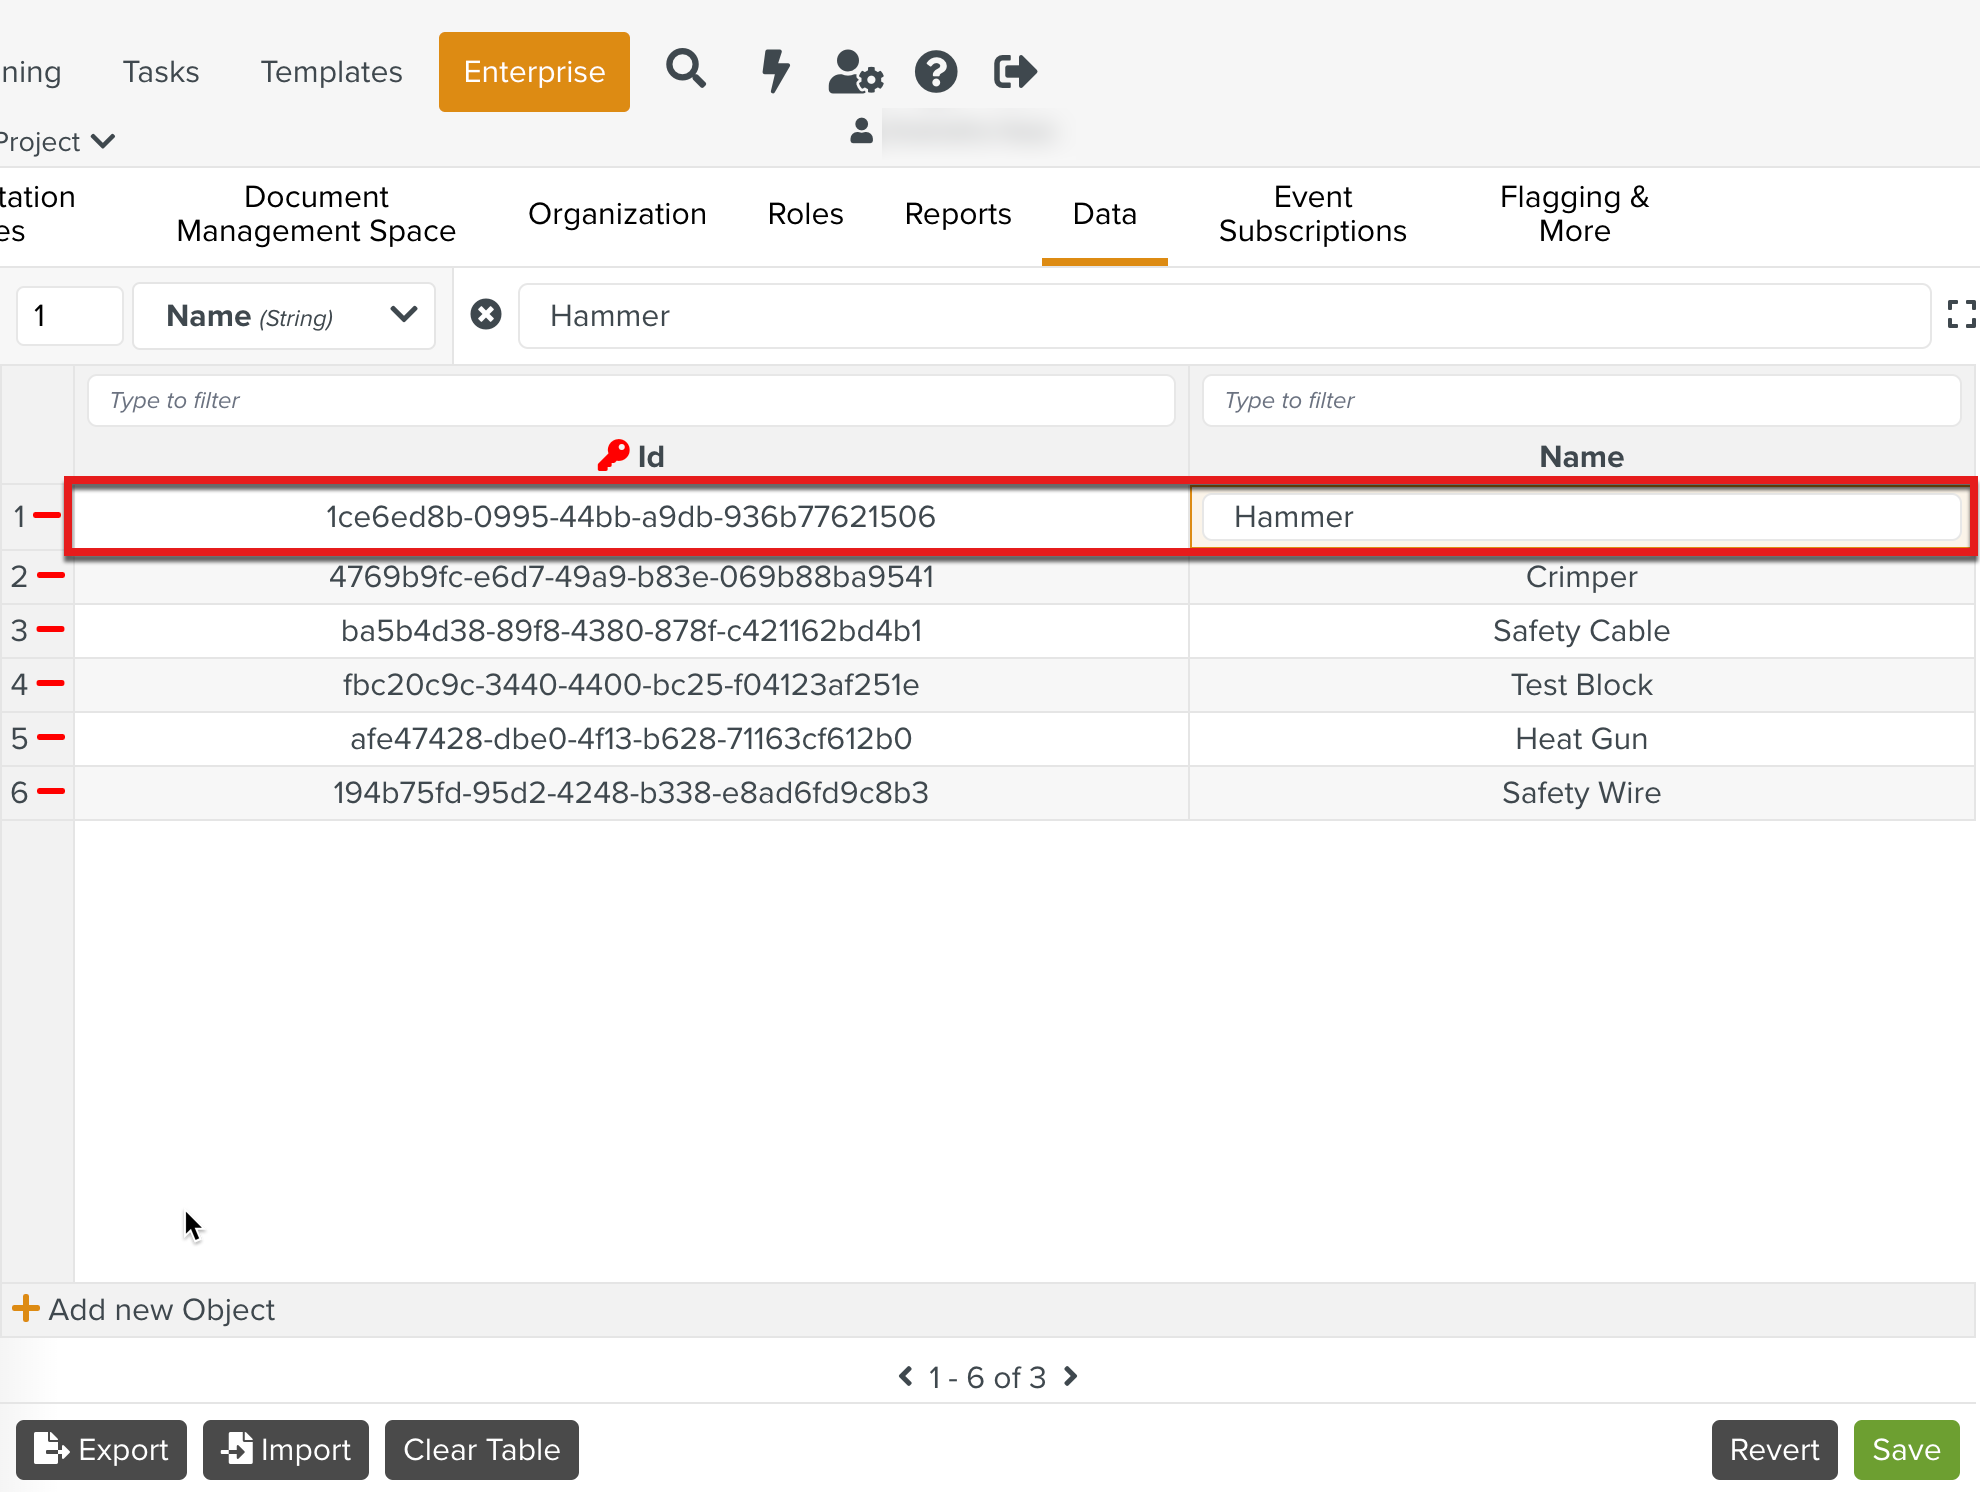
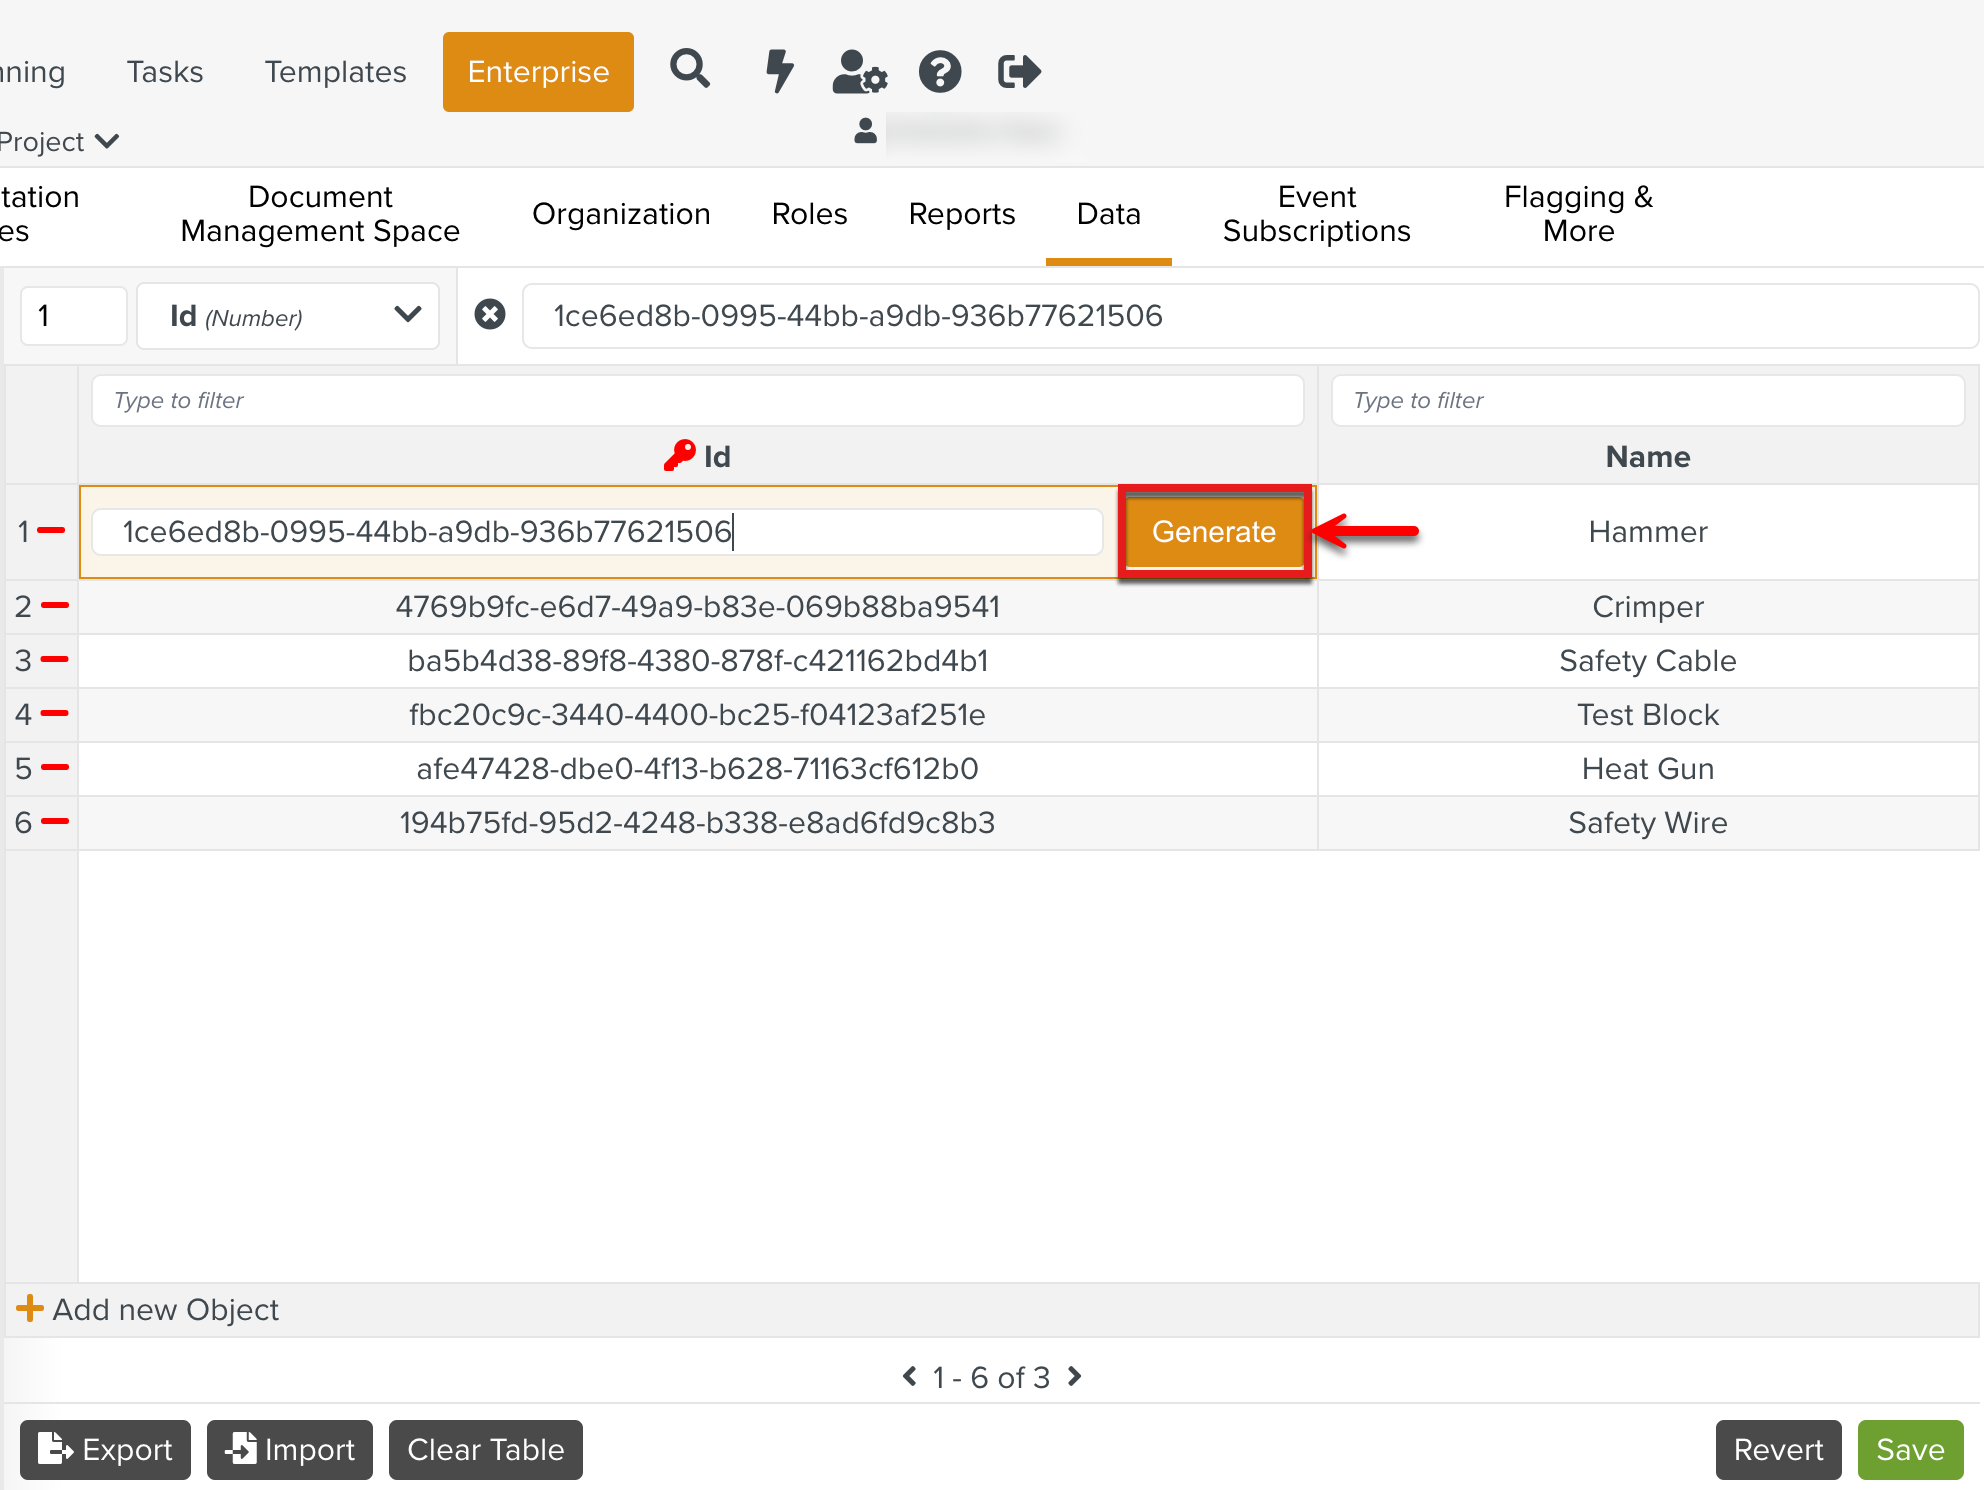
The user is prompted for values. Select properties from the dropdown as shown to enter the corresponding values.
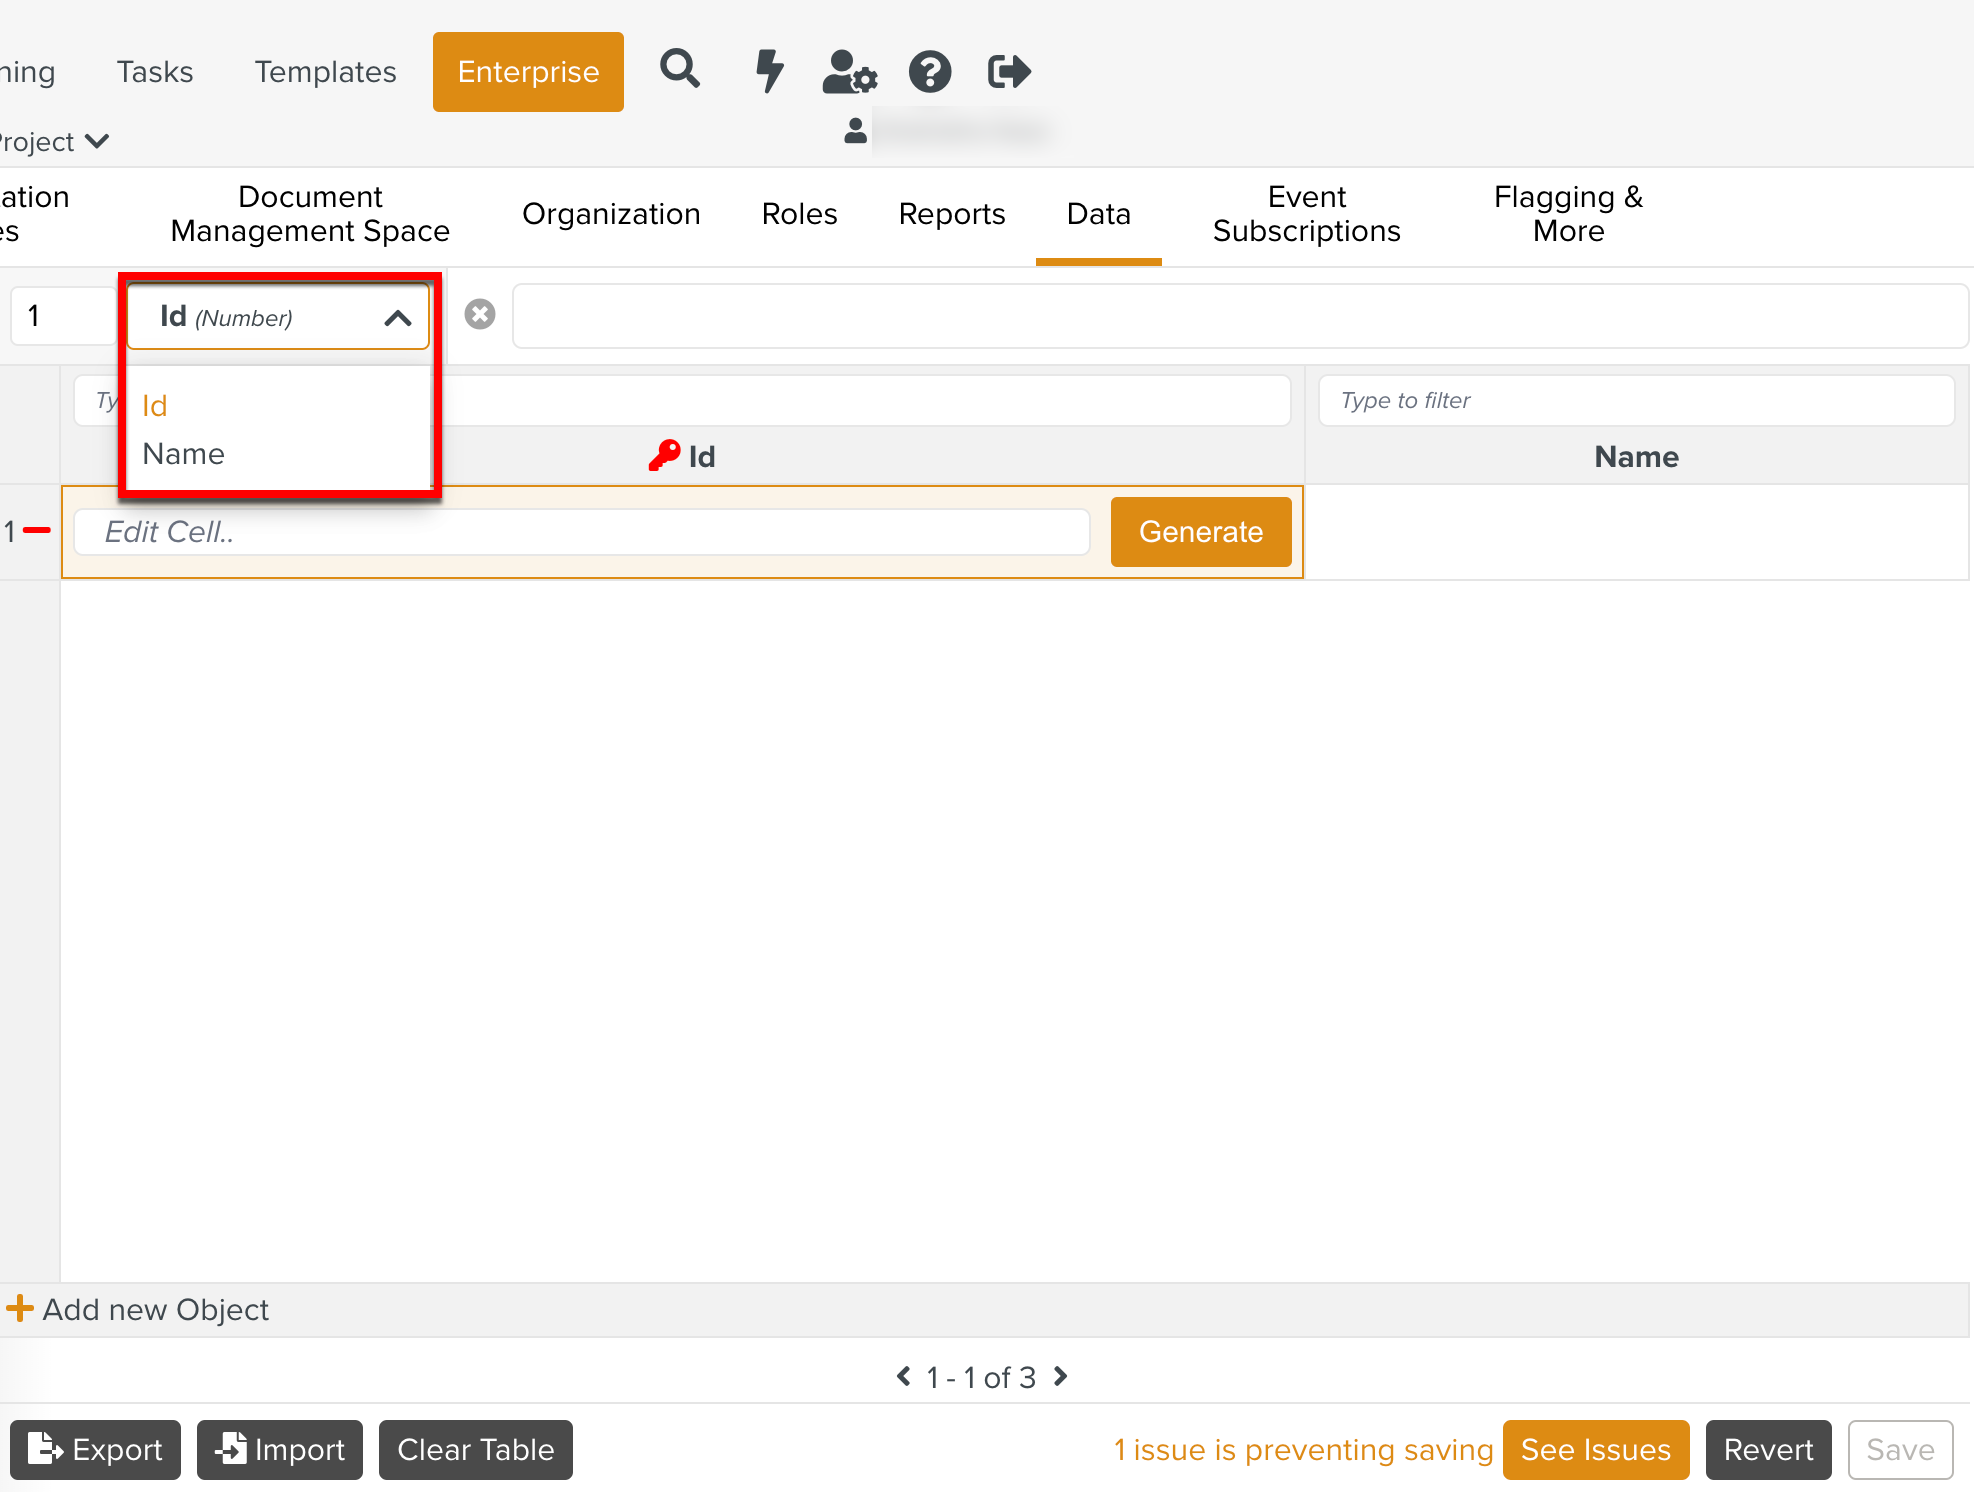
In this example, values for Id and Name are entered.
Note
The value for the key must be unique and should not be null.

Click
 to maximize the panel. You can edit the data.
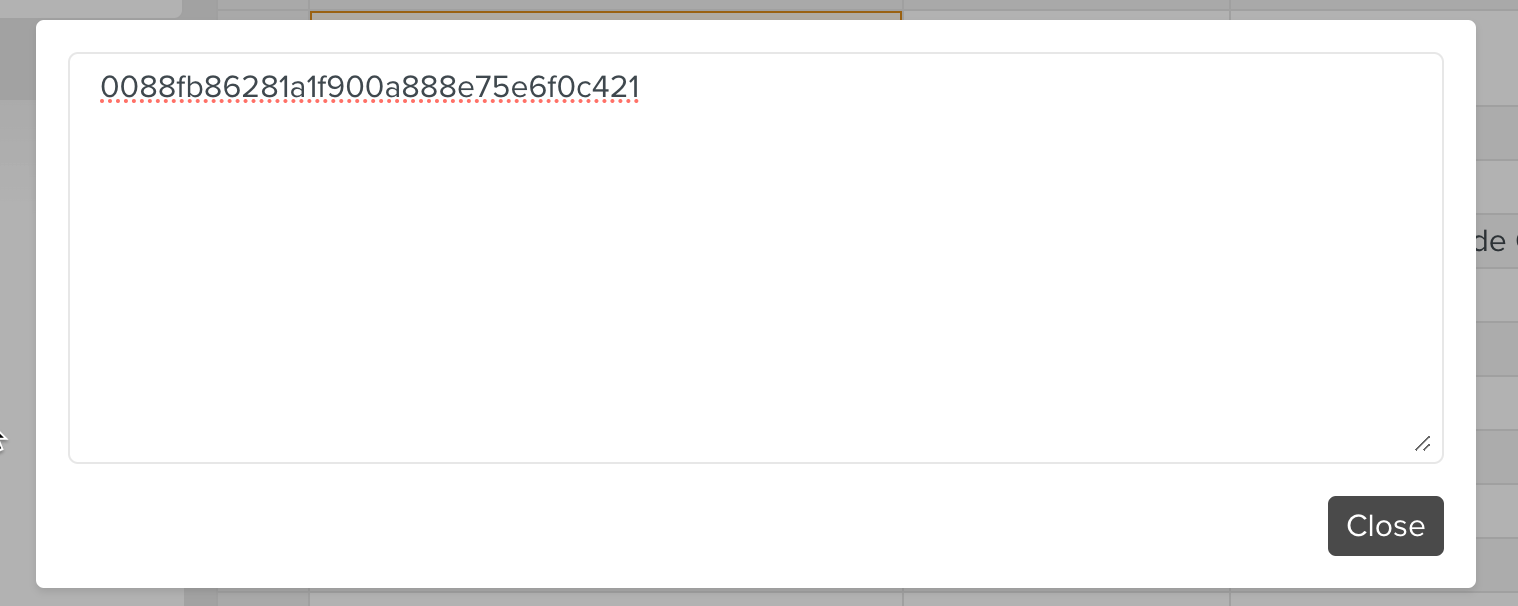
You can also use the button to generate a unique key for the Id.
Repeat steps 3 and 4 to add more rows.
Click .
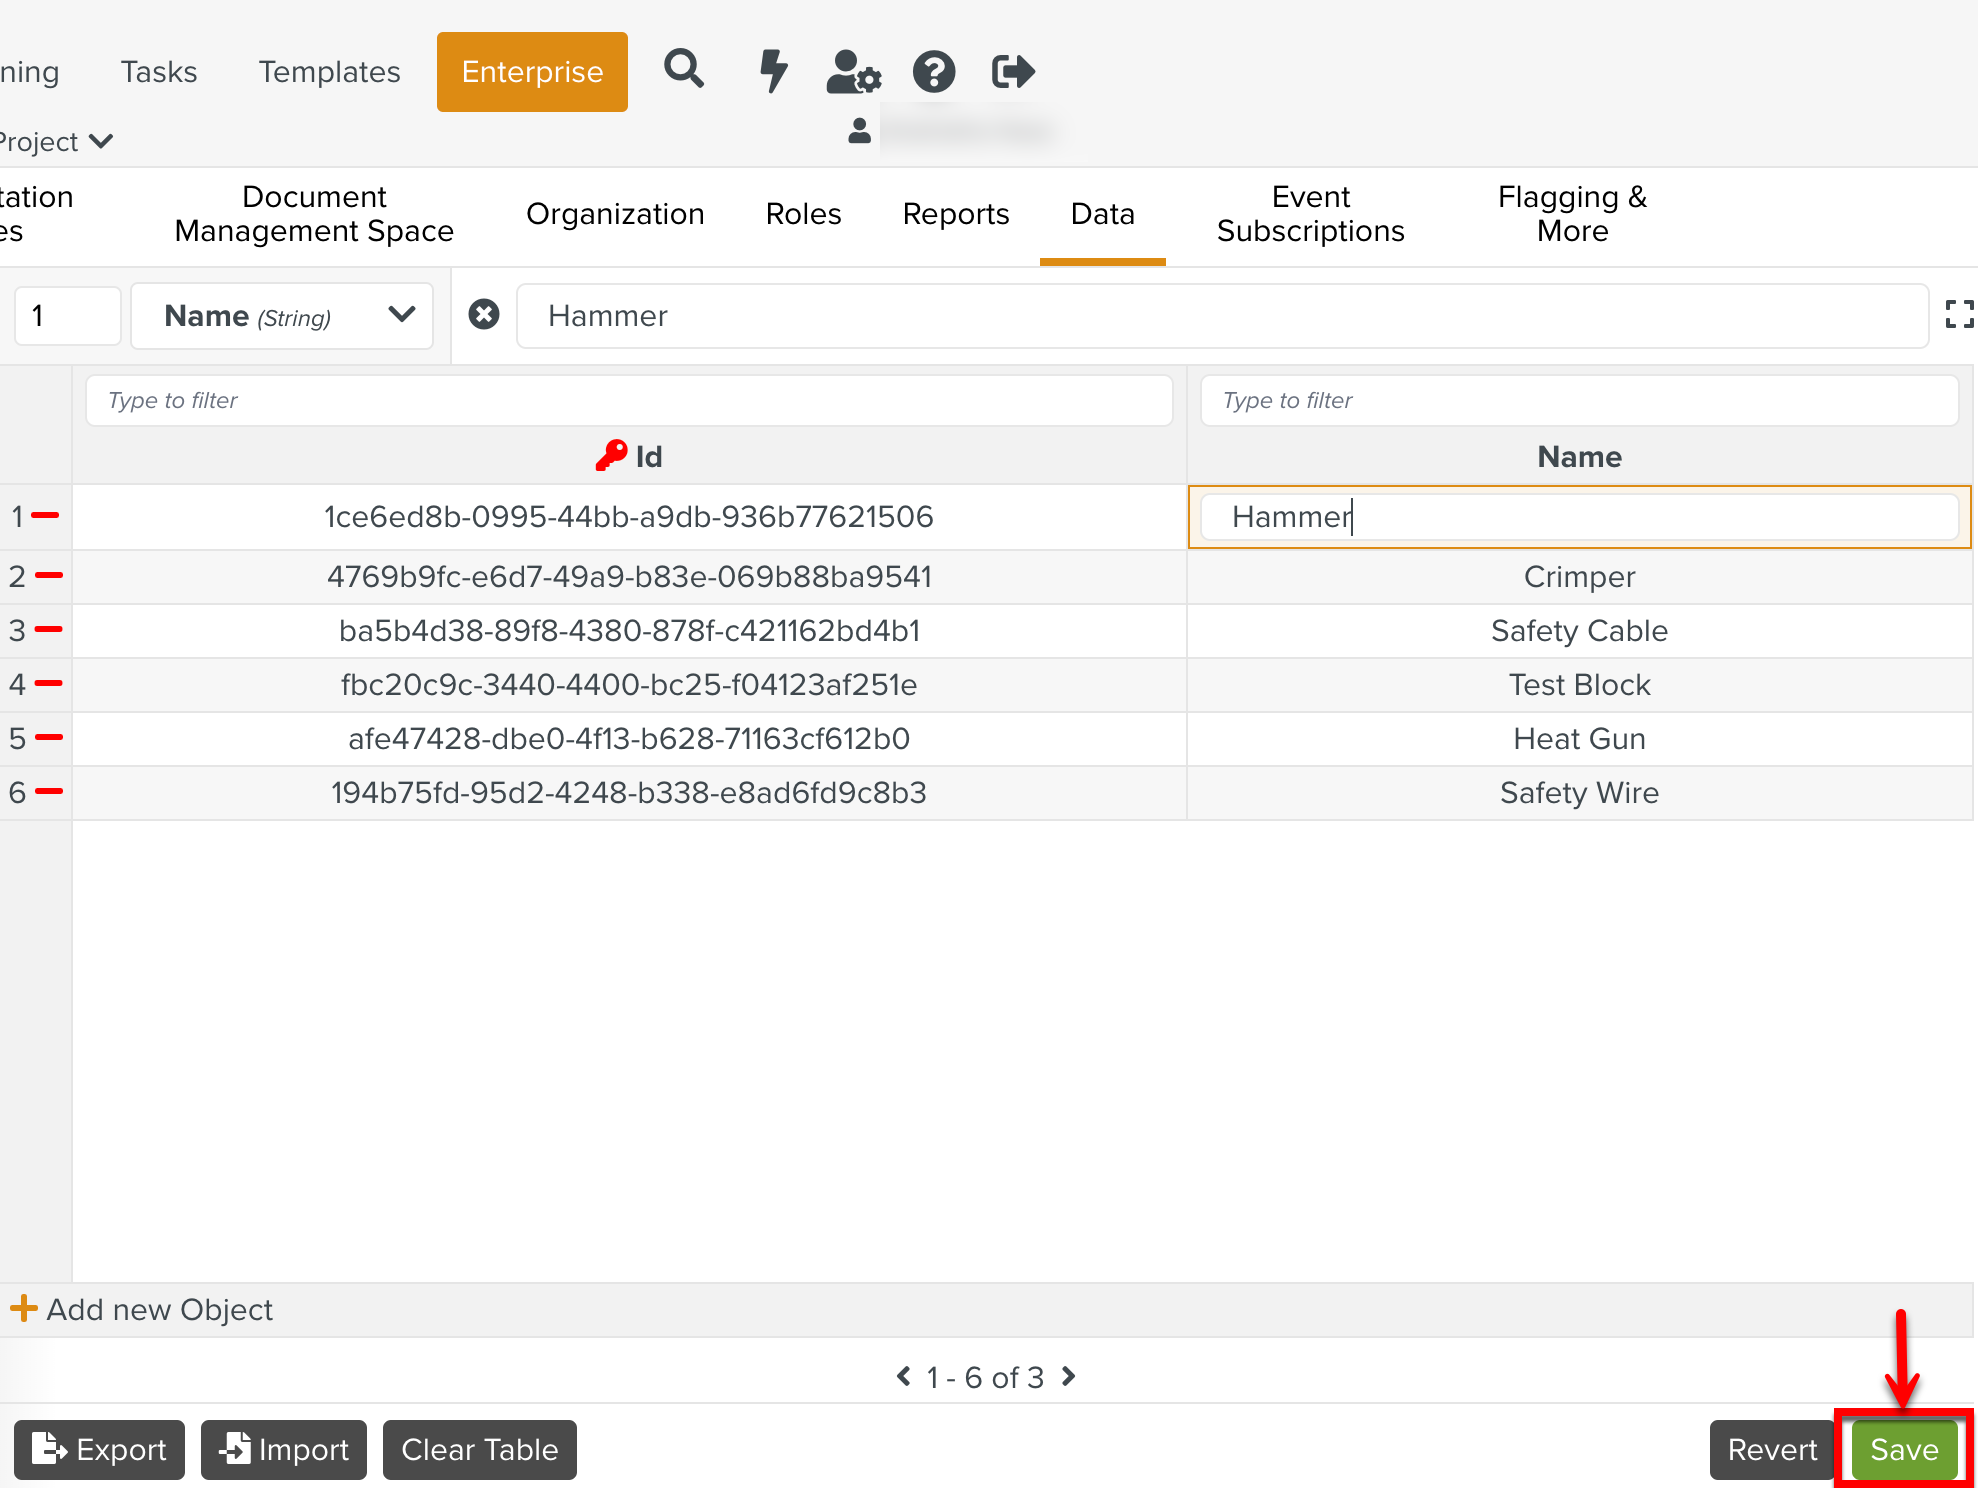
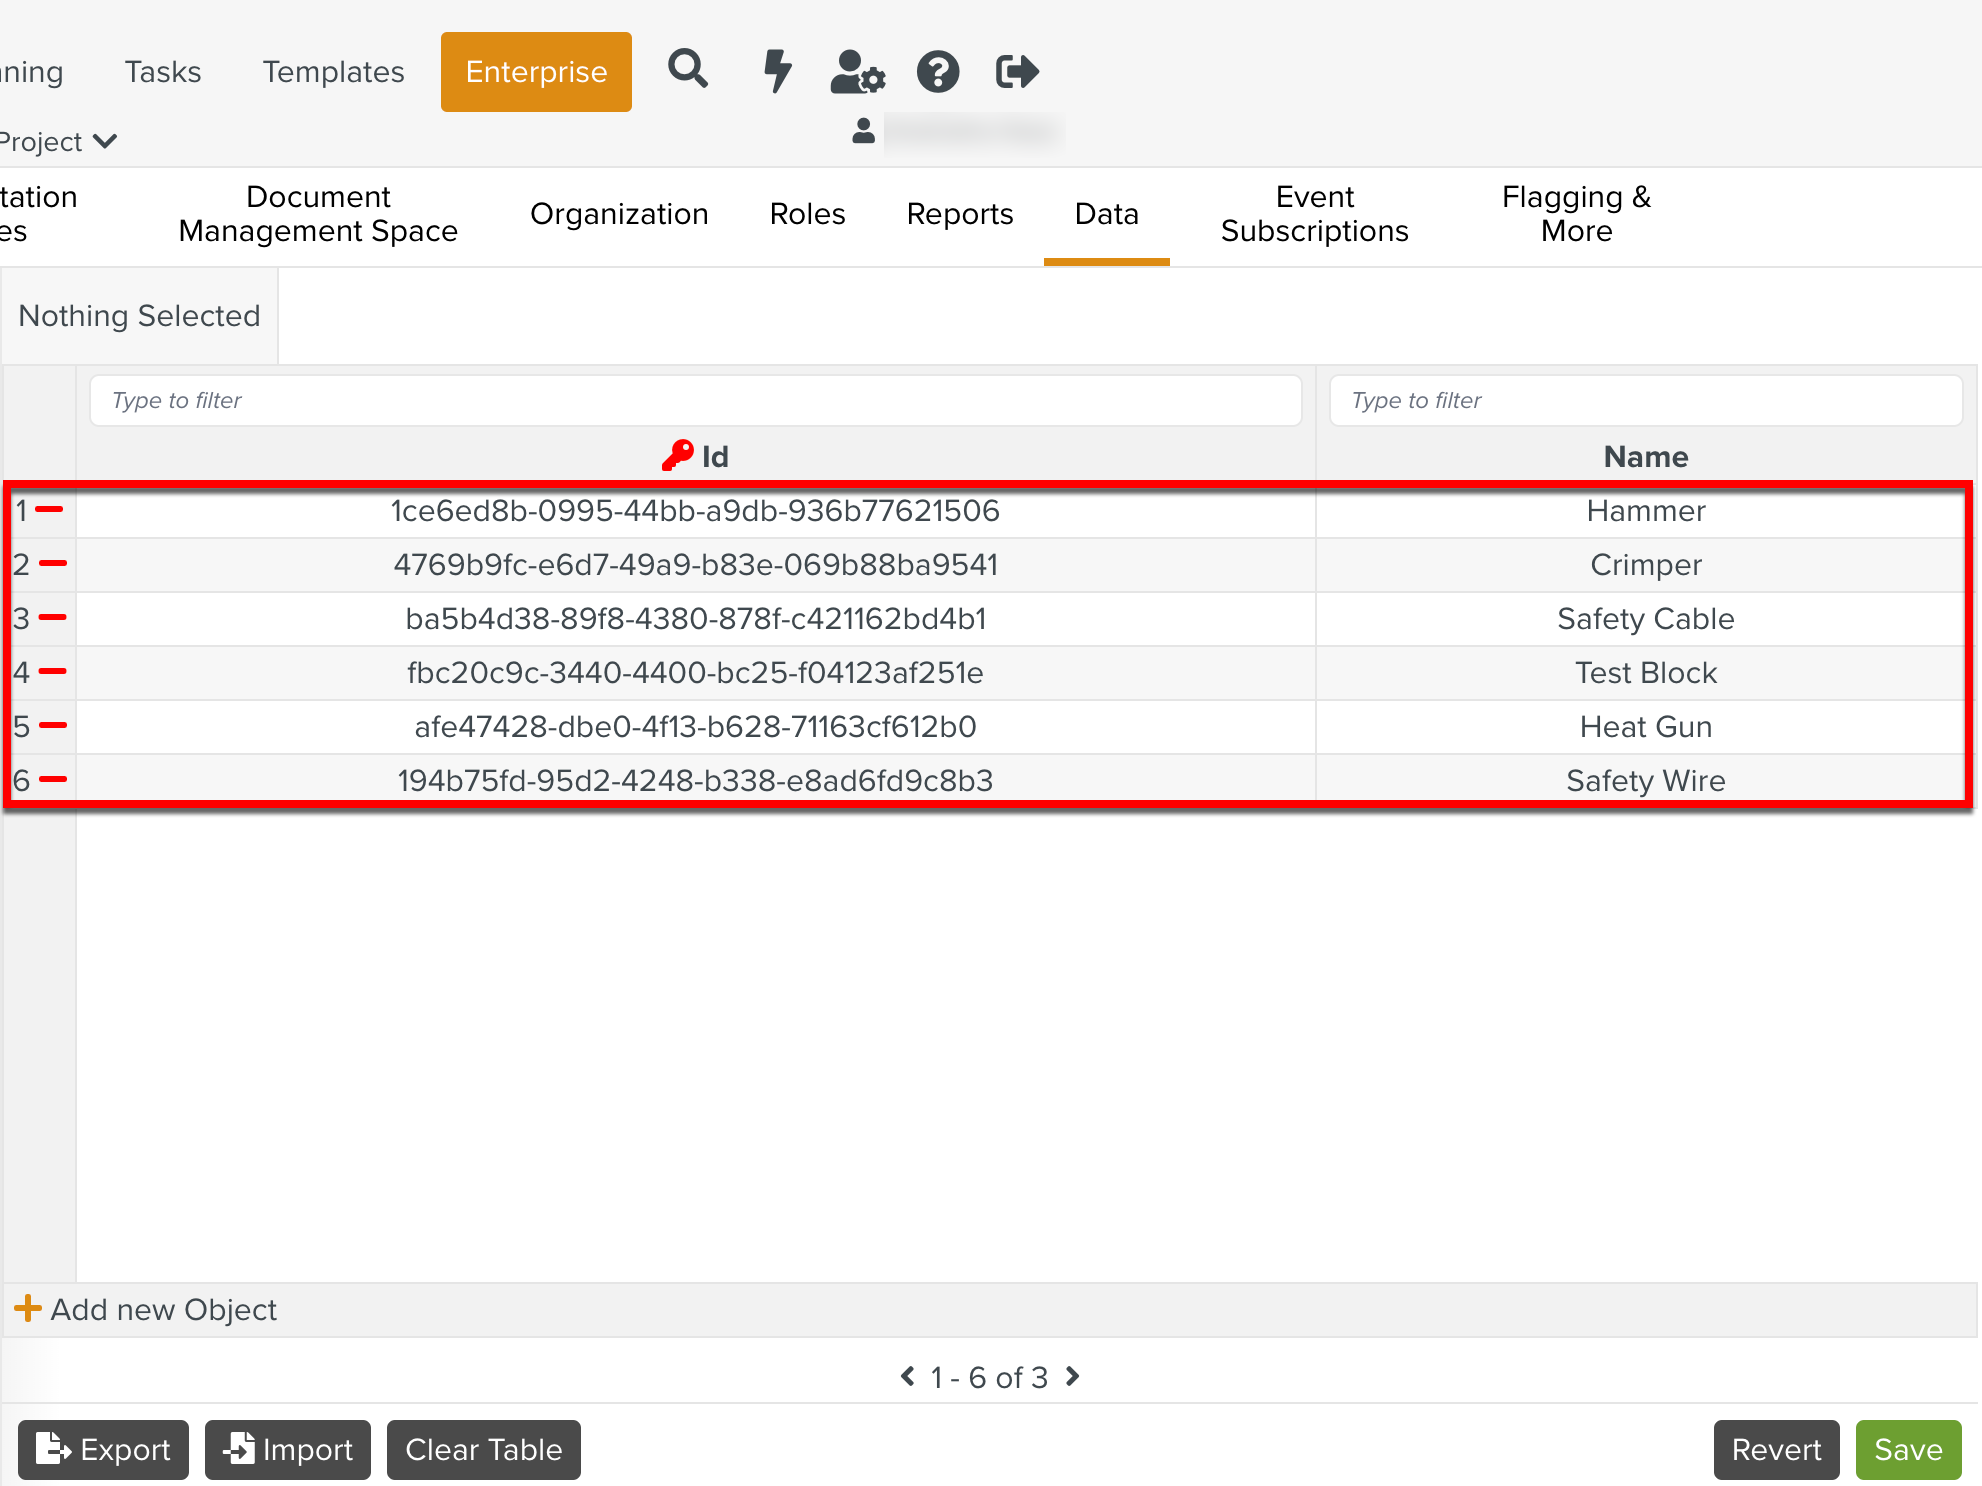
Rows of data are added to the Object.
Note
Errors may appear until the property values are filled in.
These errors disappear once the required values are filled in a property.
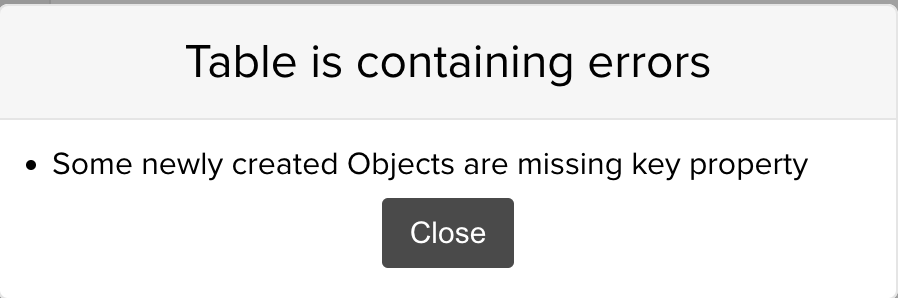
To see the errors, click .
The error dialog box opens in case of incomplete Objects.
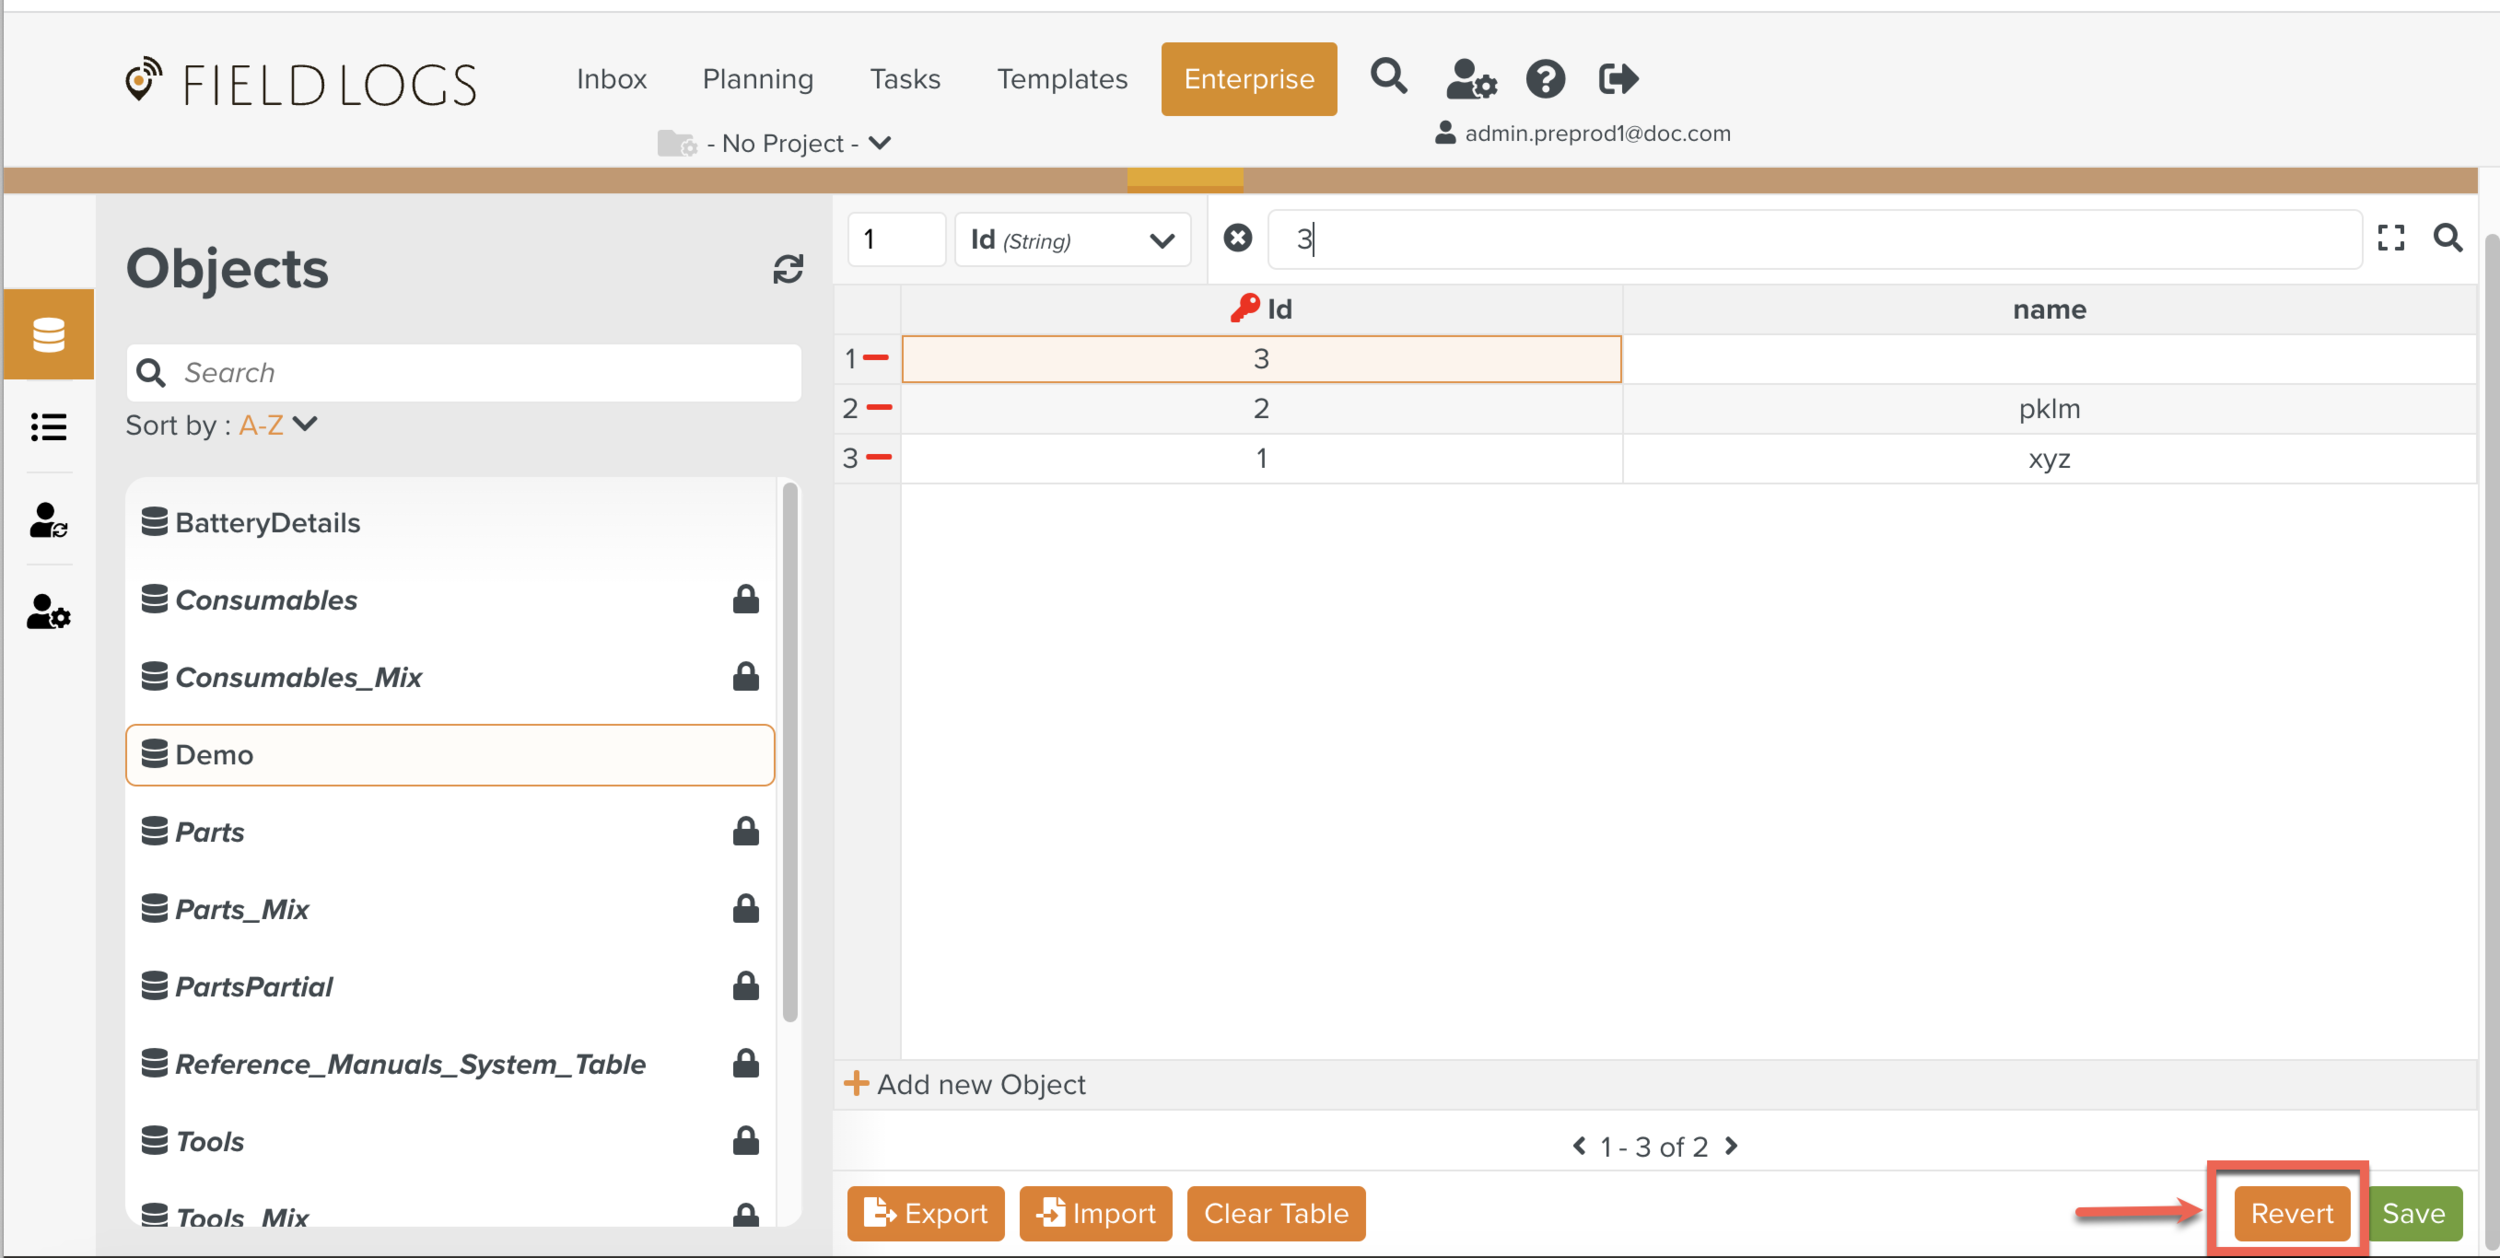
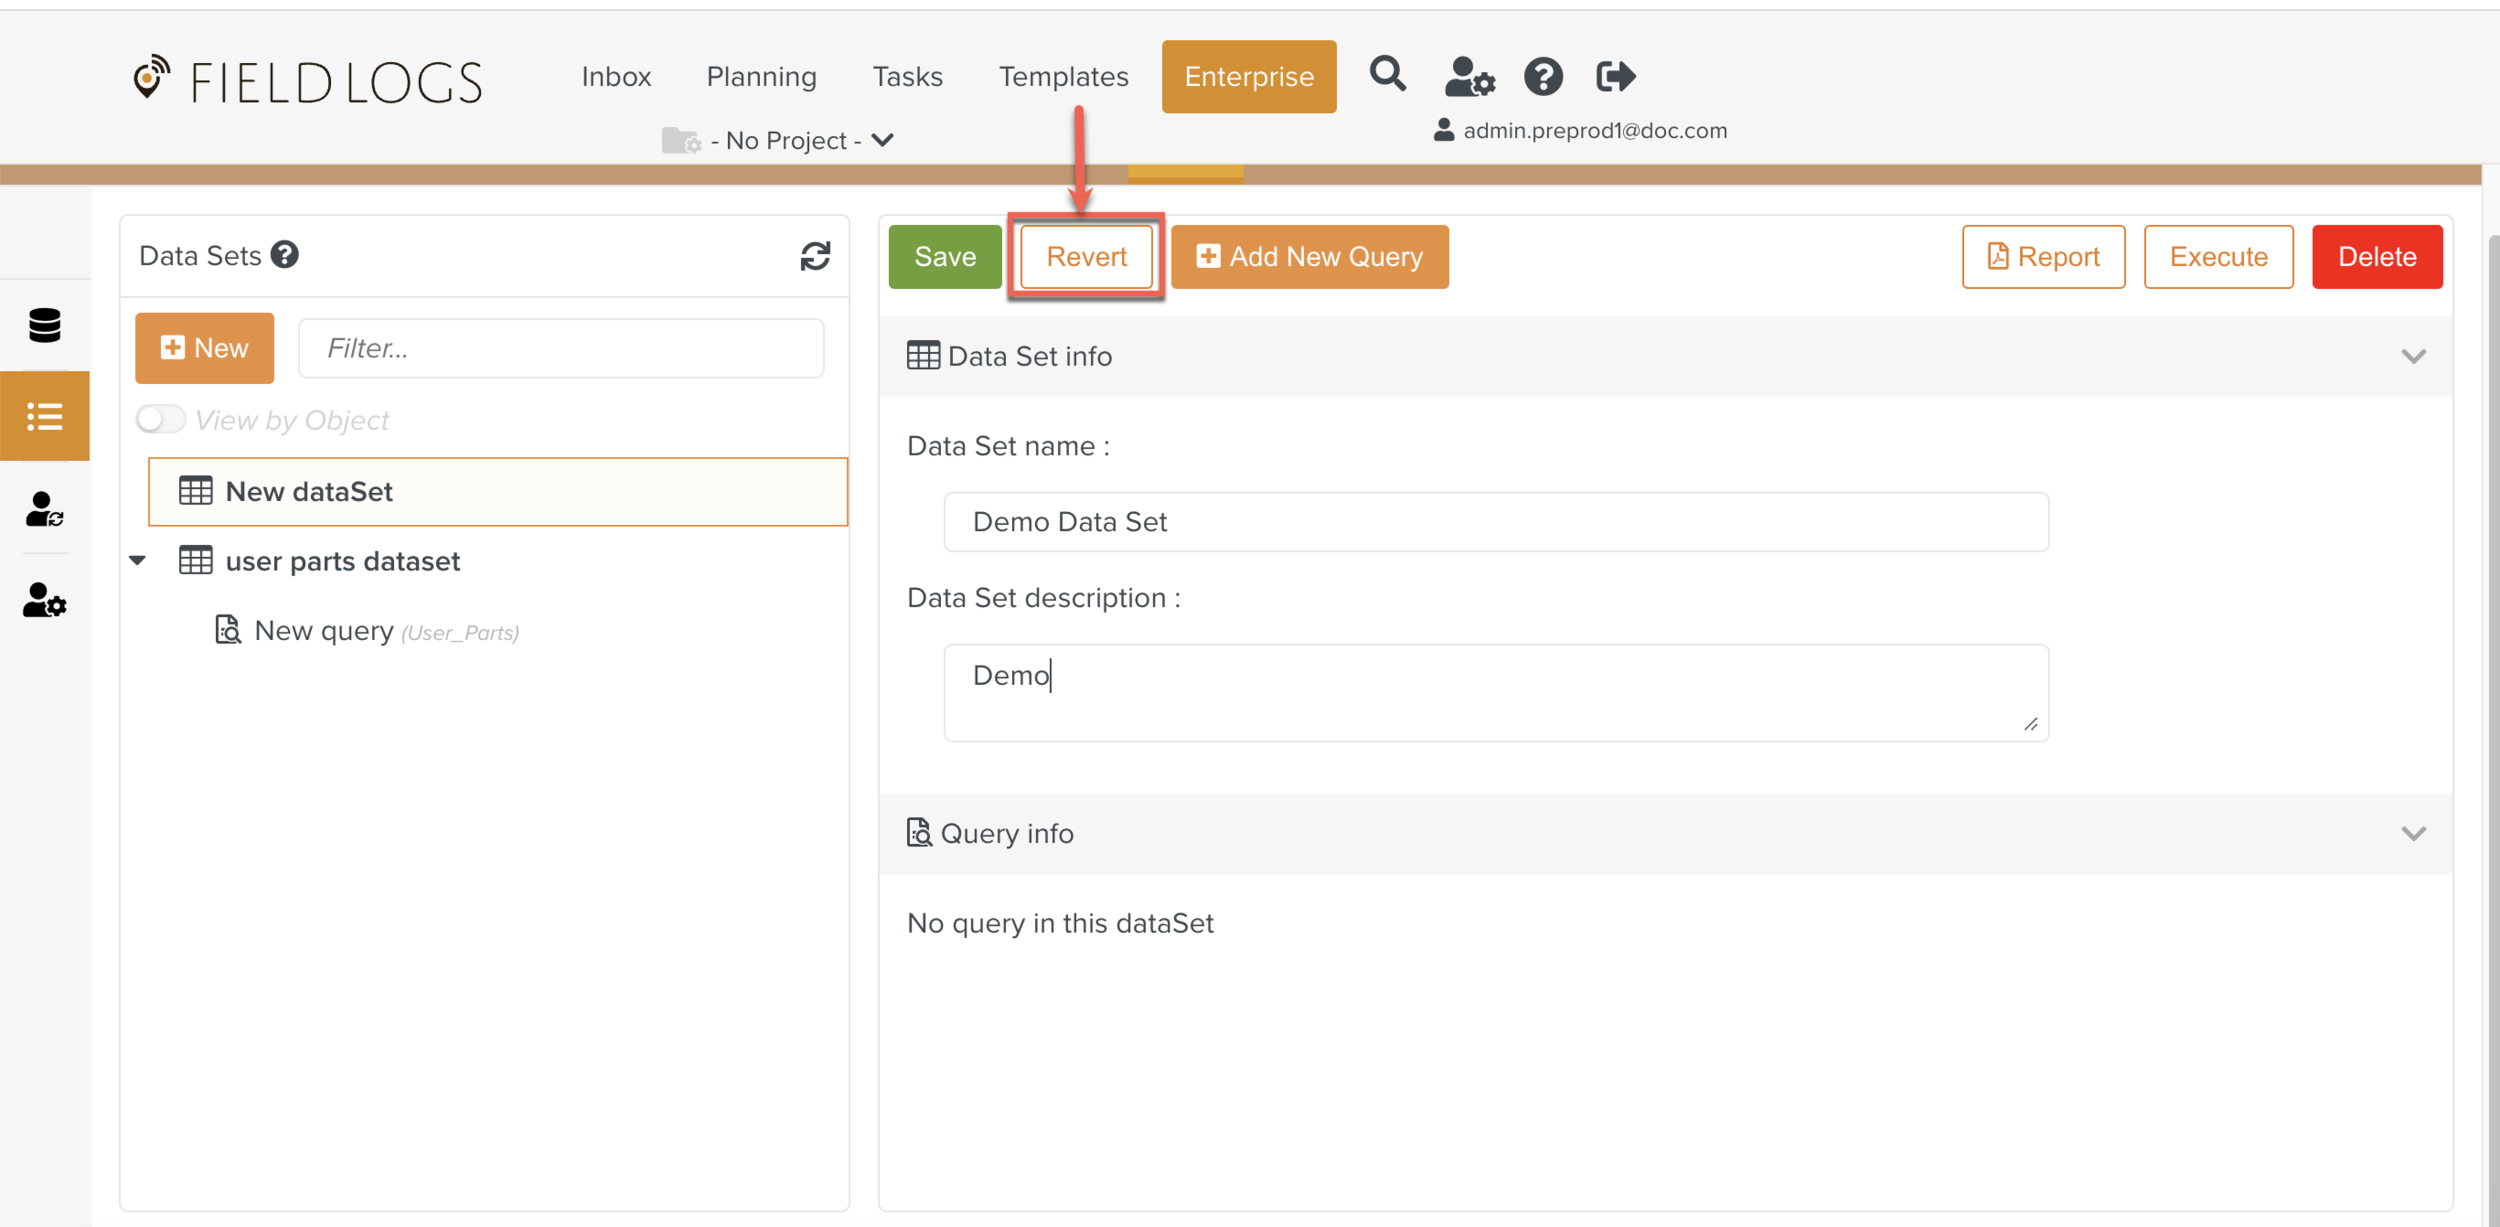
Revert
To undo the changes, click .
Deleting Rows
Click
 to delete a row.
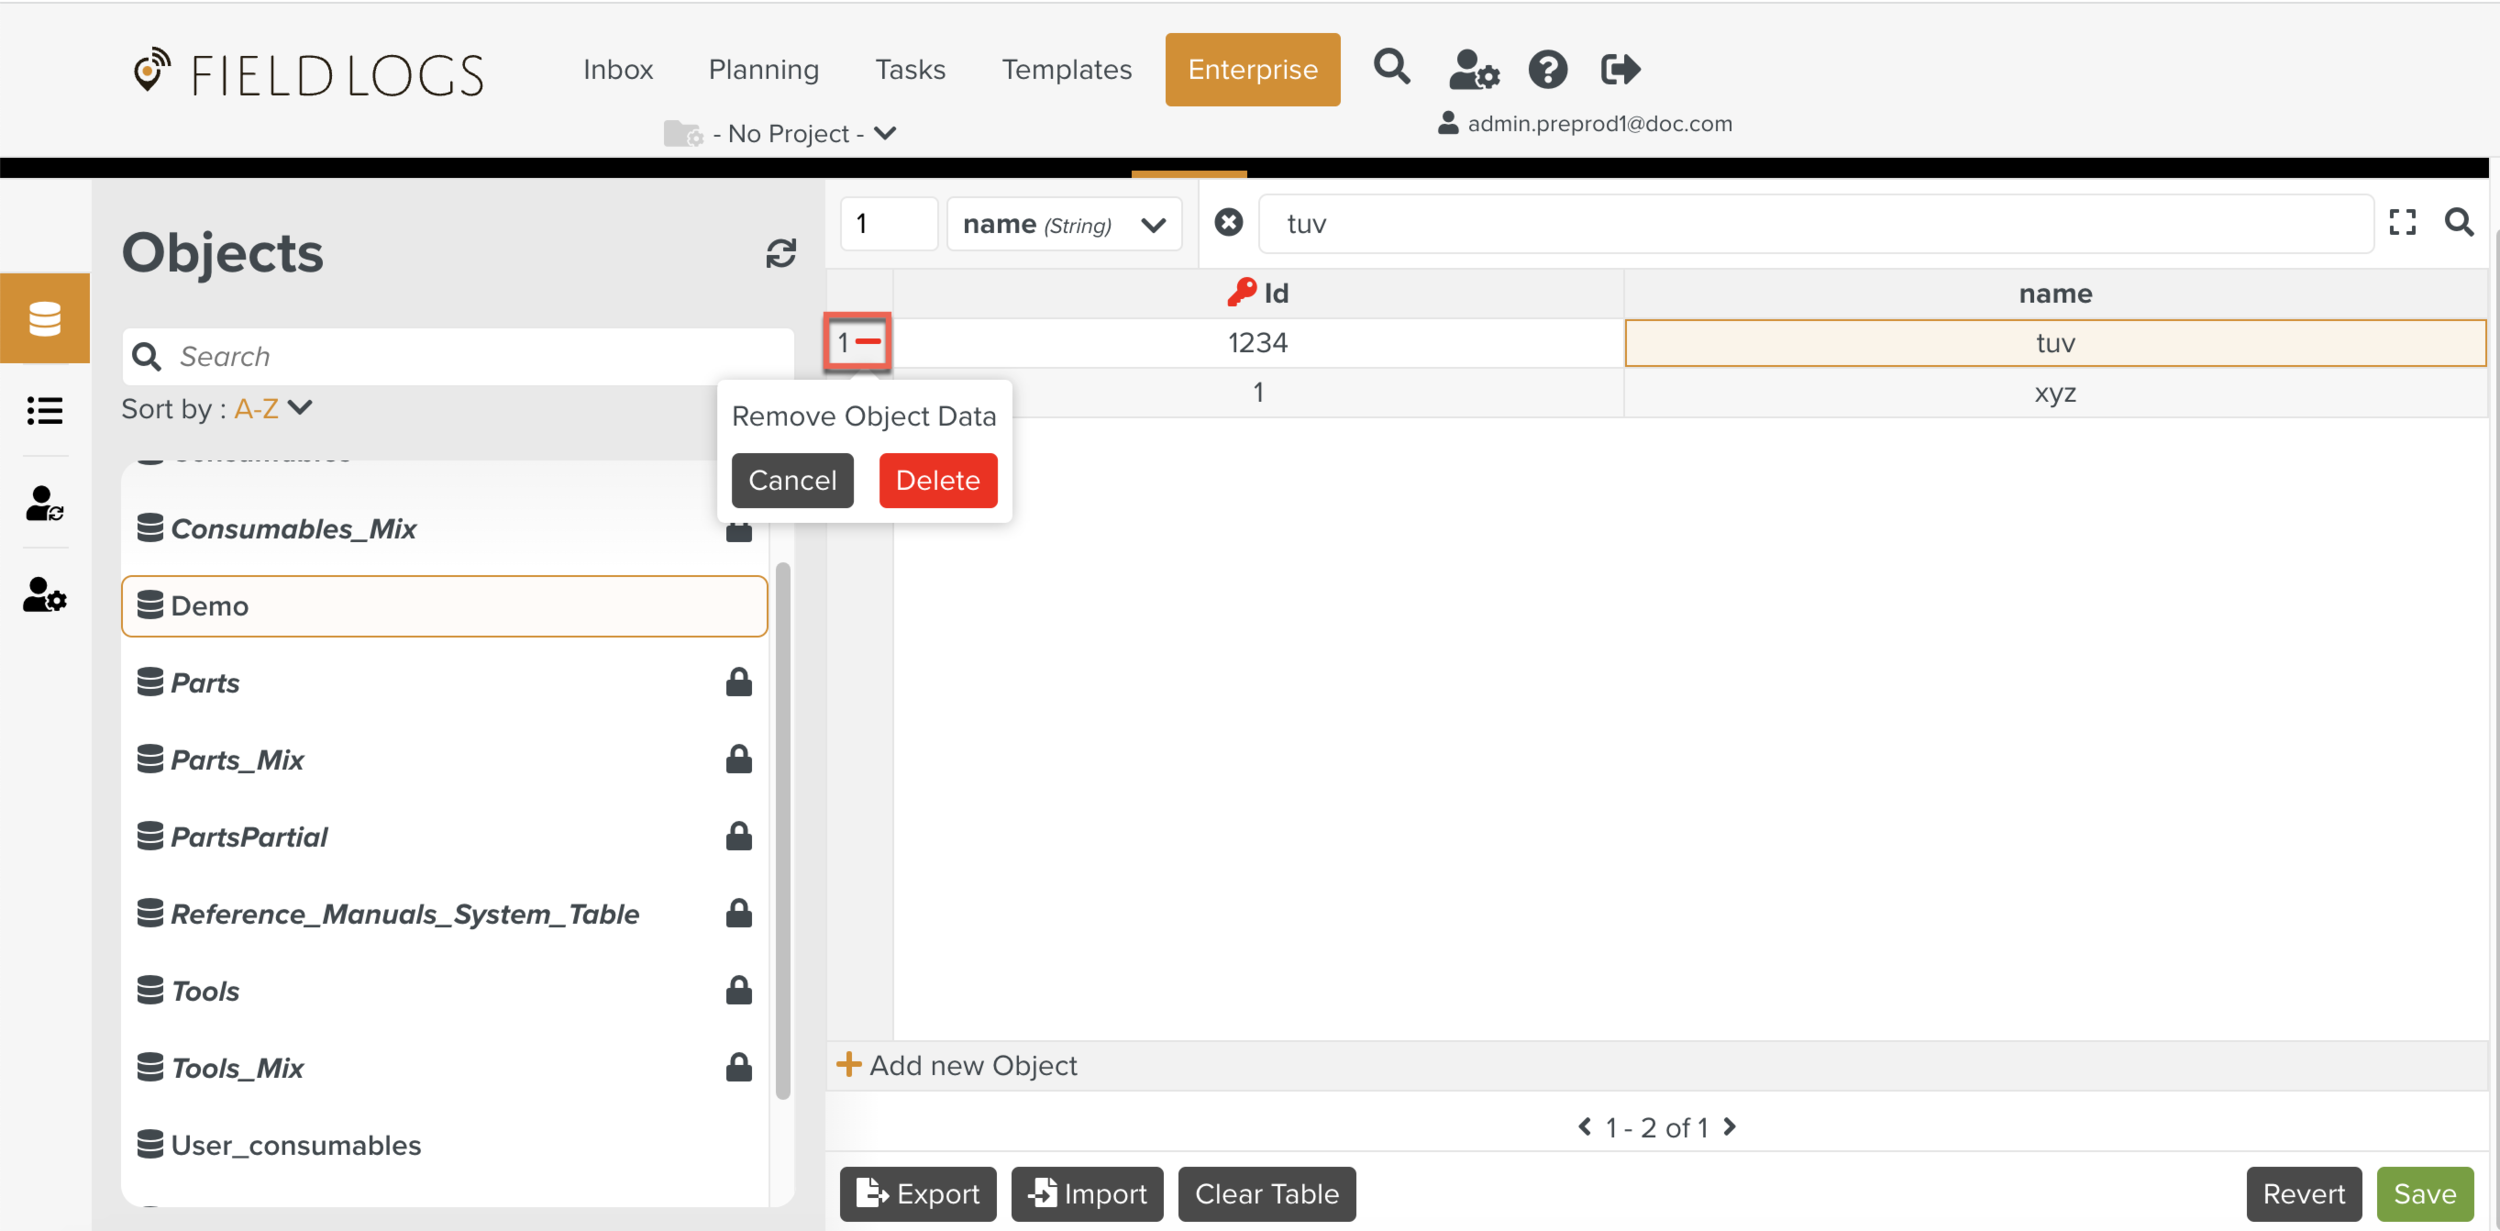
Click .
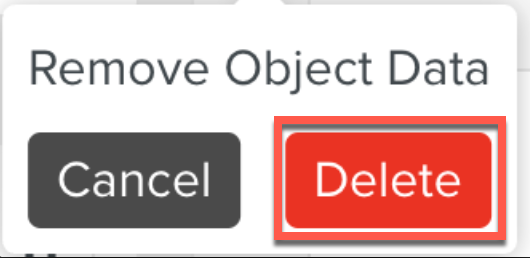
The row is deleted.
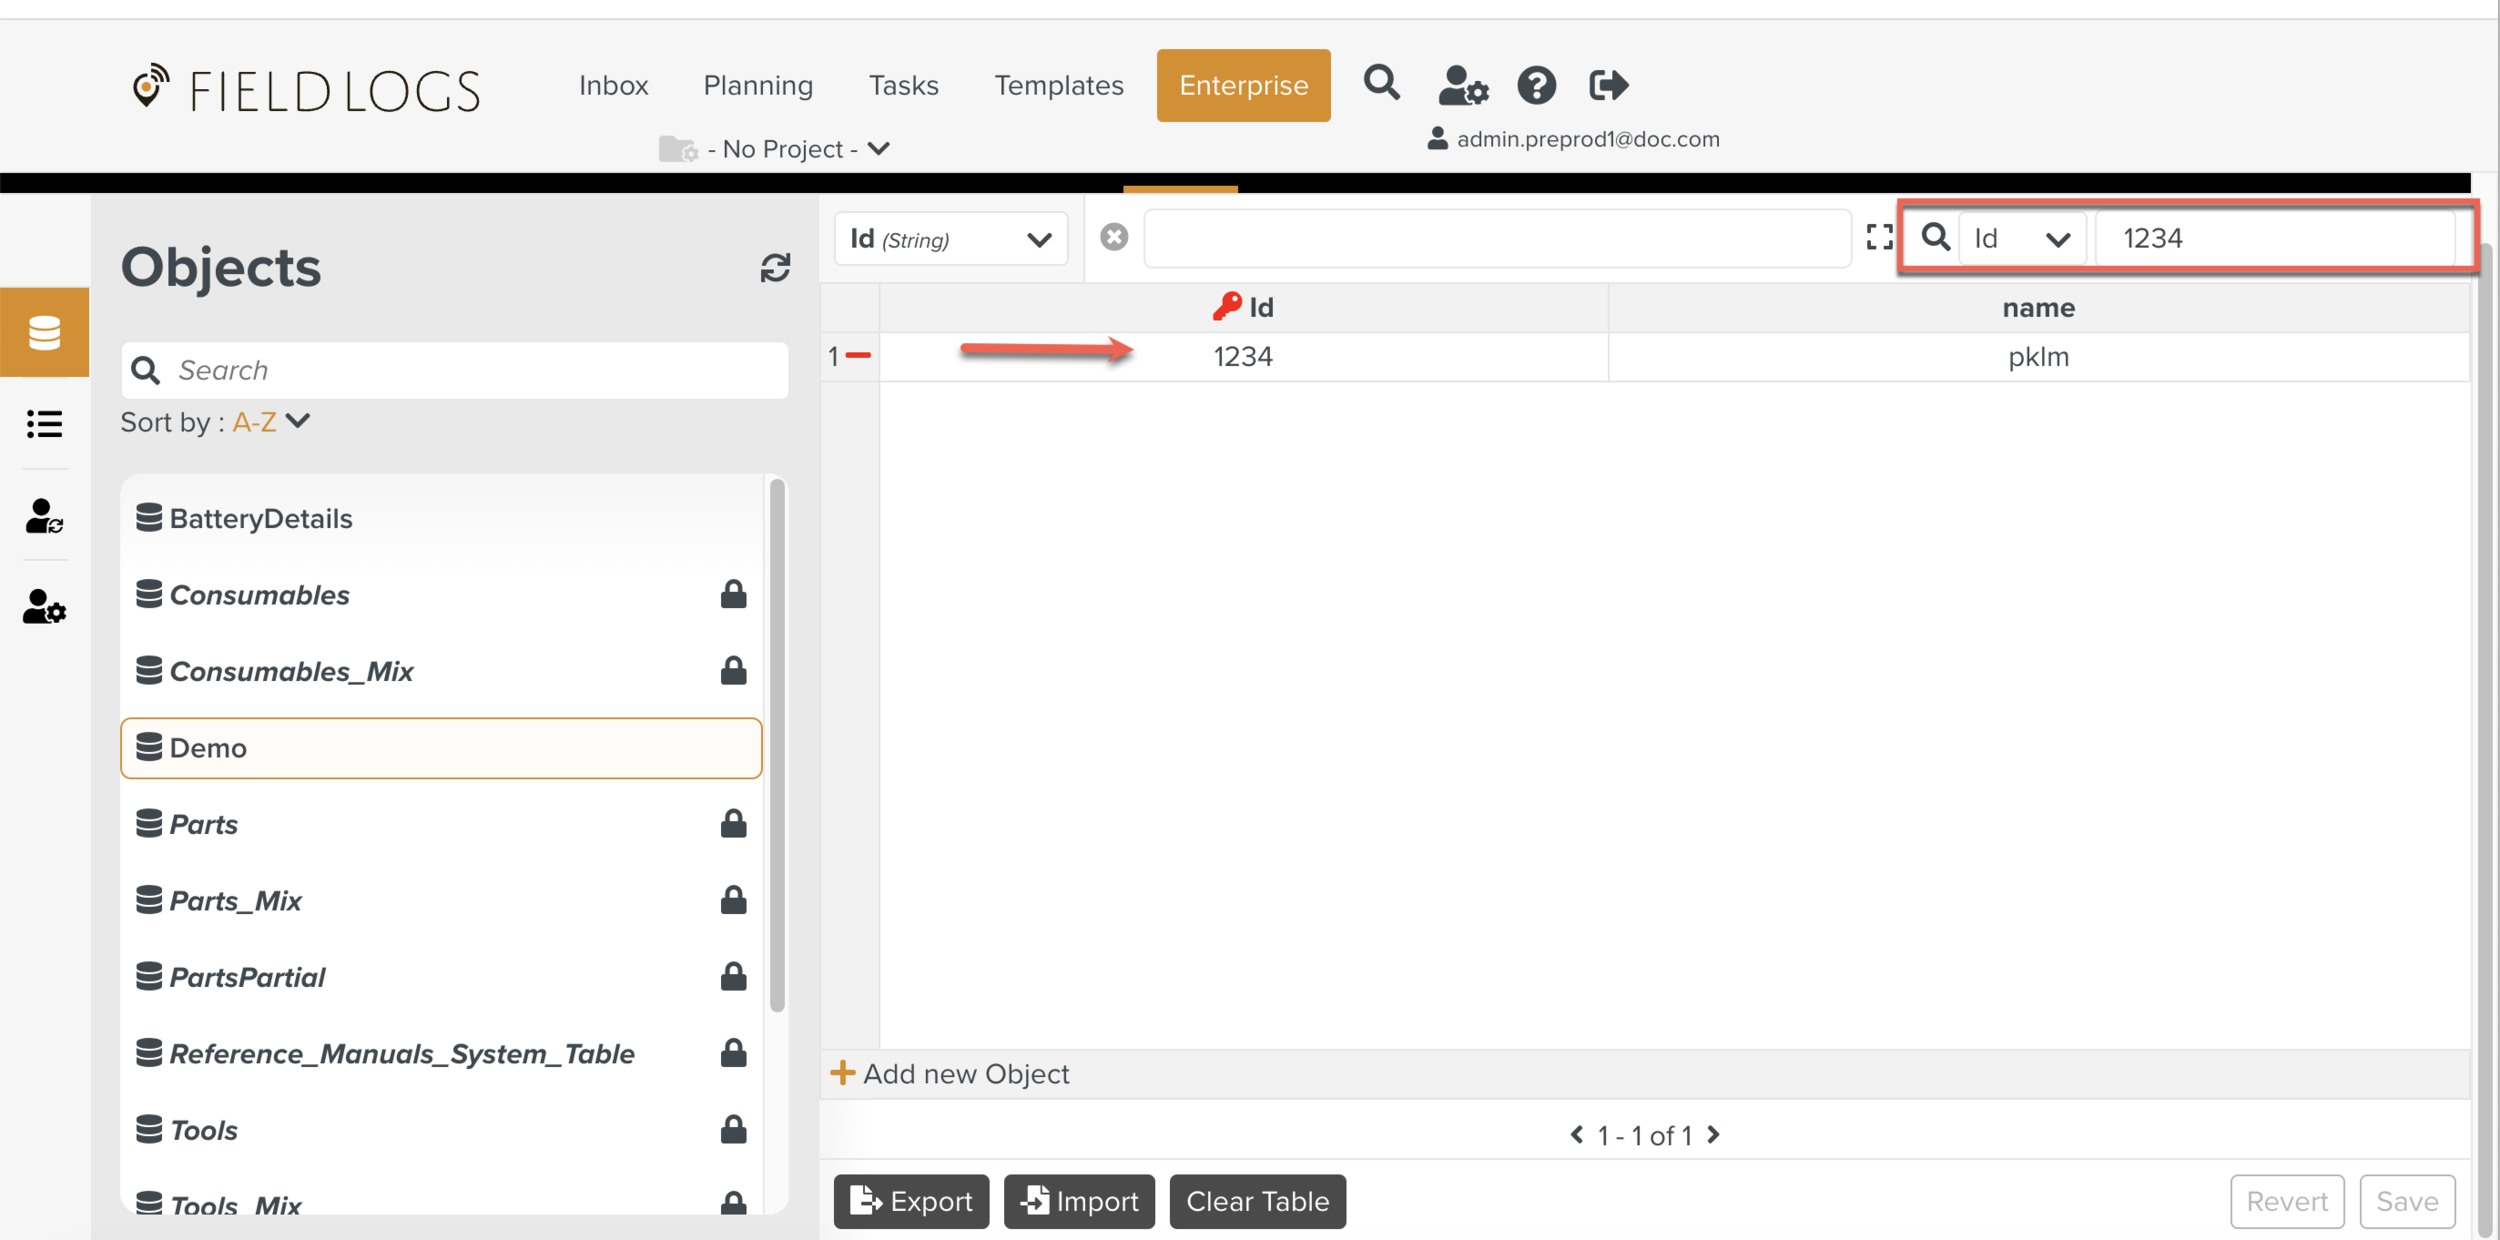
Search
You can search the table using the Search bar as shown below.
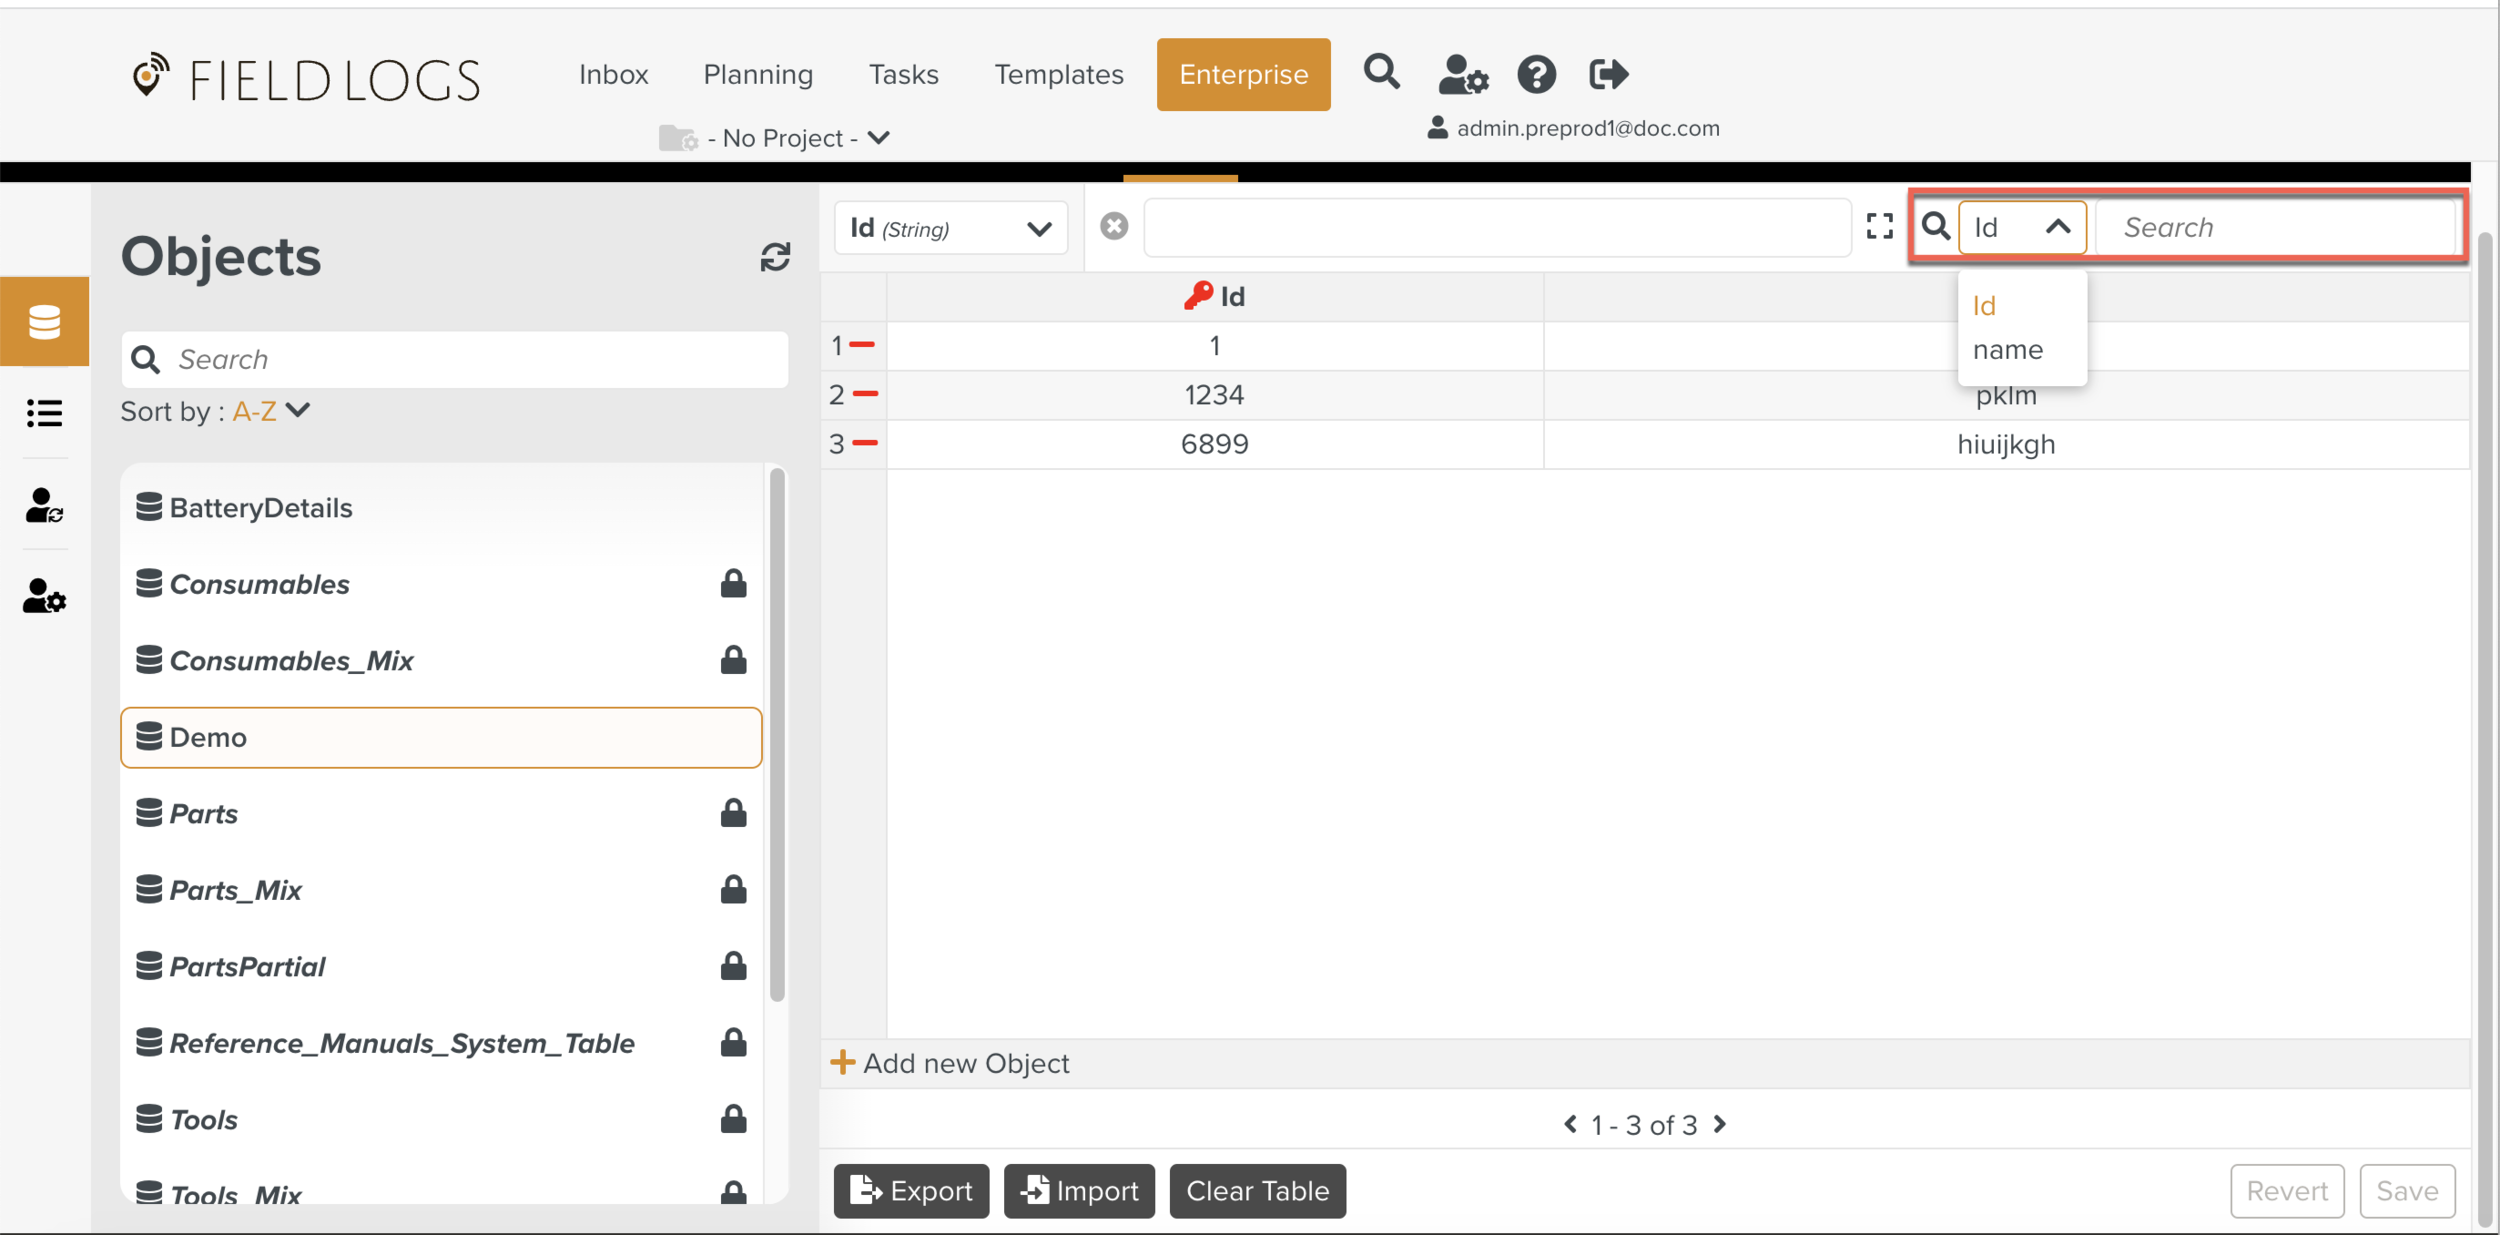
The specific row is displayed.
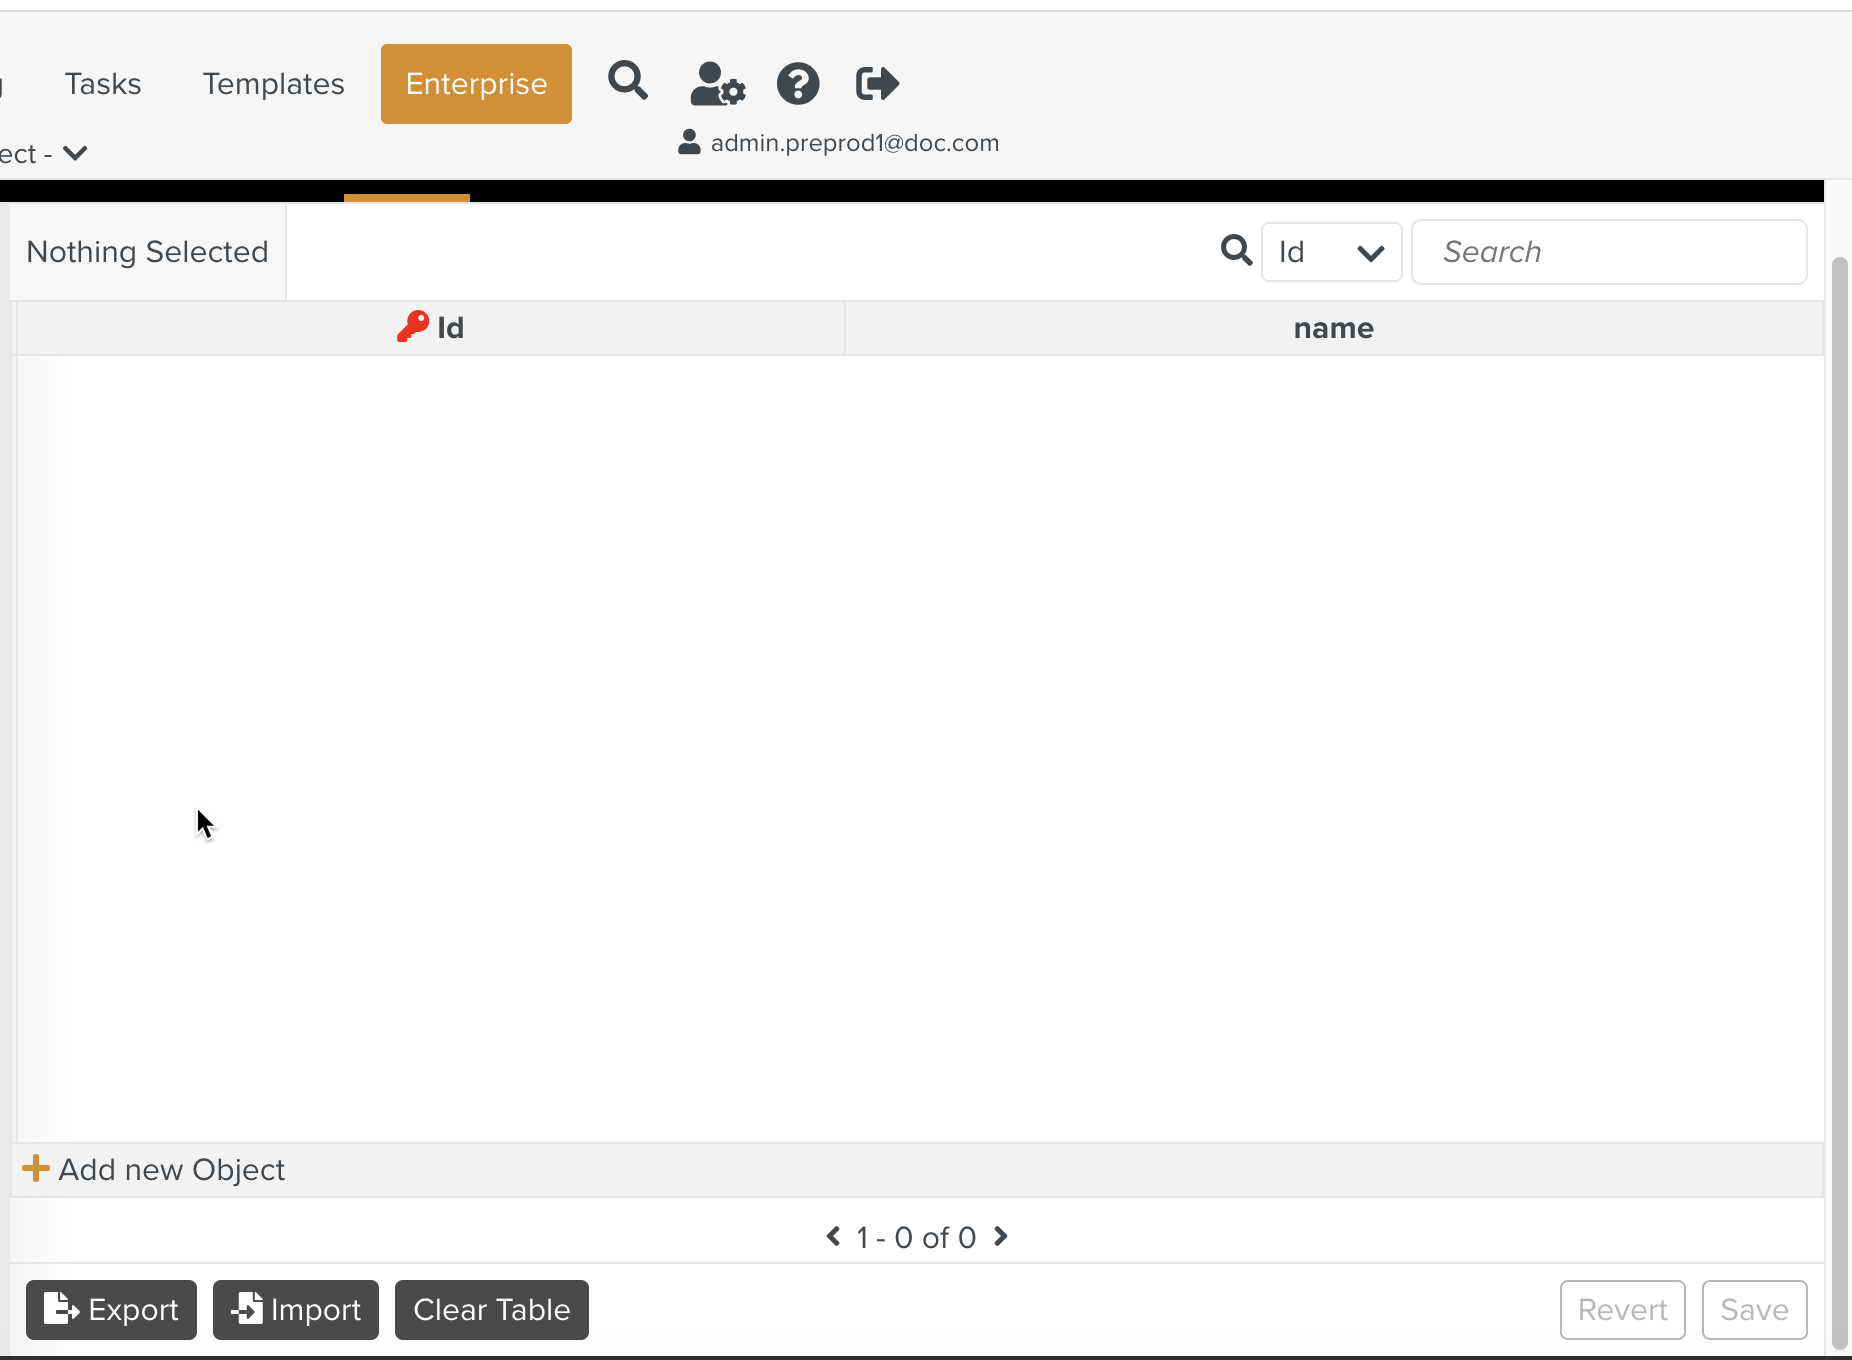
Delete Table
To clear the Objects from the Table, click .

A confirmation message is displayed.
Click Clear Table.
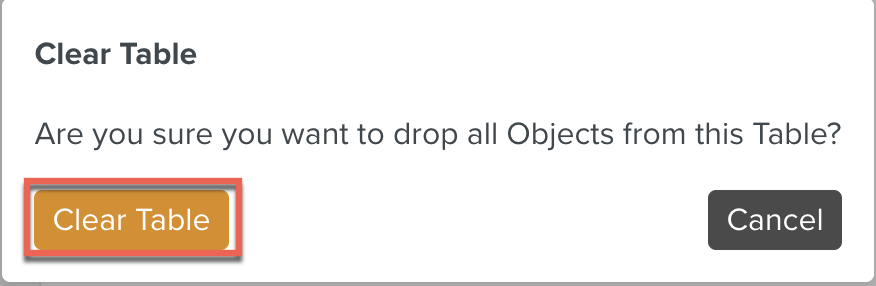
All the rows are cleared from the table.
To Export and Import a Data to an Object:
On the main menu, go to Enterprise > Data > Data.
Click .
Select the File type and click .
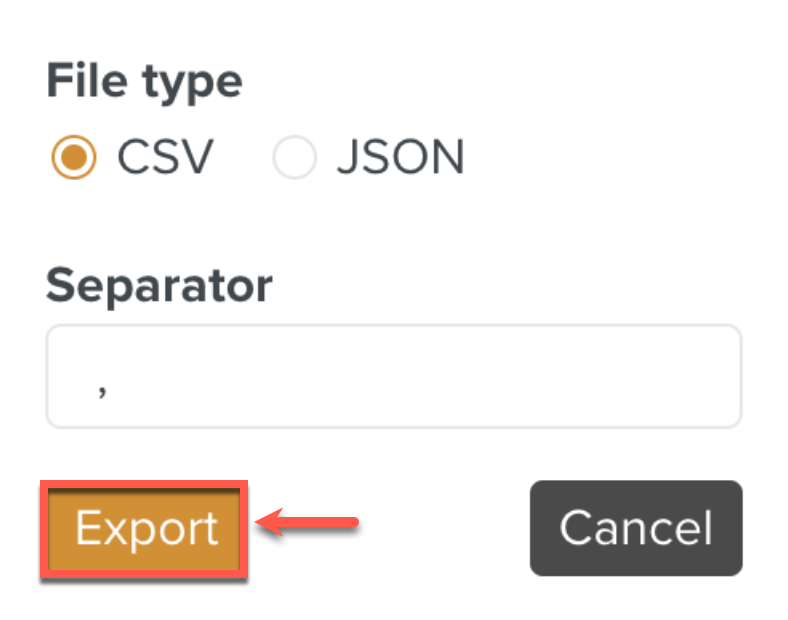
The CSV file gets downloaded.

Note
You can edit the CSV file to add more values.
Click .
Click .
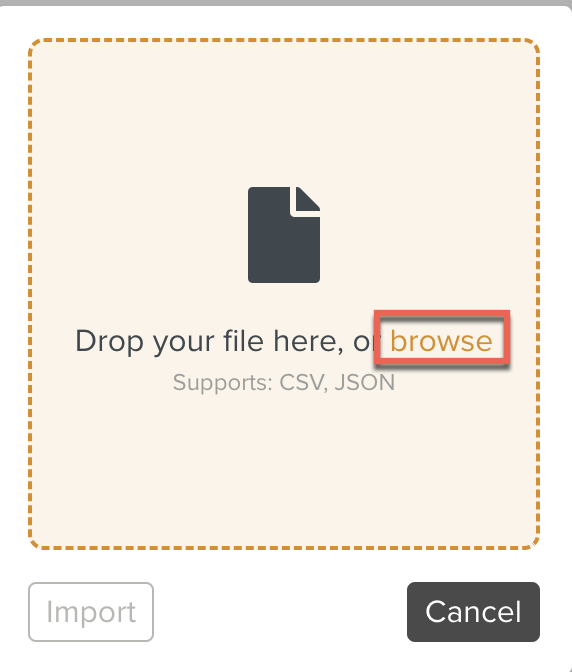
Select the CSV file from the download files.
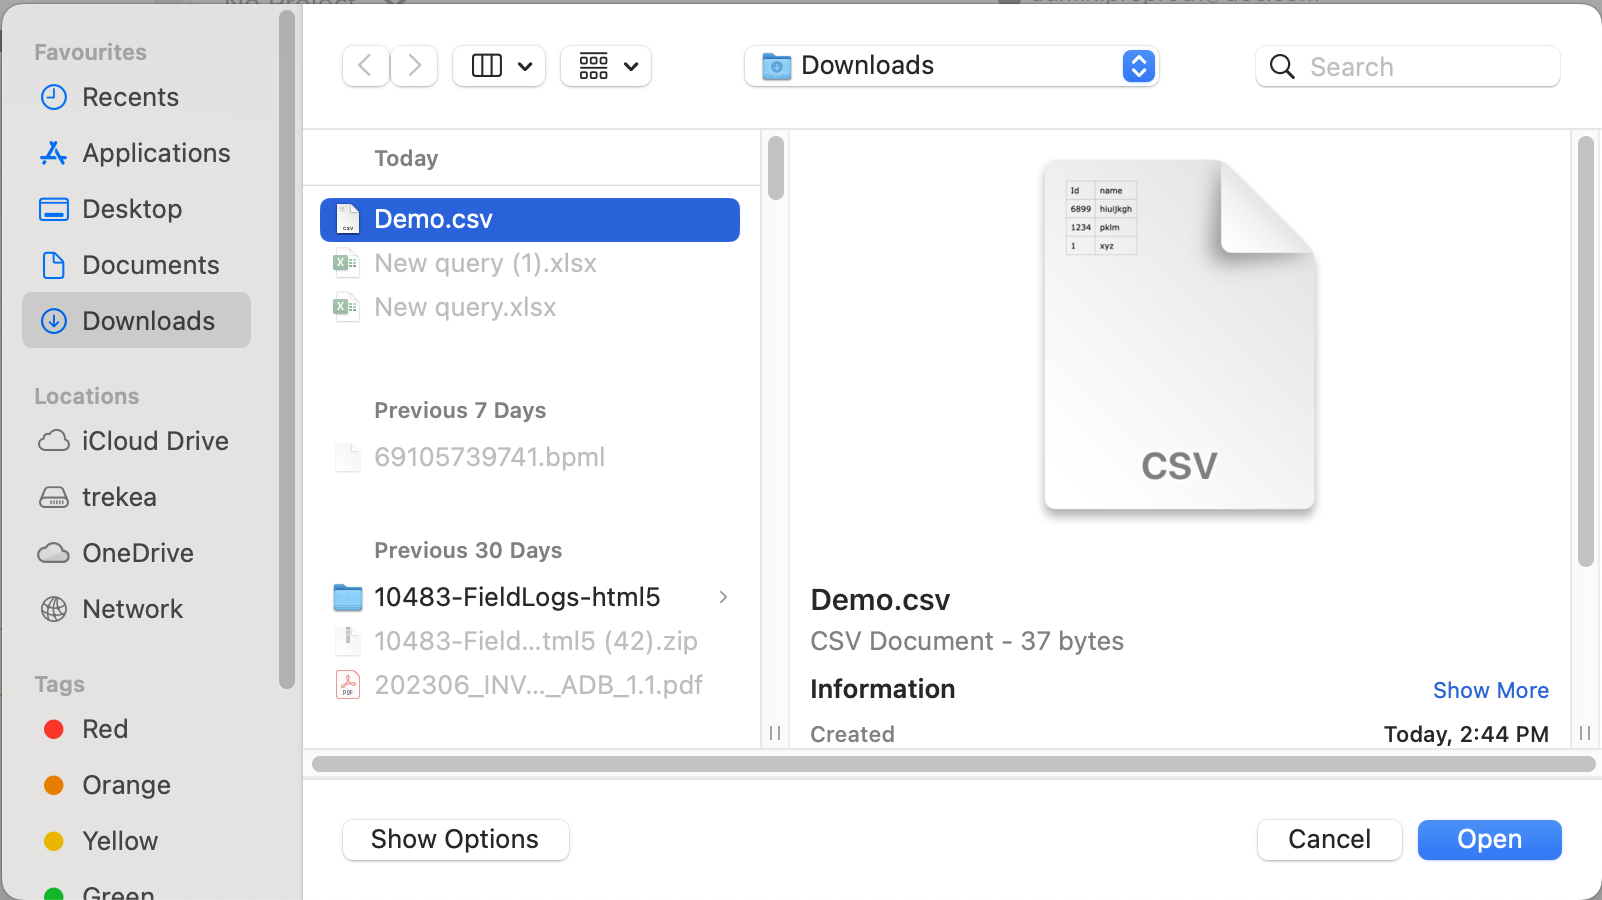
Click .
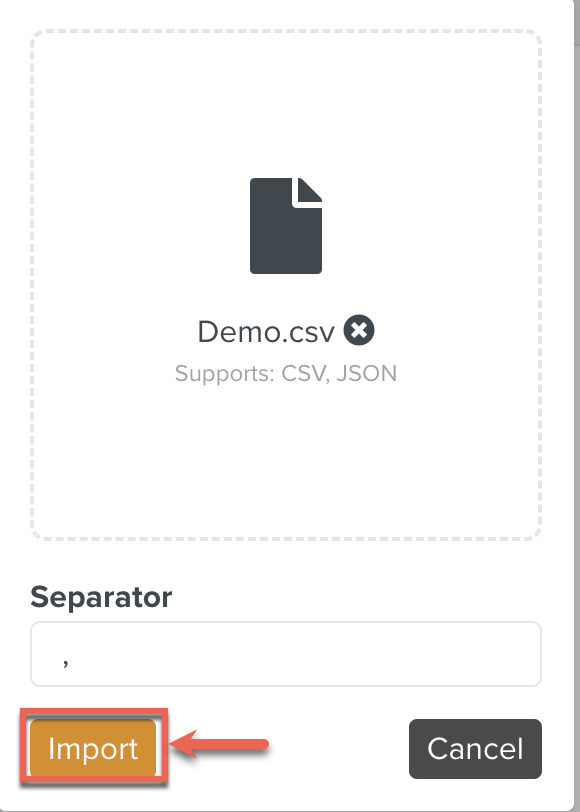
The Data is Imported.
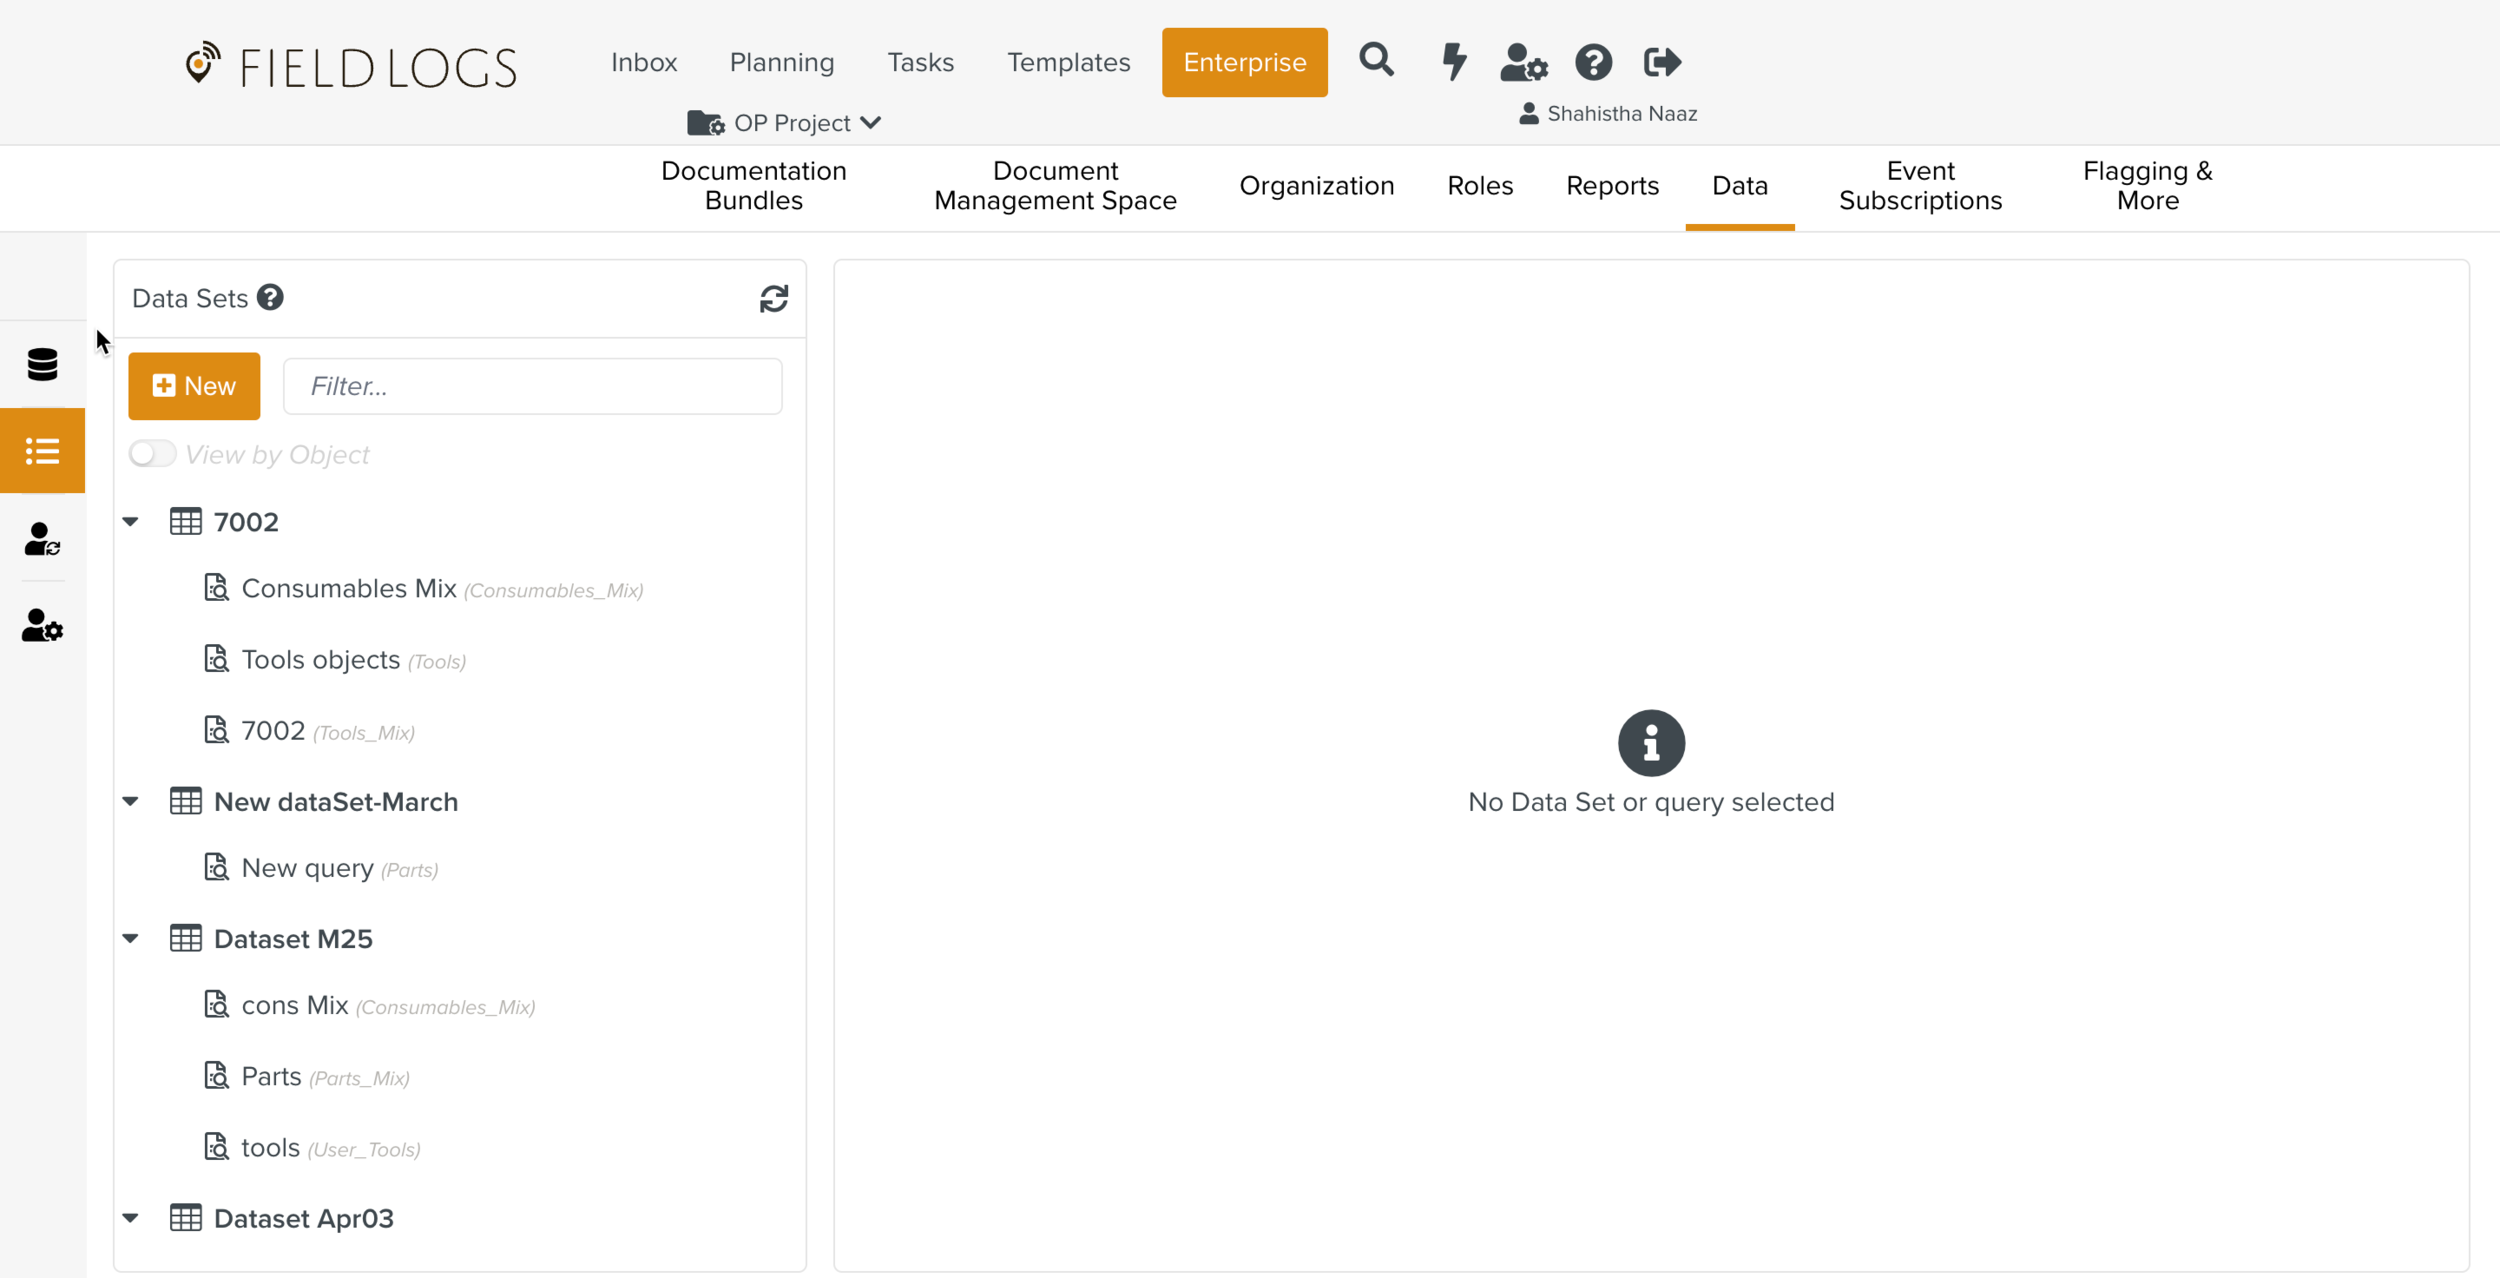
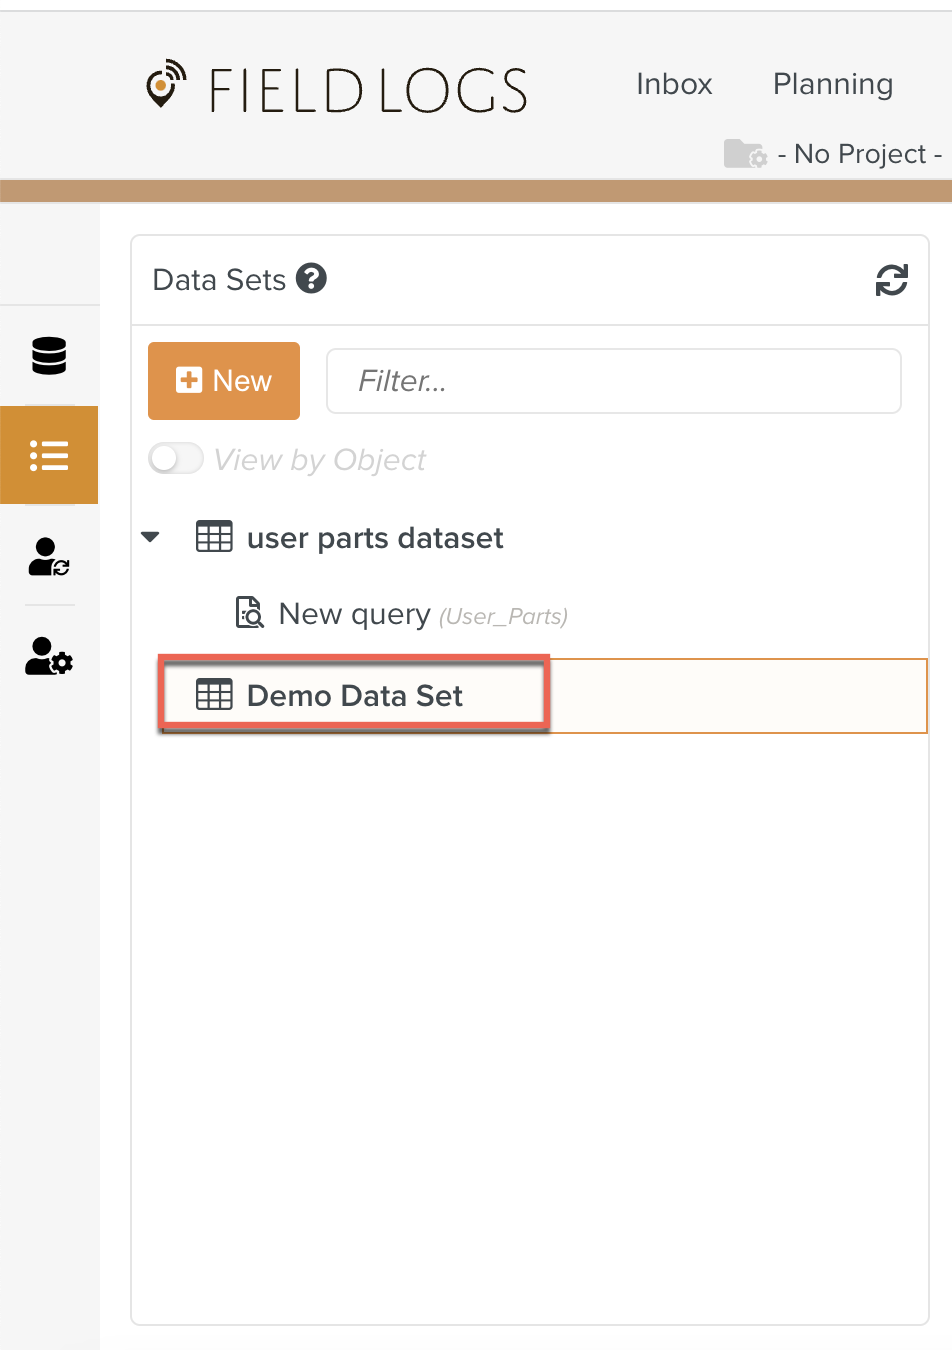
We use queries to filter Data. Such views of the Objects are called as Data Sets.
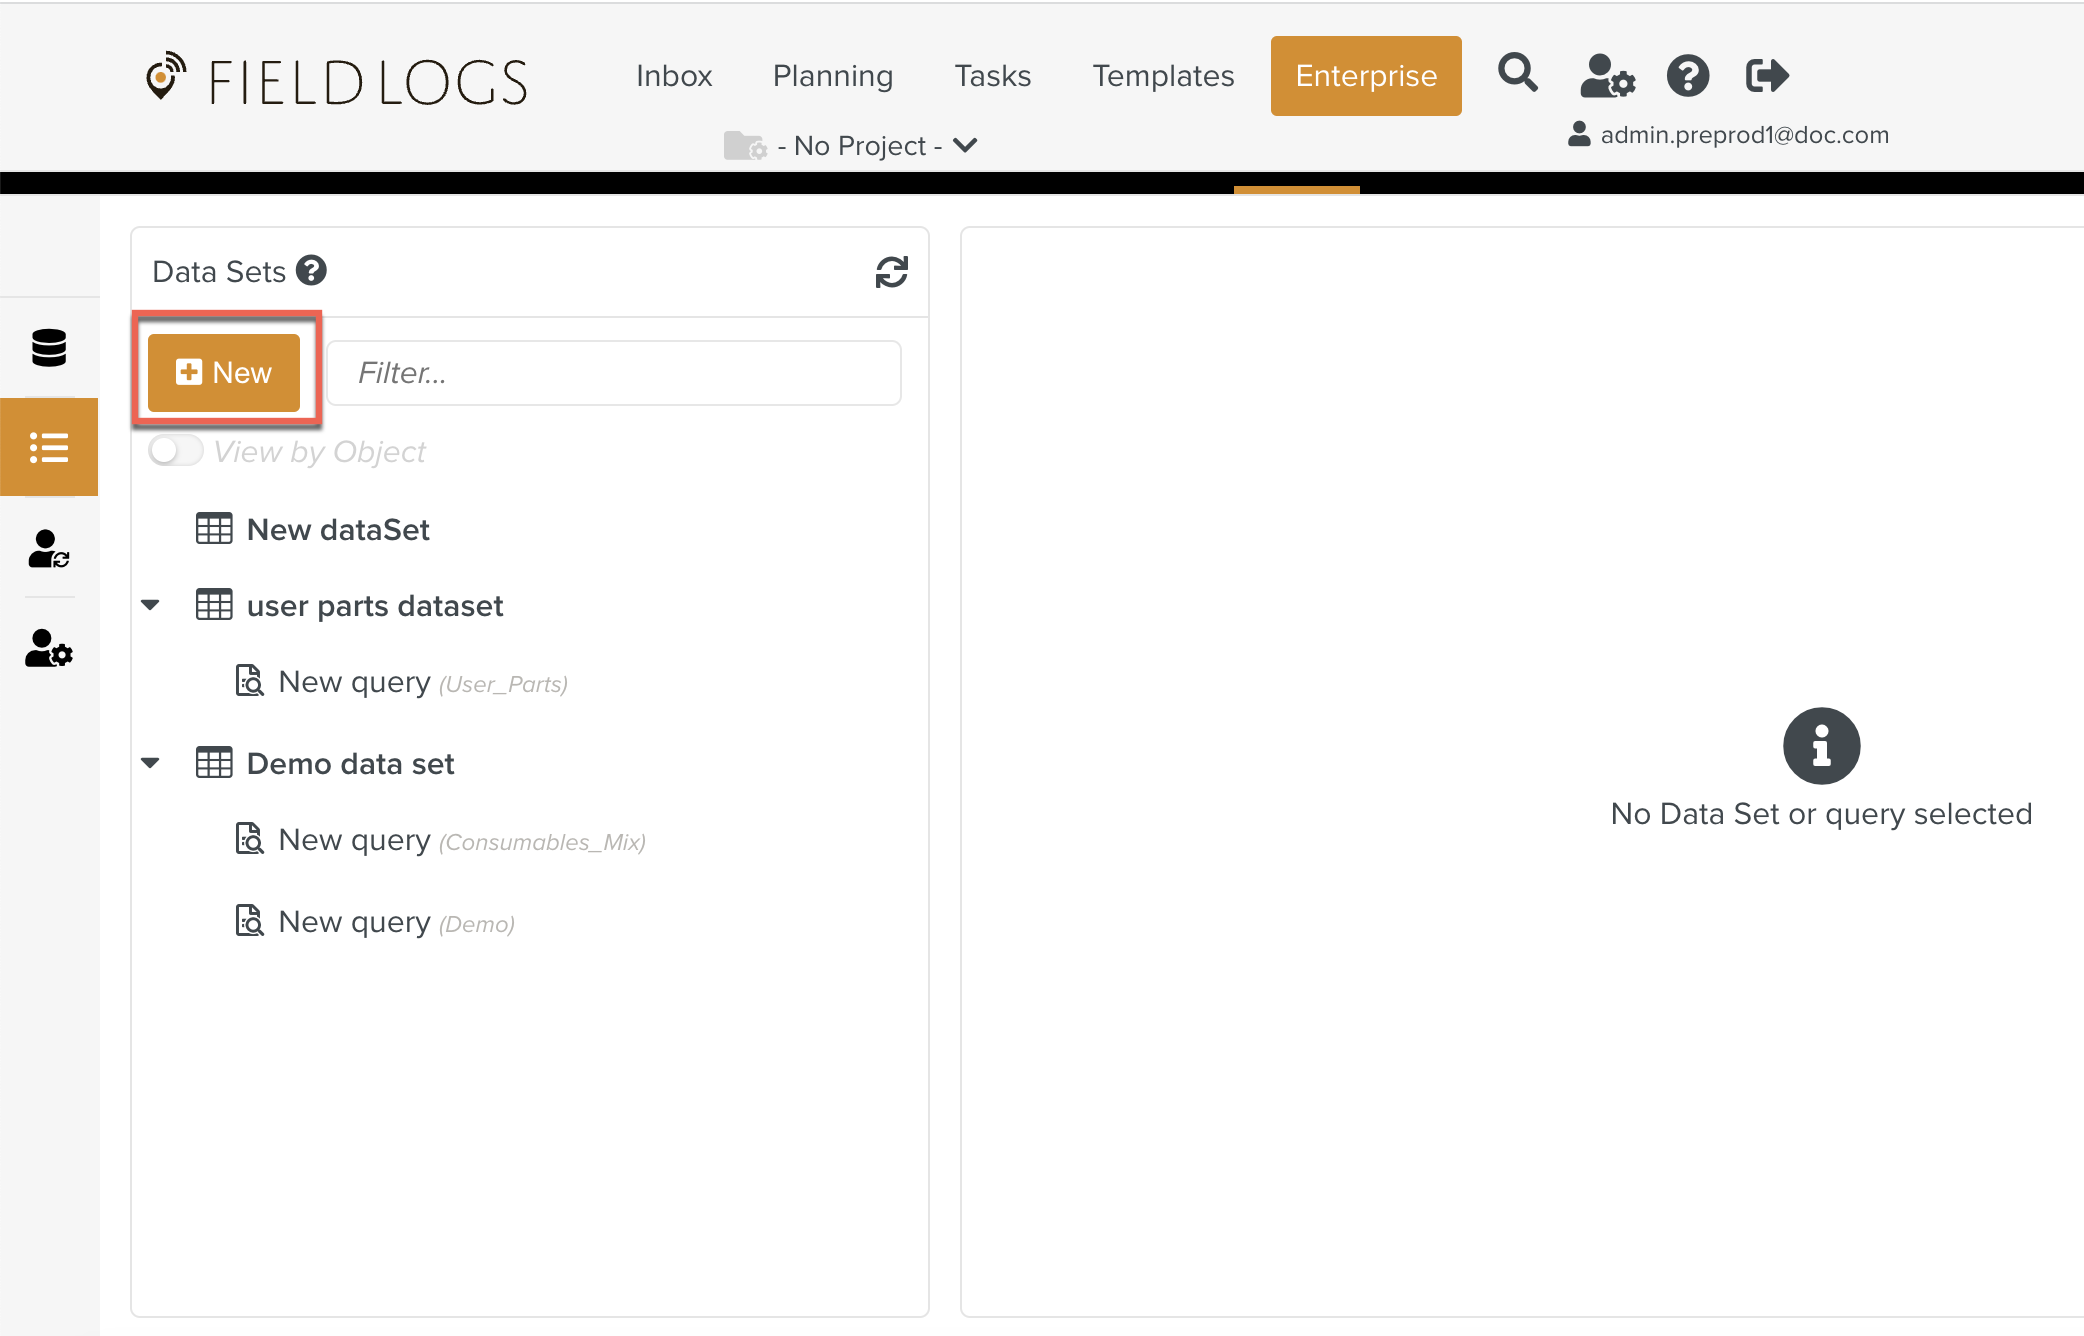
To create a Data Set:
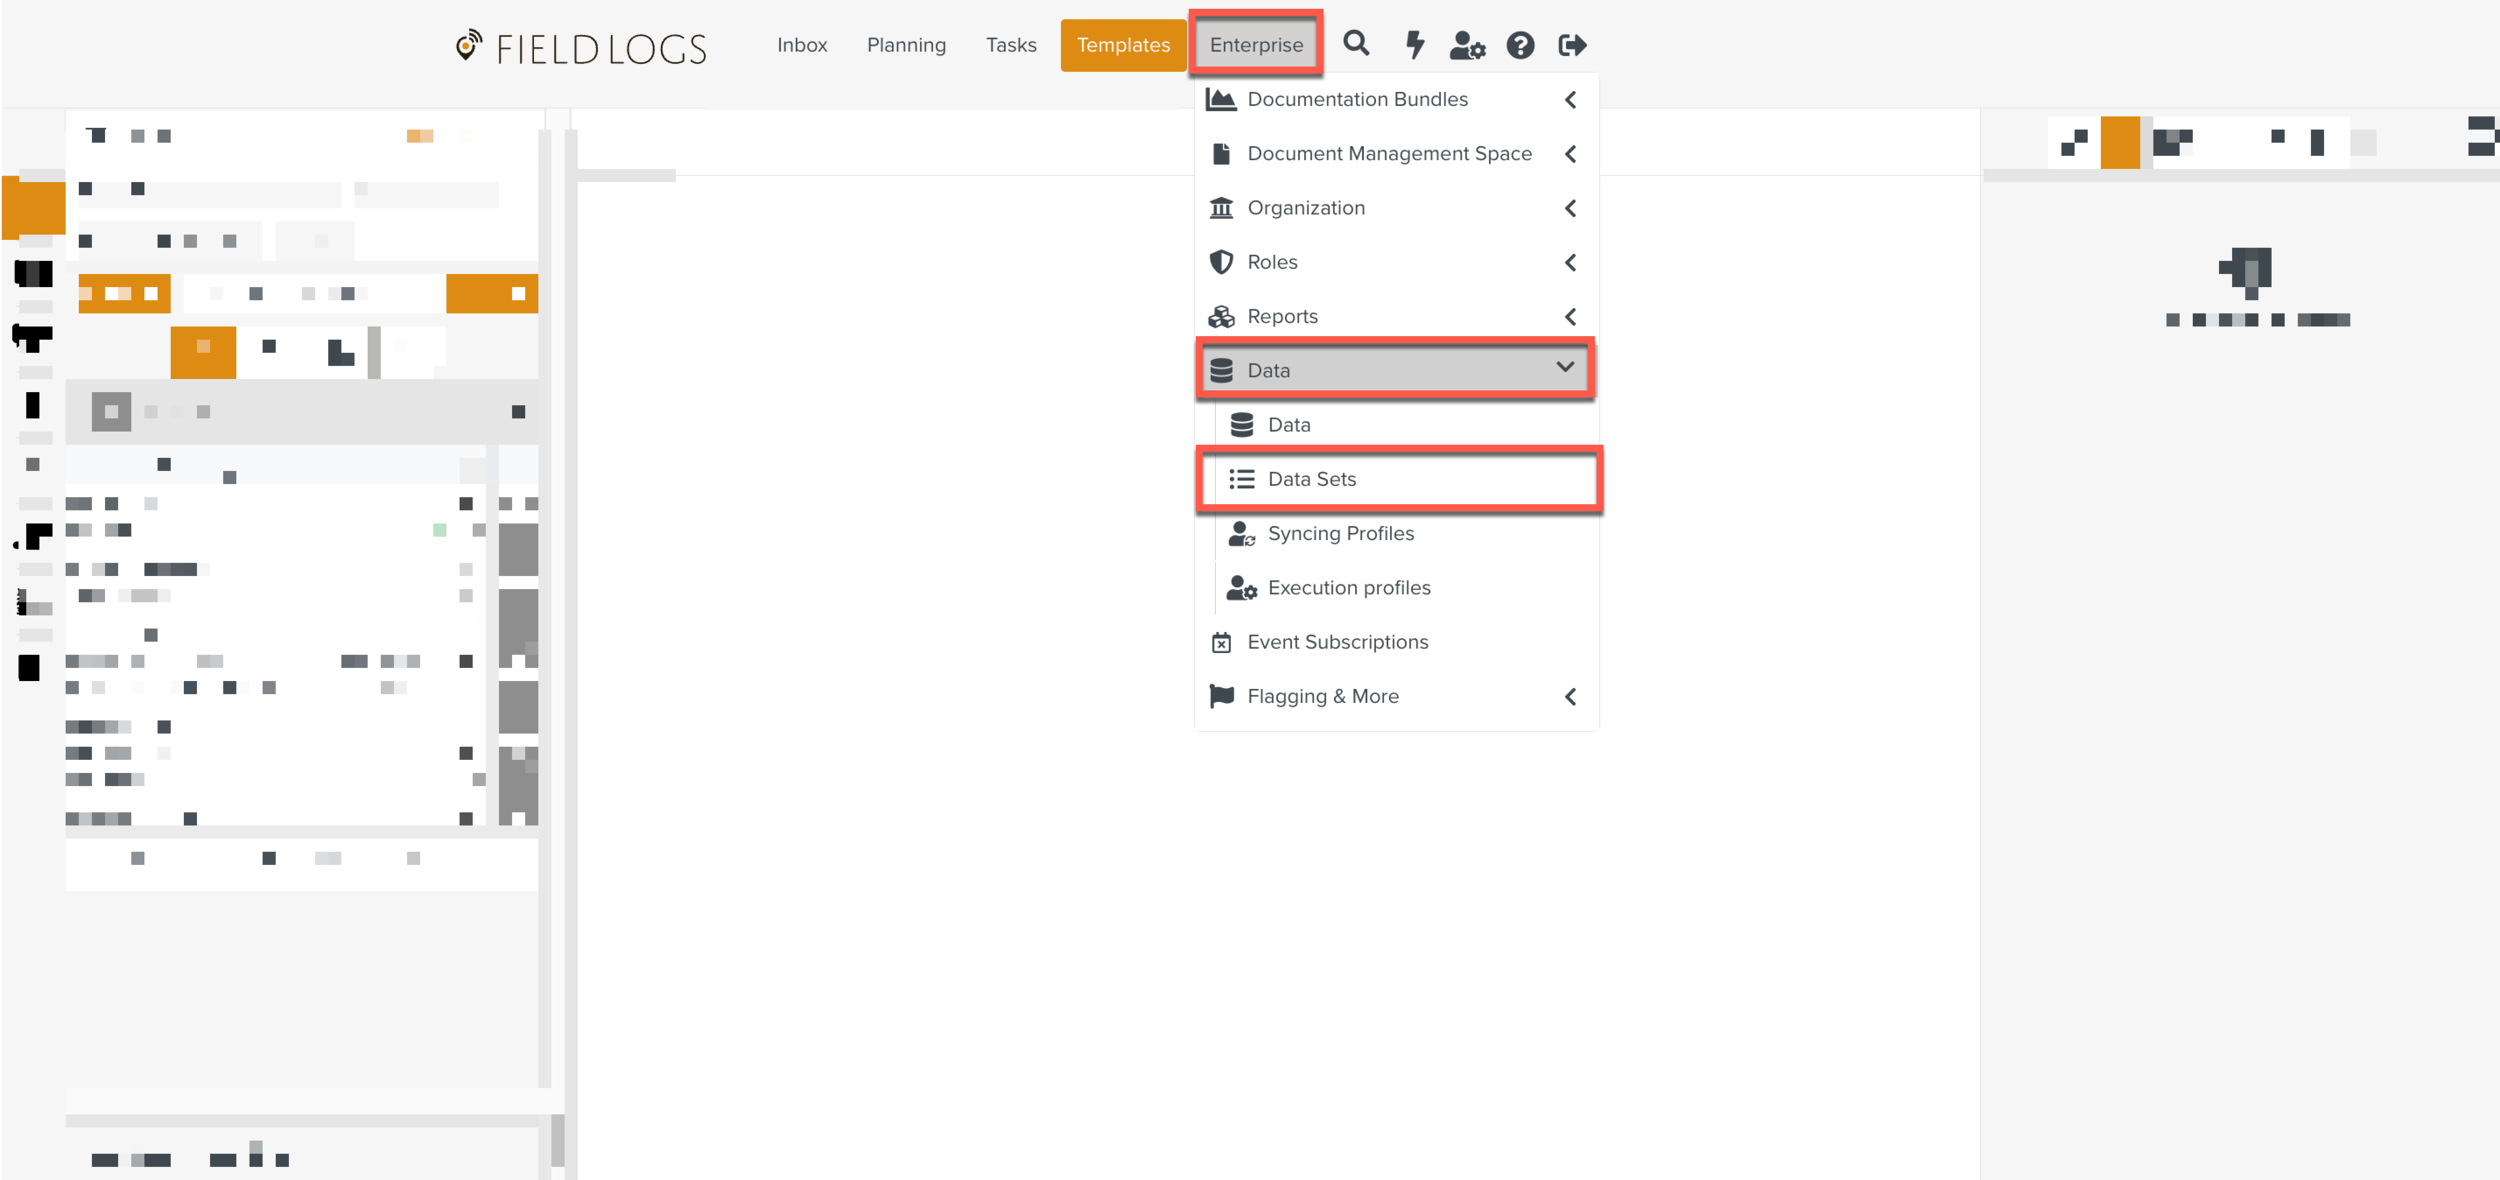
On the main menu, go to Enterprise > Data > Data Sets.

The Data Sets page is displayed.
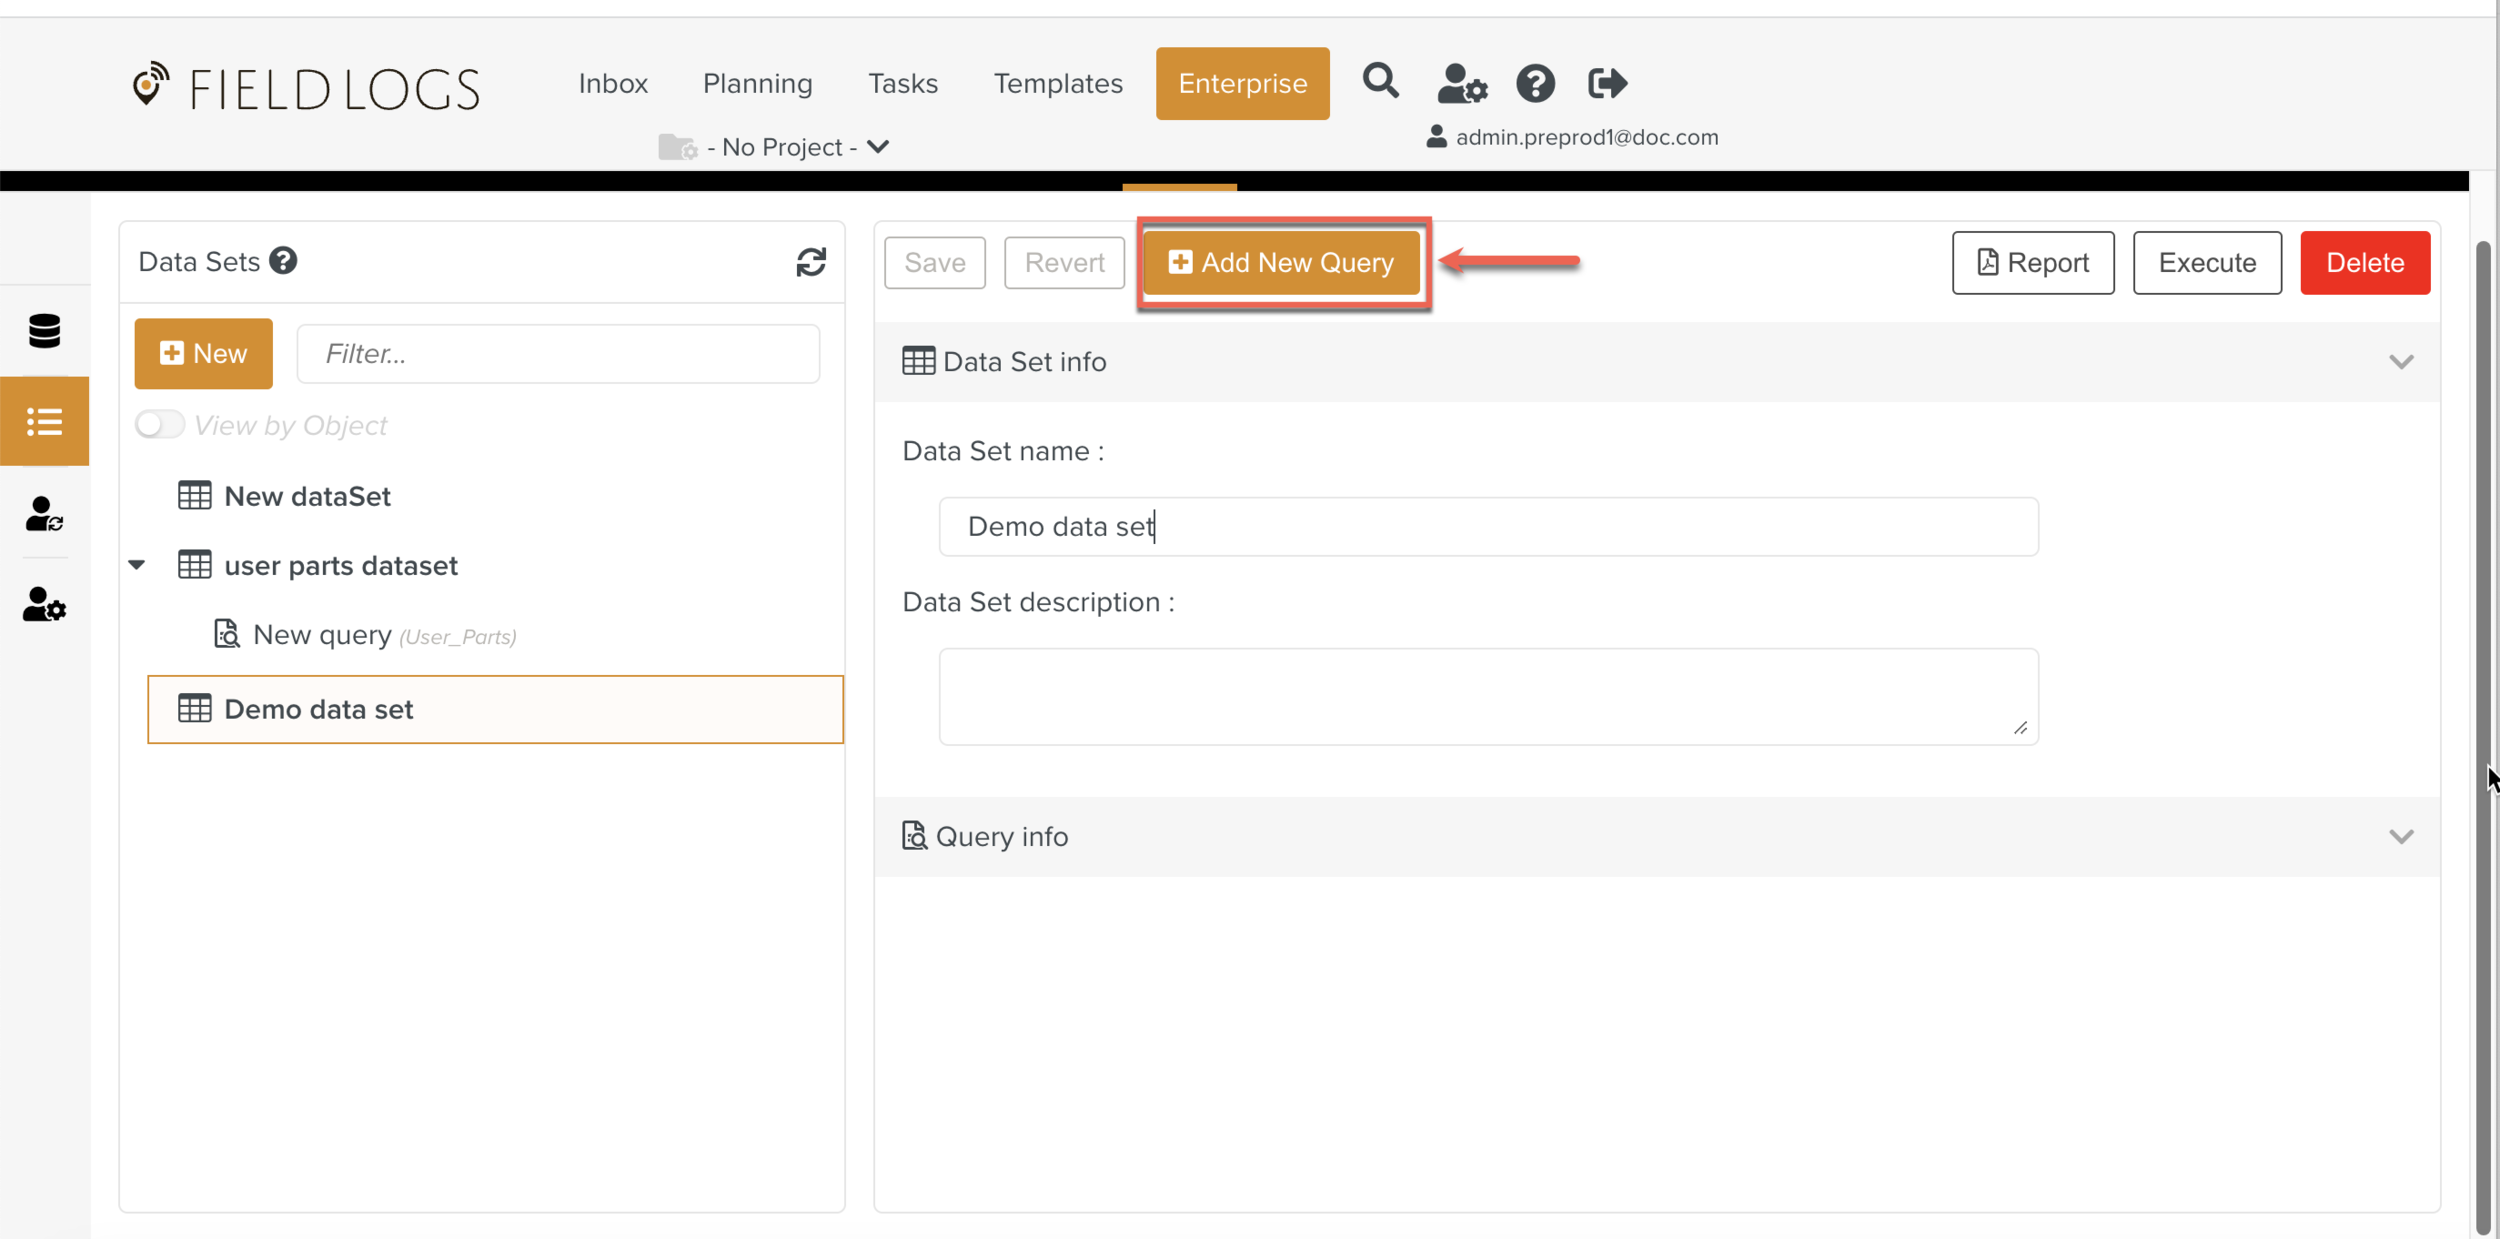
Click .
The Data Set info page is displayed.
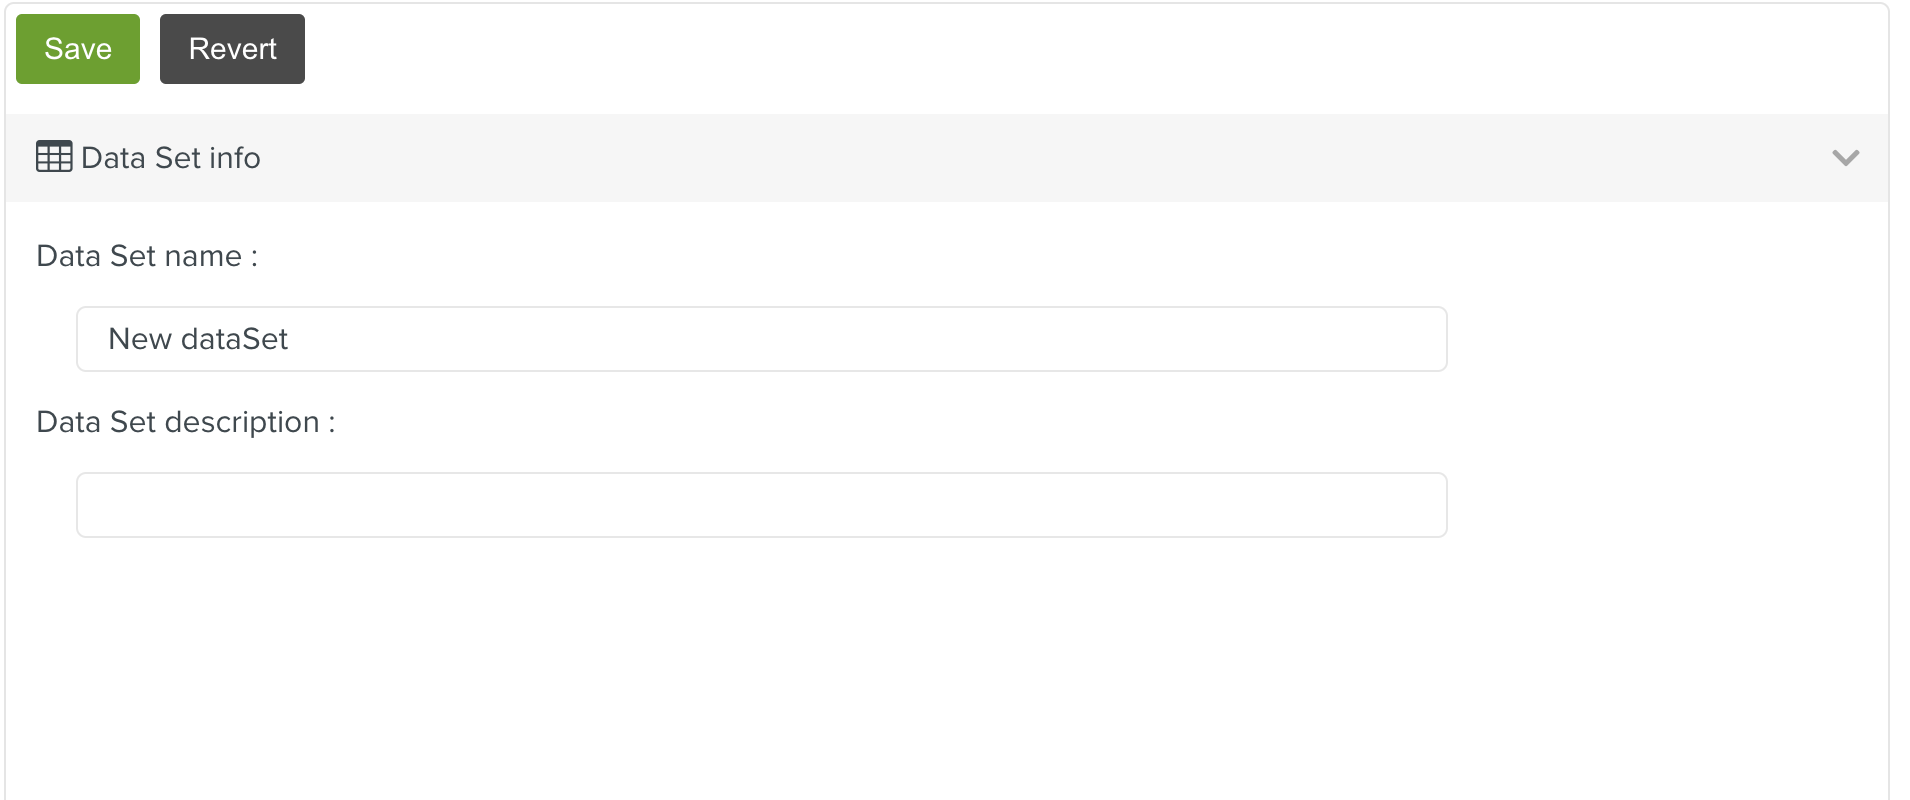
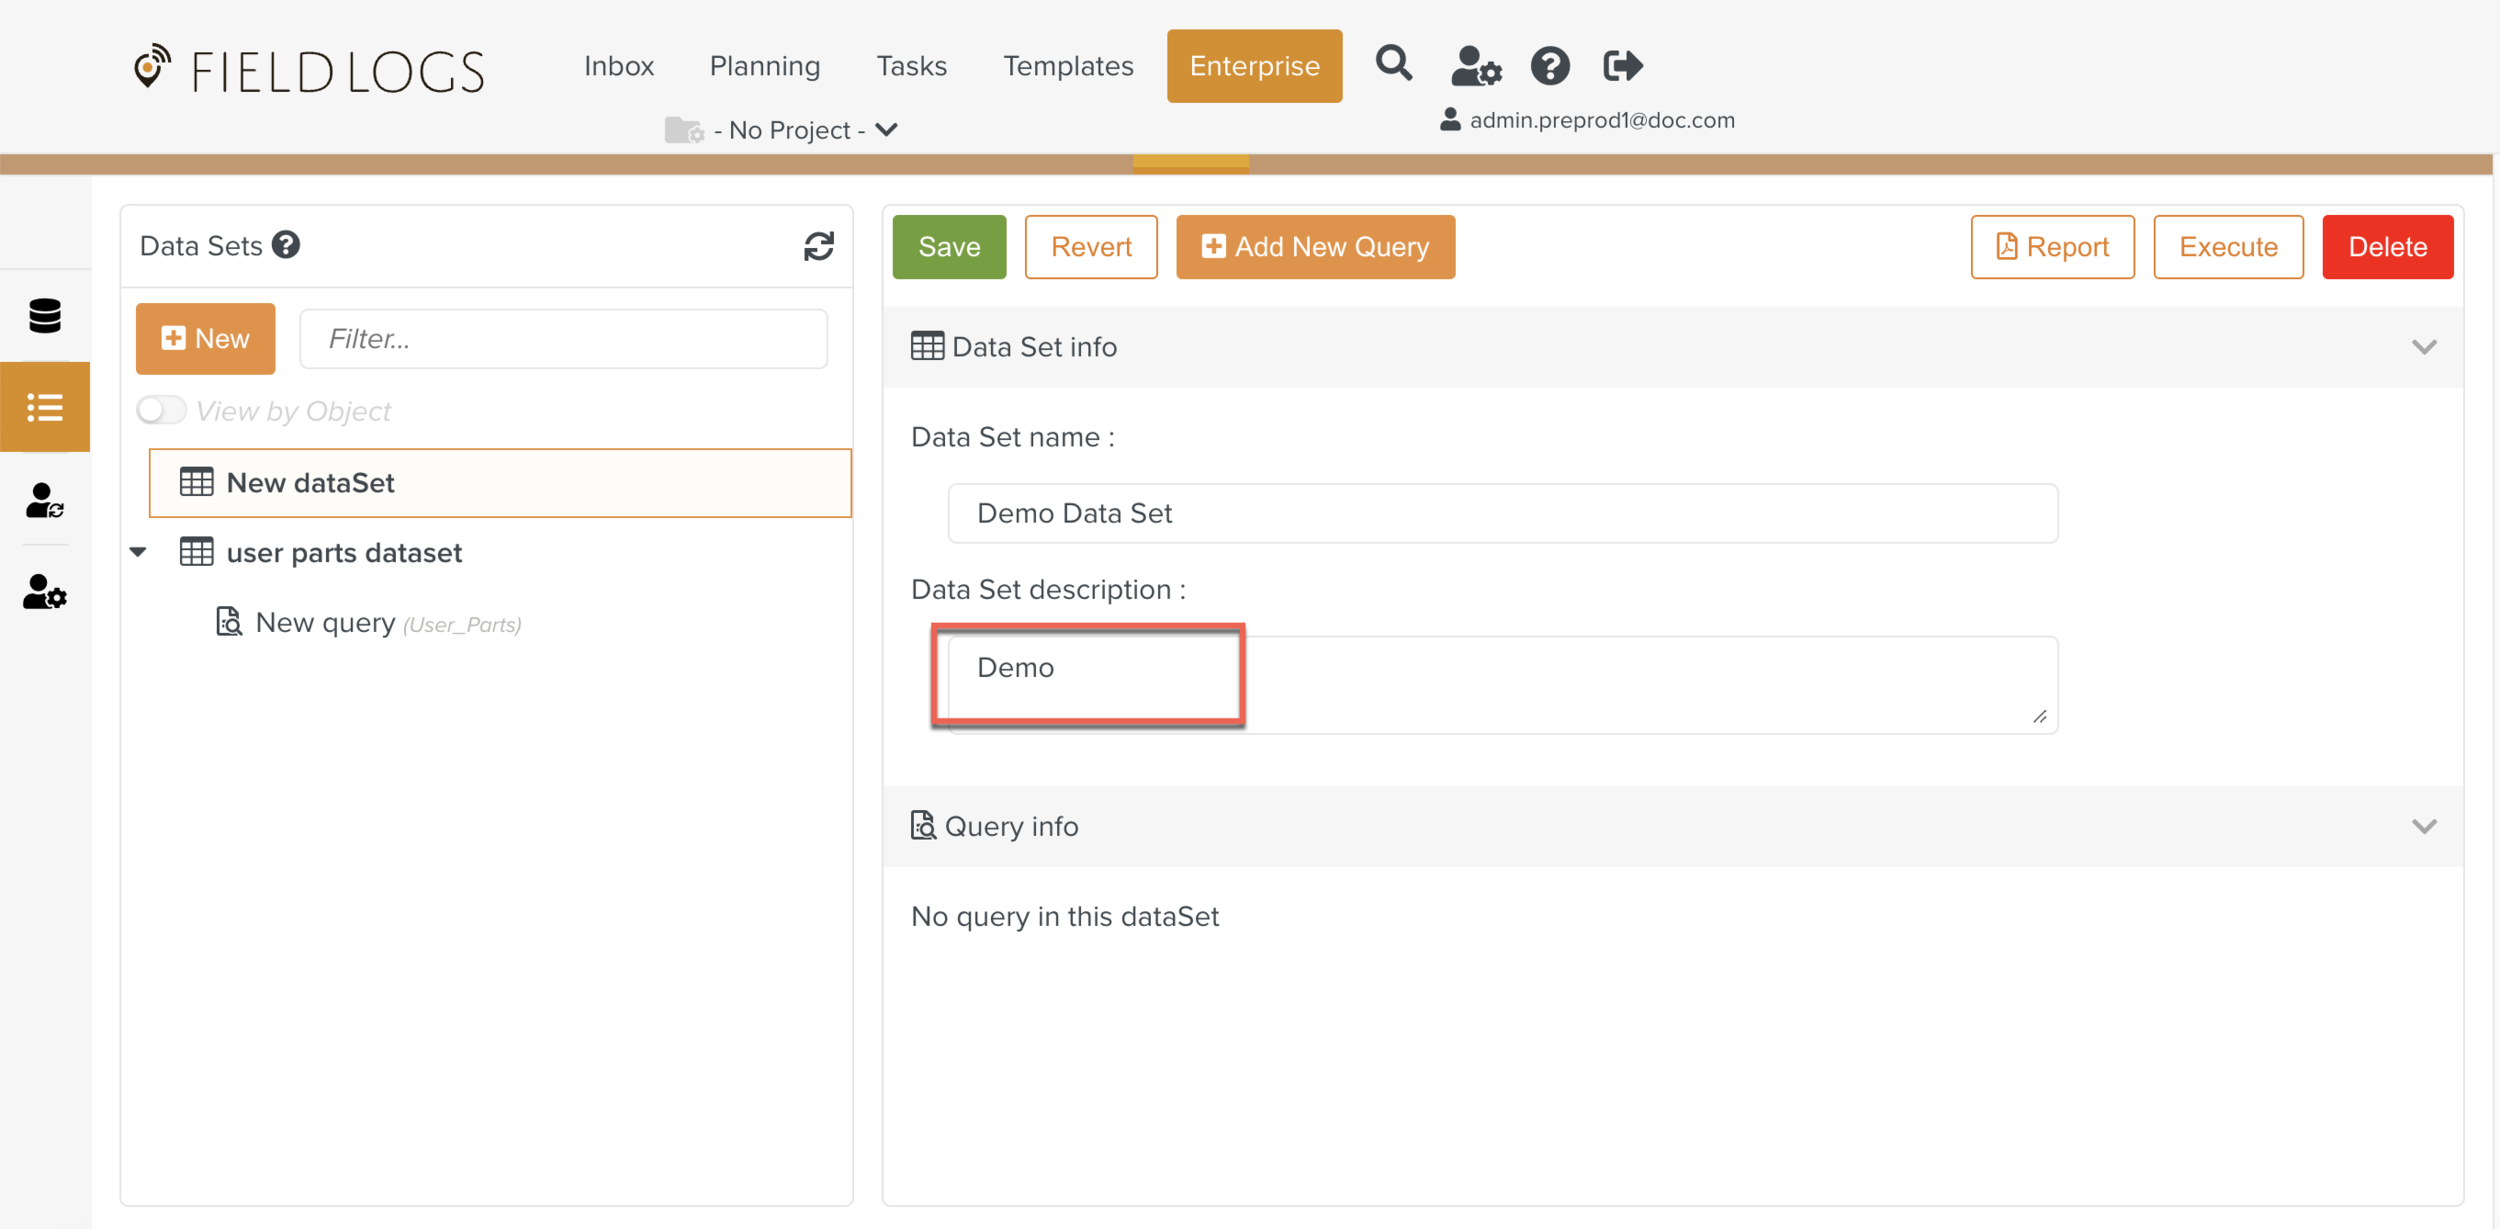
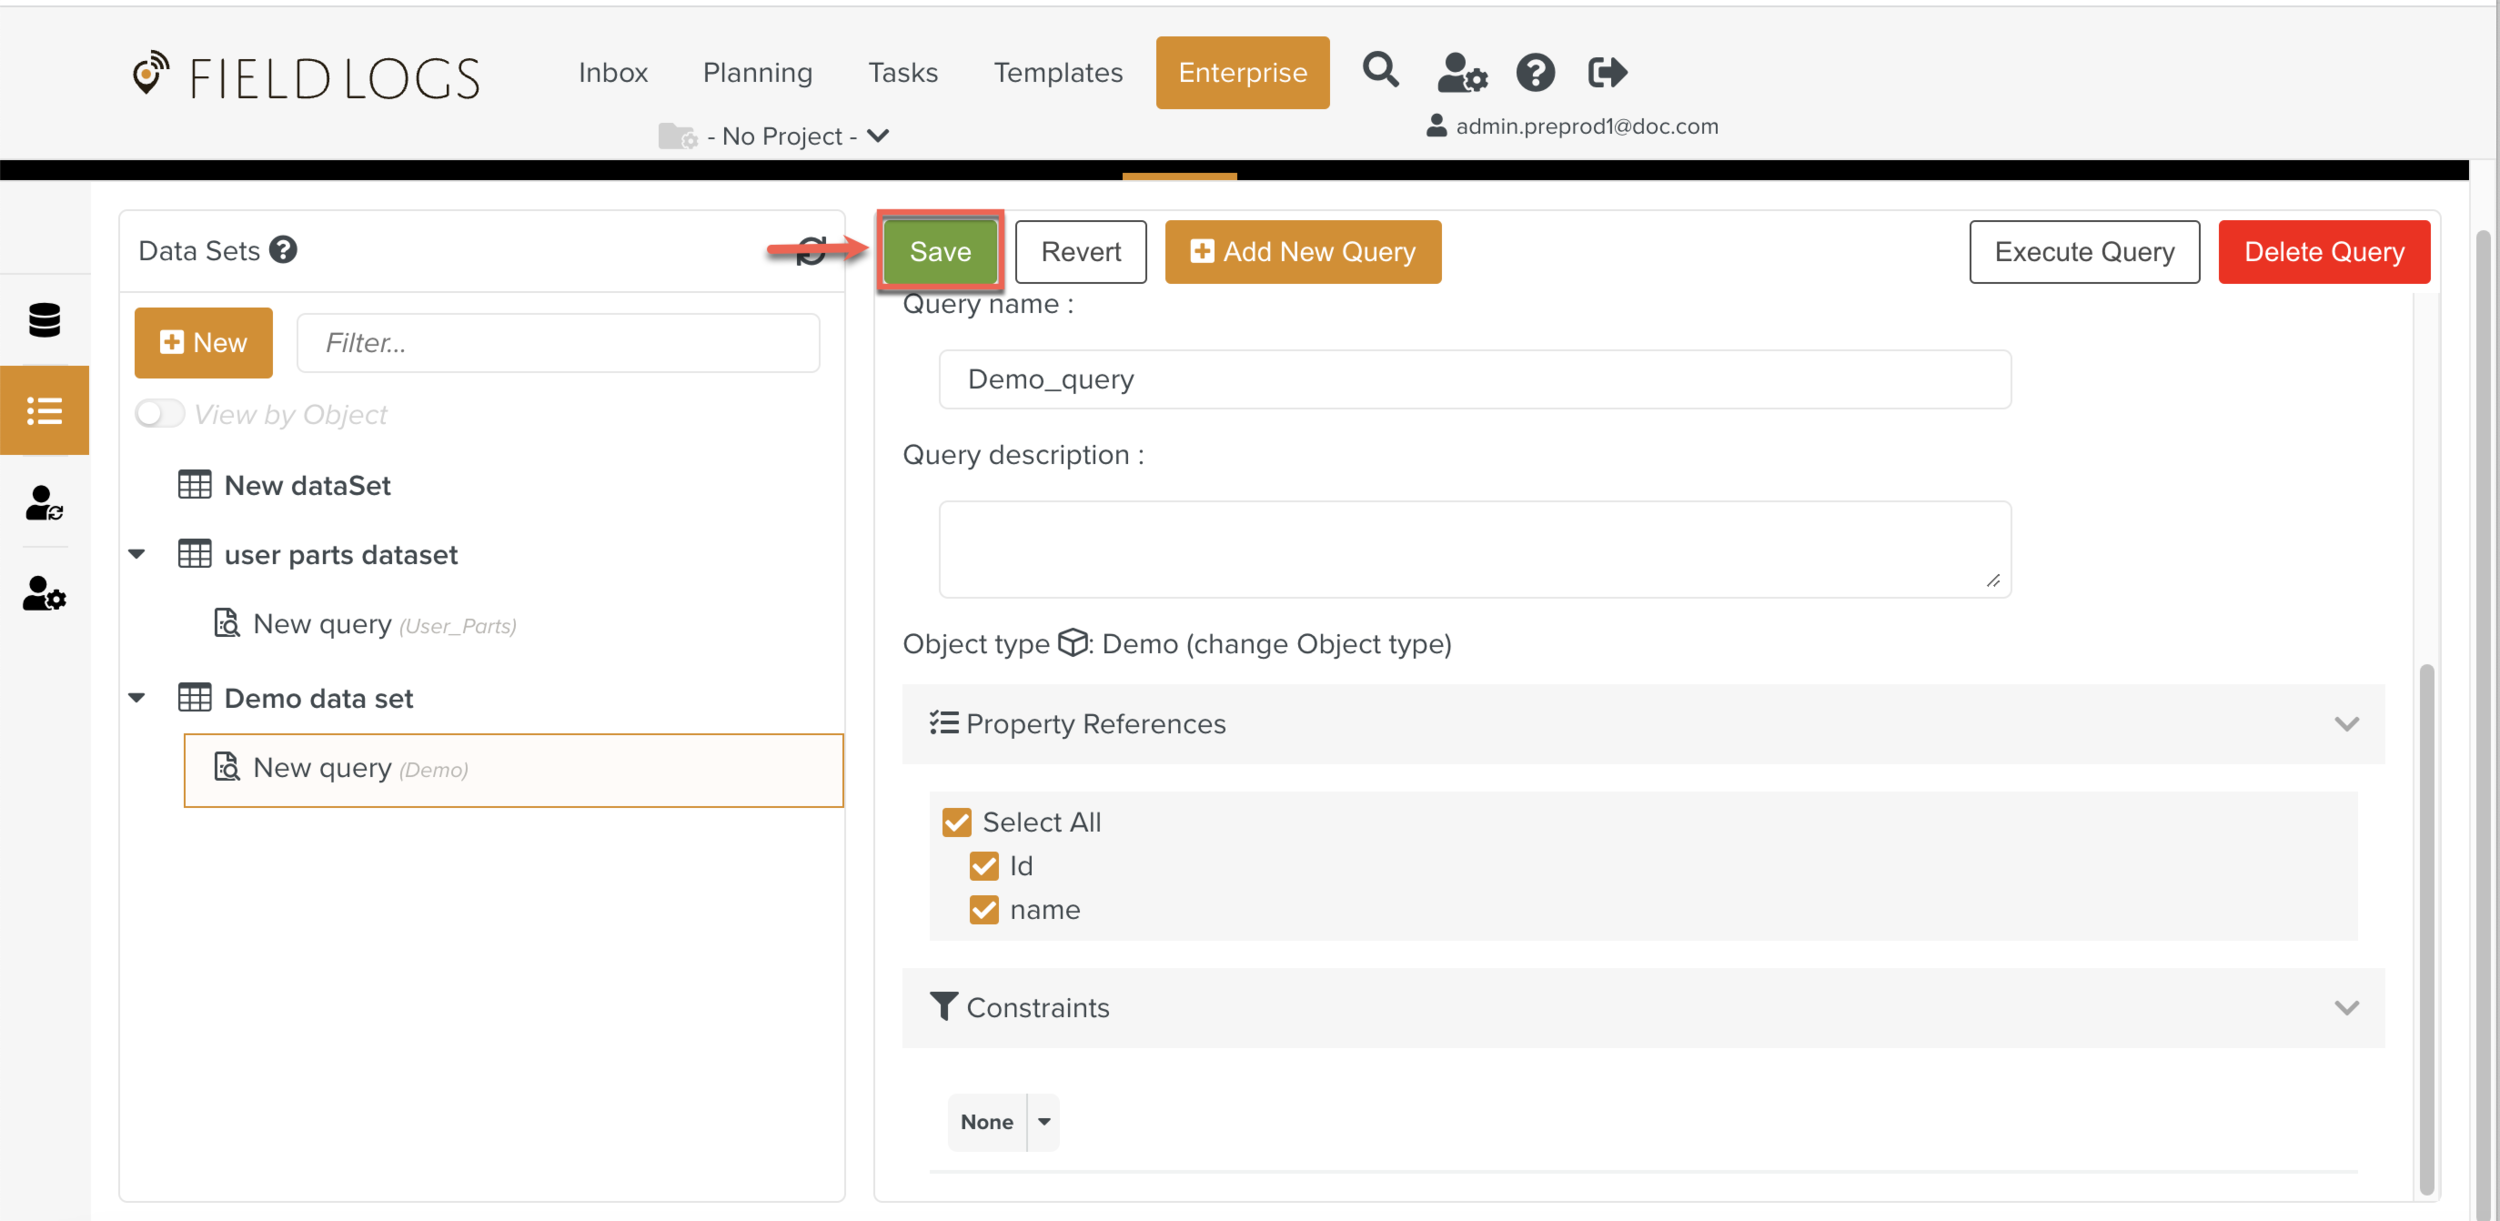
Enter Data Set name.
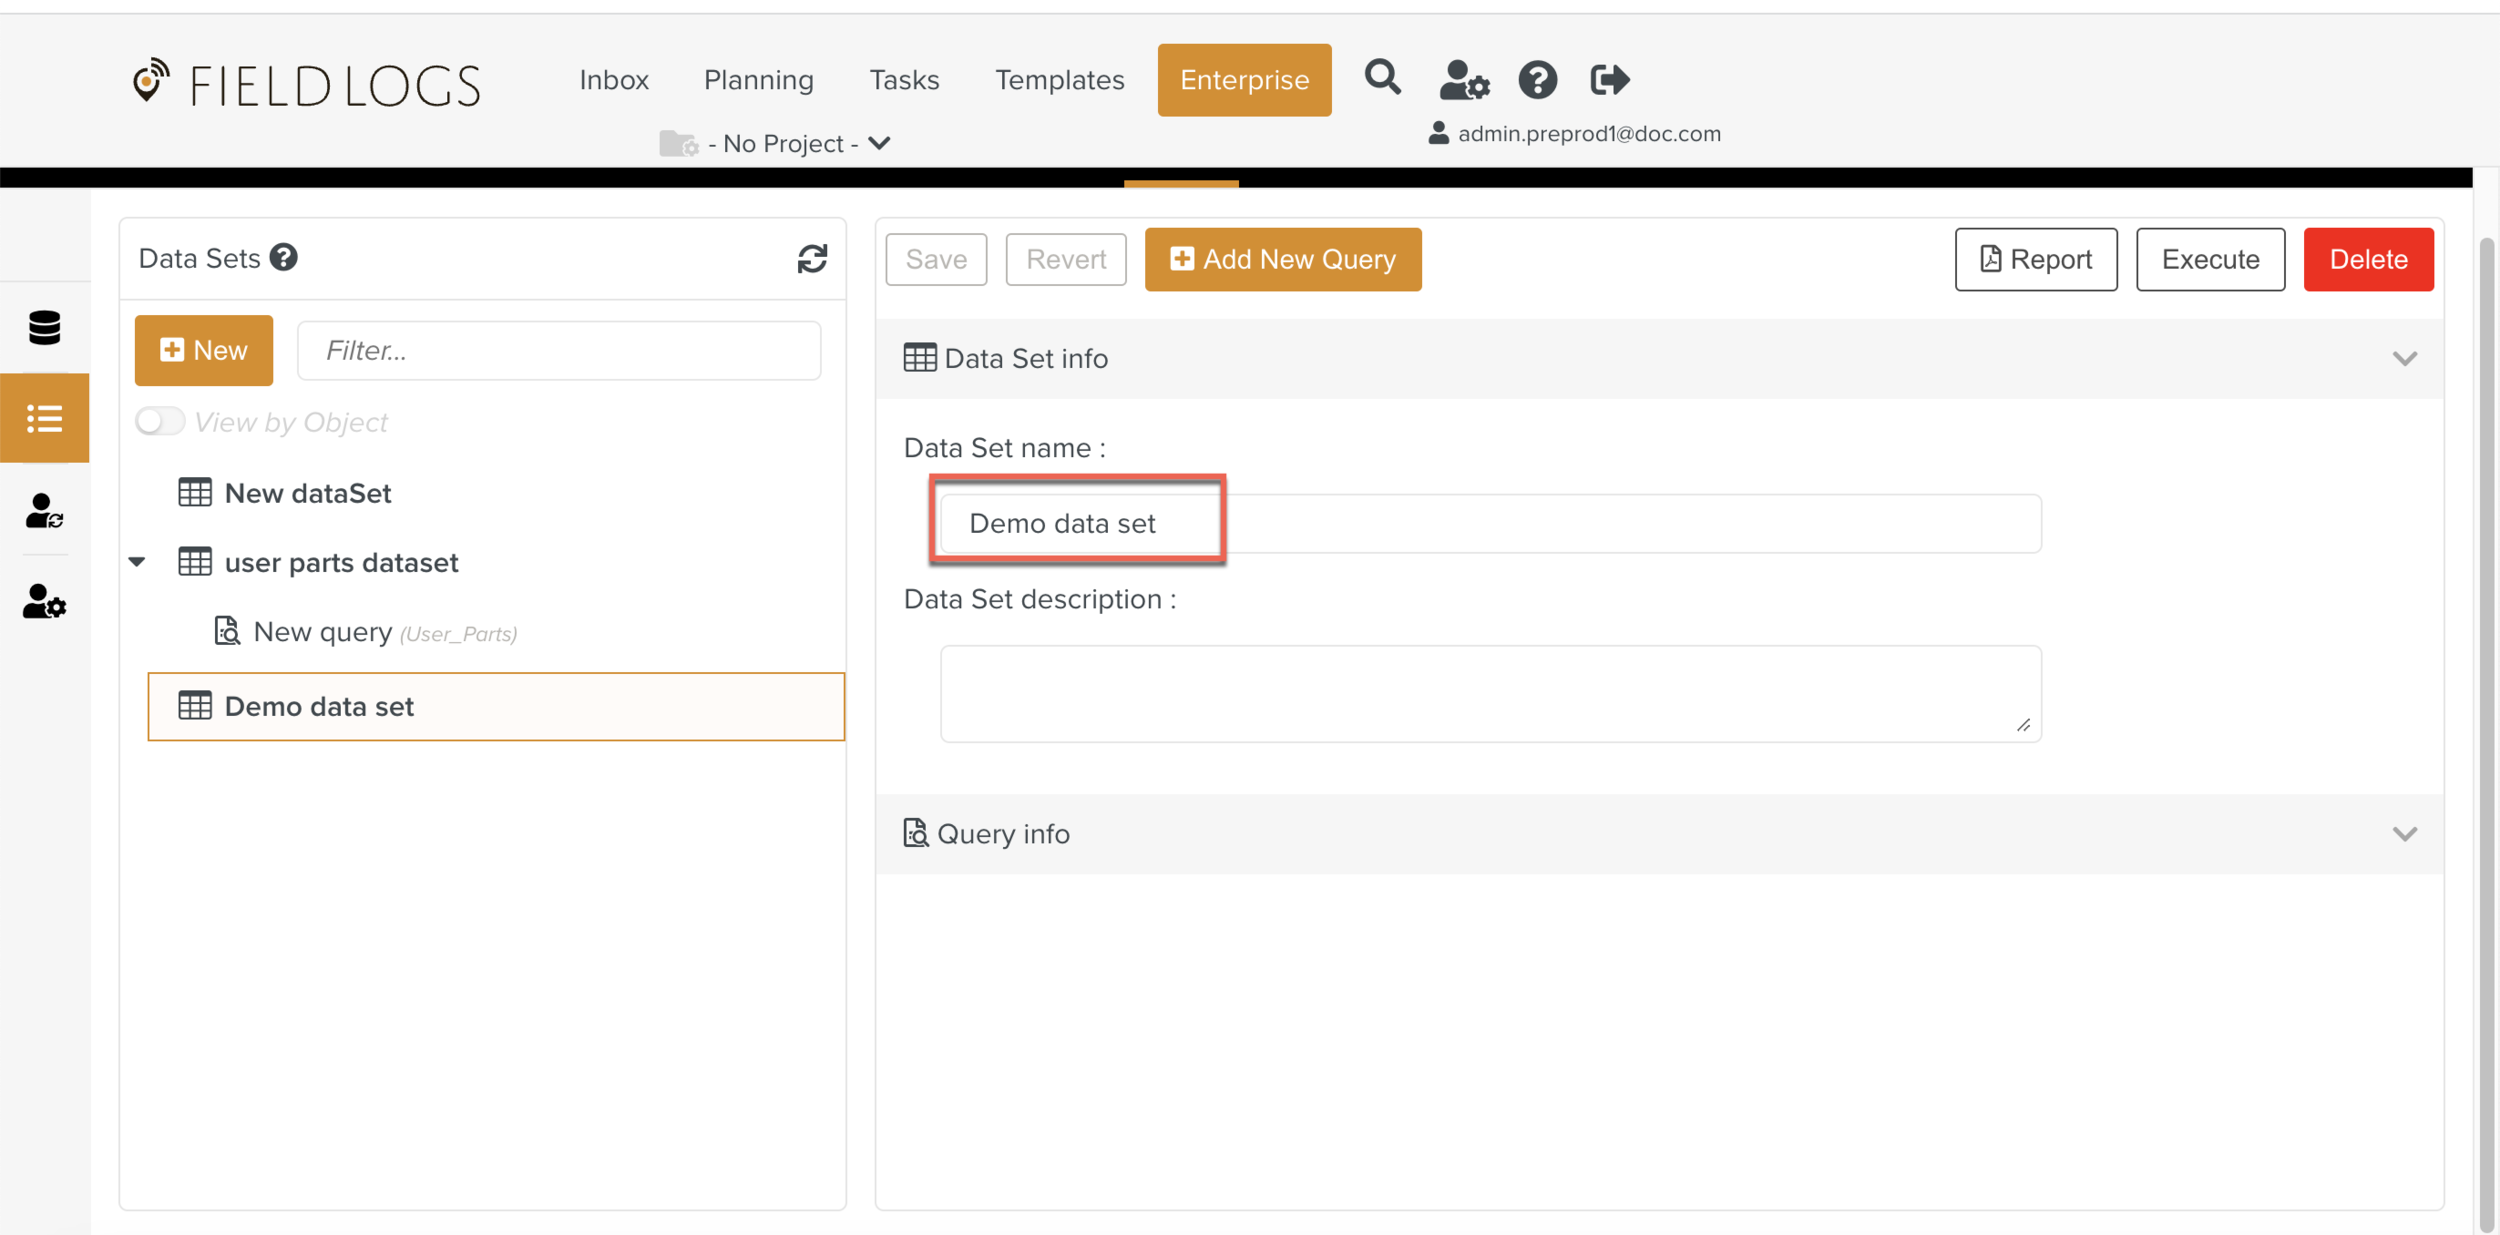
[Optional] Enter Data Set description.
Click .
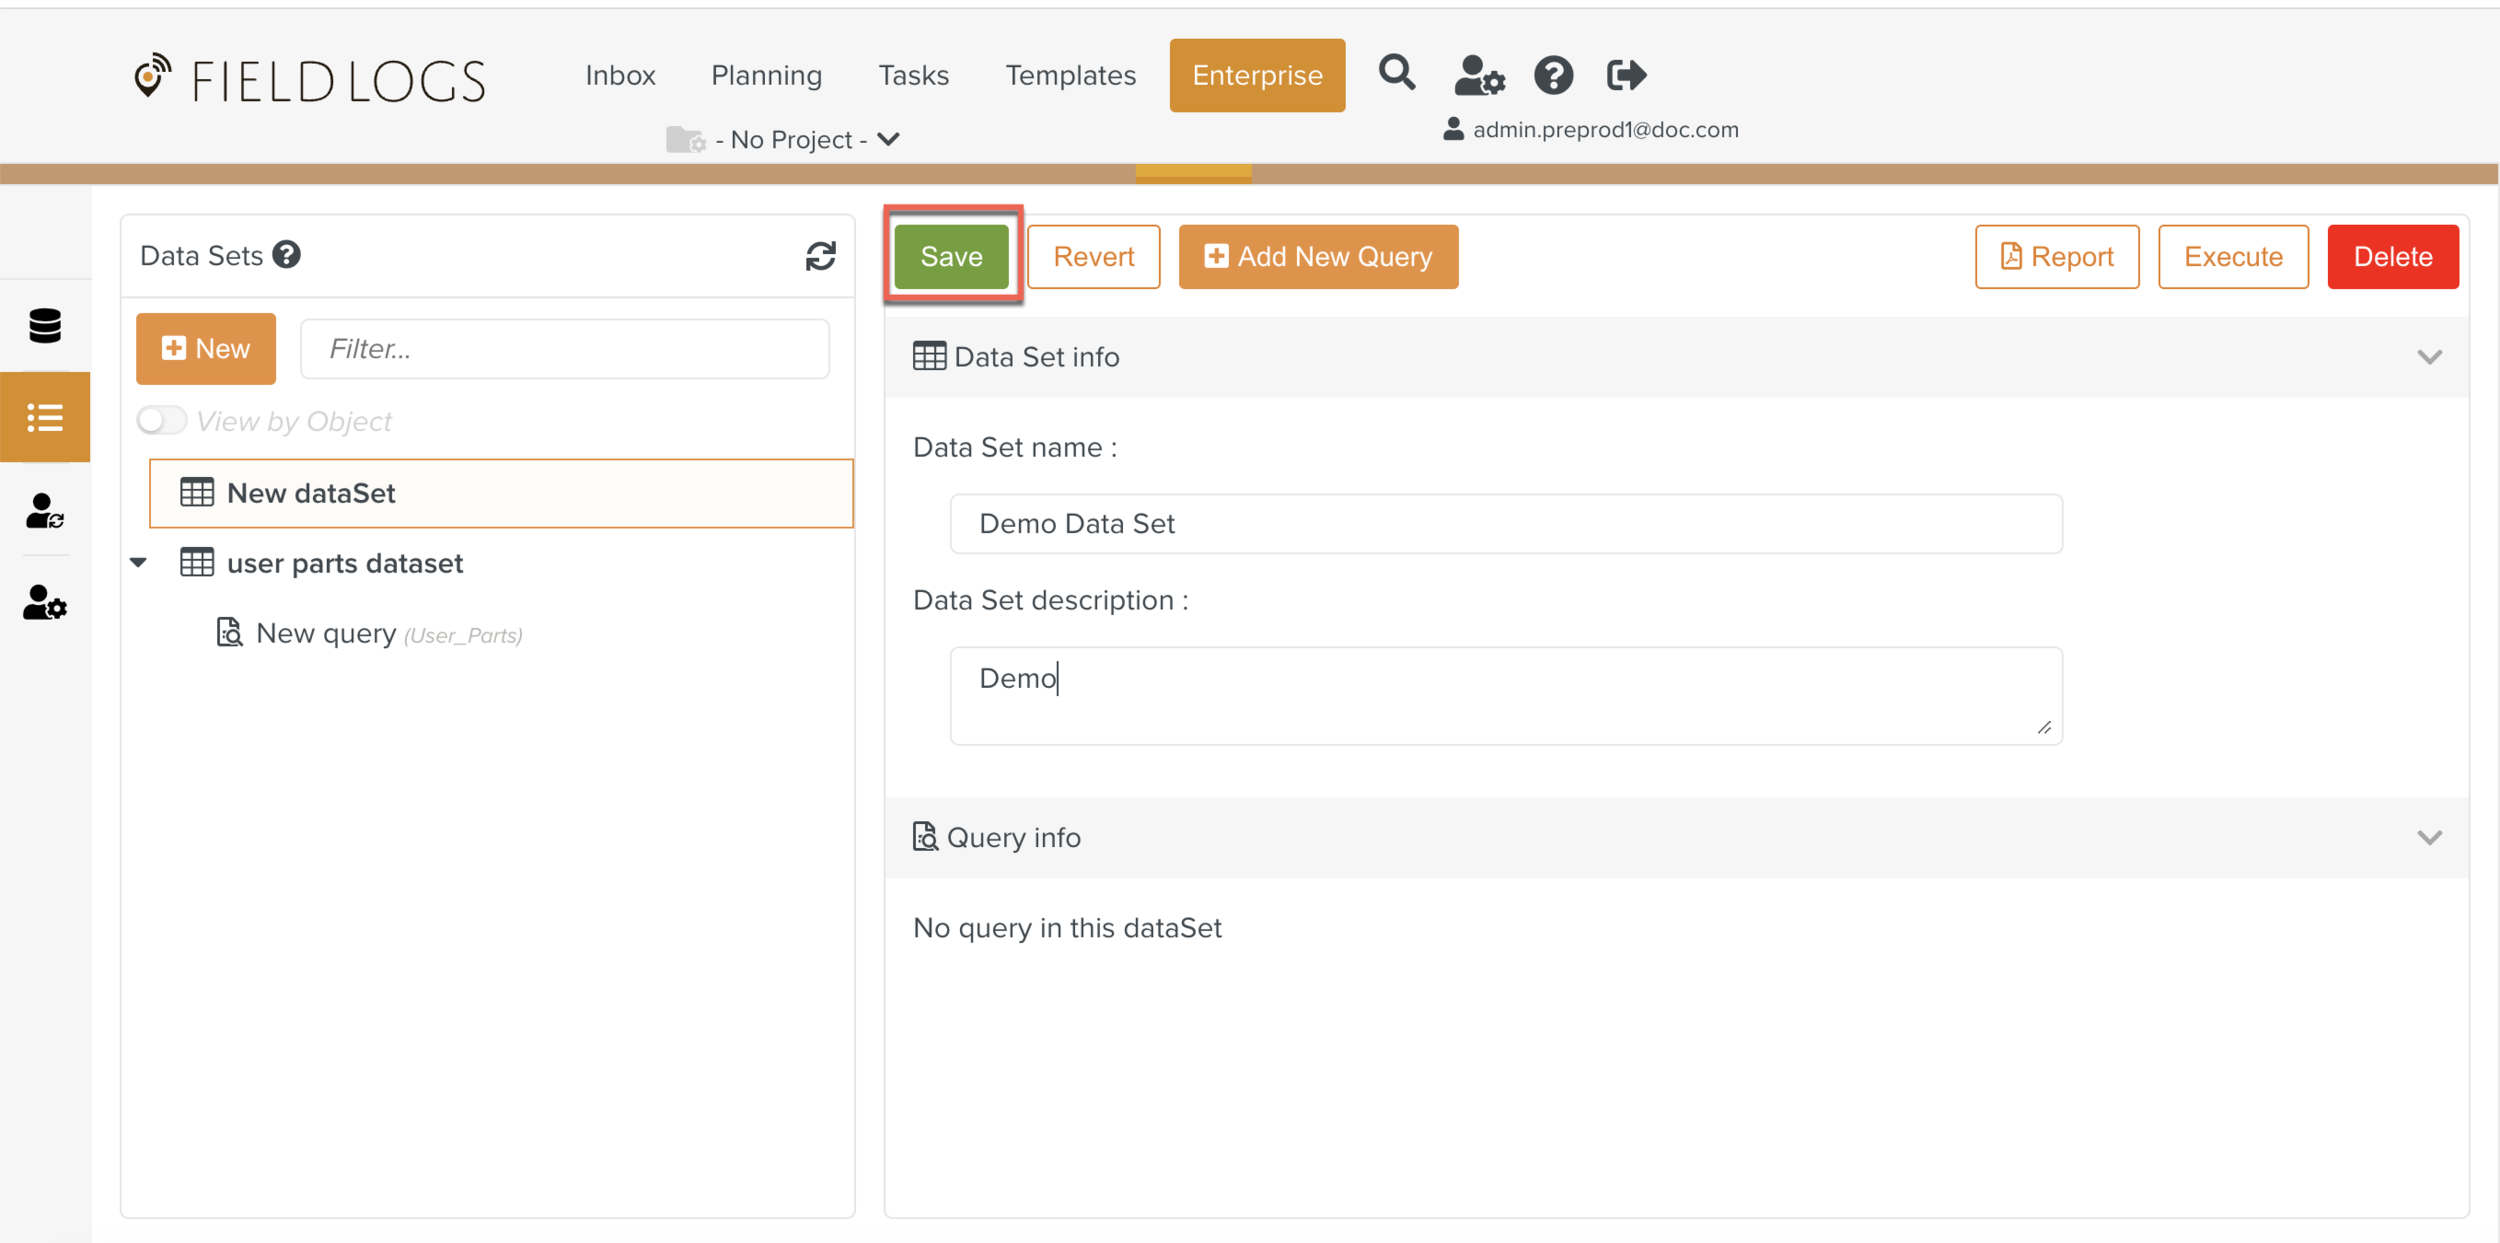
The Data Set is saved.
Click .
The list of all Object types is displayed.
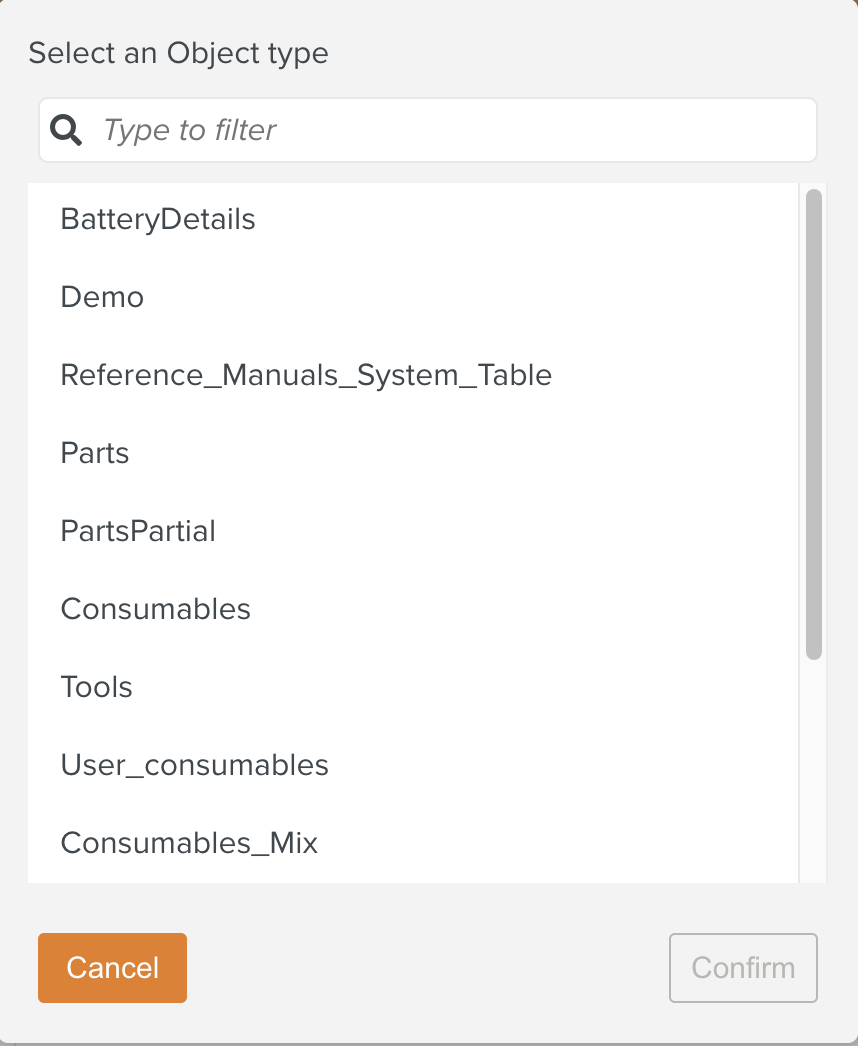
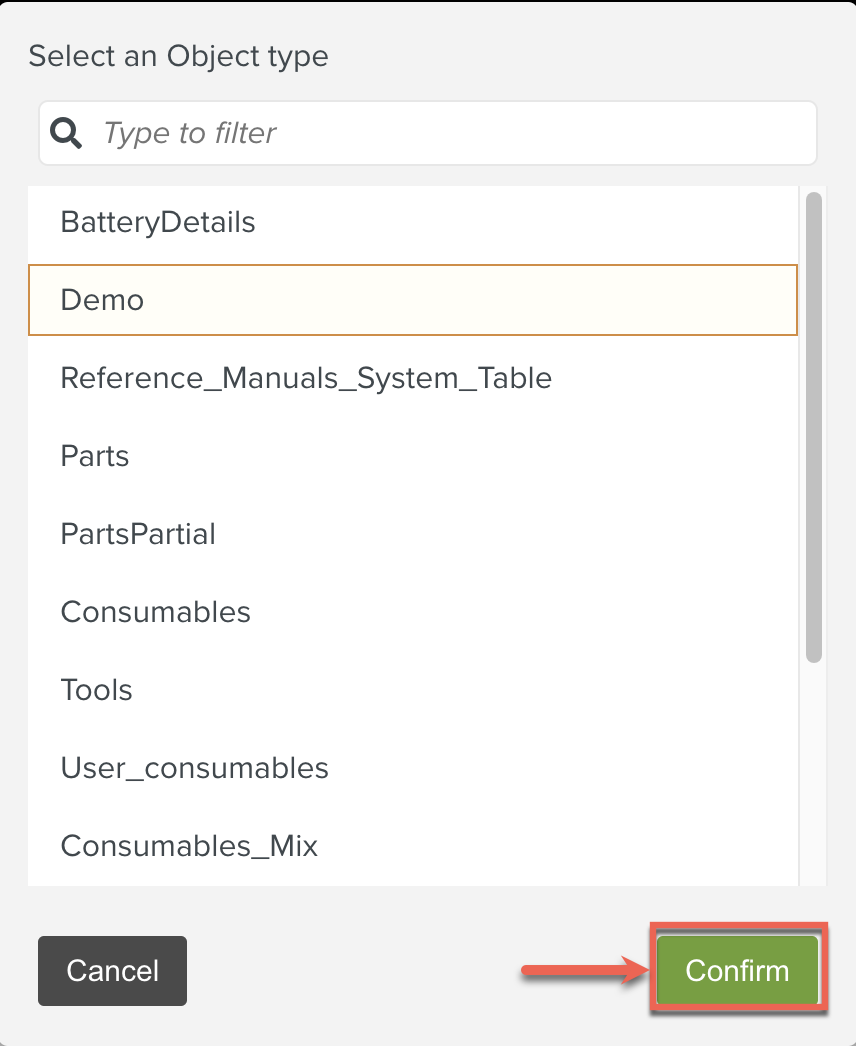
Select an option from the list as shown below.
In this example, the Object Demo is selected.

Click .
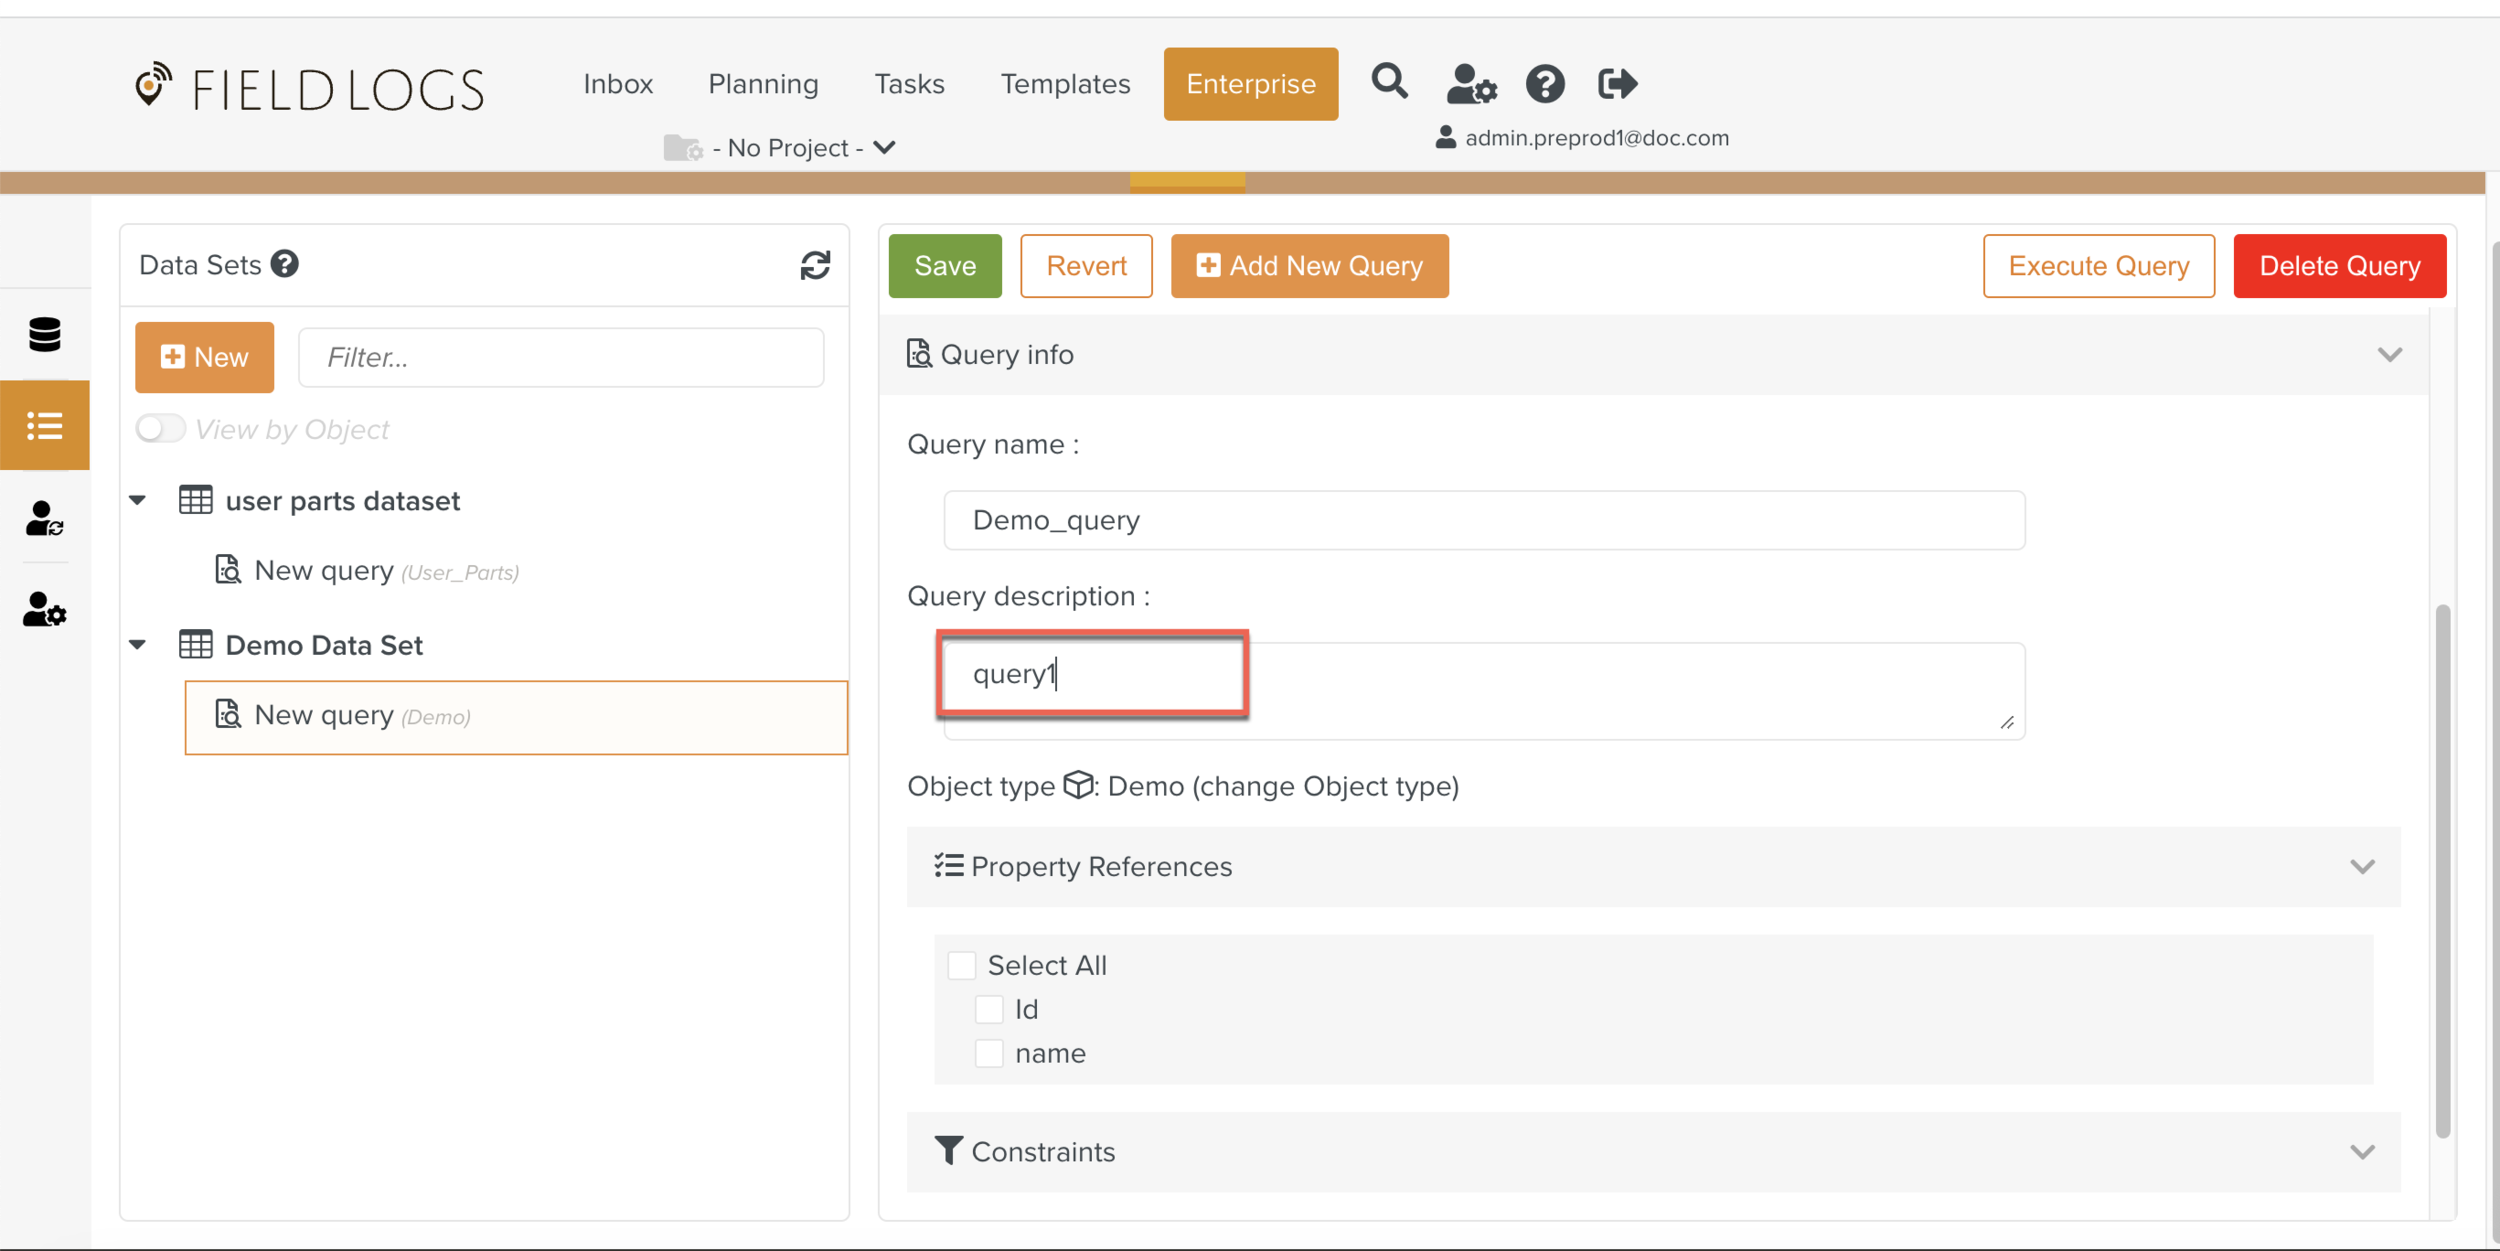
[Optional] Enter Query name.

[Optional] Enter Query description.
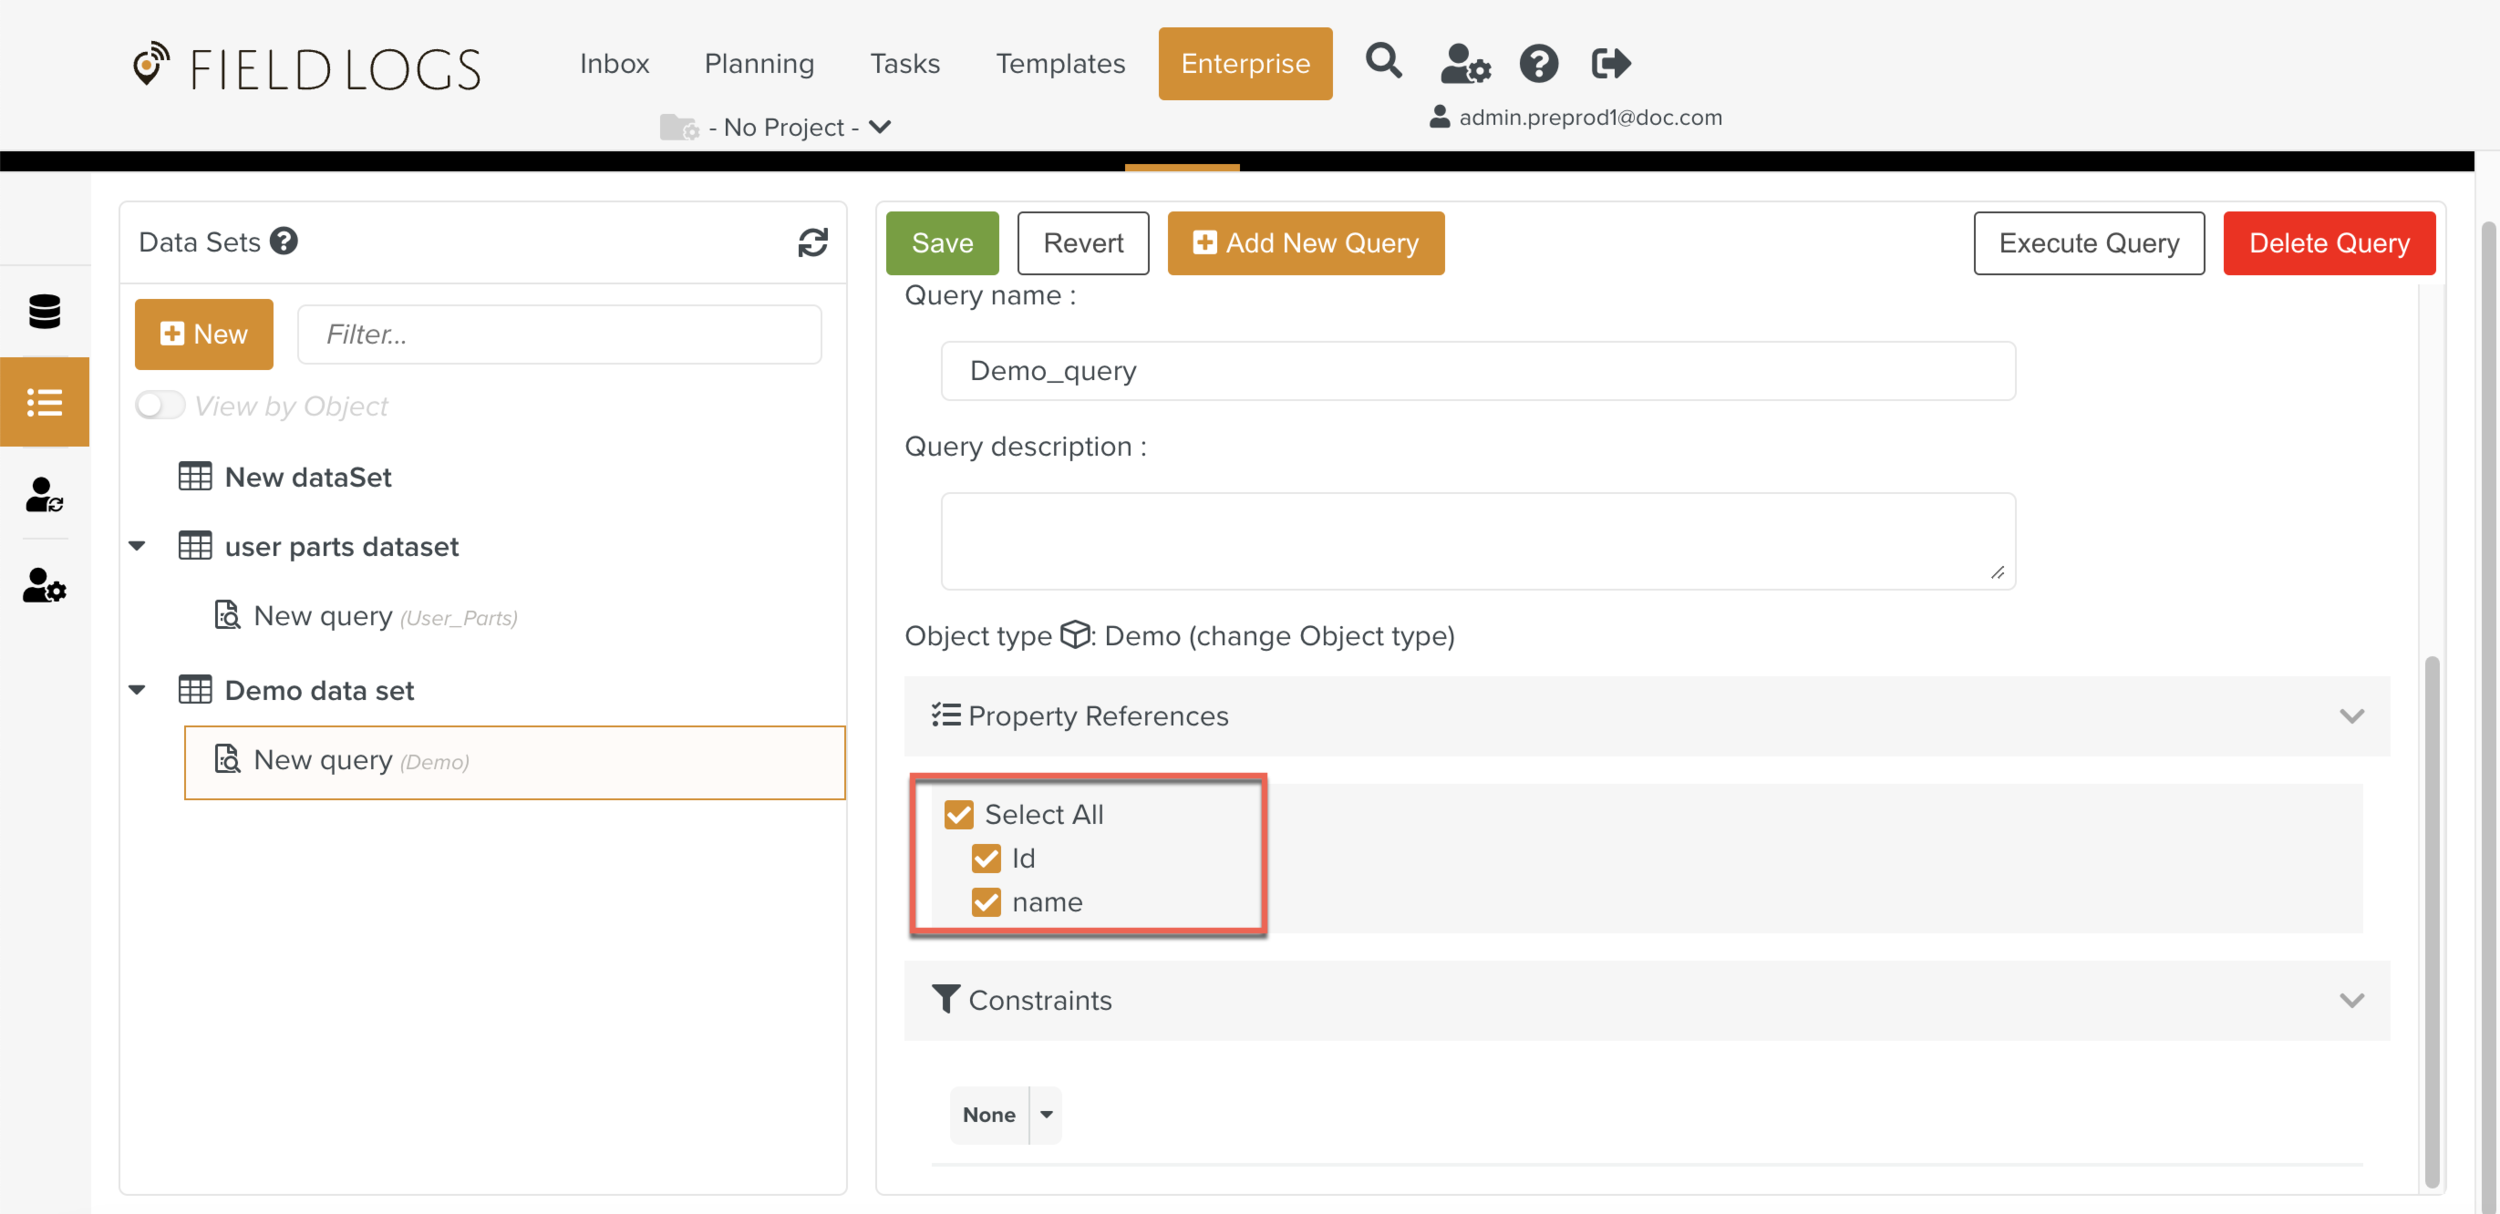
Select the required fields in the Property References as shown below.
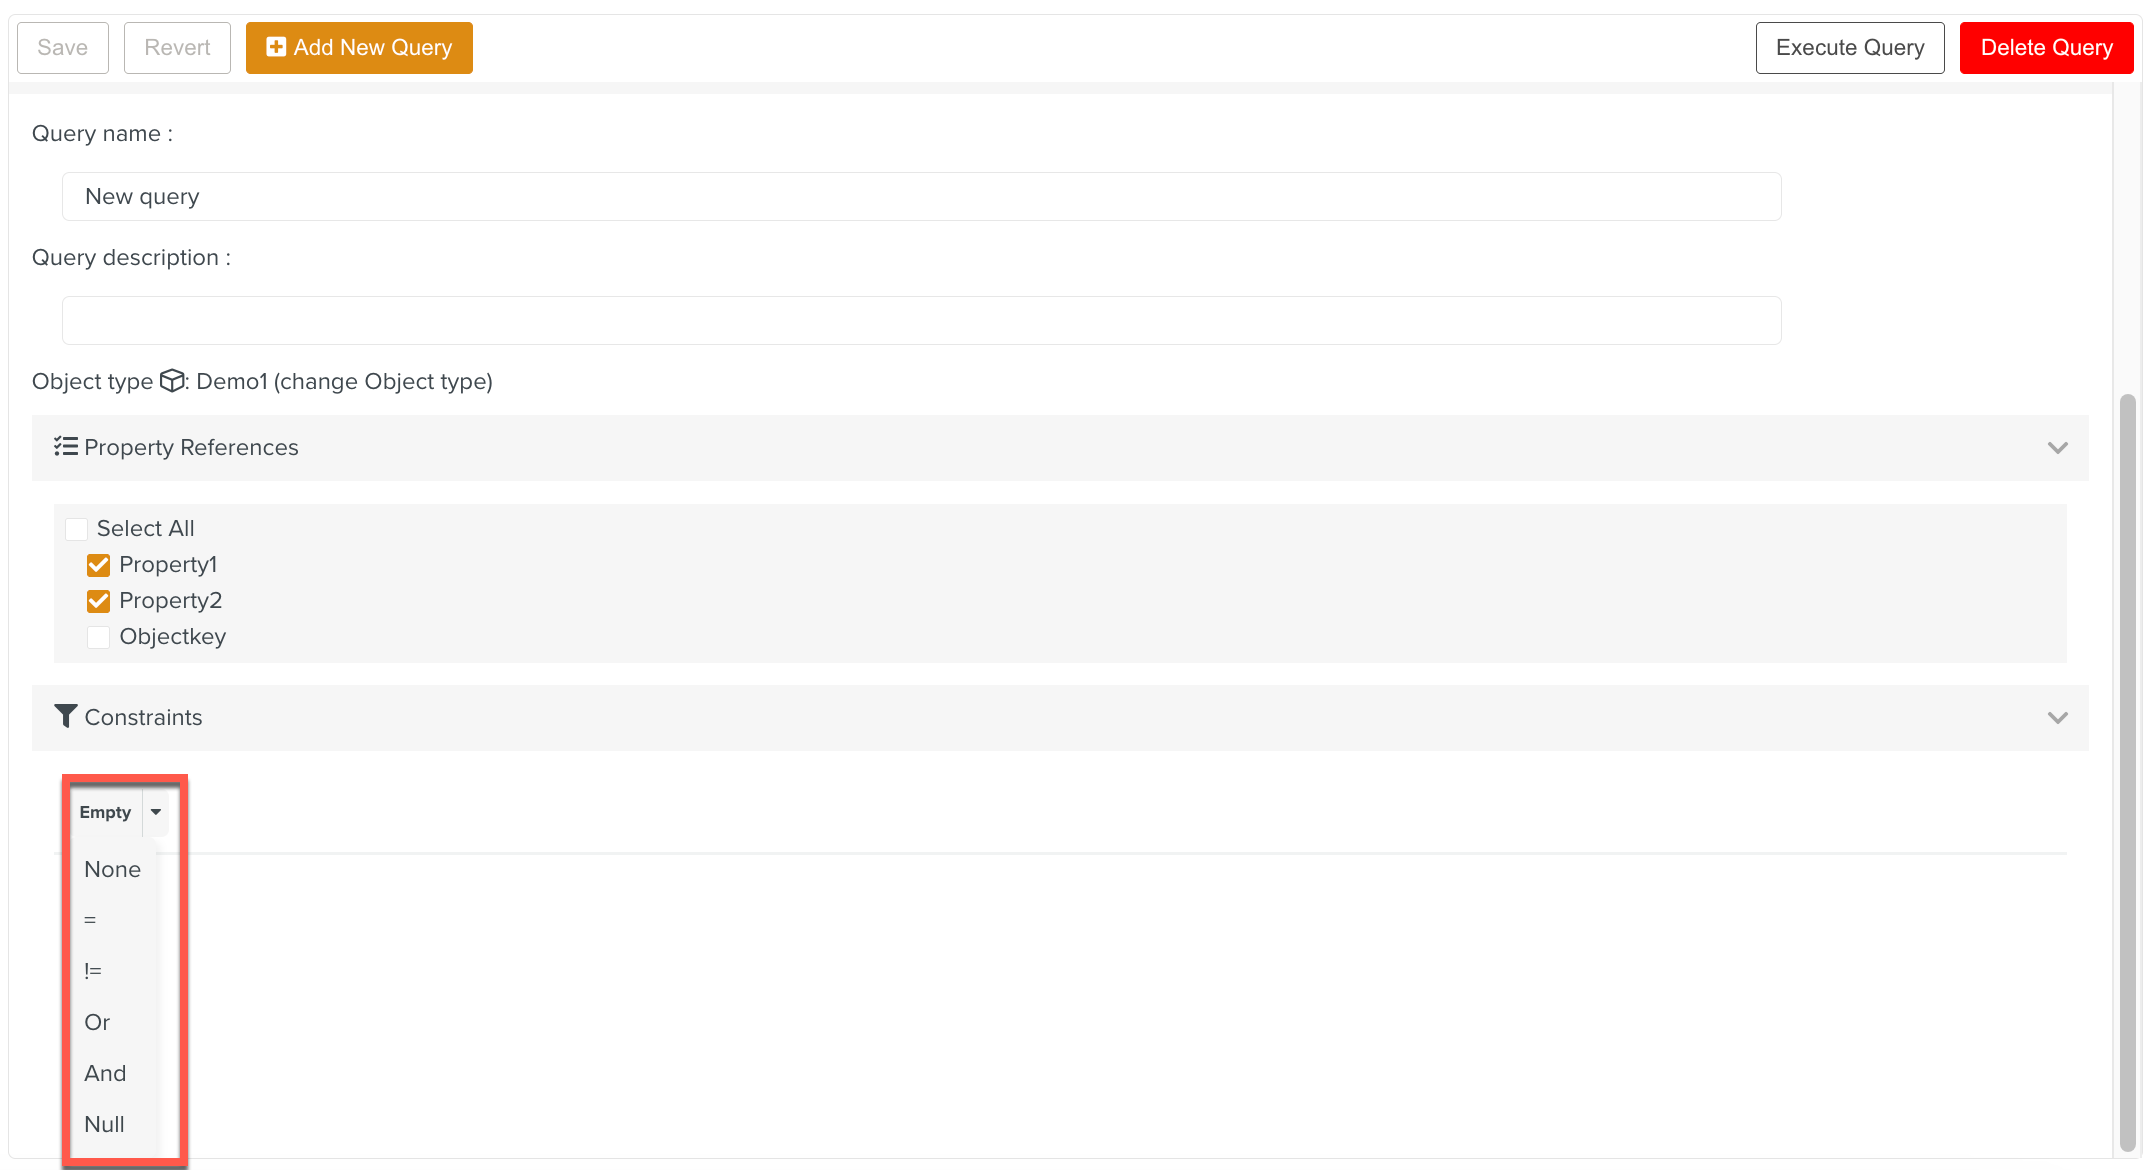
To set the Constraints select one of the options from the dropdown list.
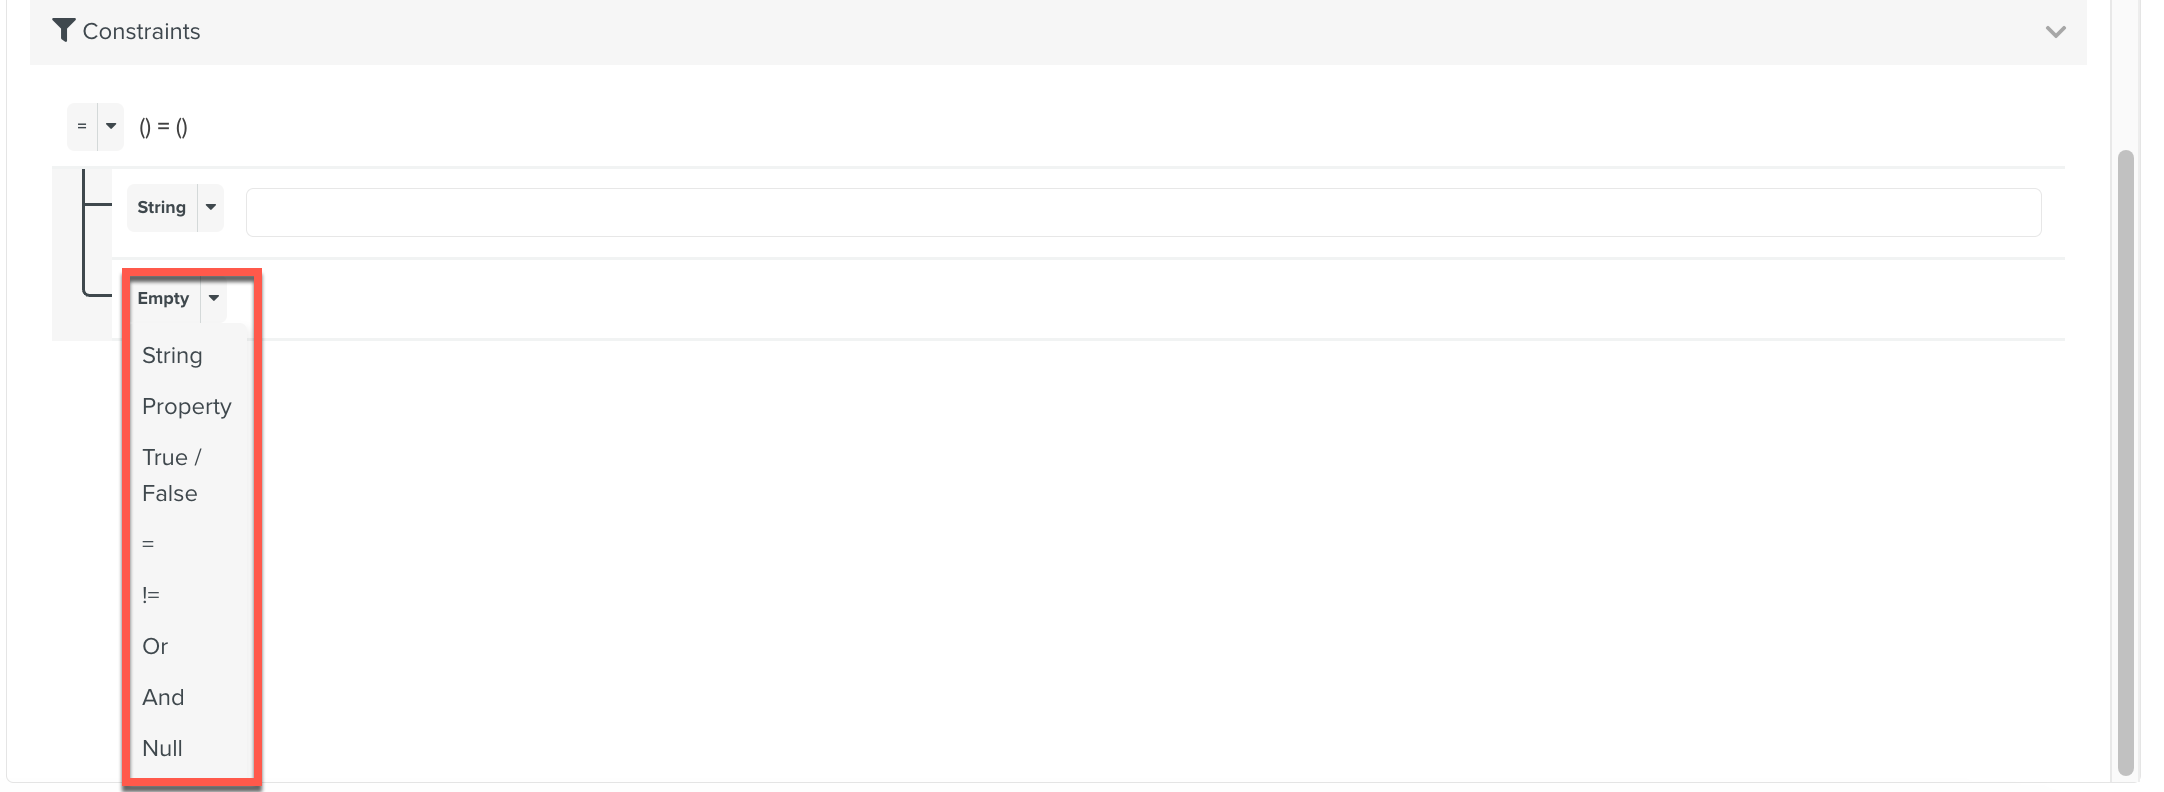
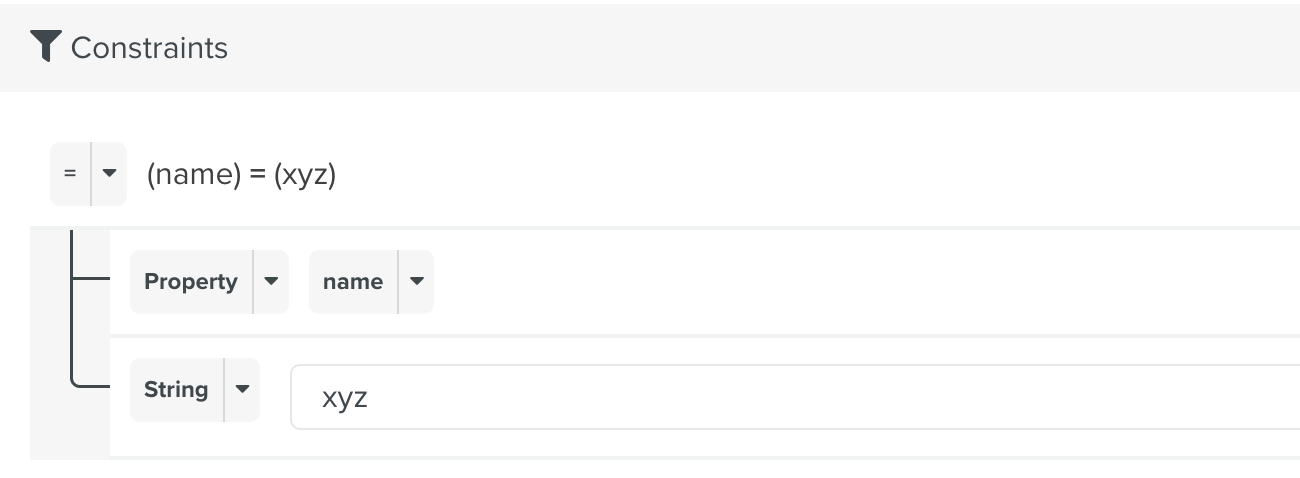
Build the required constraint with the conditional operators as shown below.
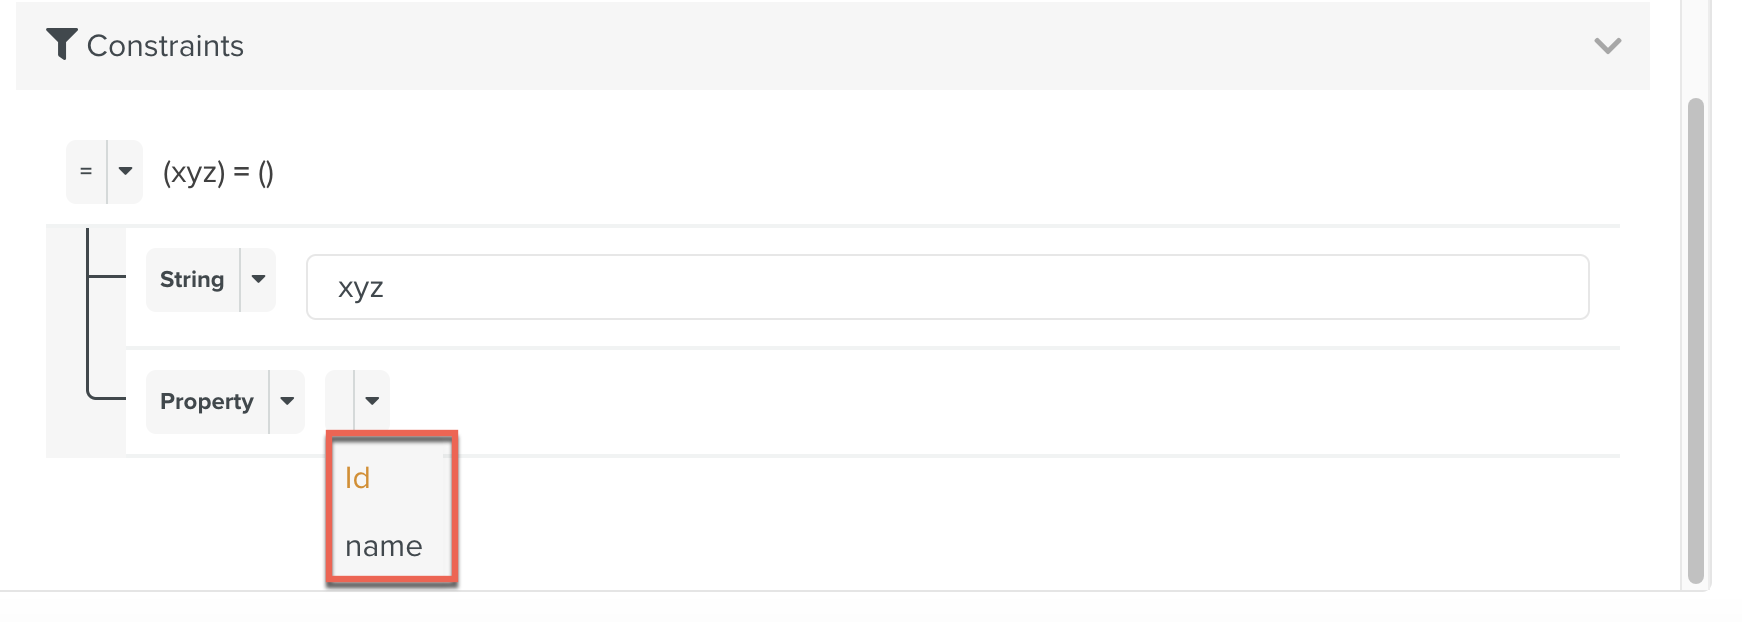
Below is an example of a Constraint with a query.
Click .
Click .

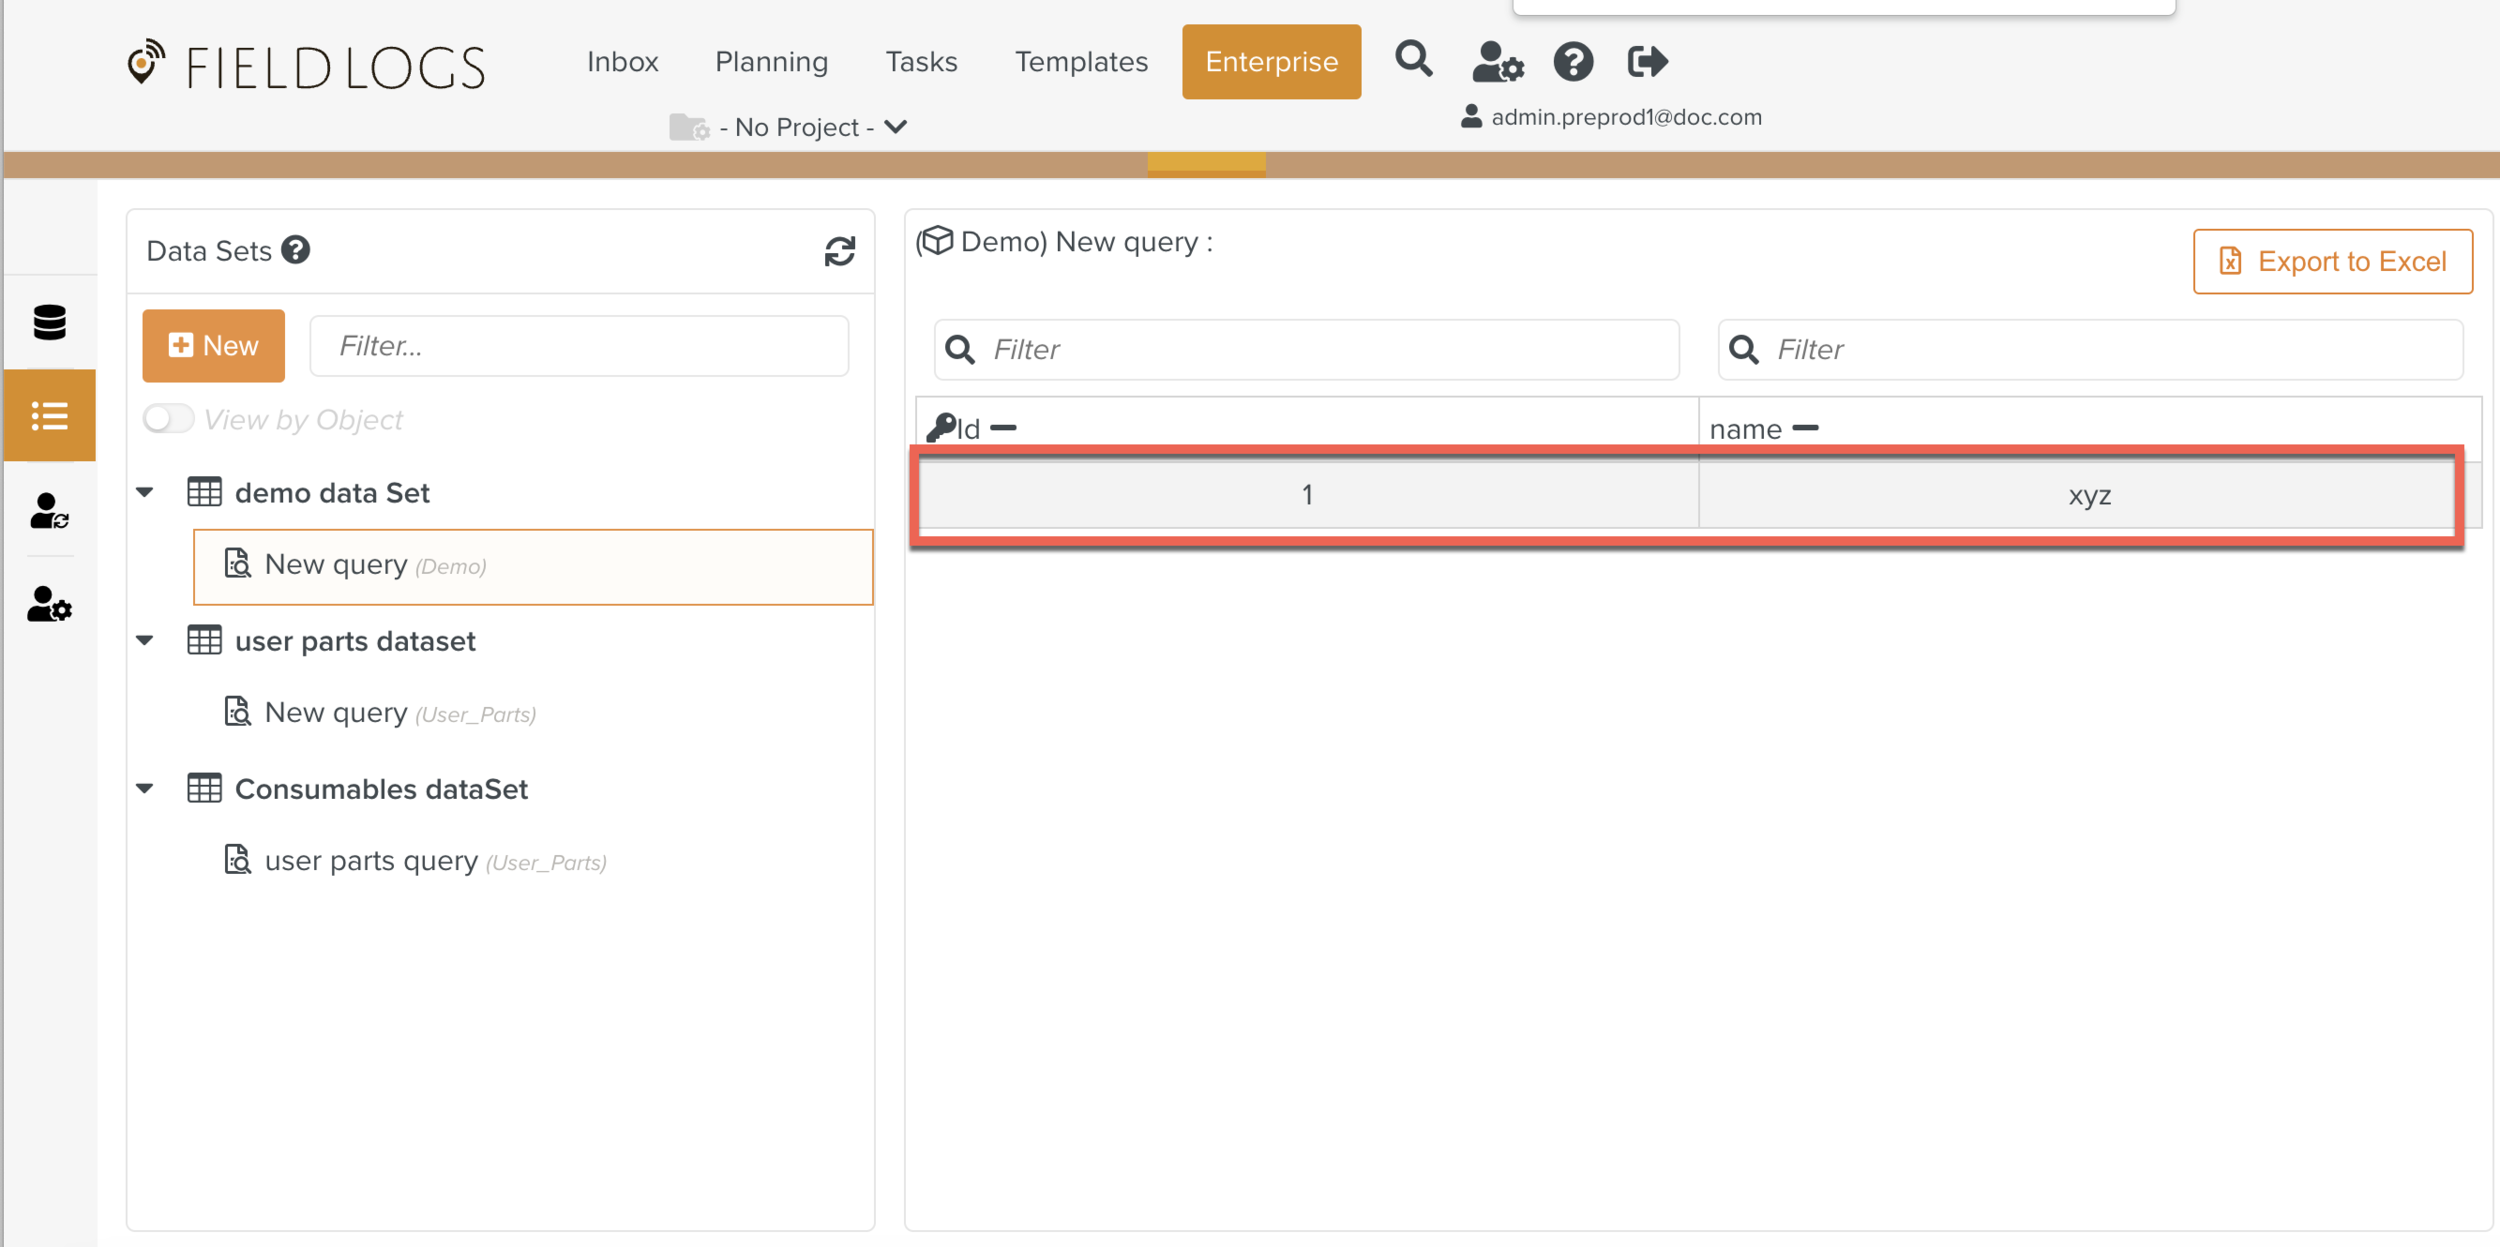
The Query is executed as shown below.
To add multiple queries to the Data Sets, repeat the procedure from step 6.

Note
To change the Object linked to the query, click change Object type.
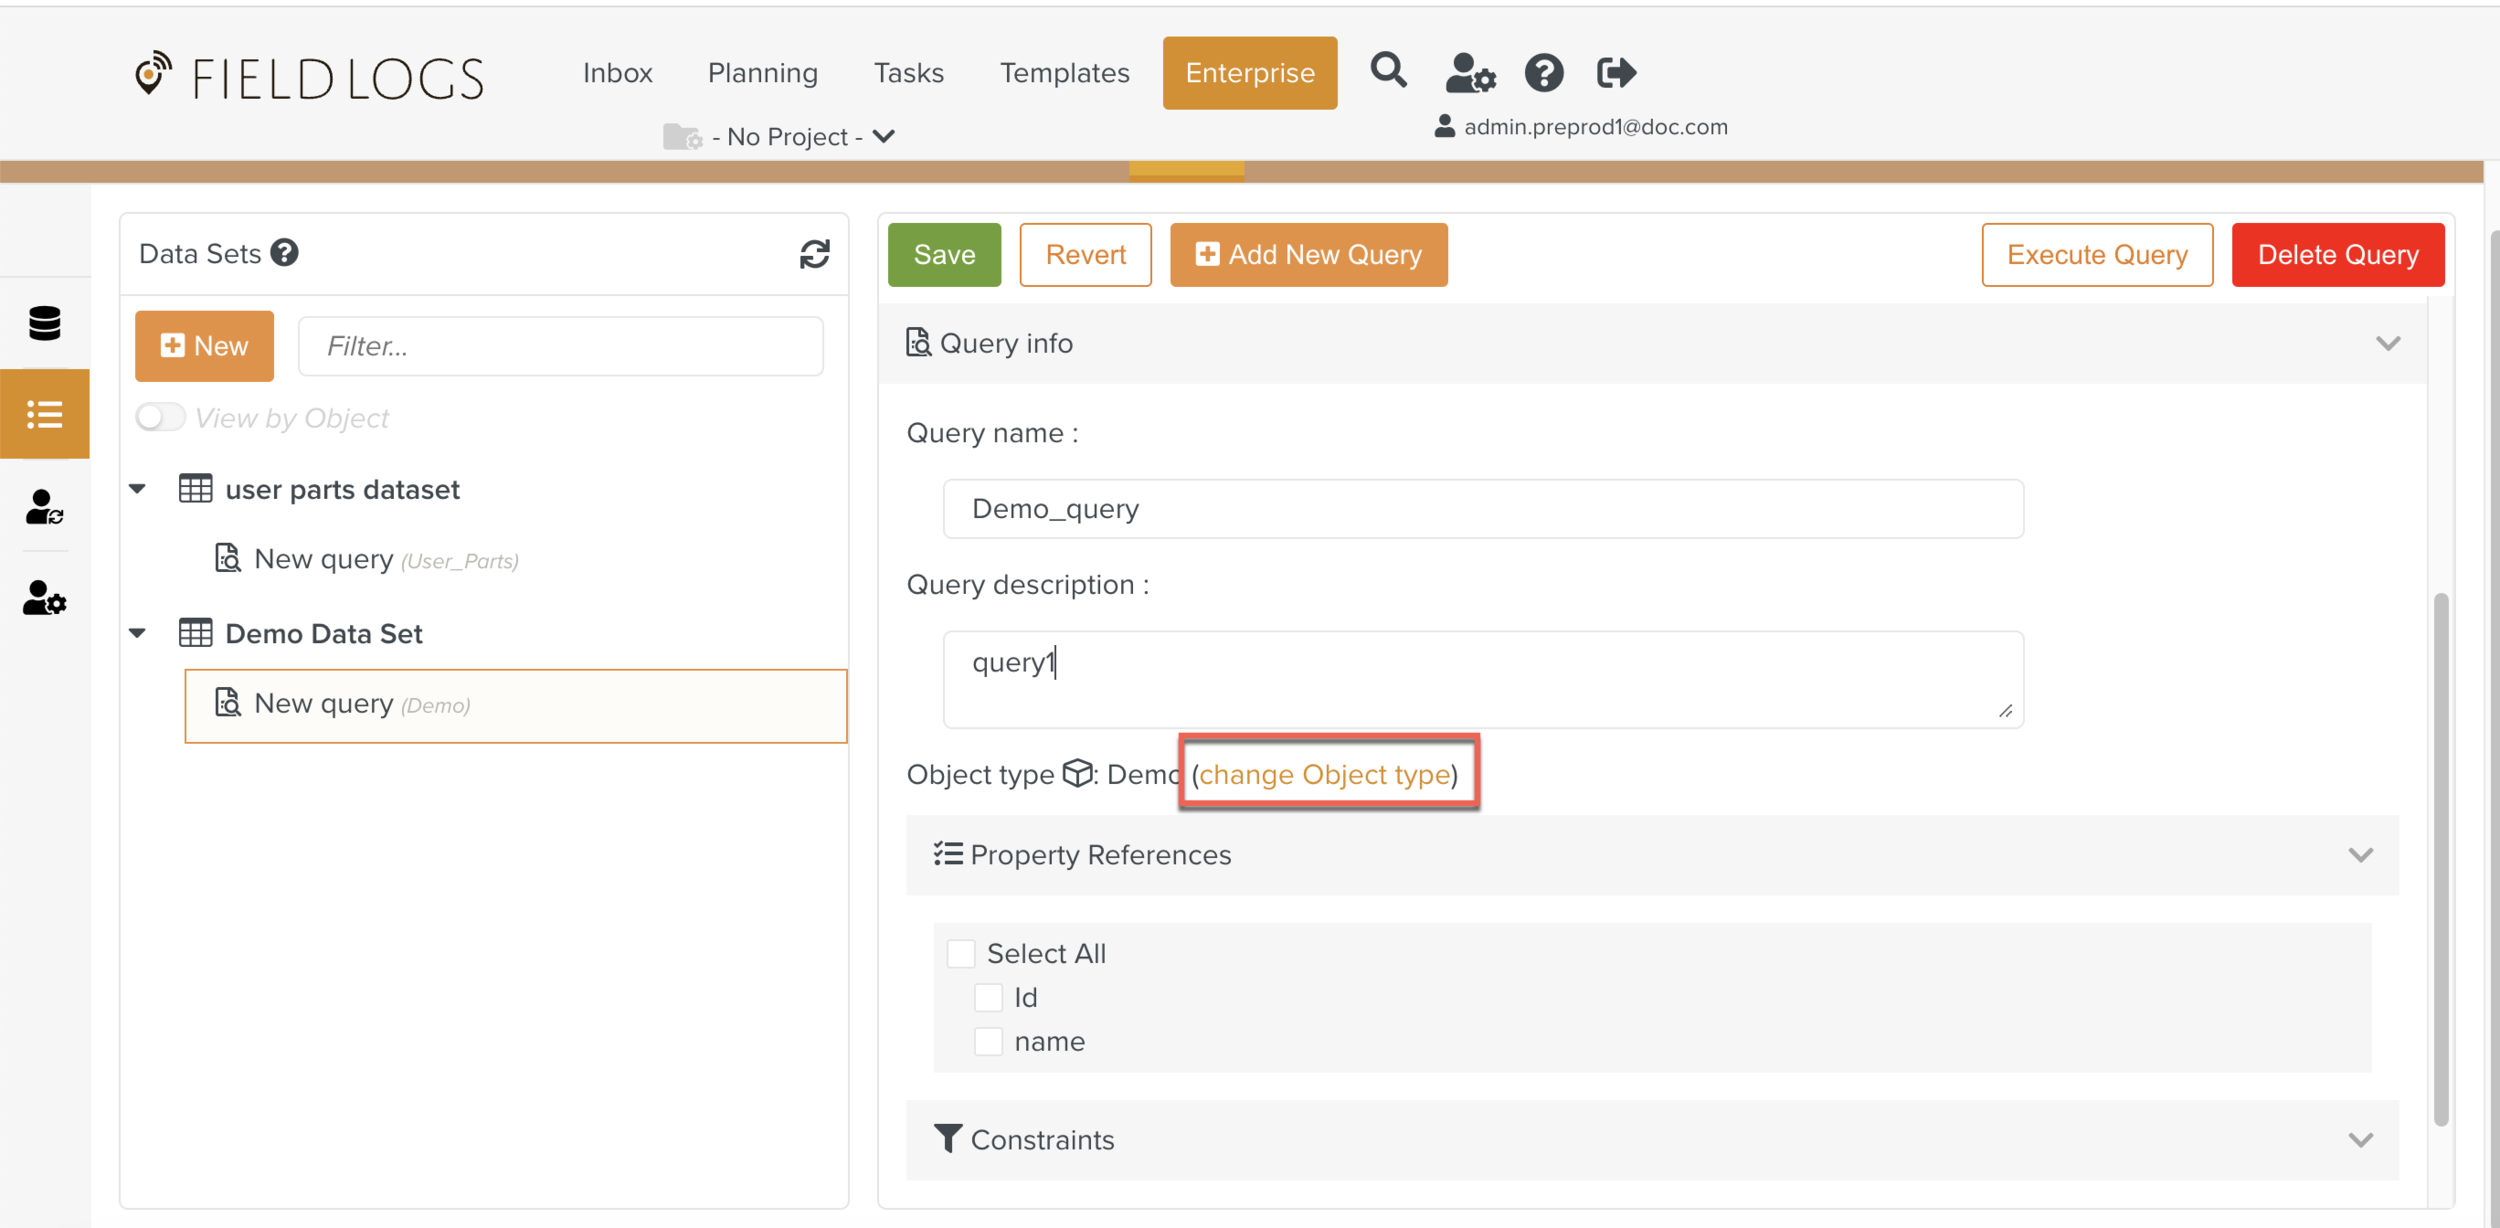
The list of Object type is displayed.
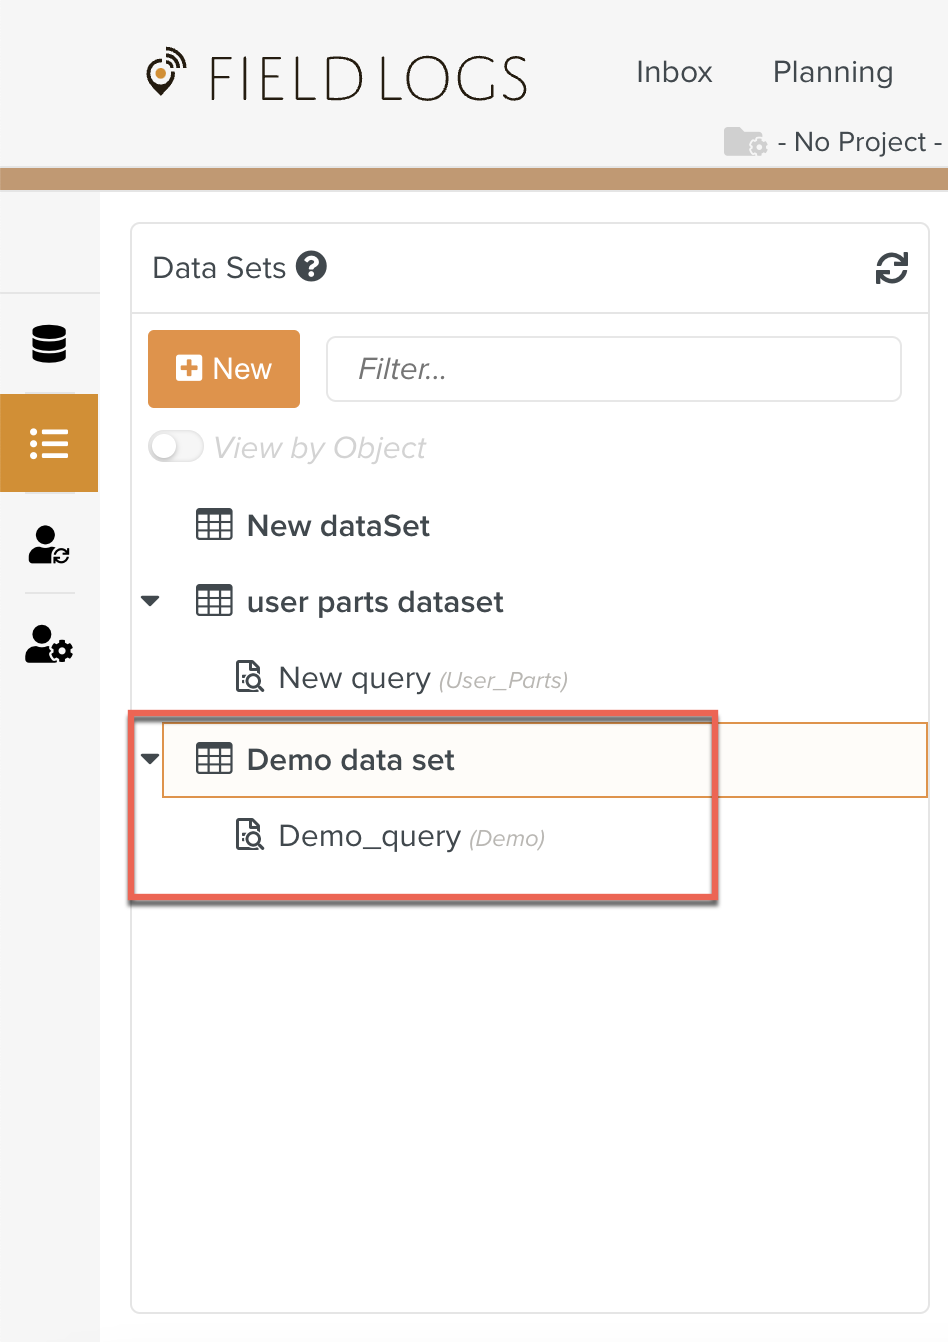
Deleting a Data Set
To delete the Data Set, click
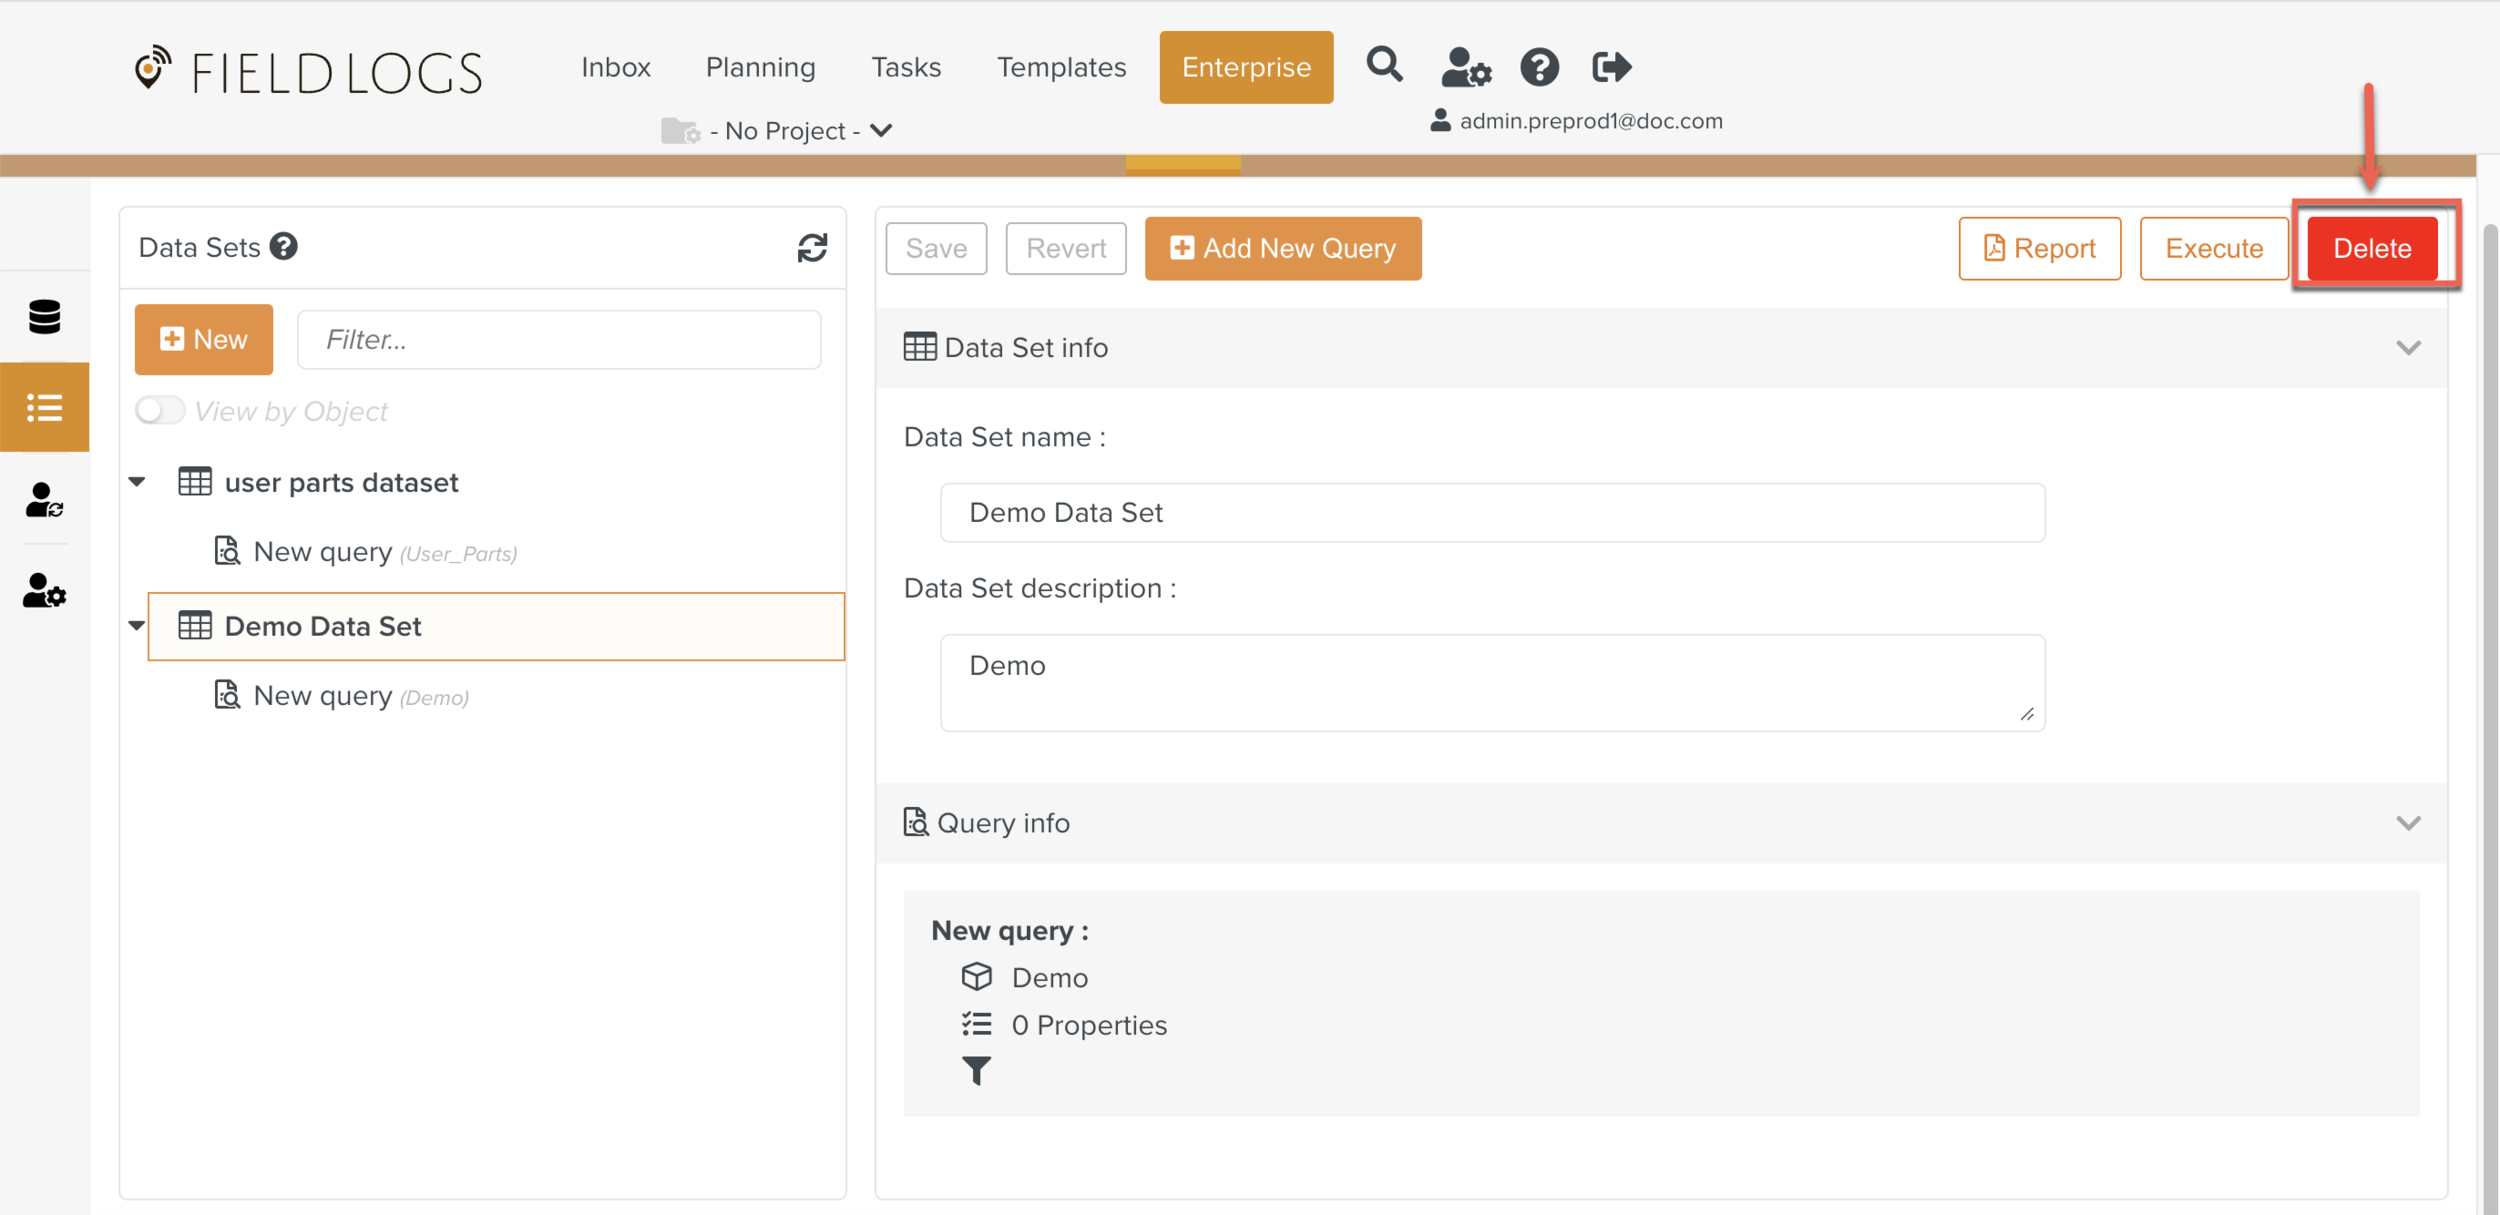
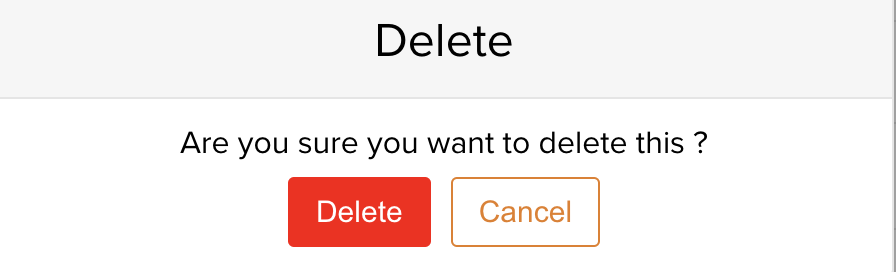
A confirmation message is displayed.
The Data Set is deleted.
Revert
To undo the changes, click .
Deleting a Query
To delete a Query, click .
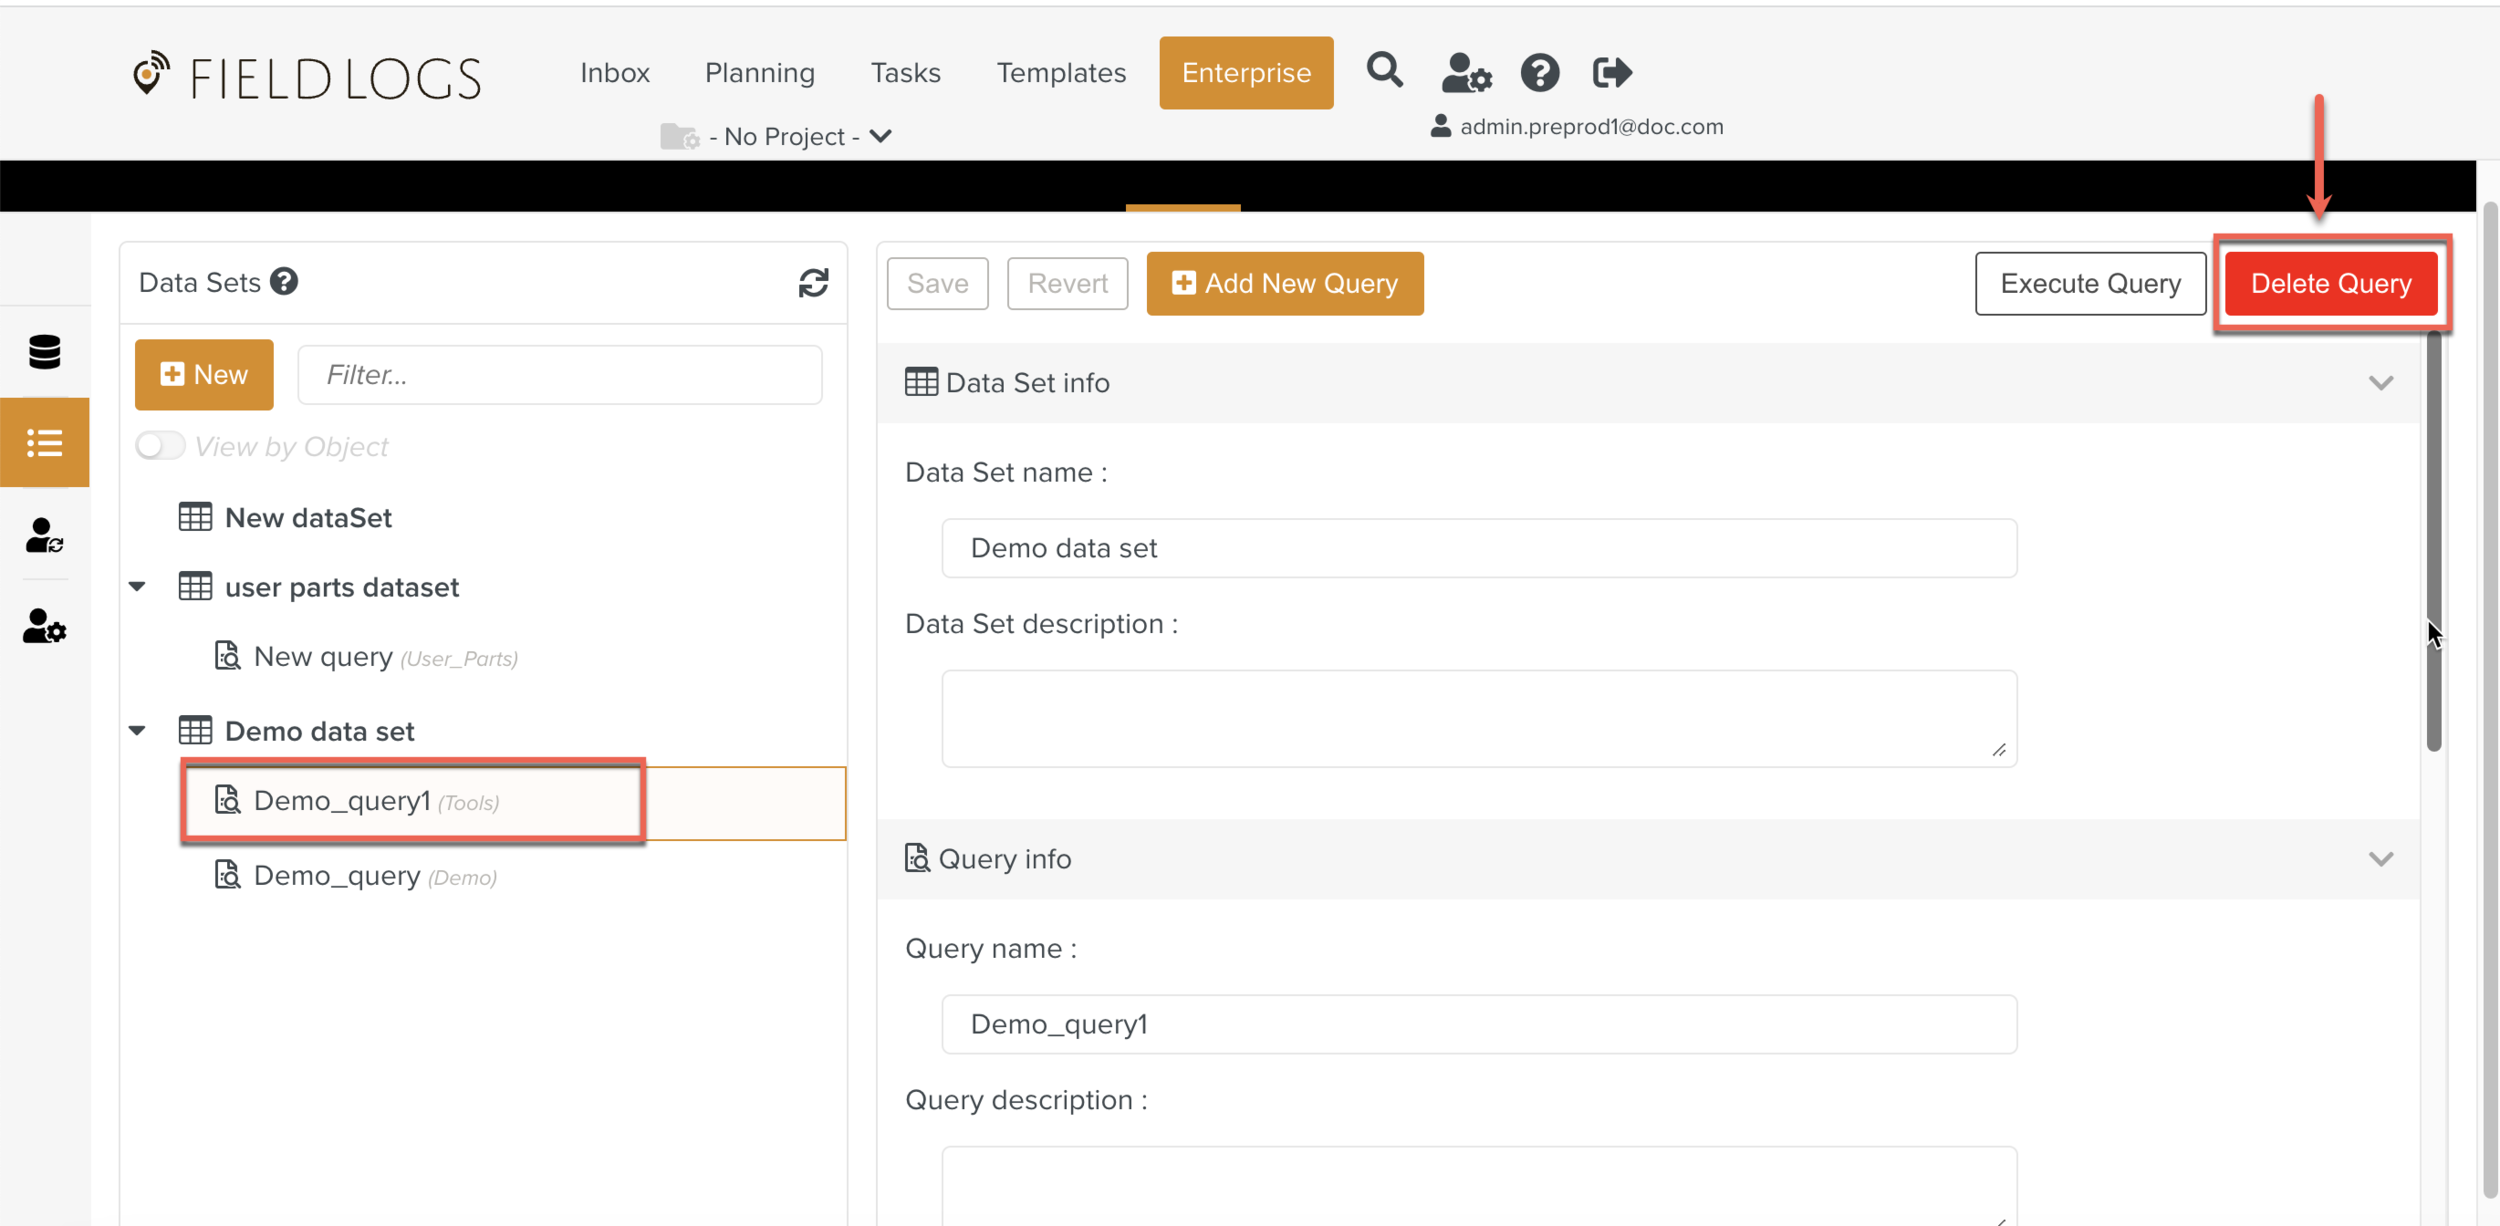
A confirmation message displays.
Click .
The Query is deleted.
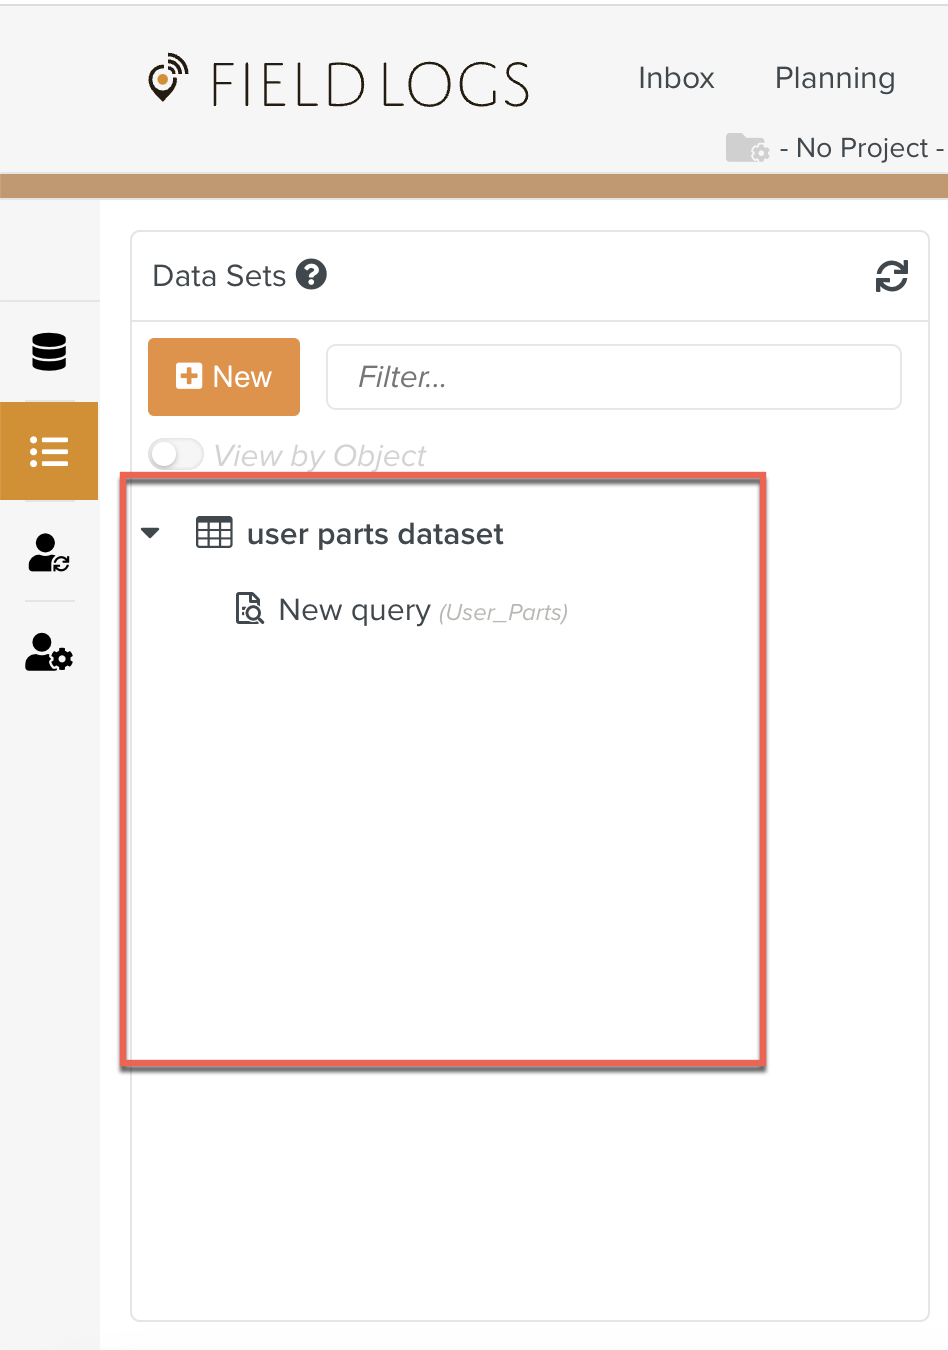
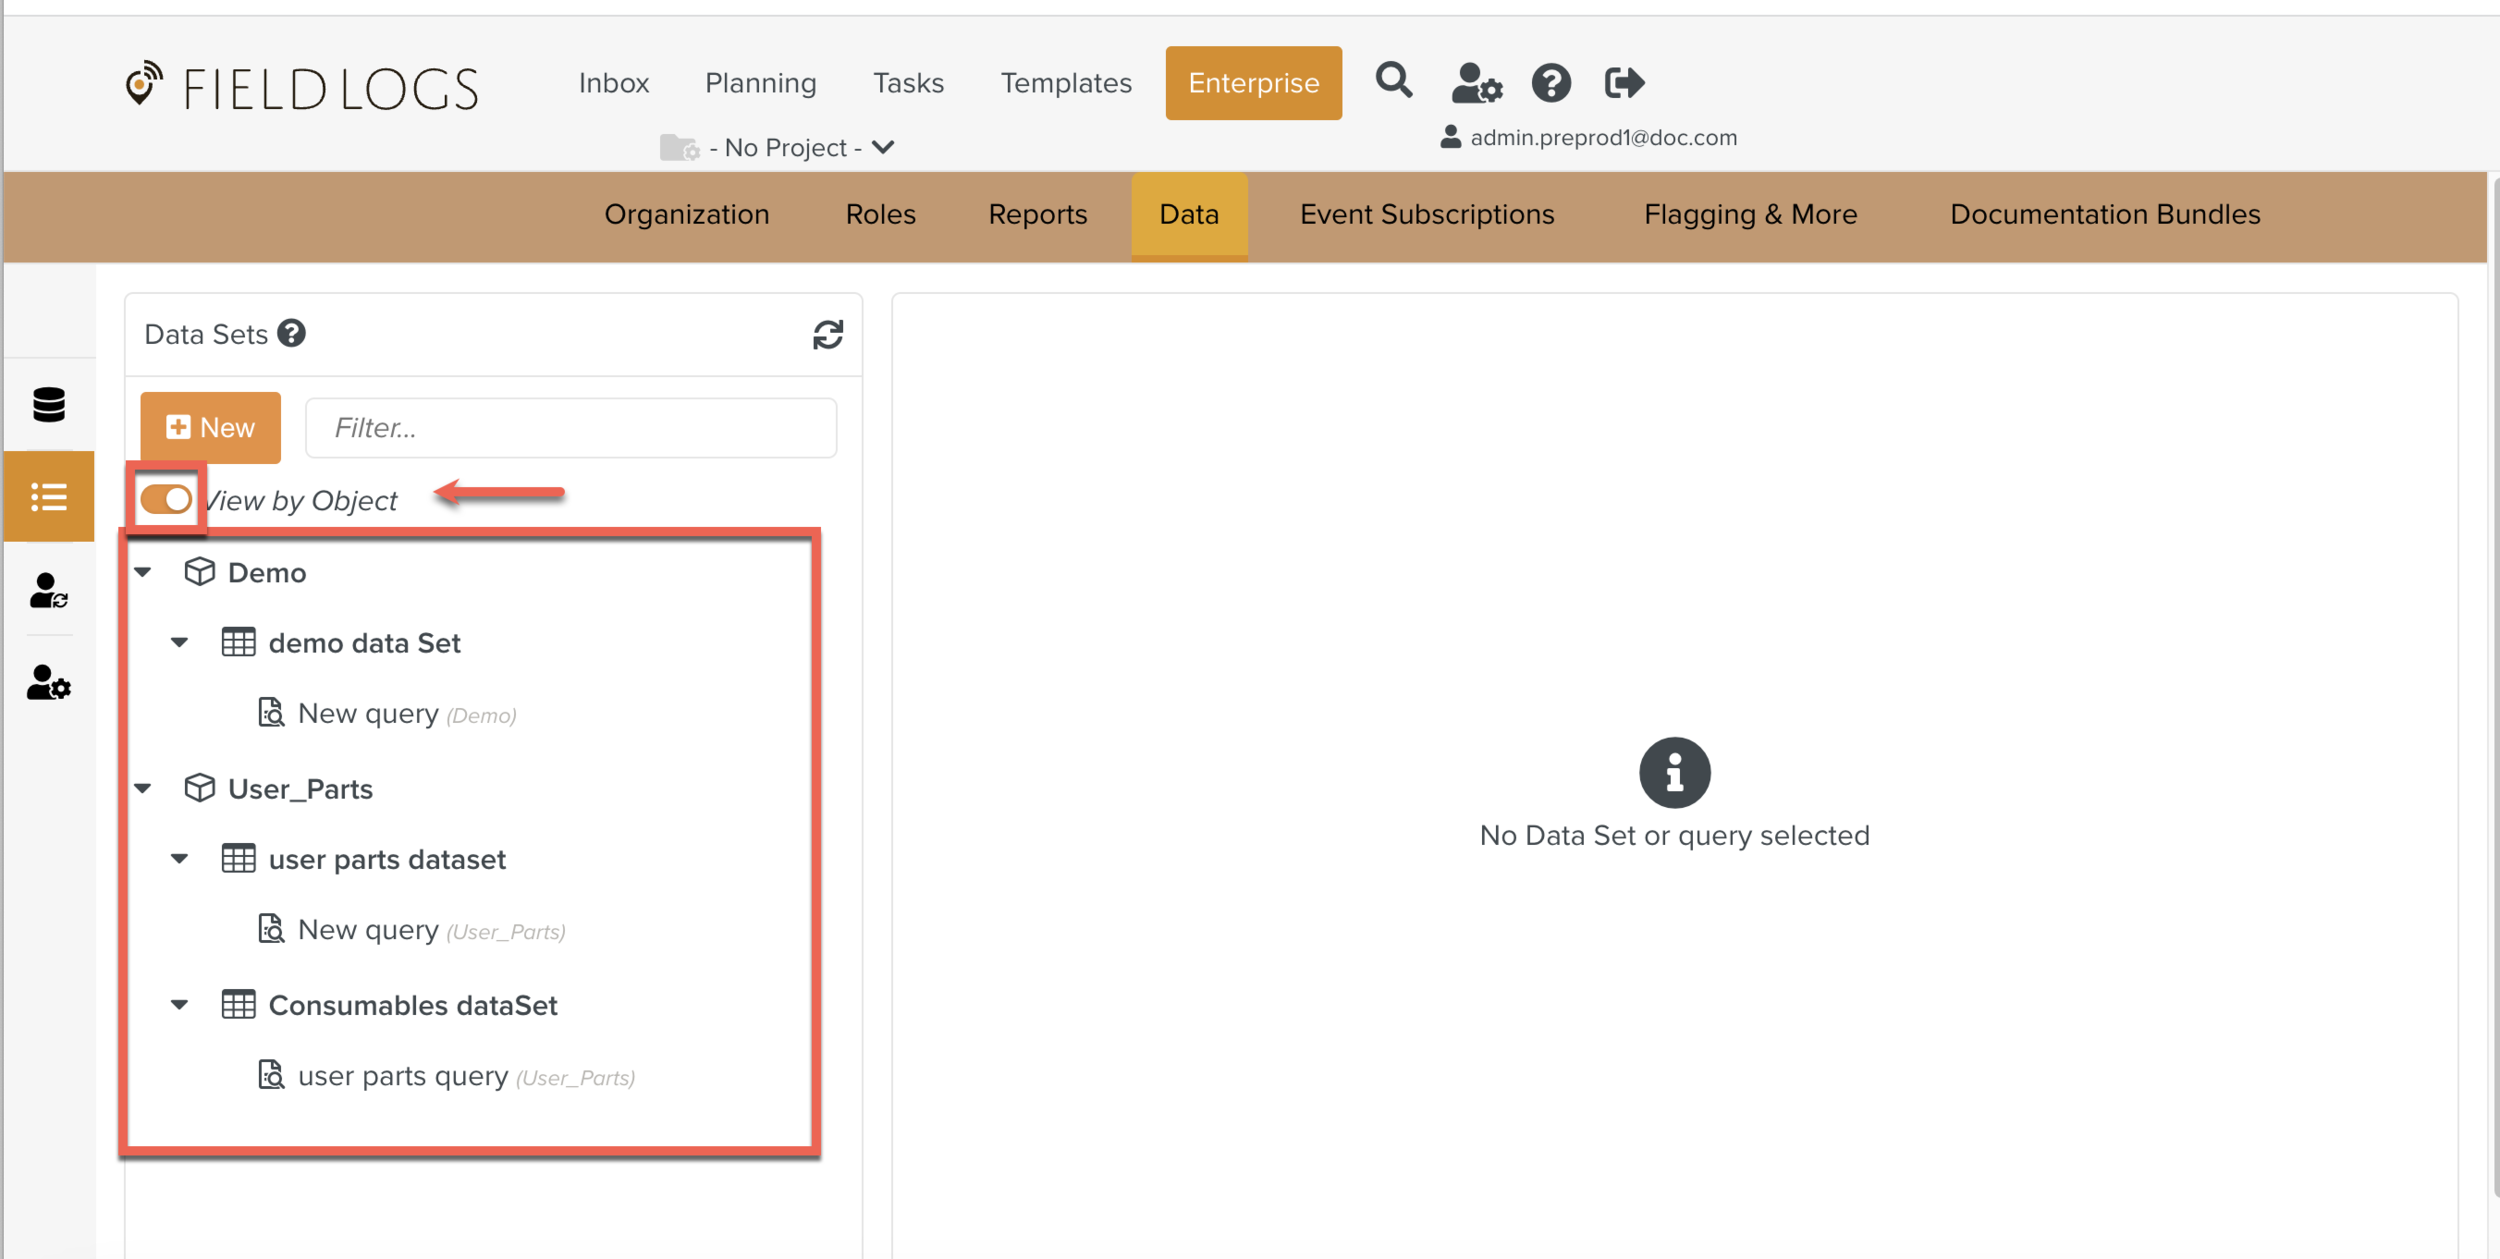
View by Object
When you toggle View by Object, the list of Data Sets are grouped based on Objects as shown below.
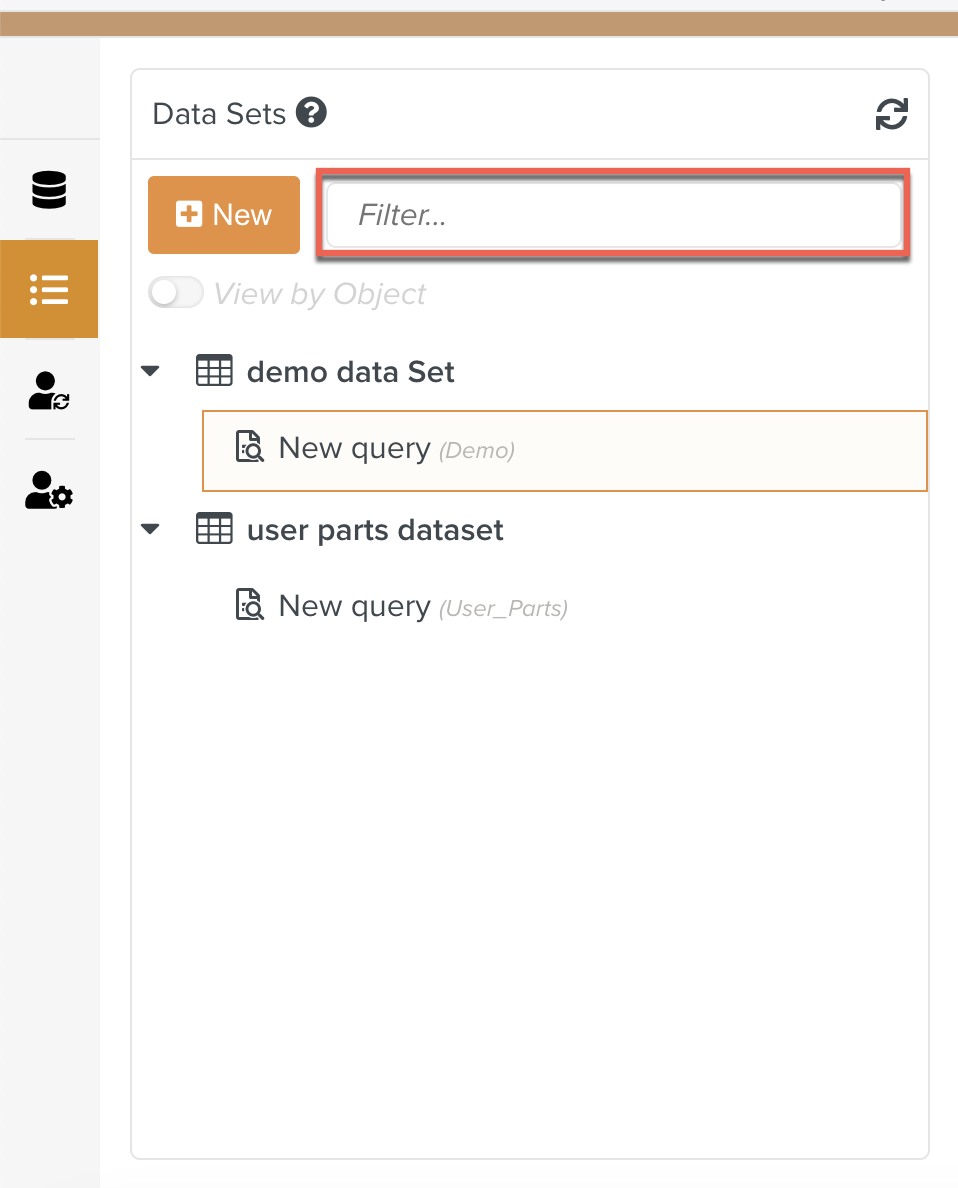
Search
You can search the Data Set and Query name by using the search bar as shown below.
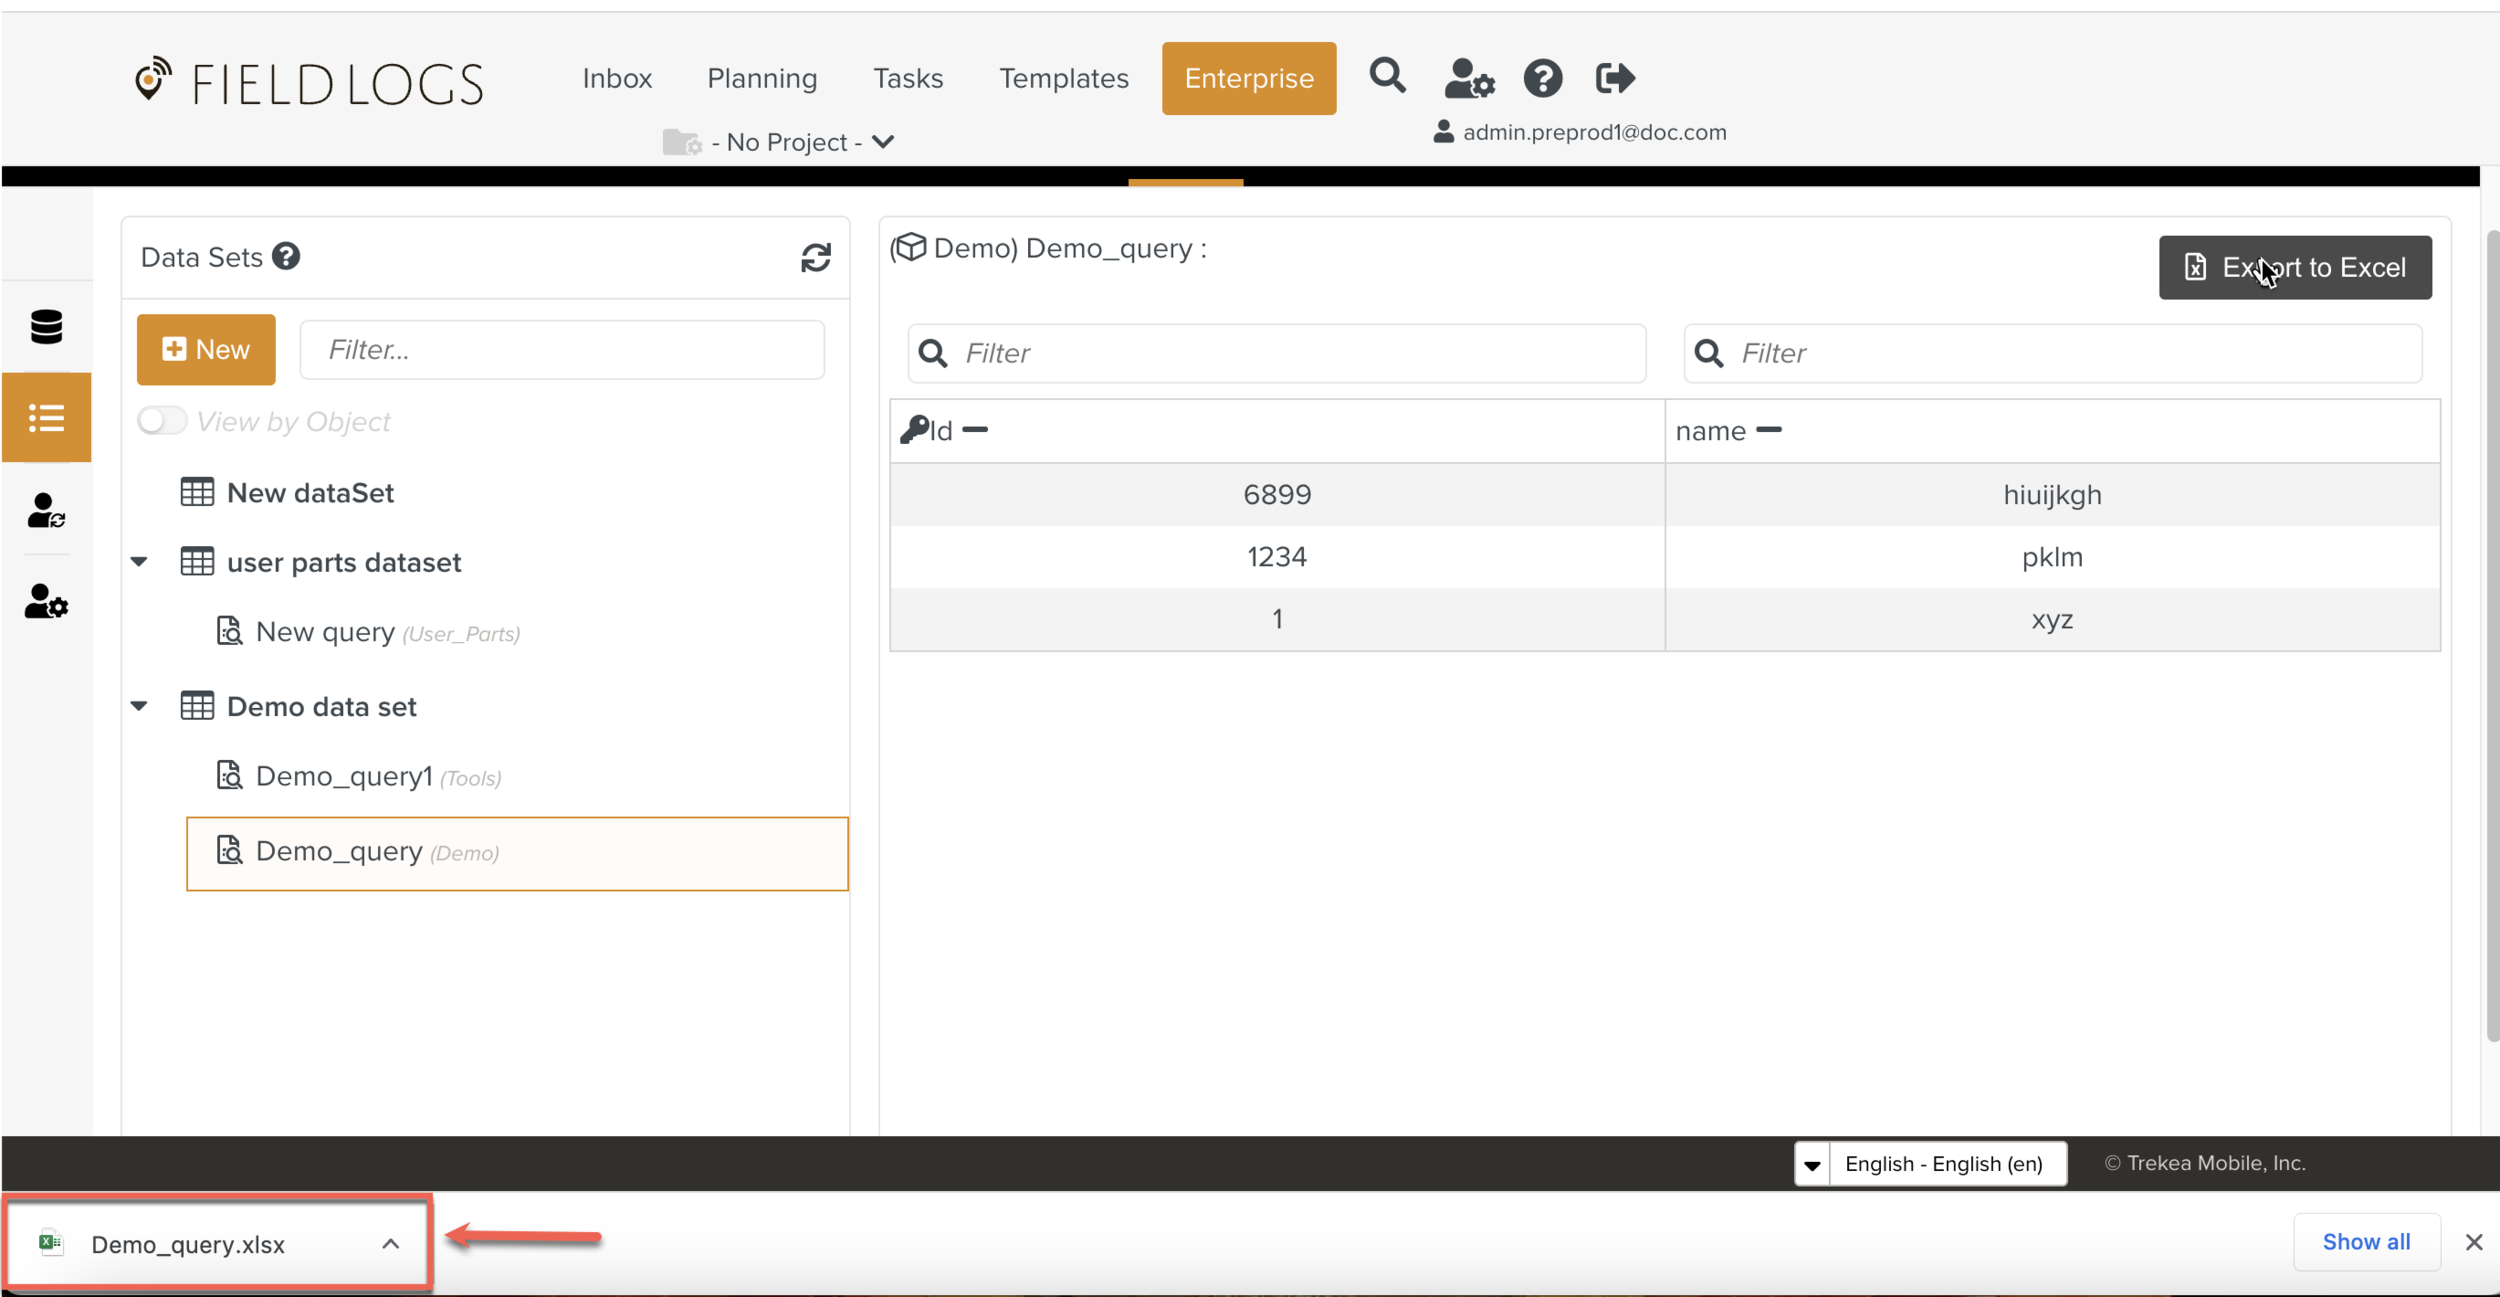
To Export a Data Set:
On the main menu, go to Enterprise > Data > Data Sets.
Select one of the queries from the Data Sets, and click .

The Query is executed.
Click .
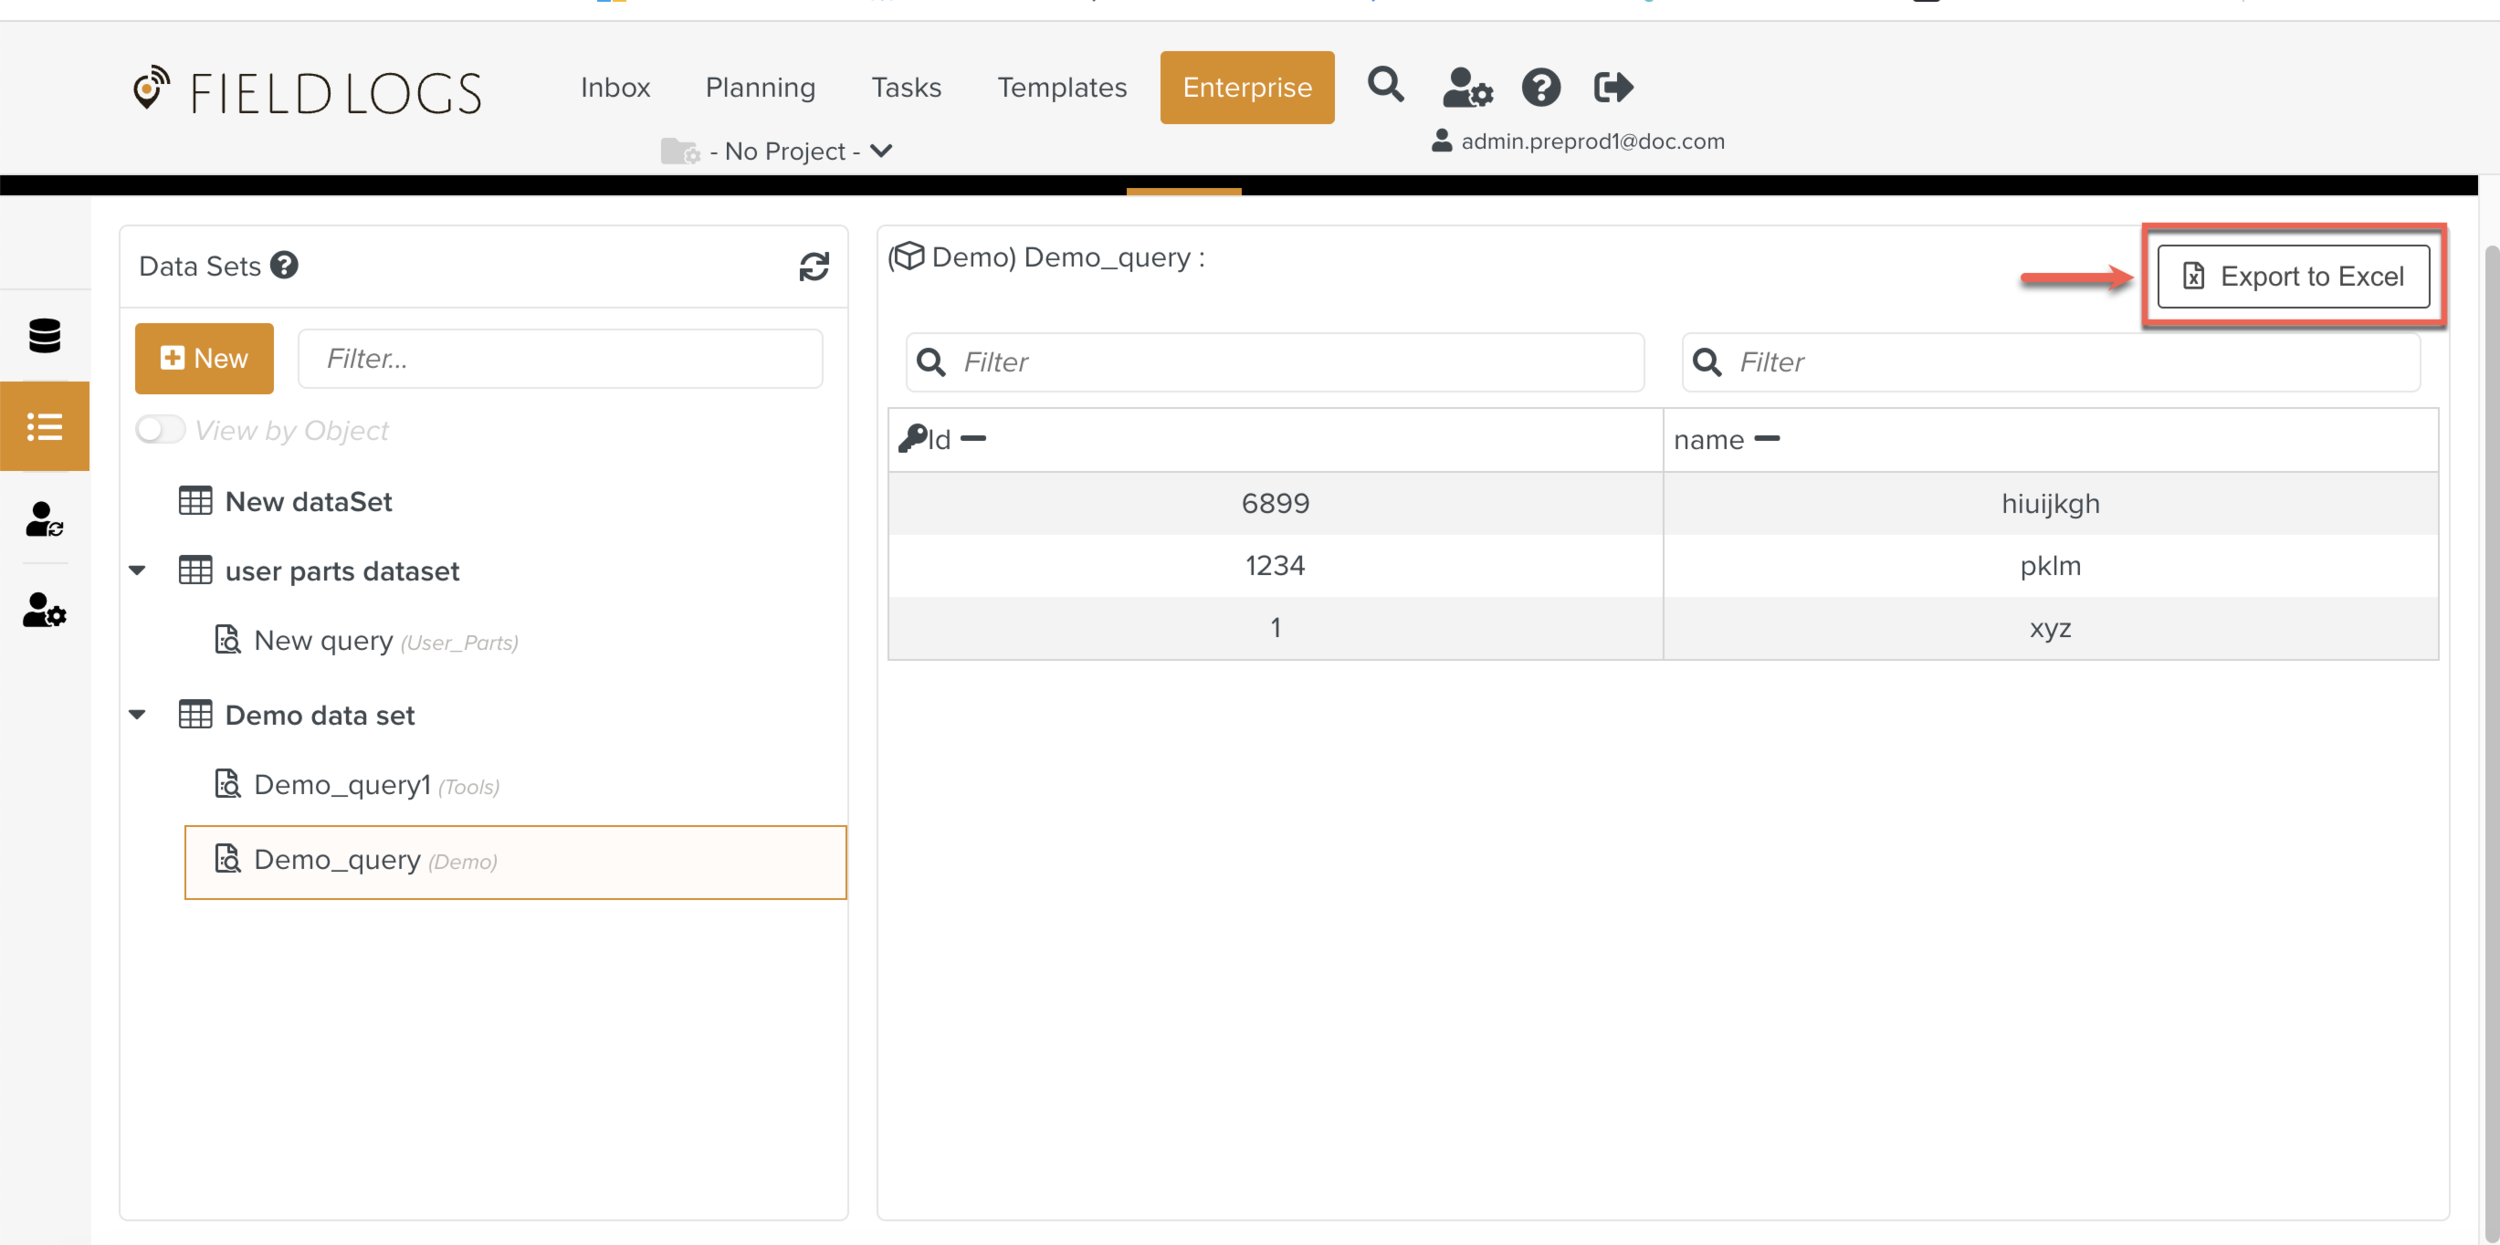
The Excel file is downloaded.
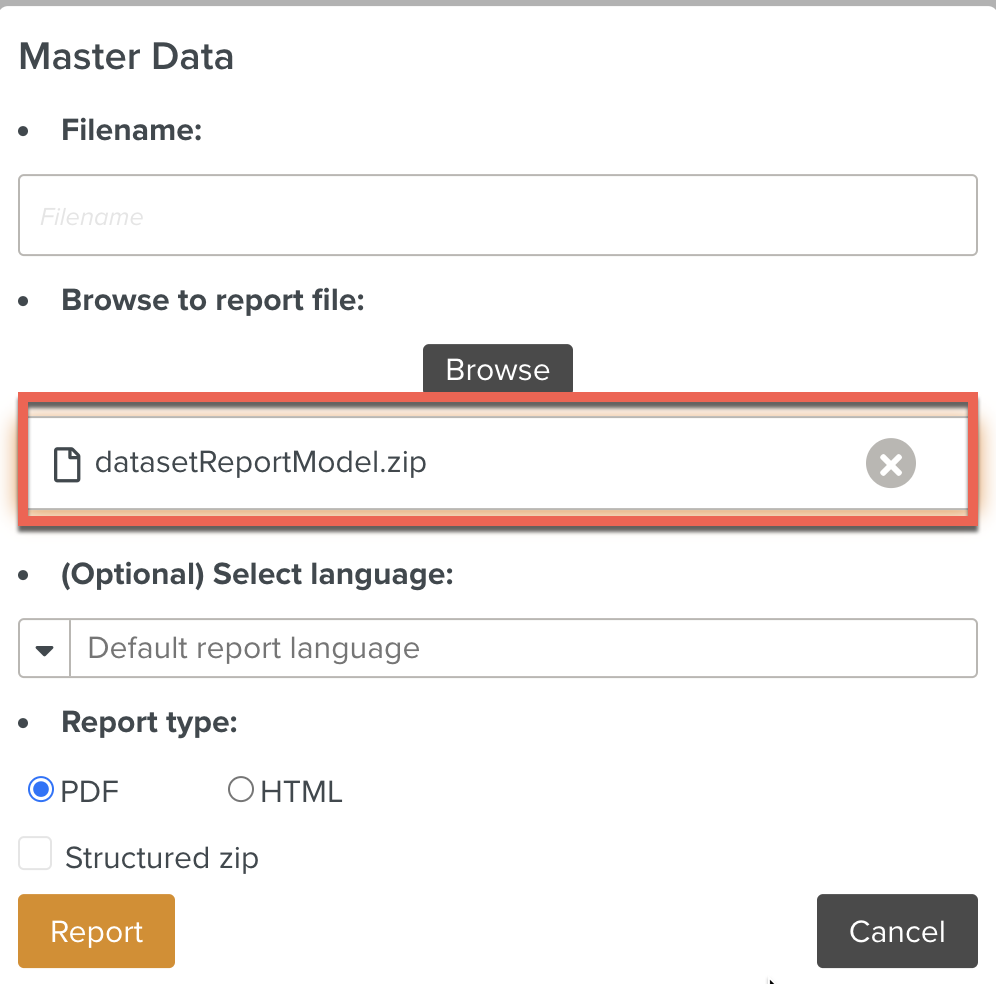
Generating a Data Set Report
To generate a Data Set Report, click .

The Master Data dialog appears. Select the required Report Model to generate the Report as shown below.
You can use an Export Model to define how the data is displayed in the export file.
To create an Export Model
Open a new Excel sheet.
Enter the property names in the first row.
Note
The name of the property is preceded by a dot.

If you want to display a property contained in a sub-object, write the name of the property preceded by a dot, followed by a dot and the name of the sub-property.

You need not enter all the properties of the main object. You can change their display order.
Make sure to write the name of the property carefully in the export model. Any discrepancy may result in the failure of the export.
Save the file.
The export model can be uploaded and used in FieldLogs.