Creating a Reason Code
Note
To view the Enterprise menu, the user must be associated with a Security Role that has the appropriate access rights.
A Reason Code is a code to quickly identify Causes, Actions or Resolutions:
A Cause is a reason why a Flag is raised.
For example: "Broken tool".
An Action is an action needed to solve the Flag that is raised.
For example: "Order a new tool".
A Resolution indicates the action needed to solve the raised Flag is accomplished.
For example: "Tool supplied".
For example, you have three Reason Codes: Heat damage, Broken tool and Weather-related issues. If a tool breaks during a task, the Cause will be a “Broken tool”.
So, when you raise a Flag, for the Cause, you will use the Reason Code "Broken tool".
A Reason Code can be linked to multiple flags.
To create a Reason Code:
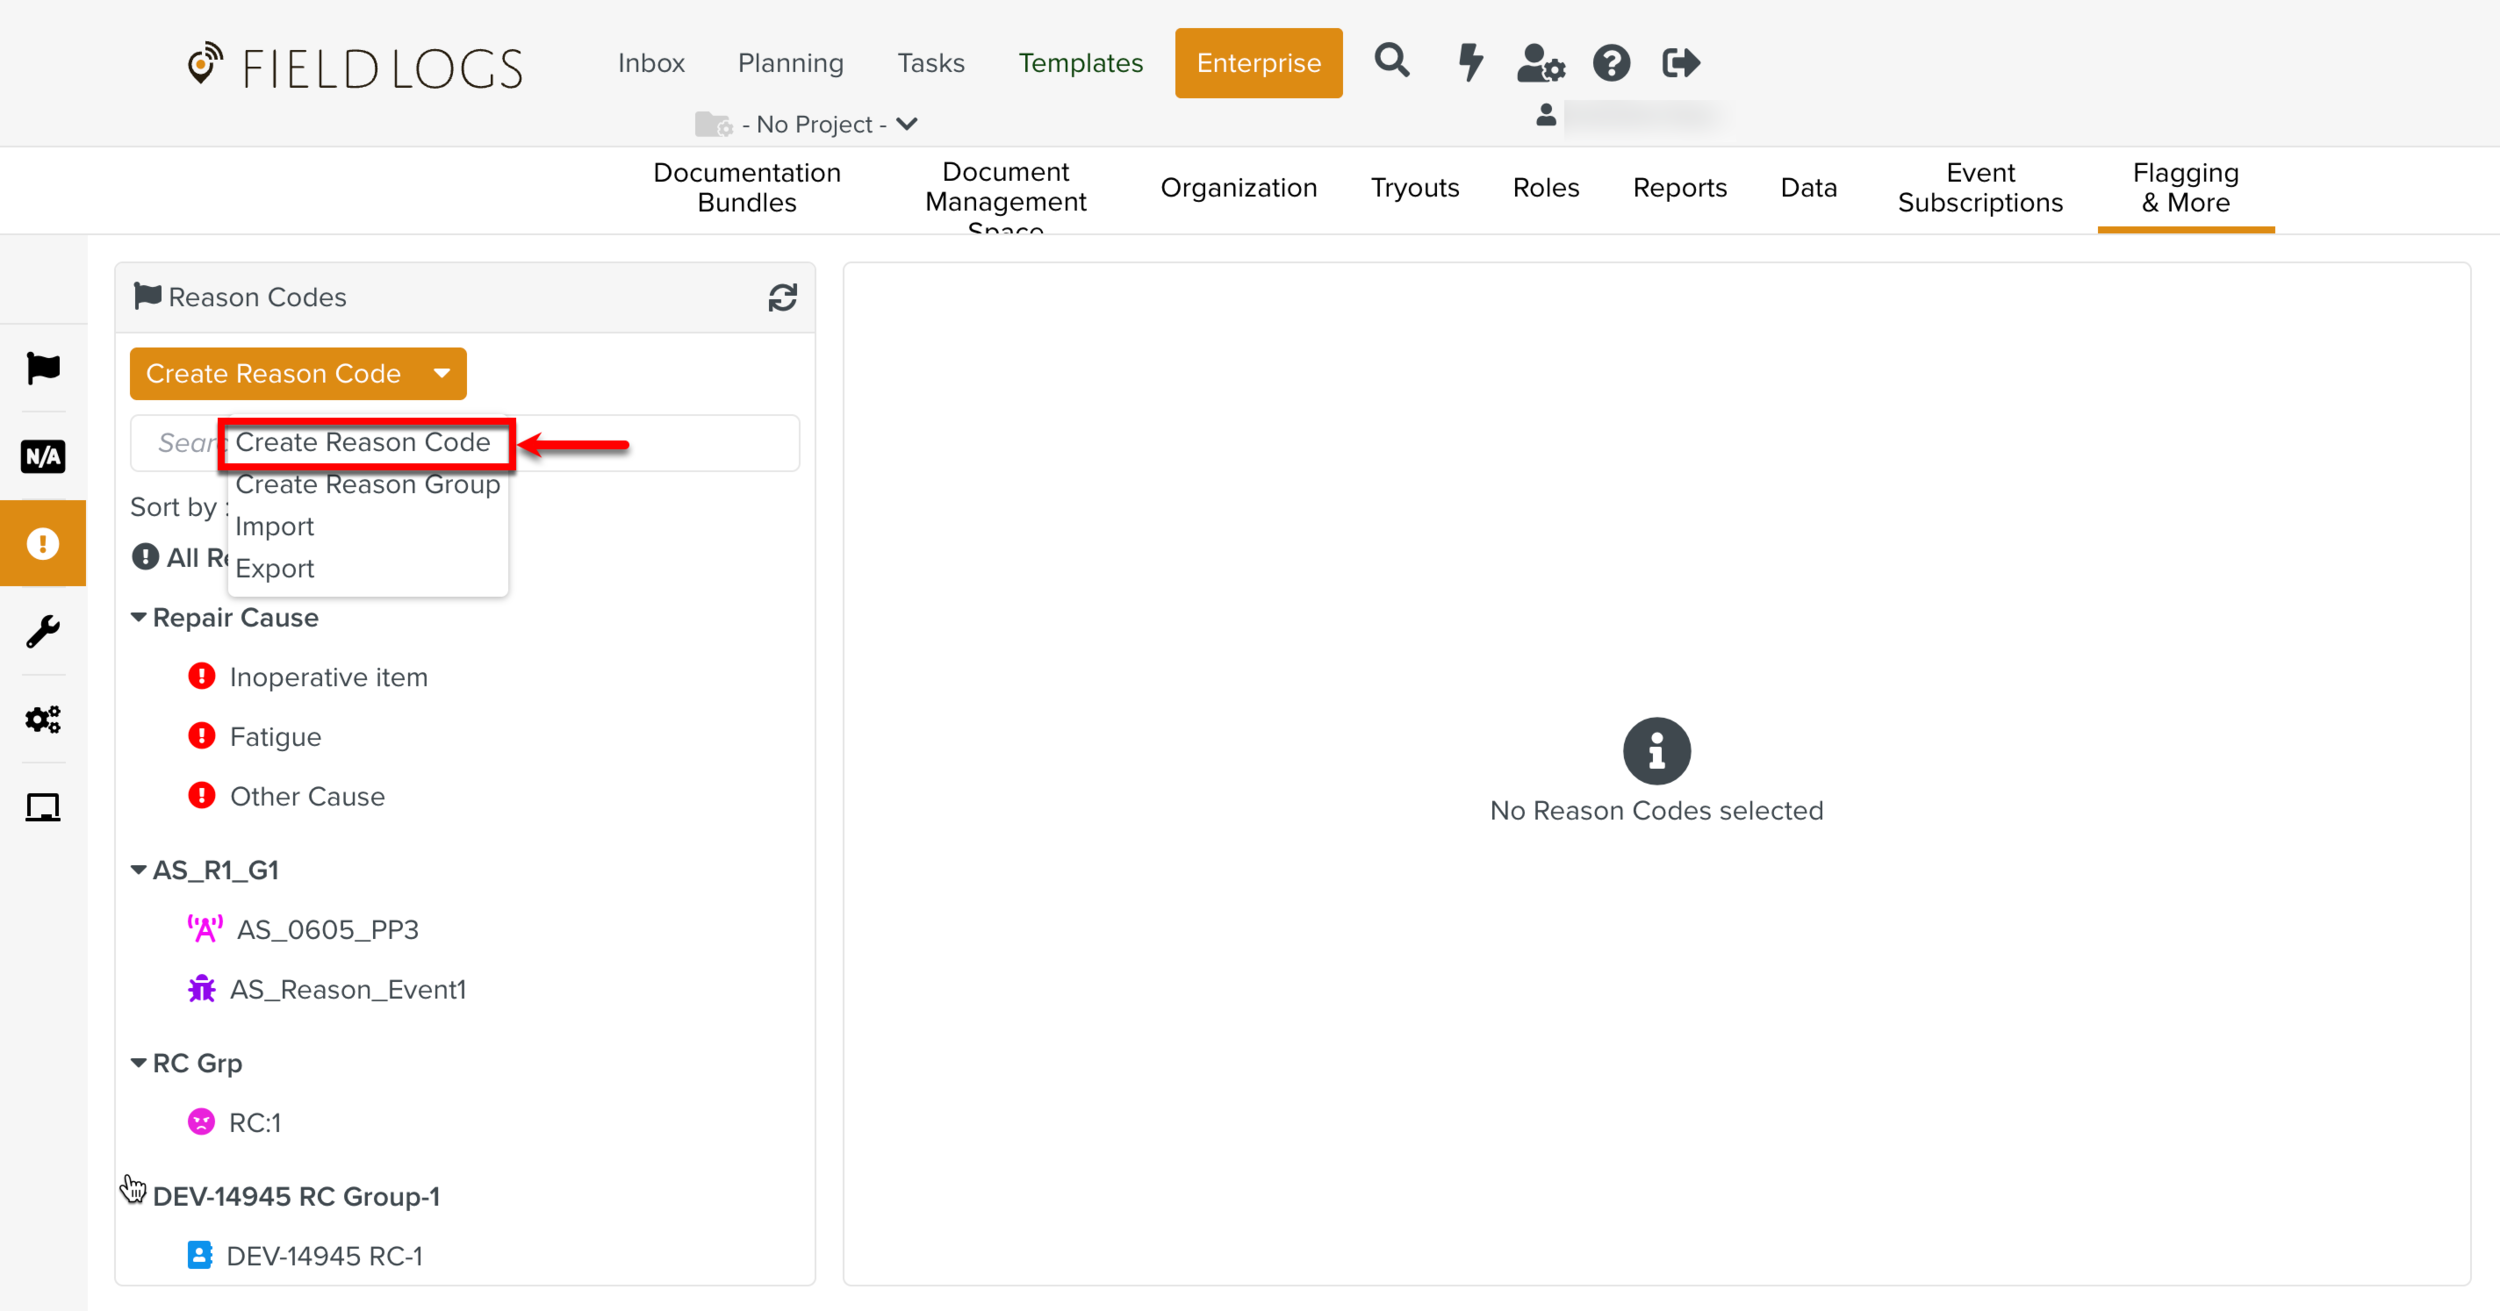
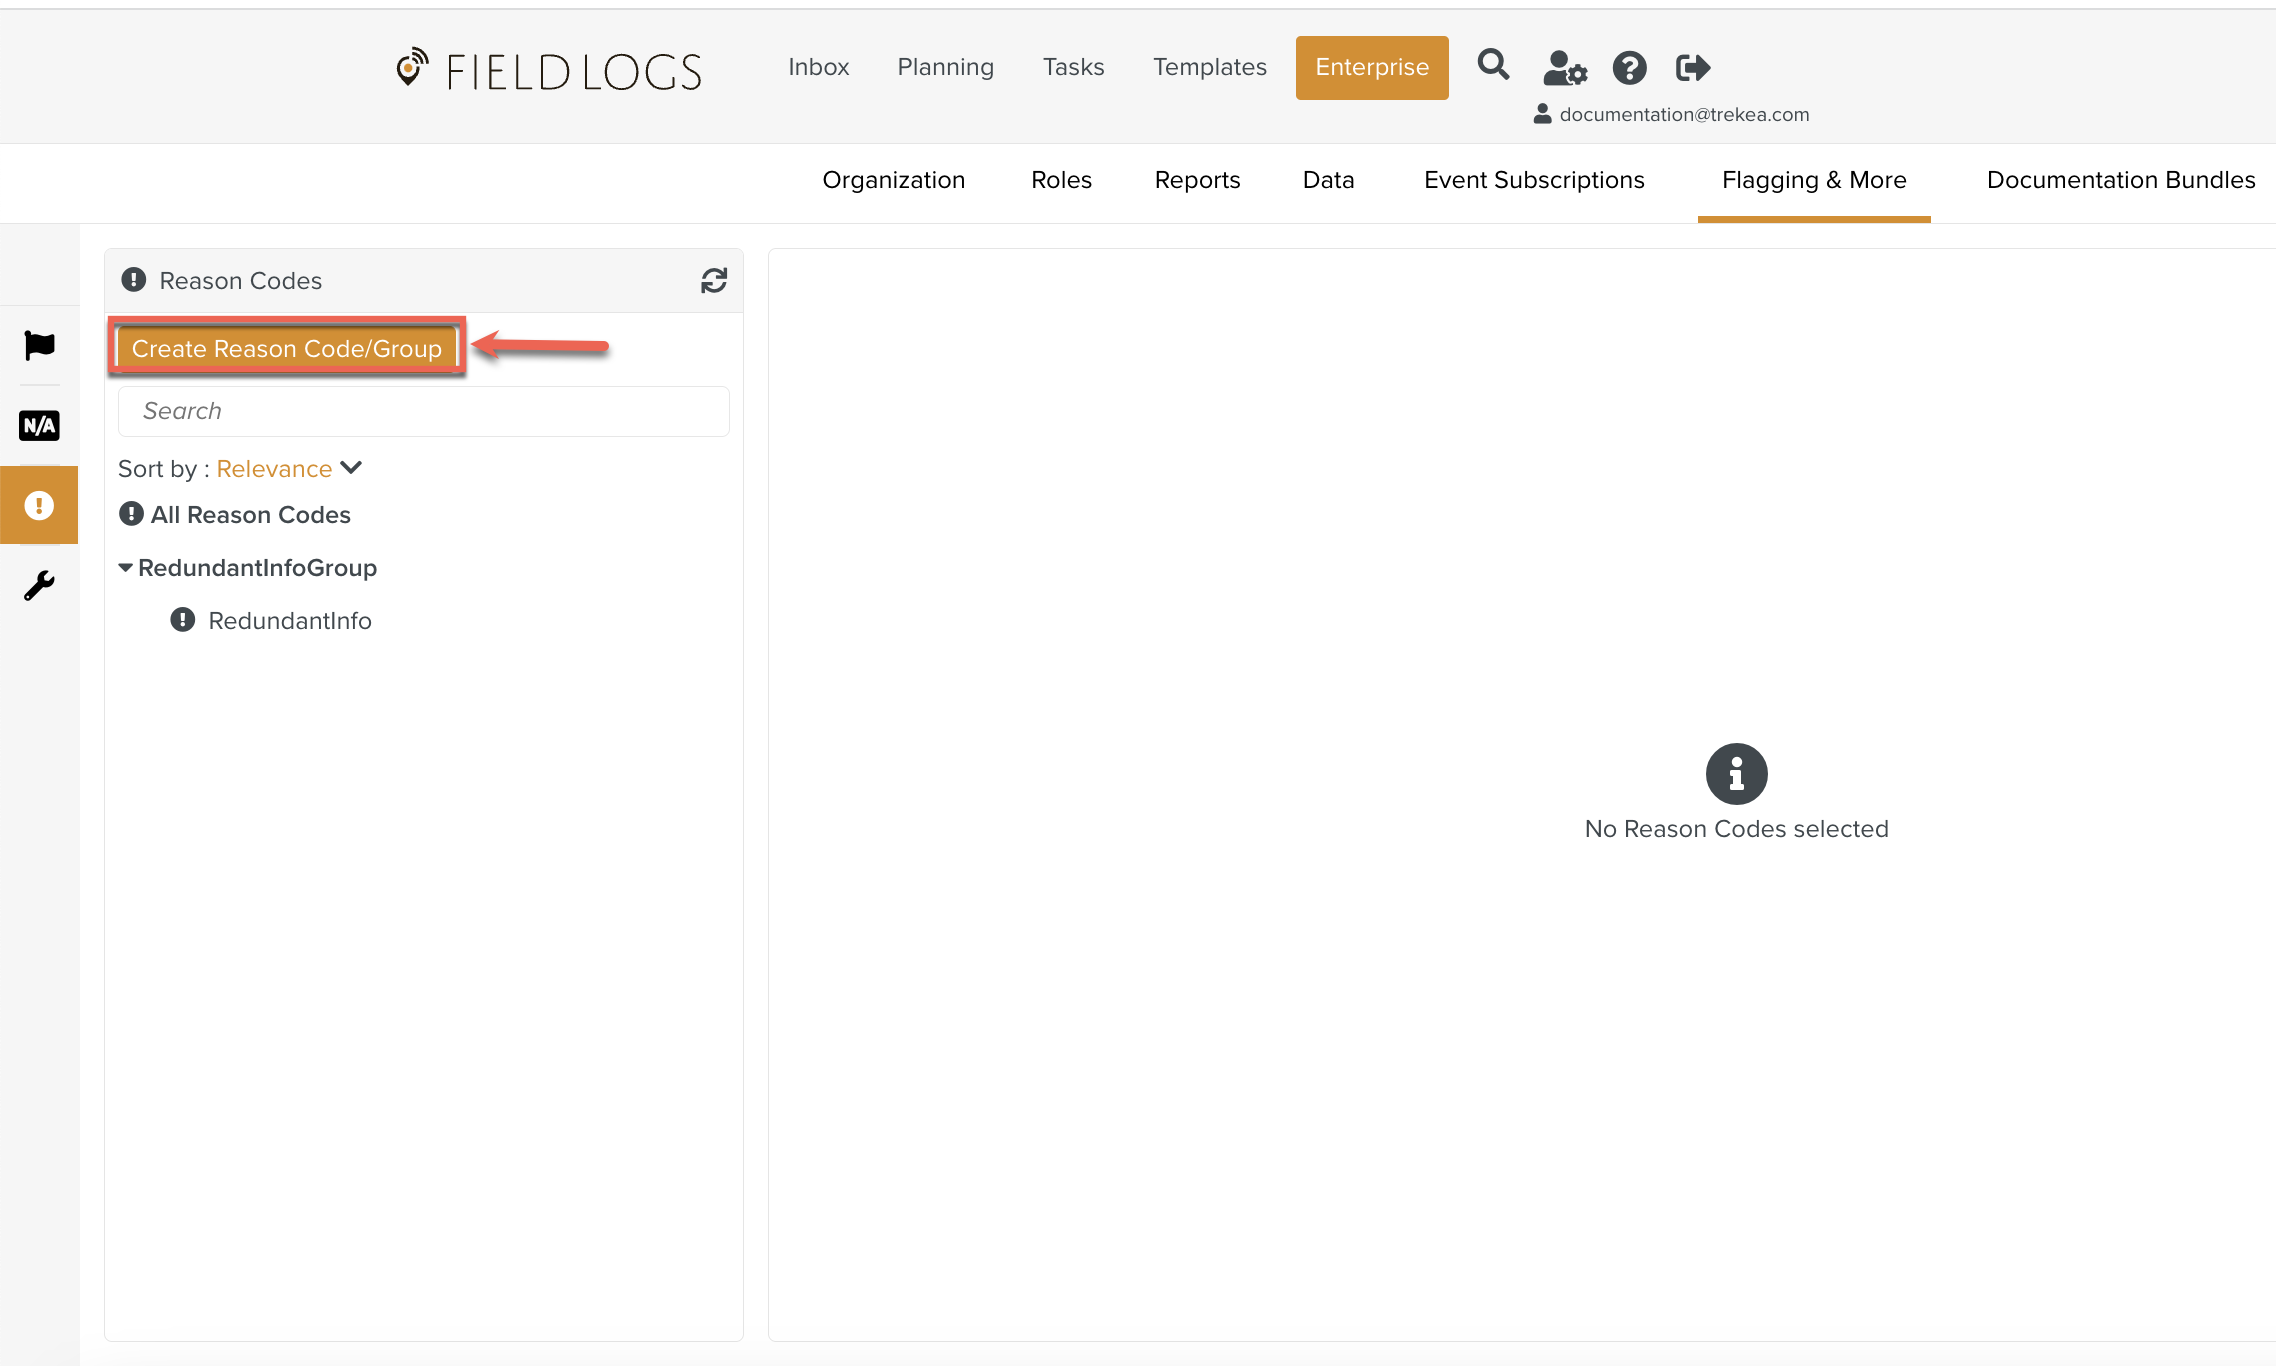
On the main menu, go to Enterprise > Flagging & More > Reason Codes.
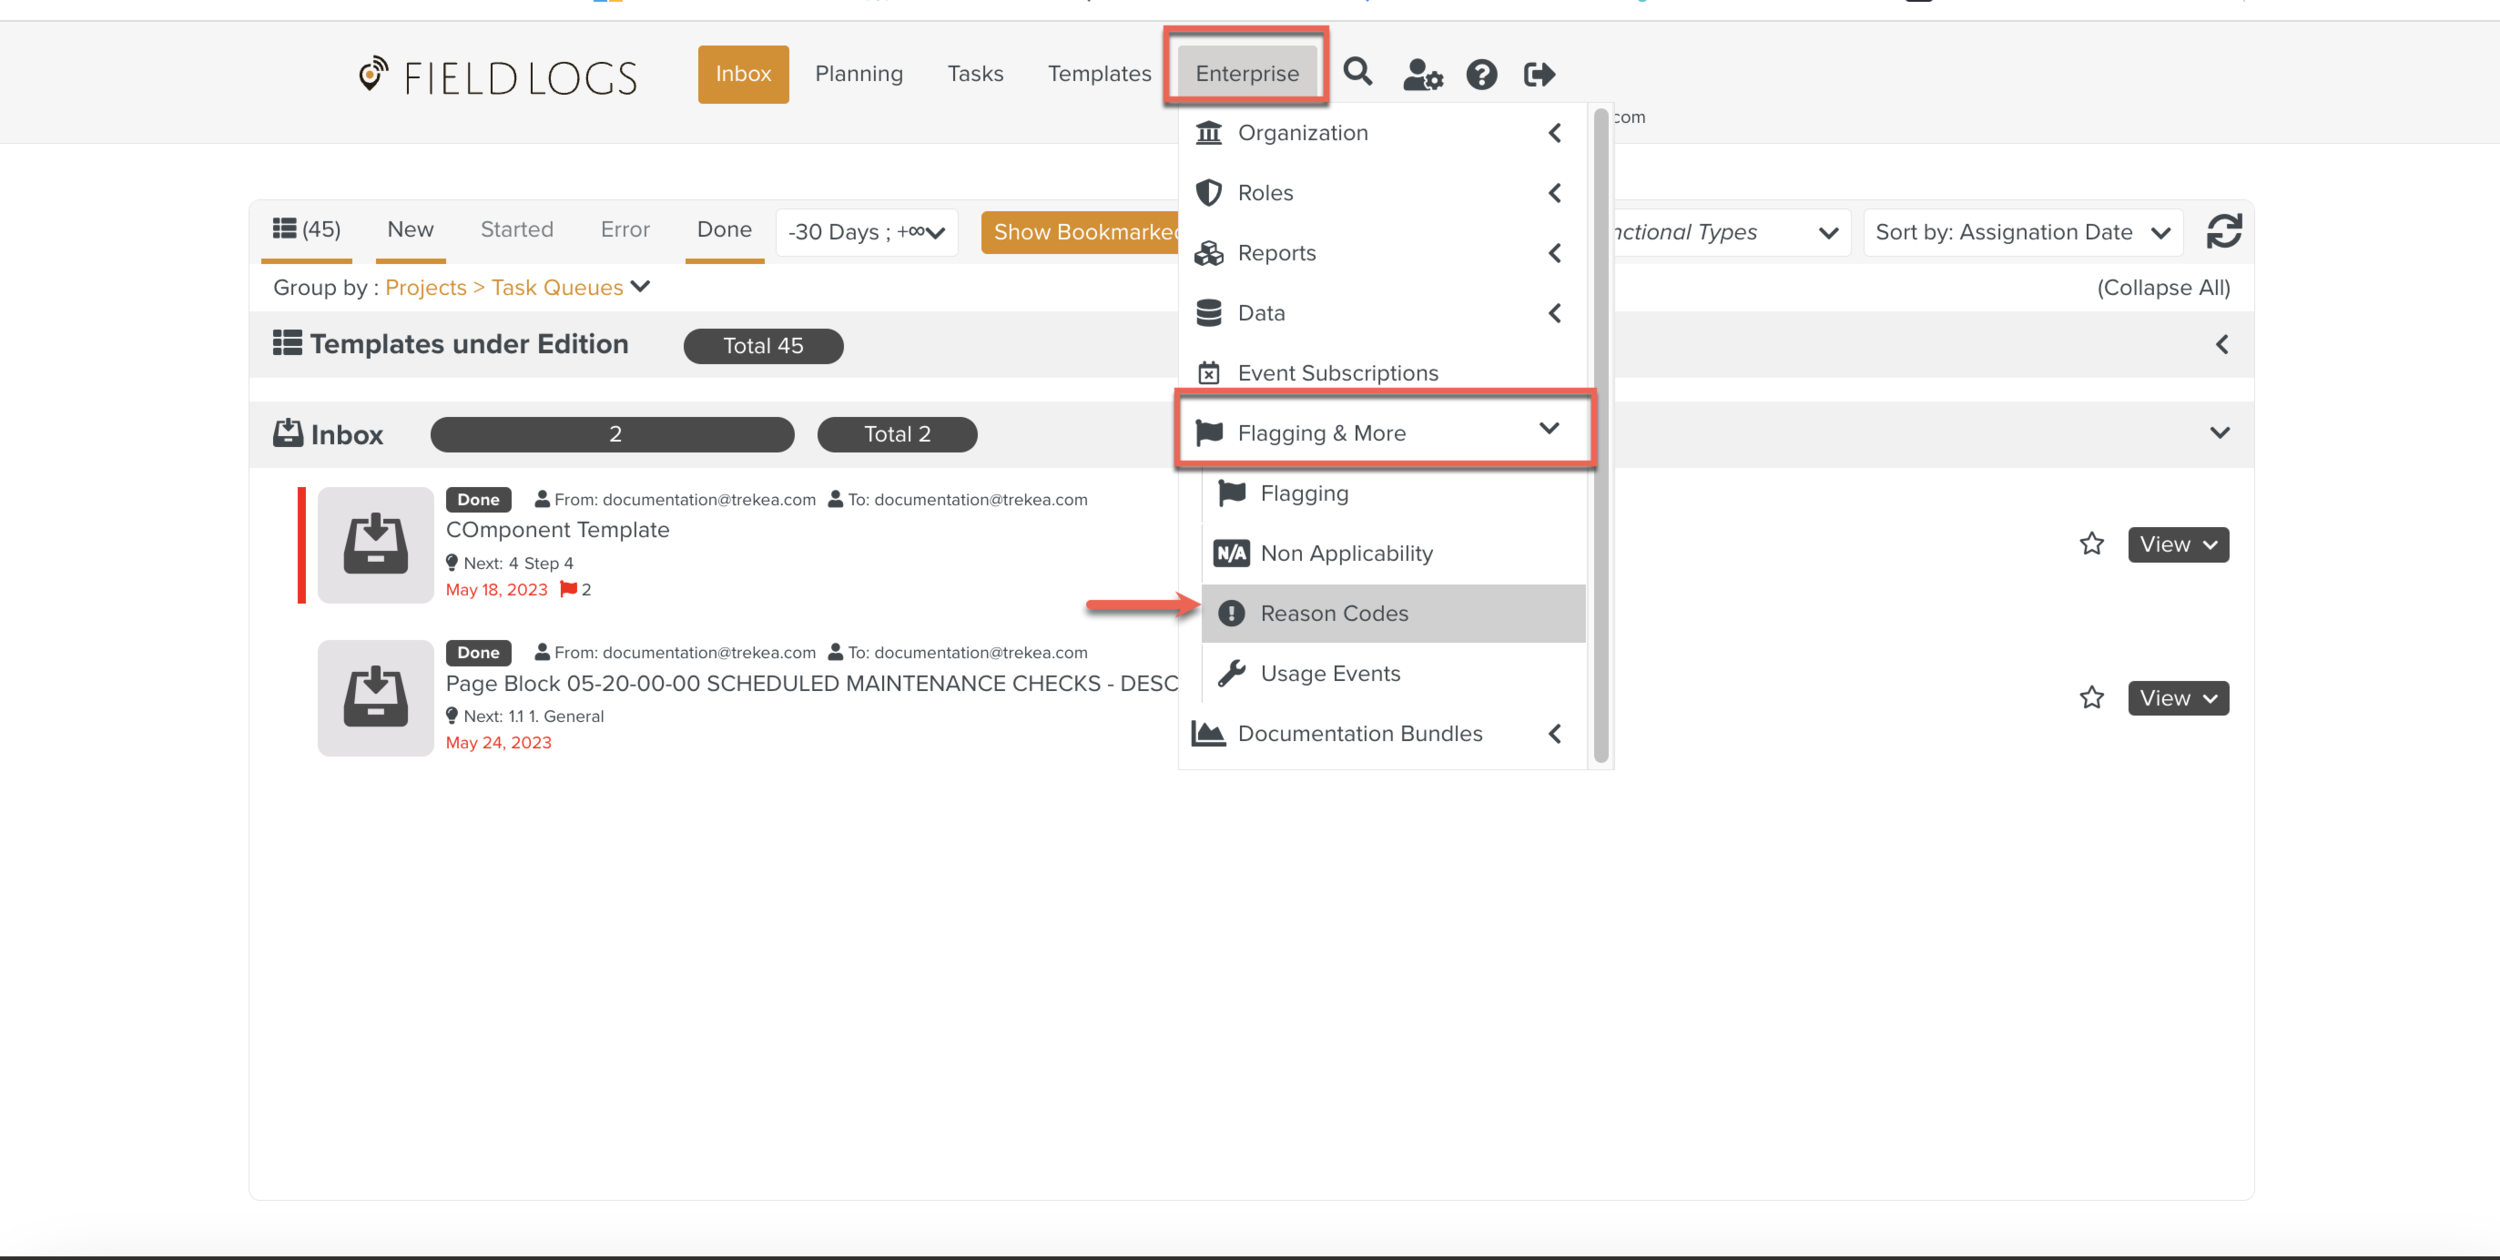
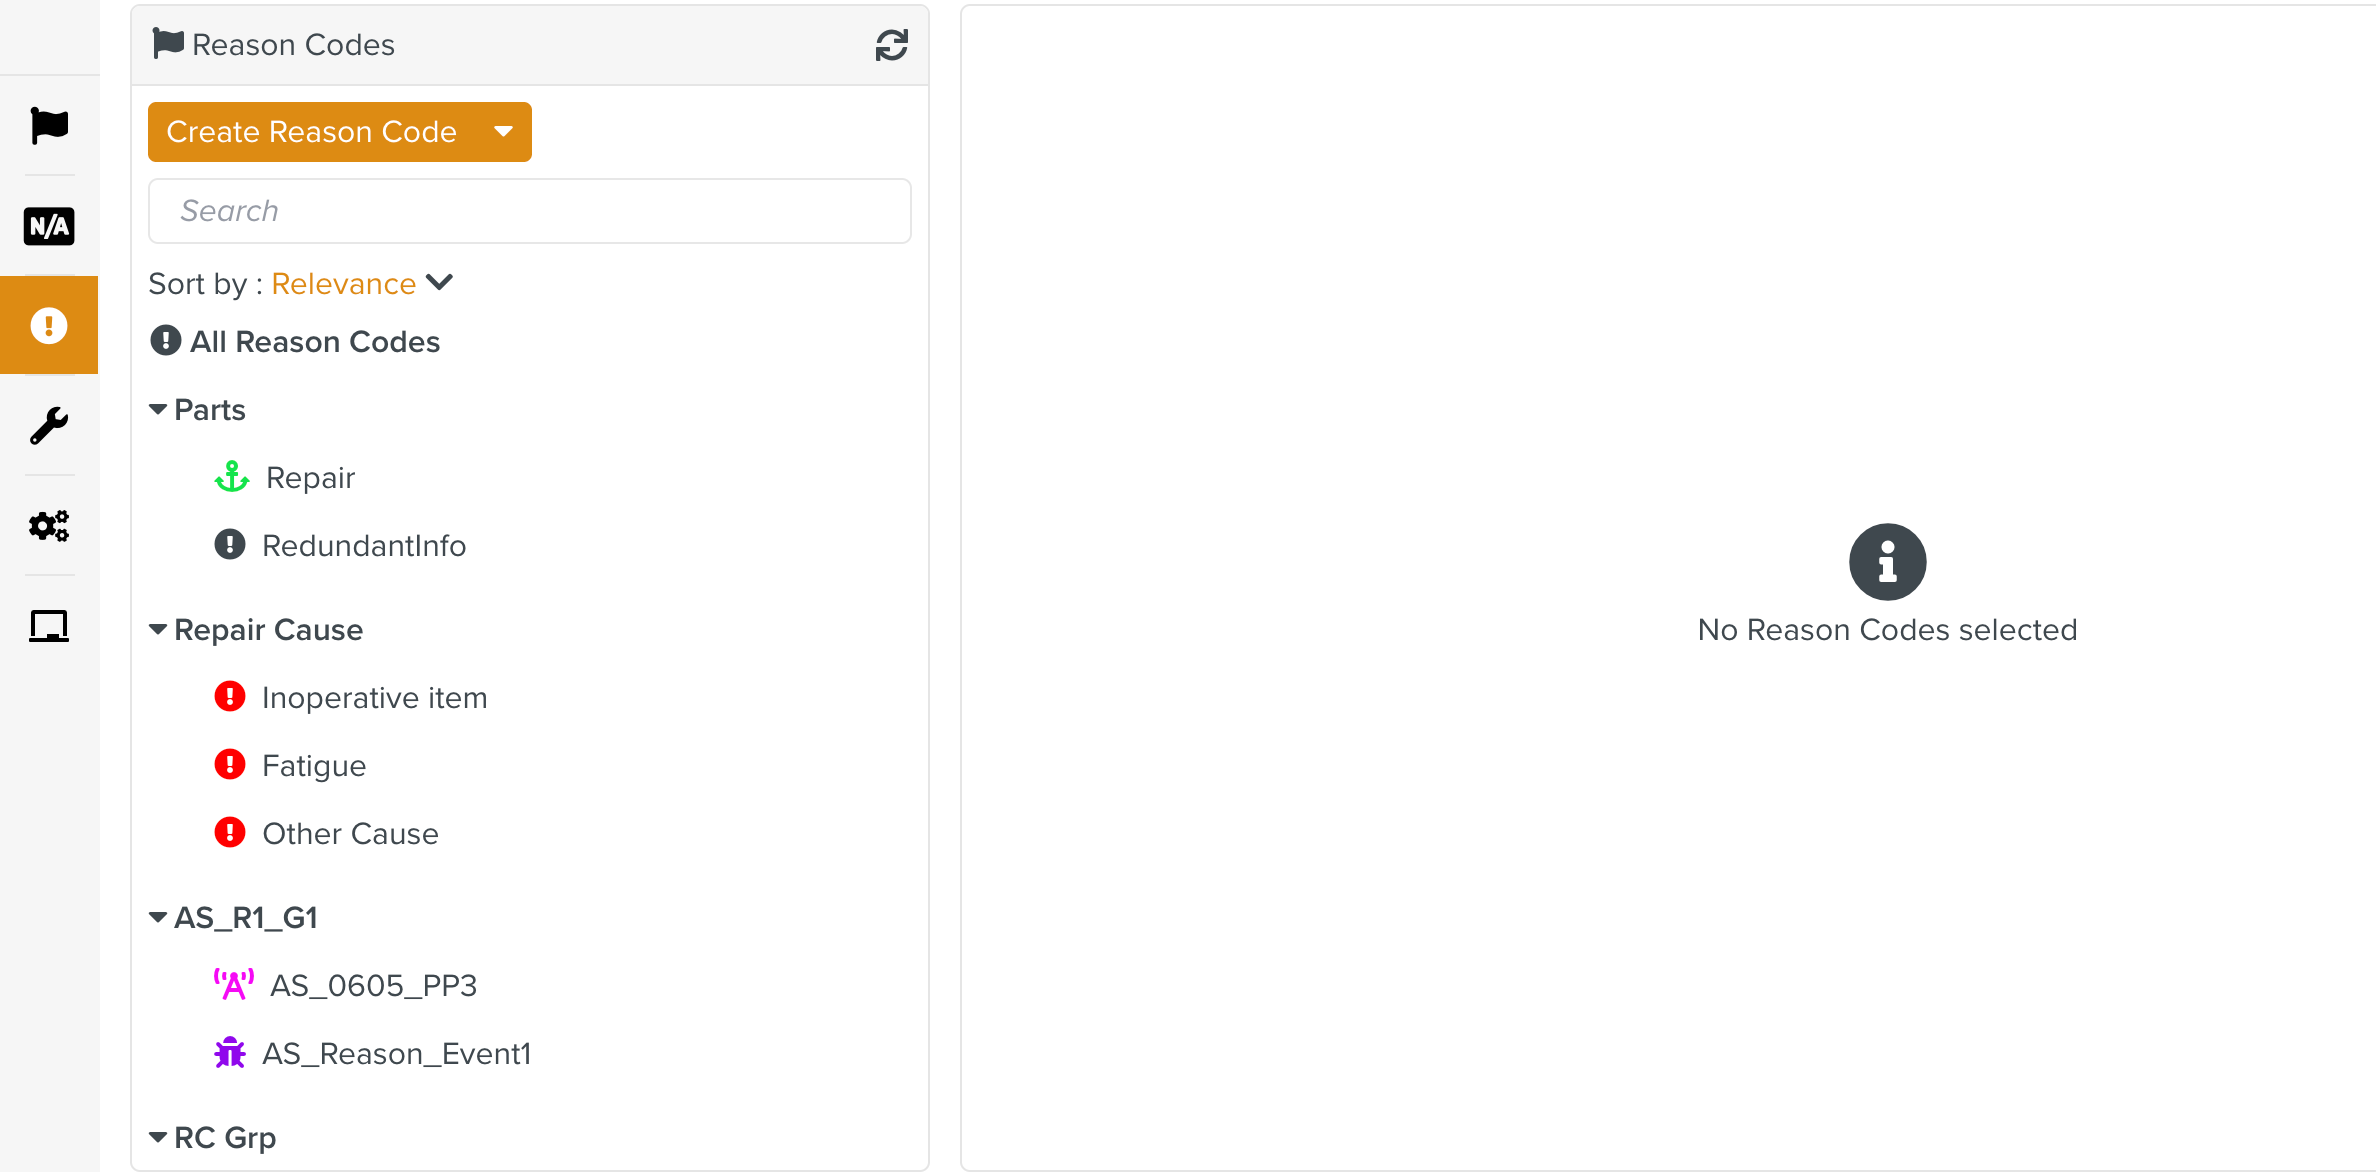
The page Reason Codes appears.
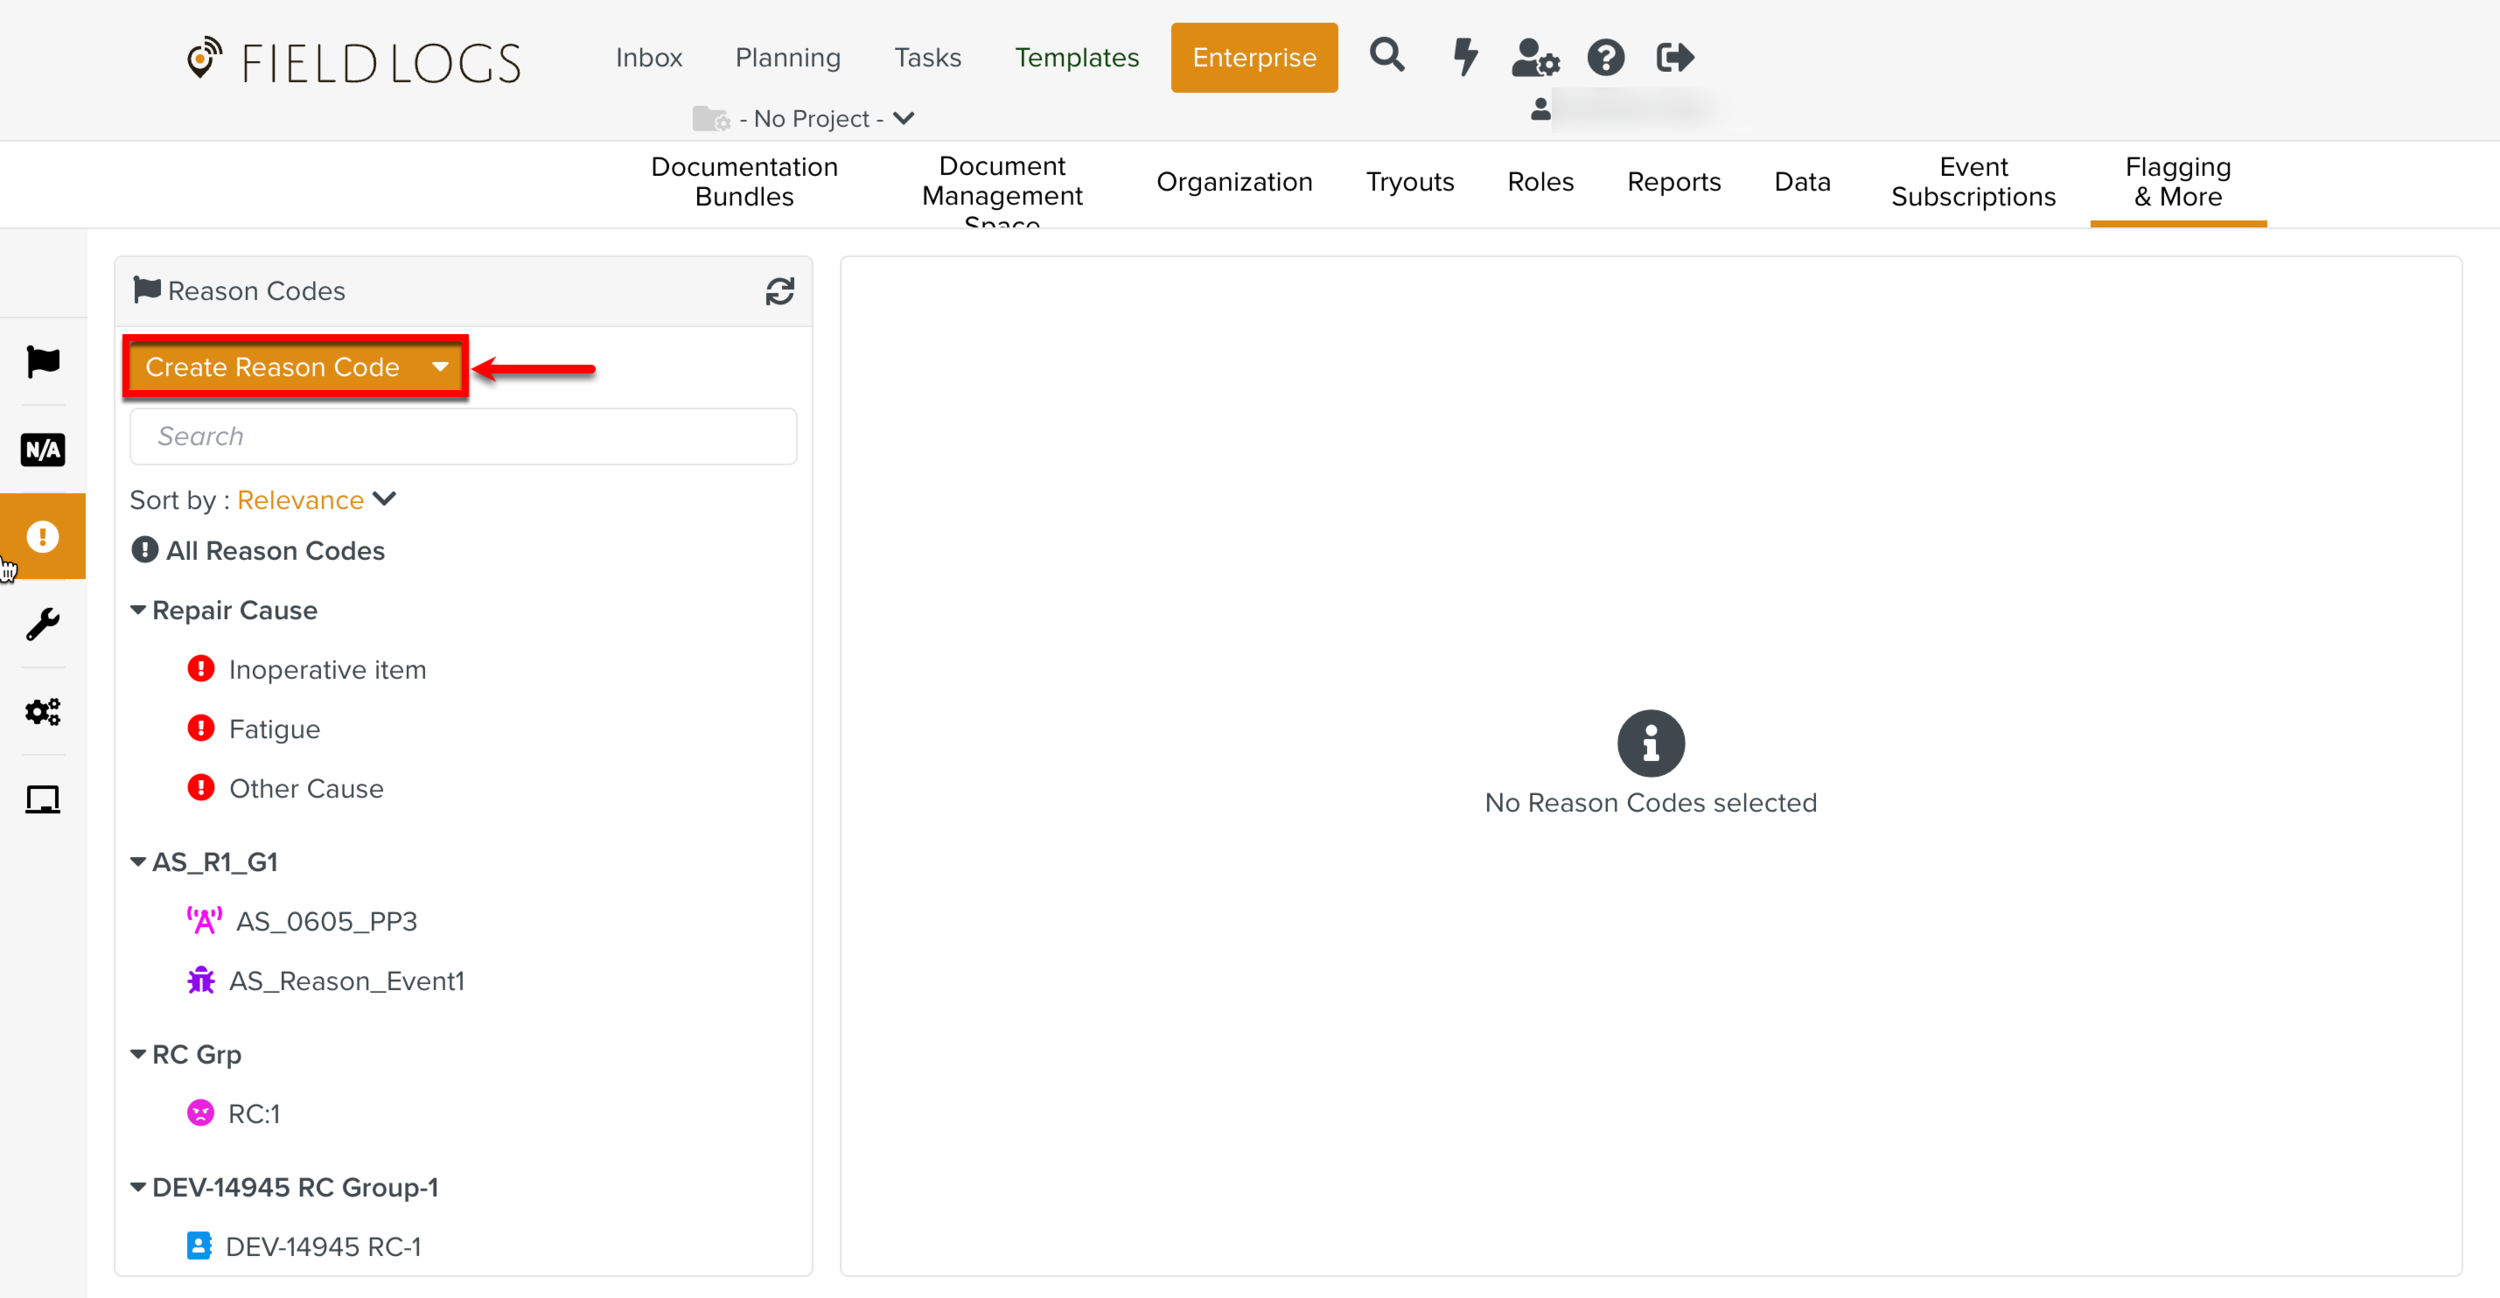
Click button or expand the dropdown to select Create Reason Code option as shown below.
The below dialog appears.
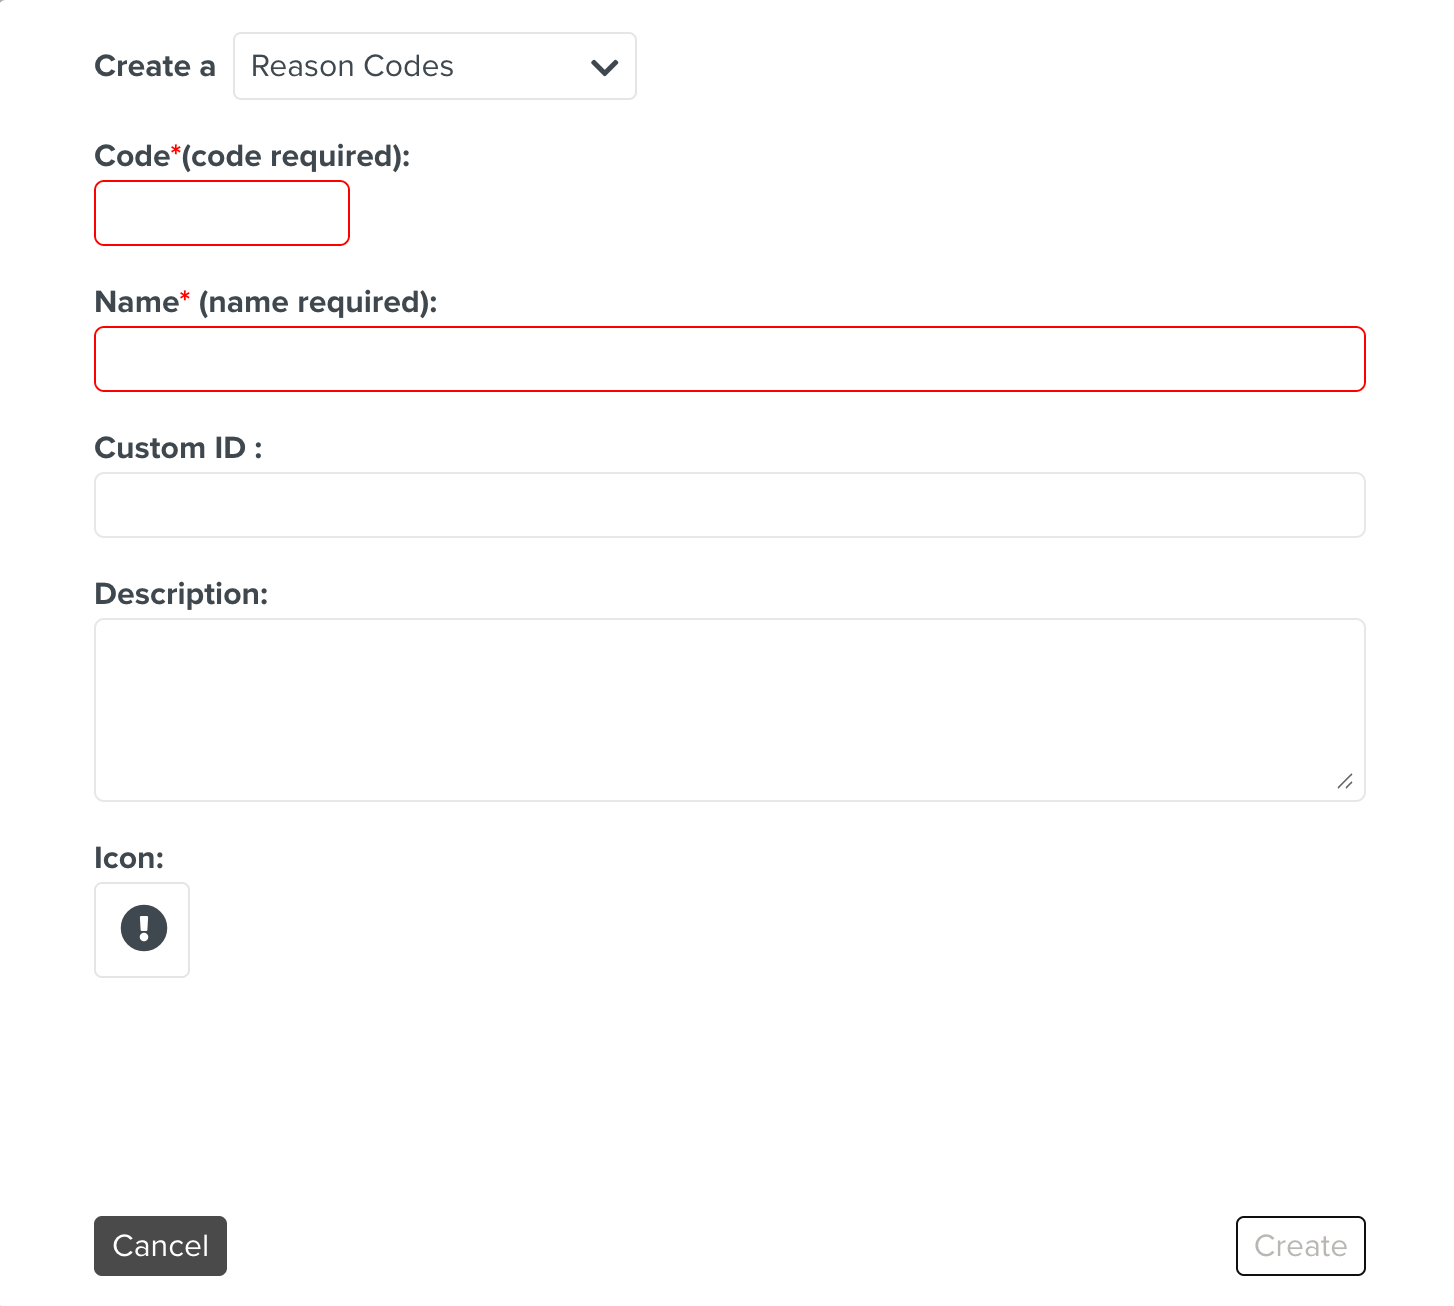
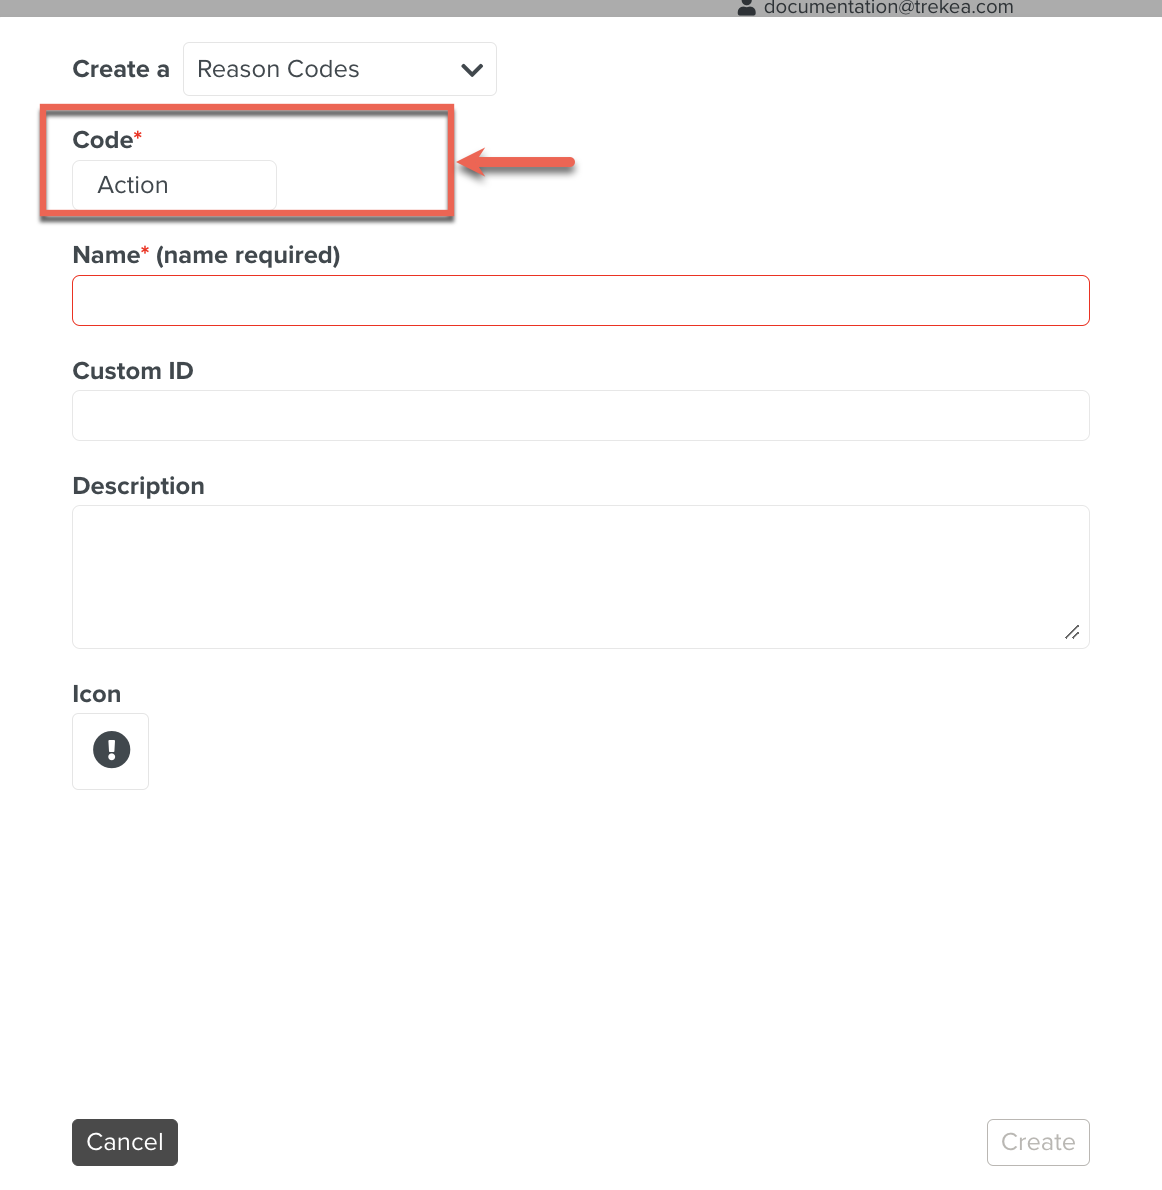
Enter Code.
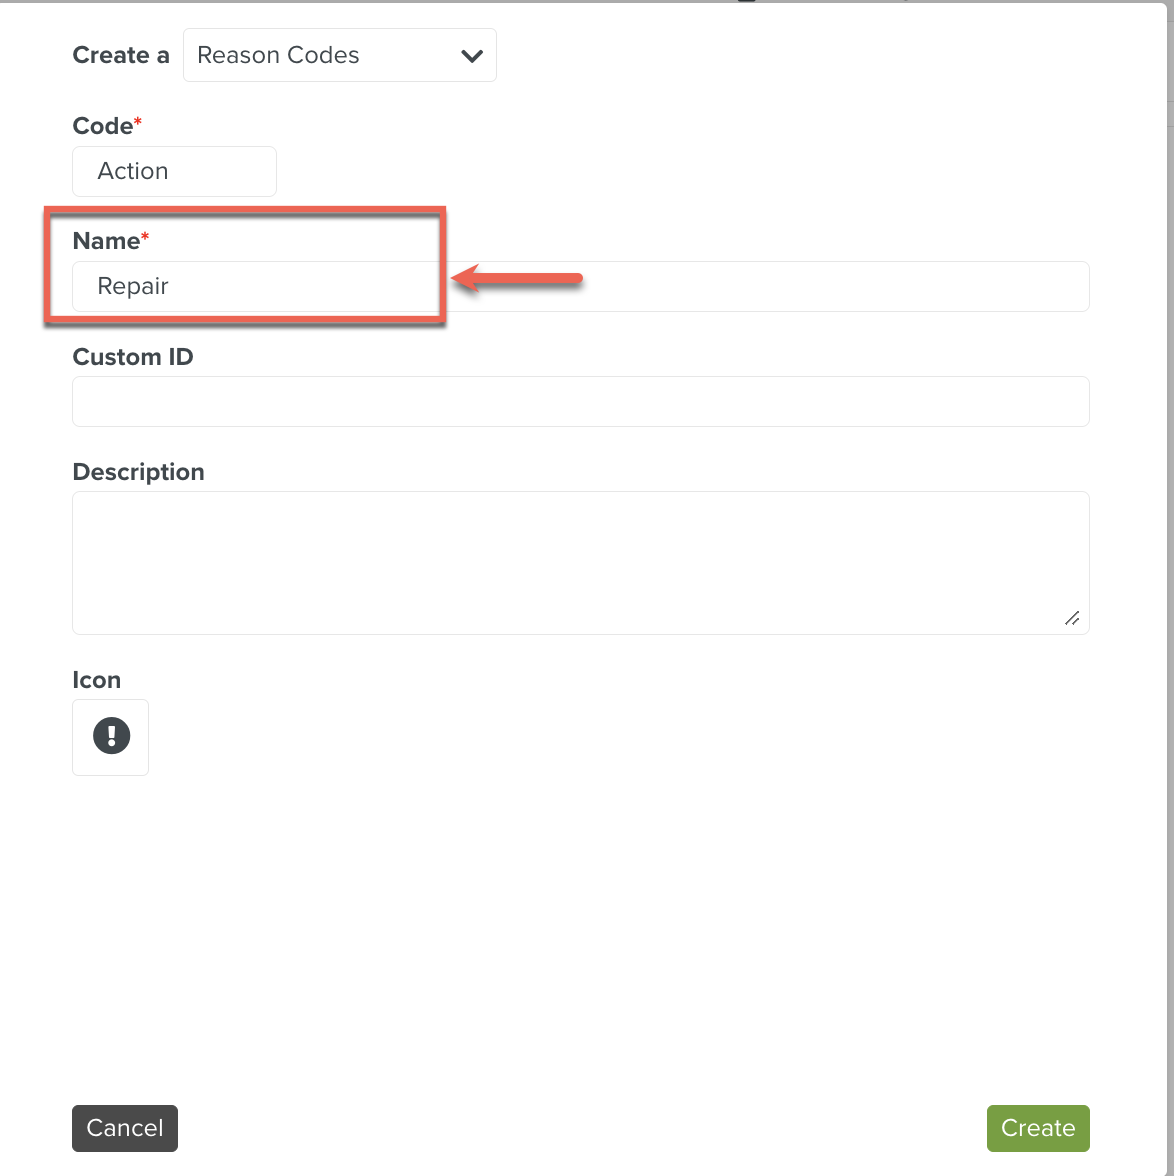
Enter Name.
[Optional] Choose Custom ID.
The Custom ID is only for your own use as every Reason Code has a complex internal ID number at the creation. The Custom ID is a useful solution to index your Reason Code.
[Optional] Enter Description.
Click
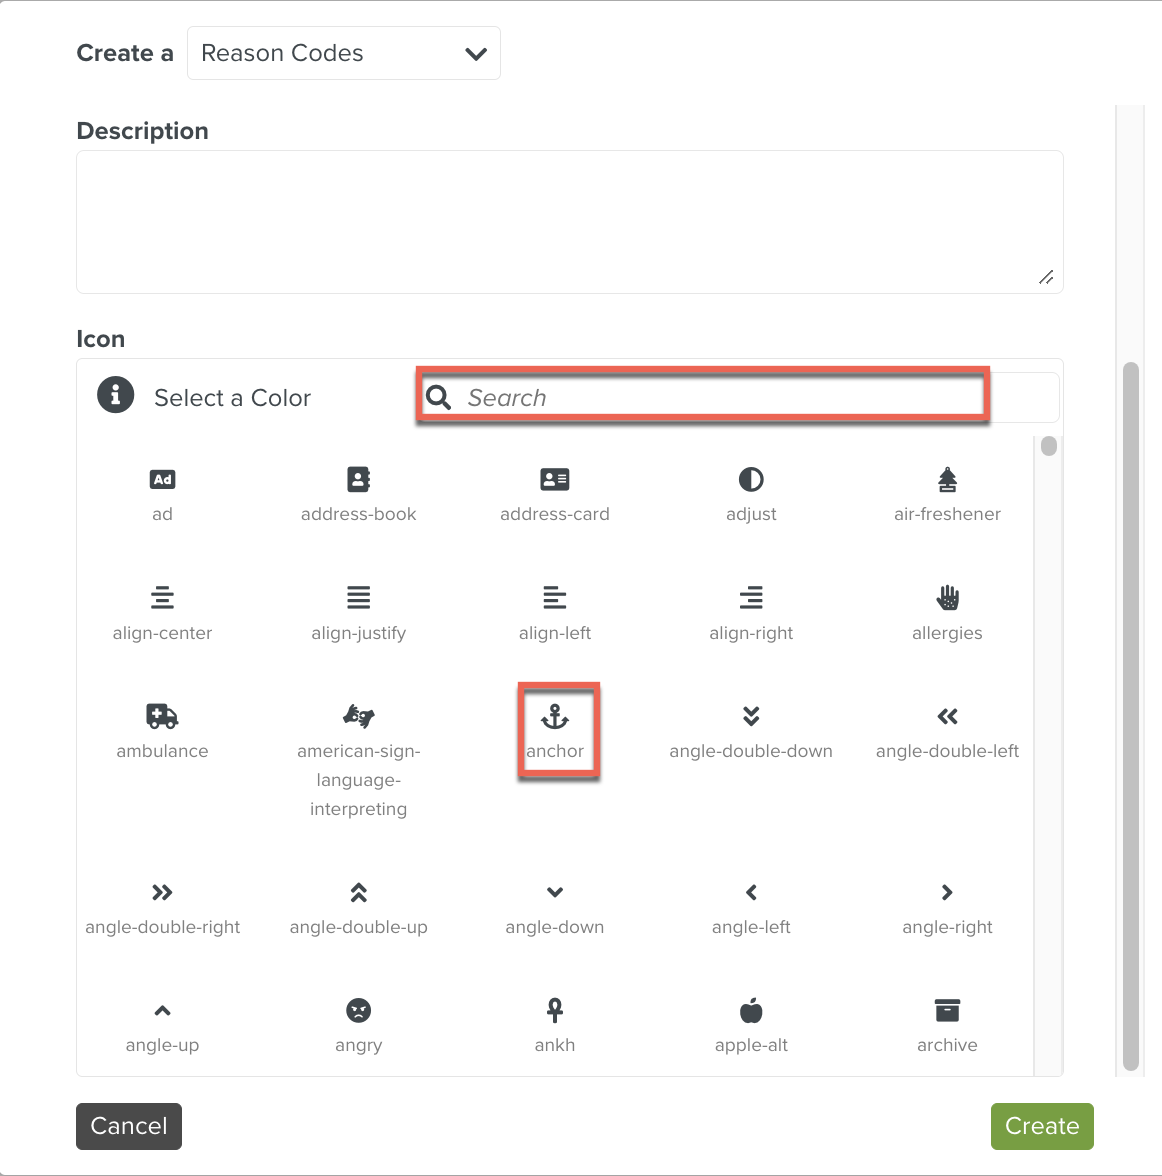
 and select an Icon.
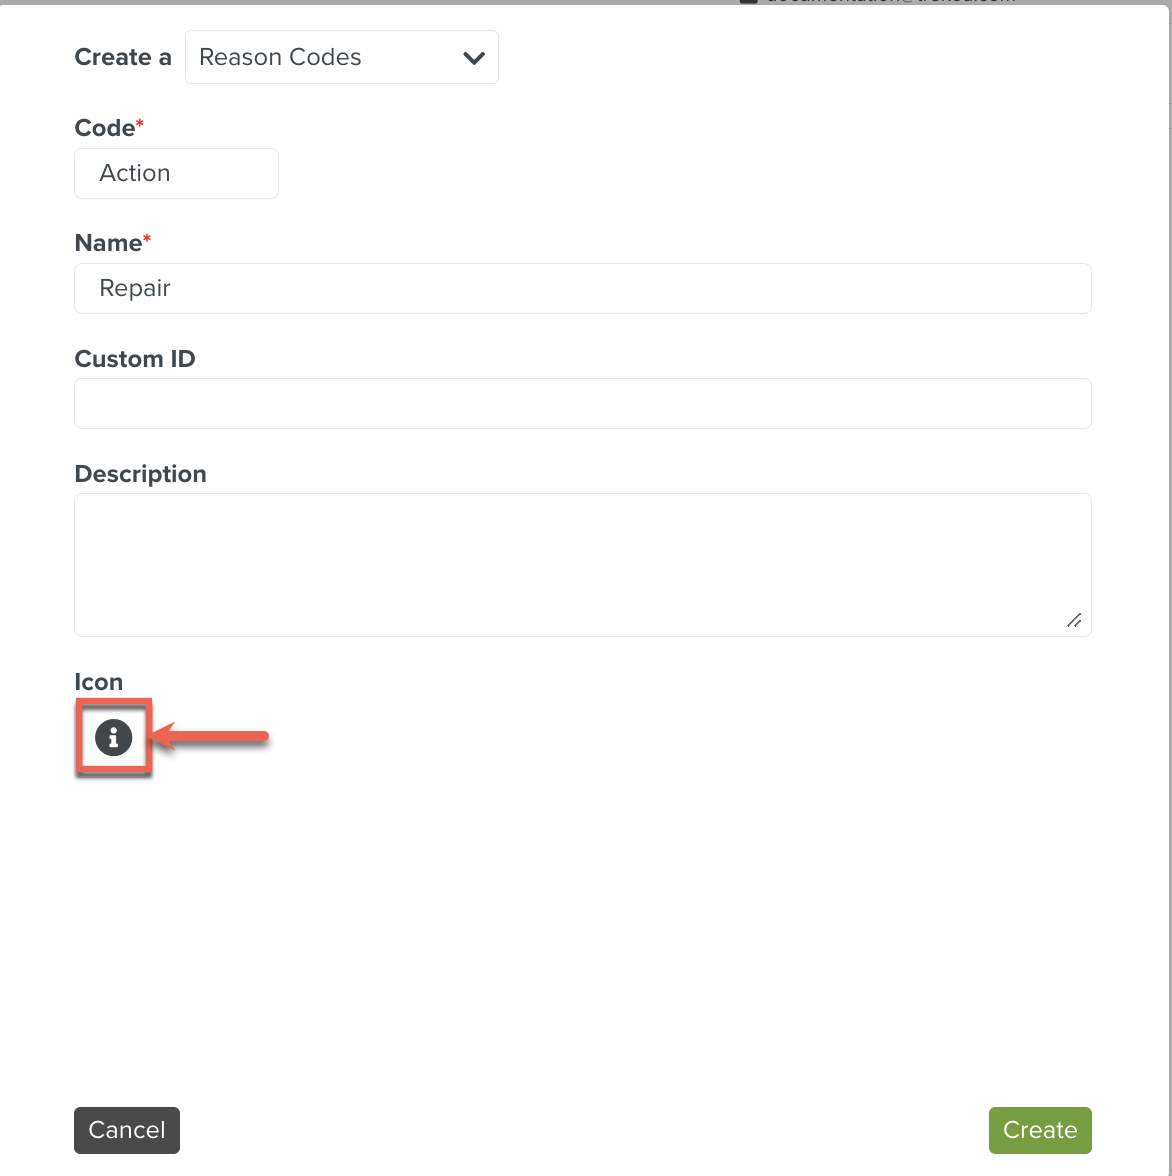
You can search through the search option, or you can select an Icon from the list as shown below.
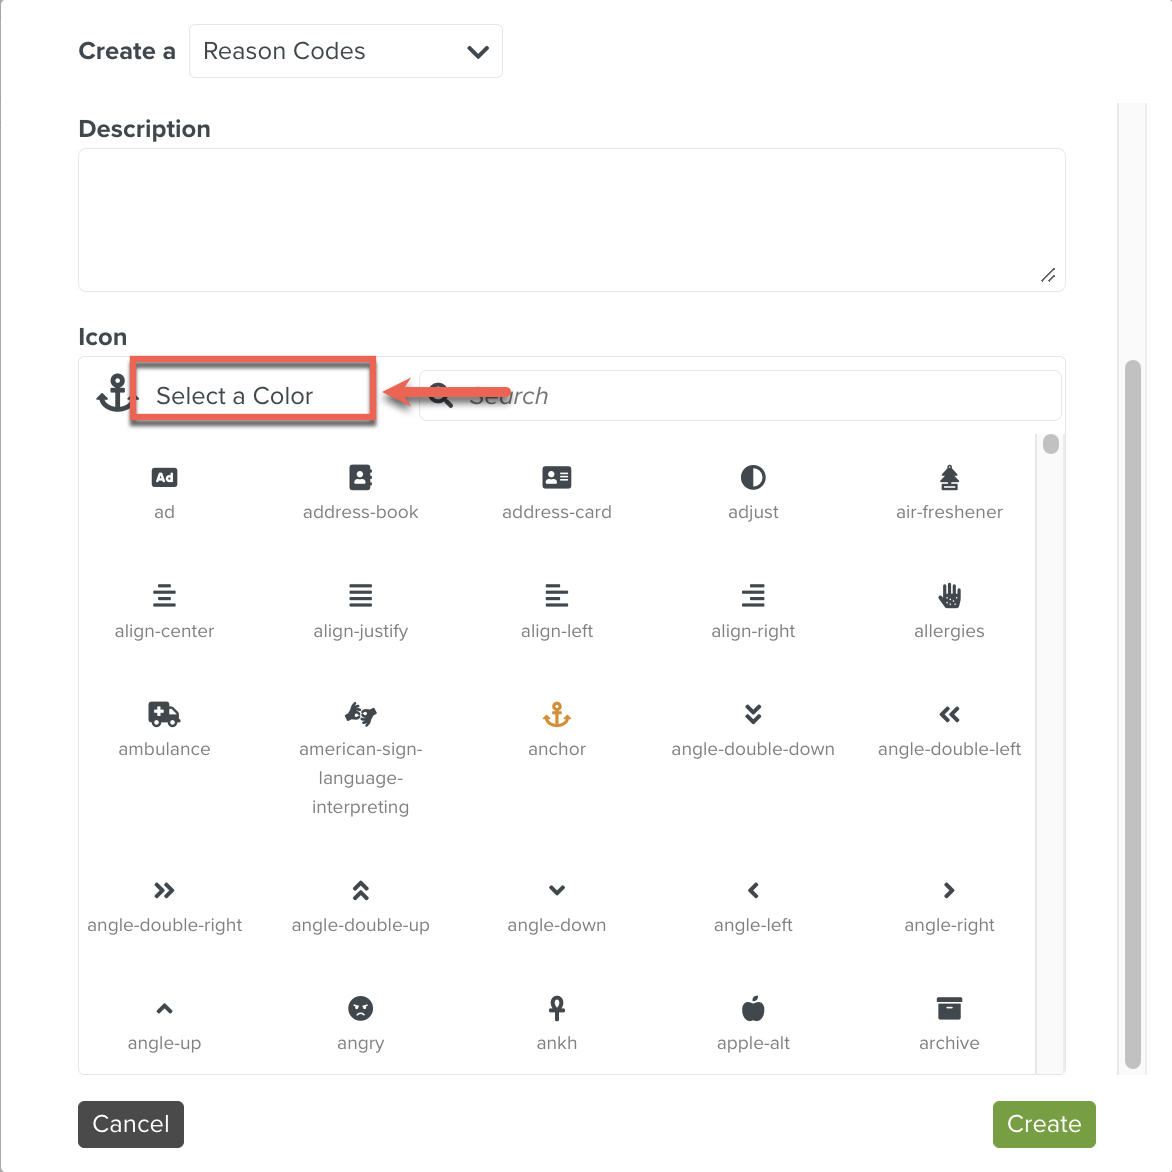
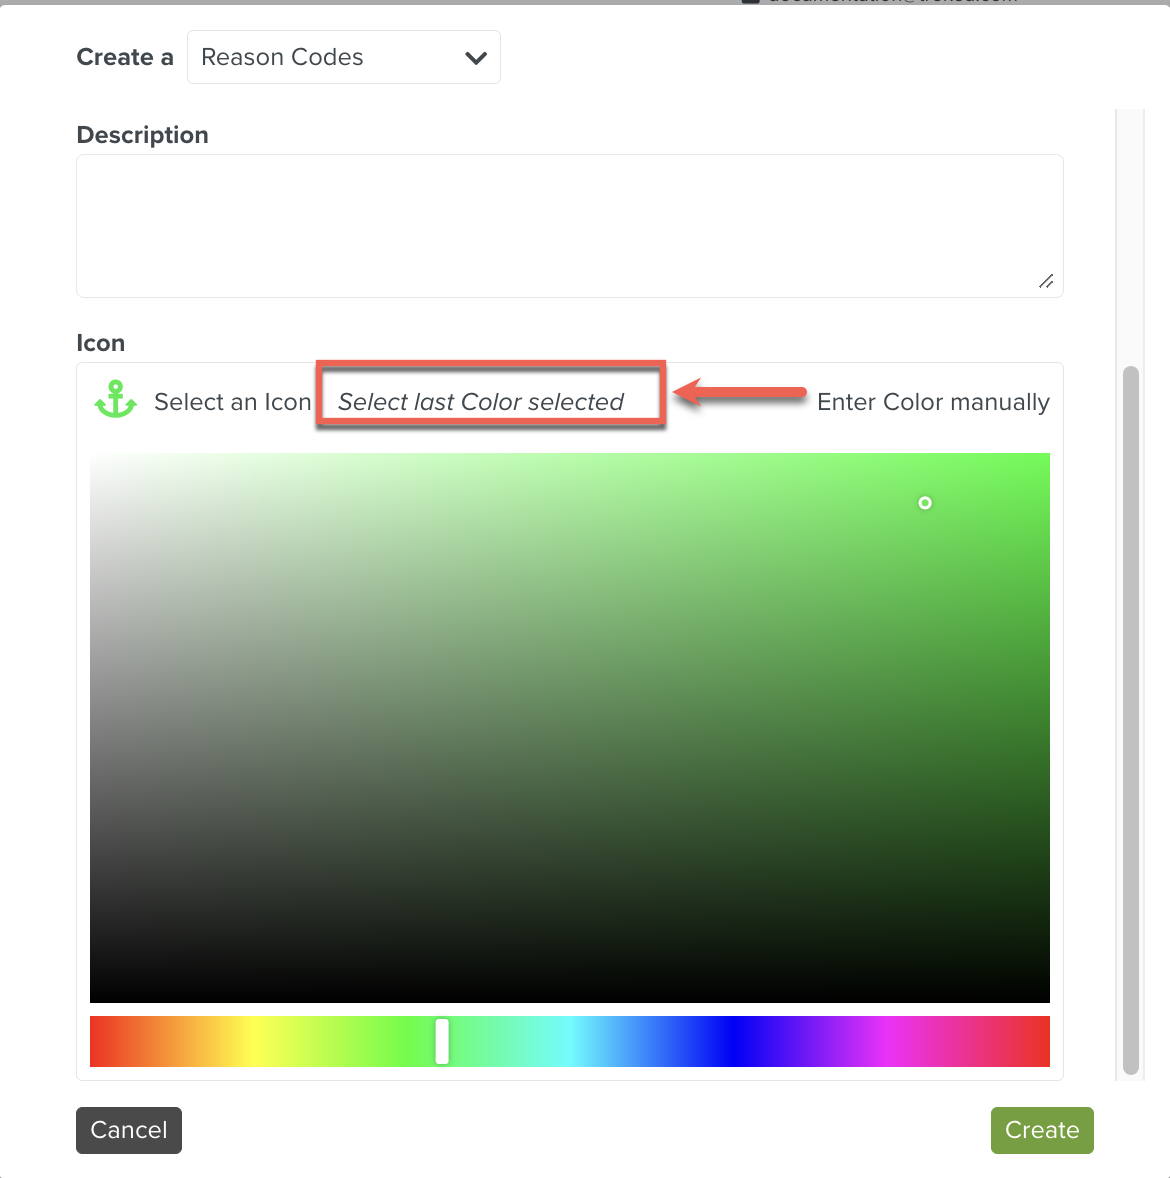
Click Select a Color as shown below.
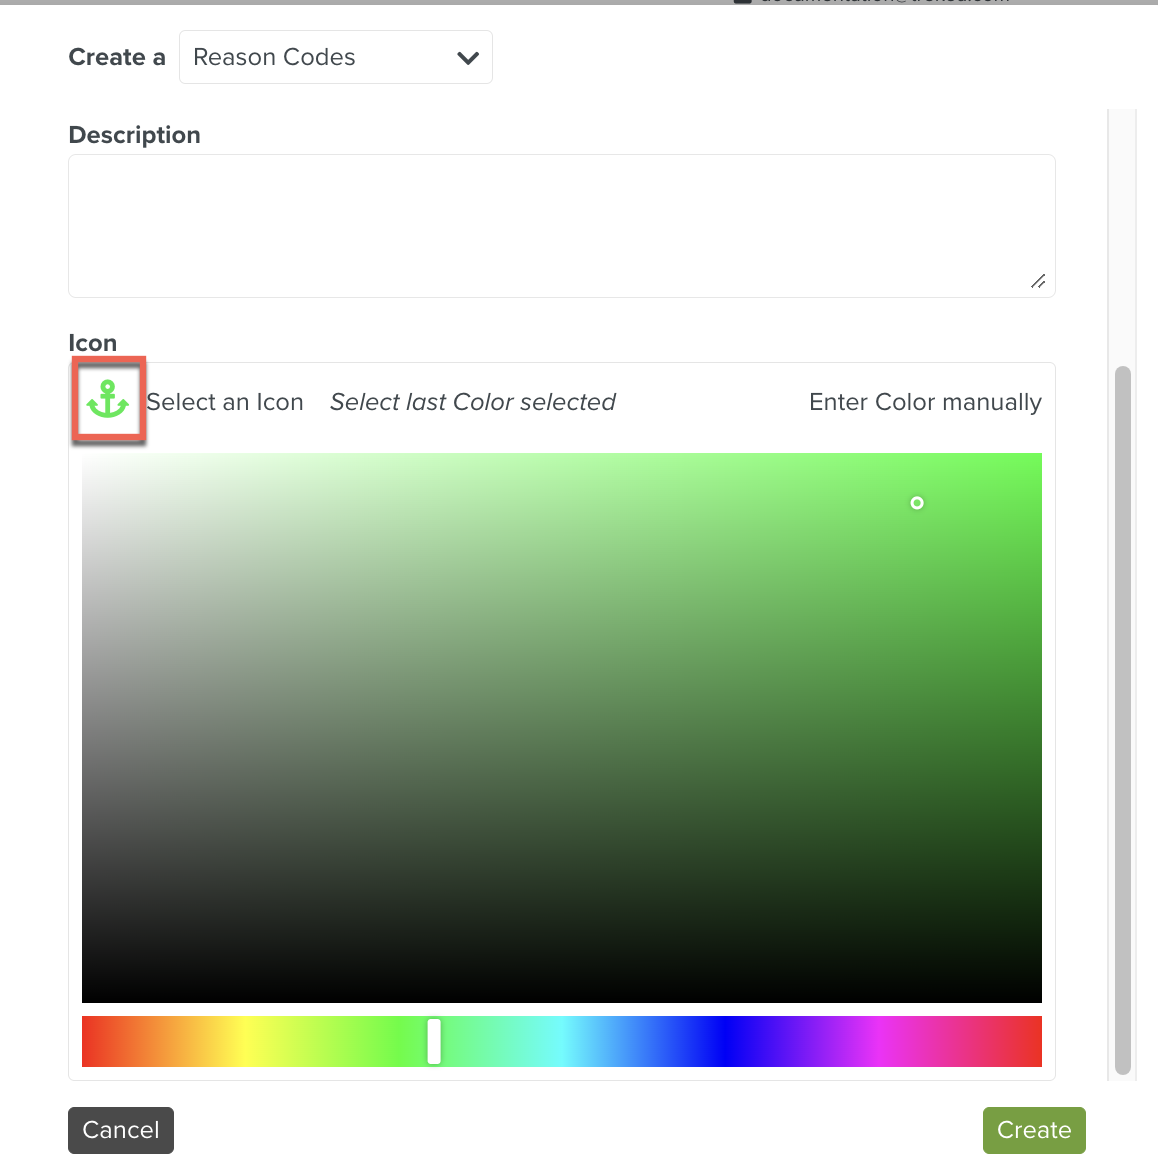
If you already used a Color, Select last Color selected.
Click .
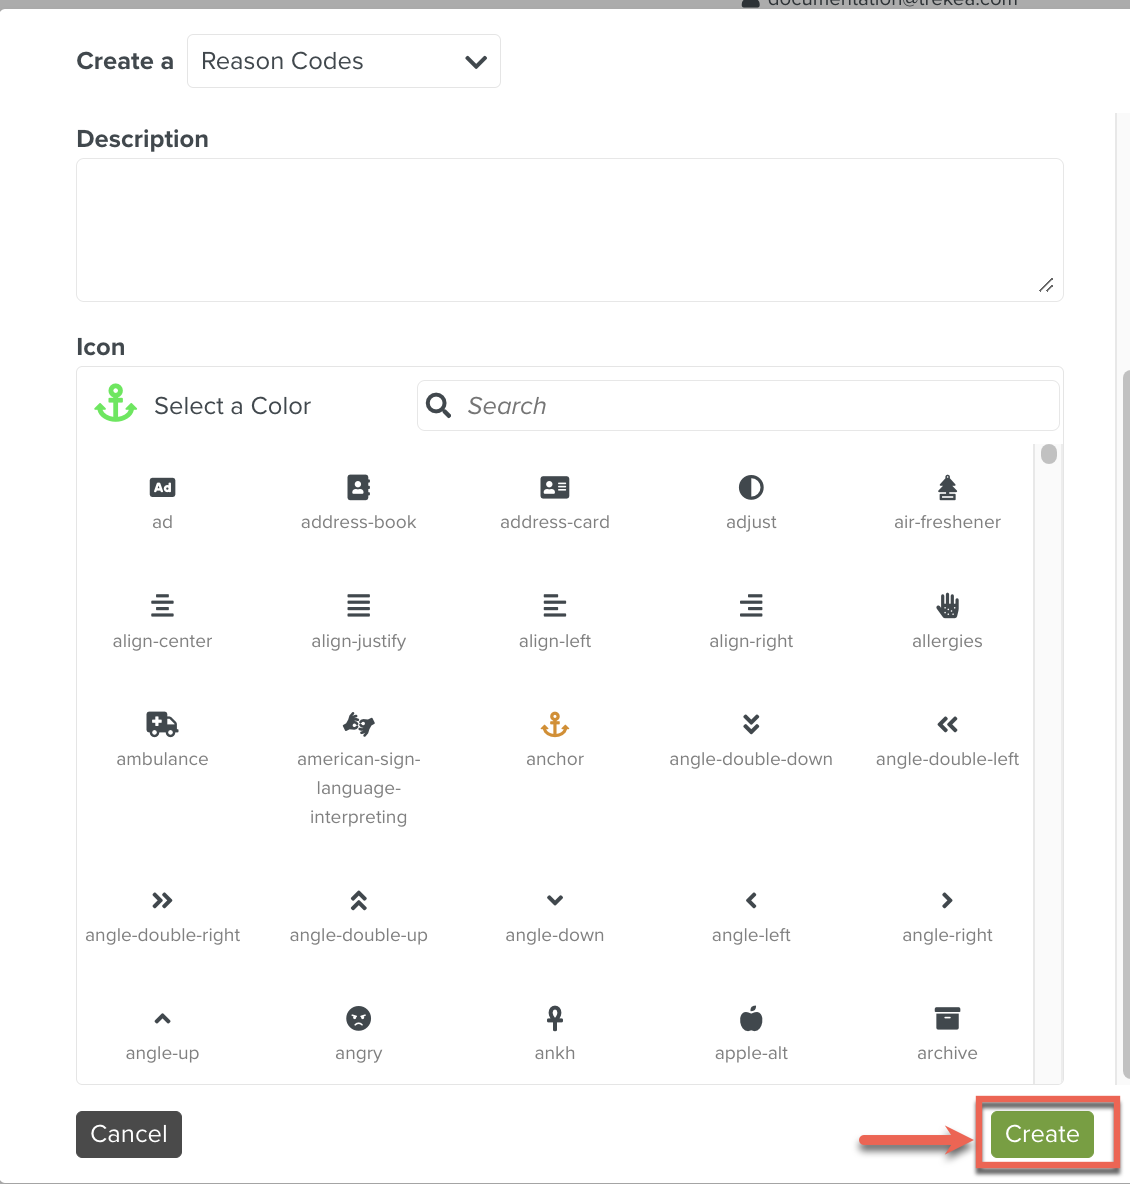
The Reason Code is created.
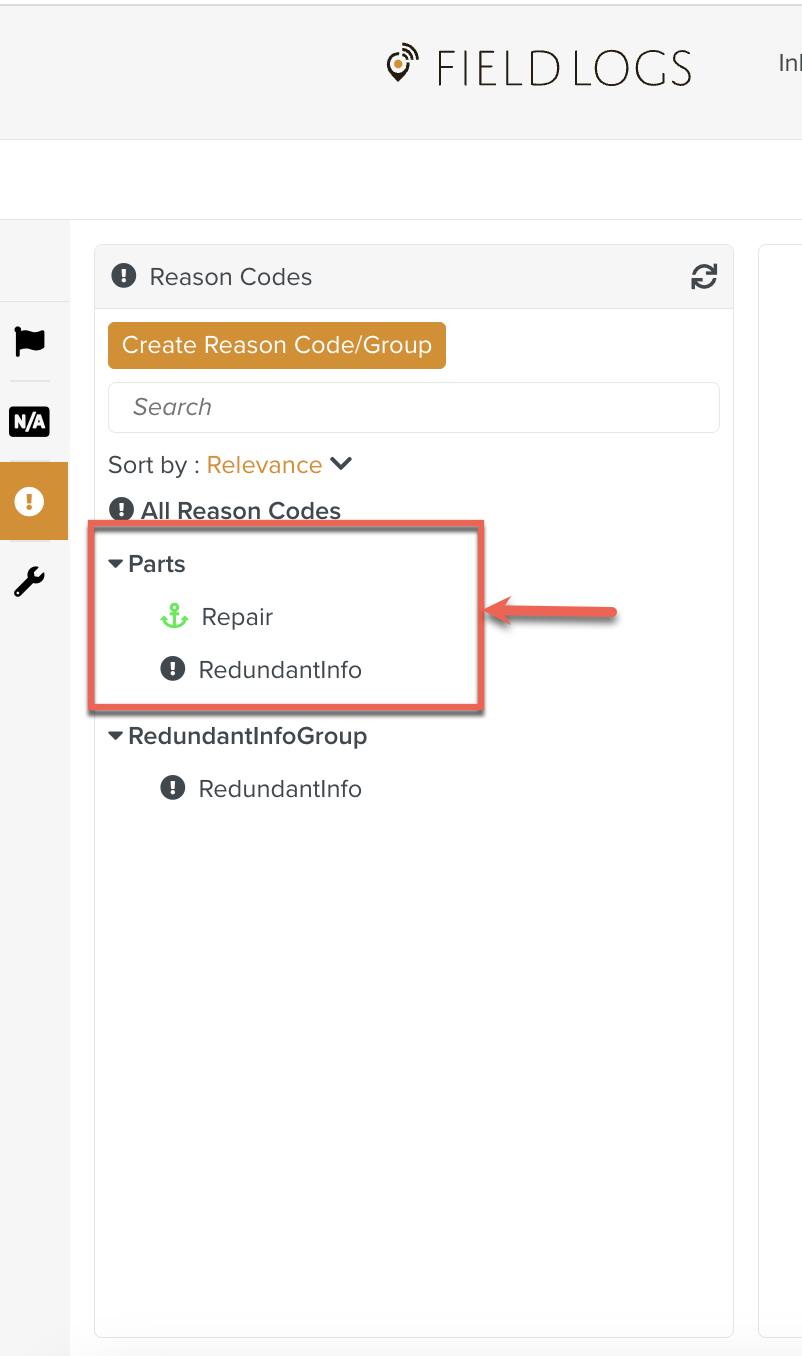
Reason Code Groups will arrange the Reason Codes into categories, which helps the field employees to understand their use and find them quickly.
To create a Reason Code Group:
On the main menu, go to Enterprise > Flagging & More > Reason Codes.
Expand the Create Reason Code dropdown to select the option option.
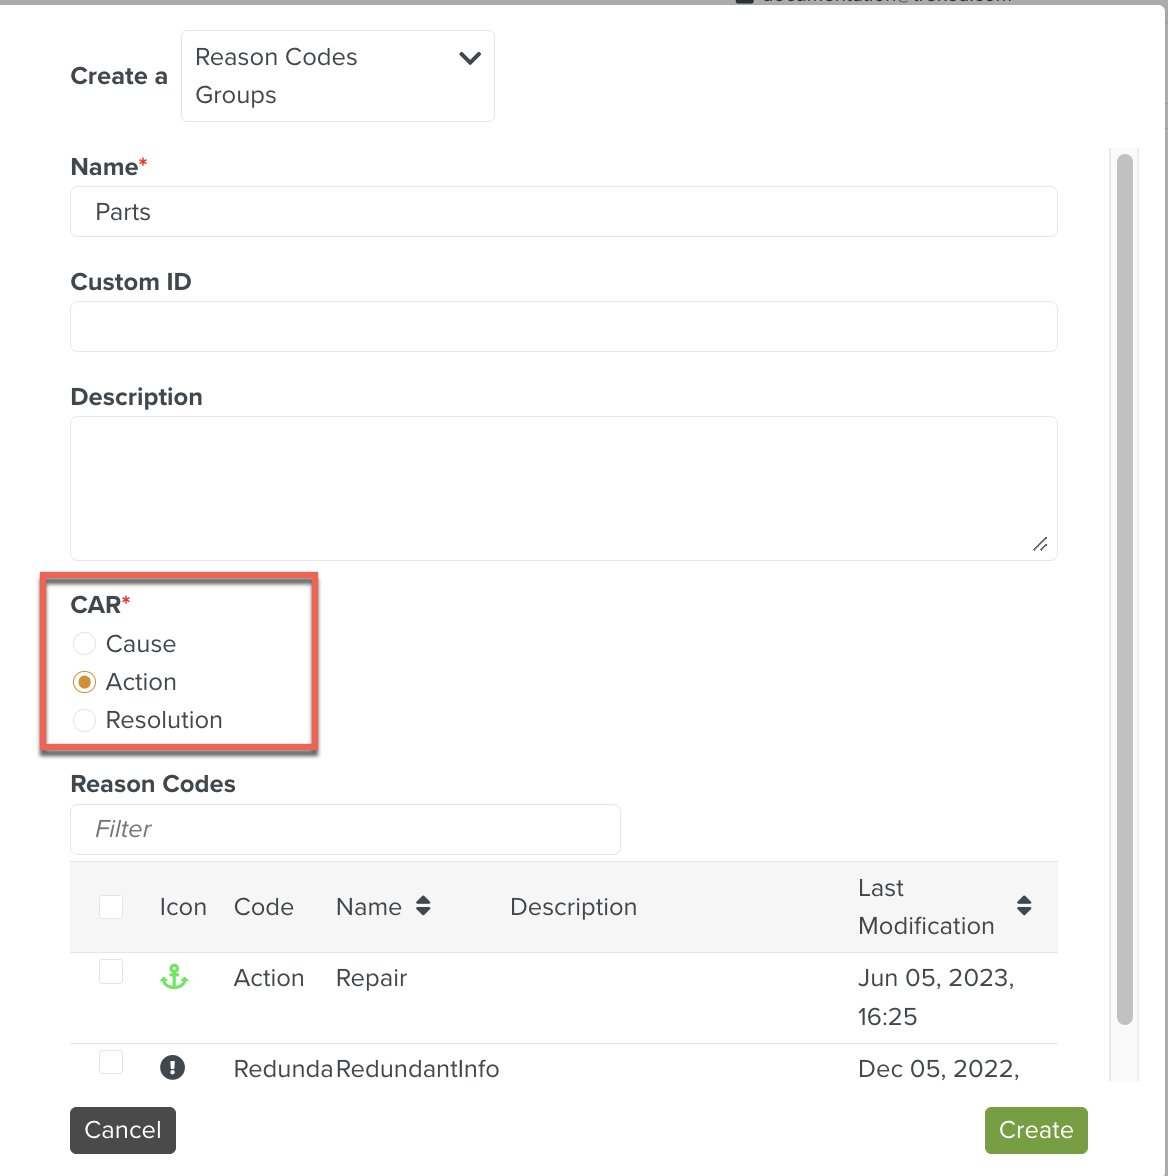
The dialog Create a Reason Codes Groups appears.

Enter Name.

[Optional] Choose Custom ID.
The Custom ID is only for your own use as every Reason Codes Group has a complex internal ID number at the creation. The Custom ID is a useful solution to index your Reason Codes Groups.
[Optional] Enter Description.
Select one of the CAR categories from the options below.
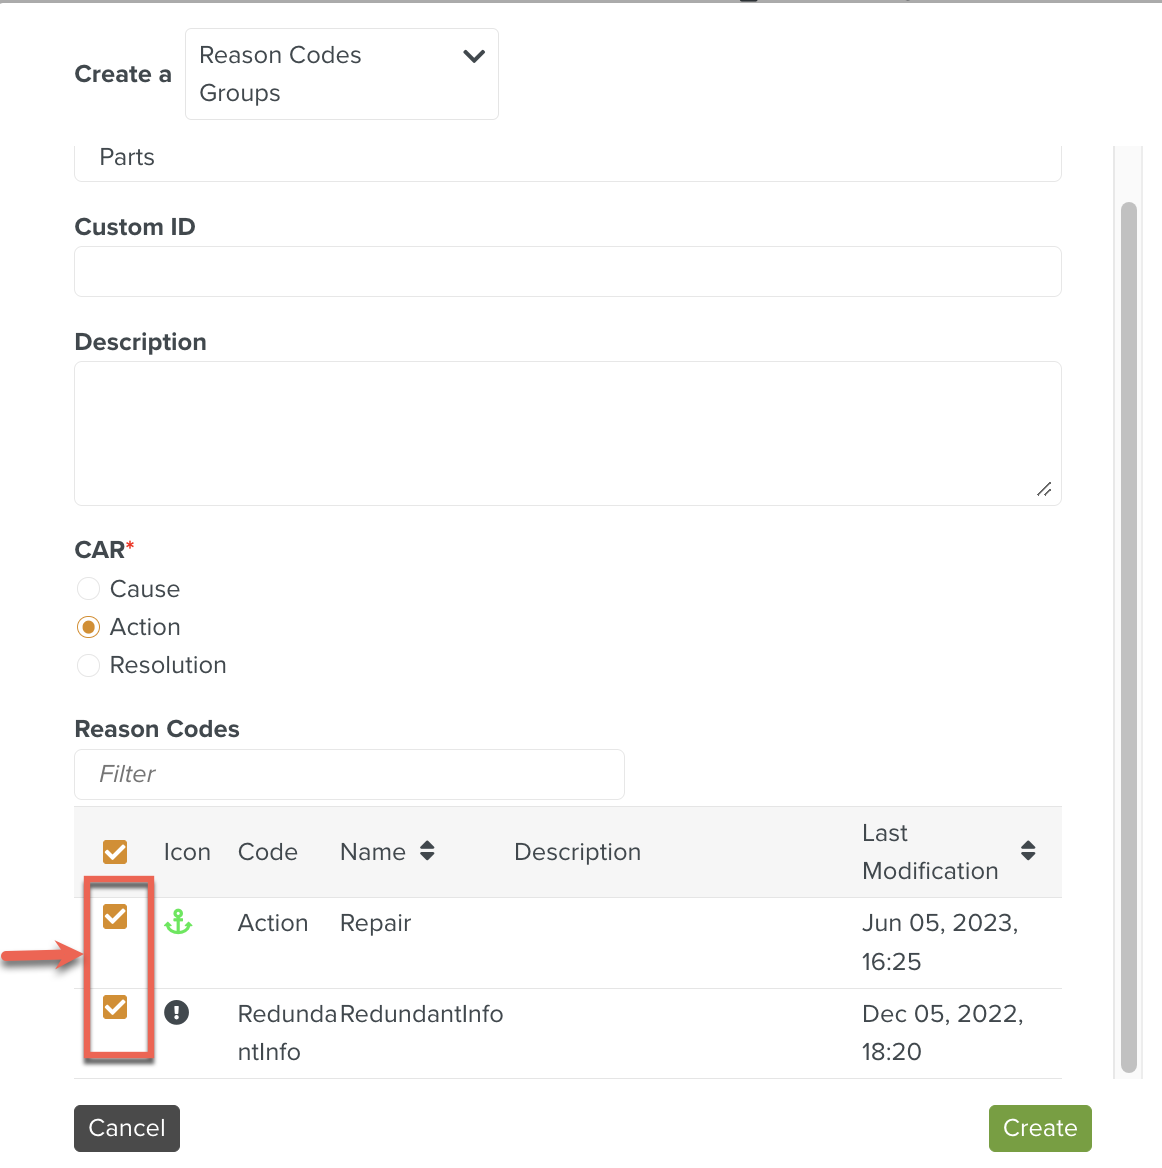
Select the Reason Codes to the Groups as shown below.
Click .
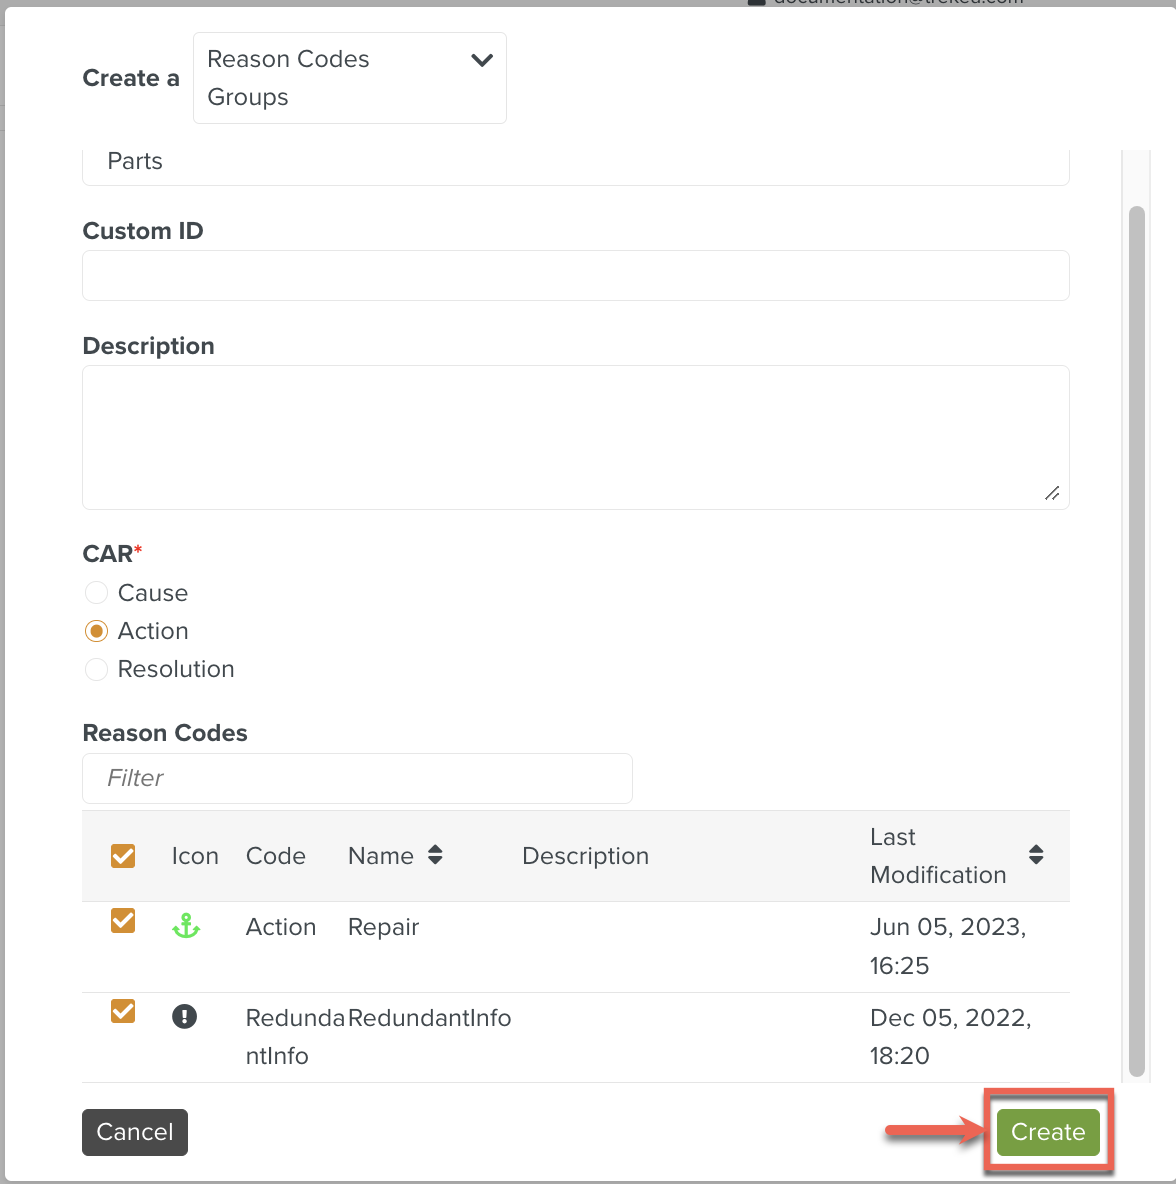
The Reason Code Groups are created for the selected Reason Codes.