Adding Access Rights for Lifecycle
To access the Custom Lifecycles and perform the related operations, the user must be associated with a Security Role that has the appropriate access rights.
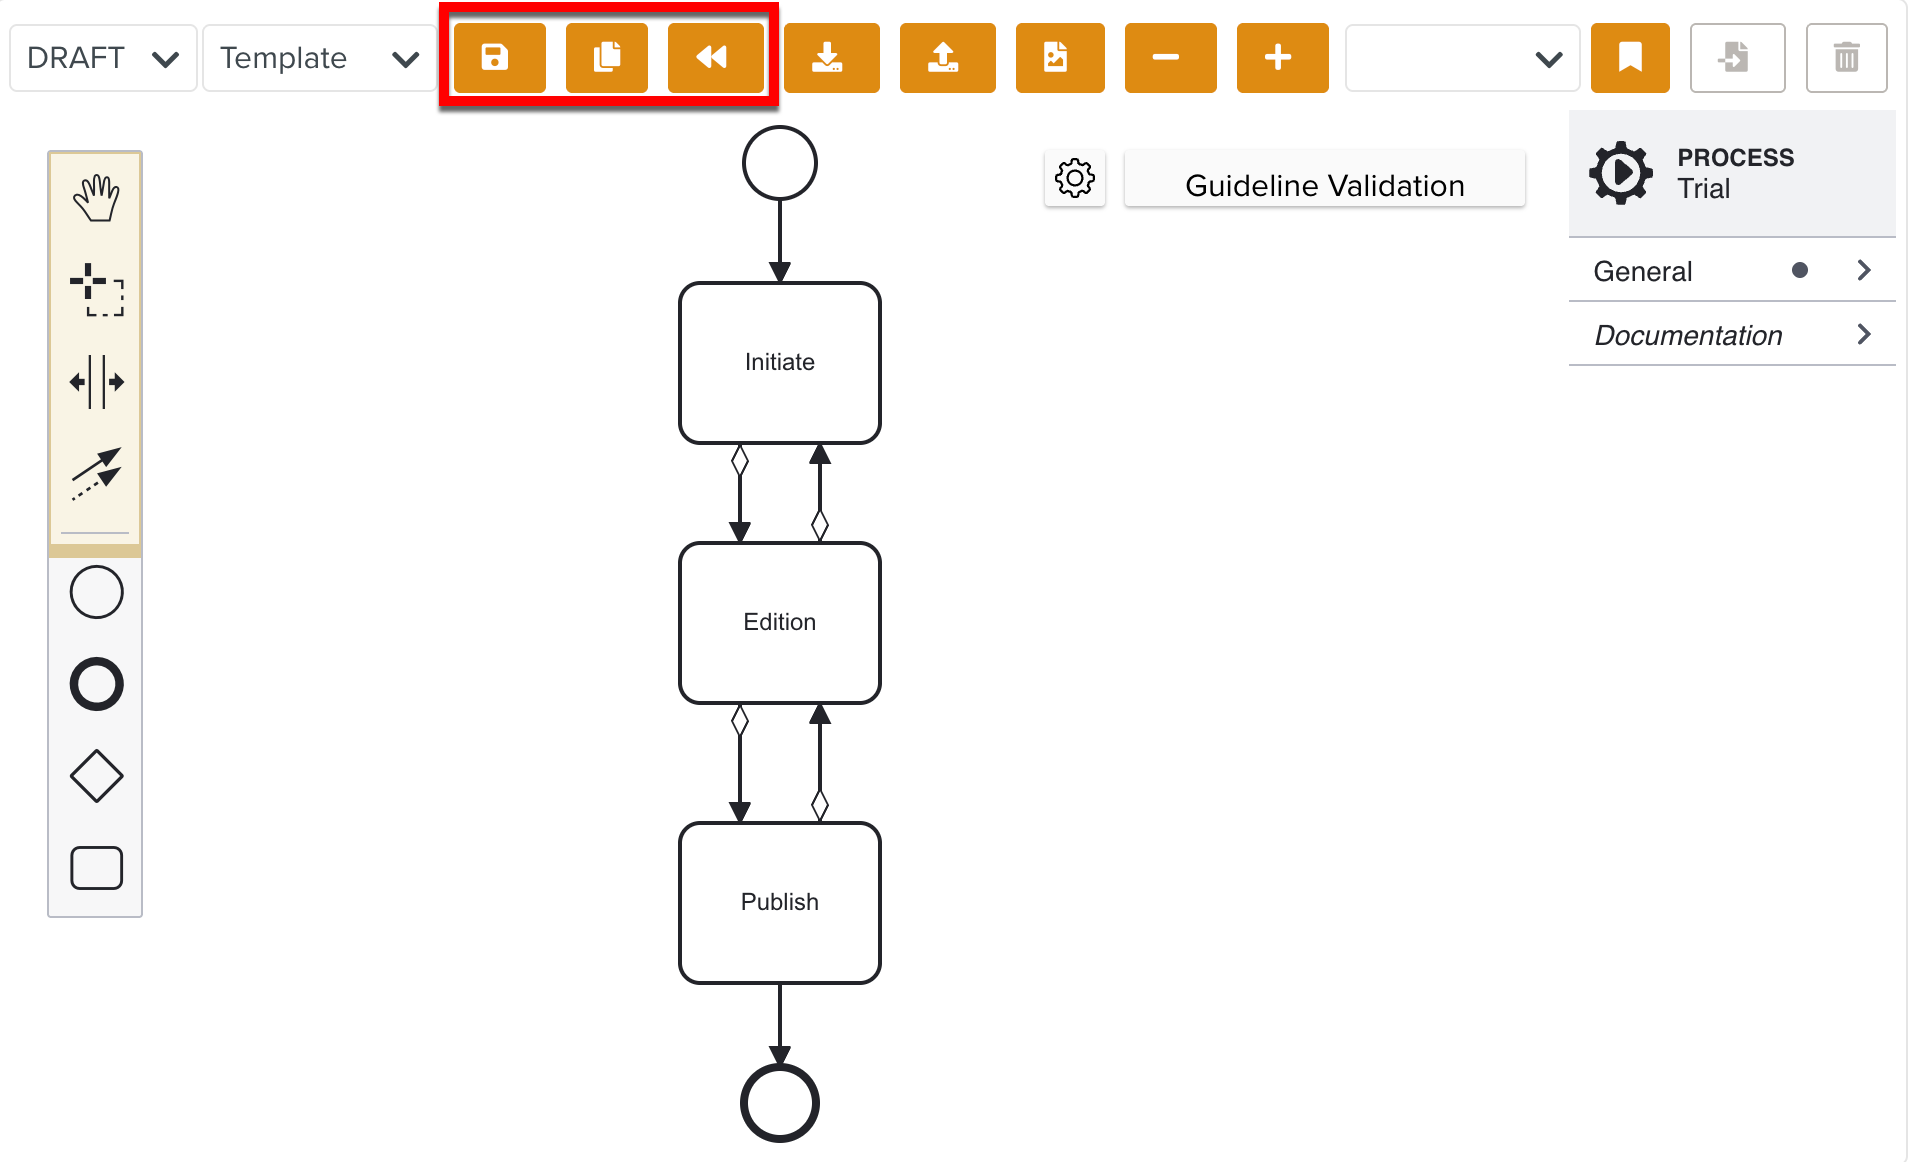
The availability of the buttons Save  , Publish,
  and Revert
  on the screen are also controlled based on the access rights.
 |
The table below lists the access rights and the corresponding actions available.
Securable Objects | Access Rights | Available Actions |
|---|---|---|
Lifecycles | Read | Grants access to view or browse through the Custom Lifecycles. Save, Publish, and Revert buttons are disabled. |
Write | Grants access to edit Custom Lifecycles and save the changes. Save and Revert buttons are enabled. Publish button is disabled. | |
Publish | Grants access to edit, save and publish Custom Lifecycles. Save, Publish, and Revert buttons are enabled. | |
All | Grants access to edit, save and publish Custom Lifecycles. Save, Publish, and Revert buttons are enabled. | |
Web UI | Lifecycle Form | Grants access to the Lifecycle Forms. |
Note
If a user is associated with more than one role, the role with the highest access level is applied.
To add the Lifecycle access right assigned to a Role:
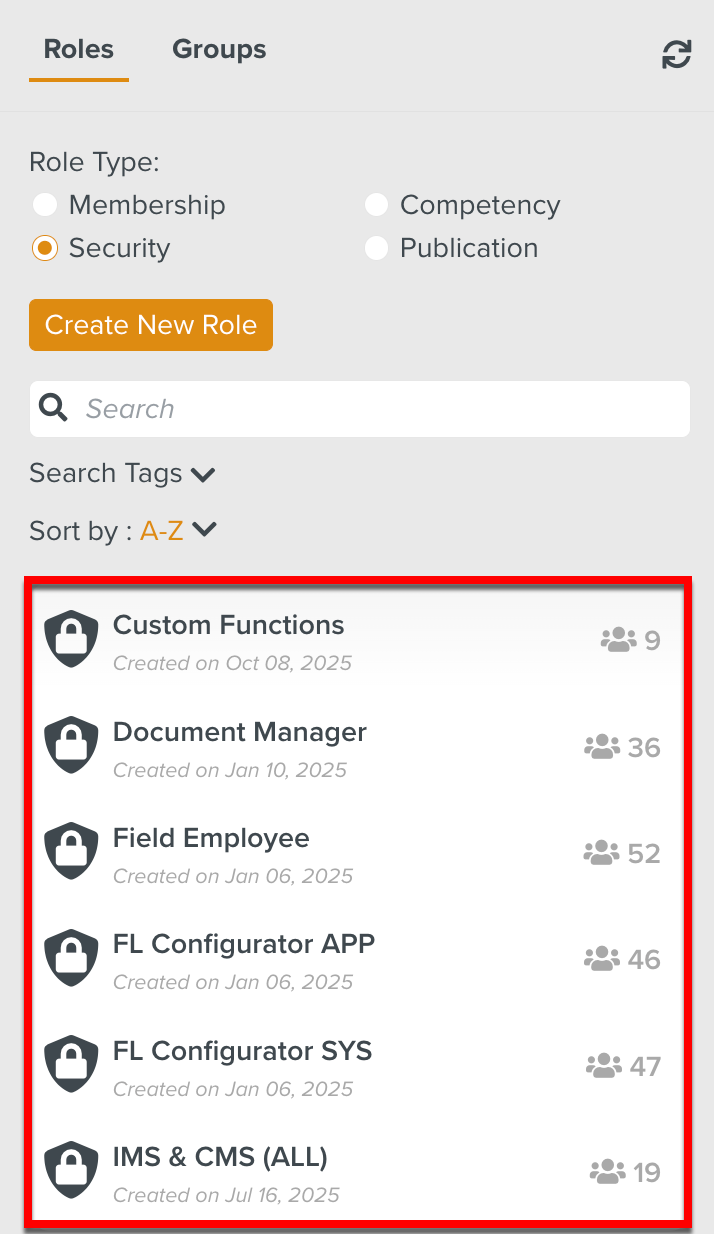
From the main menu, navigate to > > .
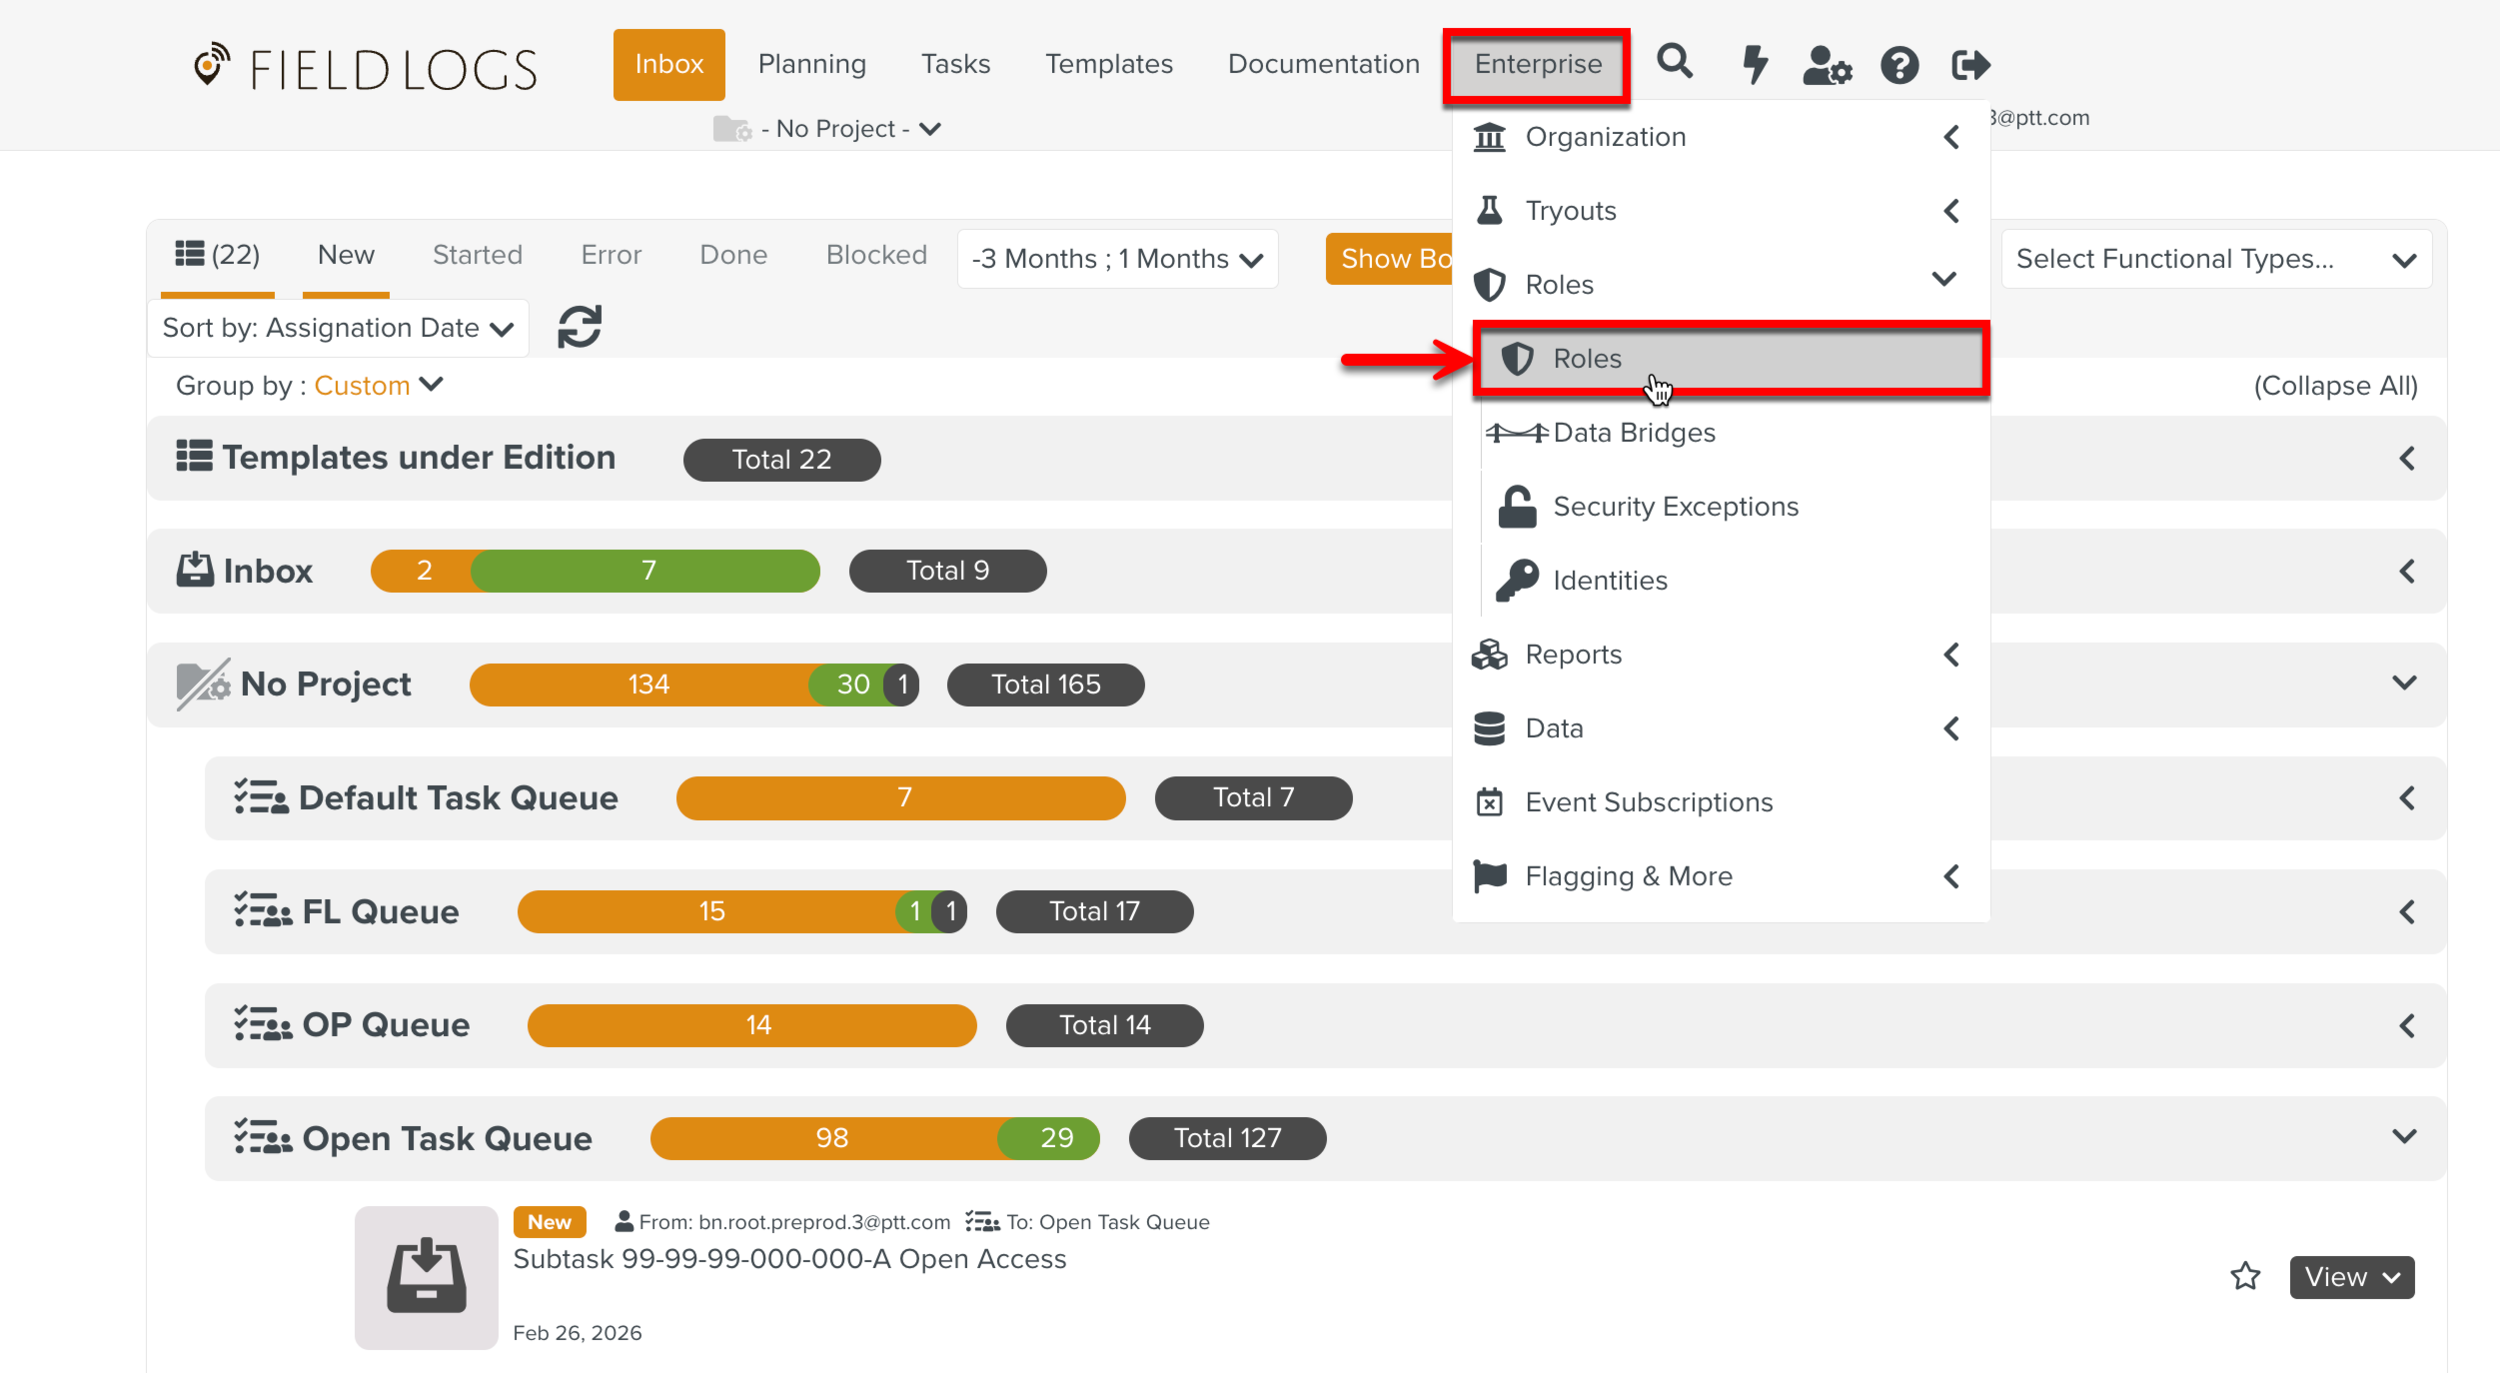
The page Roles opens.
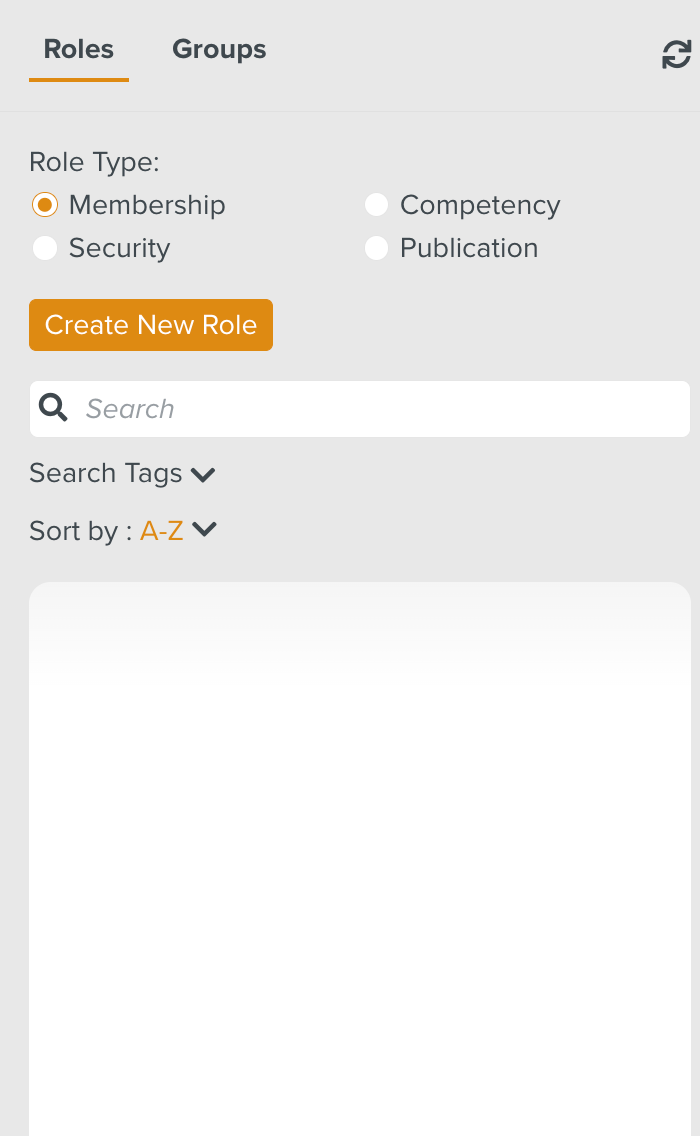
Check Security from Role Type as shown below.
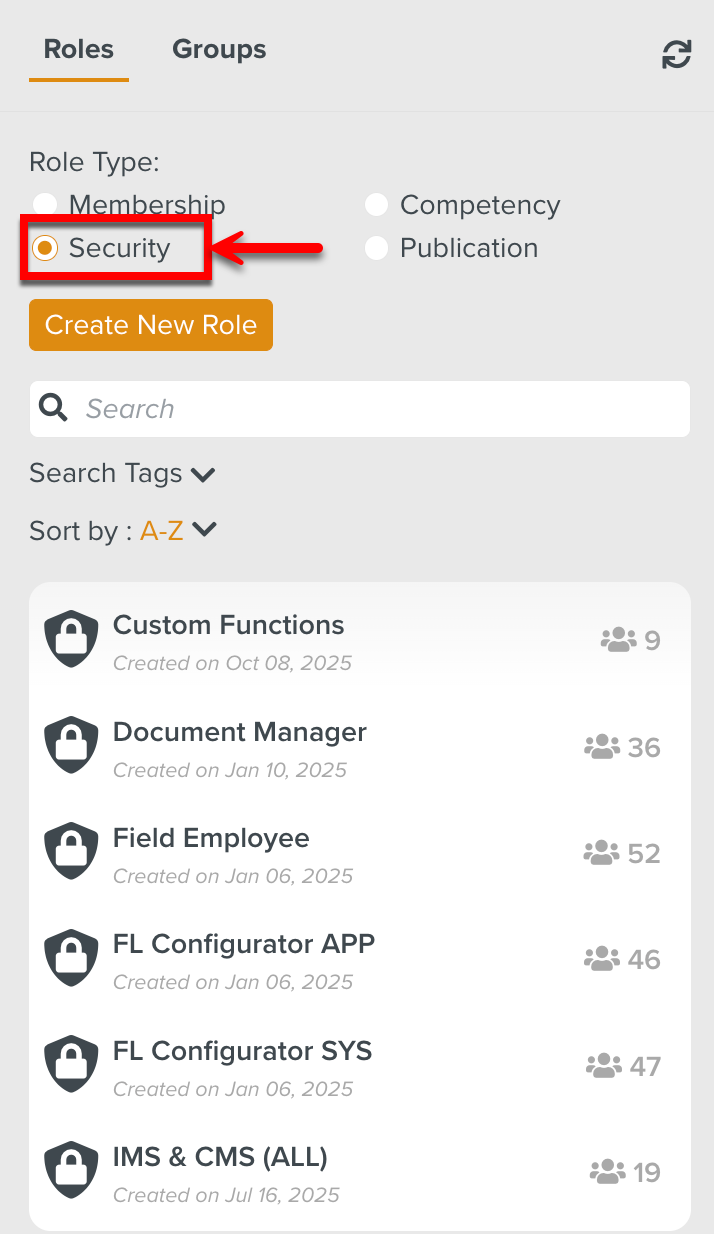
All the Roles in the Security Role Type are displayed.
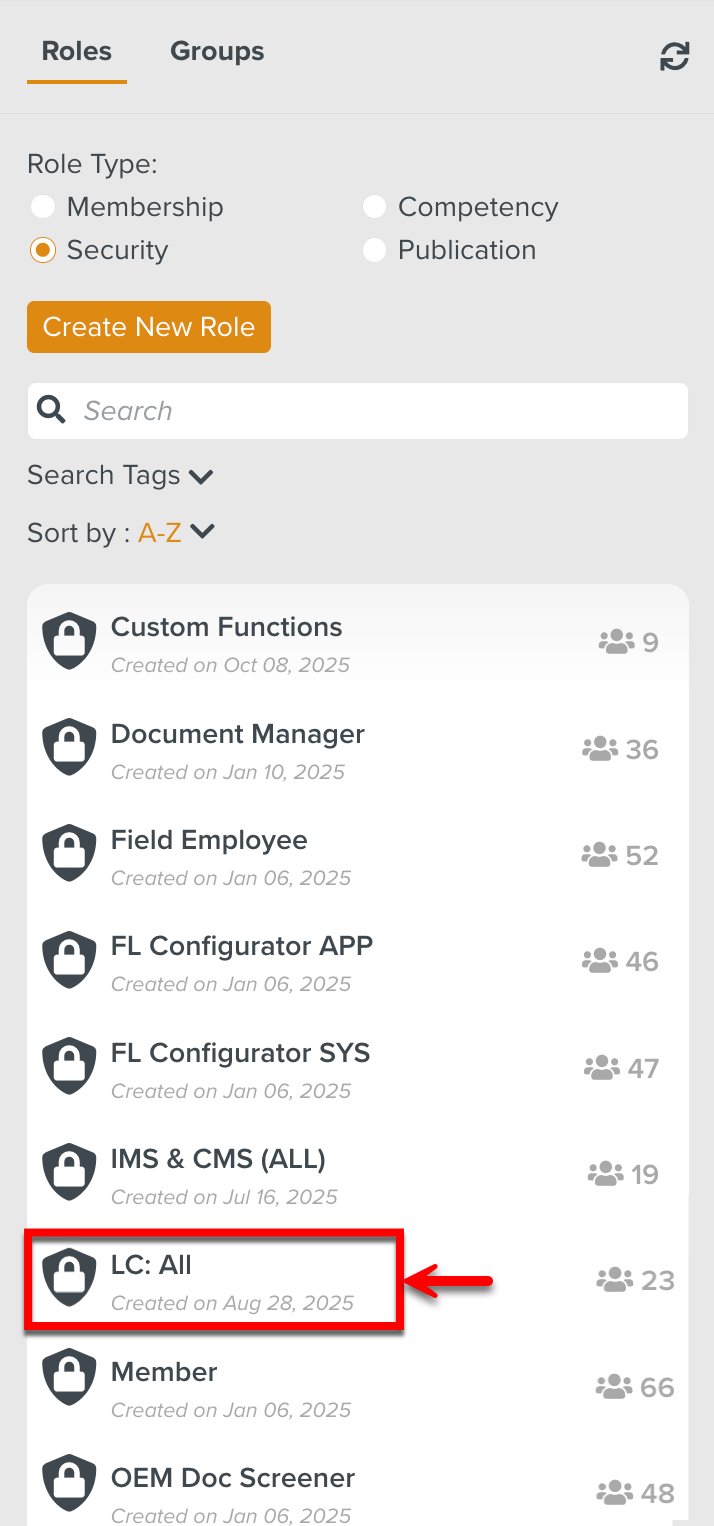
Select the Role to which the Lifecycle access right is to be added.
In the below example, the Role LC: All is associated with the user that requires this access right.
The details of the Role are displayed.
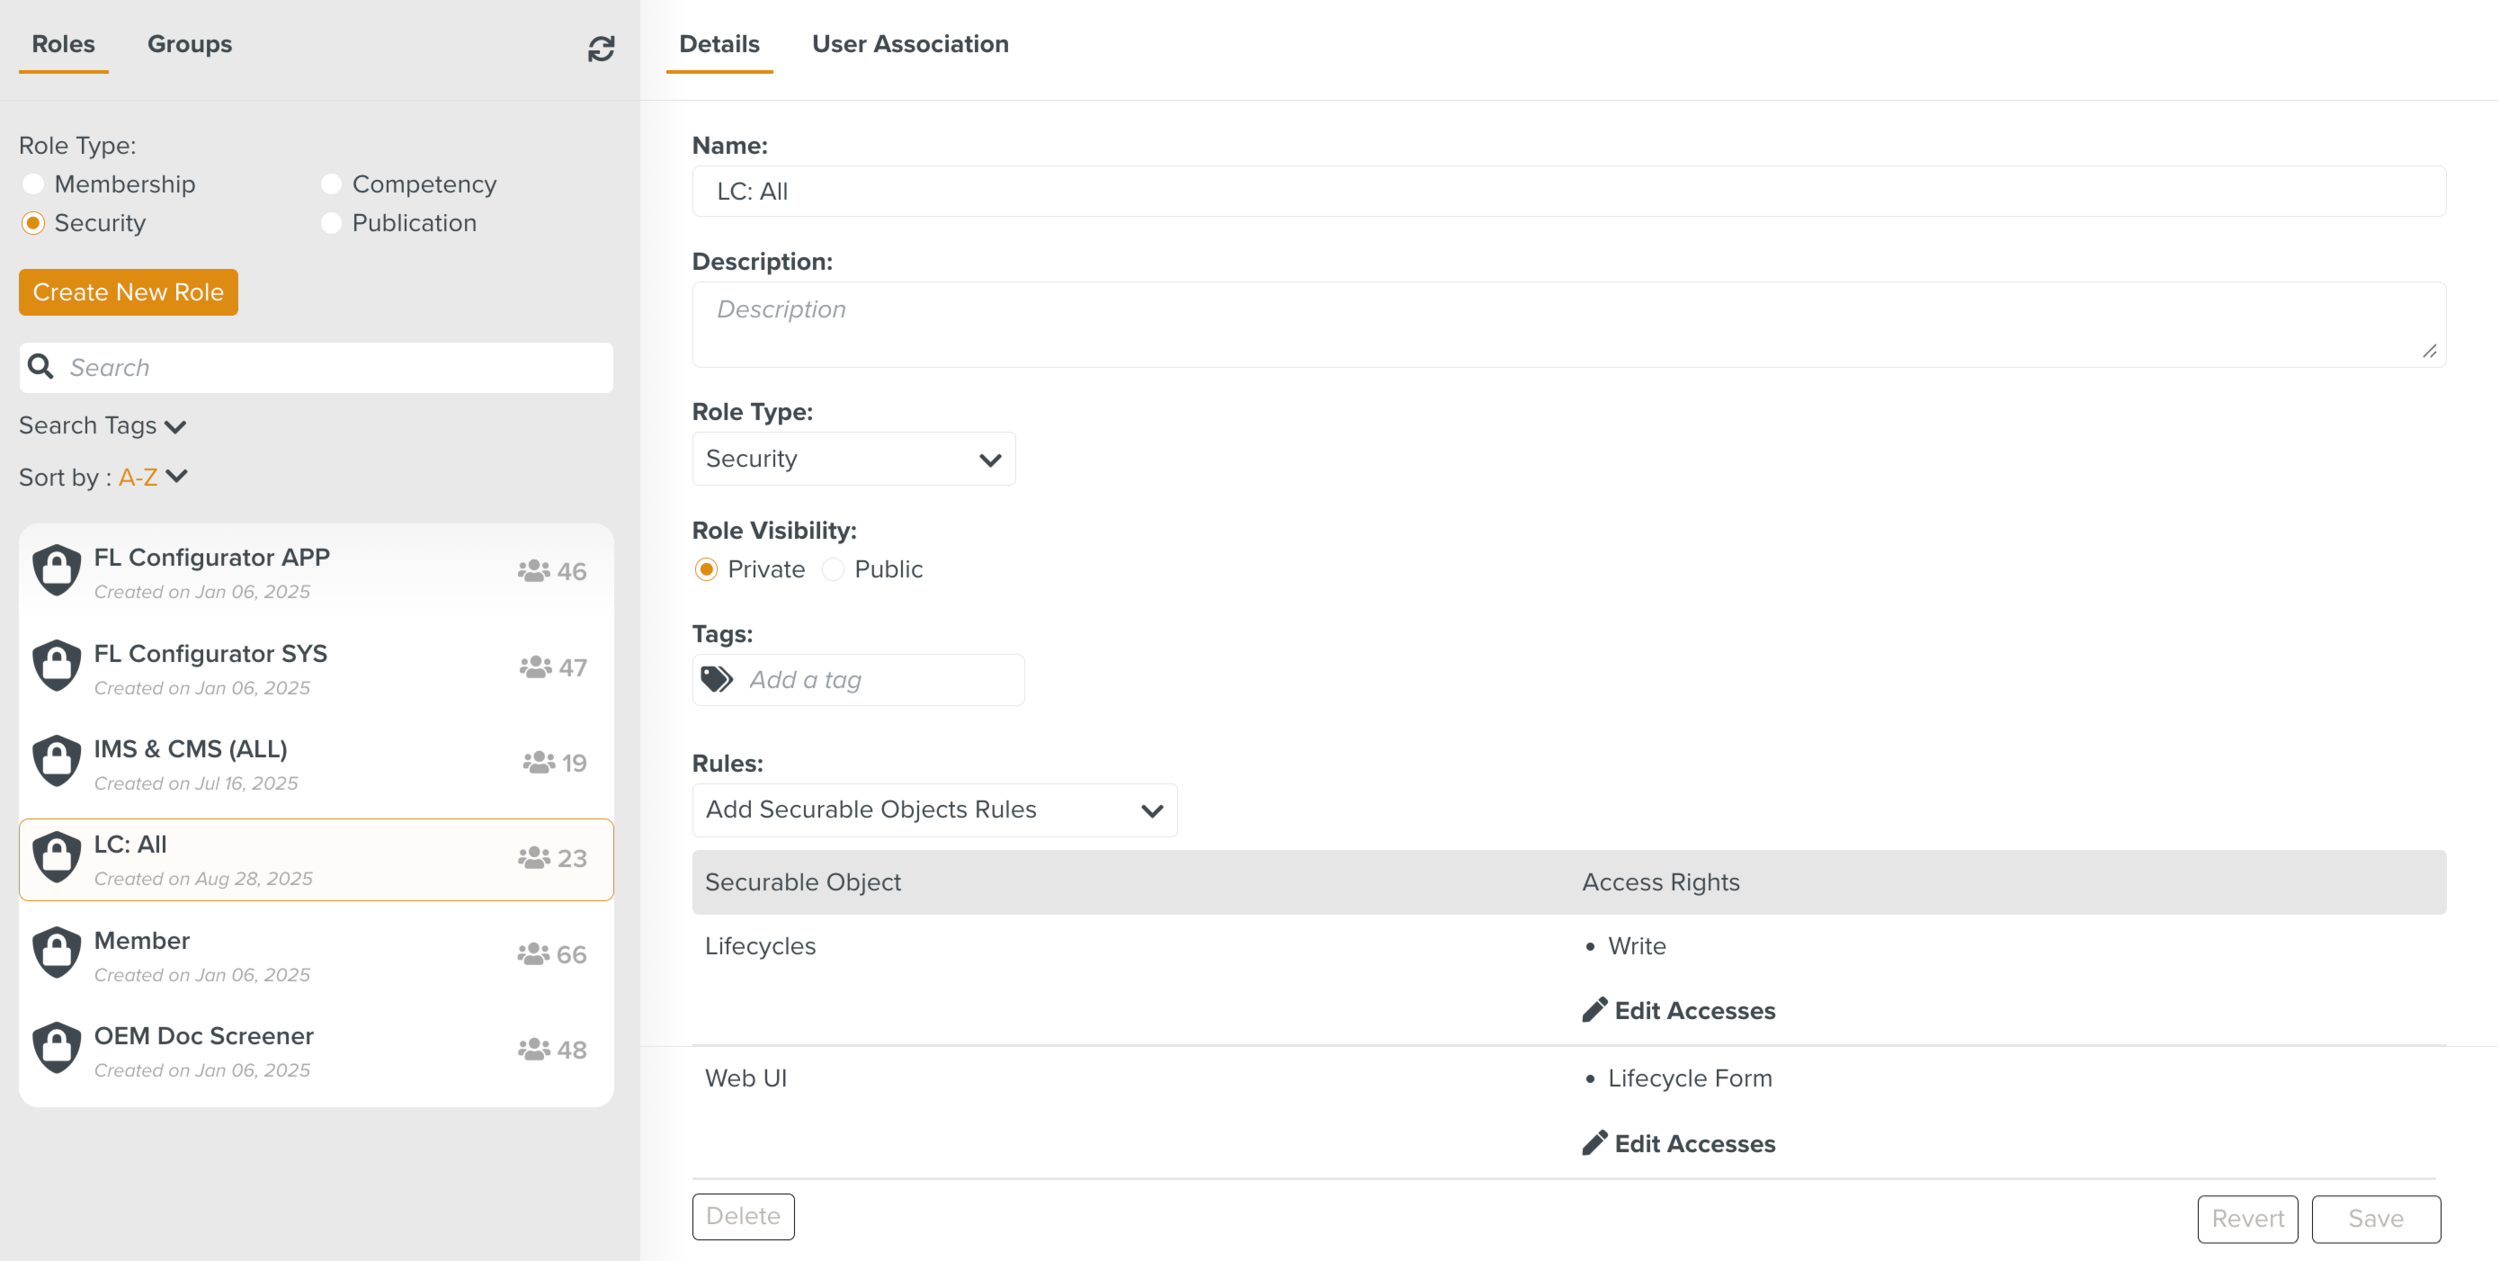
Click Edit Accesses against the Securable Object Lifecycle.

The list of all features that are secured by access rights appear.
Check All.
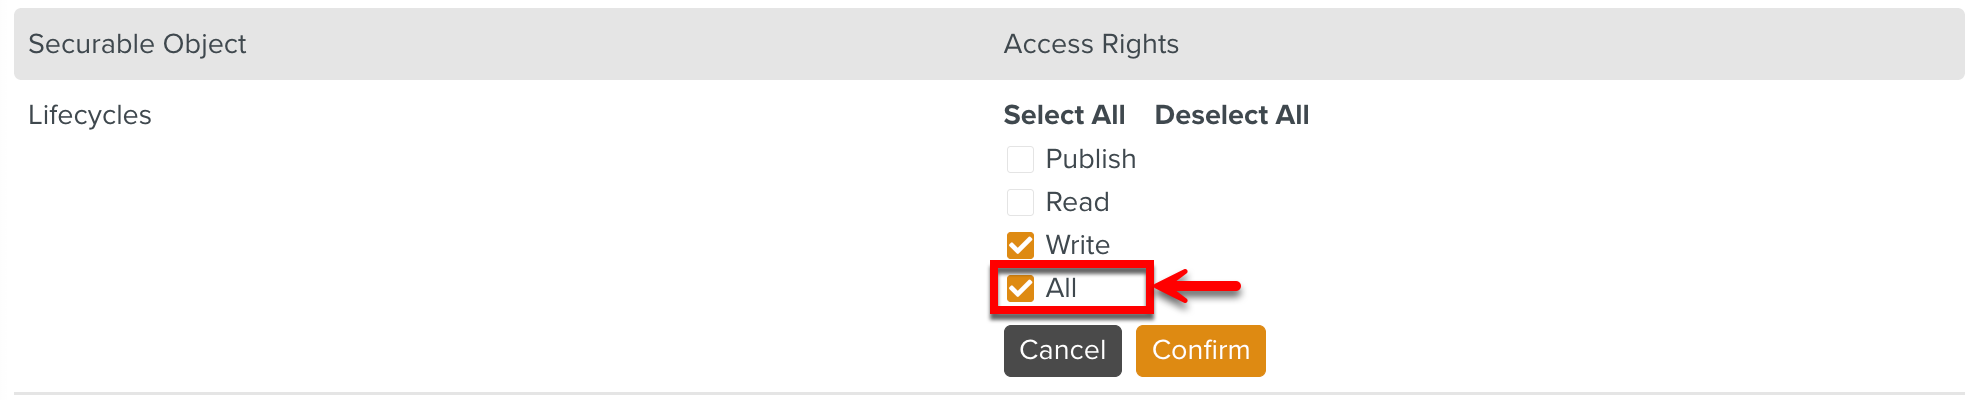
Click .
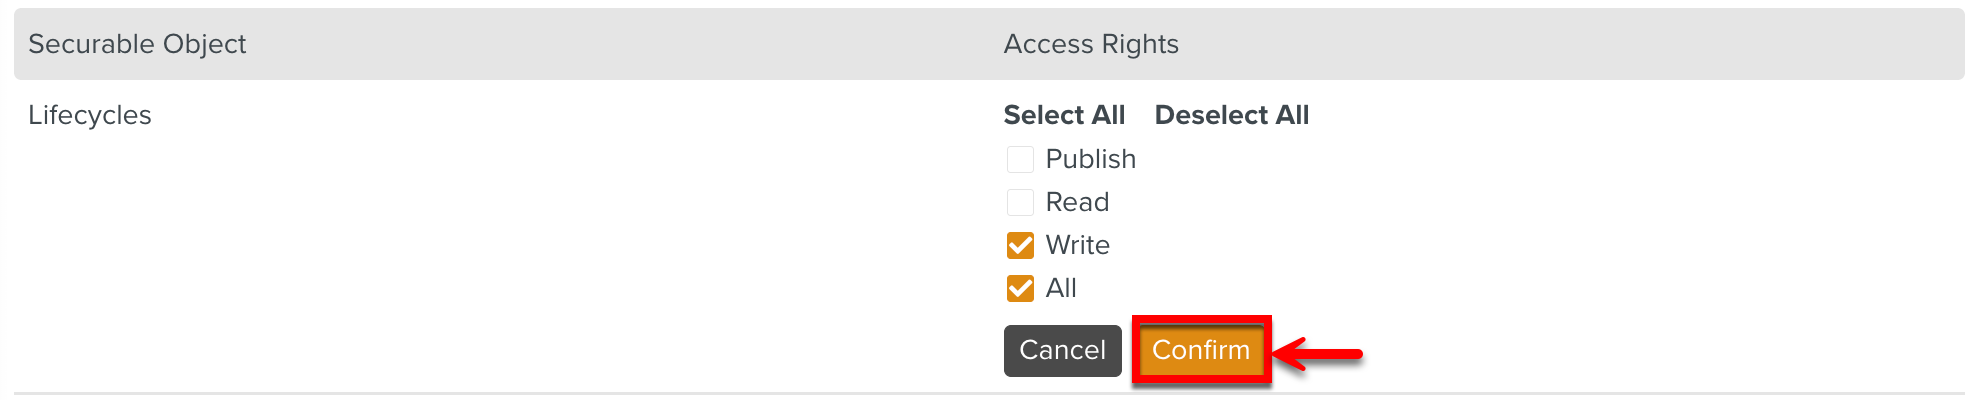
All appears under the Access Rights for this Role.
Similarly, enable the required access rights for the Securable Object Web UI.
Click .
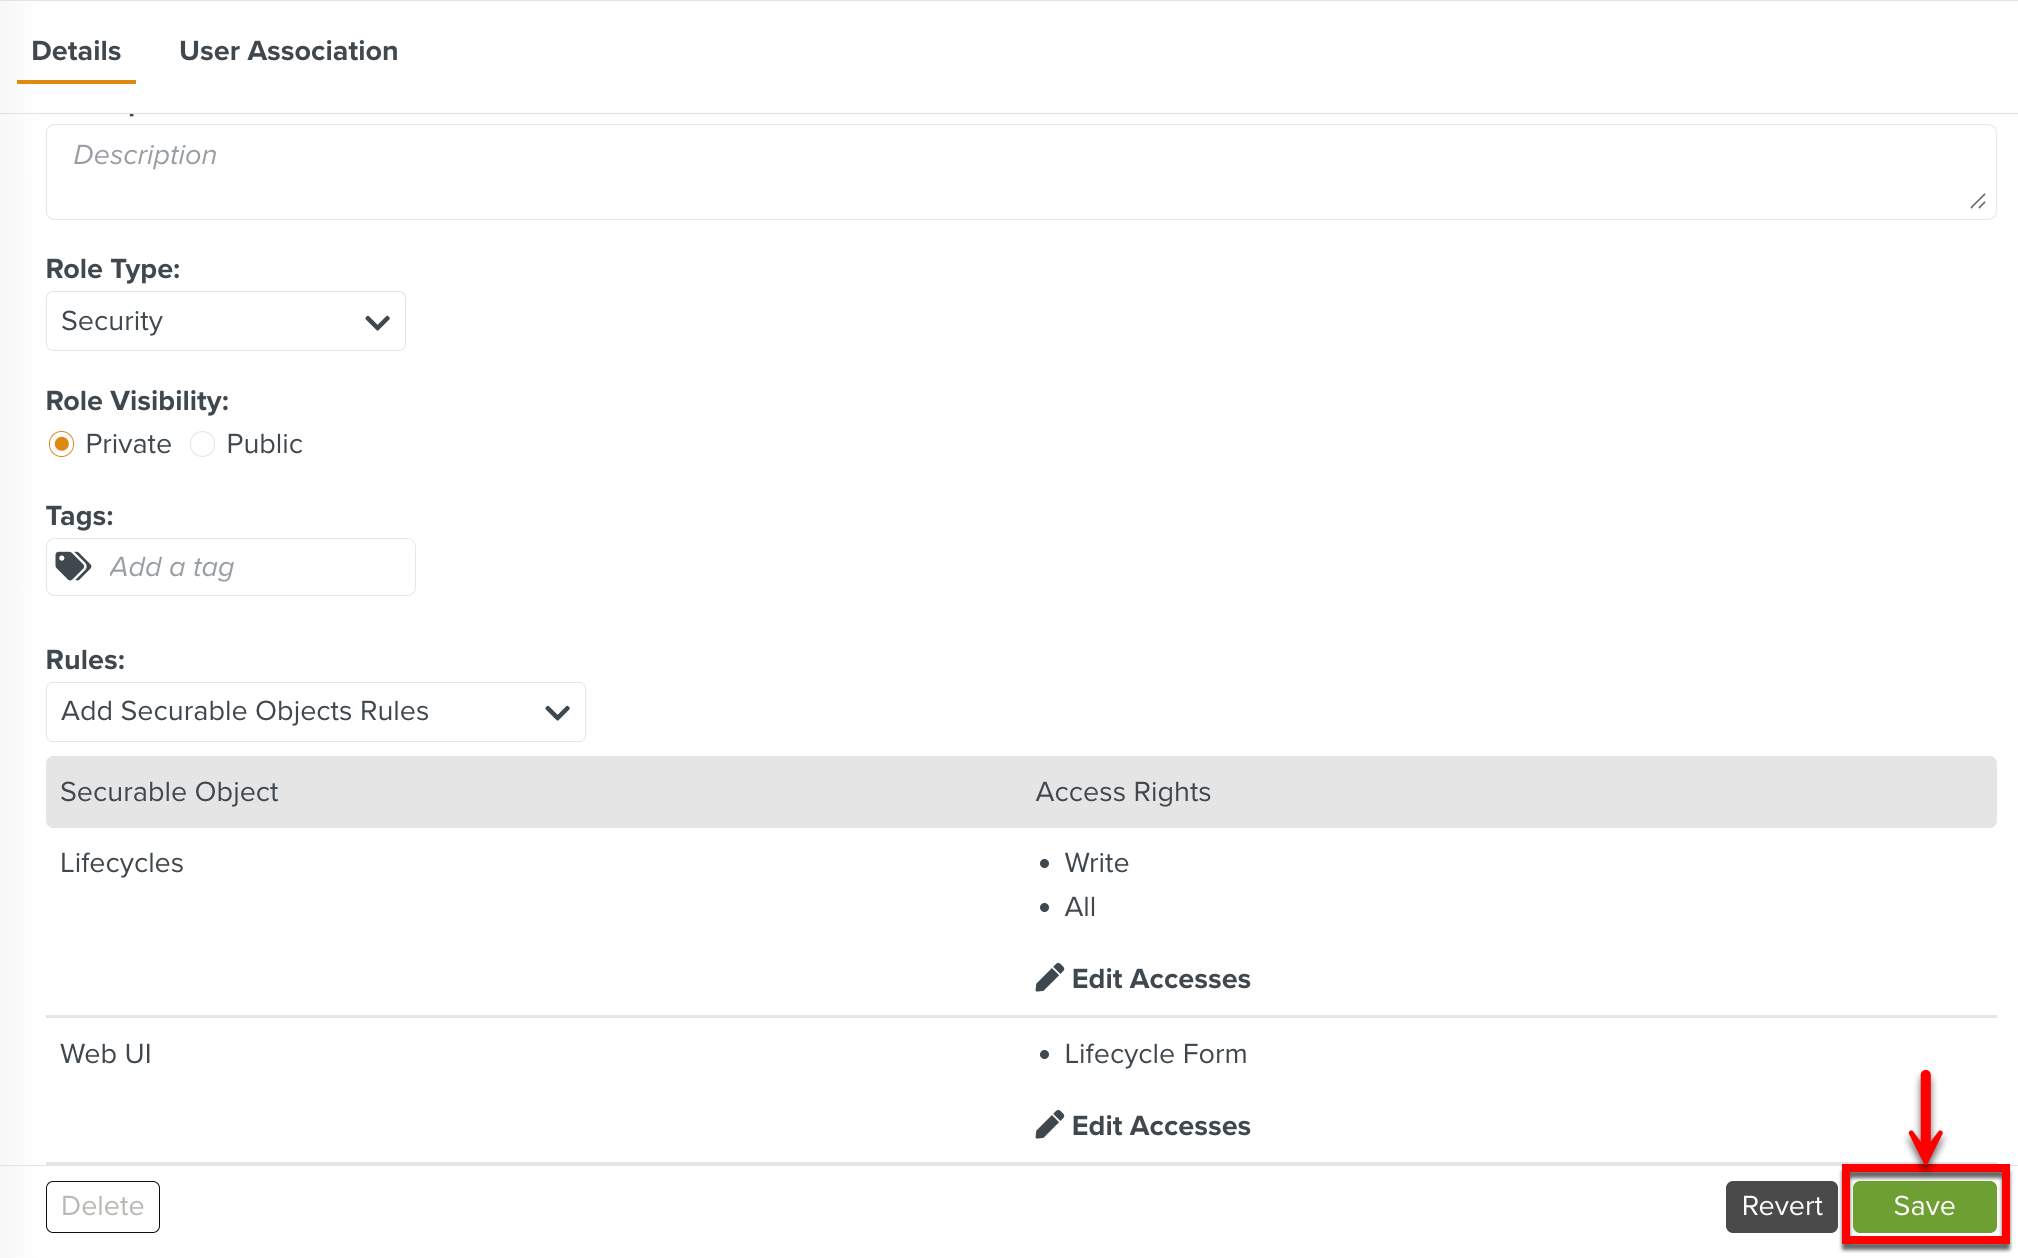
The Lifecycles Access Rights have been successfully added to this Role. Any user associated with this Role can view, edit, save, and publish Lifecycles.