Creating an Incident Definition
An Incident Definition determines the structure of an Incident that can be raised by users later. Every Incident must be defined by the administrators using the page Incident Definition.
Note
You must have the appropriate access rights to create an Incident Definition.
You can create an Incident Definition to configure the Incident type, Resolution process, and Incident structure.
To create a new Incident Definition:
On the main menu, go to Enterprise > Flagging & More > Incident Definition.
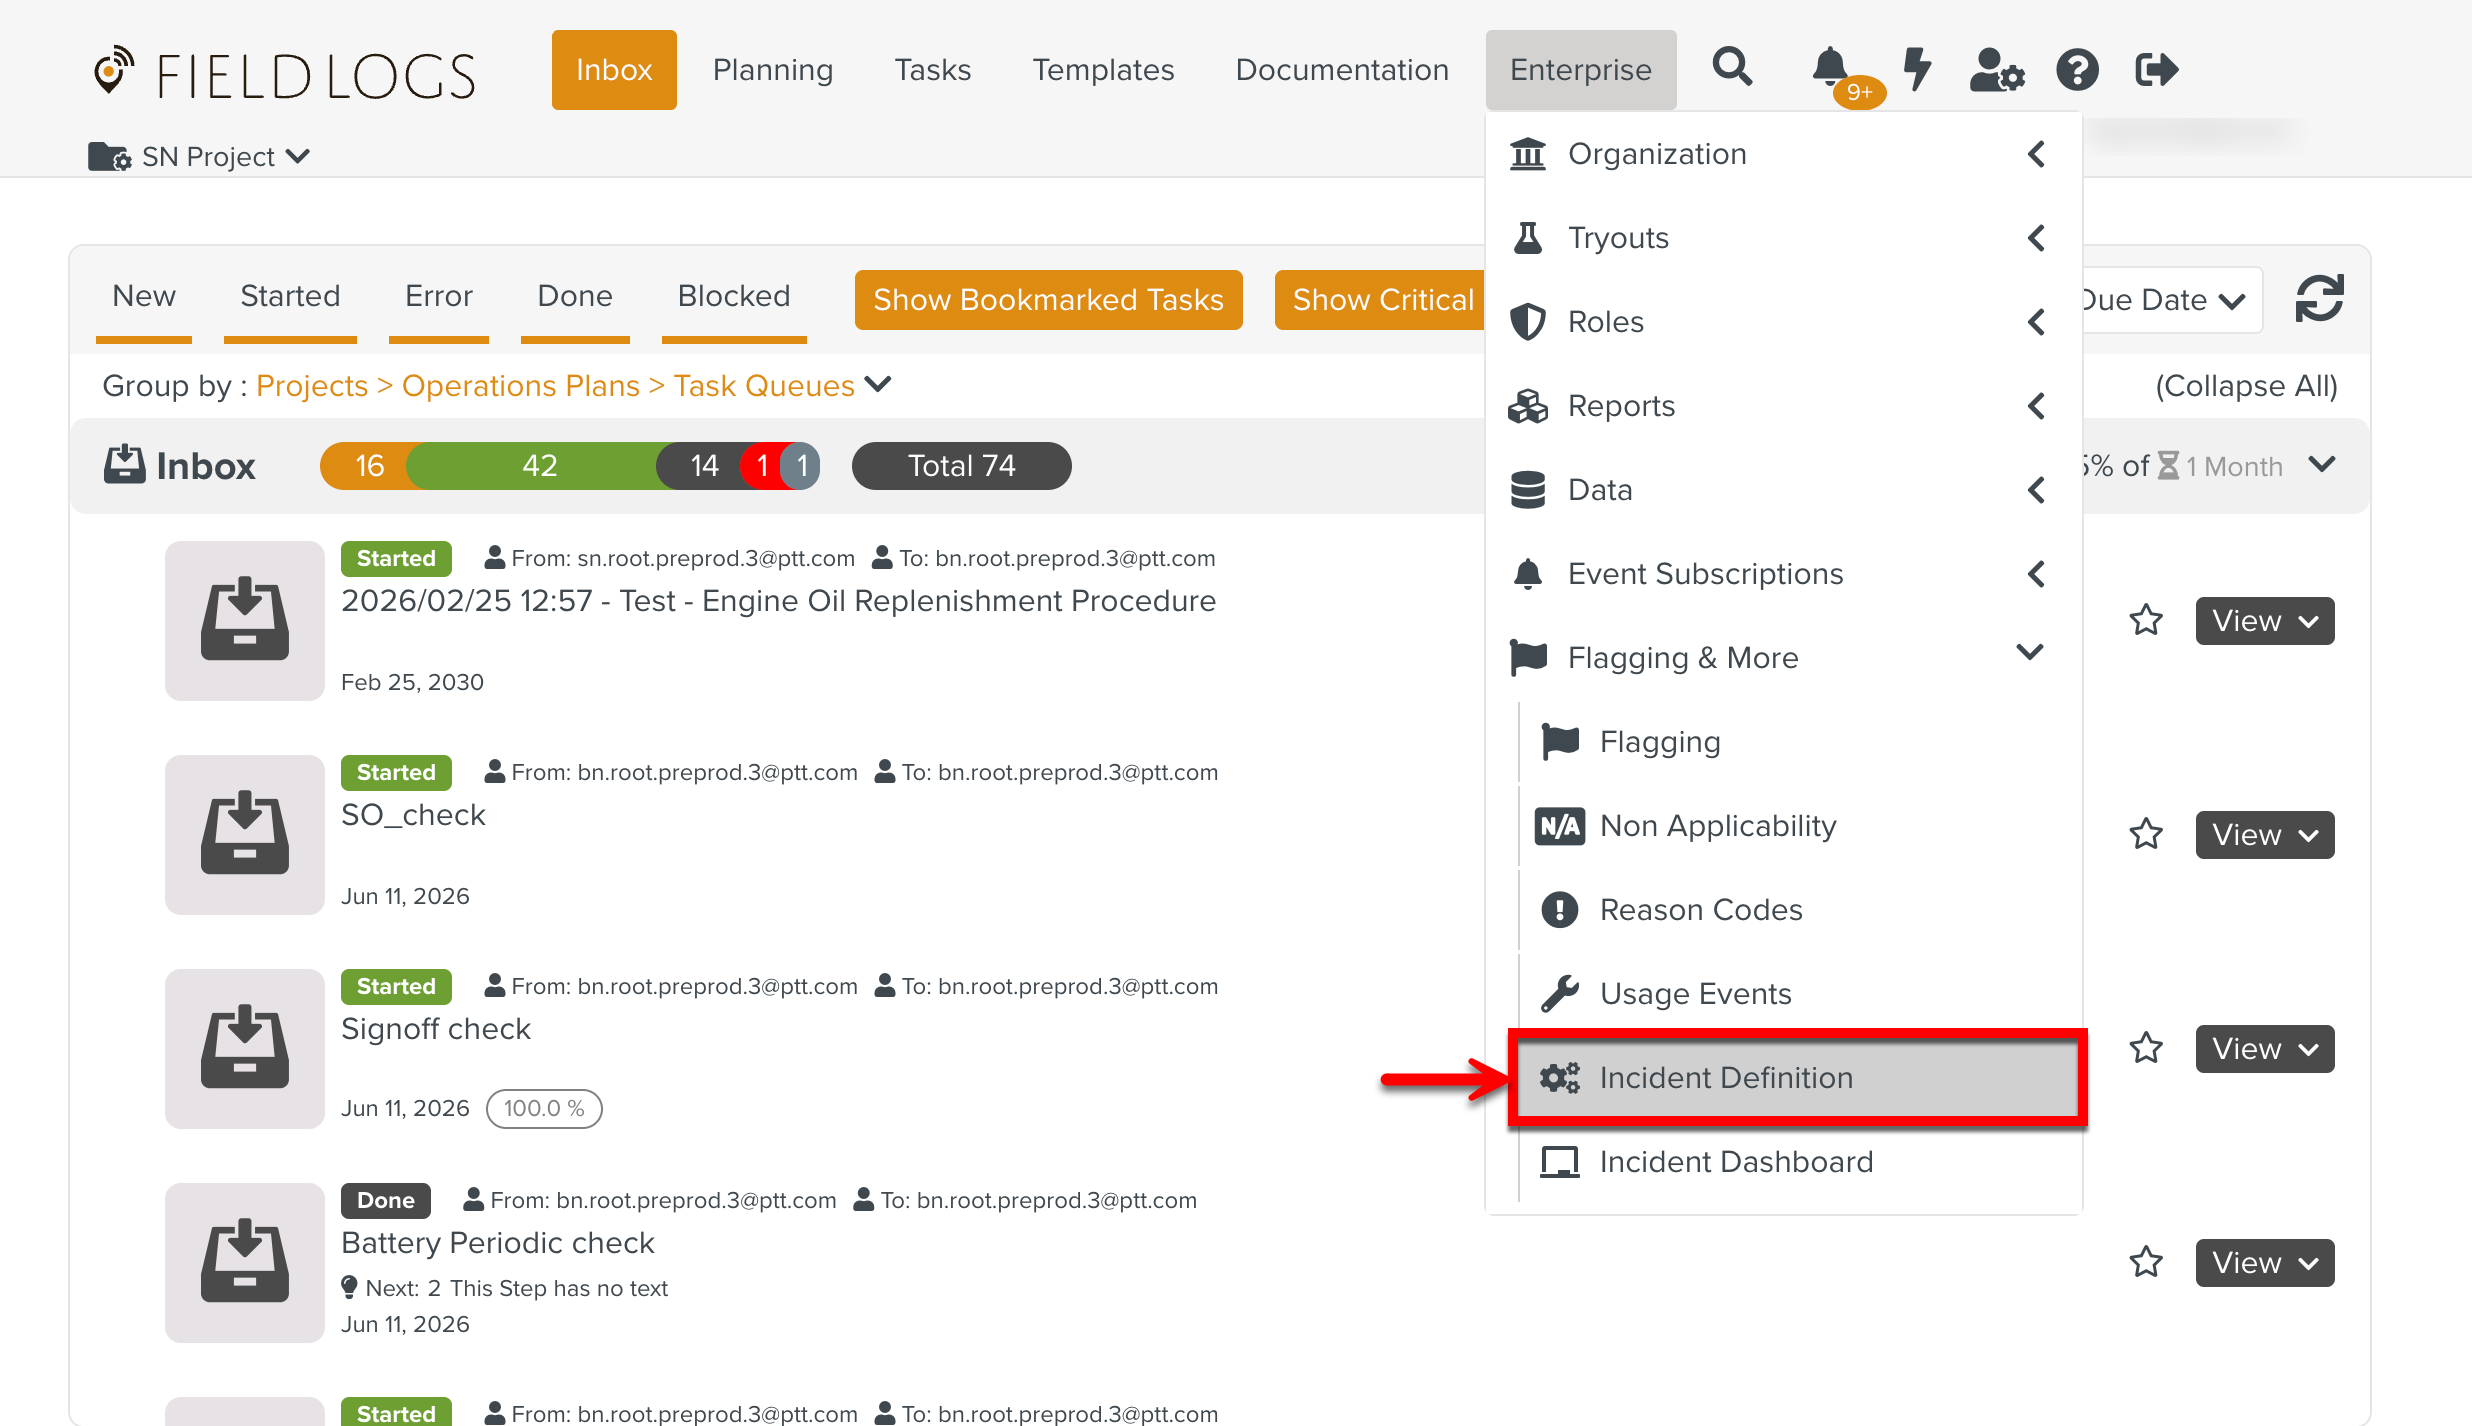
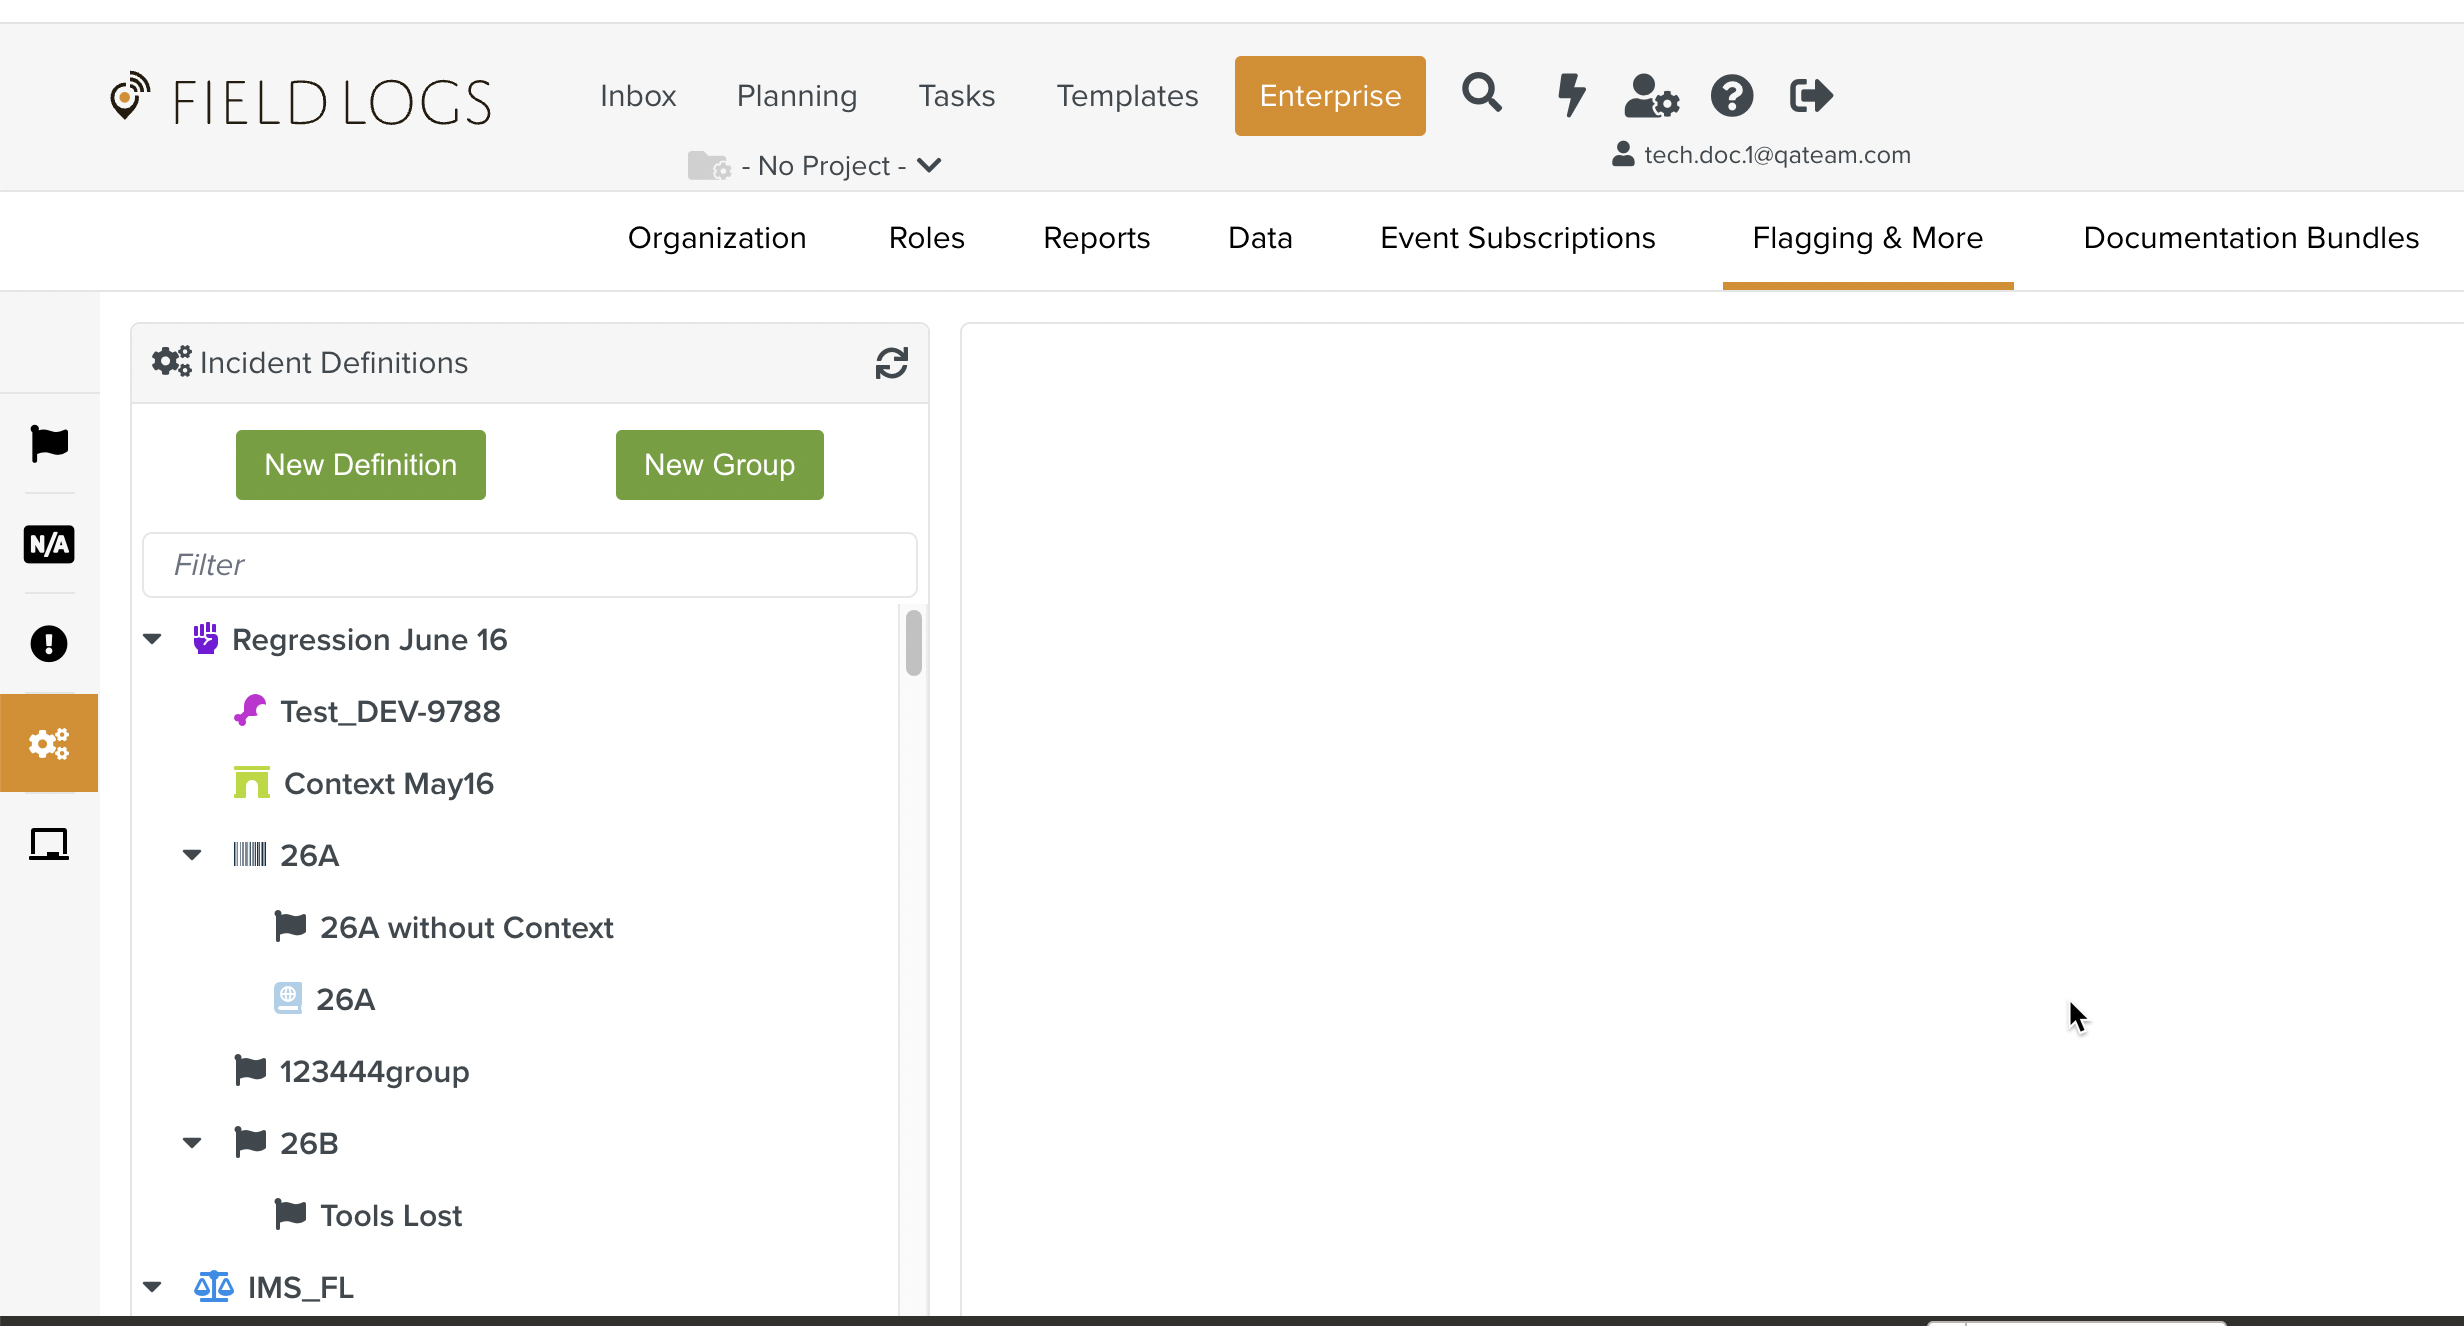
The page Incident opens.
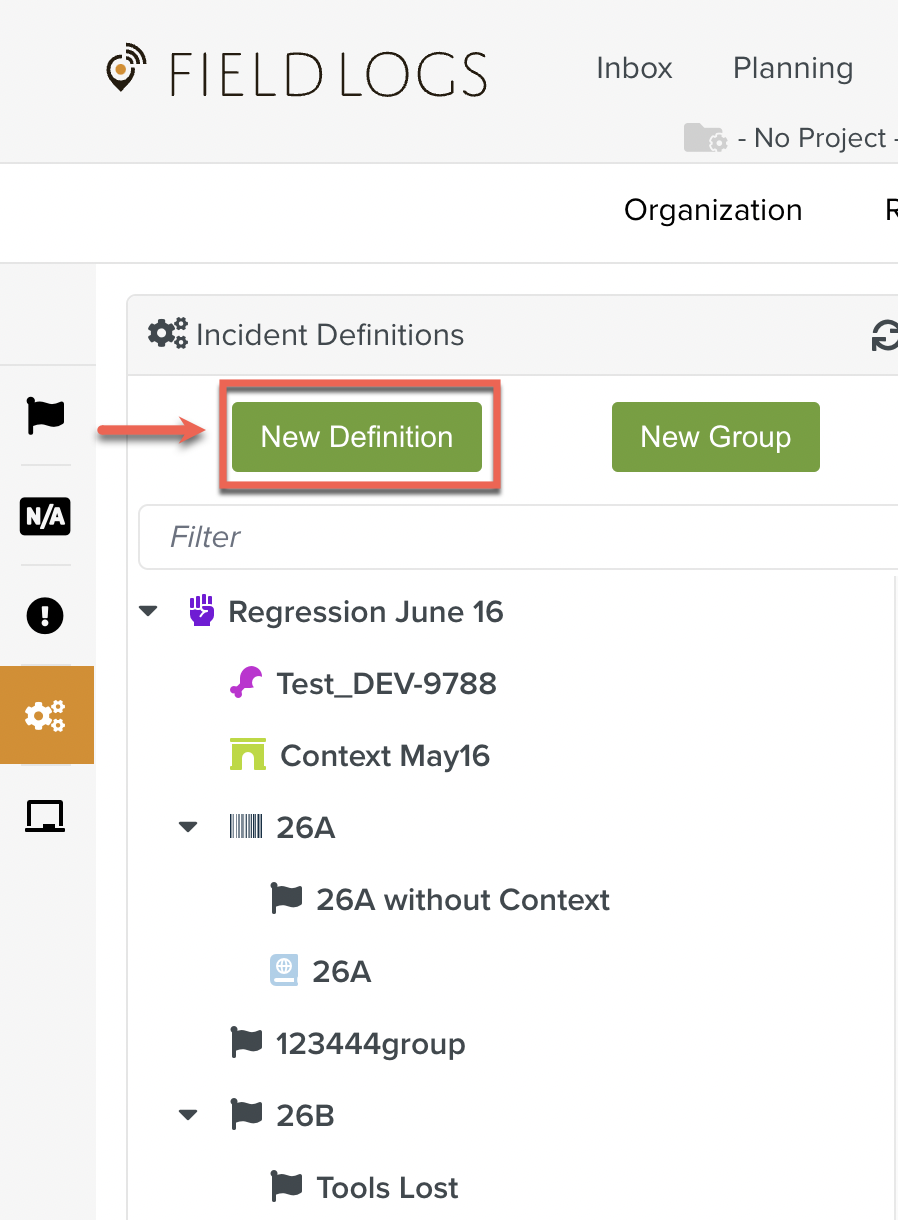
Click .
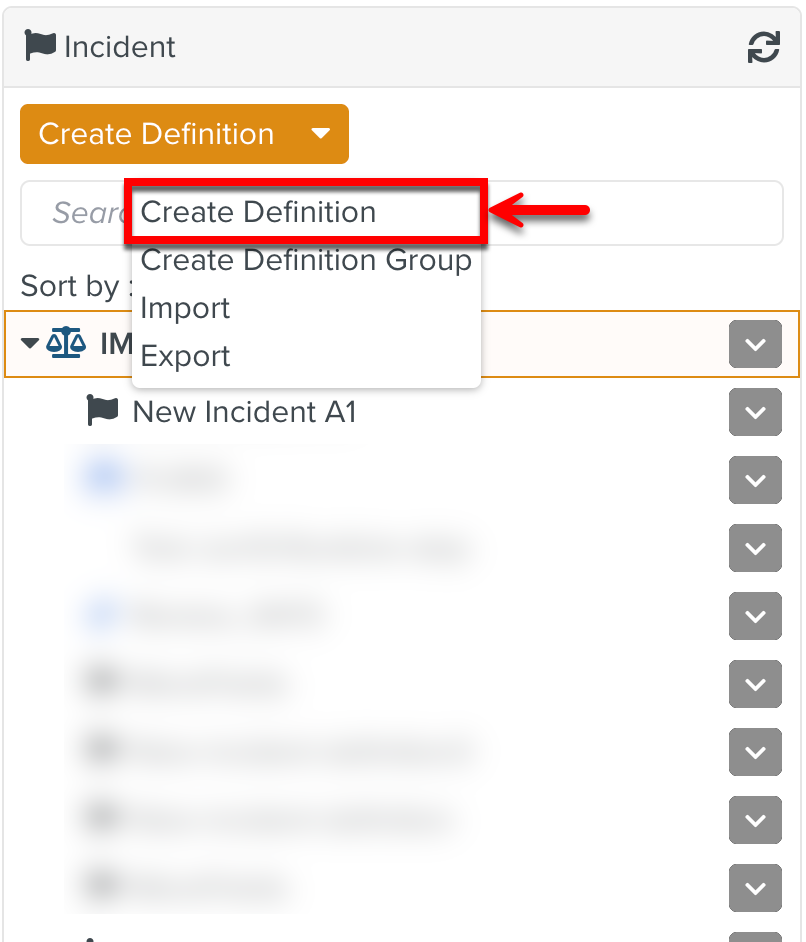
You can also expand the dropdown to select the Create Definition option.
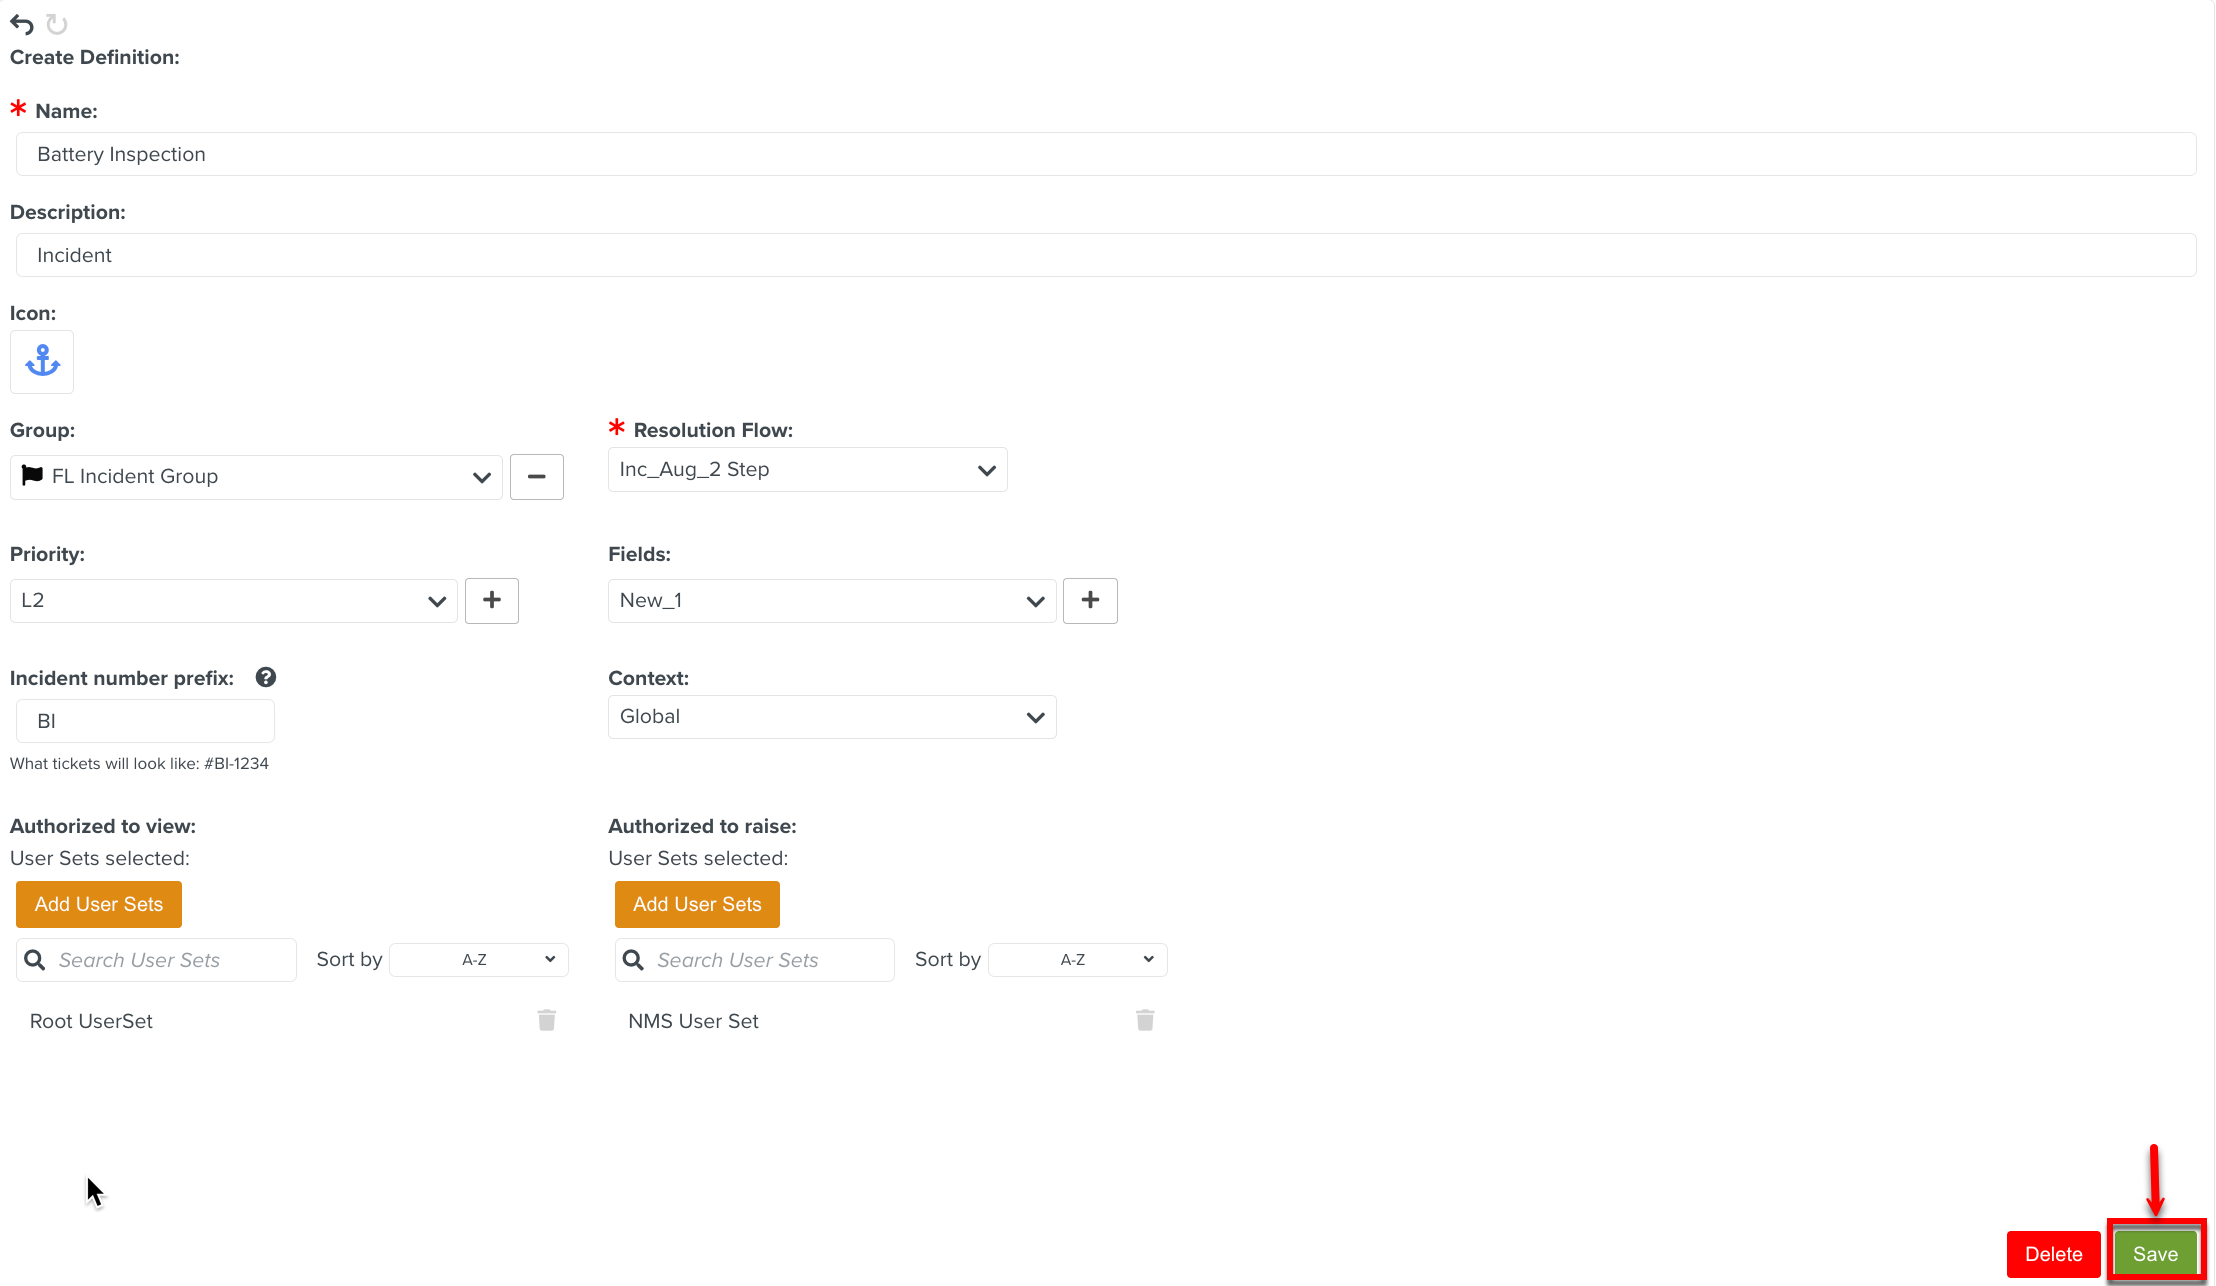
The page Create Definition opens.
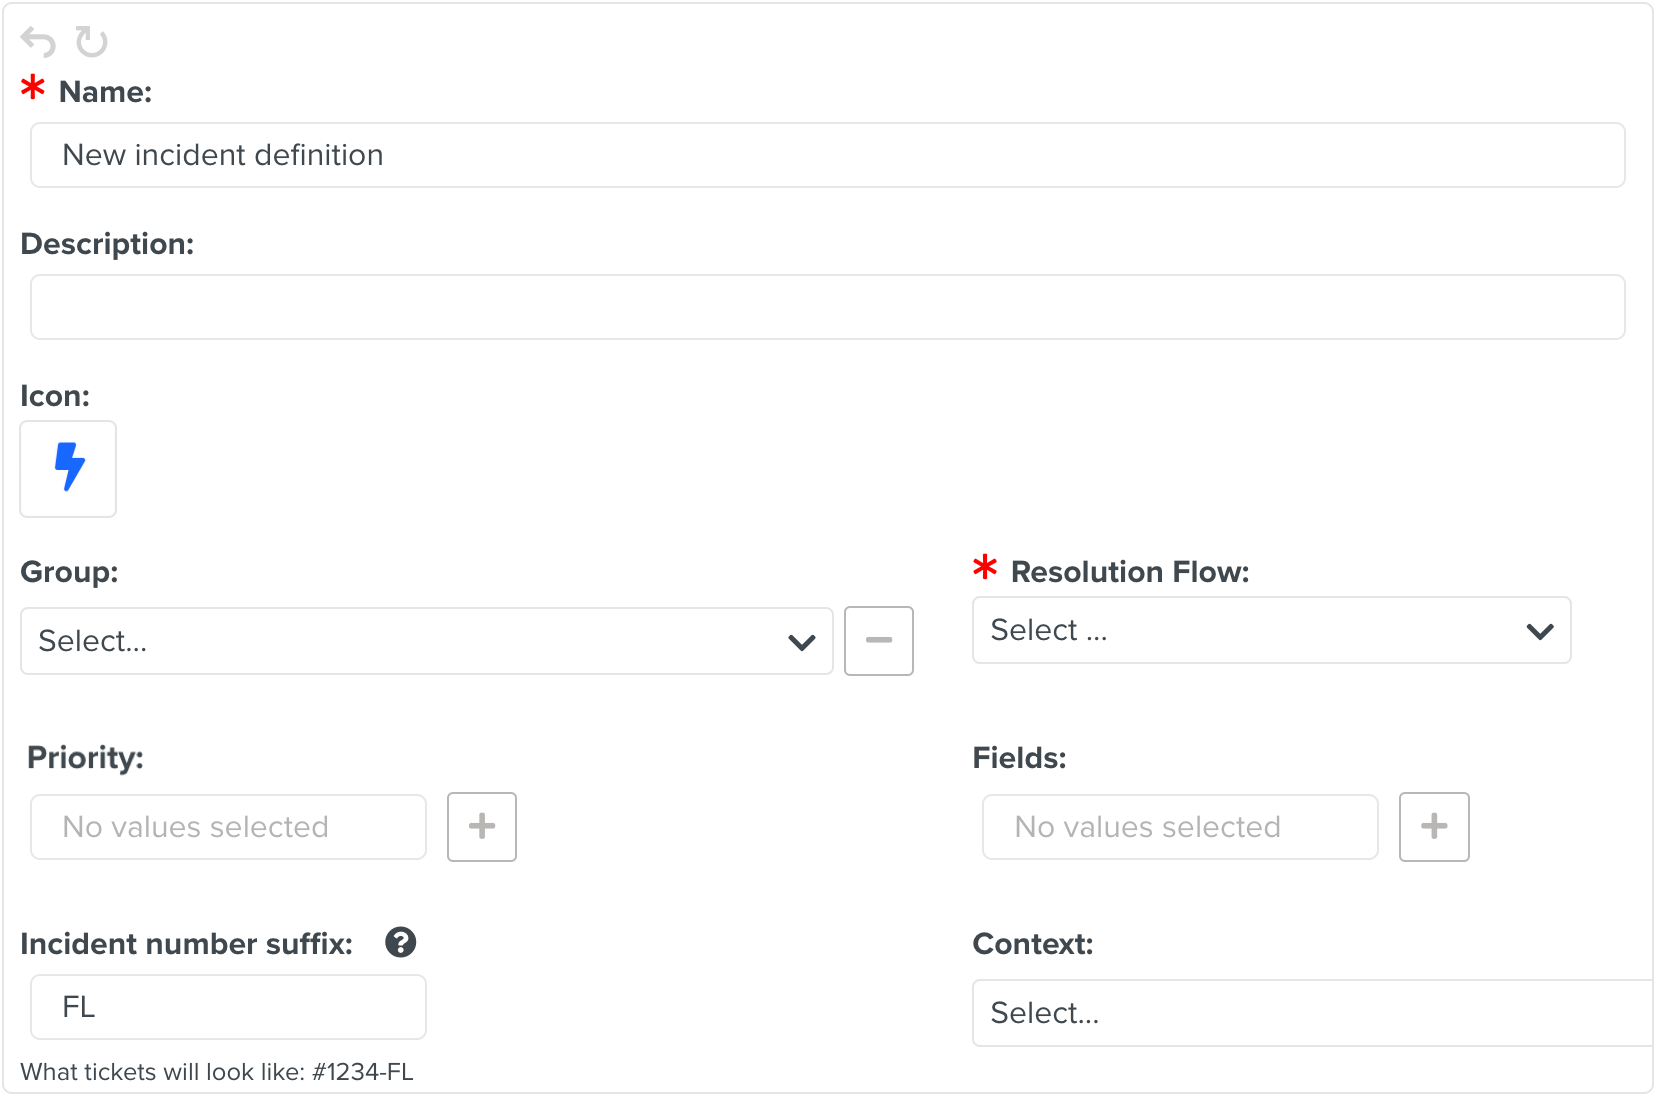
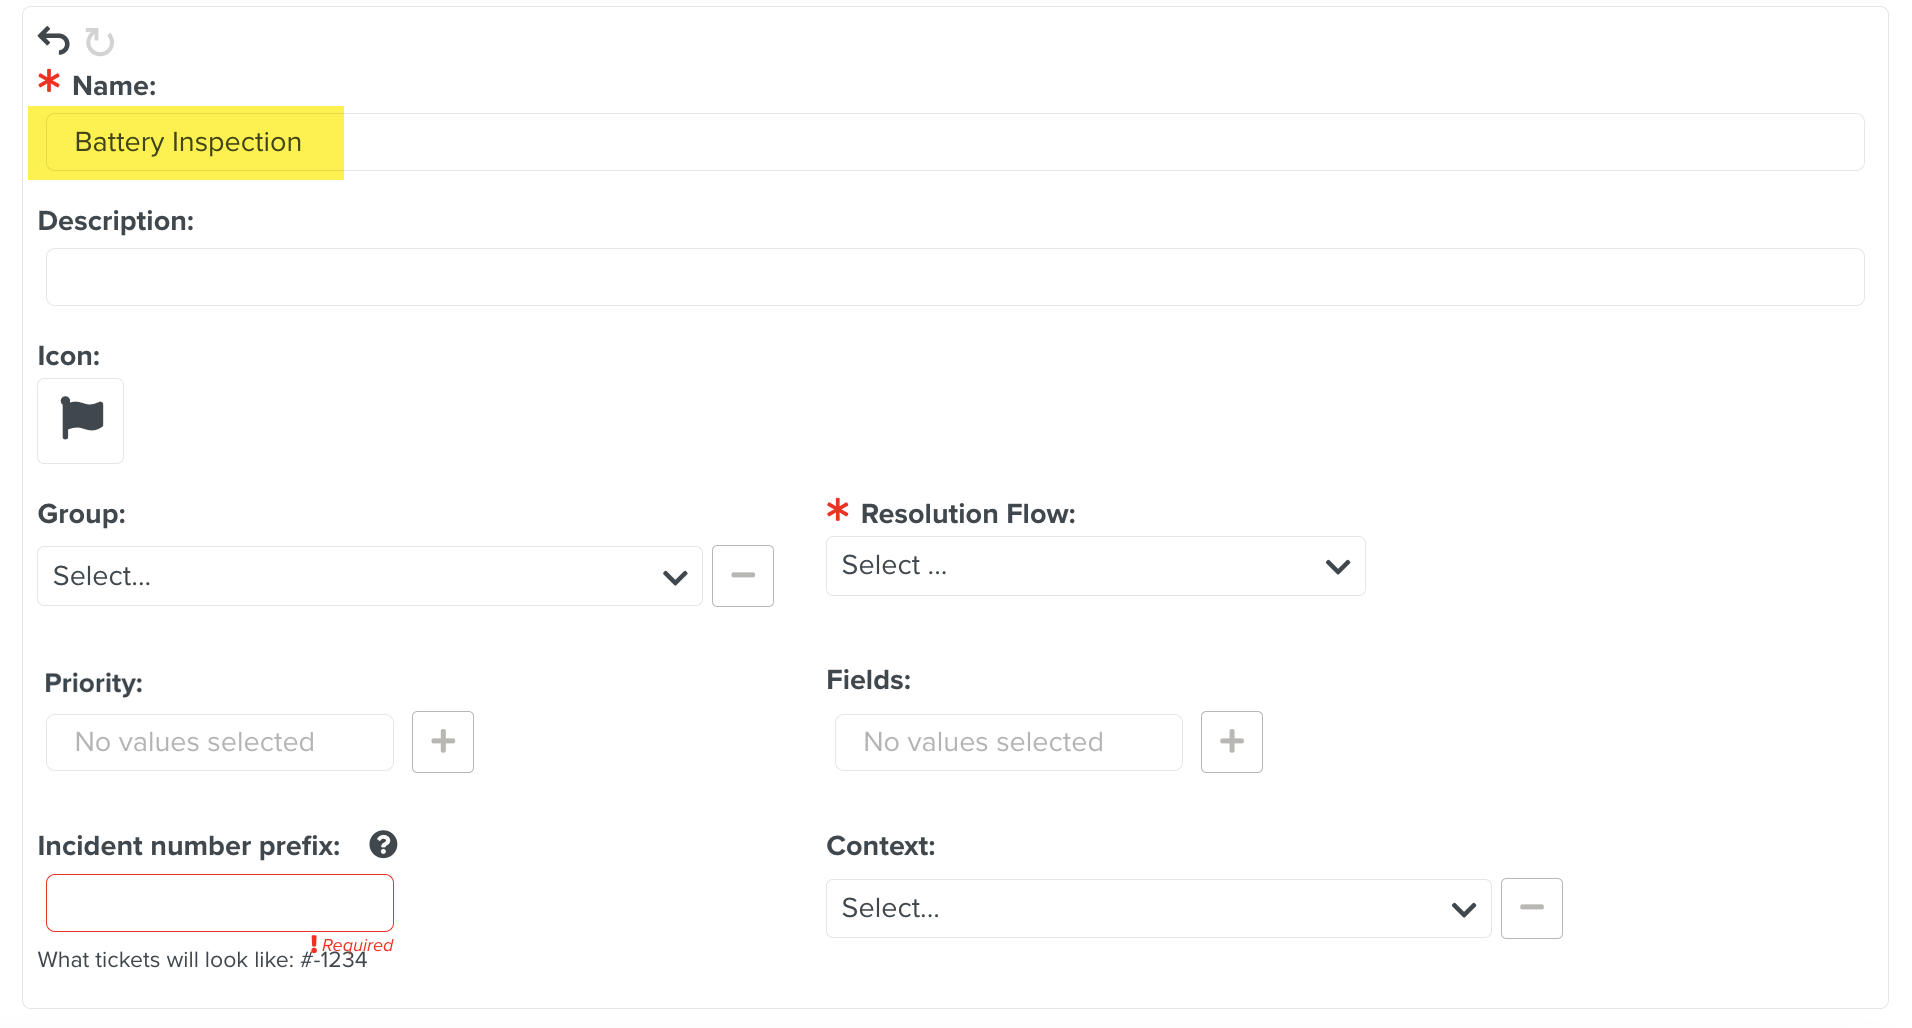
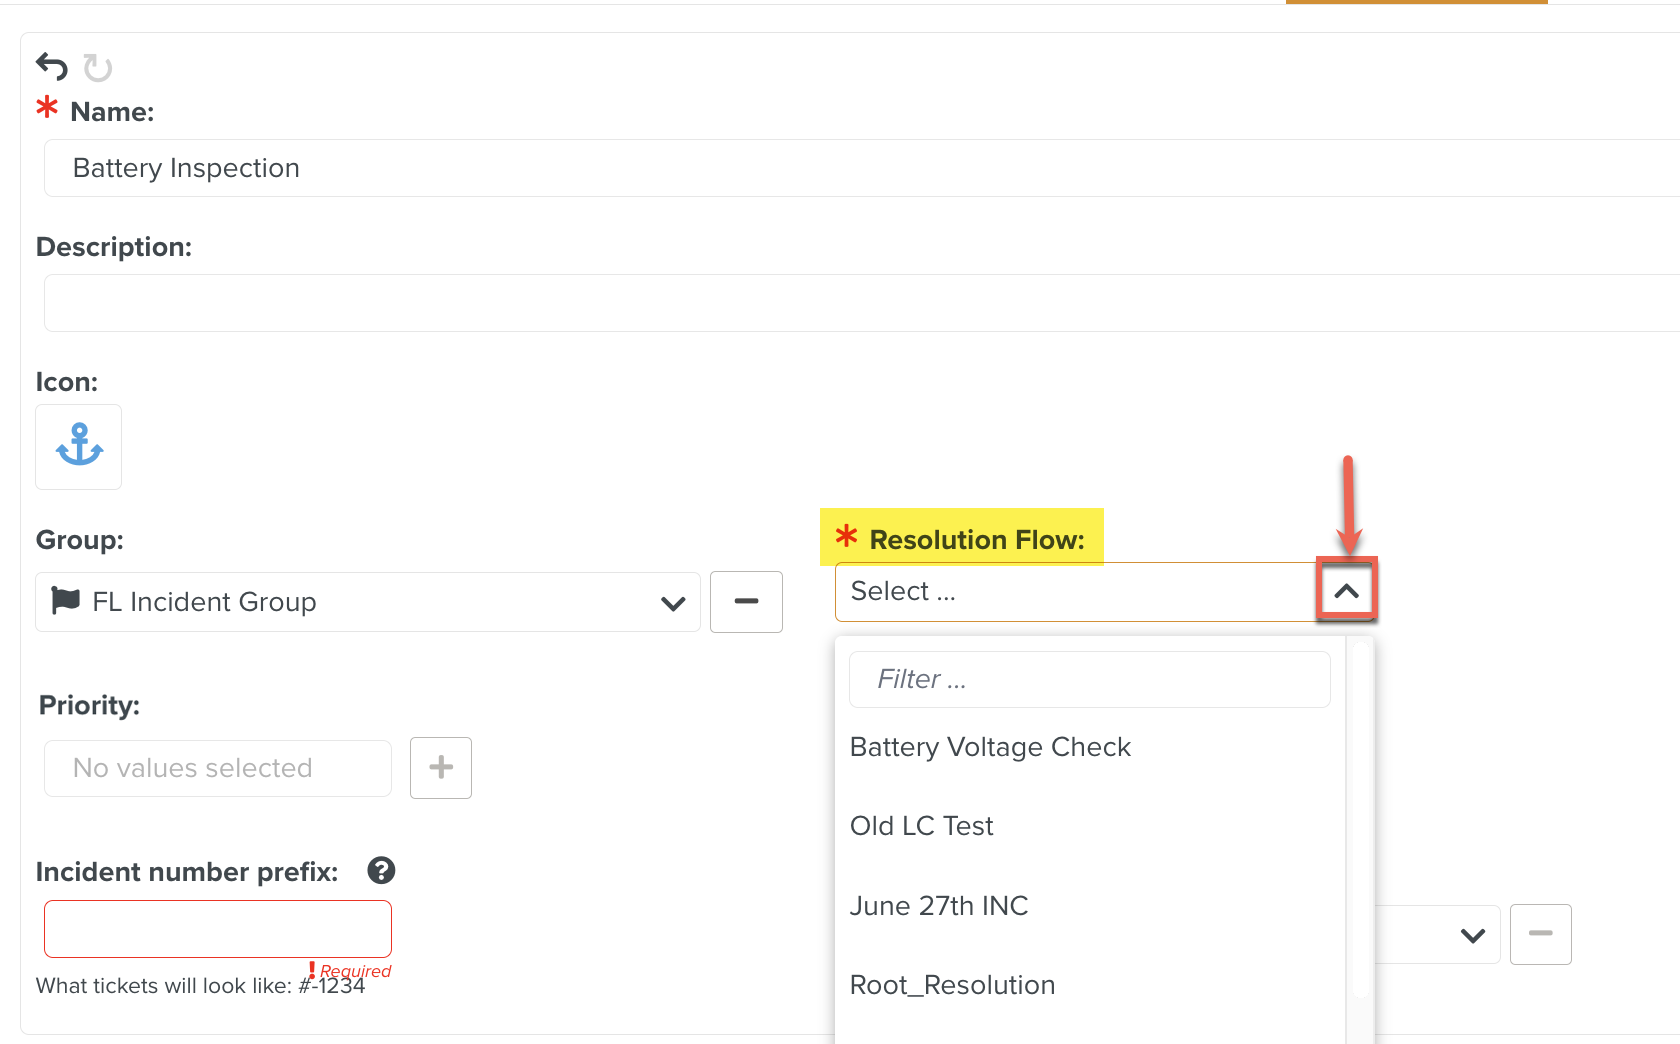
[Mandatory] Enter a Name.
[Optional] Enter Description.
[Optional] Click
 to change the icon.
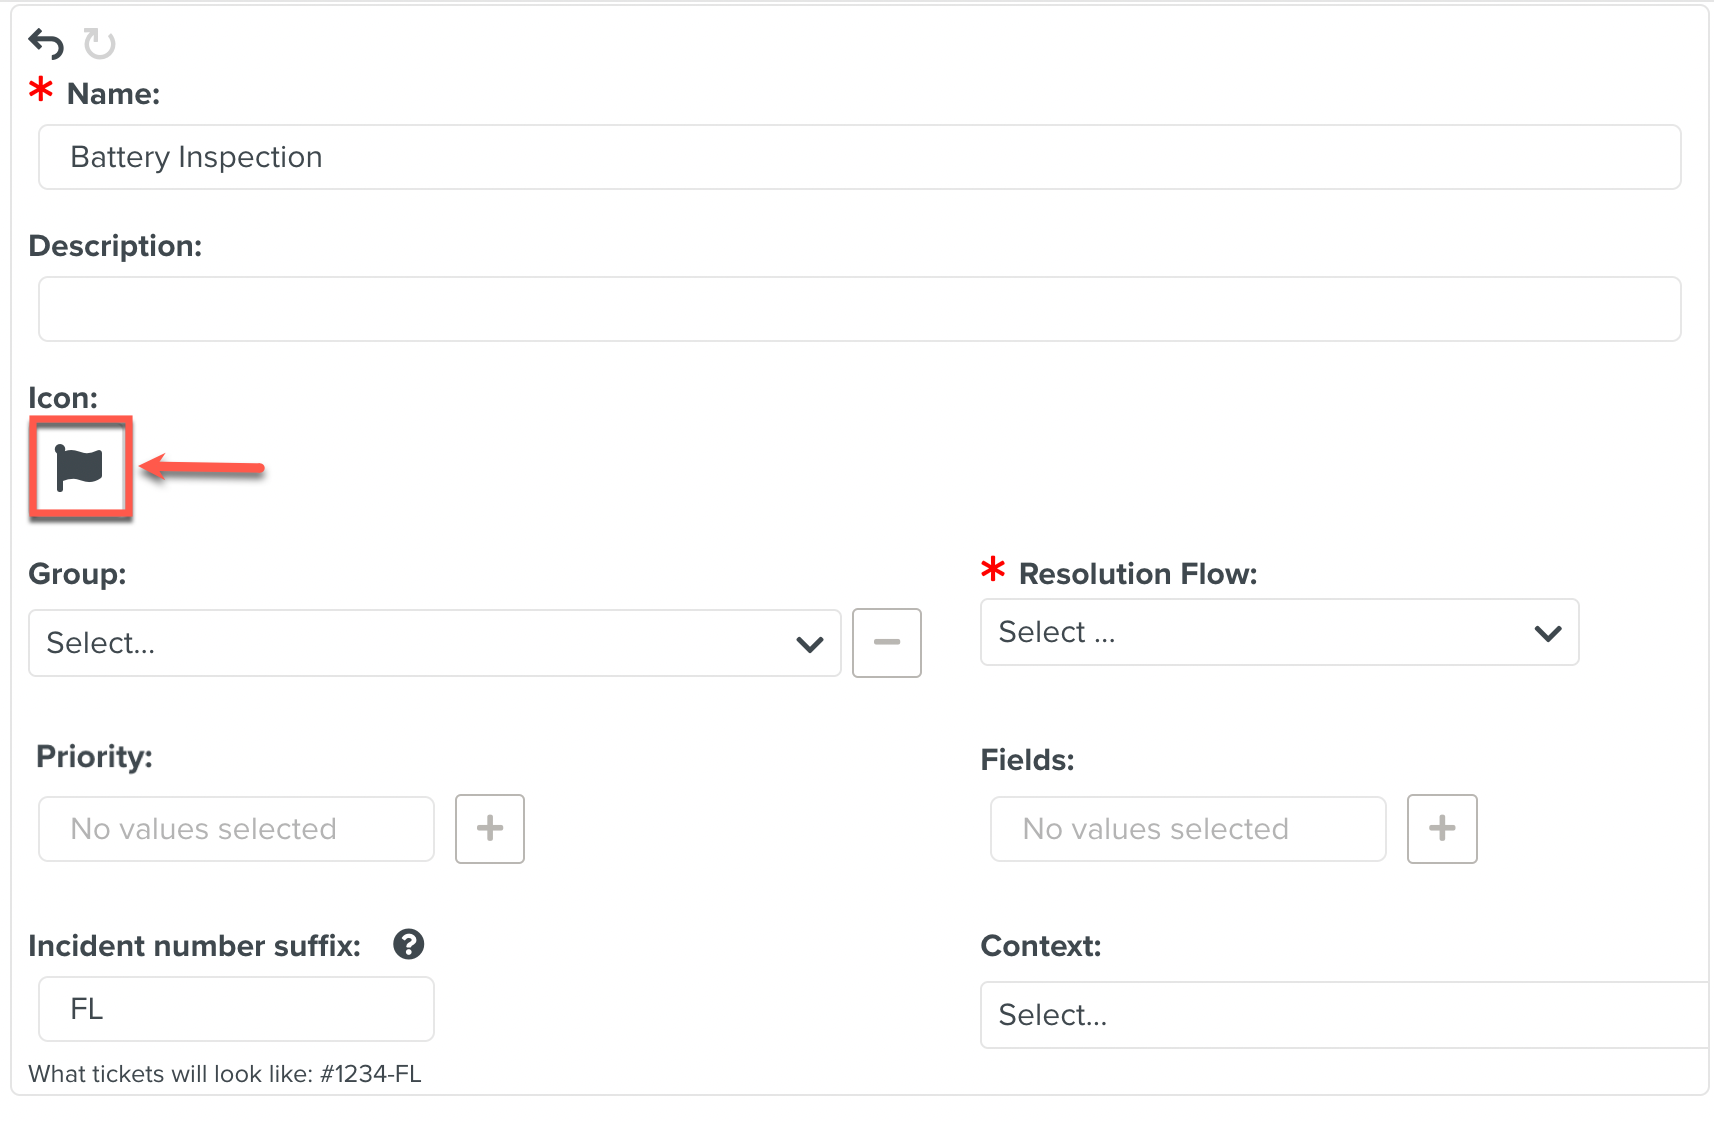
Select an icon from the list or search through the search option as shown below.

Click Select a Color to add color to an icon.
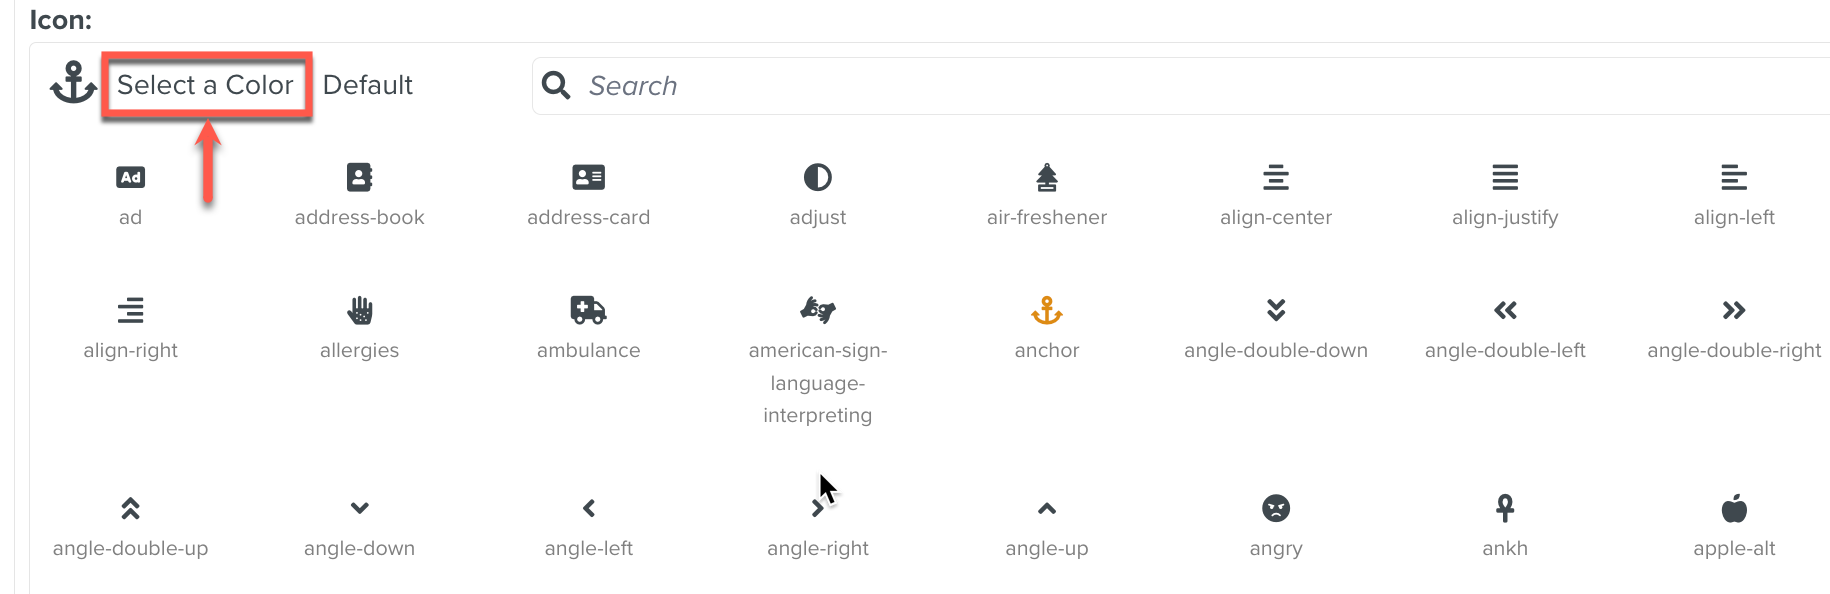
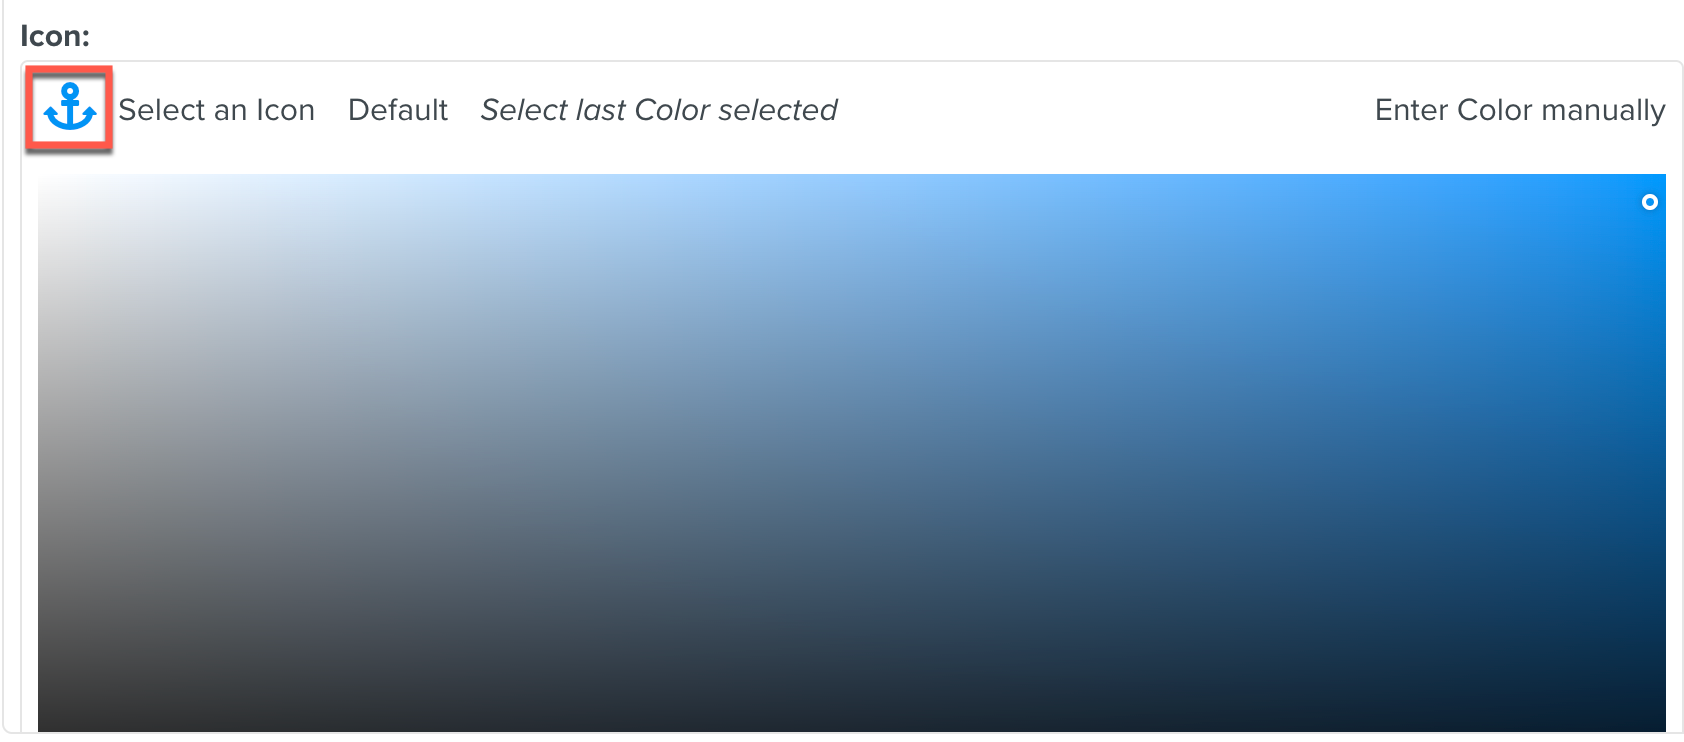
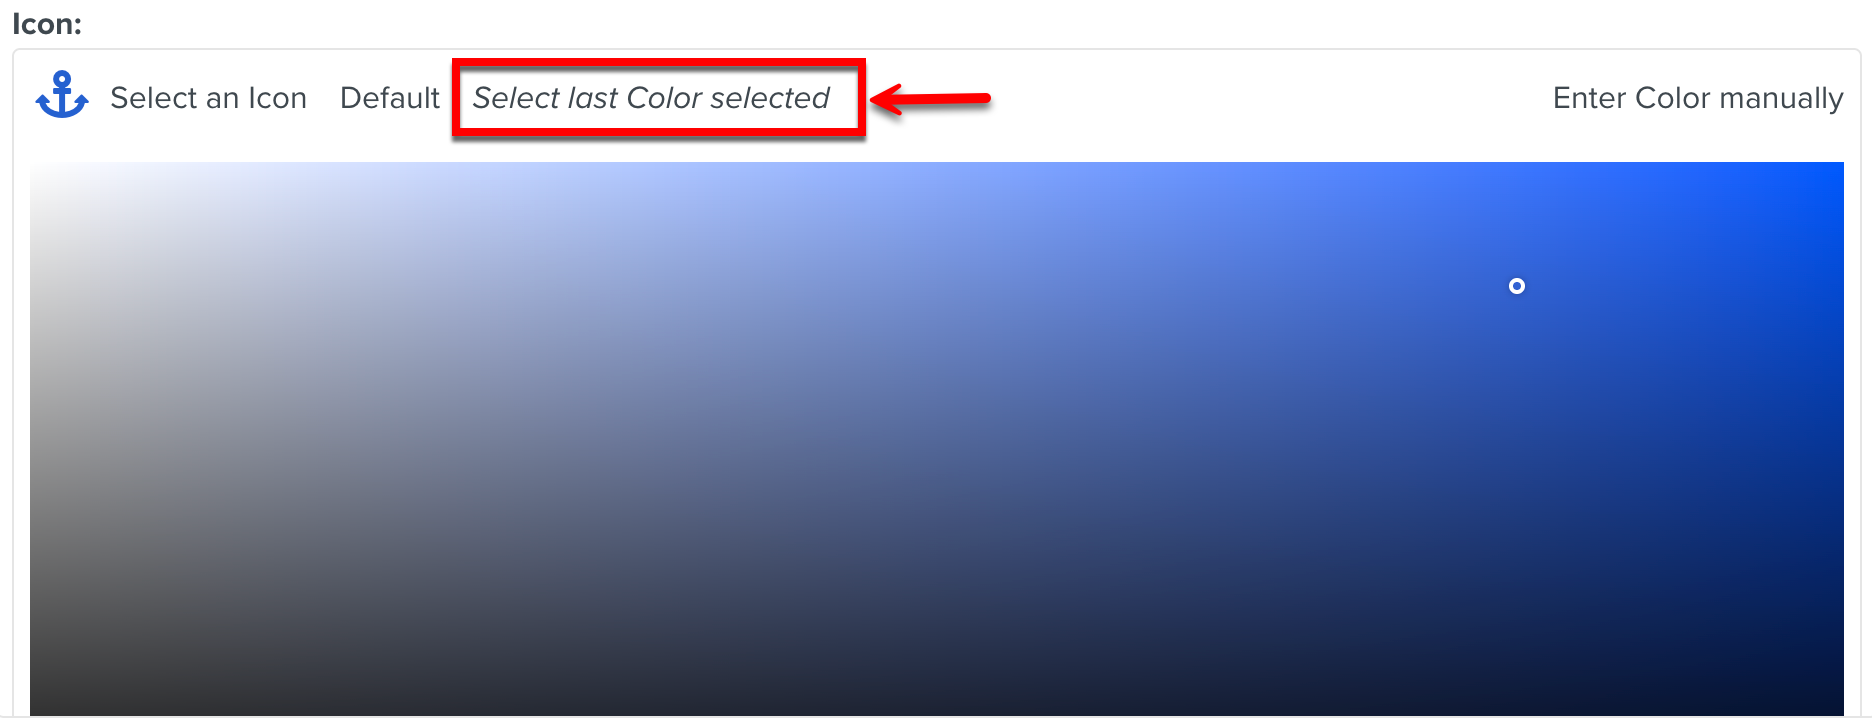
To use the last color selected for an icon, click Select last Color selected.
To change it back to the default
icon, click Default.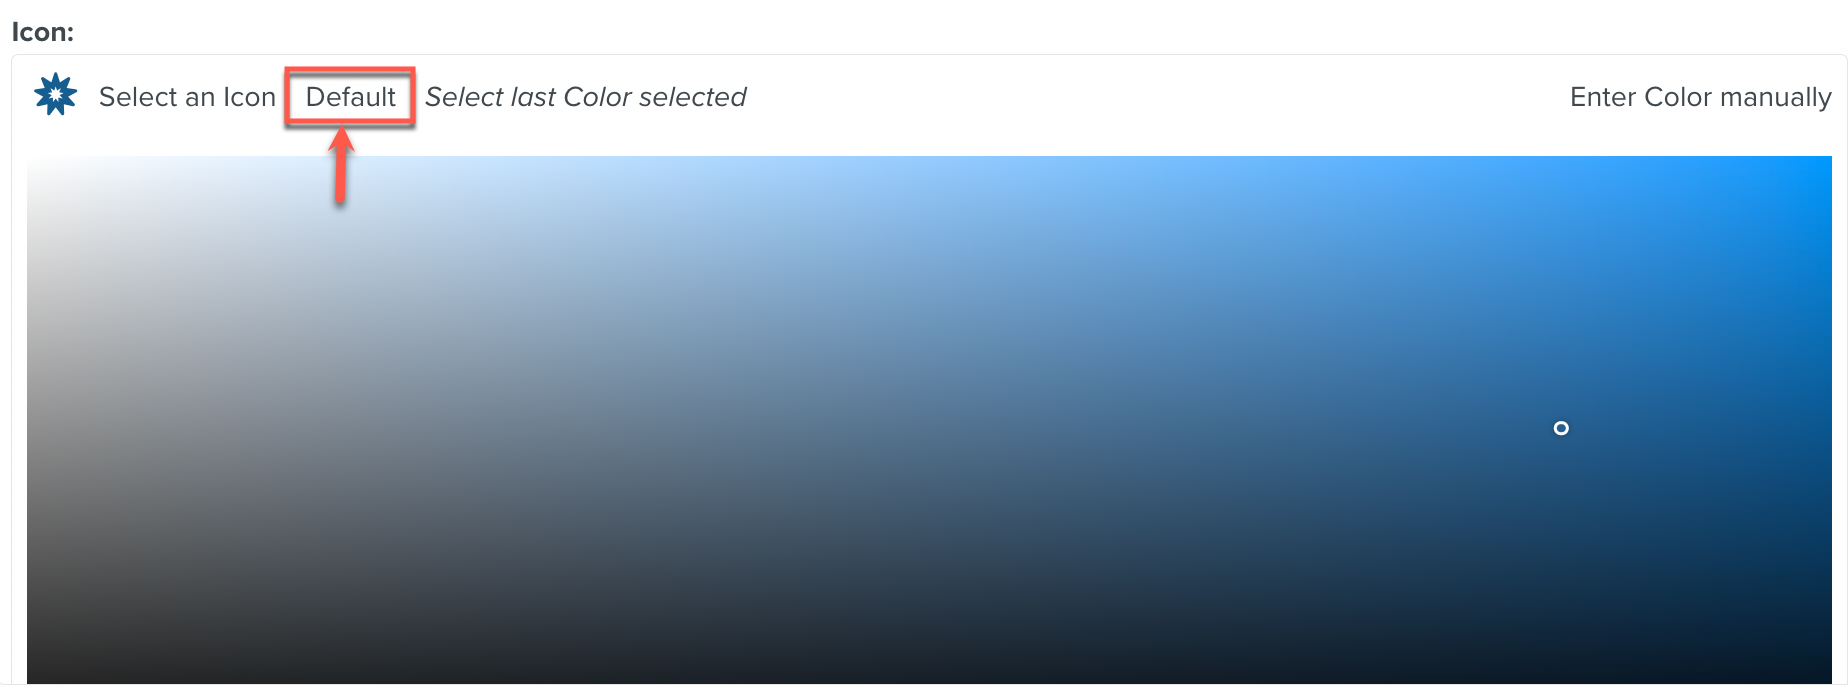
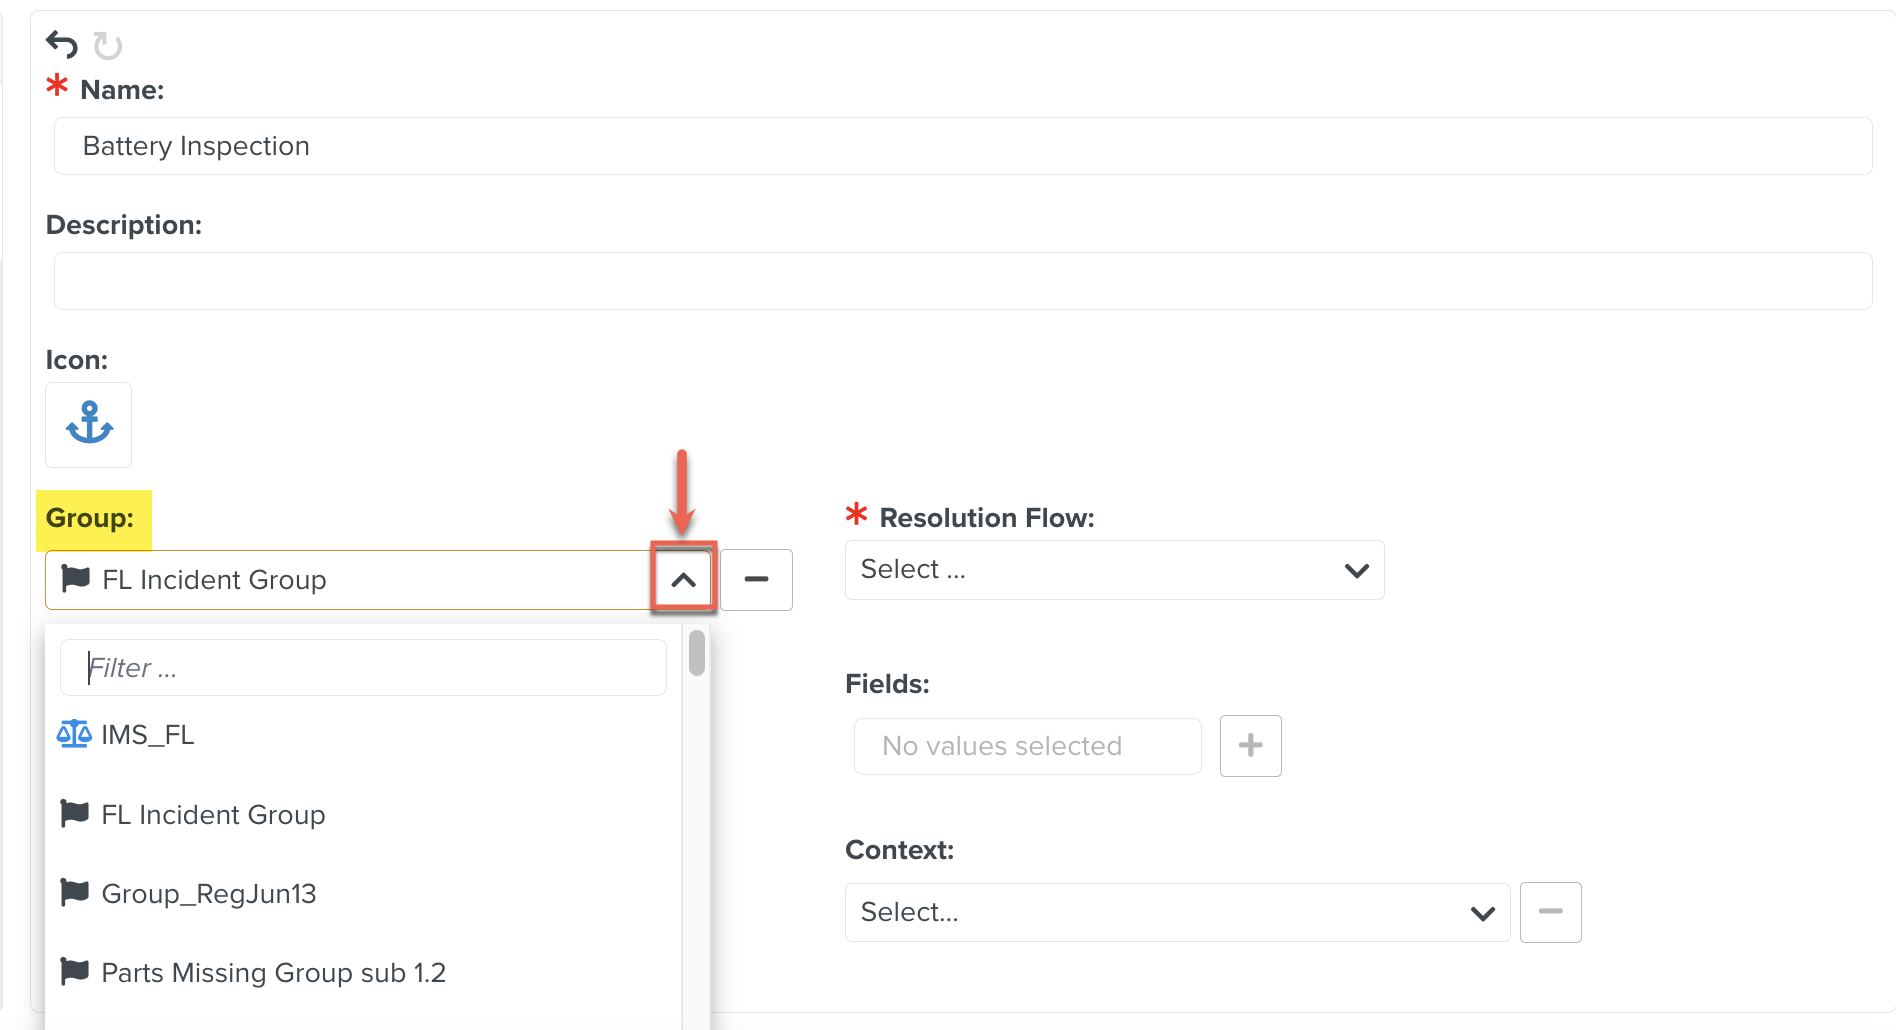
Select a Group from the dropdown list as shown below.
The Group is used to logically group related Incident Definitions.
[Mandatory] Select an appropriate Lifecycle from the Resolution Flow dropdown list.
Resolution Flow determines how an Incident is resolved.
The Custom Lifecycle which is selected as the Resolution Flow is created before defining the Incident.
The Priority and Fields can be created once the New Definition is created.

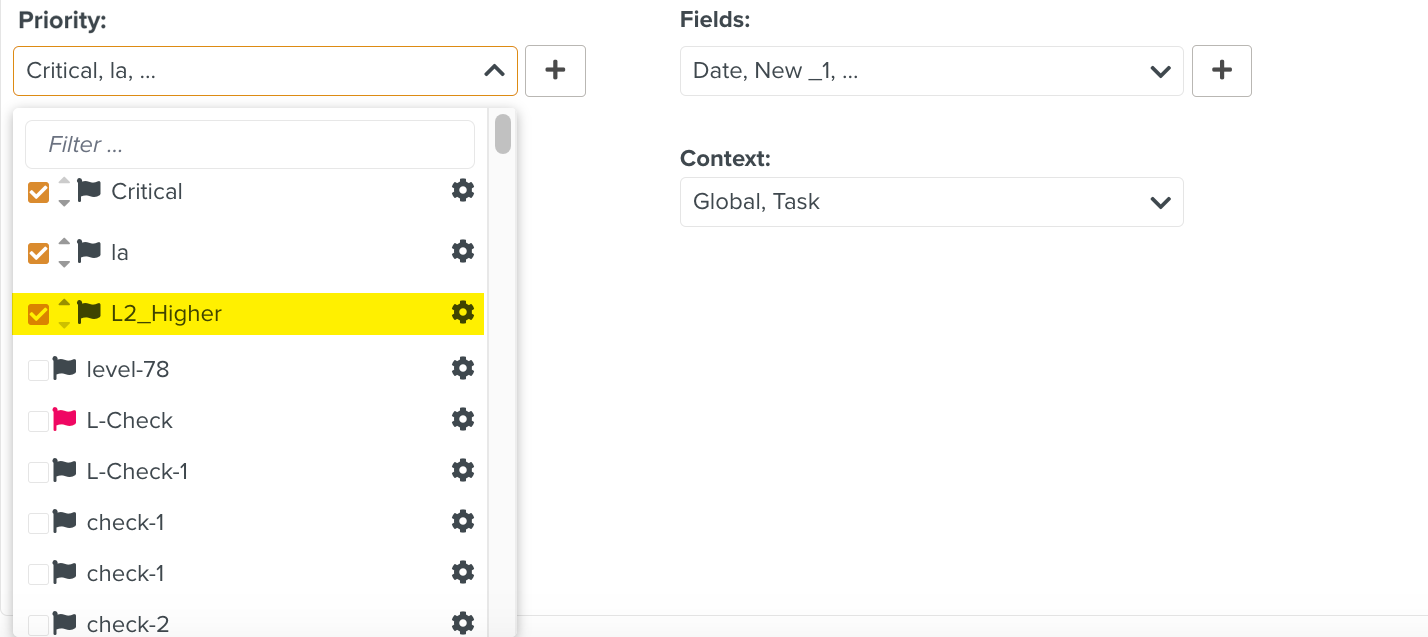
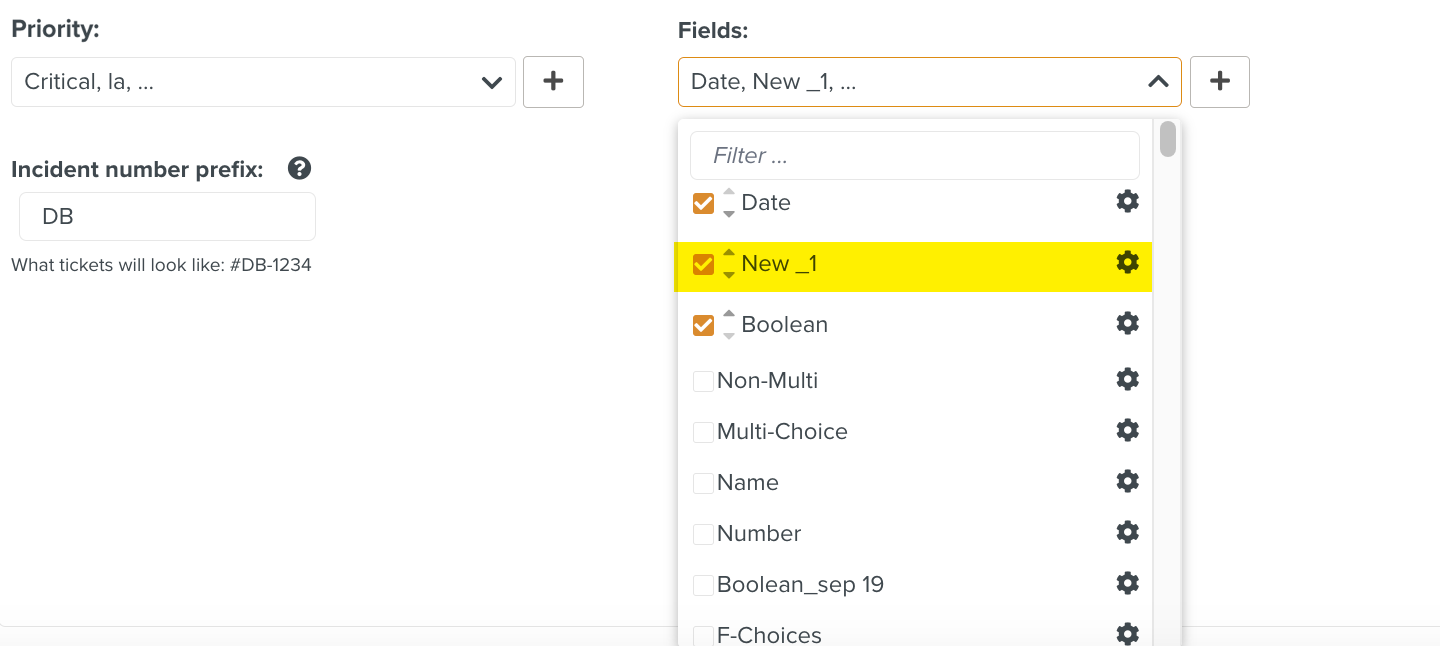
Priority and Fields can be re-ordered using drag and drop.
In the example below, Priority L2_Higher and Field New_1 are reordered as highlighted.
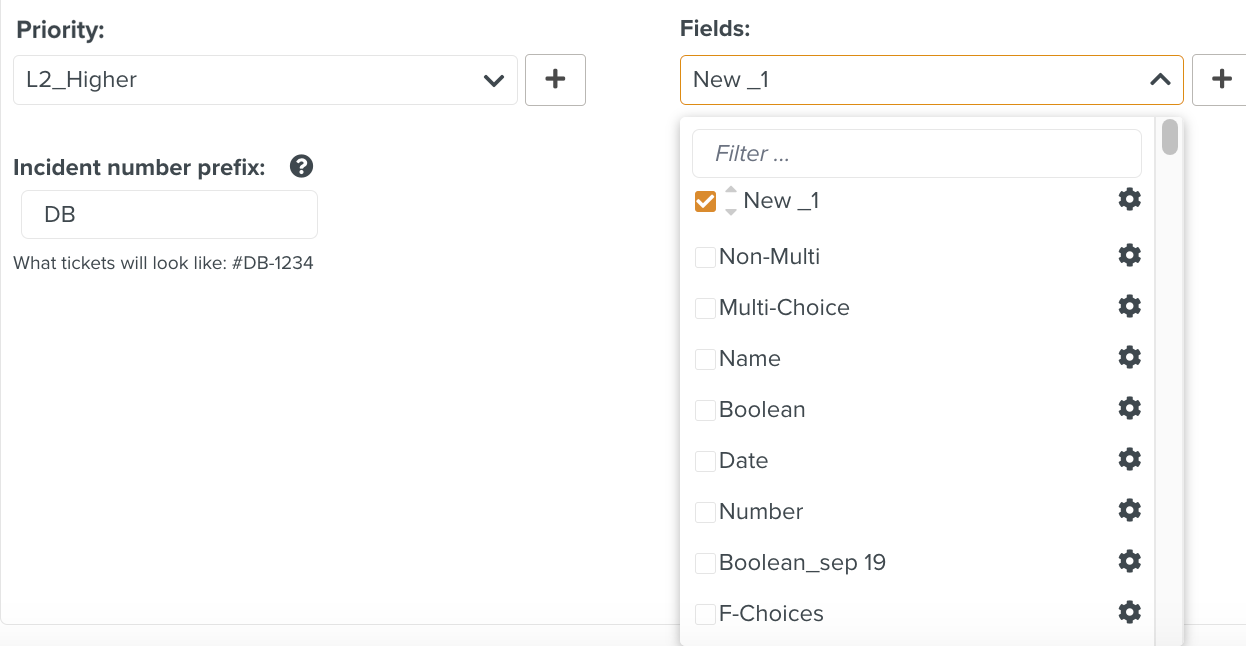
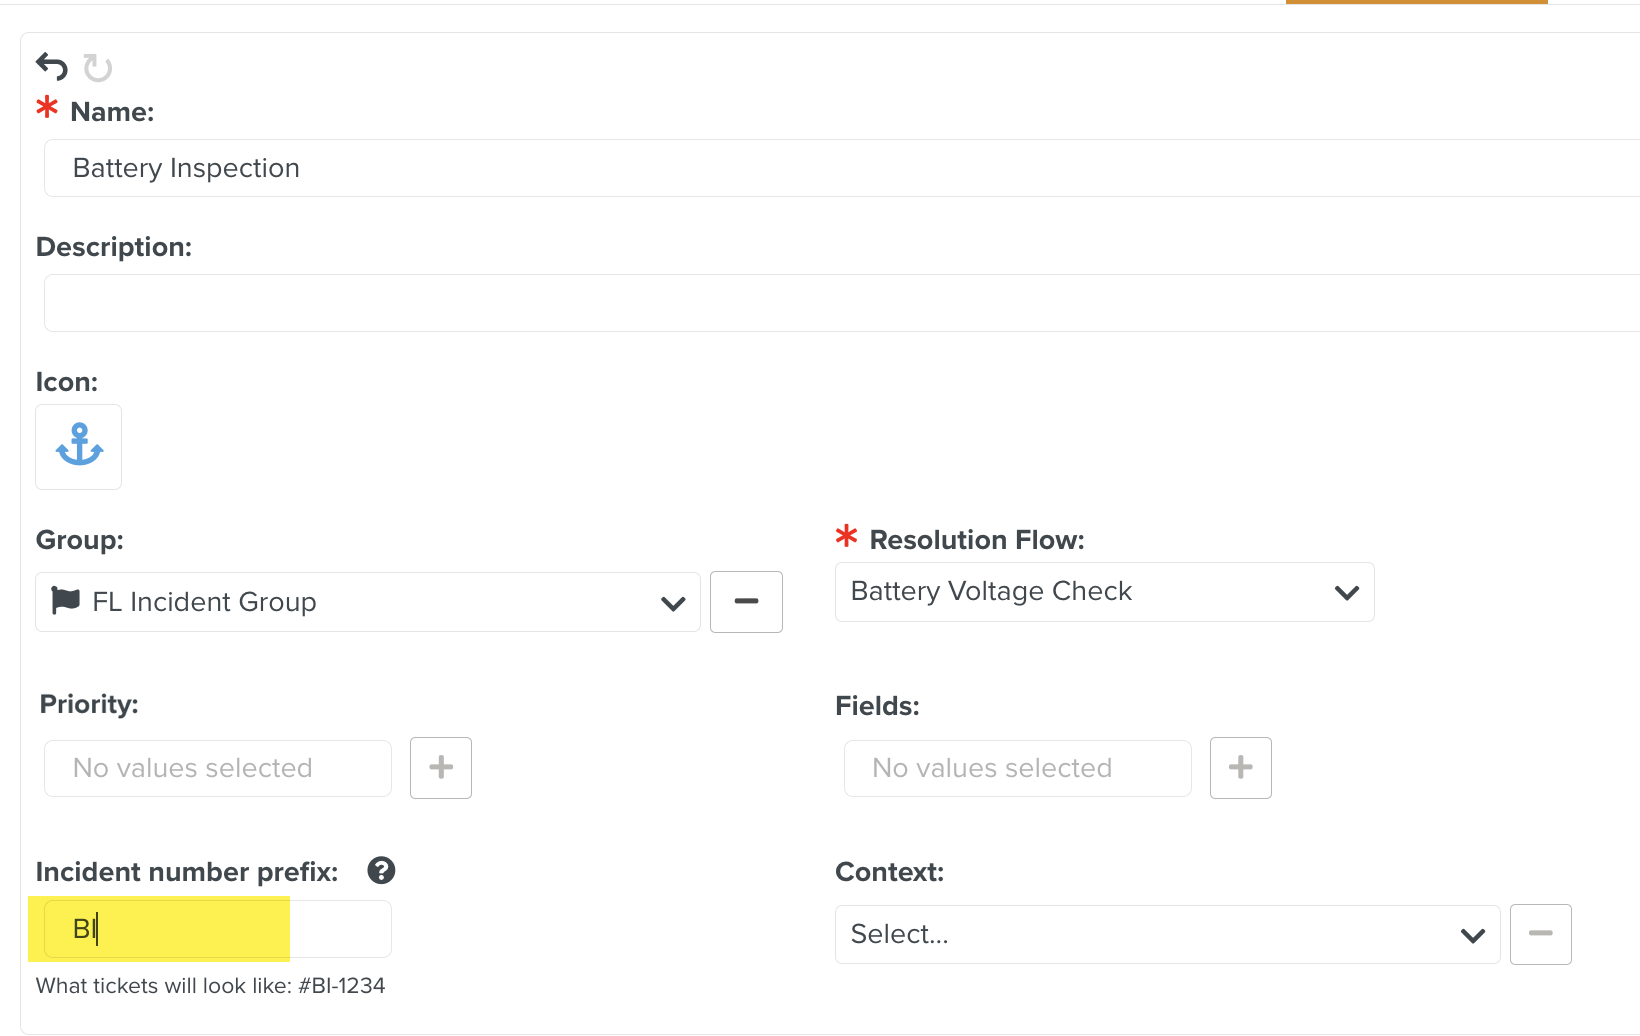
Enter an Incident number prefix.
An Incident number is created from the Definition for every Incident raised.
In the below example, the first Incident raised will have the Incident number #BI-1. Consecutive Incidents raised will have the Incident numbers incremented as #BI-2, #BI-3 and so on.
Click .
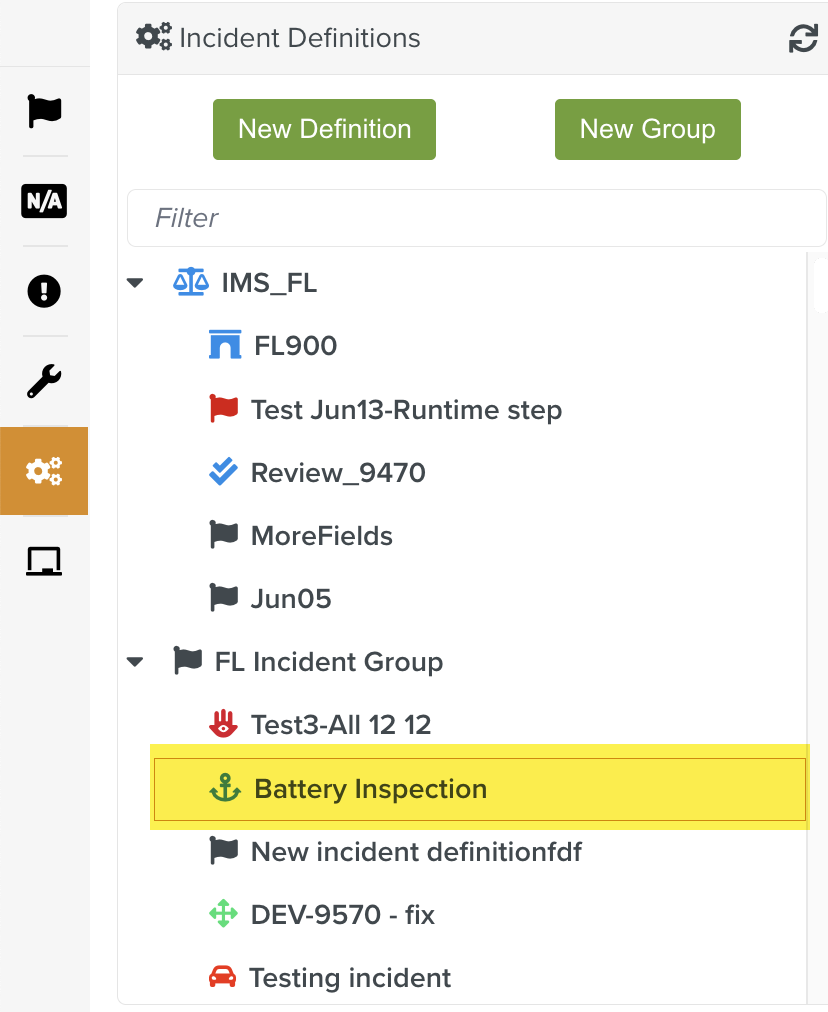
The Incident Definition is created.
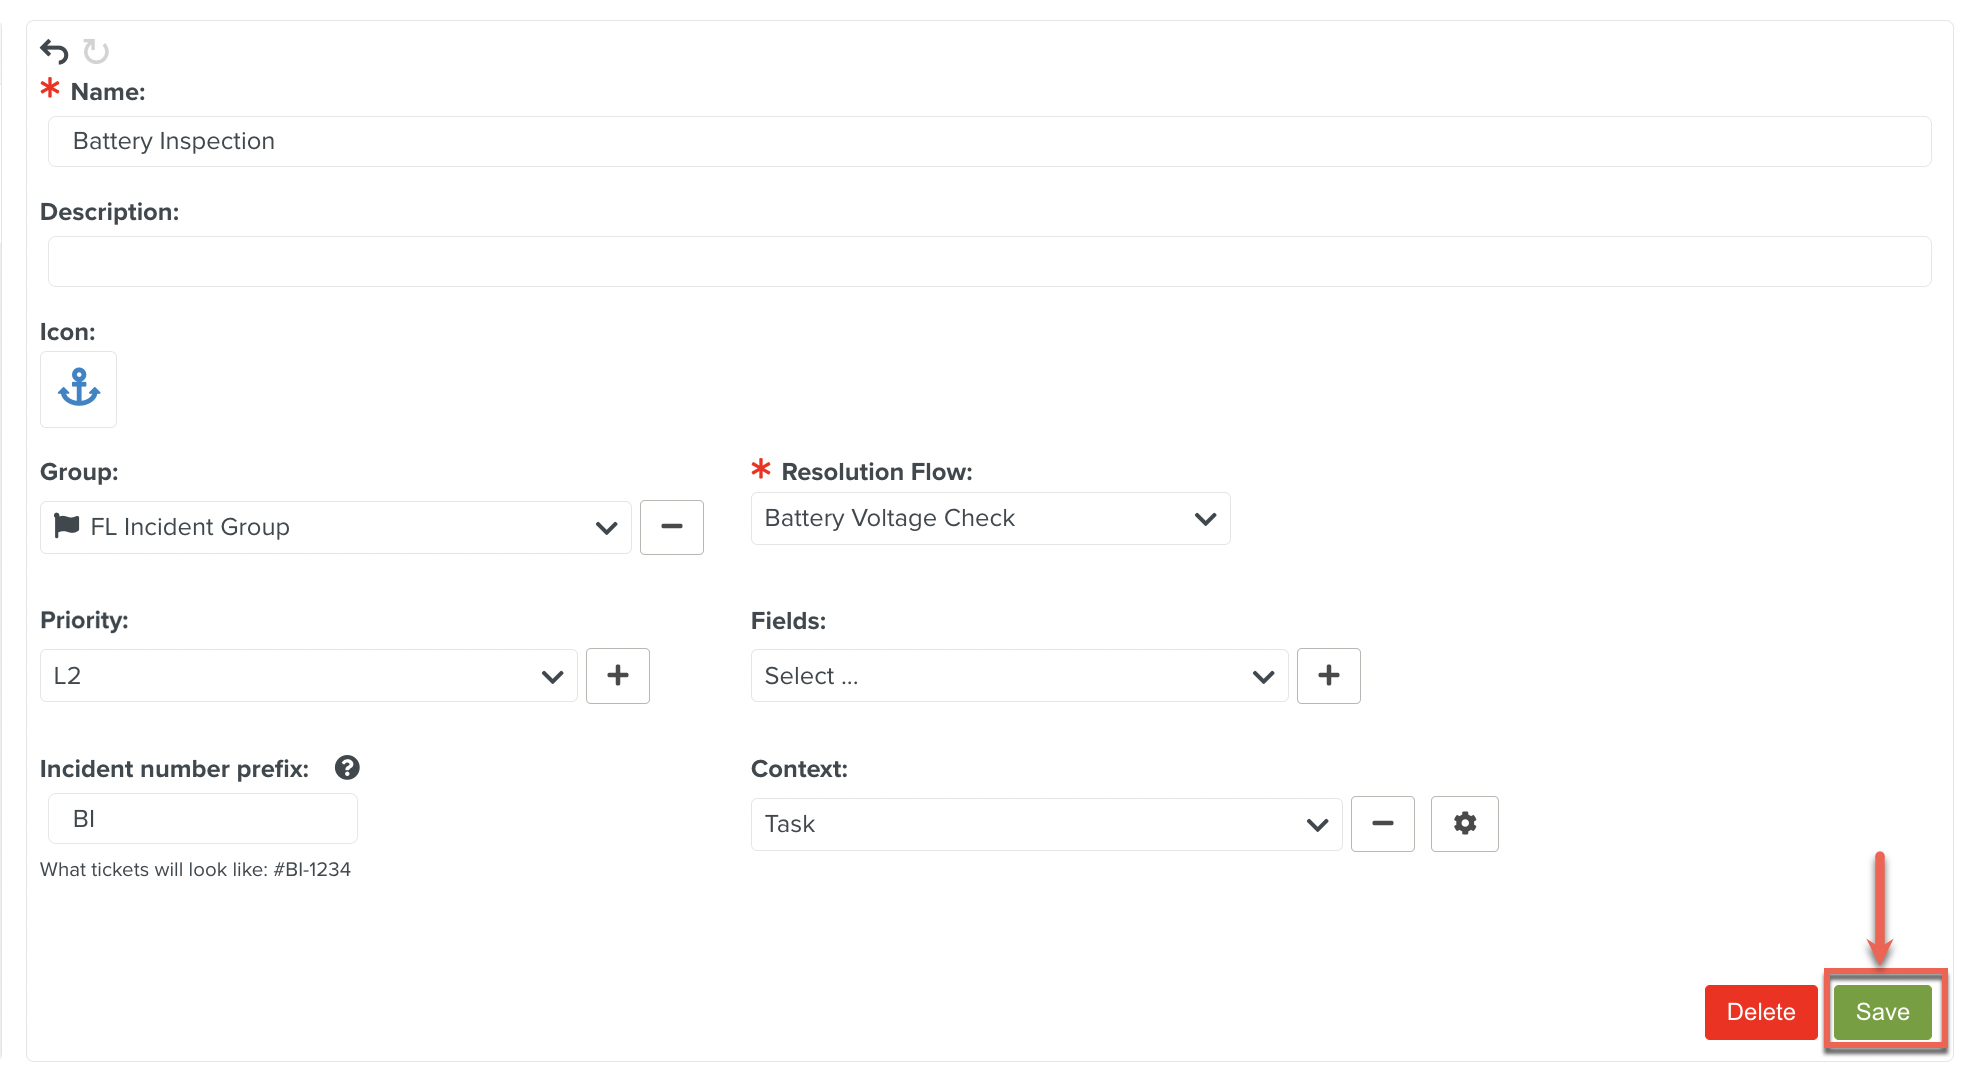
Select an option from the Context dropdown list.
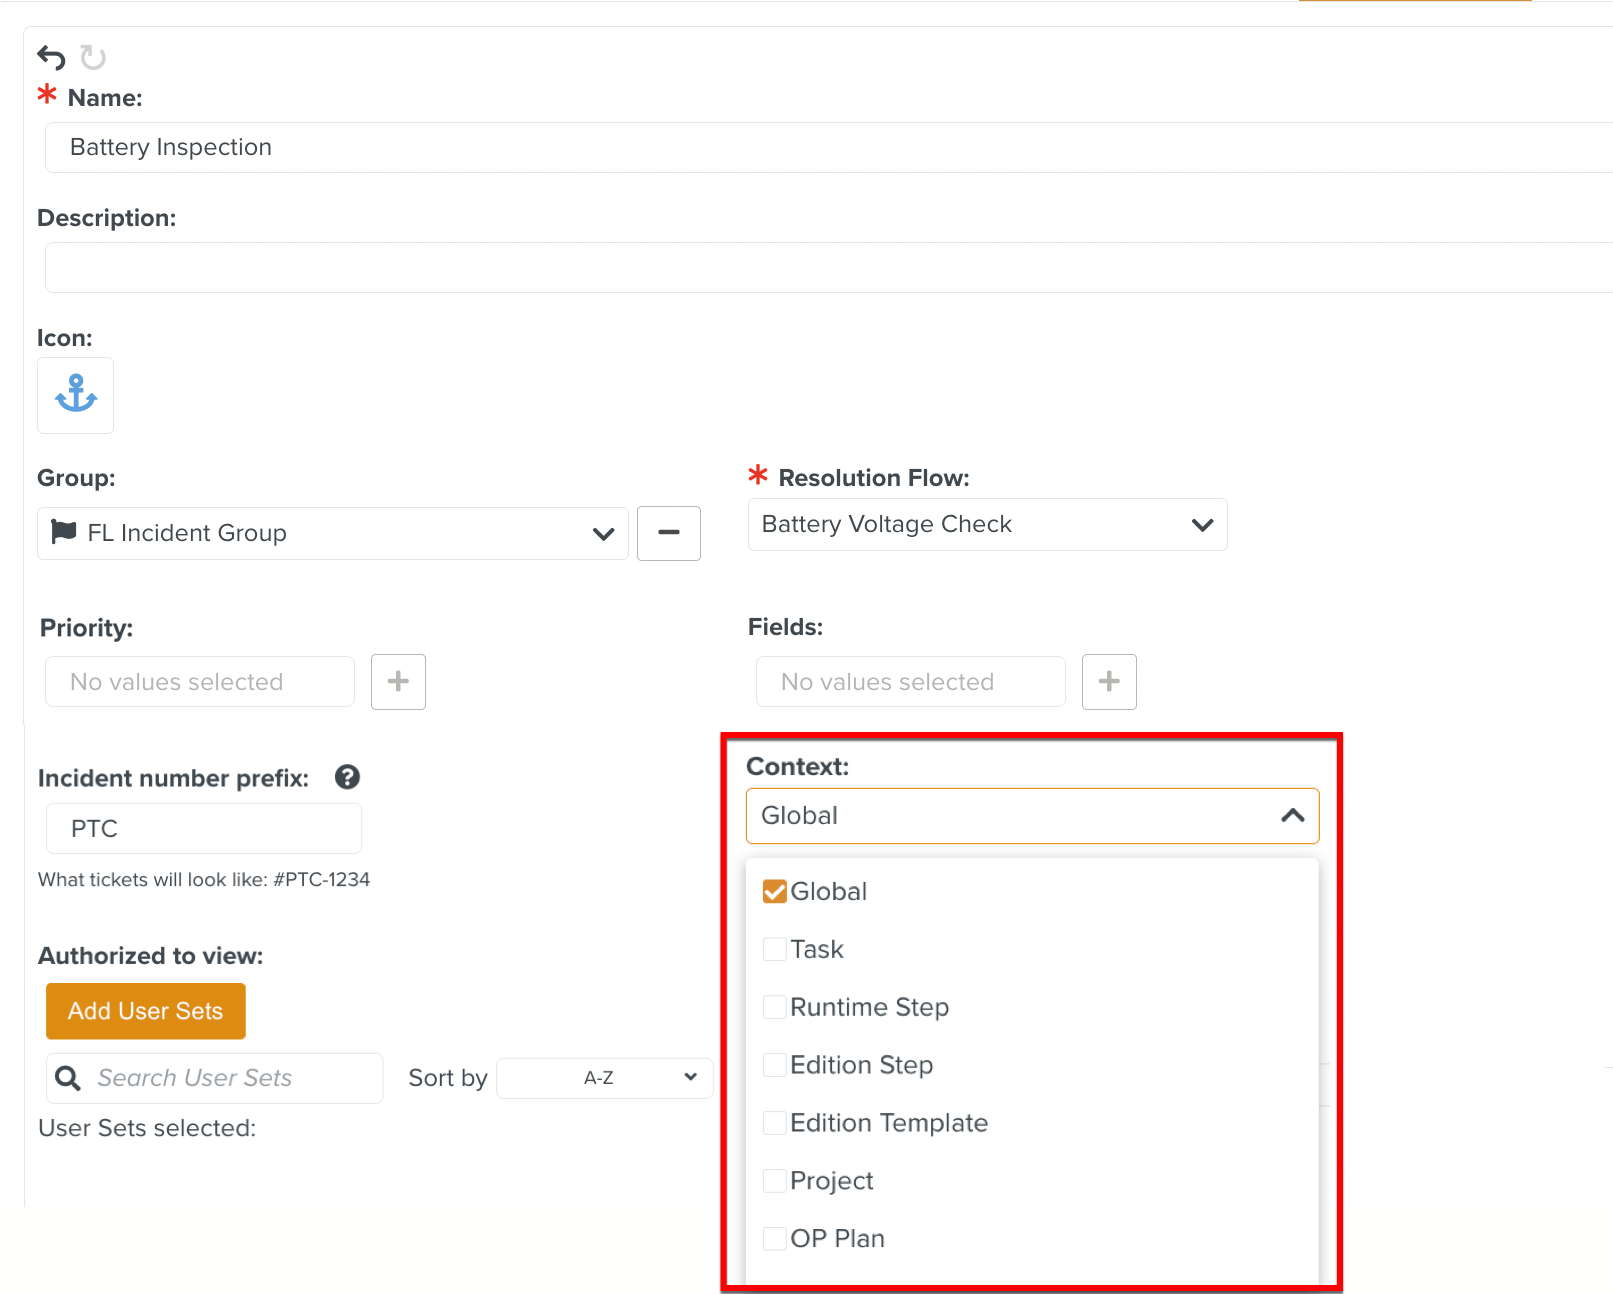
The available Contexts for Incidents are listed below.
Task: When you select Task, the Incident can be raised from the Tasks in the pages Tasks, Inbox, and Planning.
Runtime Step: When you select Runtime Step, the Incident can be raised from a Runtime Step and while viewing a Step of a Task in the pages Tasks, Inbox, and Planning.
Global: When you select Global , the Incident can be raised without any associated Context, such as a Task or Runtime Step information.
Note
By default, Global Context is selected. An Incident can be defined to have multiple Contexts.
Project: When you select Project, the Incident raised is associated to the Project in which it was raised.
Operation Plan: When you select OP Plan, the Incidents can be raised from Operation Plan header levels in the Inbox, Planning, and Tasks section.
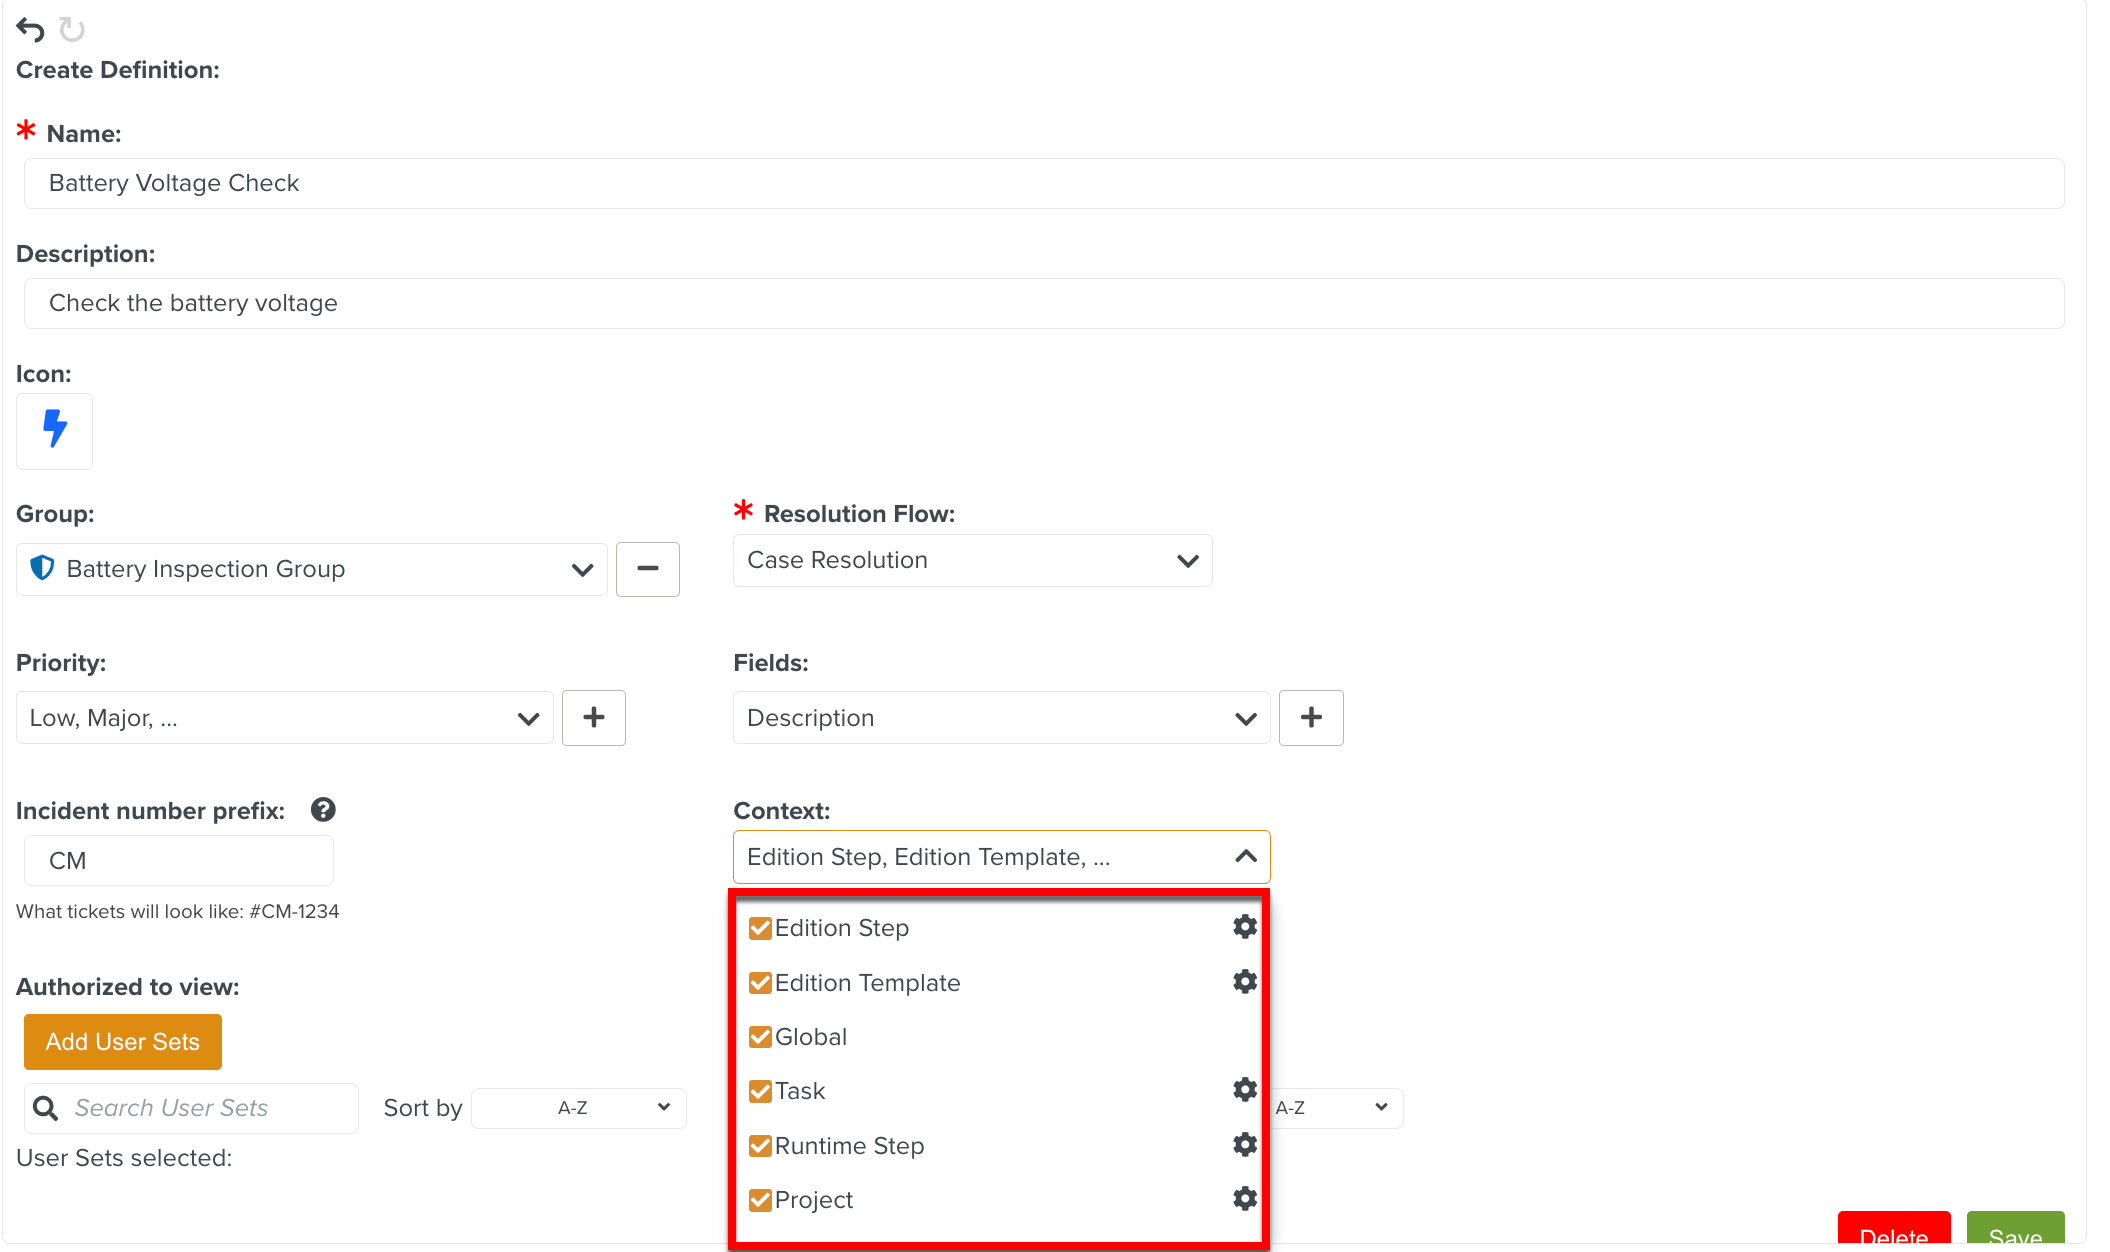
In the below example, the defined Incident Battery Voltage Check is available in multiple Contexts as all the Context options are selected.
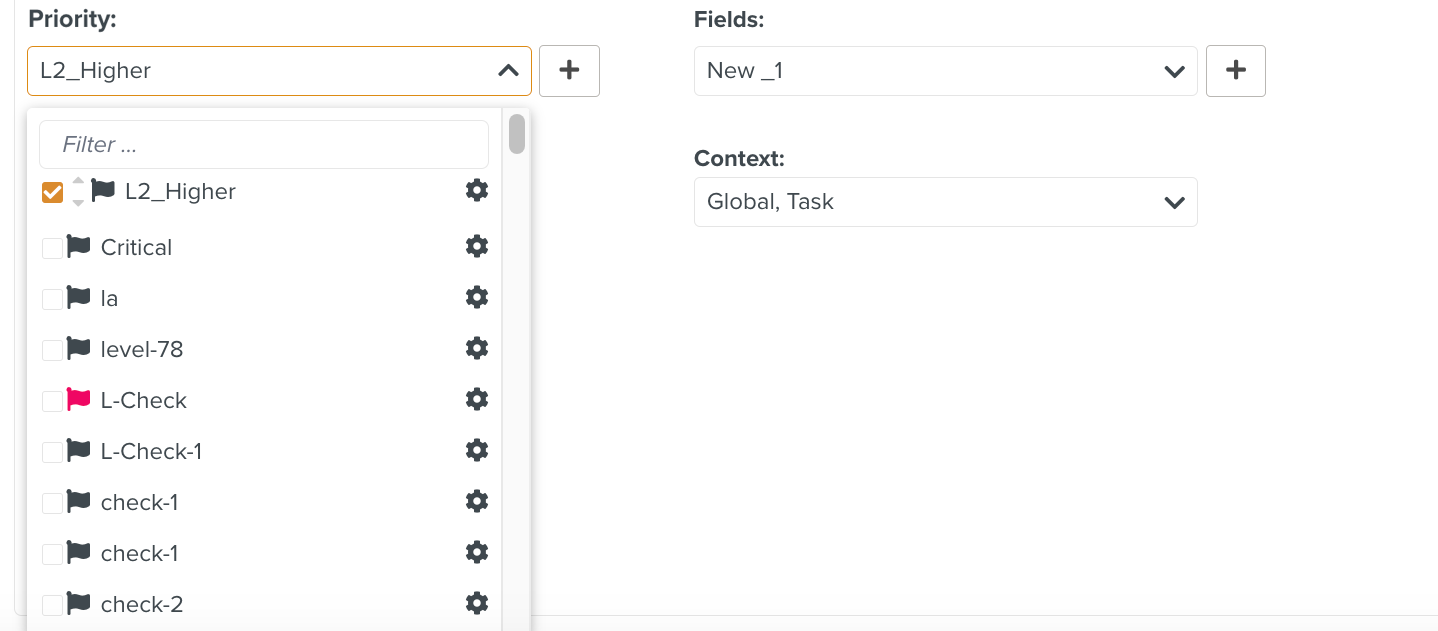
[Optional] Select the Priority of an Incident from the Priority dropdown list.
An Incident Definition determines the Priority that can be assigned to the Incident when raised.

If required, you can create a new Priority.
Click
 as shown below.
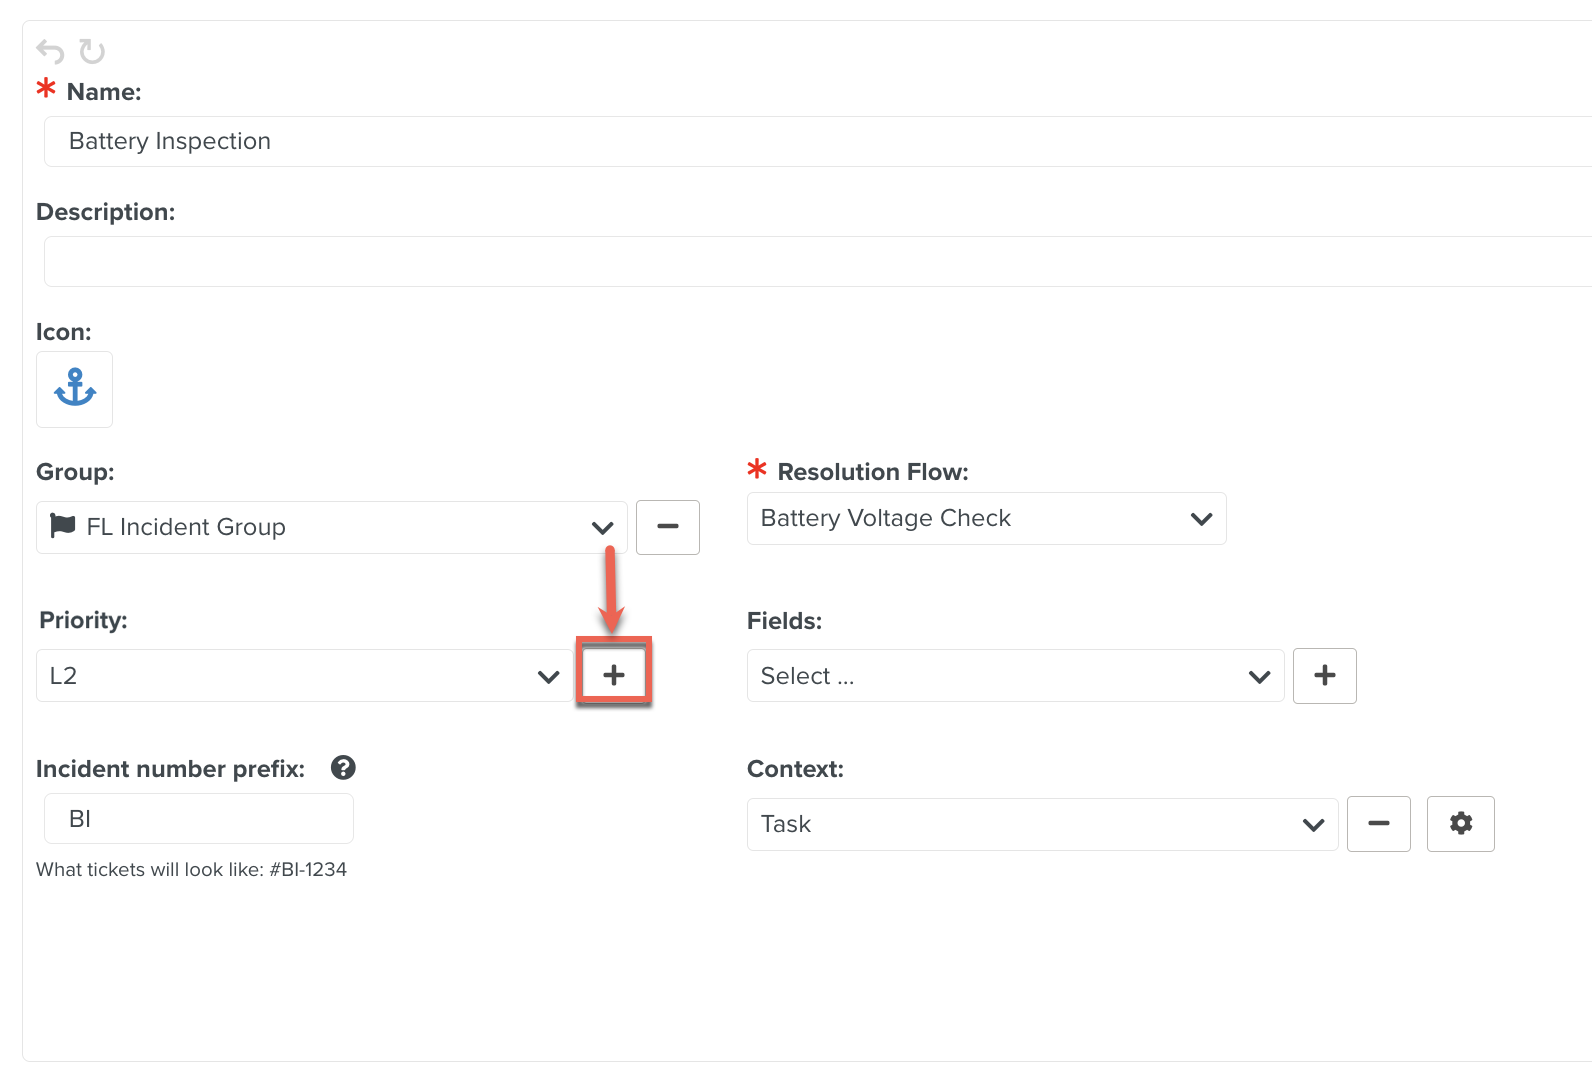
A dialog Priority opens.
Enter the Name for the Priority. You can add a Description and select an Icon.
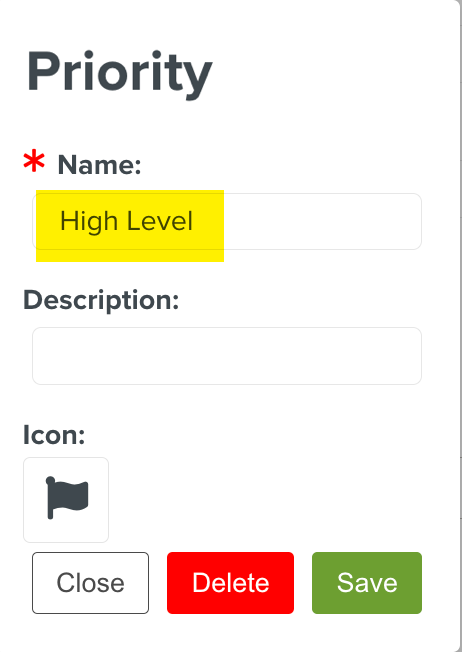
To save the new Priority, click .
The created Priority is automatically selected and added to the list.
Selecting the gear icon
 opens the dialog where you can delete the created Priority.
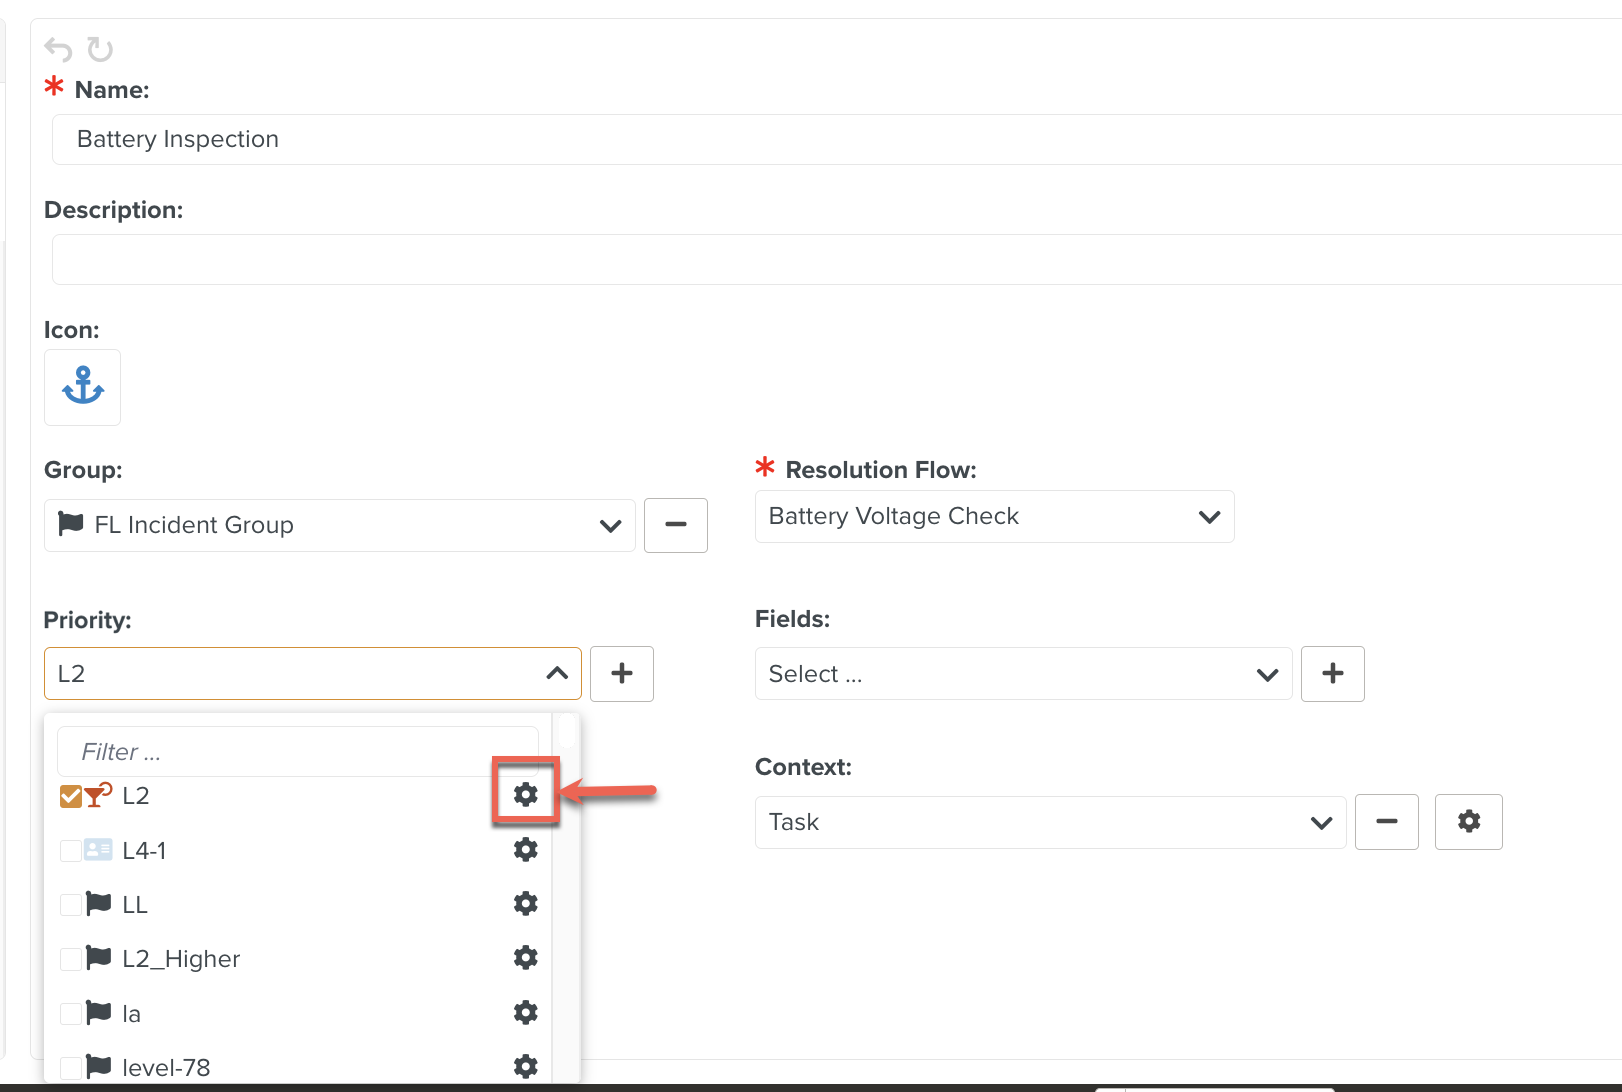
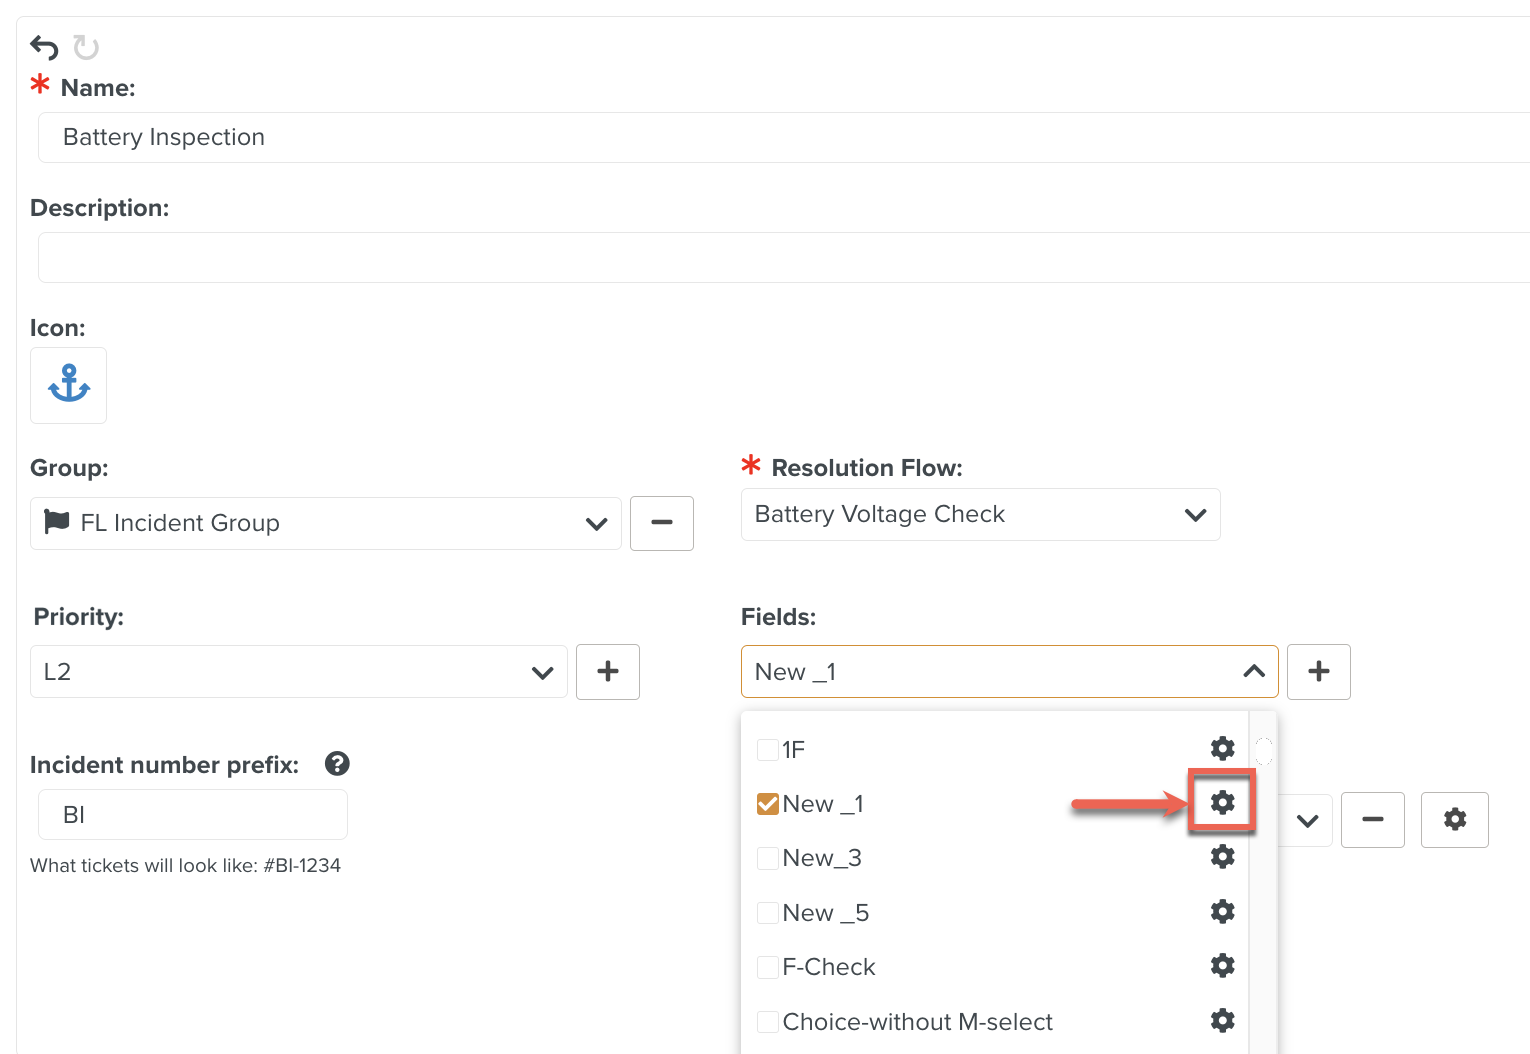
[Optional] Select an appropriate option from Fields.
The user is prompted to fill in these Fields while raising the Incident.
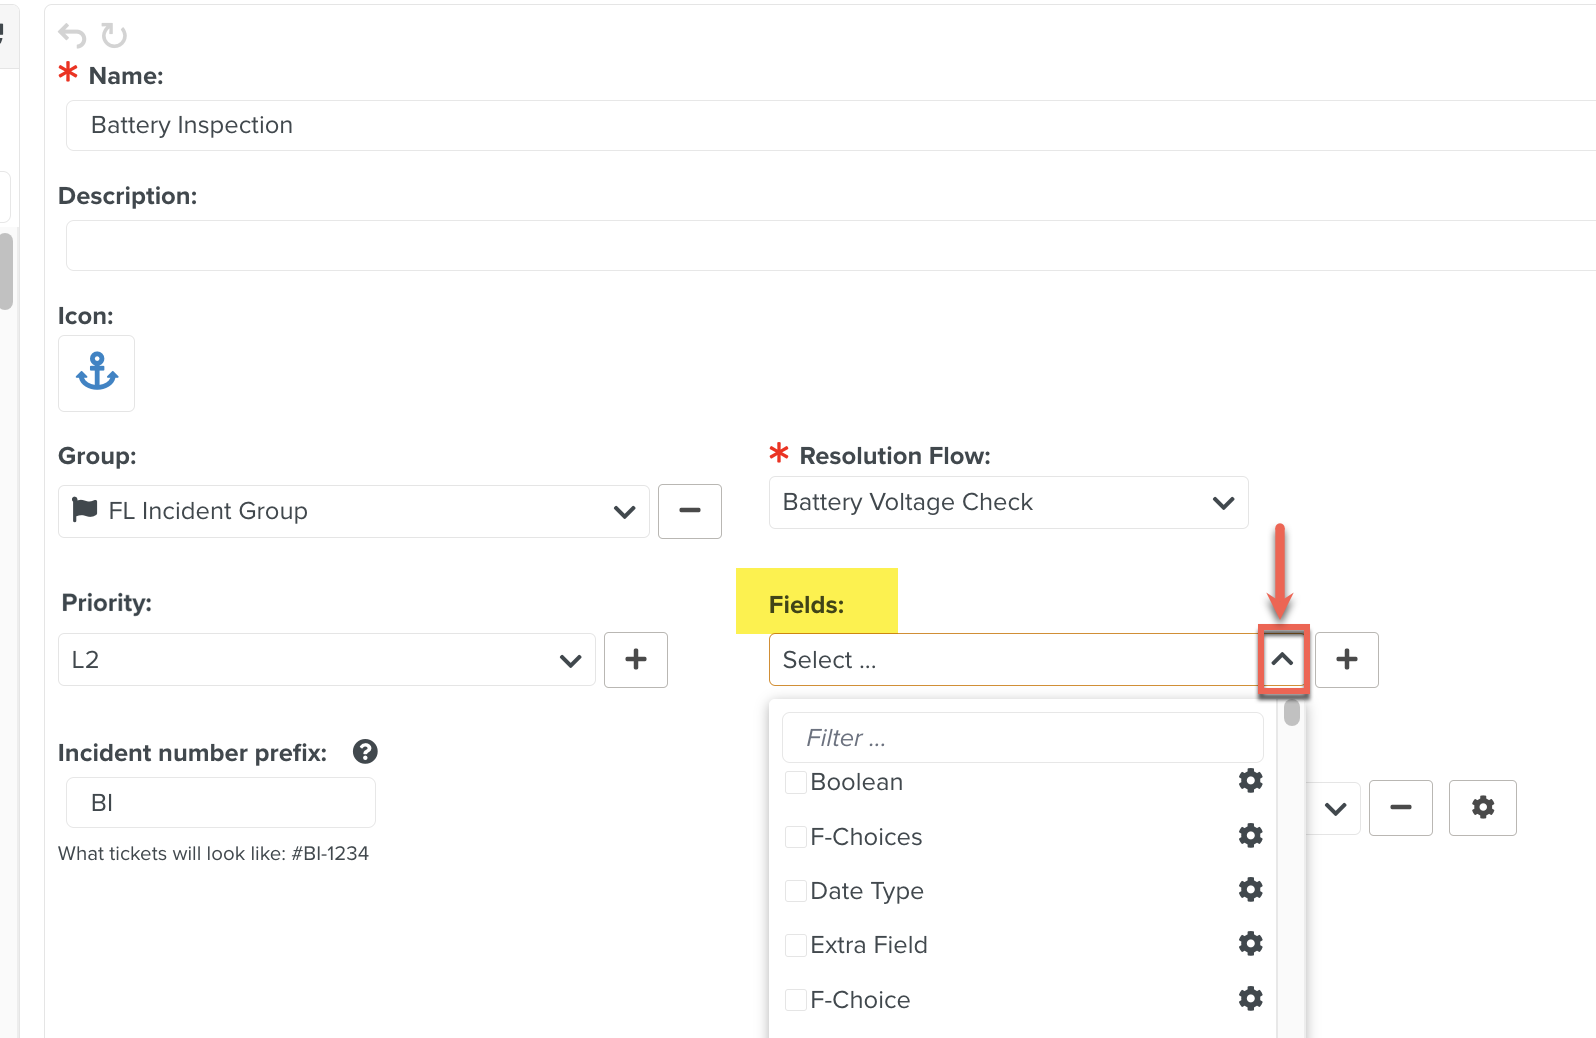
If required, you can create a new Field.
Click
as shown below.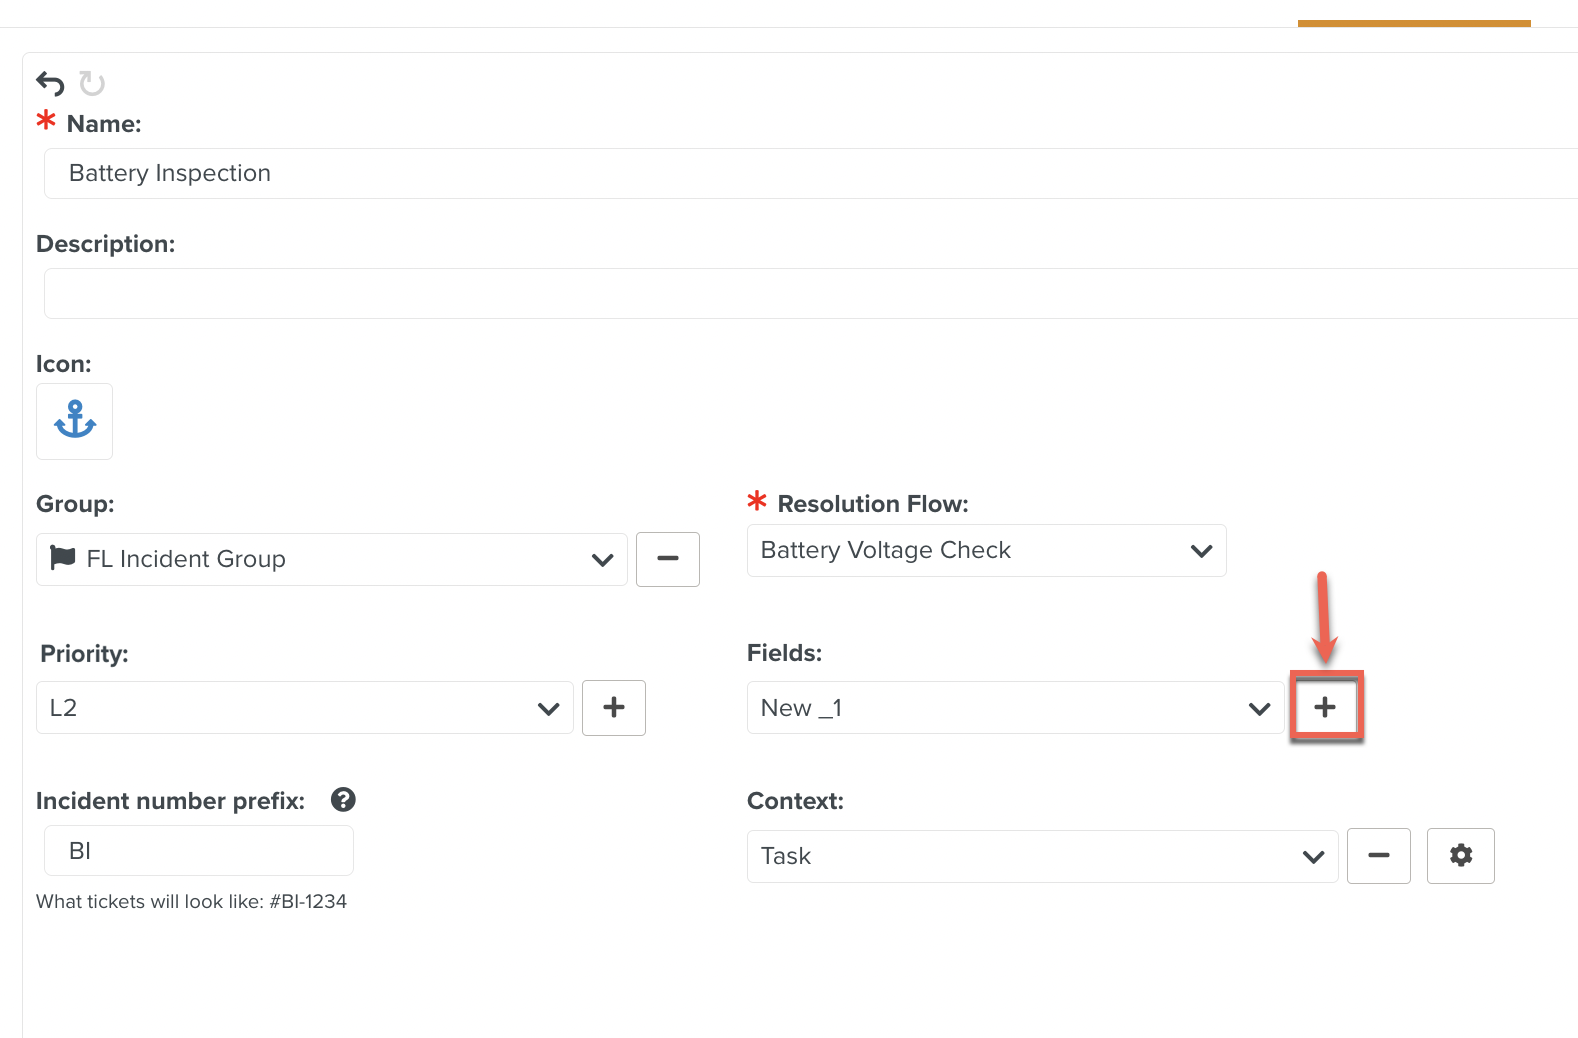
A dialog Field opens.
Enter the Name and Type of the Field.
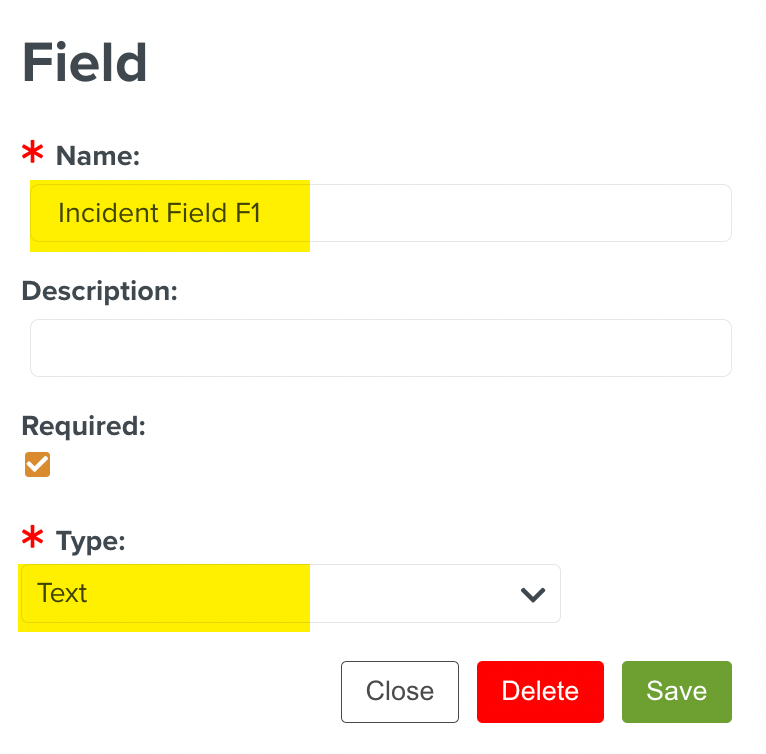
If you select Required, the Field is displayed as a mandatory Field while raising an Incident.
To save the new Field, click .
The created Field is automatically selected and added to the list.
Selecting the gear icon
opens a dialog where you can delete the created Field.When you delete a Field, it is removed from all Incident Definitions. However, you can view the Fields in all the Incidents that were created before deleting the Field.
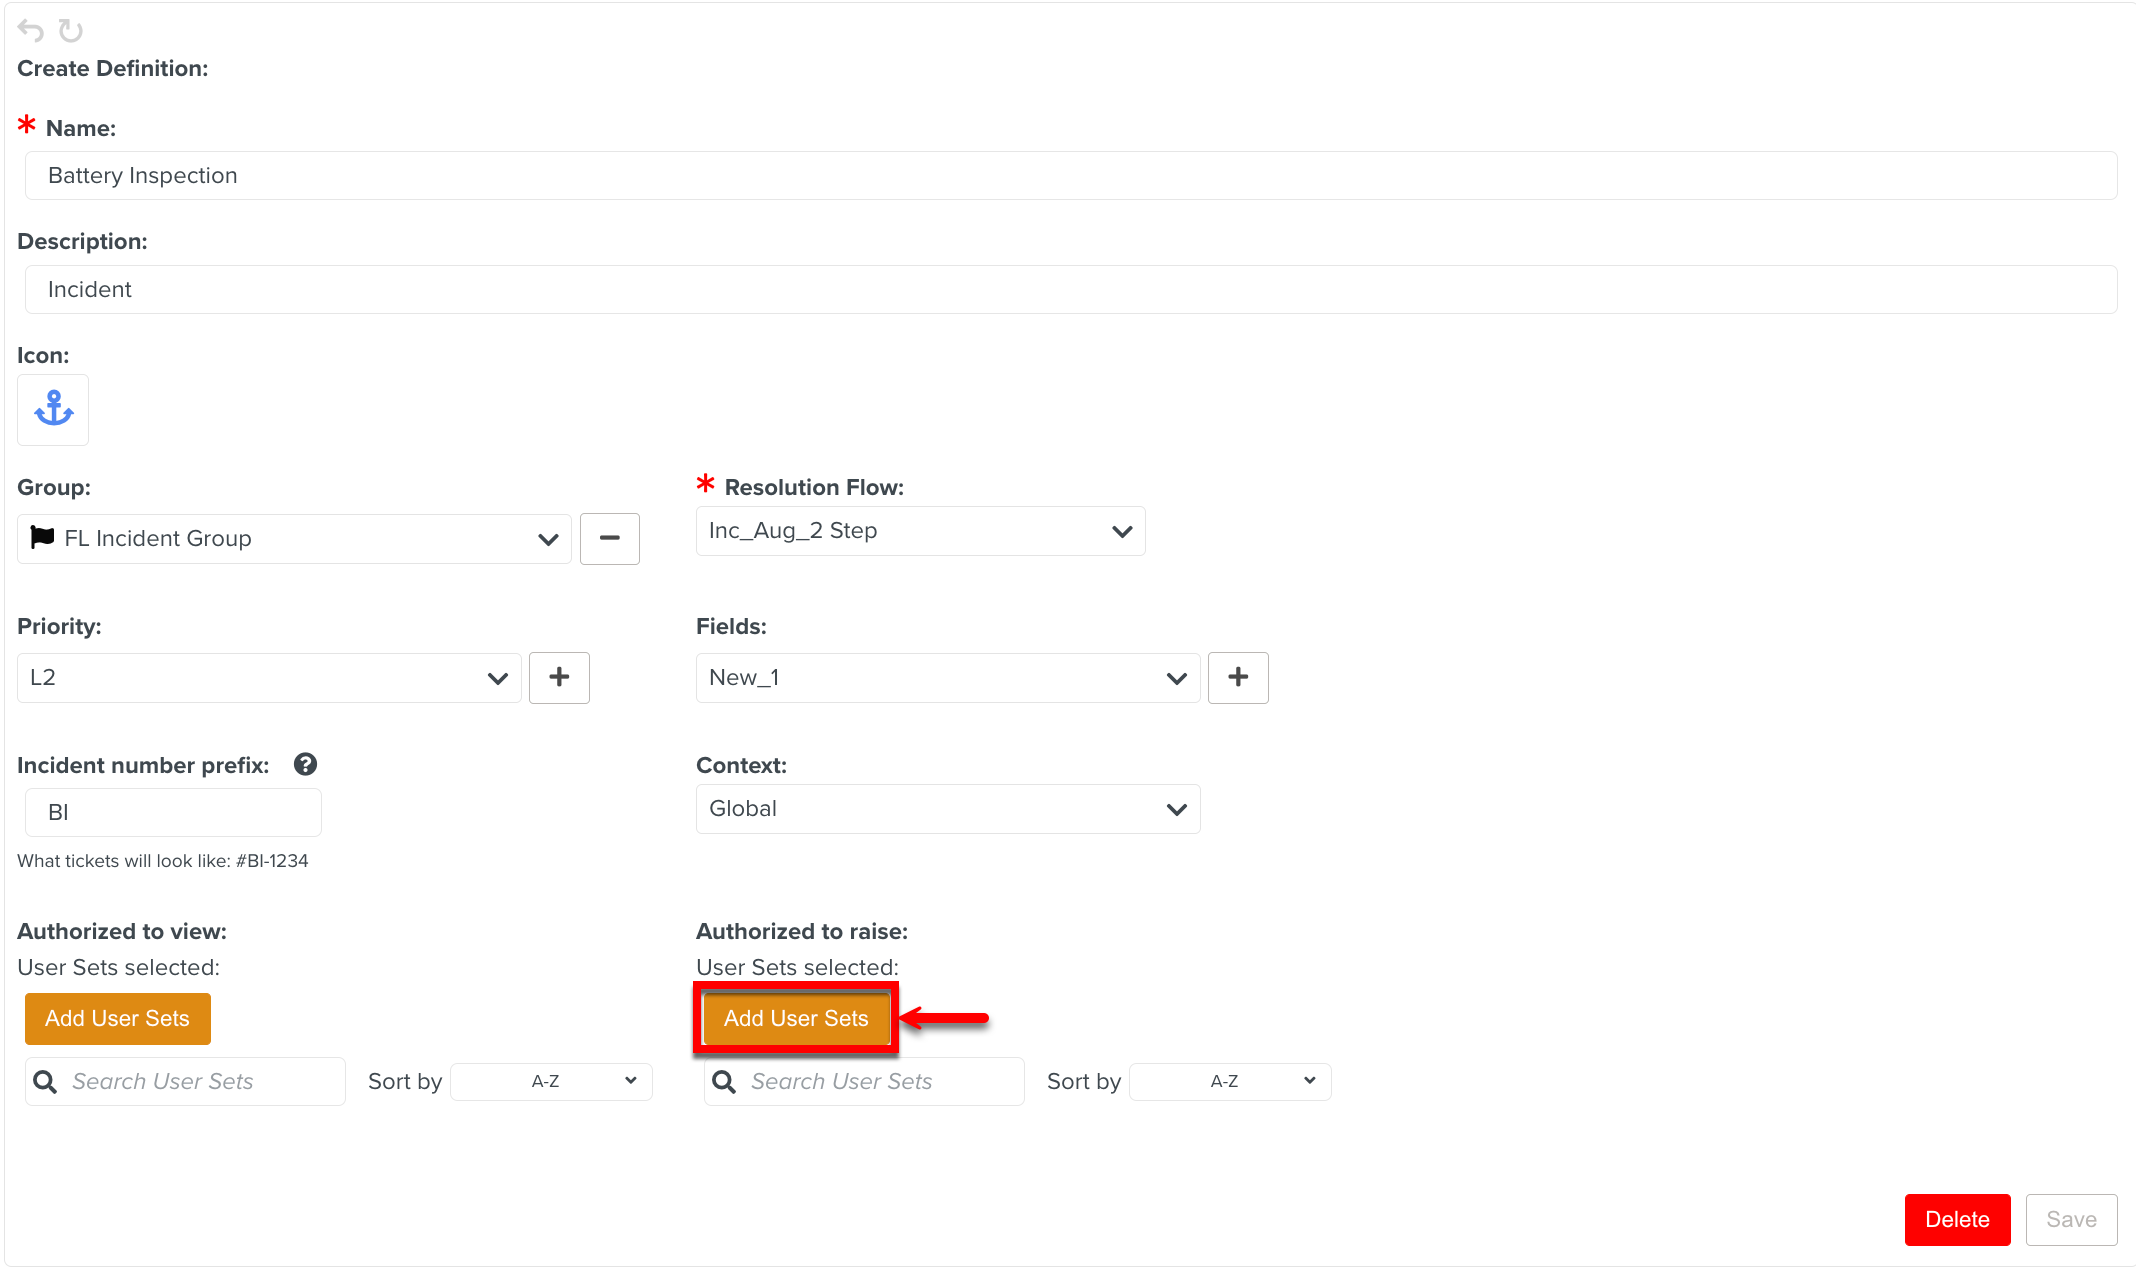
[Optional] Click in the sections below to authorize users to view or raise Incidents.
Authorized to view: Users in the selected User Sets can view the raised Incidents.
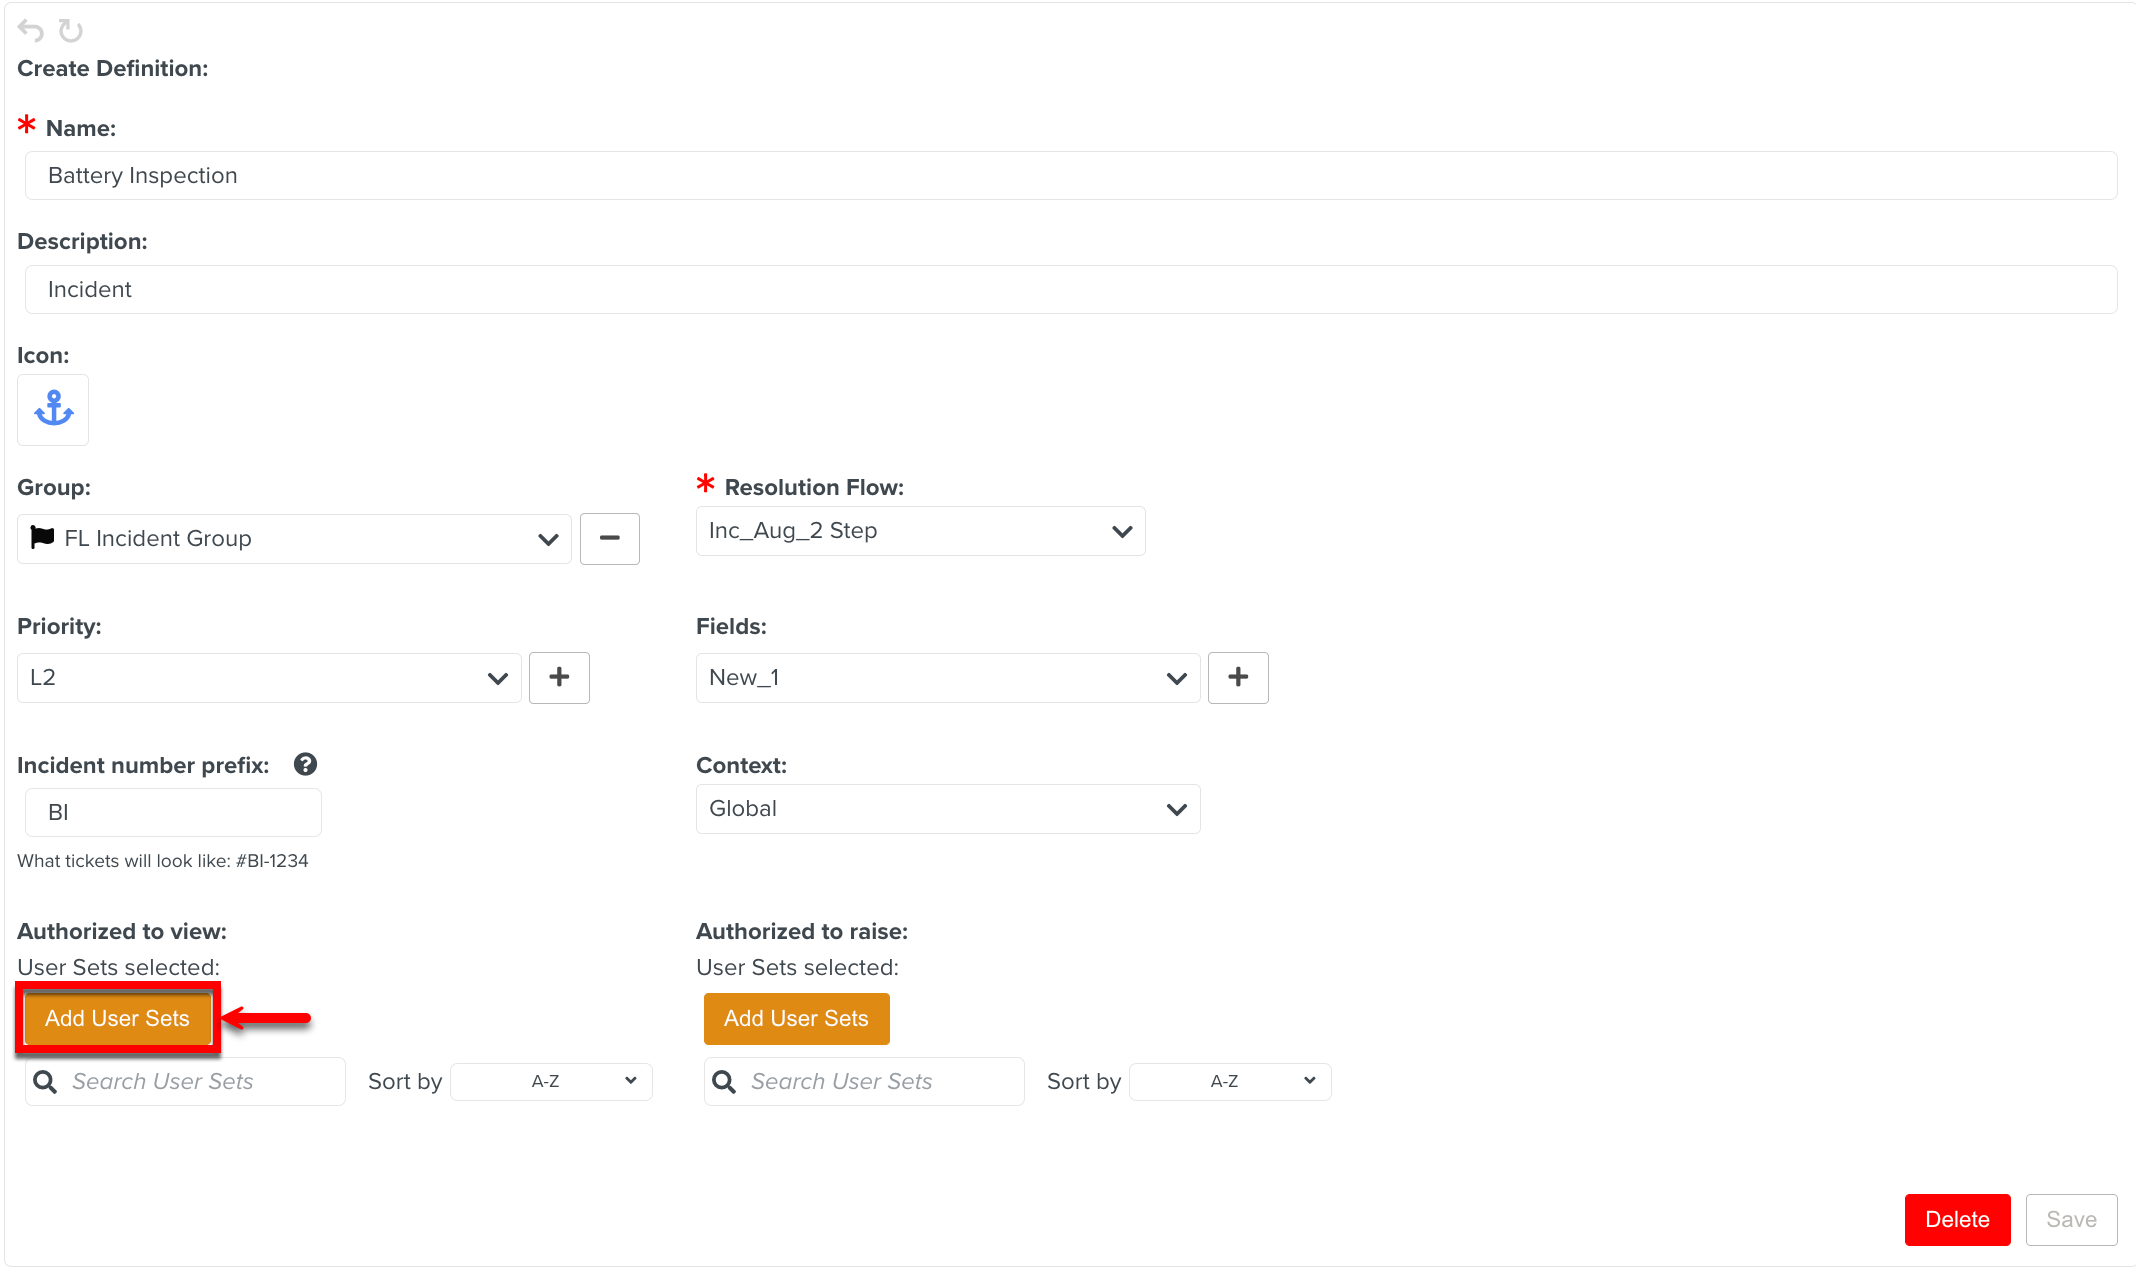
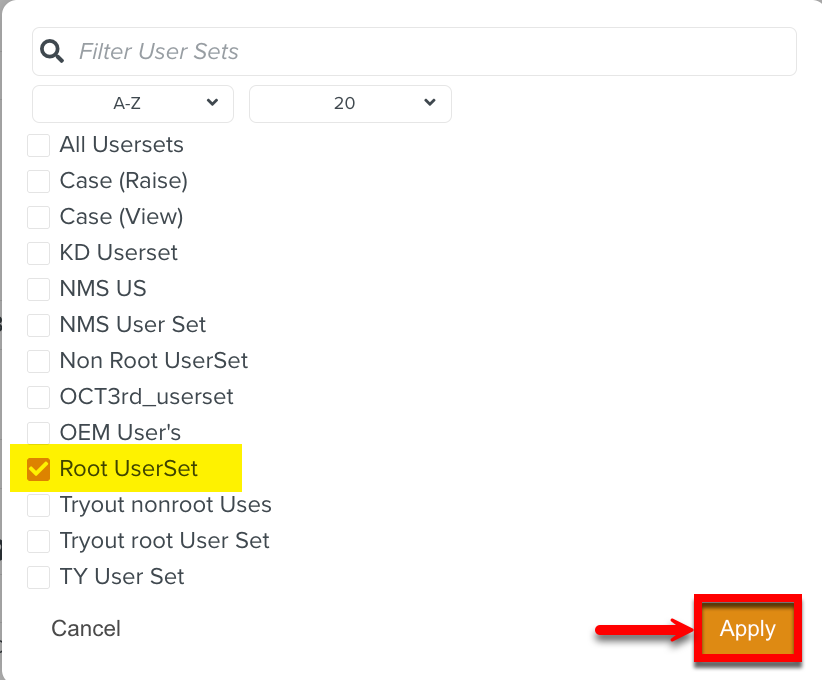
Authorized to raise: Users in the selected User Sets can raise Incidents.
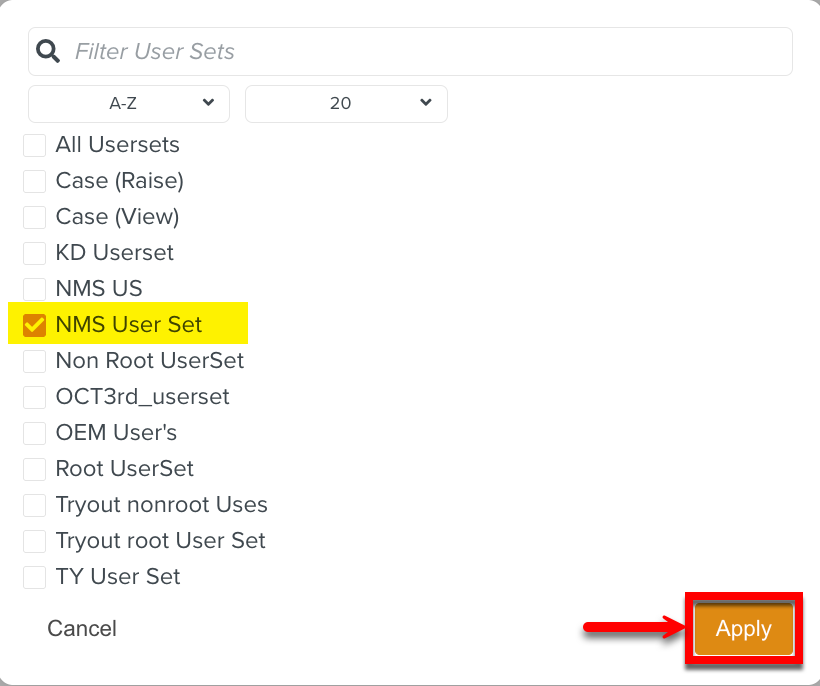
Note
If no User Set is selected, all users can perform the actions.
Click .
An Incident Group logically groups related Incident Definitions.
To create a New Group:
On the main menu, go to > > .
The page Incident Definition opens.
Expand the dropdown to select .
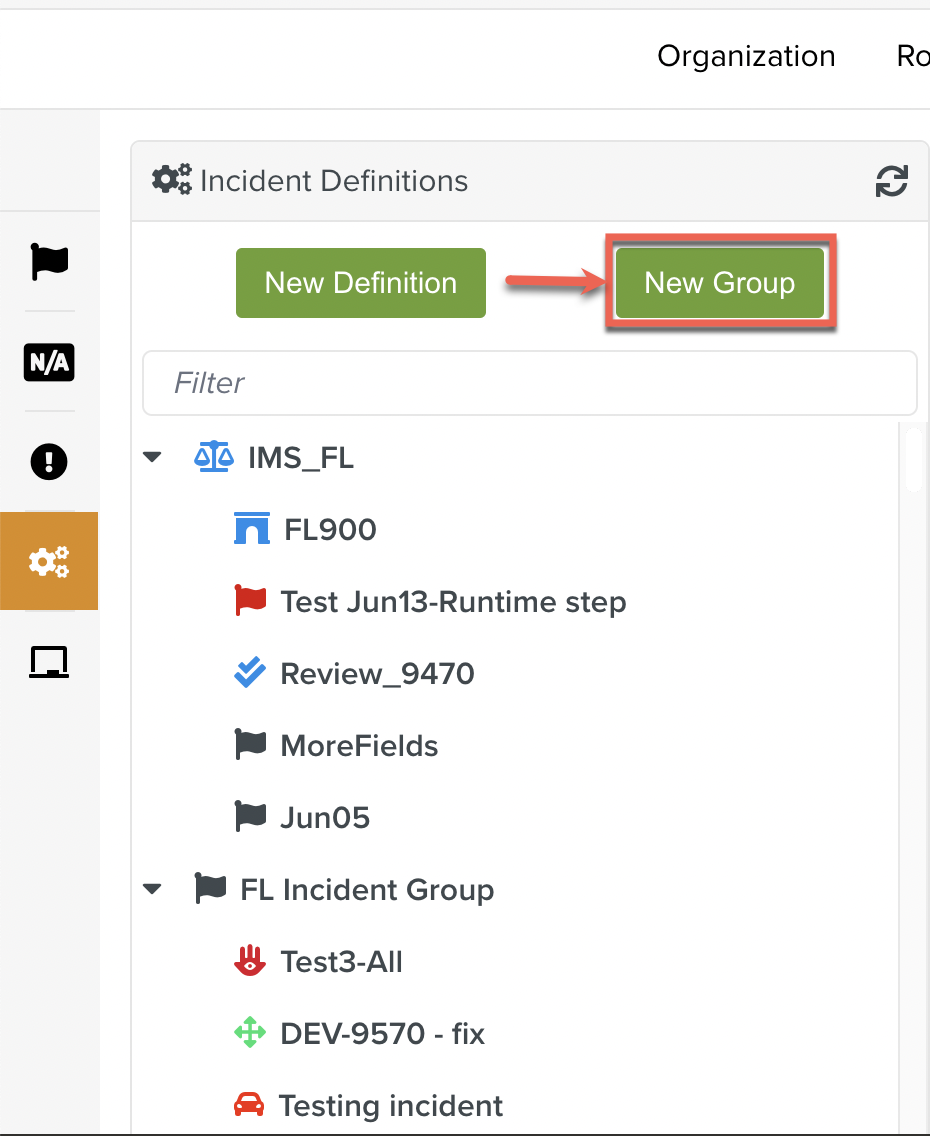
The page Create Definition Group opens.
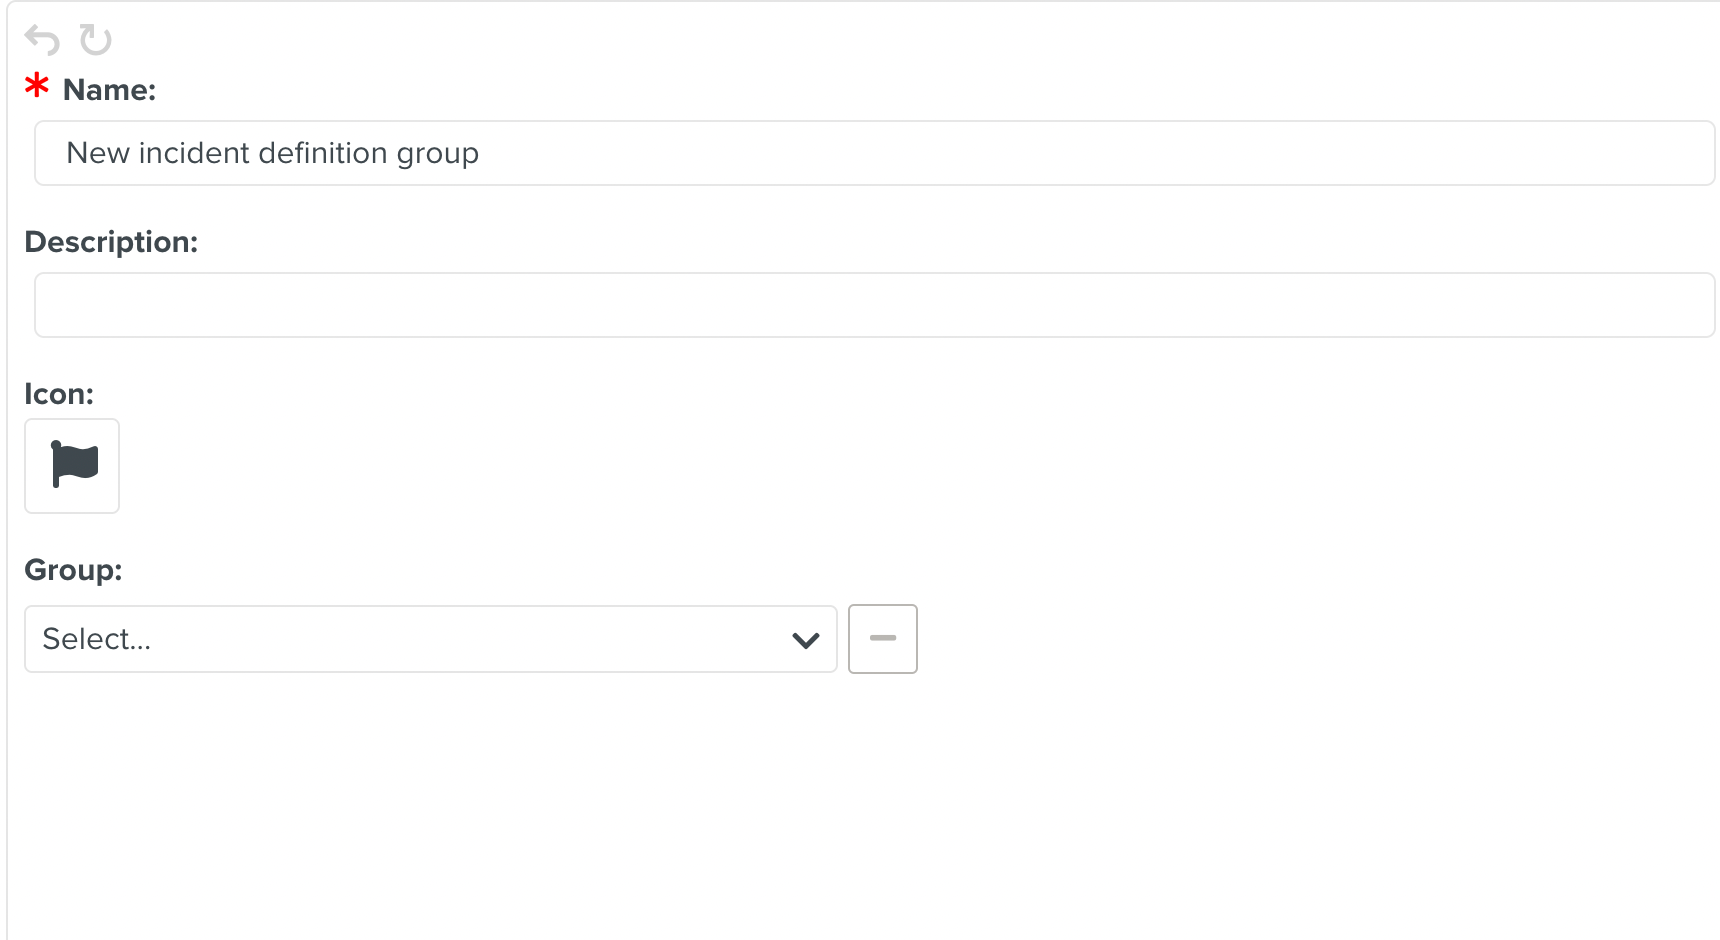
Enter a Group Name.
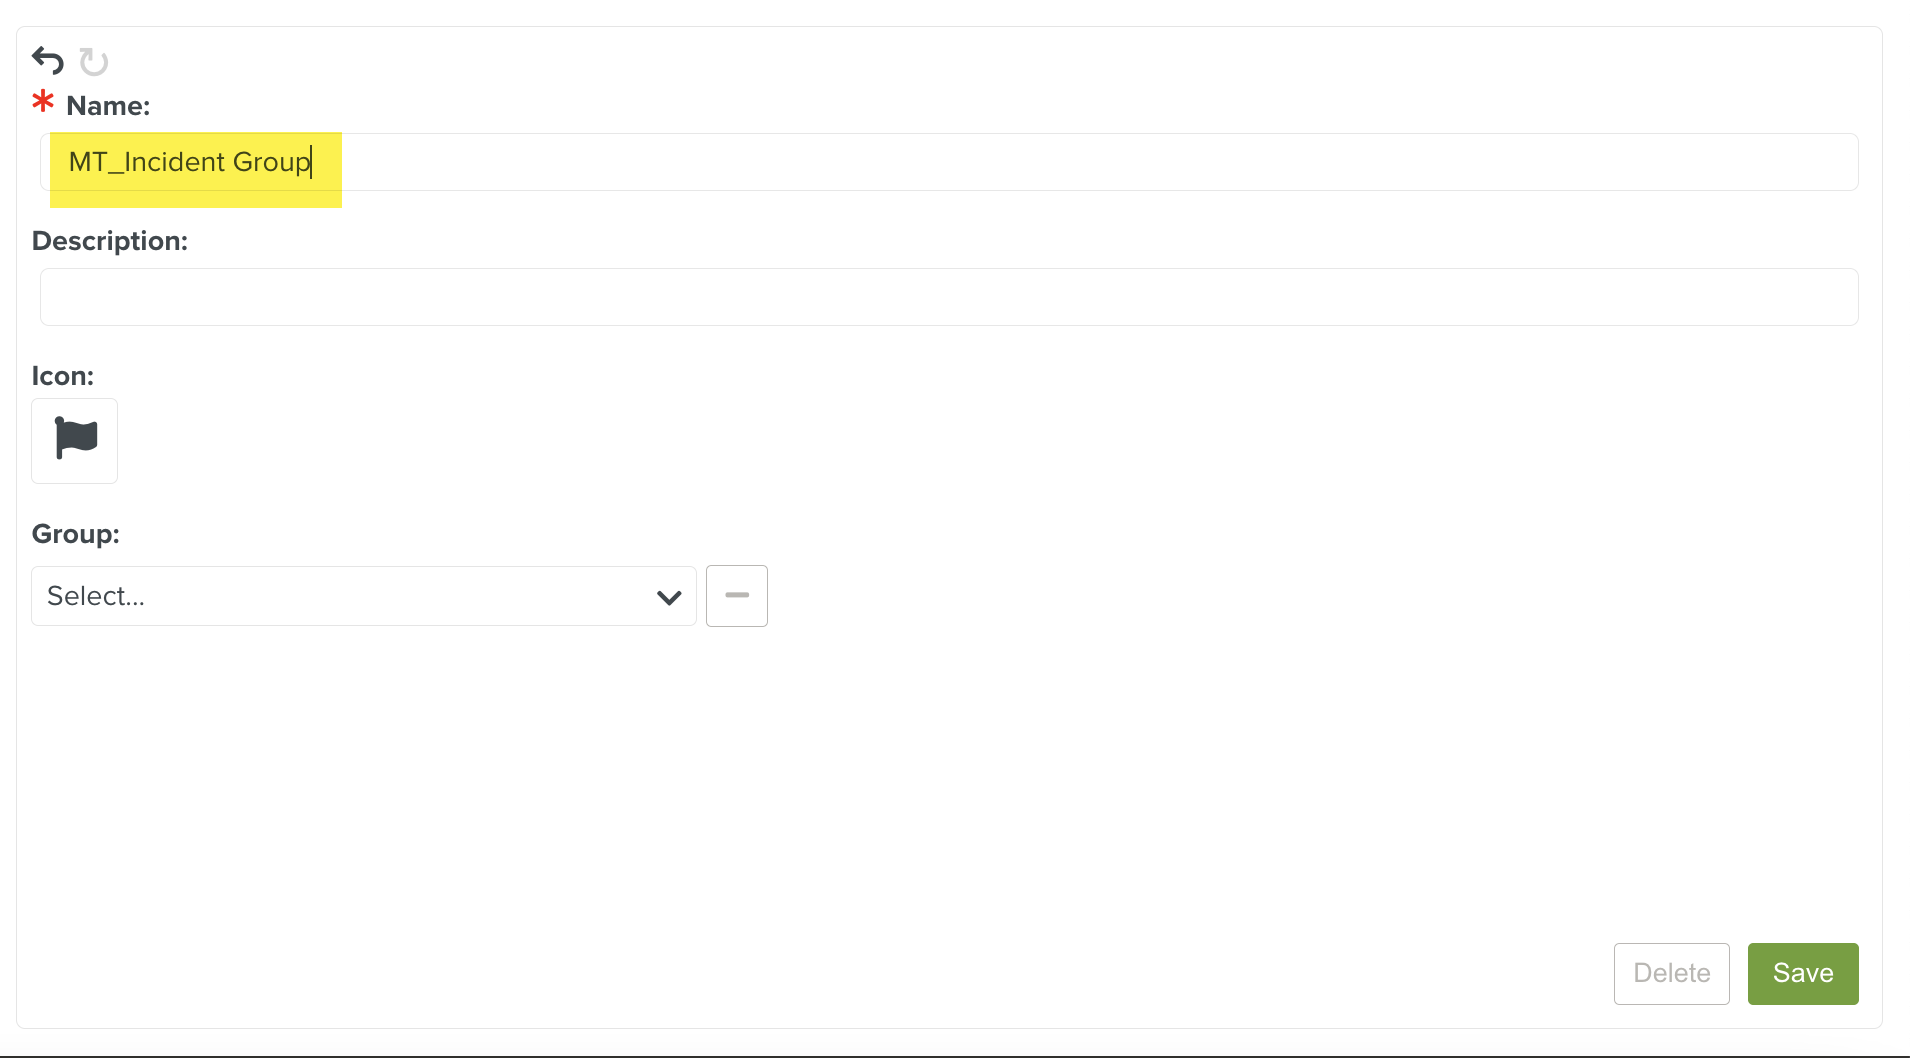
[Optional] Enter Description.
[Optional] Click
to change the icon.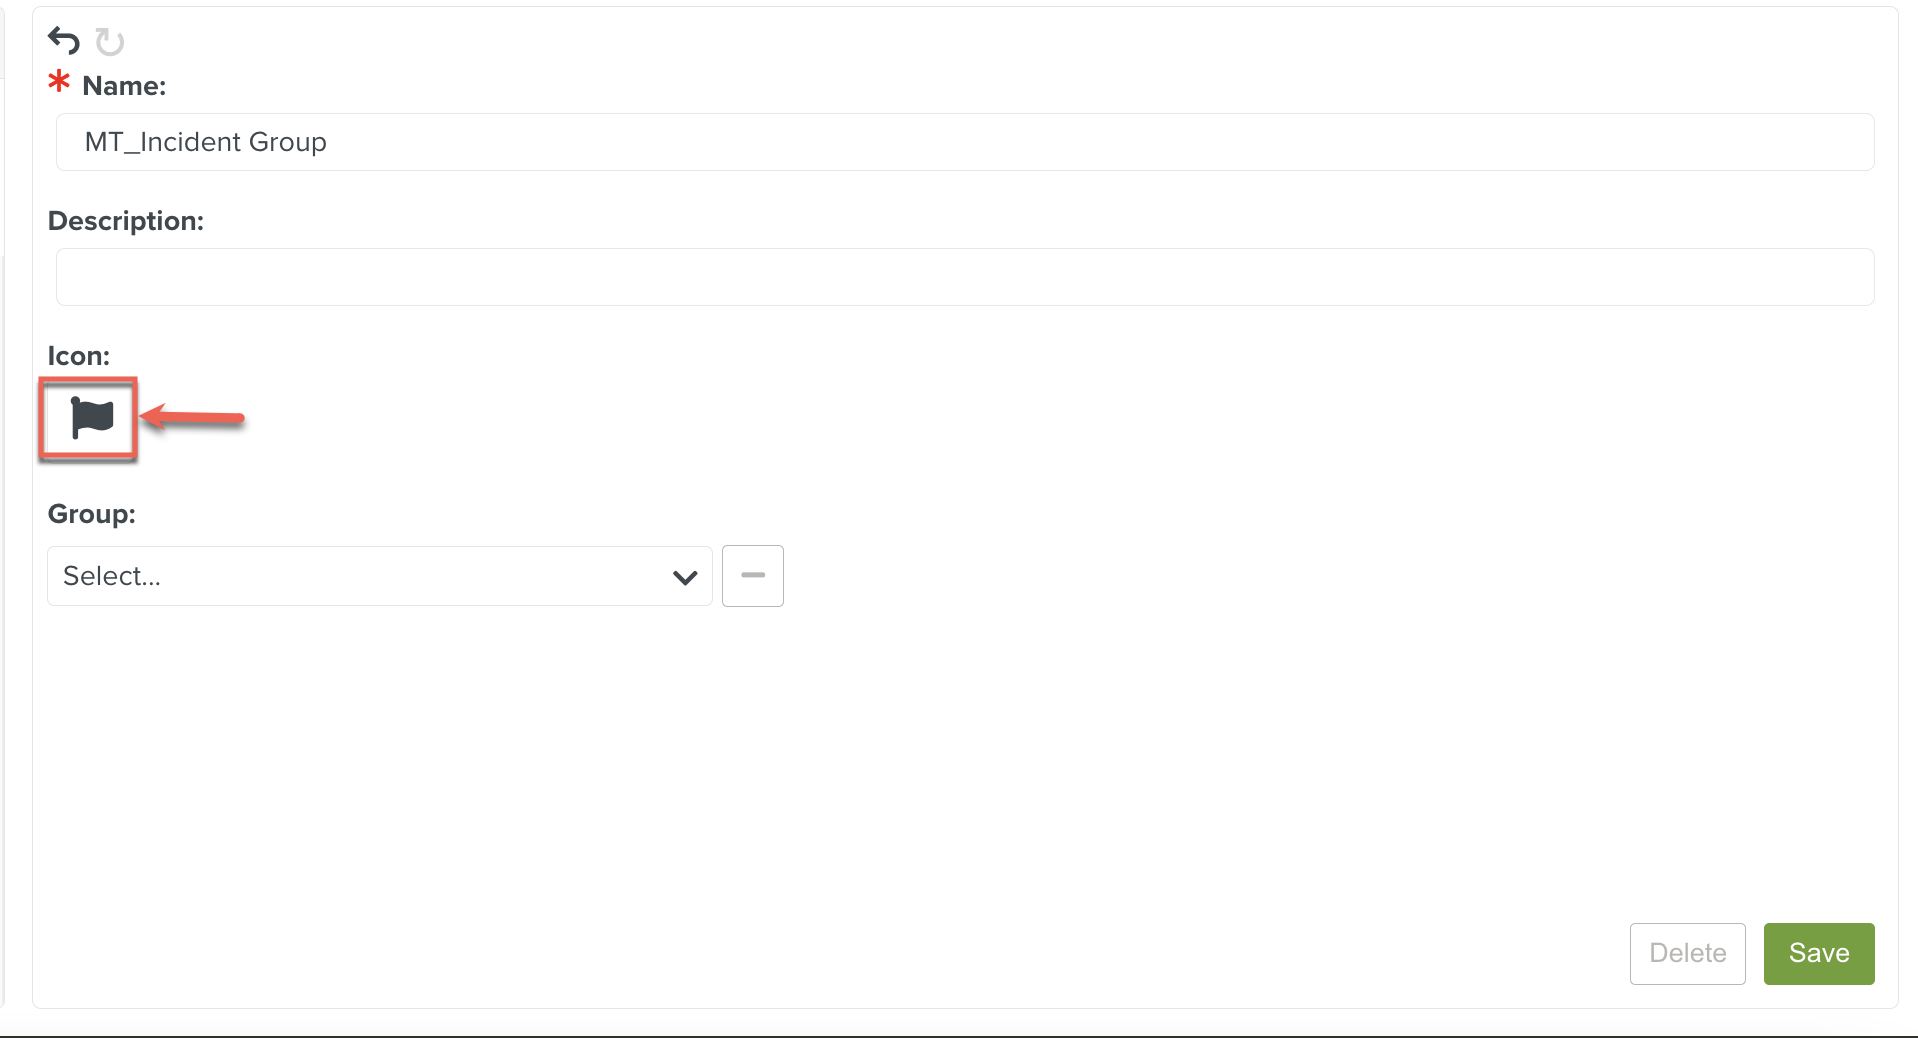
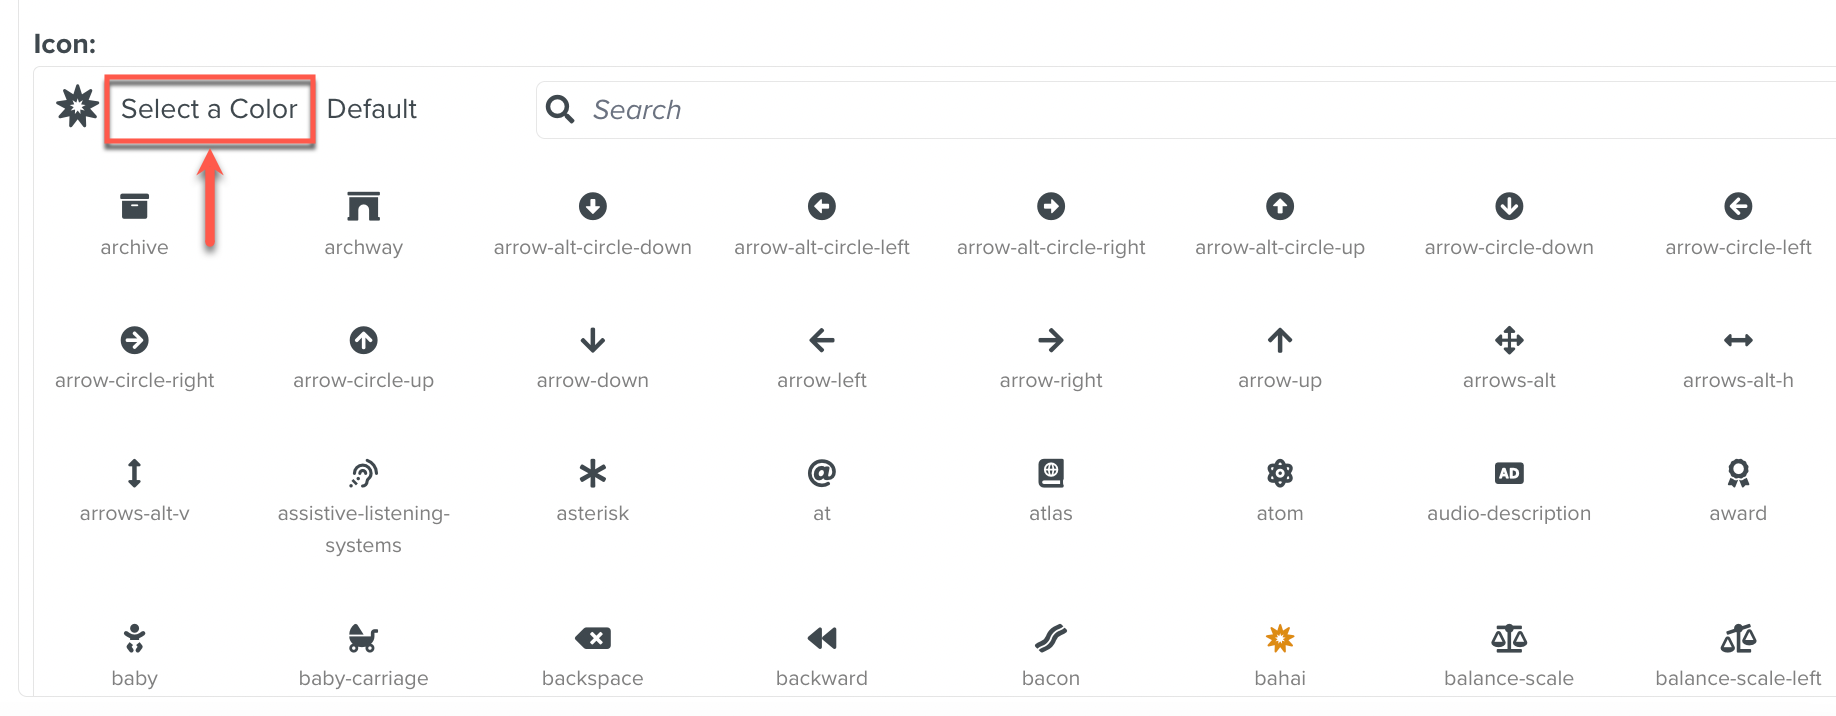
Select an icon from the list or search through the search option as shown below.
To add color to an icon, click Select a Color.
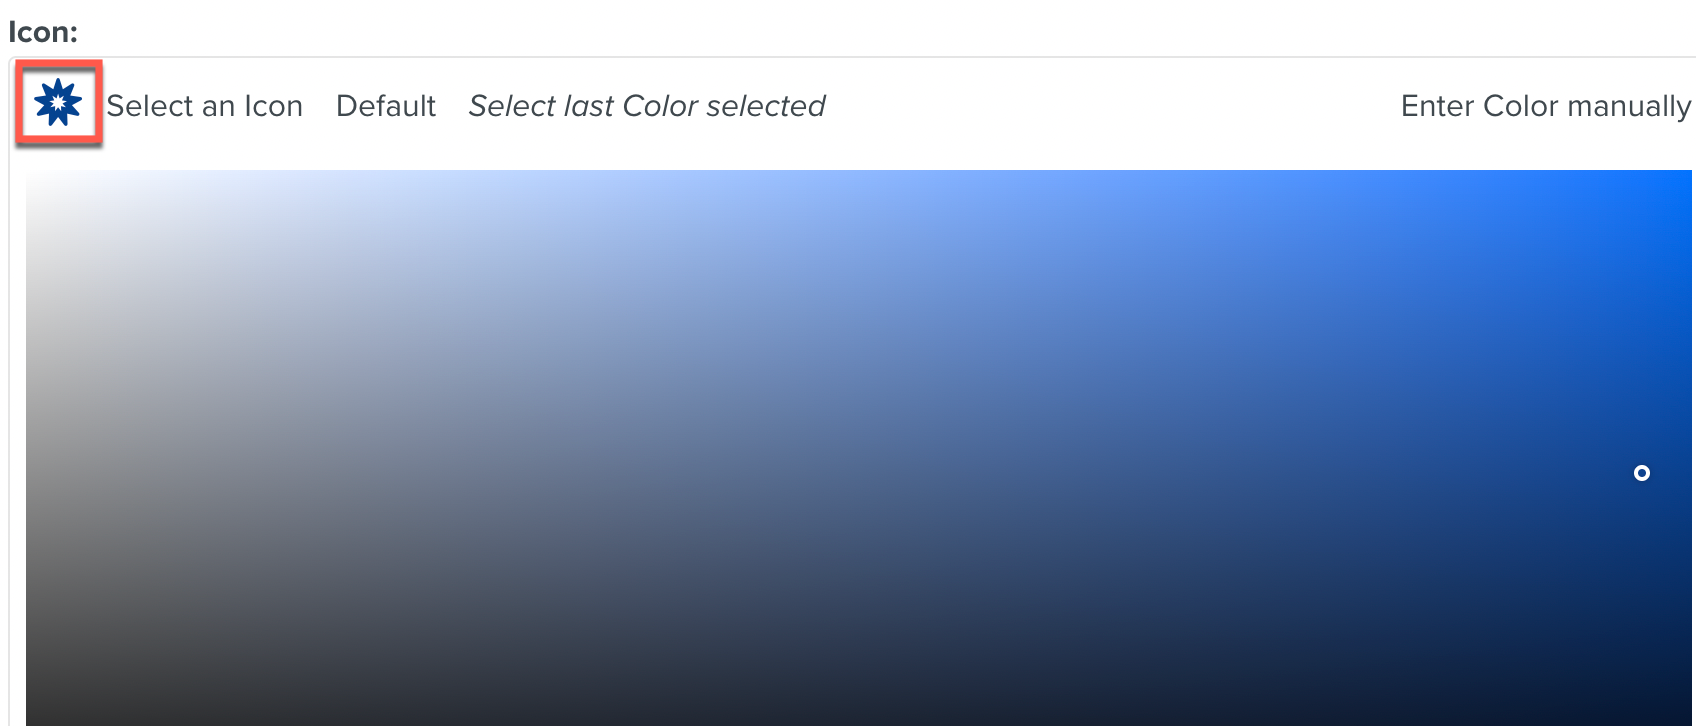
To use the last color selected for an icon, click Select last Color selected.
To change it back to the default
icon, click Default.Select a required Group from the dropdown list as shown below.
The Group is used to logically group related Incident Definitions.
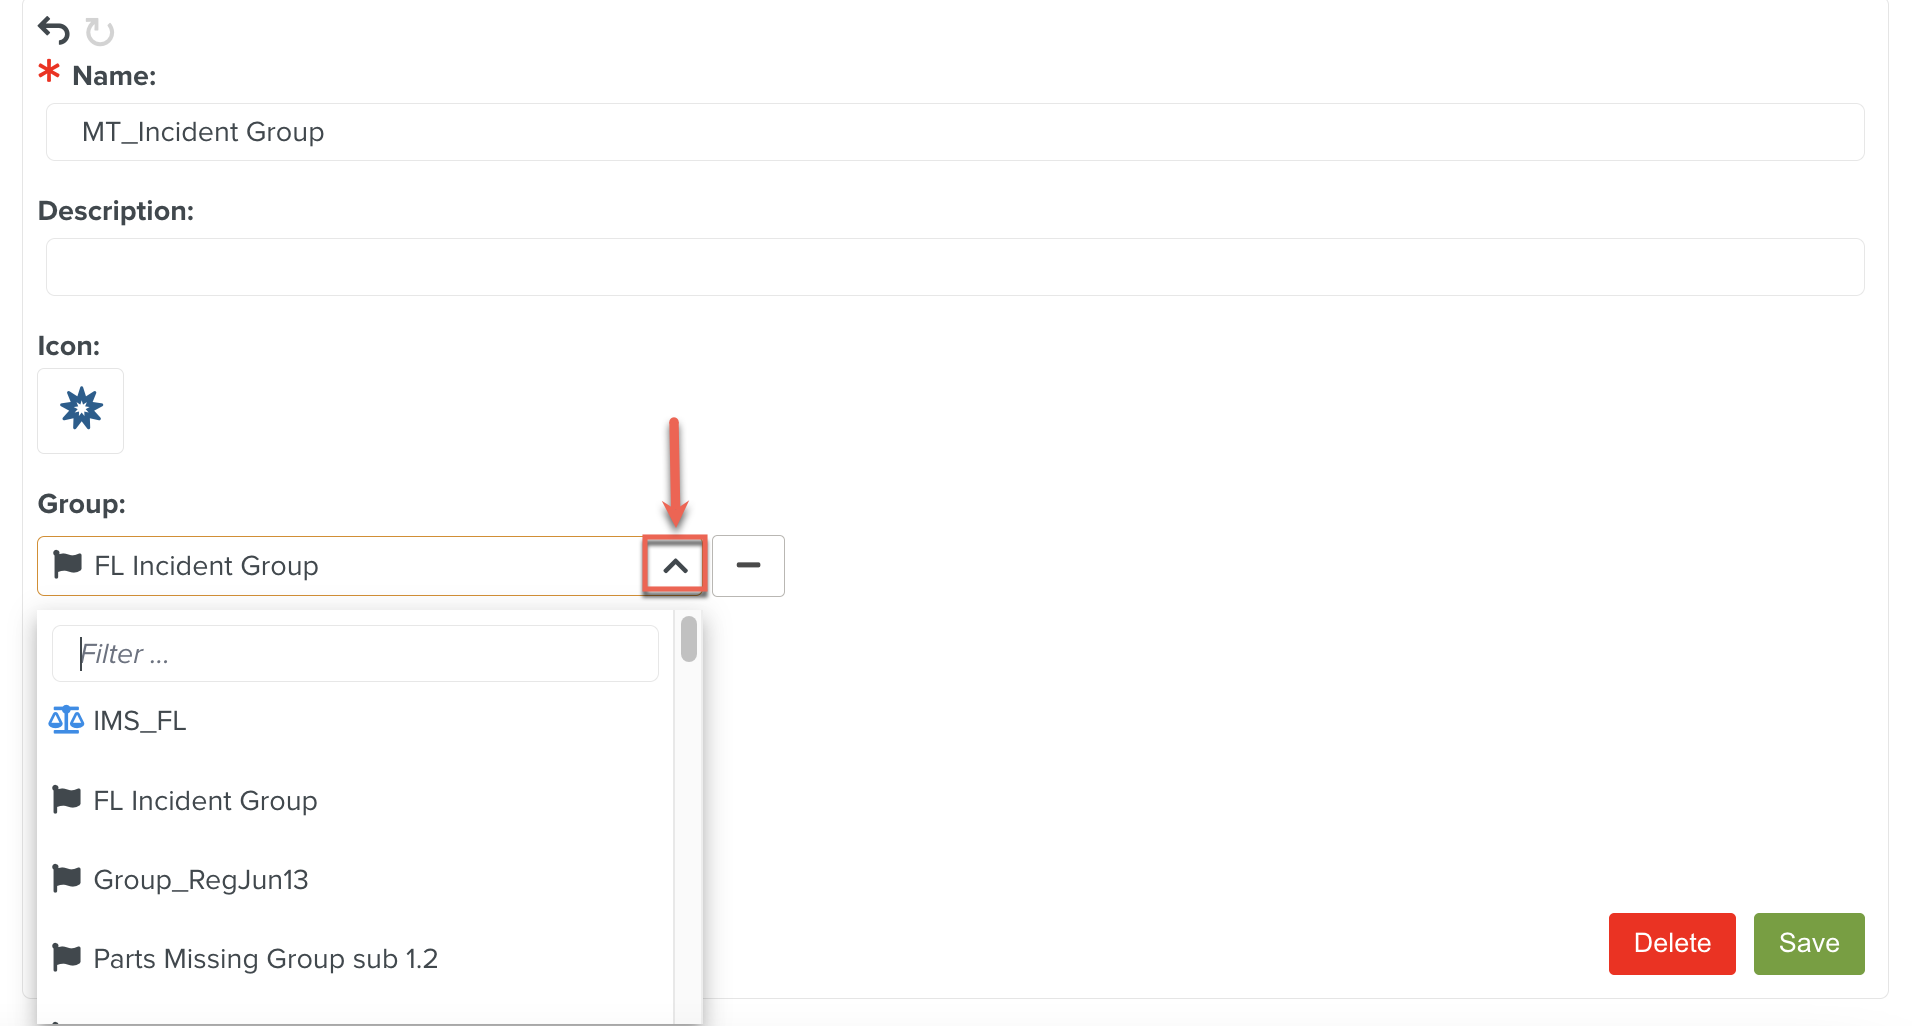
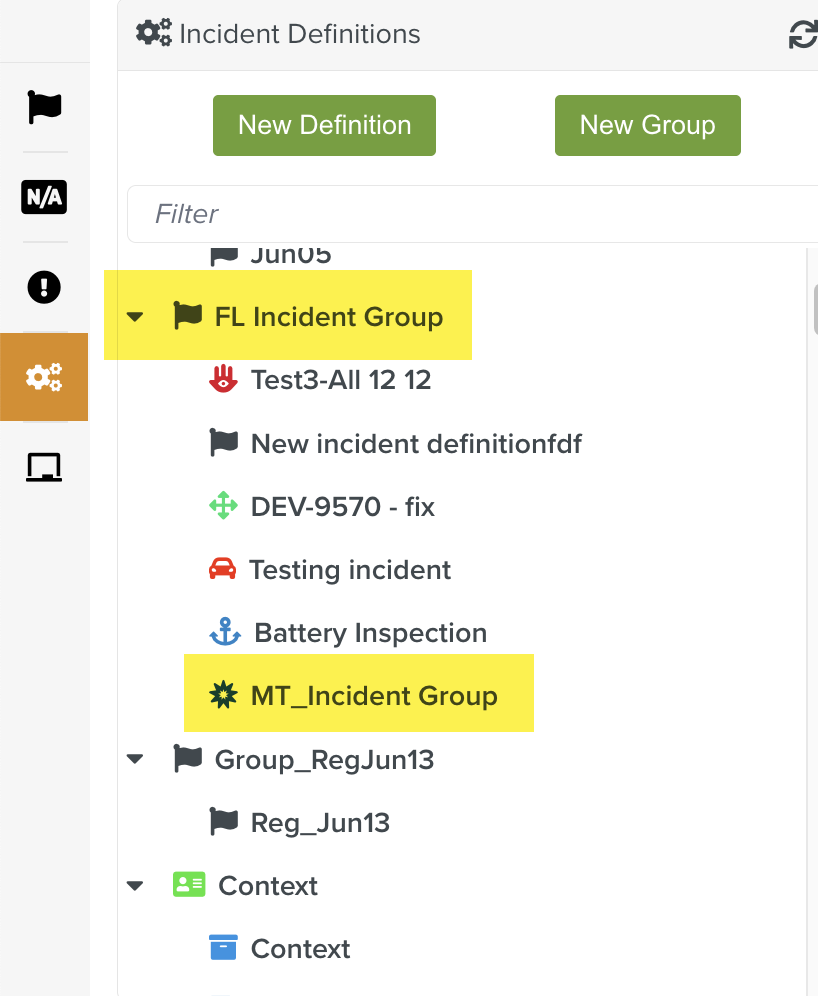
In the below example, the current group MT_Incident Group is placed under the selected FL Incident Group.
Click .
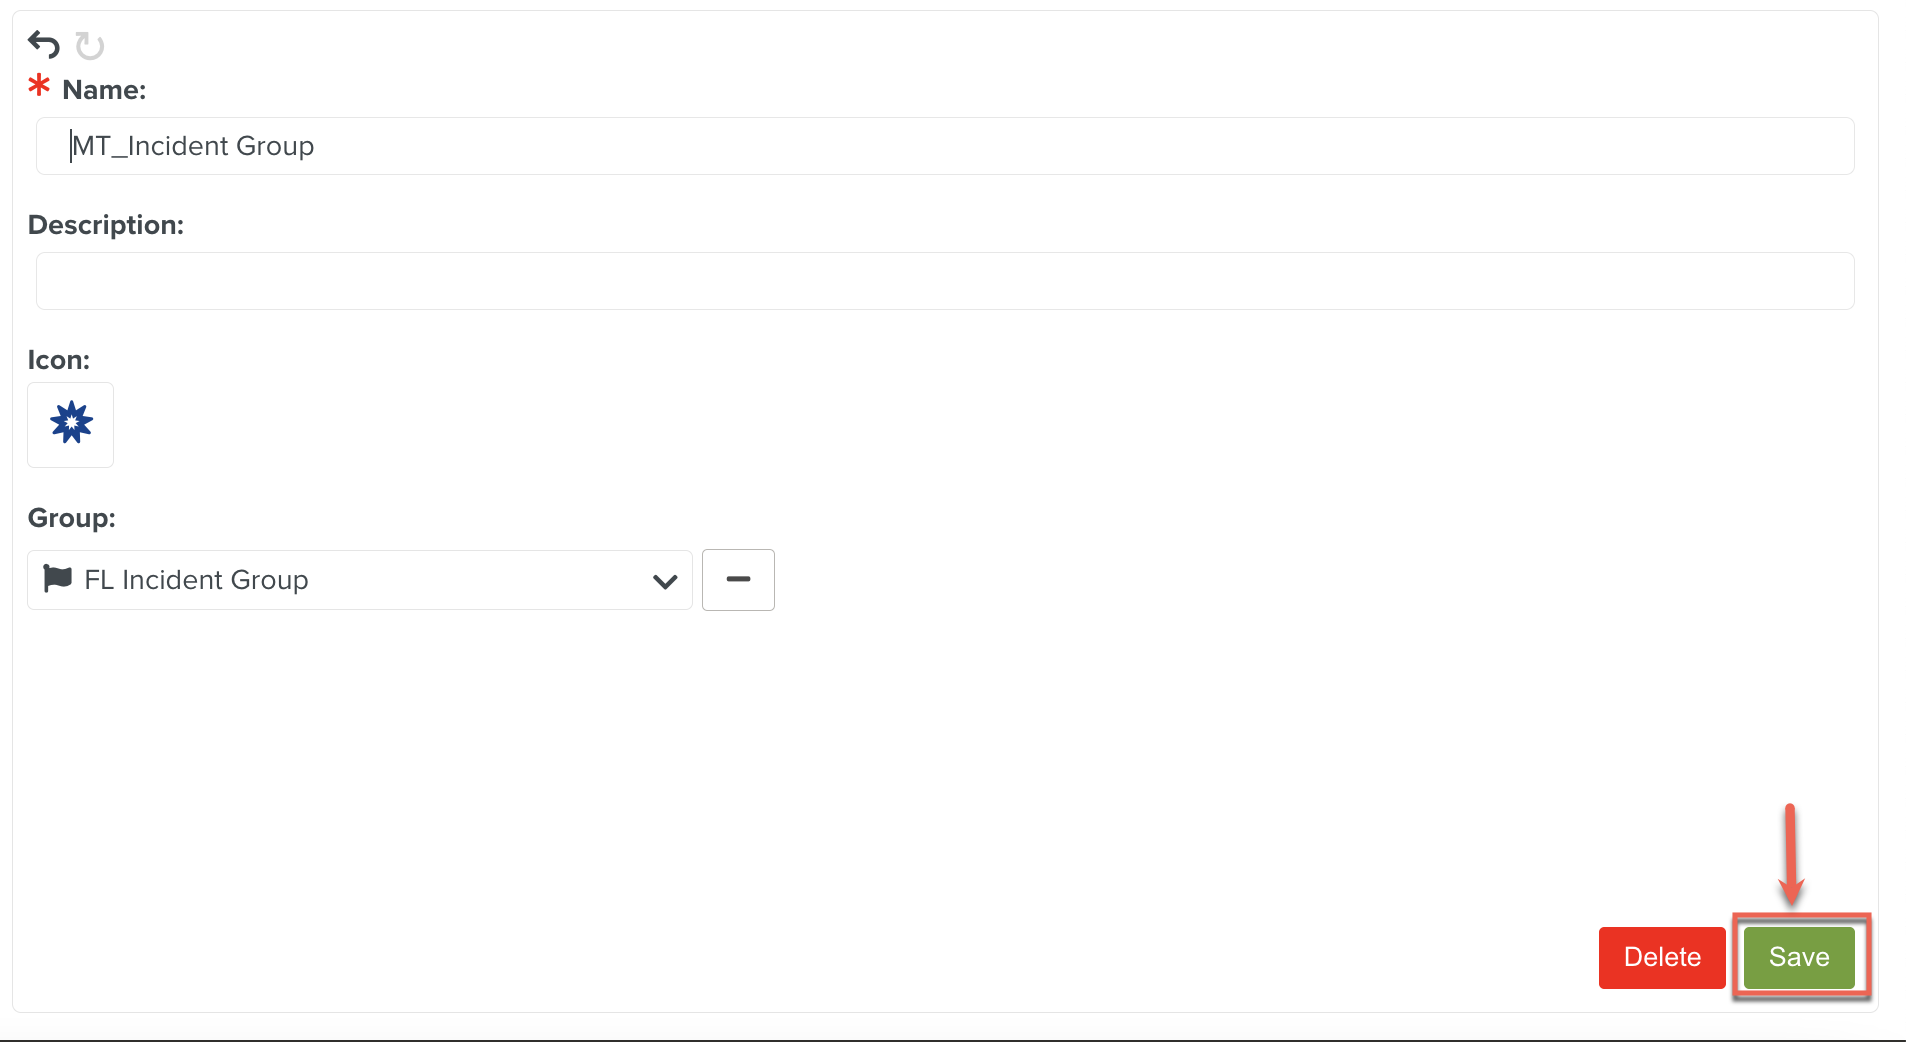
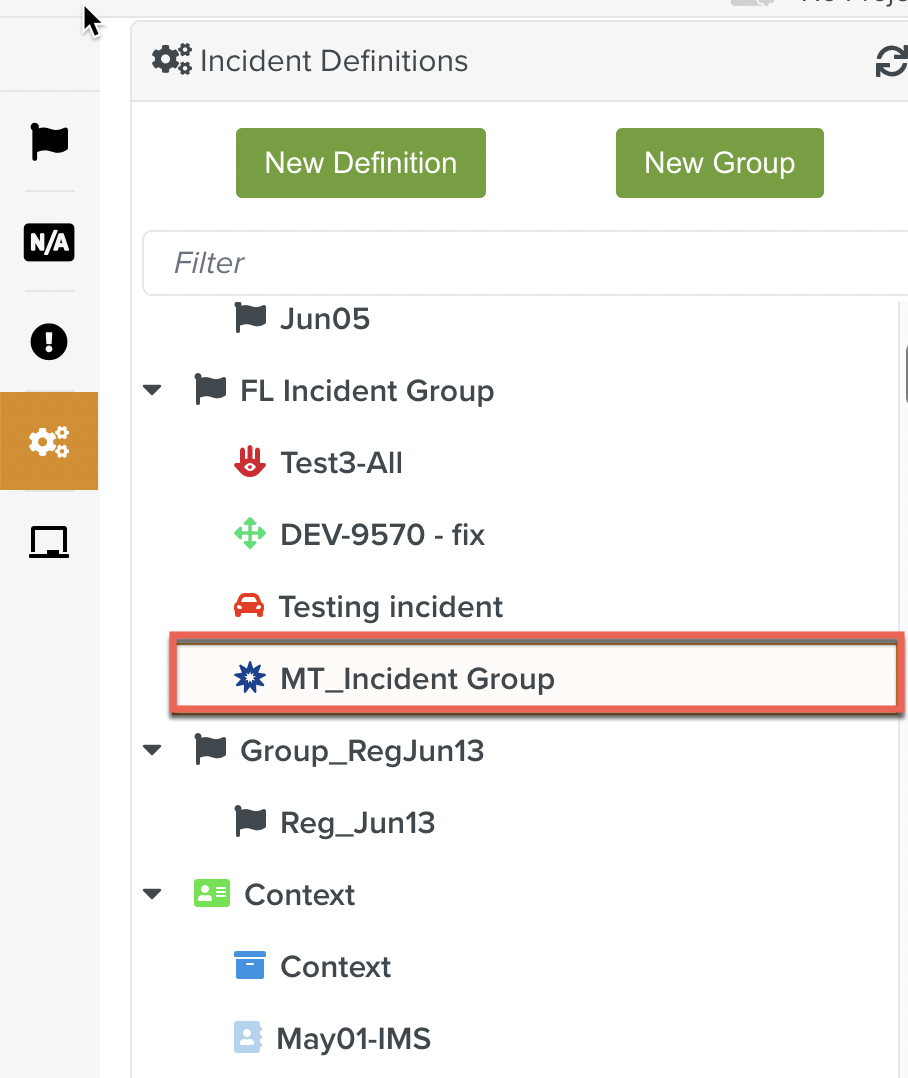
The New Group is created.
By clicking
 the selected Group from the dropdown list gets deselected.