Creating an Event Subscription
Note
To view the Enterprise menu, the user must be associated with a Security Role that has the appropriate access rights.
When an Event Subscription is created, the system sends notifications to target users when the event of interest occurs.
Event Subscriptions can be created by:
Configuring Notifications in different feature modules for events of interest; or
Adding an Event Subscription XML.
To create an Event Subscription by adding an Event Subscription XML:
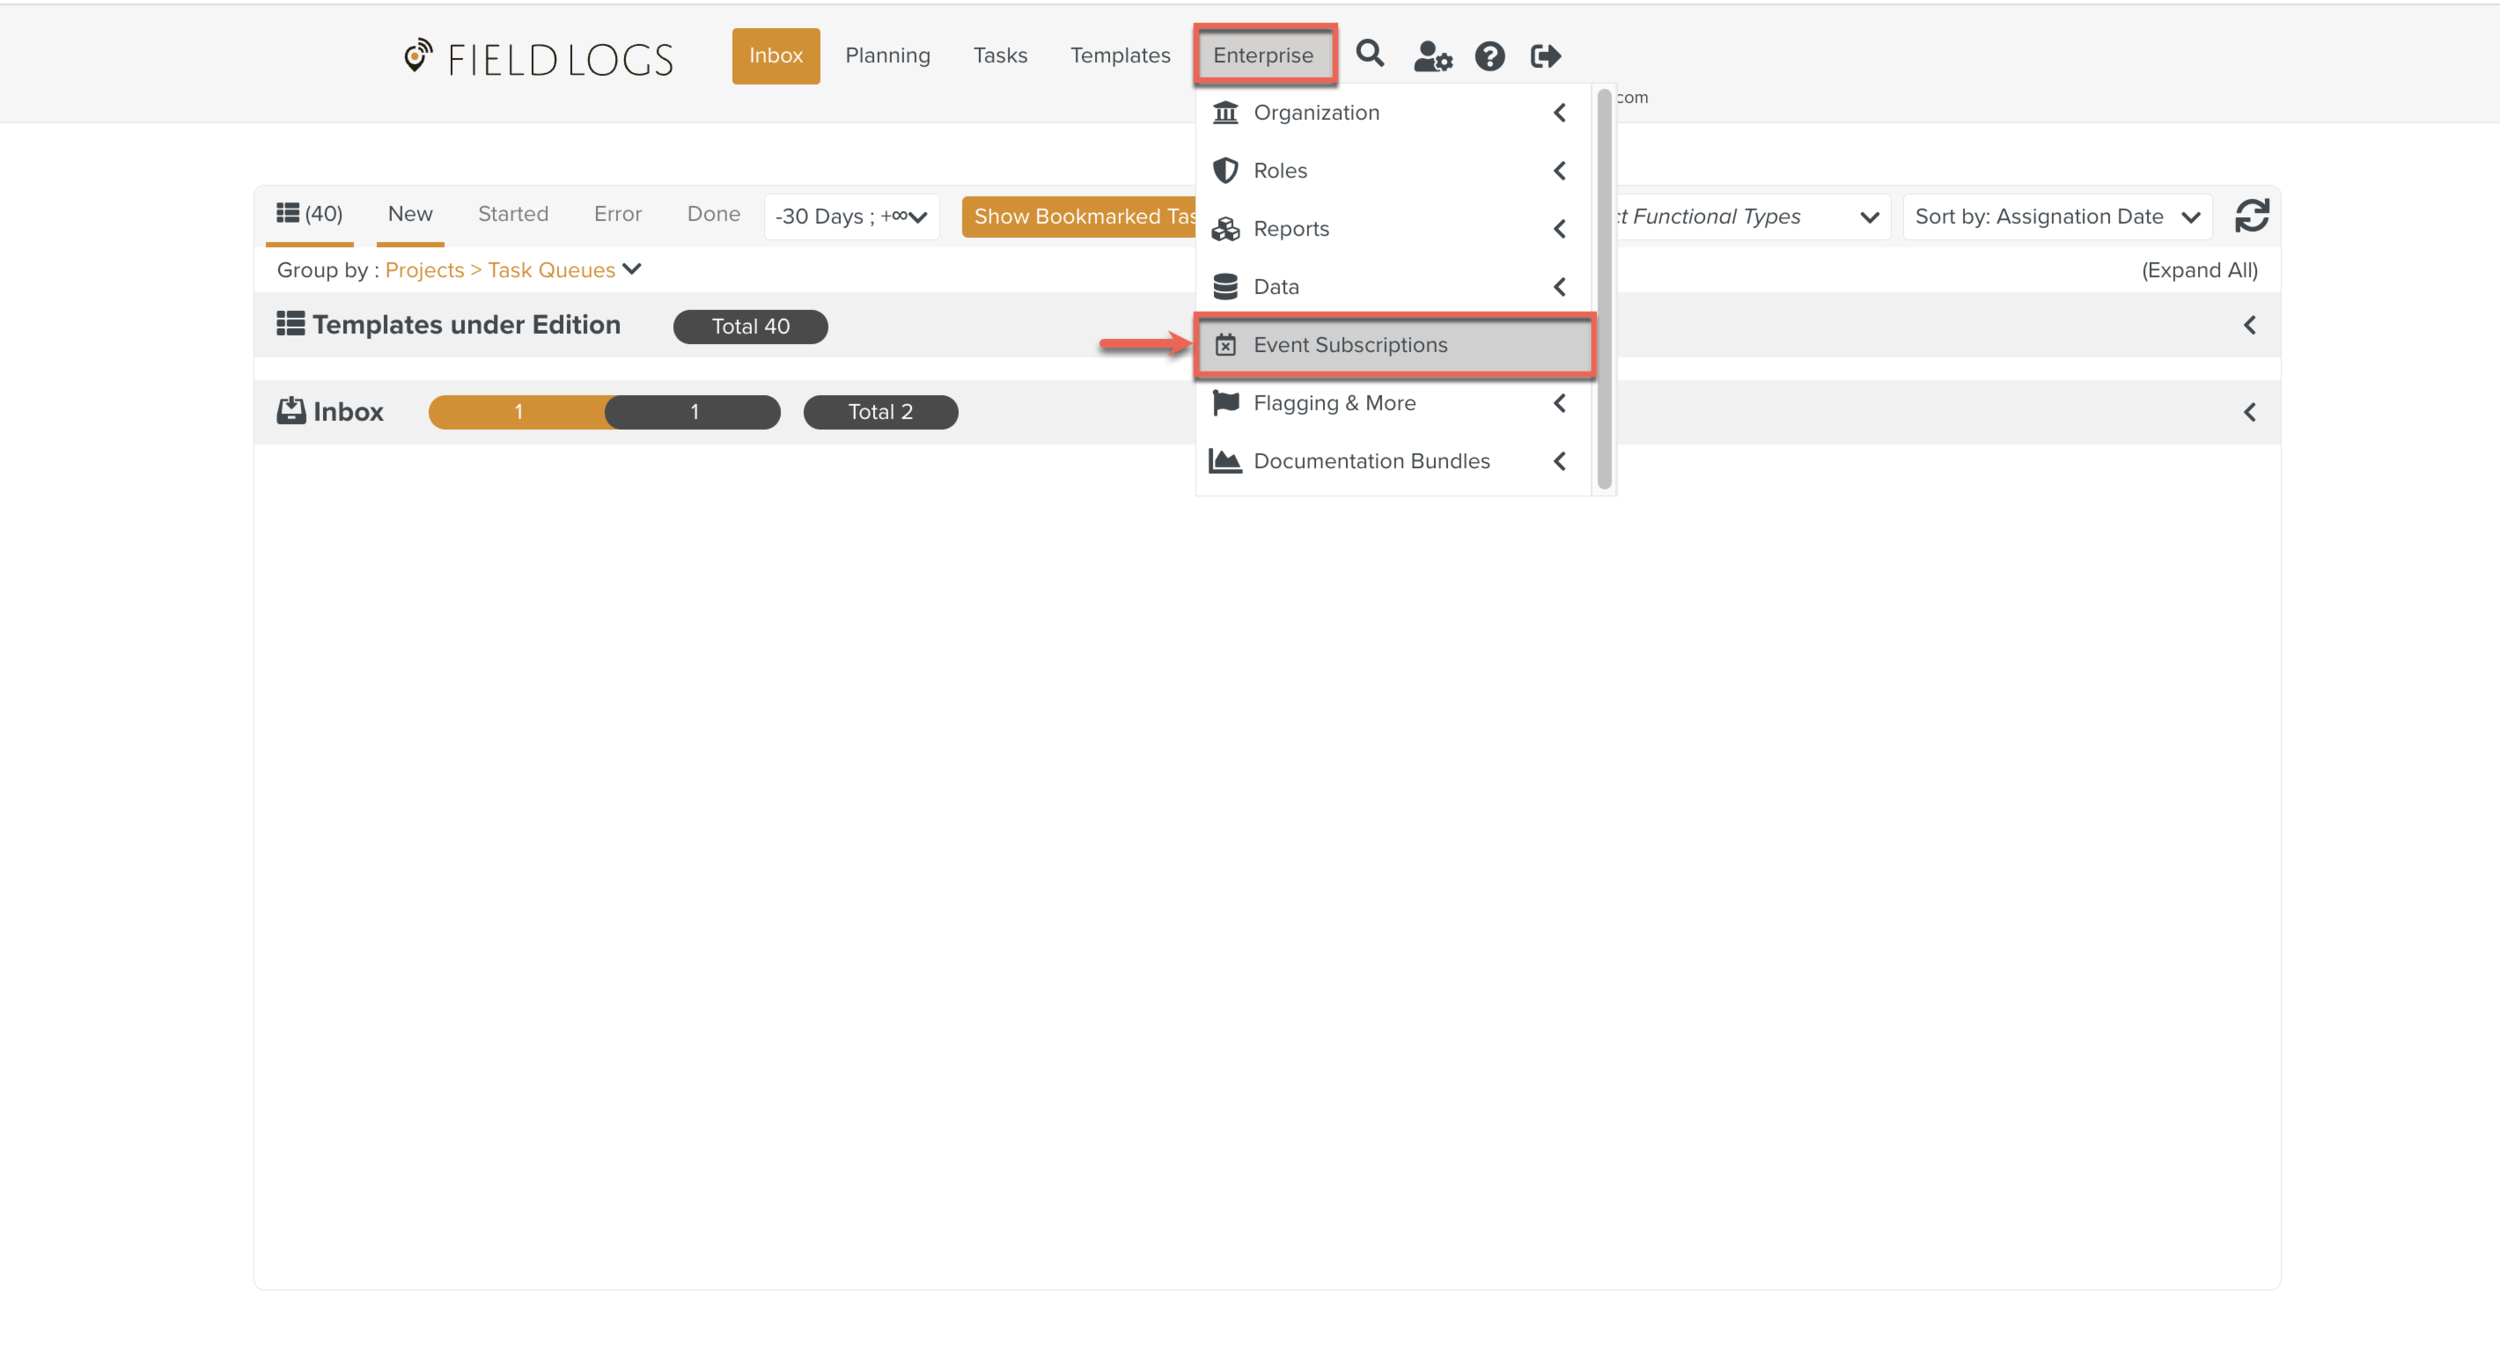
On the main menu, go to > .
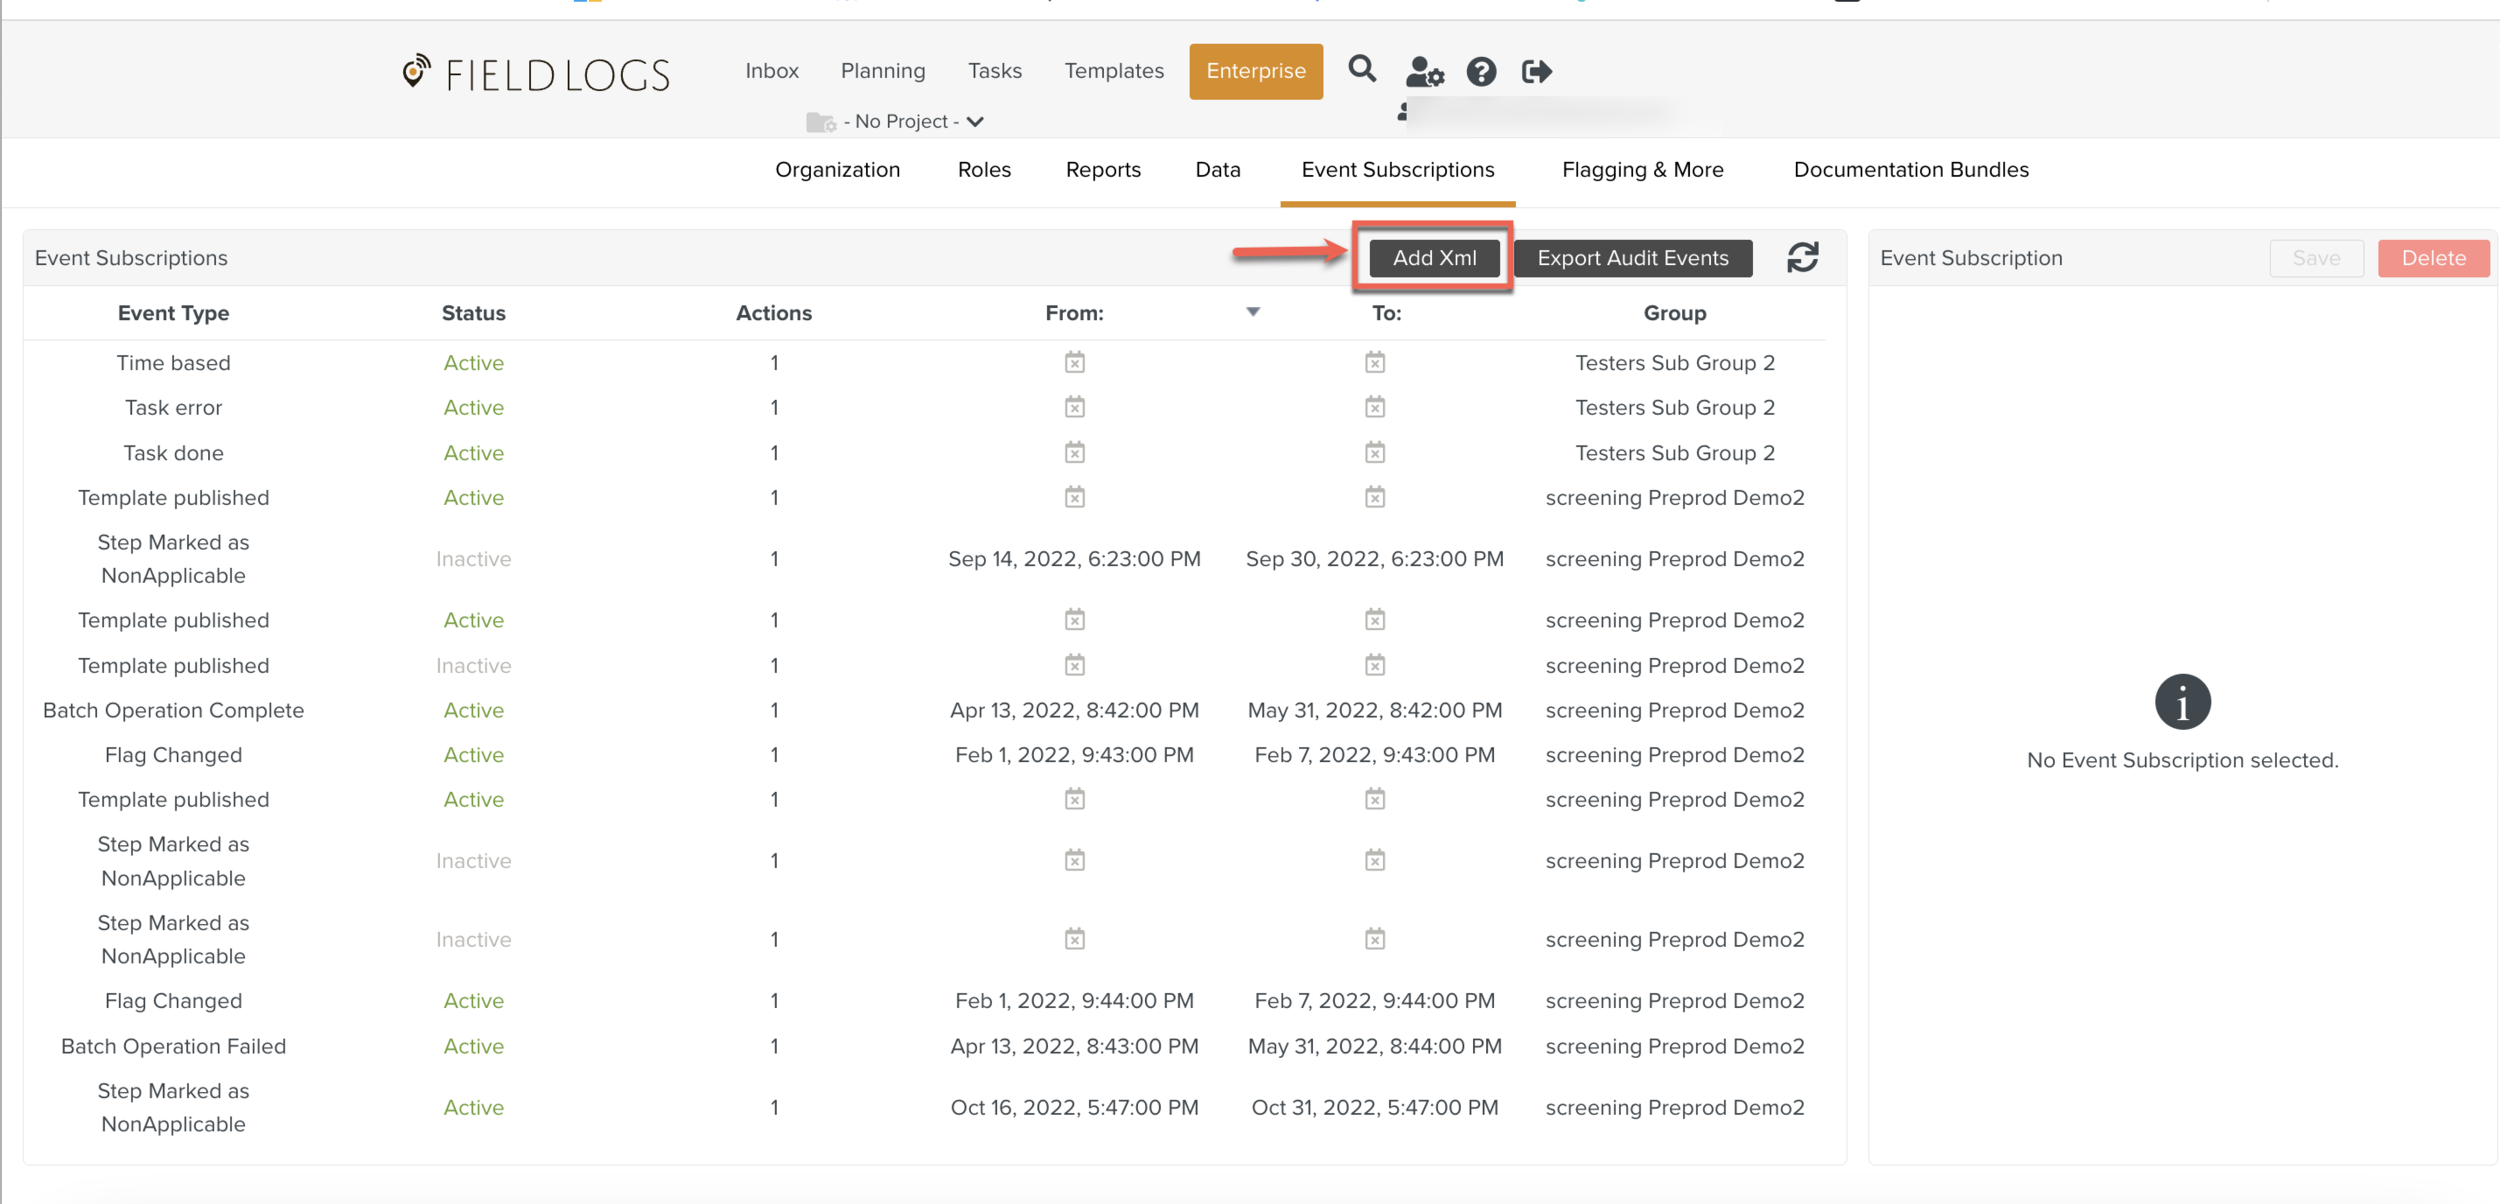
Click .
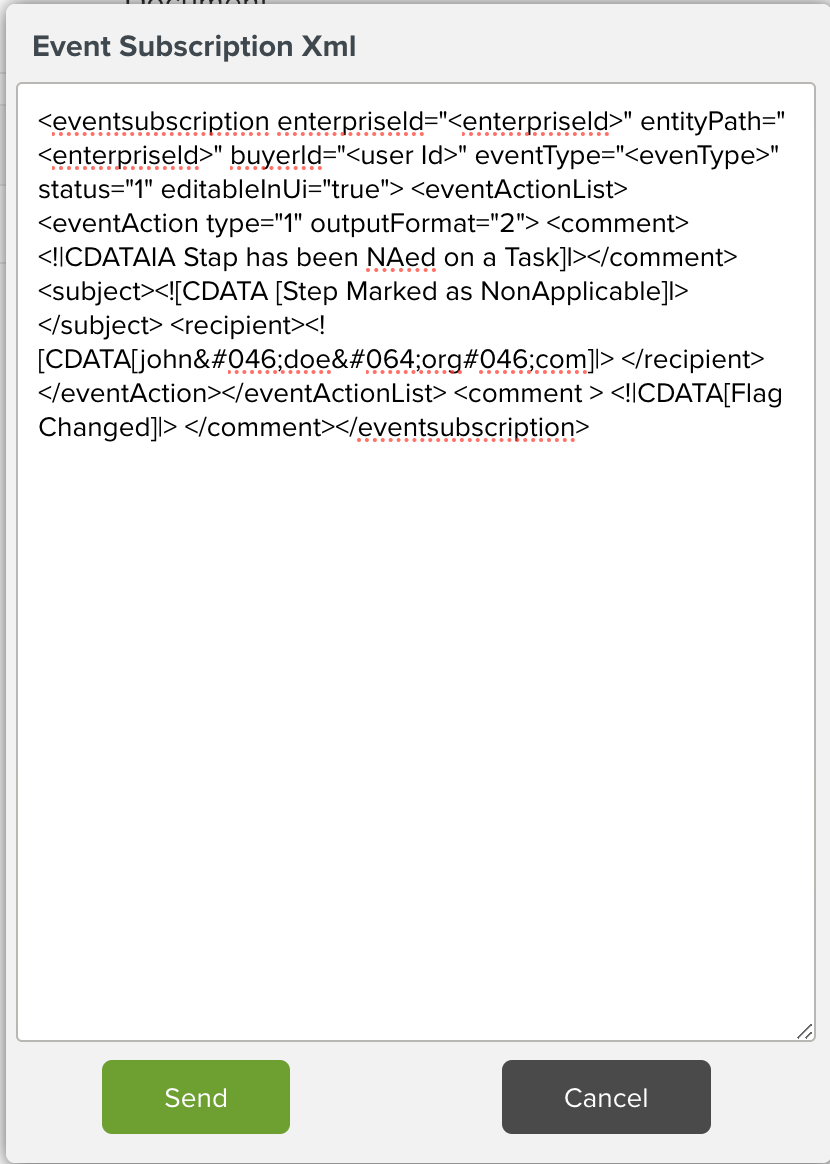
Build the xml link as shown below.
The variables are displayed in italics below. Check the Enterprise Settings for the values pertaining to your Enterprise.
Set Status =1 for Active Event Subscription.
Set Status=2 for Inactive Event Subscription.
<eventsubscription enterpriseld="<enterpriseld>" entityPath="<enterpriseld>" buyerld="<user Id>" eventType="<evenType>" status="1" editableInUi="true"> <eventActionList> <eventAction type="1" outputFormat="2"> <comment><!|CDATAIA Stap has been NAed on a Task]l></comment> <subject><![CDATA [Step Marked as NonApplicable]l></subject> <recipient><![CDATA[john.doe@org#046;com]|> </recipient></eventAction></eventActionList> <comment > <!|CDATA[Flag Changed]|> </comment></eventsubscription>
Warning
Ensure there are no line breaks in the xml link. They may result in errors.
Paste the Xml link into the Event Subscription Xml text box.
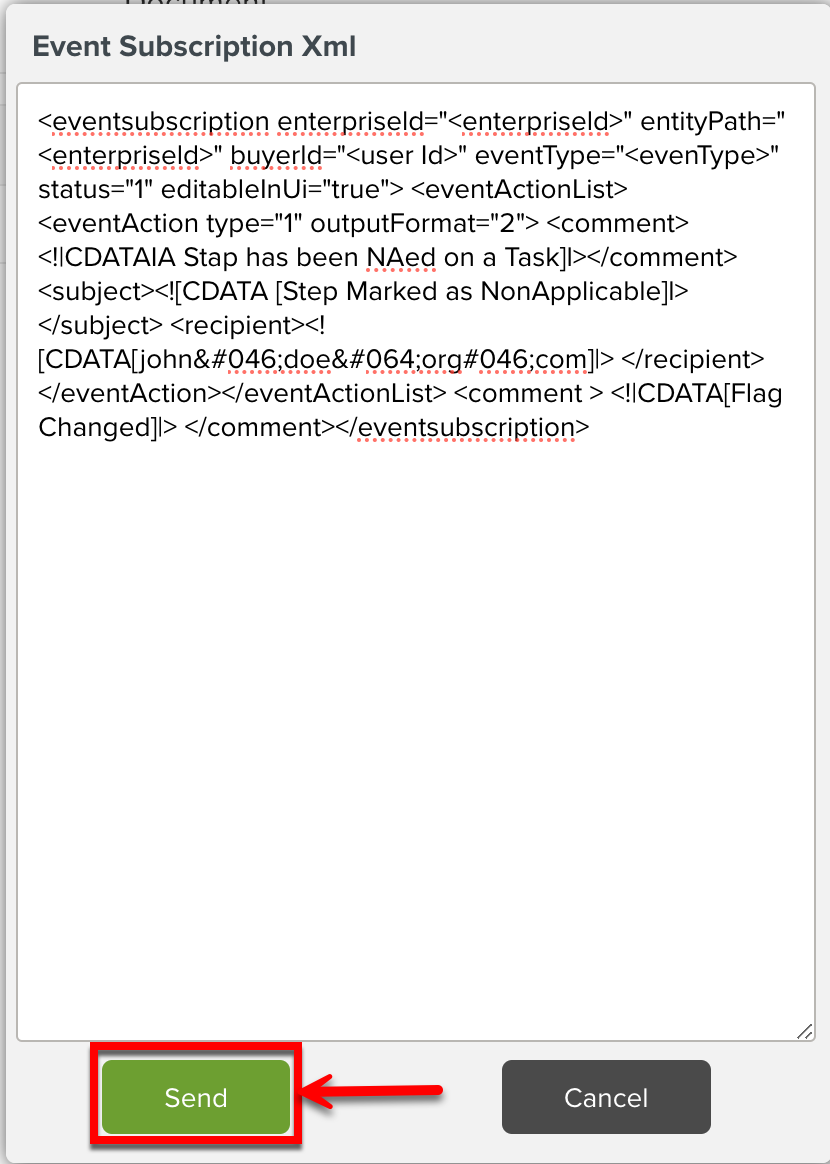
Click .
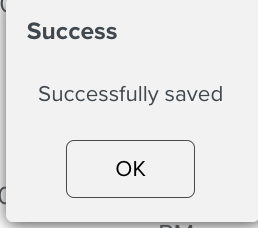
A success message is displayed.
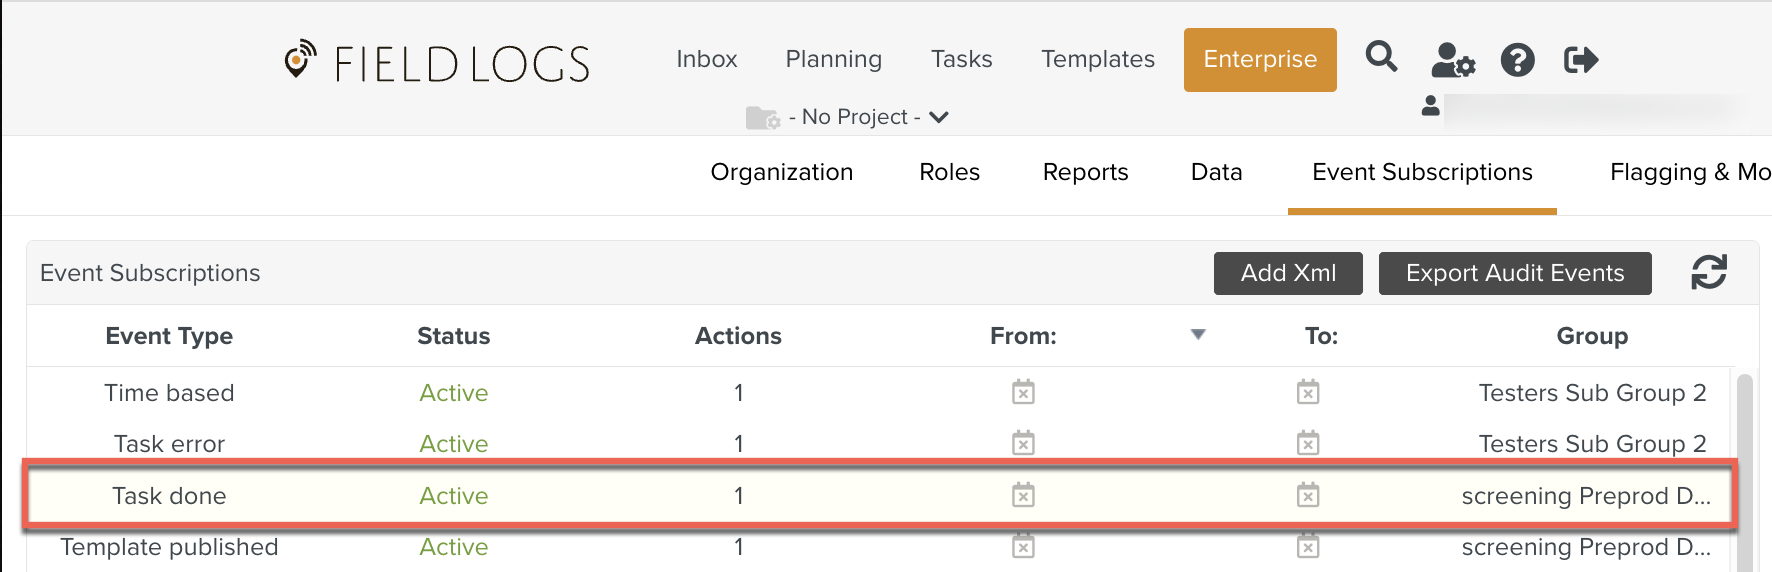
An Event Subscription is created.
When the Task is started, an email notification will be sent to the specified email.
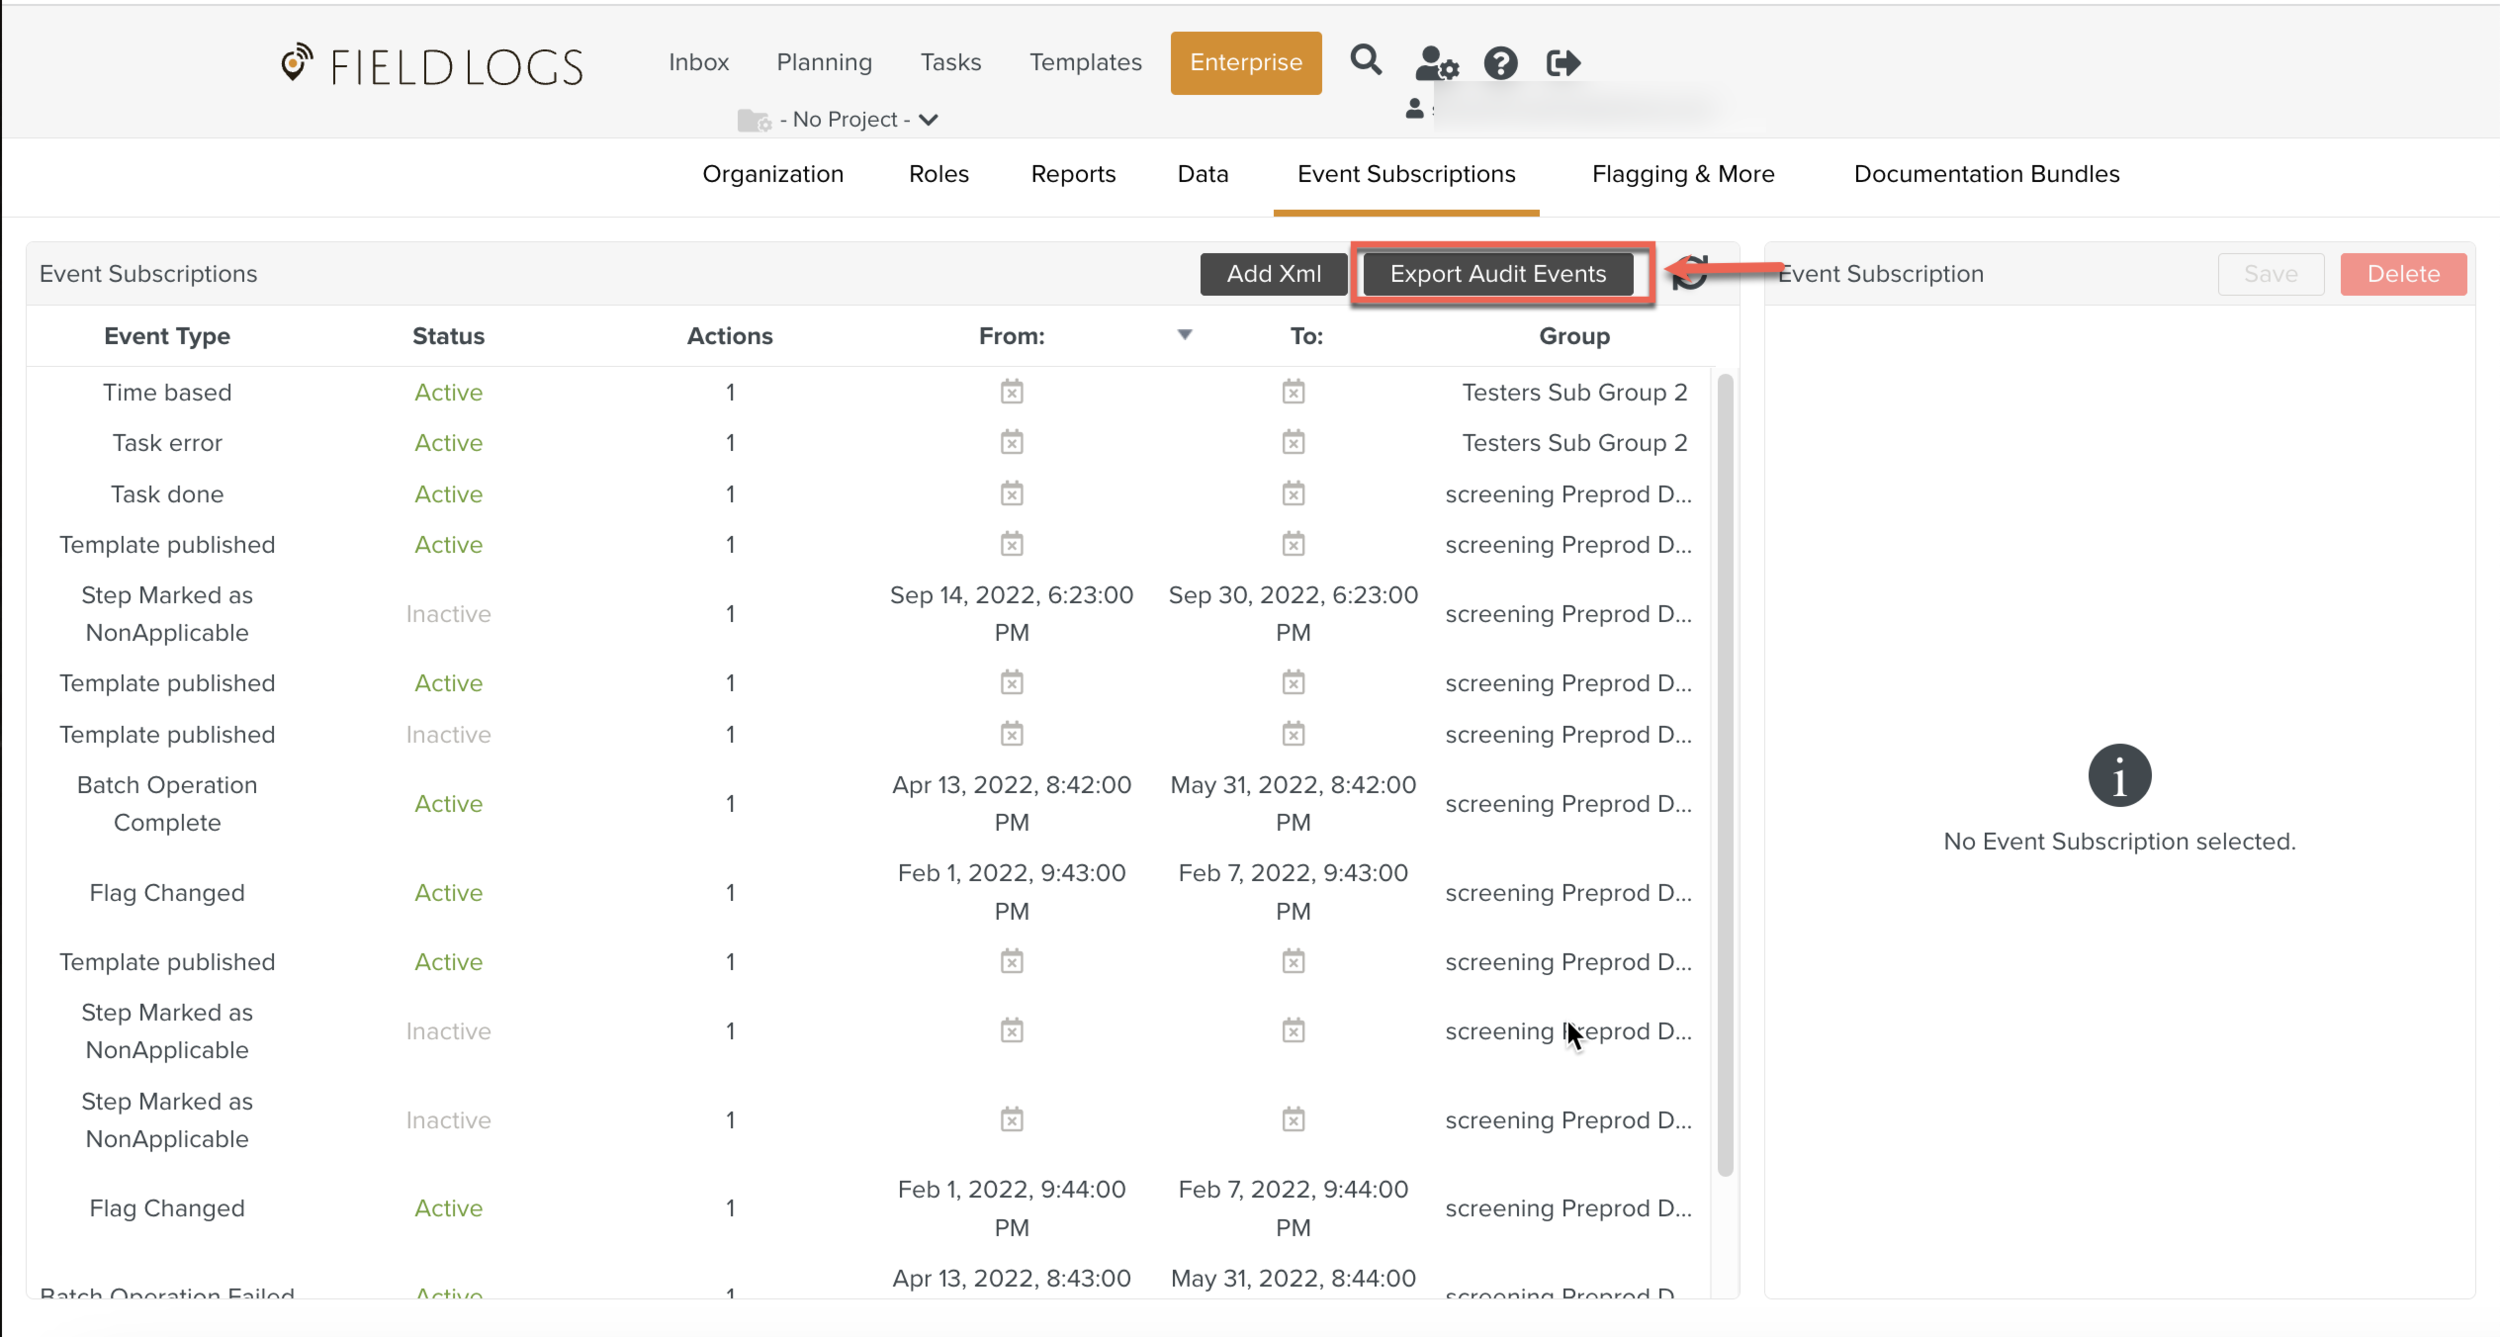
To export an Audit Event:
On the main menu, go to > .
Click .
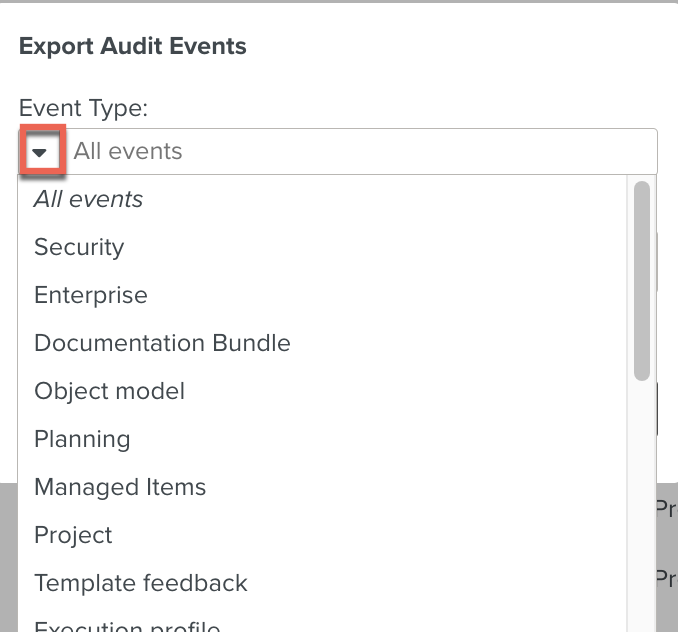
Click the dropdown to display the list of options and select the required Event Type.
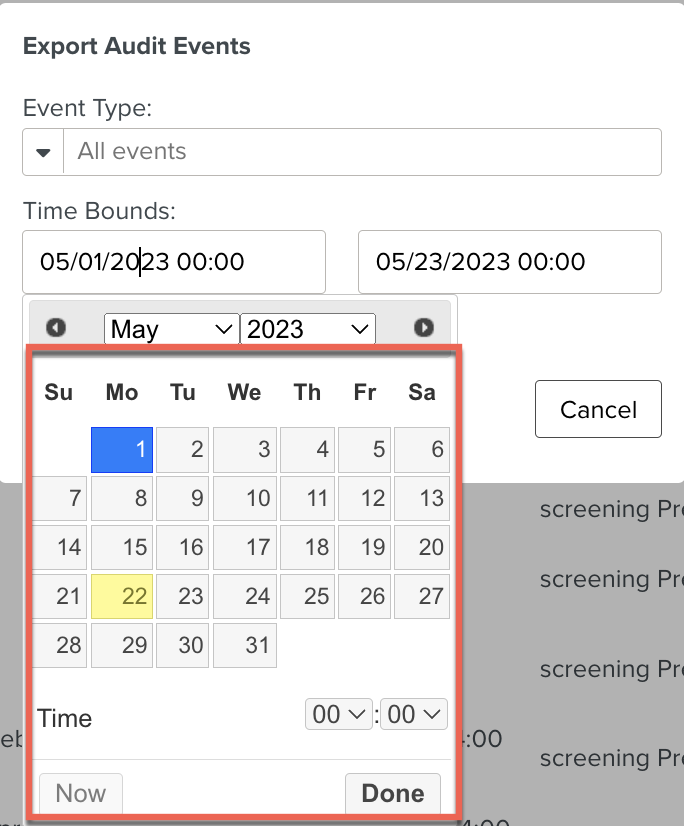
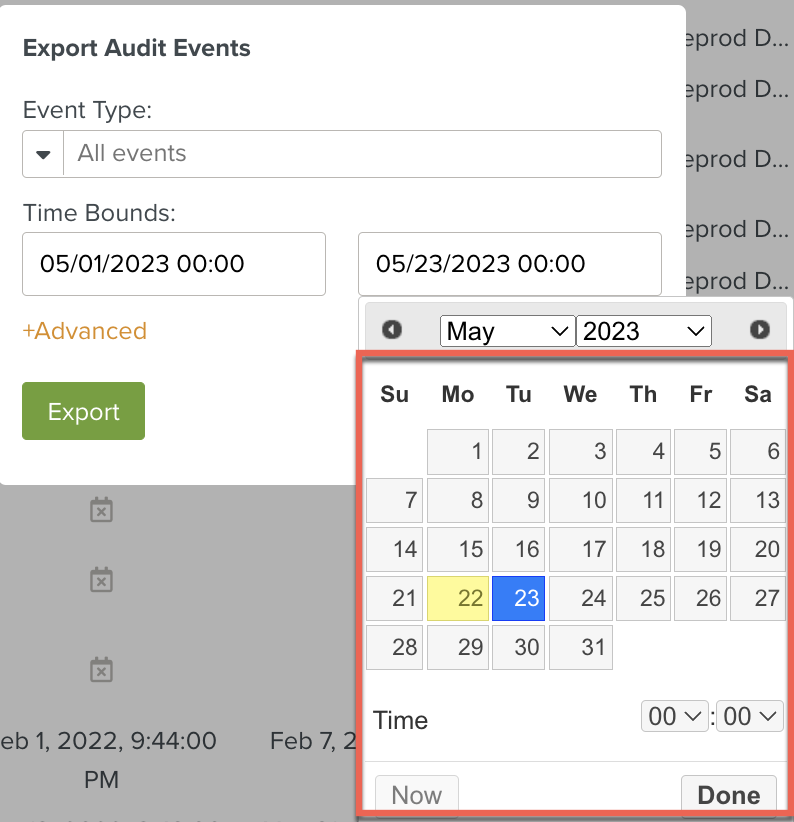
Select From and To Time Bounds as shown below.
Click .
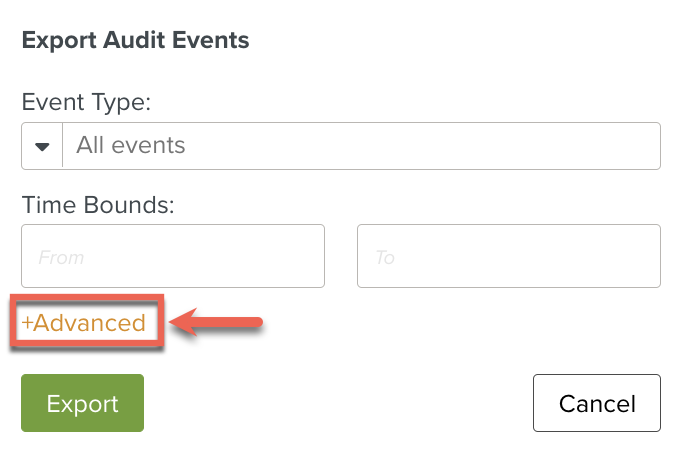
[Optional]Enter the Data Id.
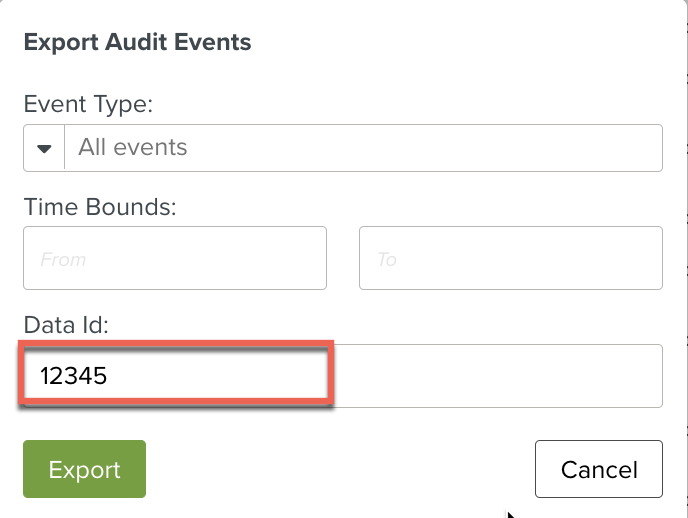
It is an Event Subscription Id created at the time of adding an Xml instruction.
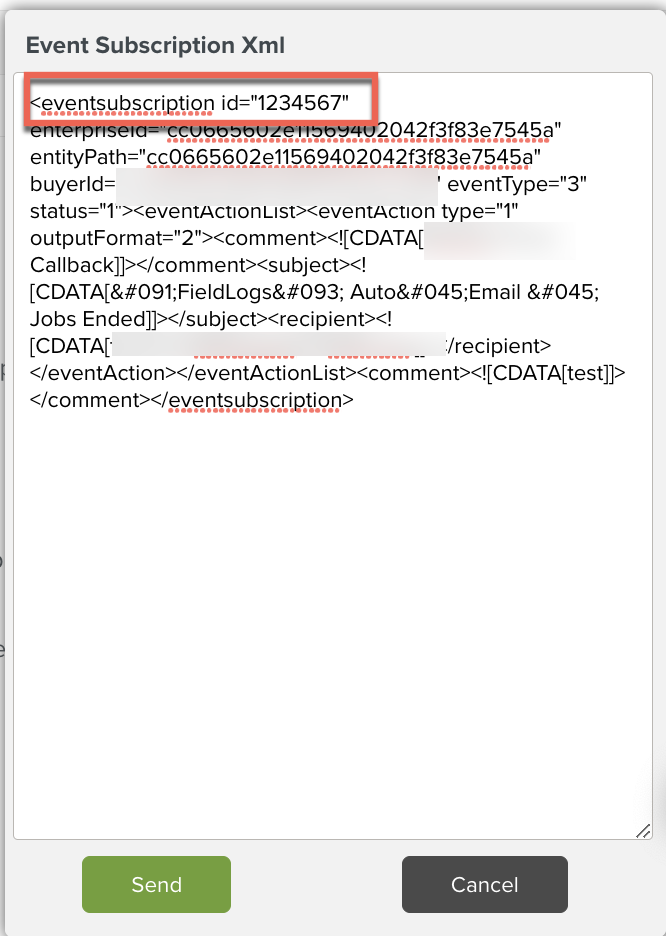
Click .
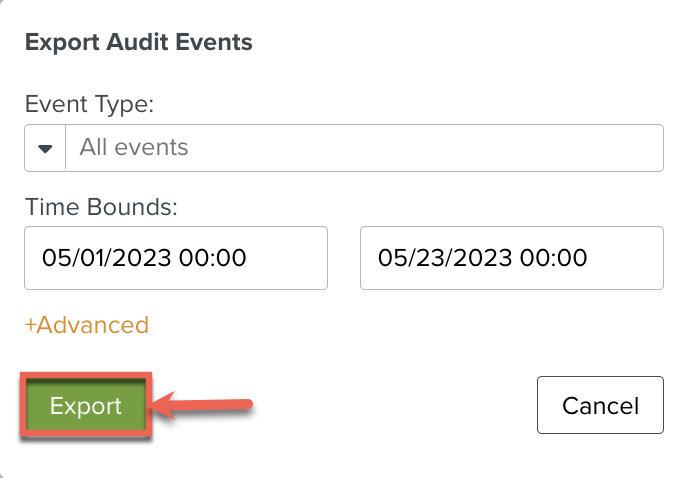
A ZIP file containing a CSV file listing all events in the Event Subscription is downloaded