Defining Signoff Flow
After Task execution, the member with the required role (and qualification) can Signoff indicating the conclusion of the Task.
Using the Signoff flow section of the  Templates Information Editor, you can:
Select roles for the Signoff generation. Members with the roles that you select in this section will be able to Signoff, after completing and marking a Task as done.
Set an order for the signatures.
Enforce the use of a PIN during Signoff, for additional security.
Note
During execution, Task Steps and Form Steps can also be signed off by members with the required role.
You can define the Signoff flow at the Step level using the  Step Information Editor. The Signoff on a Step is restricted to the Signoff roles defined for that particular Step.
To define the Signoff flow:
Select the Template for which you want to define the Signoff flow.
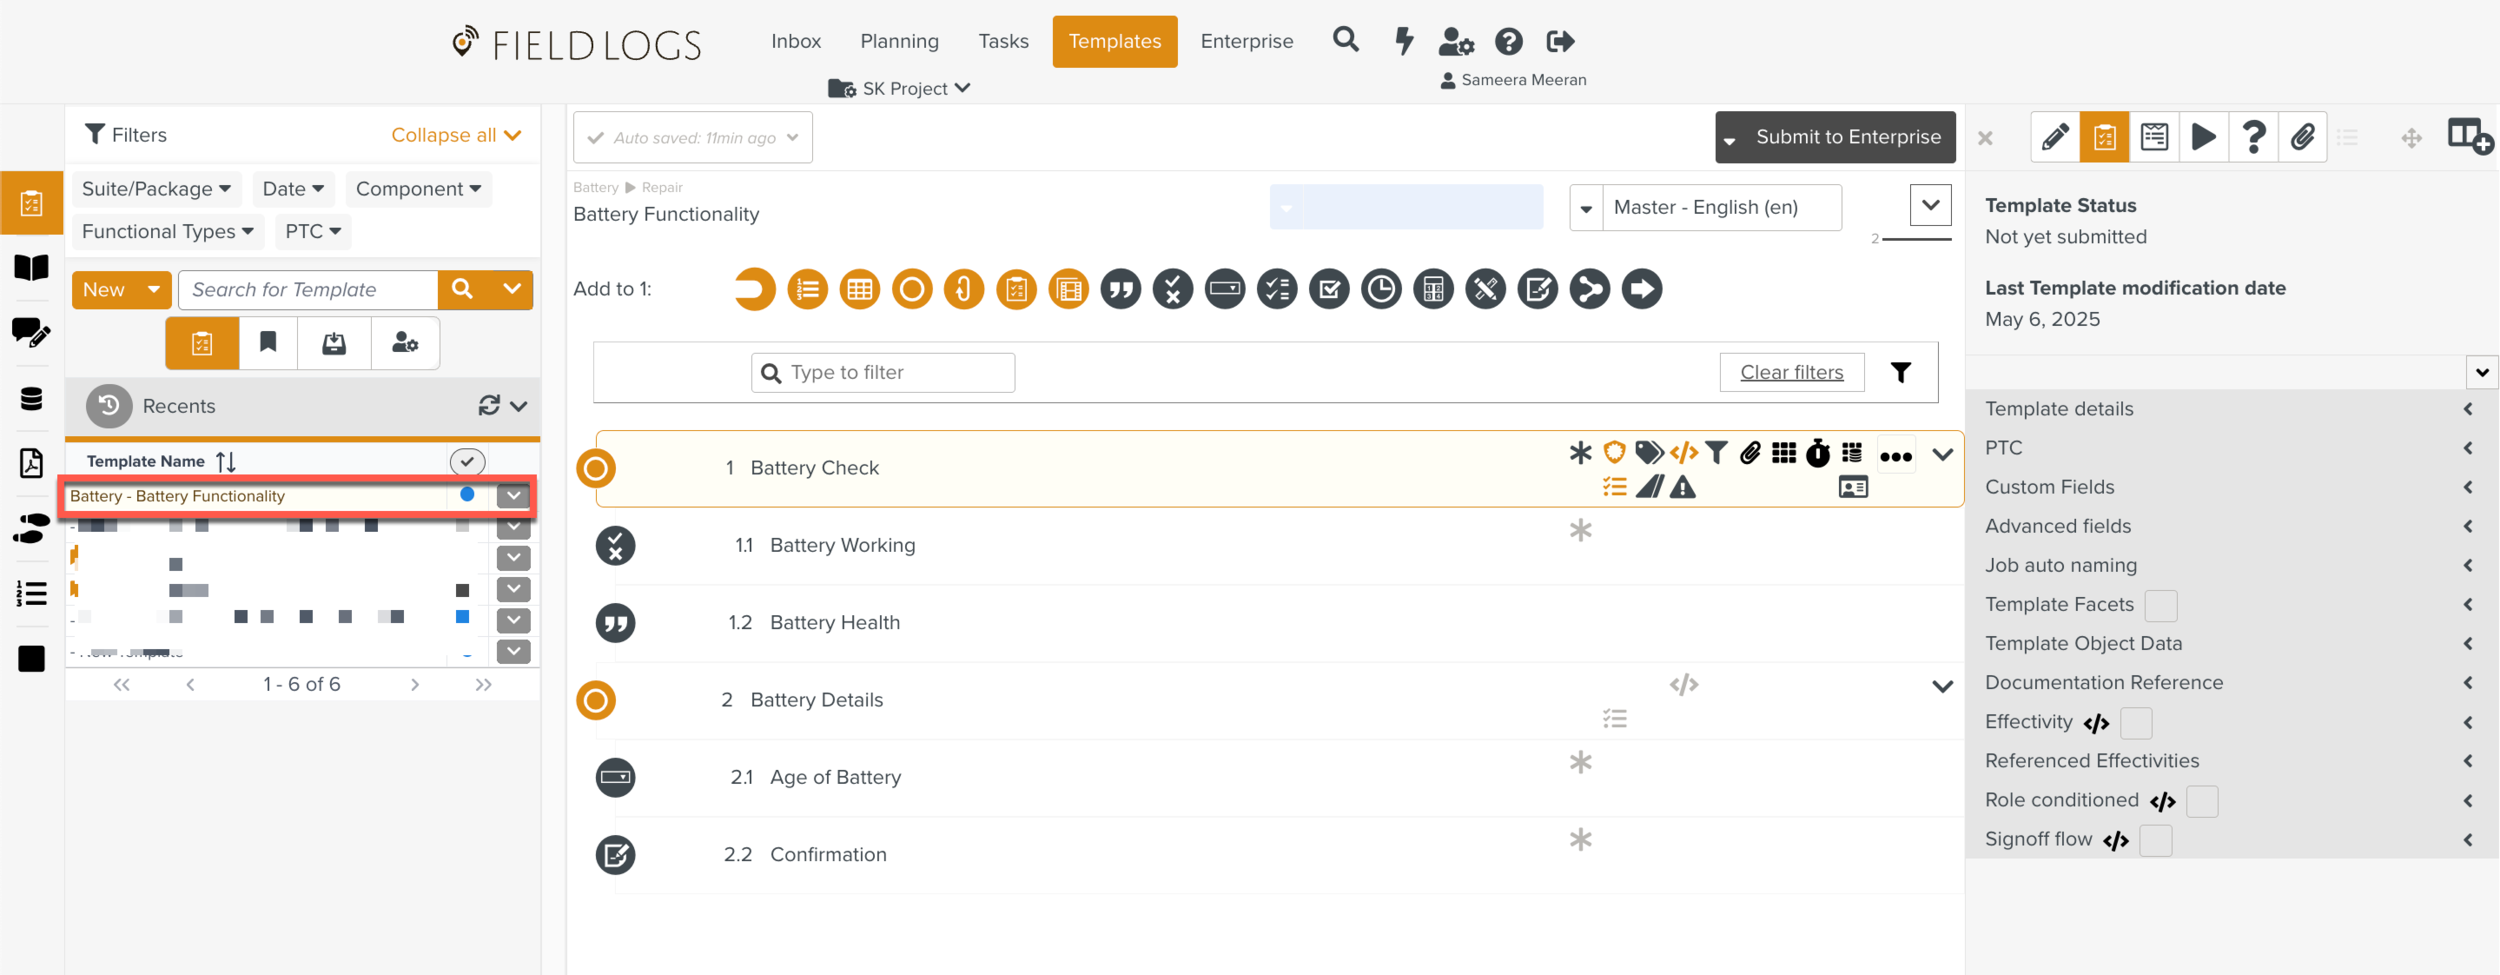
Go to the
Templates Information Editor and expand the Signoff flow section.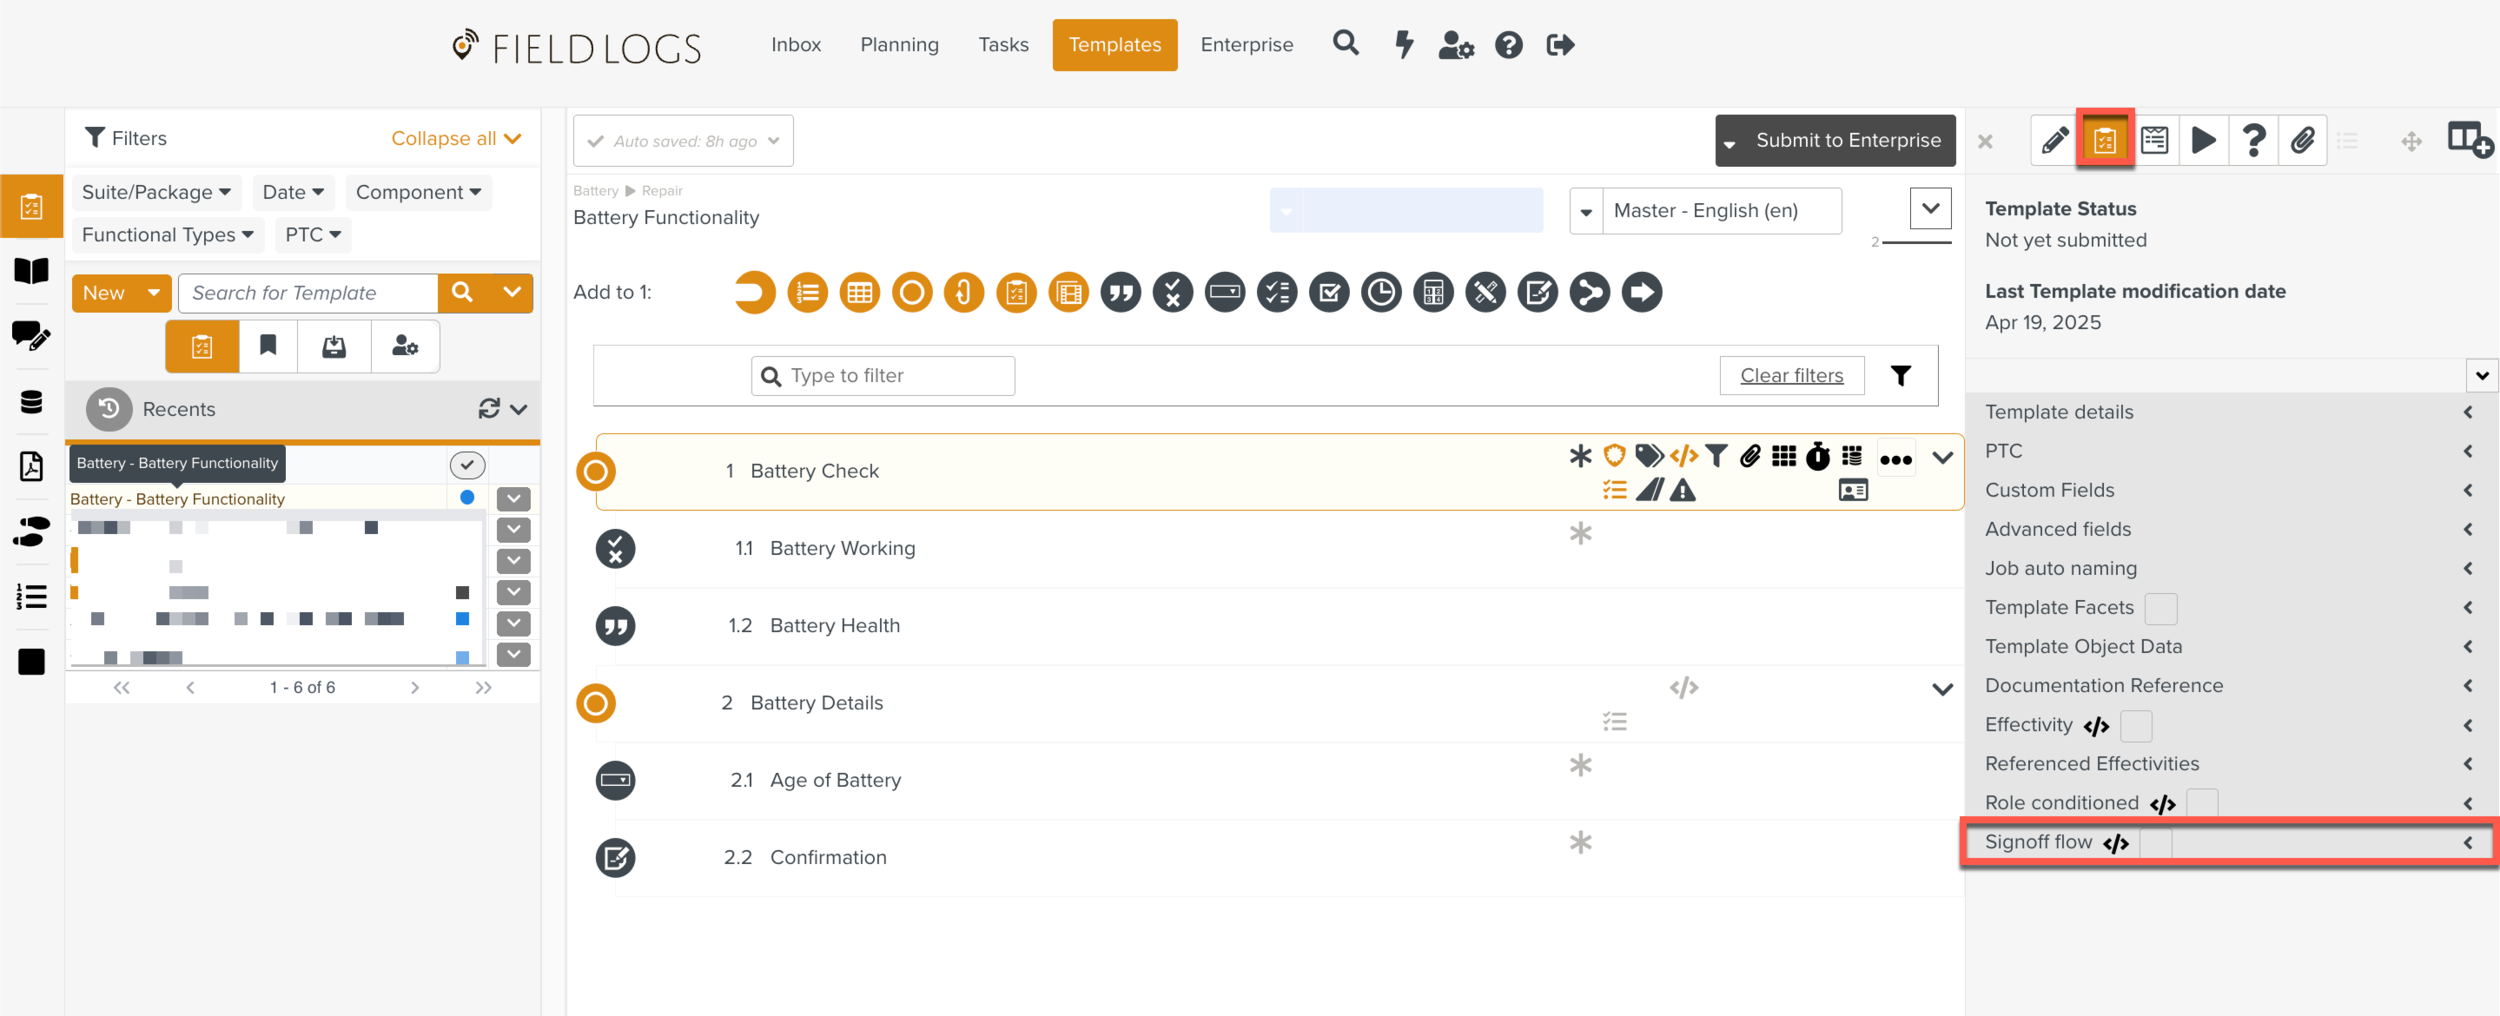
Note
To define the Signoff flow at the Step level:
Go to the
Step Information Editor.On the workspace pane, select the Step for which you want to define the Signoff flow. Only
 Task Steps and
  Form Steps can be signed off.
Expand the Signoff flow section in the Step Information Editor.
Follow the steps given below.
The fields are displayed.
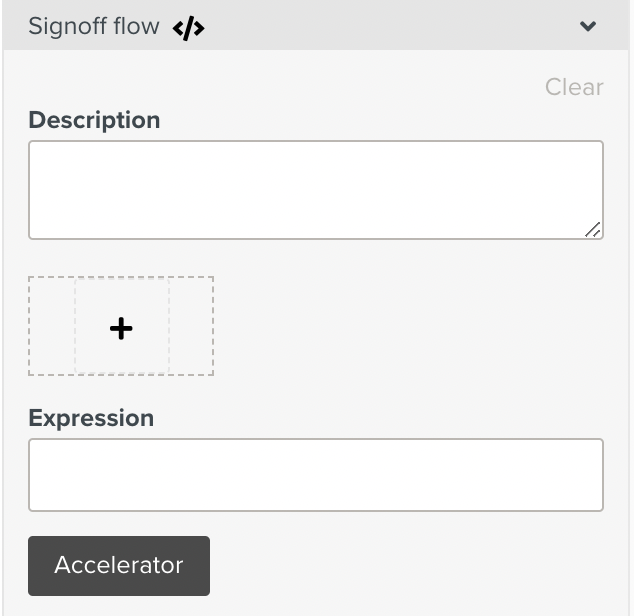
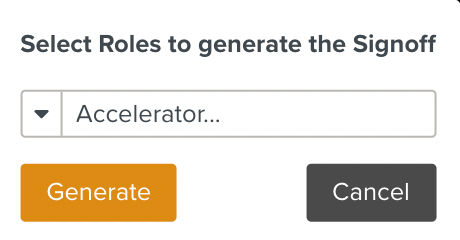
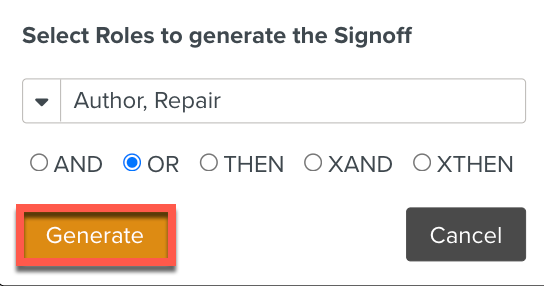
Click . The Select Roles to generate the Signoff dialog box is displayed.
Click
 to view the list of roles.
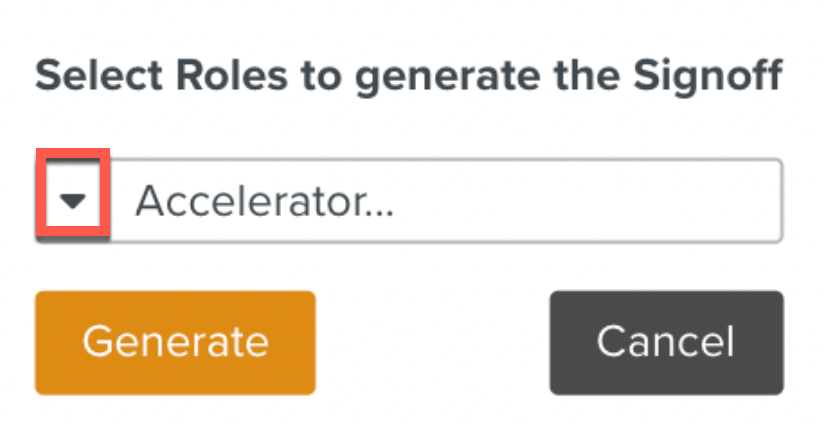
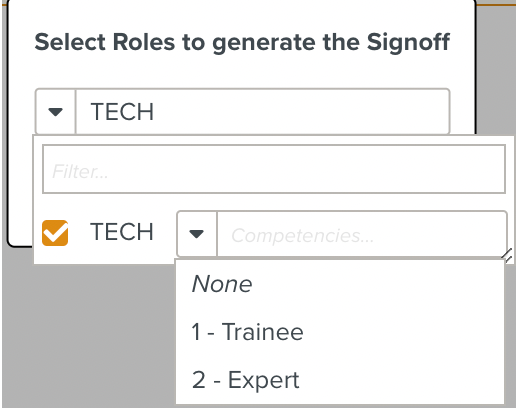
Select the checkbox corresponding to the role that you want to assign for generating the Signoff. You can select more than one role. If applicable, you can also select a competency level from the corresponding dropdown list.
Note
If you select a competency level, the levels higher than the selected level can also generate the Signoff. The competency levels below the selected level can only view the Task/Step and stamp it.
Click .
The selected Signoff roles are displayed with their role name, description, and identifier.
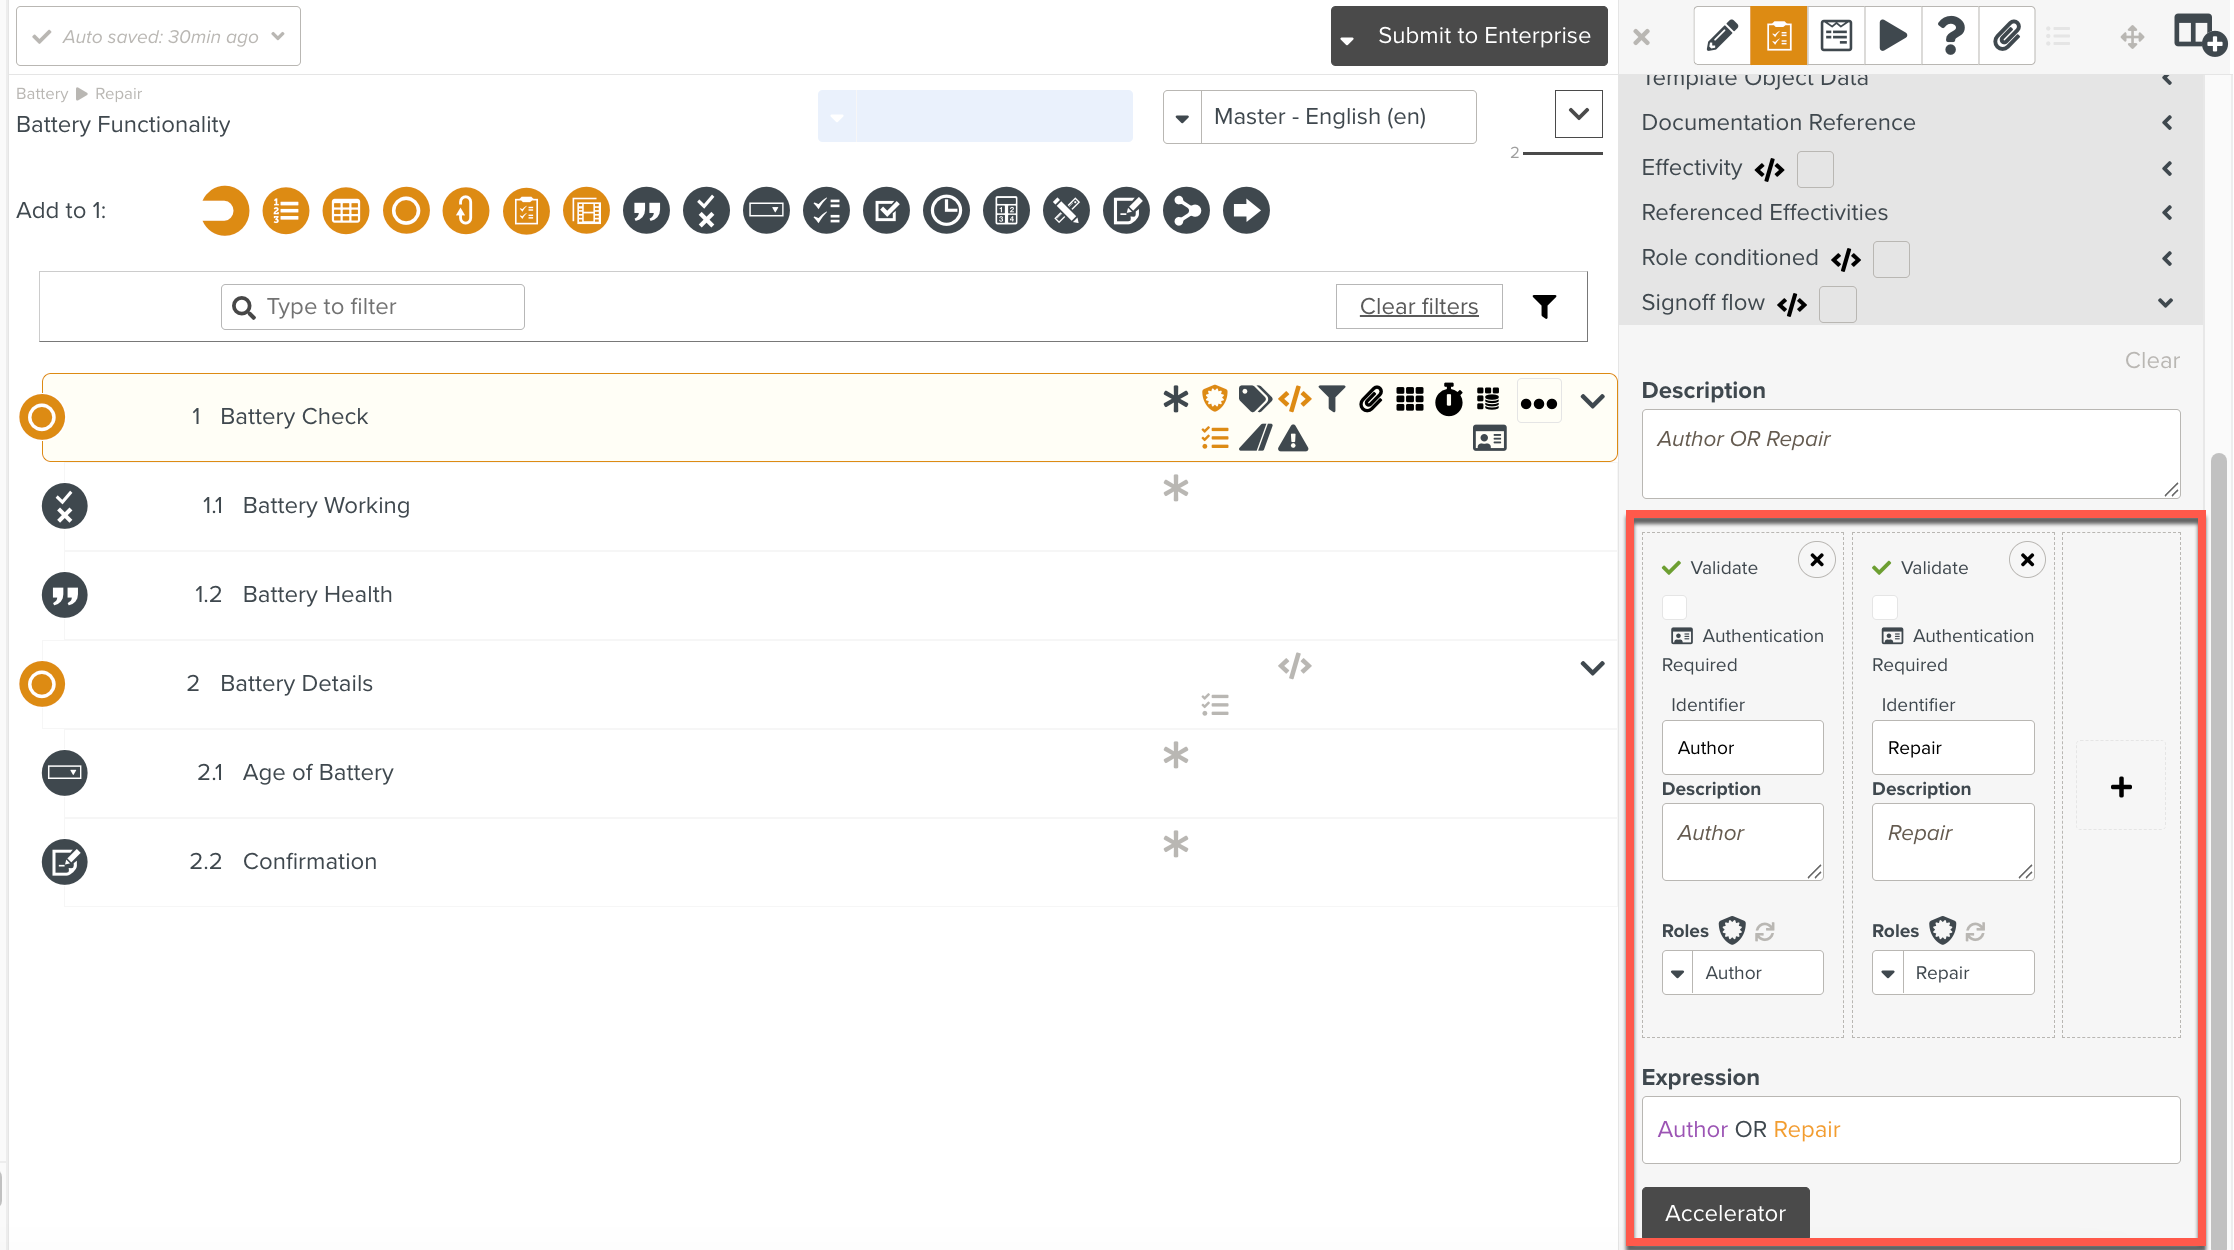
If you select more than one role, the Signoff action automatically assumes an OR condition. This means that the Signoff can be generated by any one of the selected roles.
Notice the expression automatically displayed in the Expression field. You can modify the expression as needed. For example, if you want the Signoff to be generated by multiple roles, you can modify the condition in the expression field from OR to AND.
You can also use the condition XTHEN, if you want the roles to generate the Signoff one after the other.
If is set, whoever posses the Pin can Signoff the action.
Note
The PIN is set by the administrator.
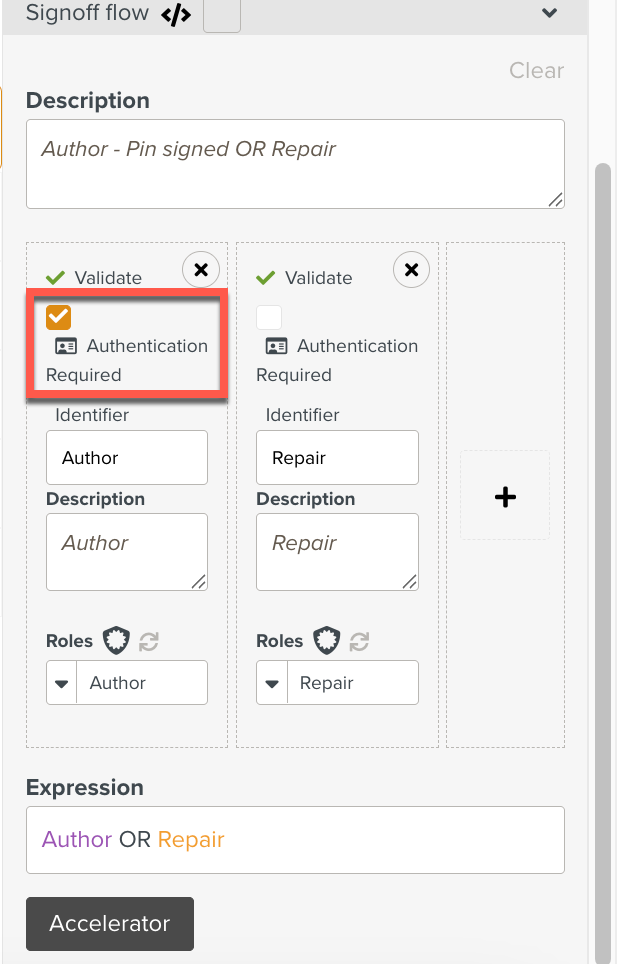
If needed, modify the description in the Description field. This field automatically displays the selected role.
Note
Clicking and selecting roles overrides any earlier selection of role.
You can also click
 to add roles. Remember to select the role from the dropdown list. However, this method of adding roles does not automatically display the expression in the Expression field. You will need to enter the expression.
Clicking
 refreshes the list of available roles.
Click
 to remove the selection.
Clicking removes the details from all the fields in the Signoff flow section.
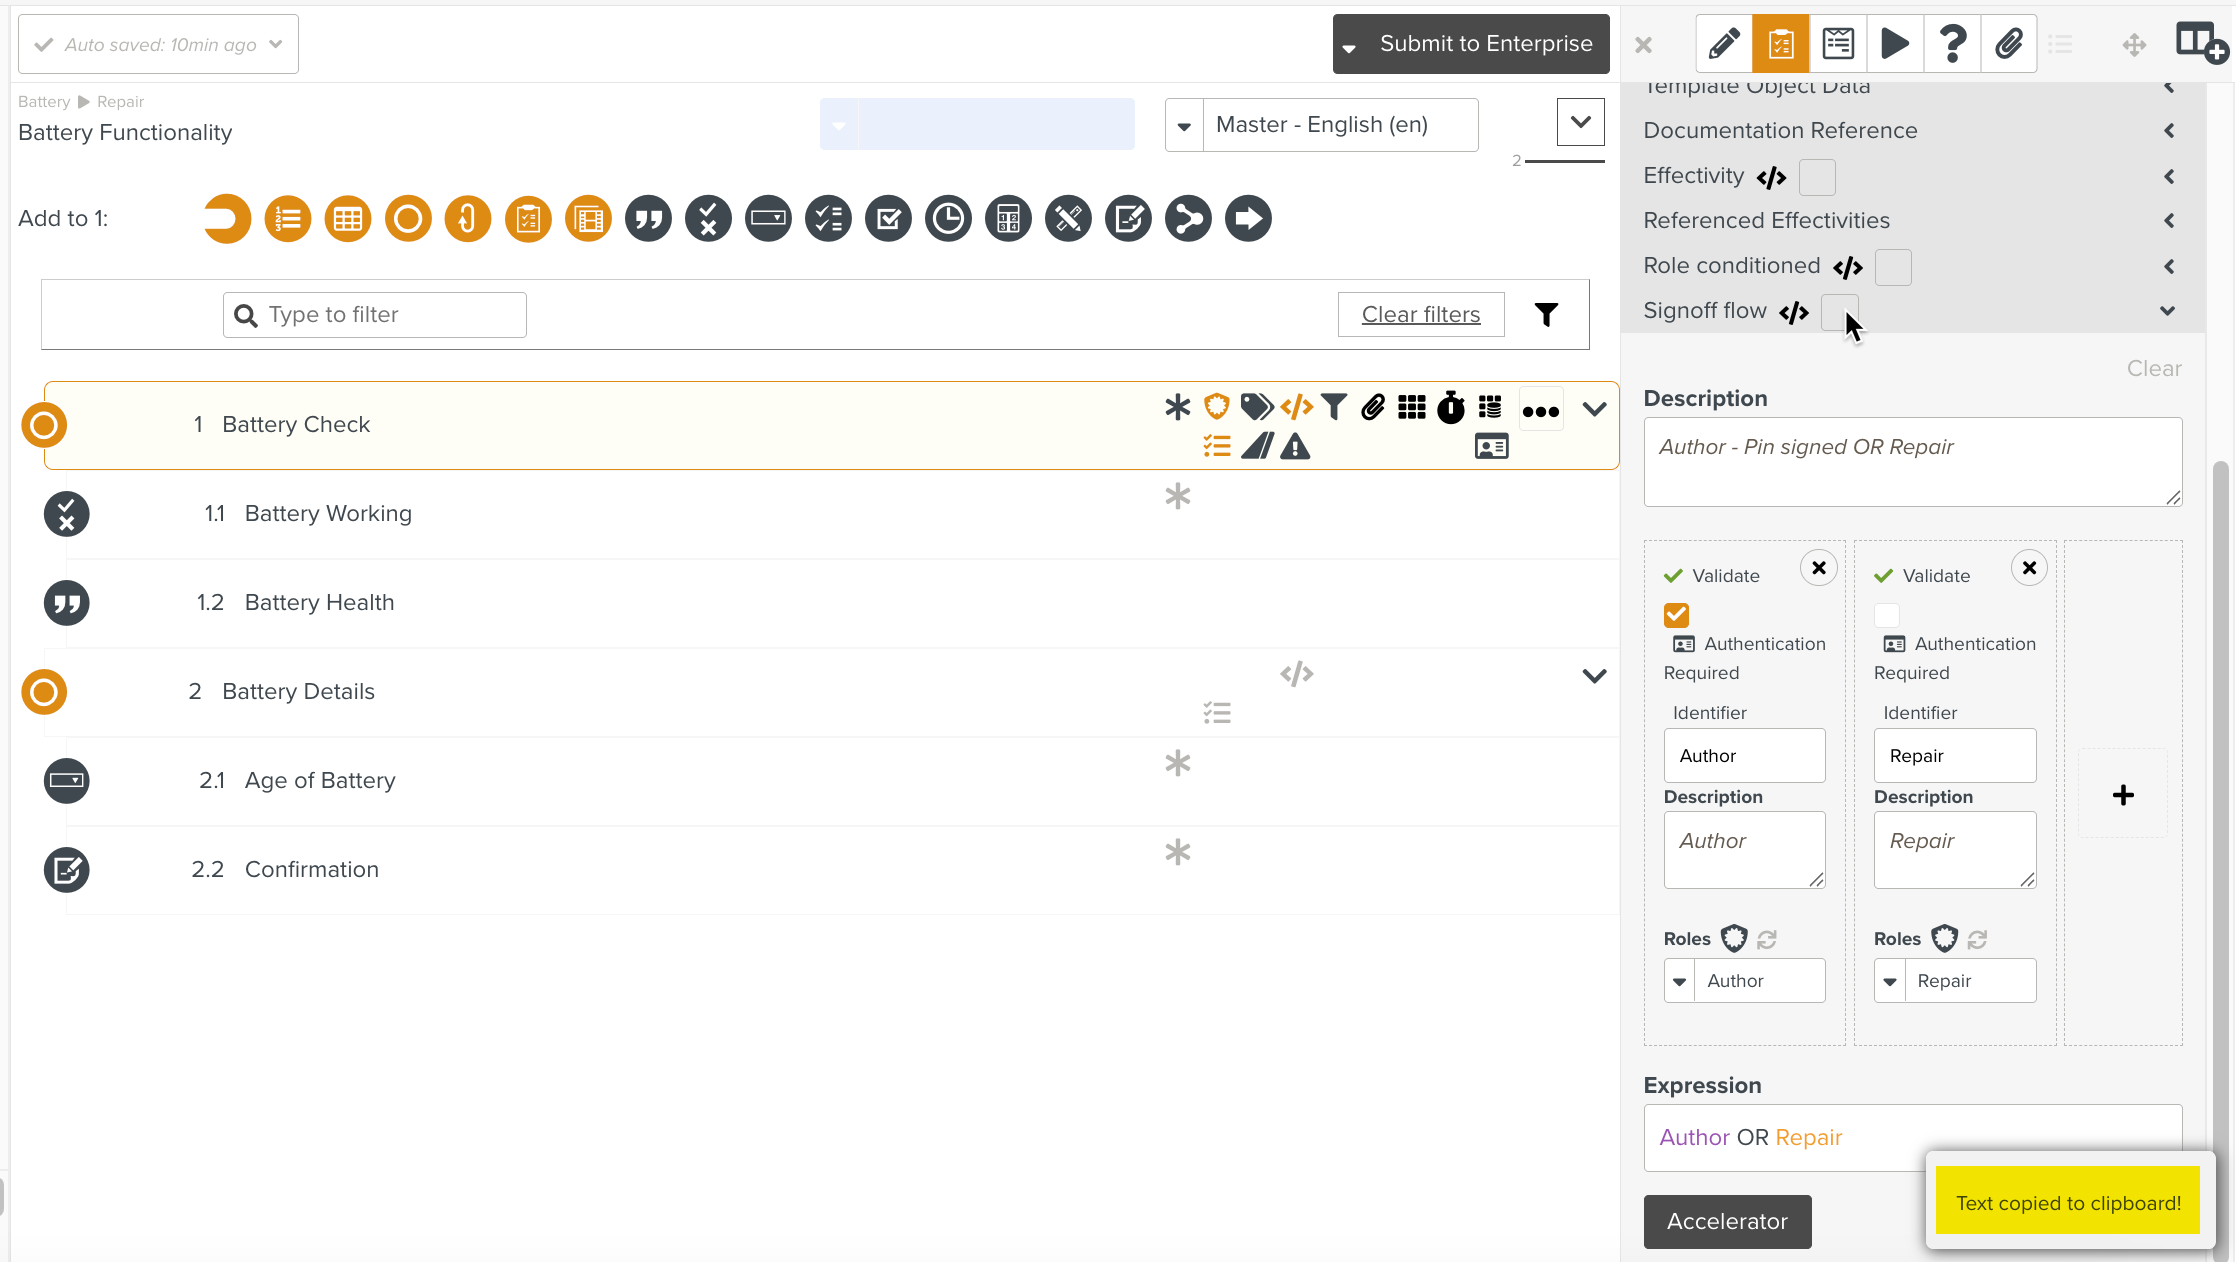
When you double click
 near Signoff flow, the text is copied to clipboard.
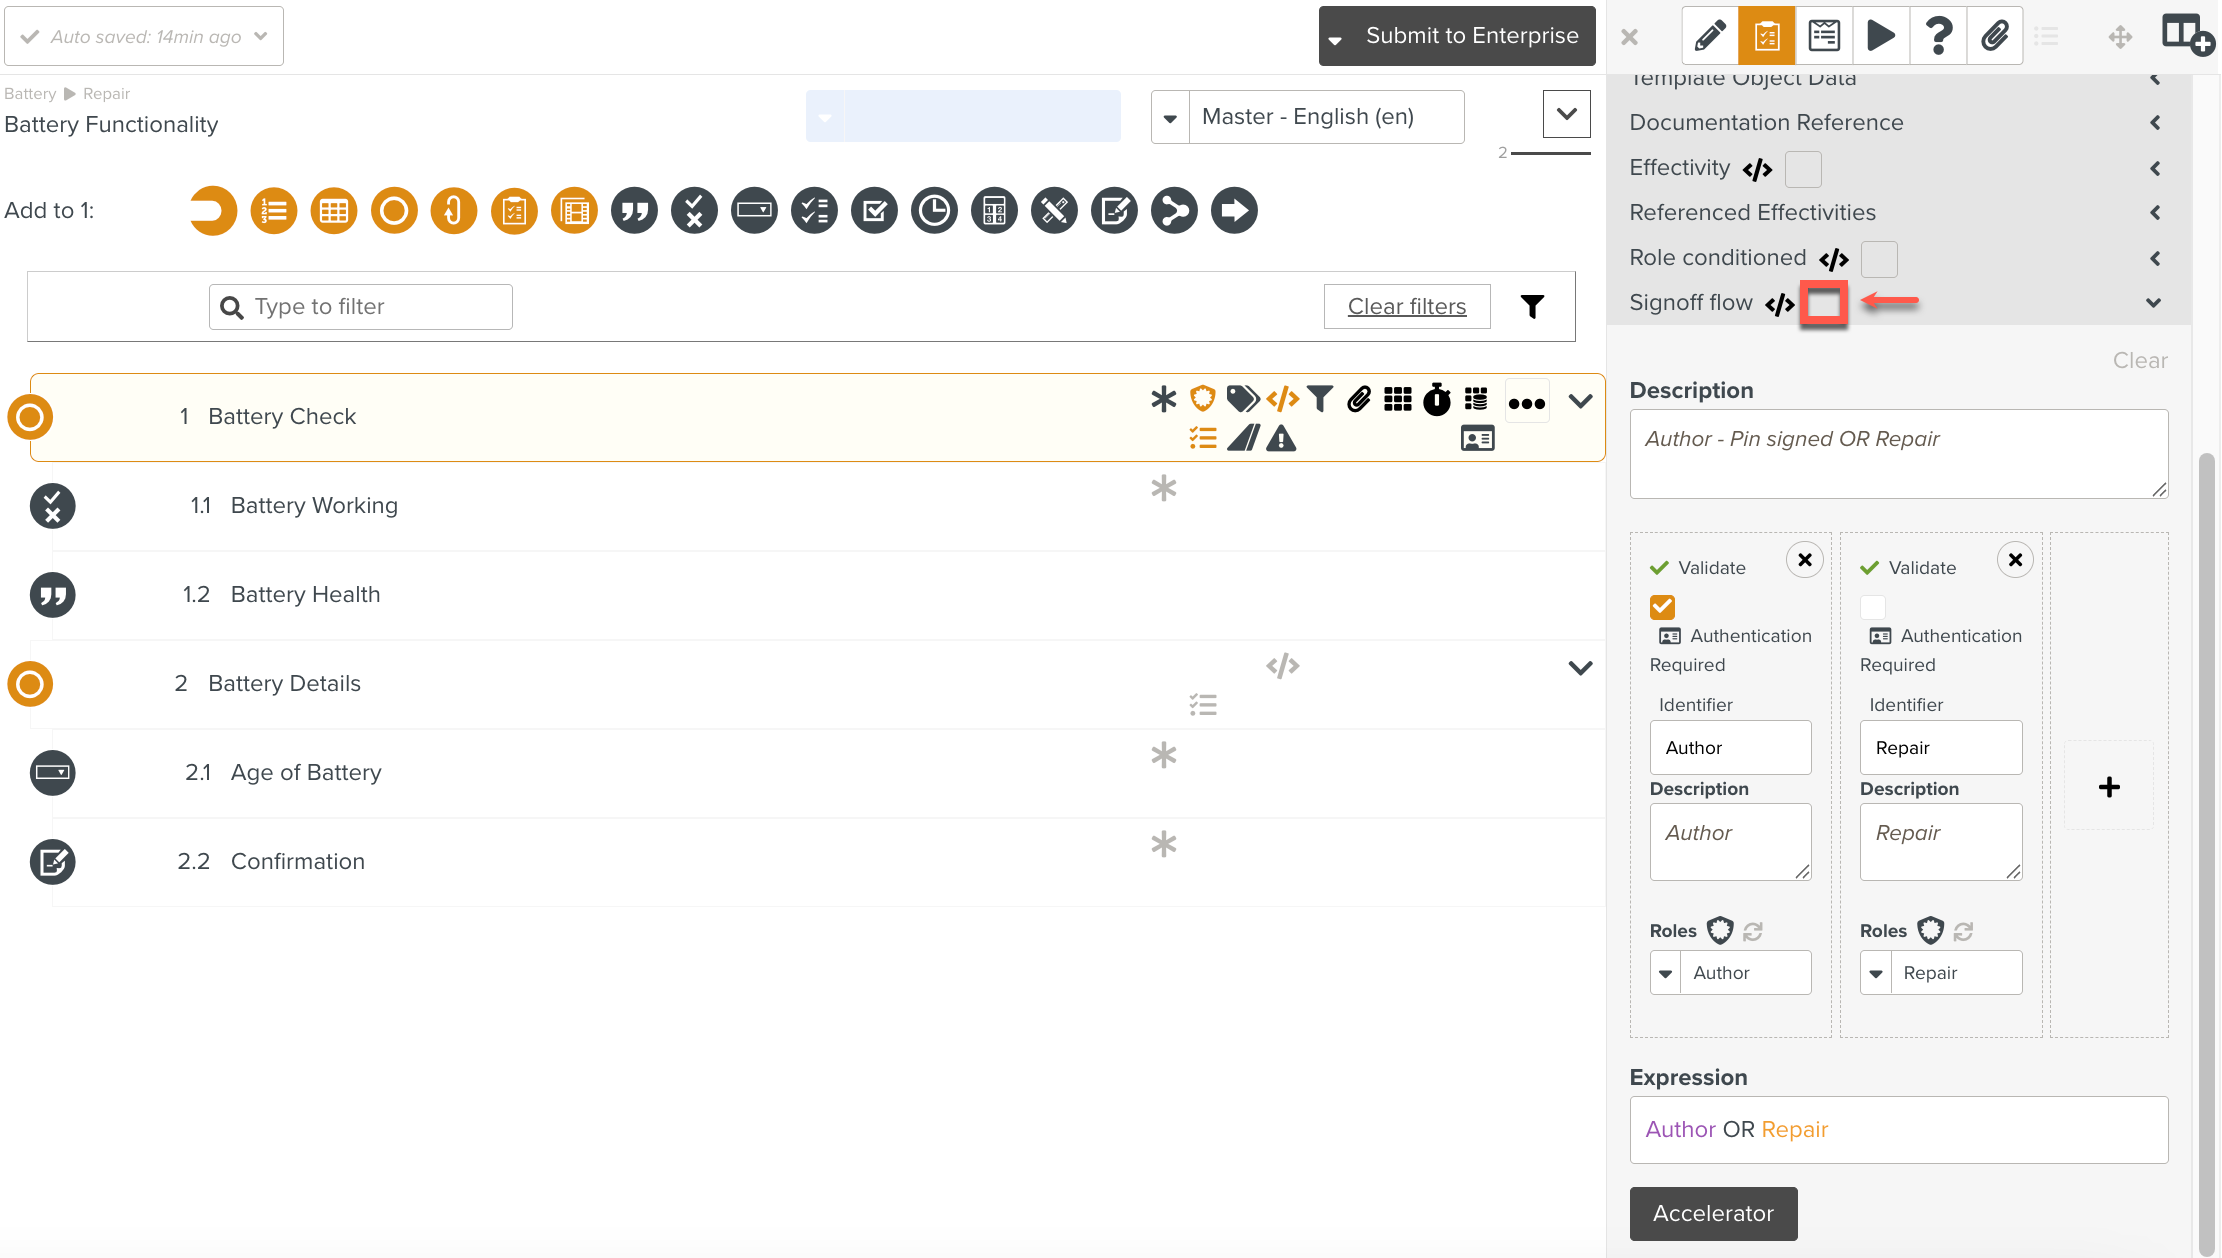
It displays with the message as highlighted below.
The copied Signoff can be pasted onto another Step or Template using the keyboard shortcuts Command + V (MacOS) and Ctrl + V (Windows).
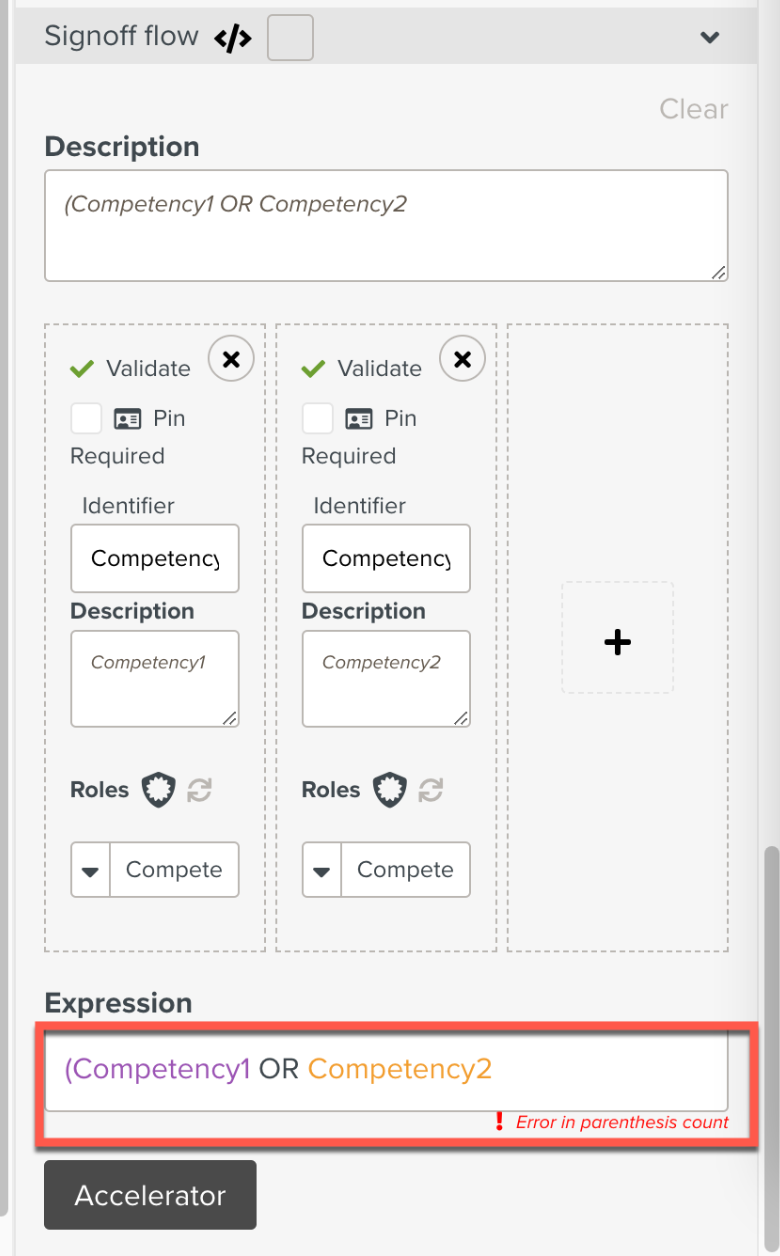
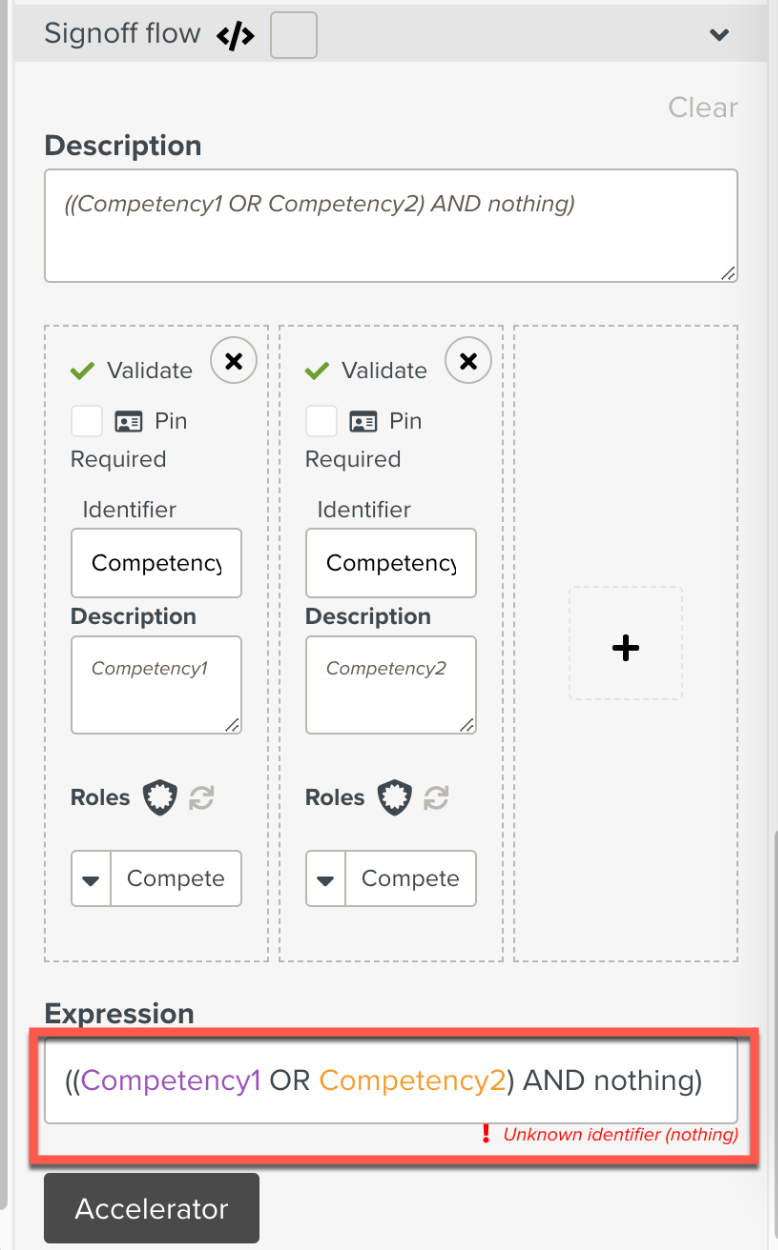
When there is an error in a Signoff Expression (missing parenthesis, typo, etc.), the whole Signoff flow is broken which is notified to the user by an error message displayed in red as shown below.