Adding Template Facets
Facets help in identifying a Template or providing information to the Users who run the Task. They are particularly useful when information that does not exist in the manuals needs to be displayed in the Templates. Facets can also be used to define properties that need to be reported in PDF and also during Task execution.
You can add Facets to Templates and Steps. In a Template, the Facet is displayed at the top of the Template. In a Step, the Facet is displayed at the bottom of the Step.
To add a Facet:
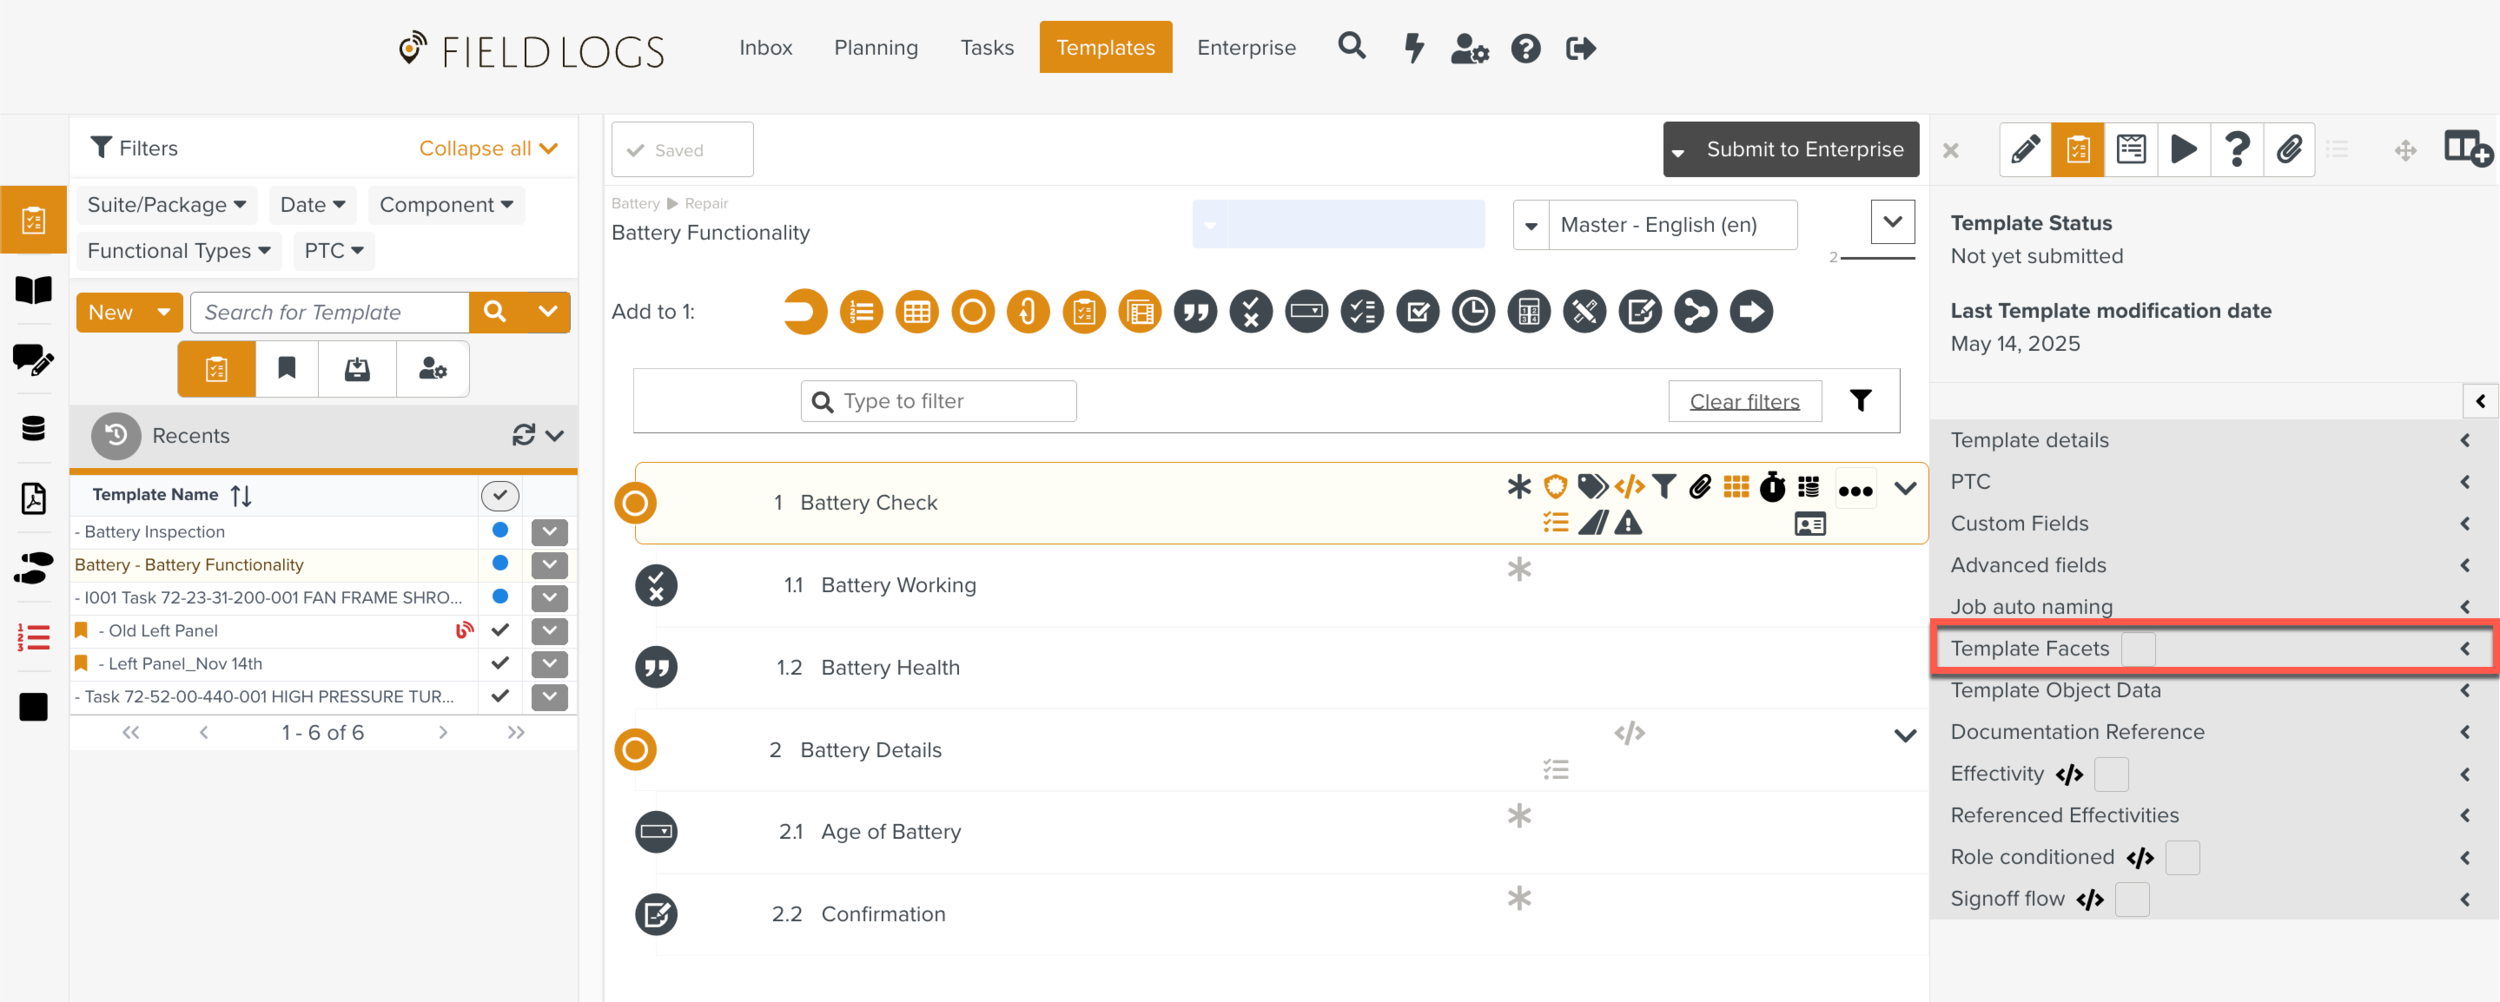
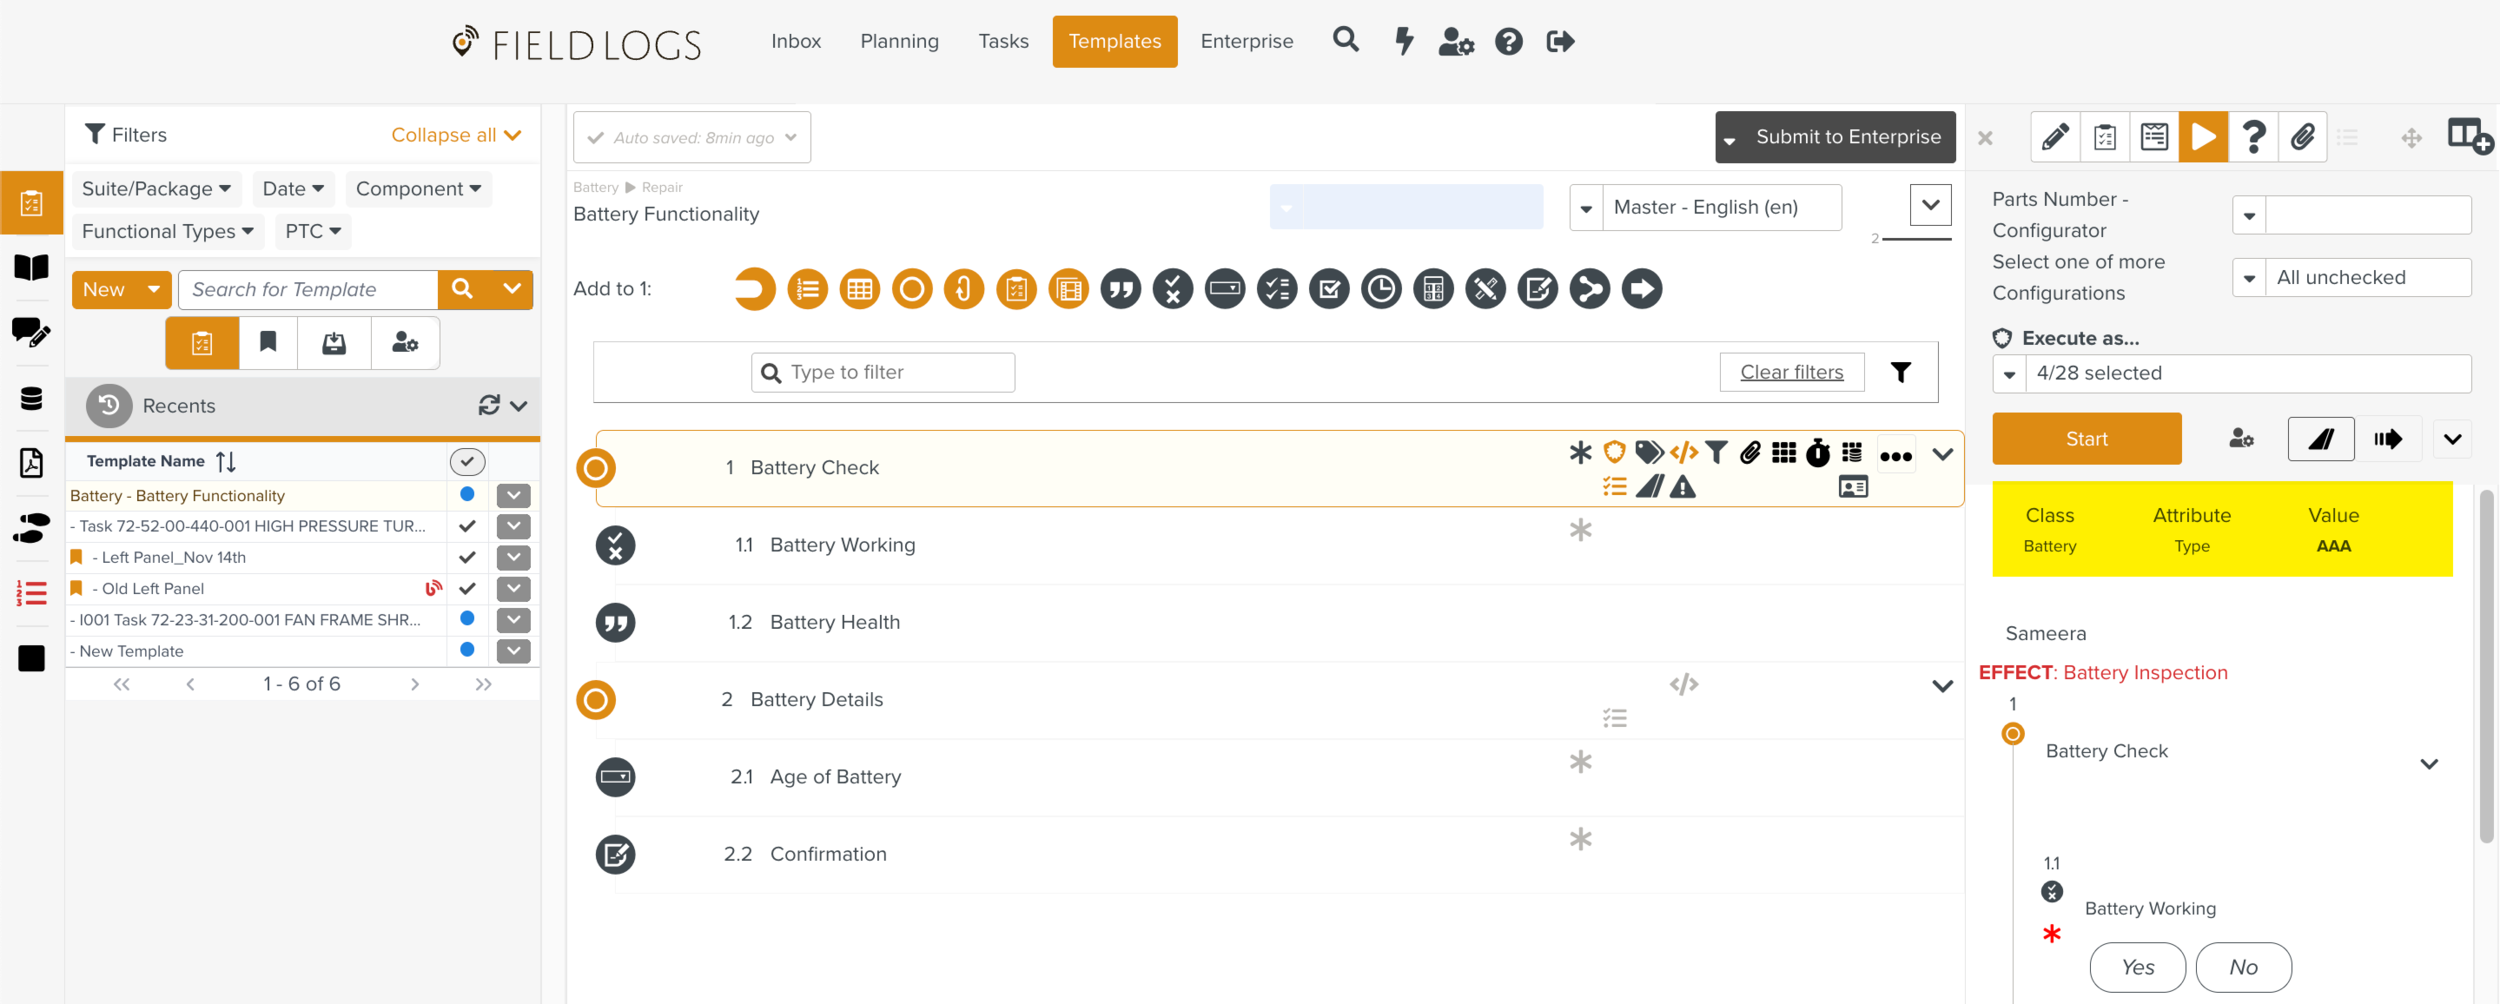
In the Template Information Editor expand the Template Facets section.
Click
 to add a Template Facet.
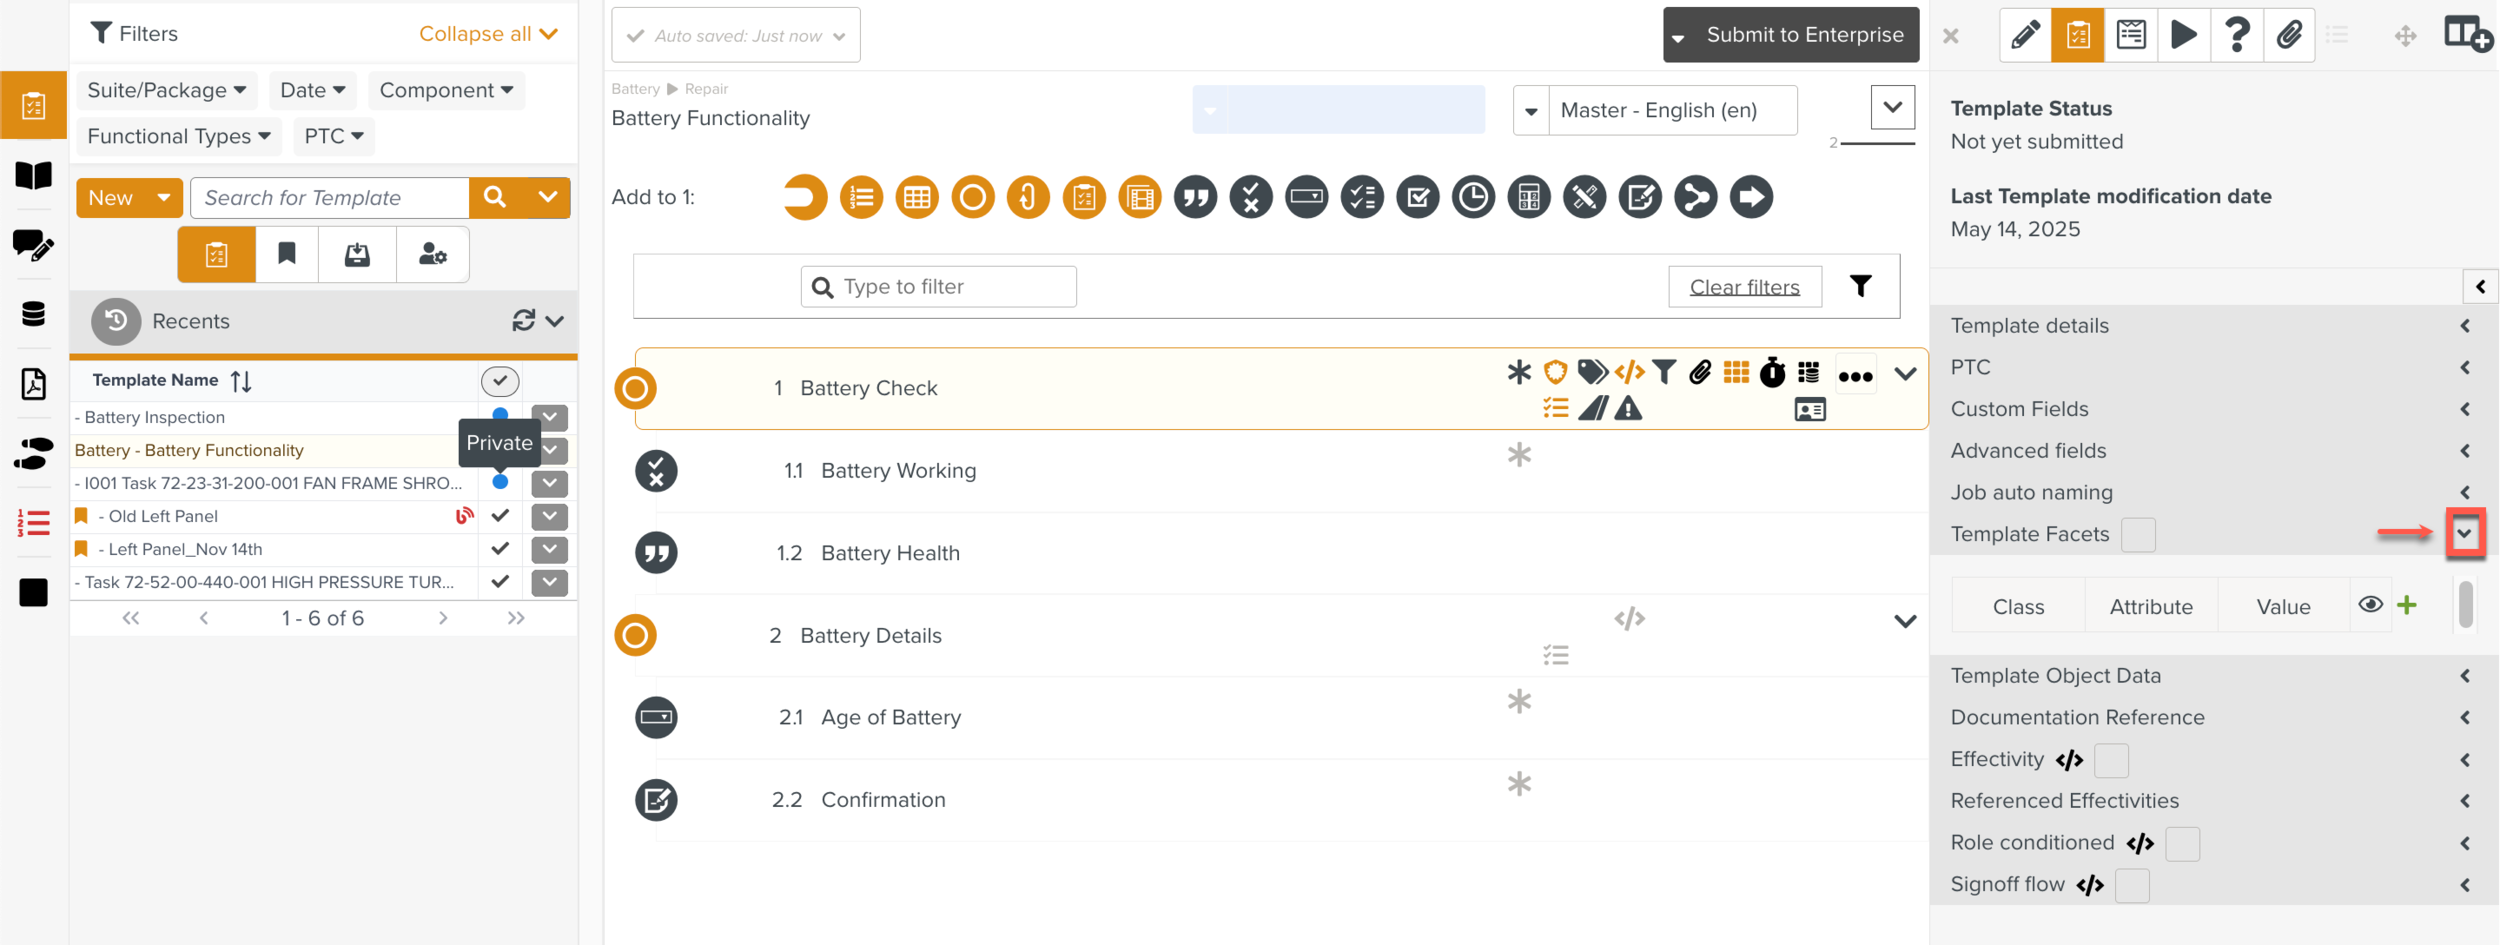
Click
 to enter the required details.
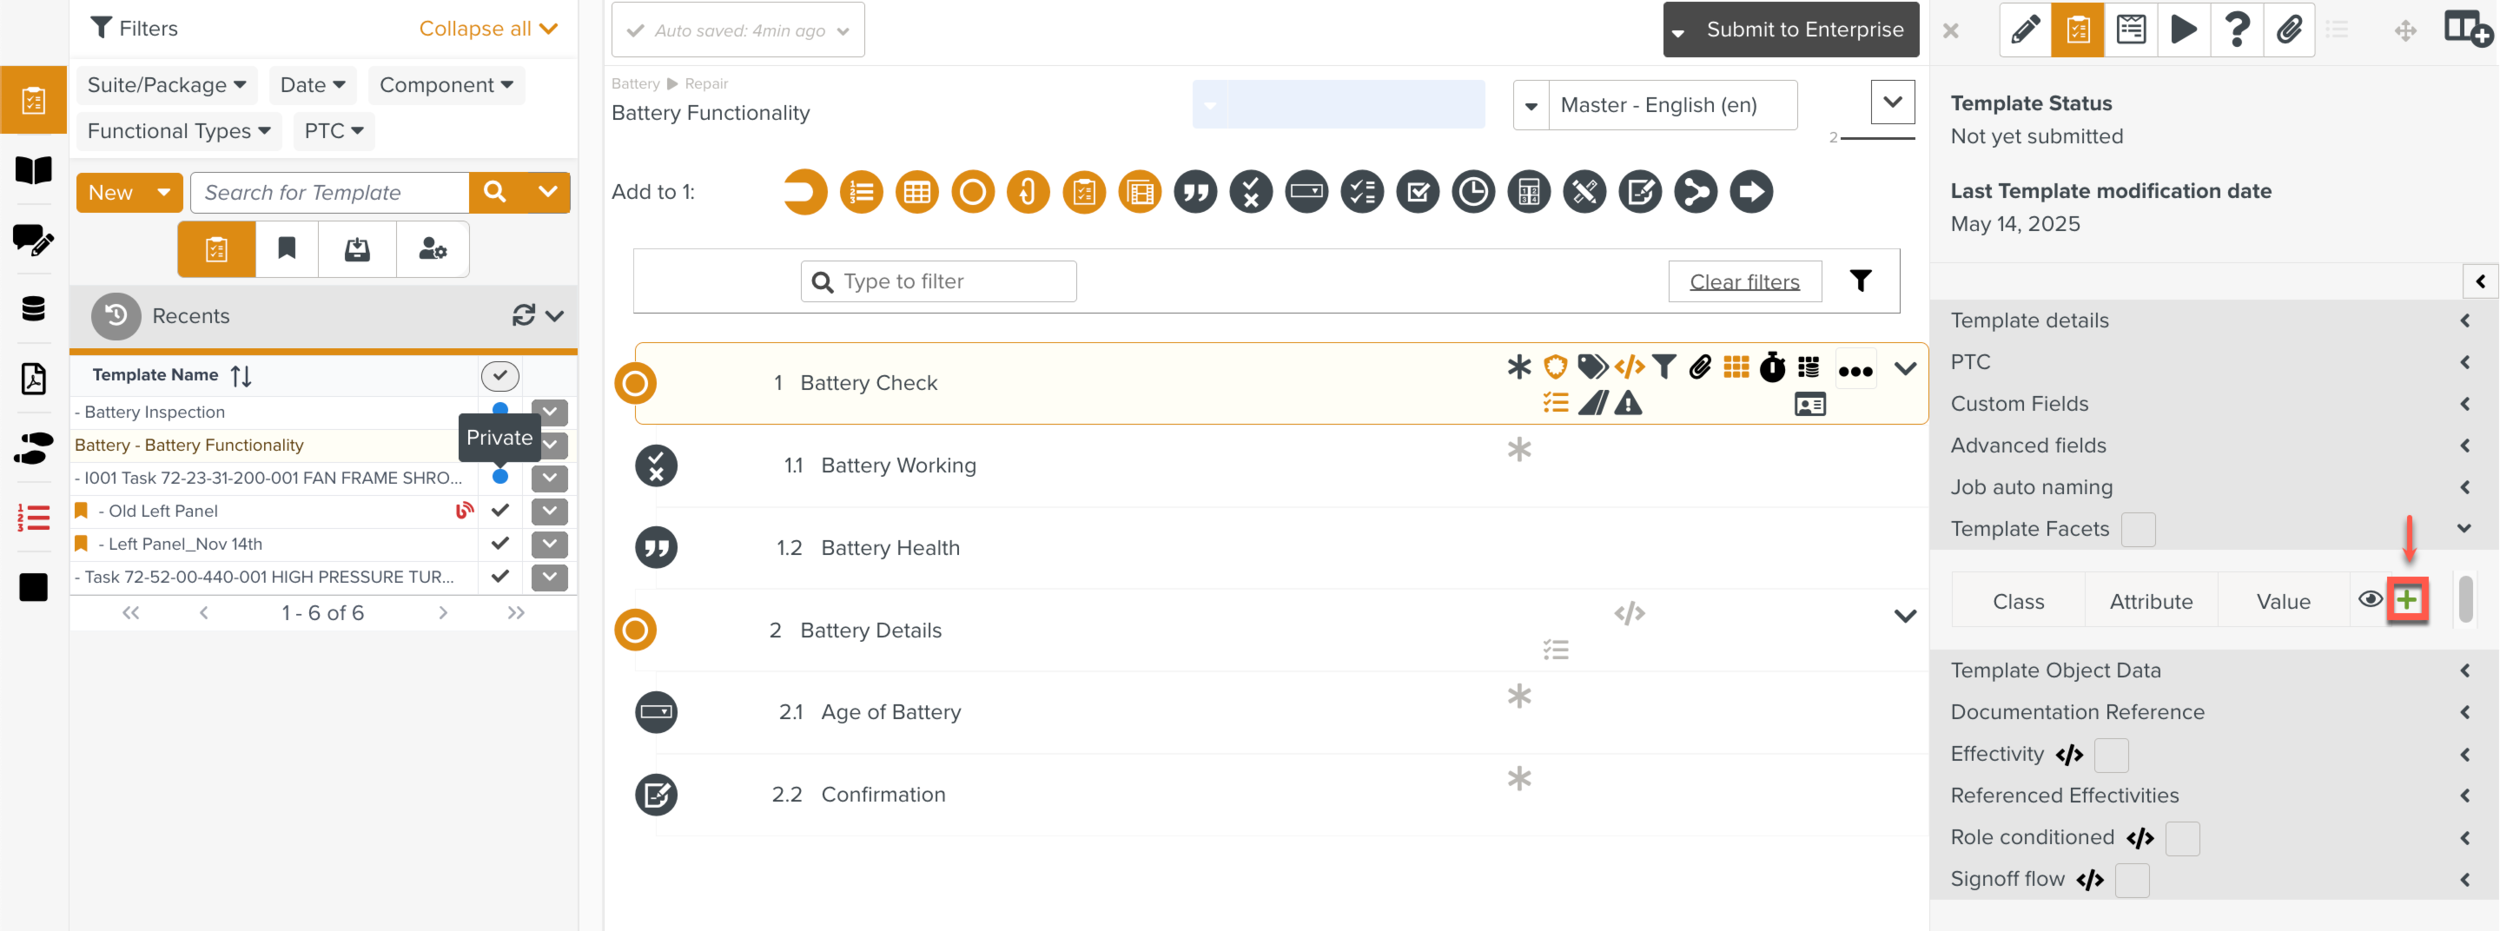
Enter the Class, Attribute, and Value in the corresponding fields.
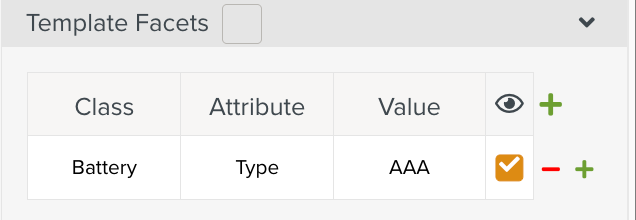
Select the checkbox in the
 column to make the Facet visible during execution.
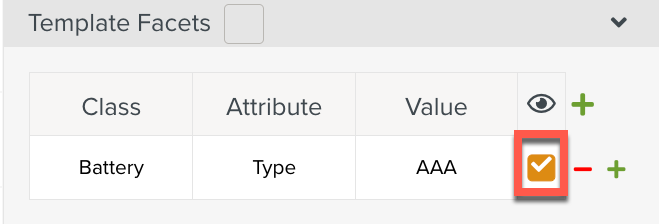
Note
To add a Facet after a row, click
. To delete a row, click  .
.The Class, Attributes, and Value fields of Template Facets must contain values. If they are empty, an error is displayed.
Template Facets during Task Execution
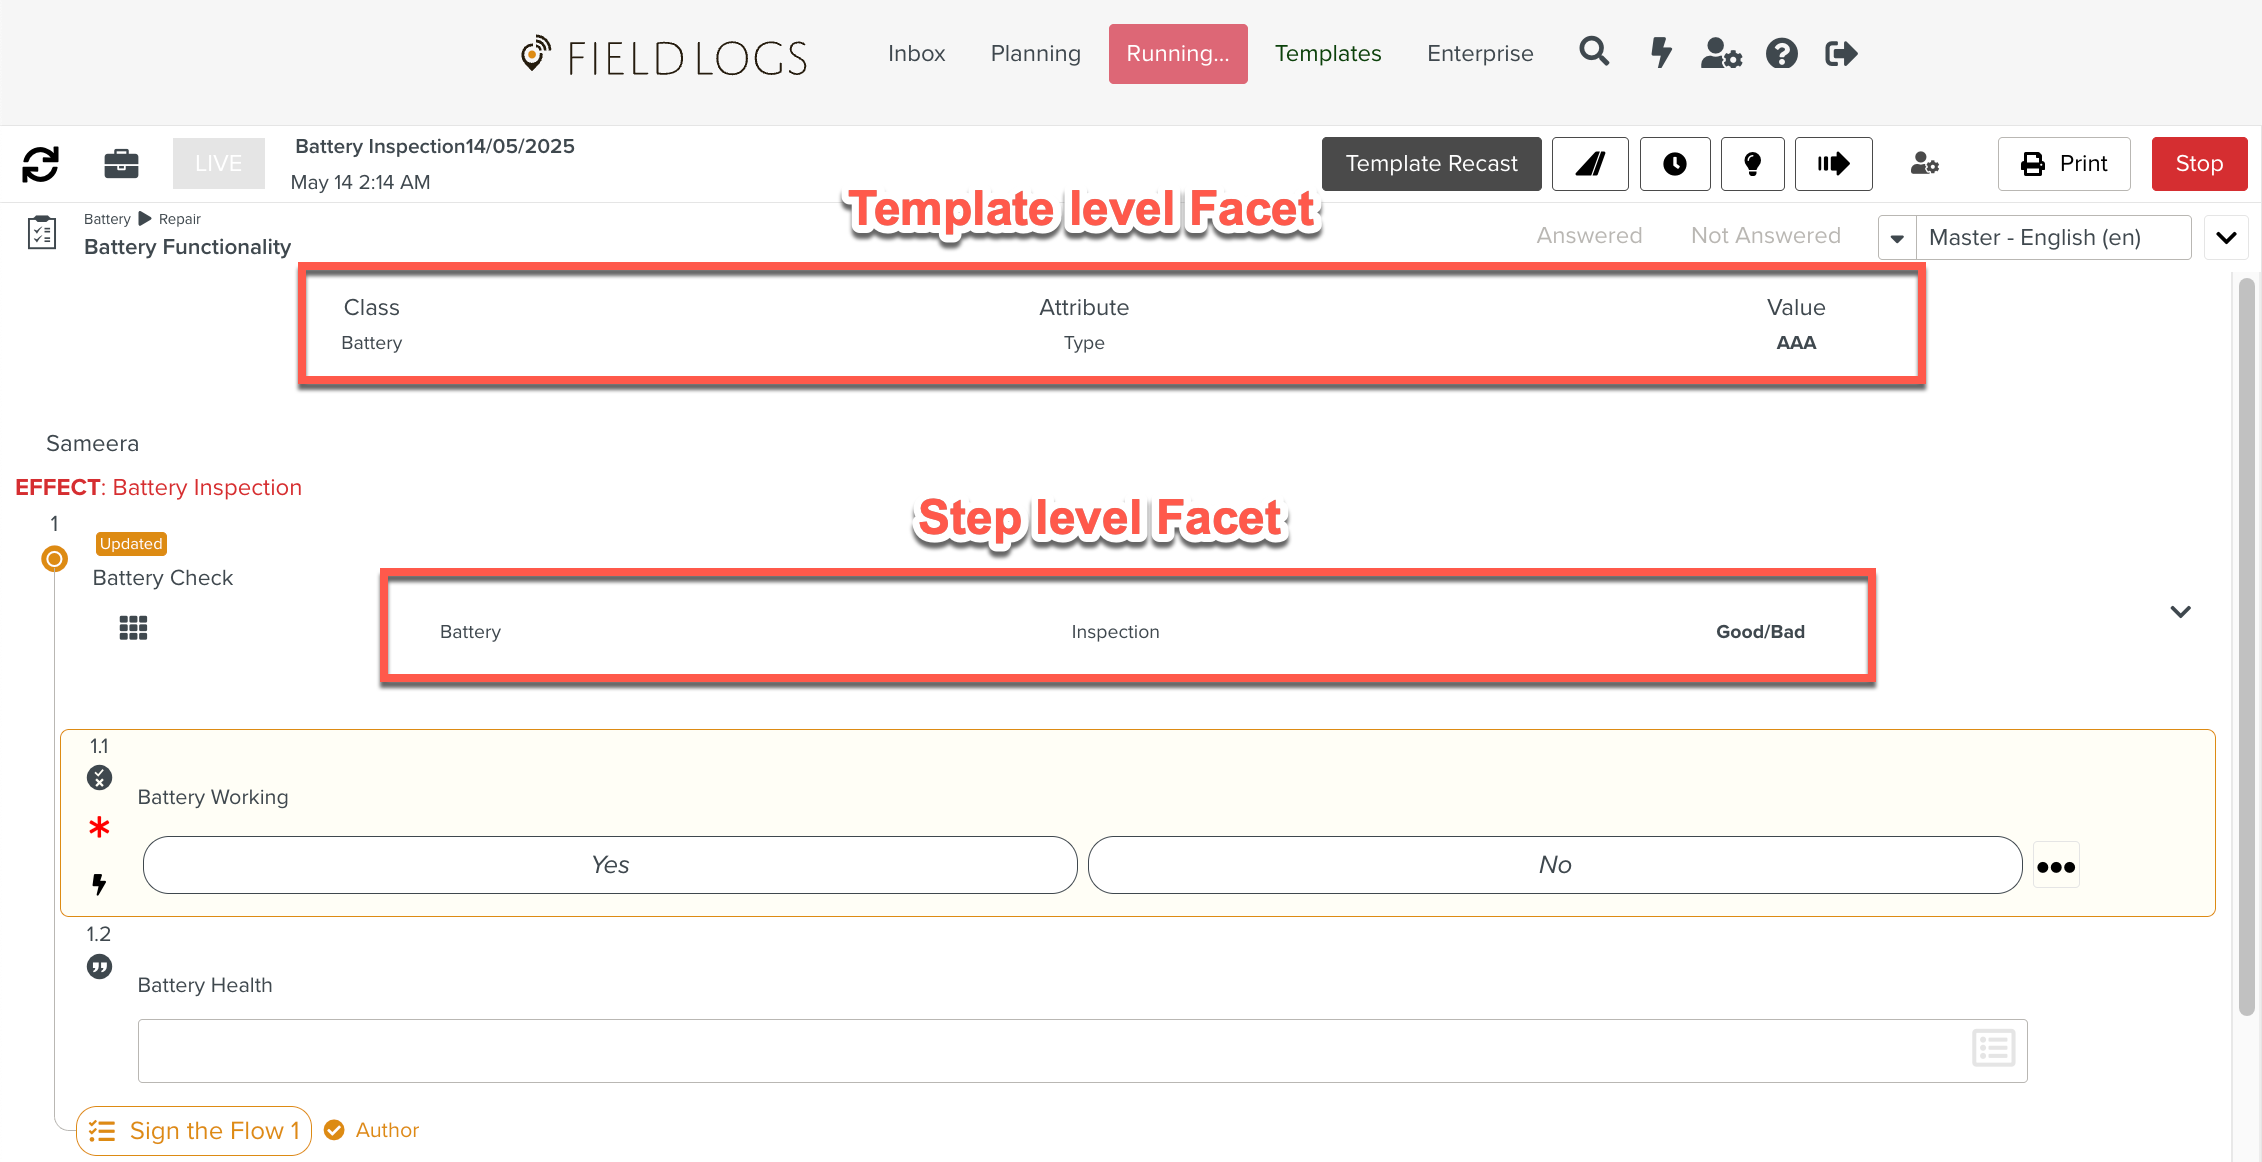
The values entered in the Template Facets are displayed in Execution Preview.
 |
During the execution of the Template, the Template Facet is displayed at the top of the Execution panel and the Step Facets are displayed on top of the corresponding Steps.
 |