Creating Managed Items
The sections allows to add a document and associate it to a document reference, such as an OEM reference manual. During the screening process, if the document reference of a managed item matches the document reference of an impact, the managed item appears in the hits.
To add a managed item:
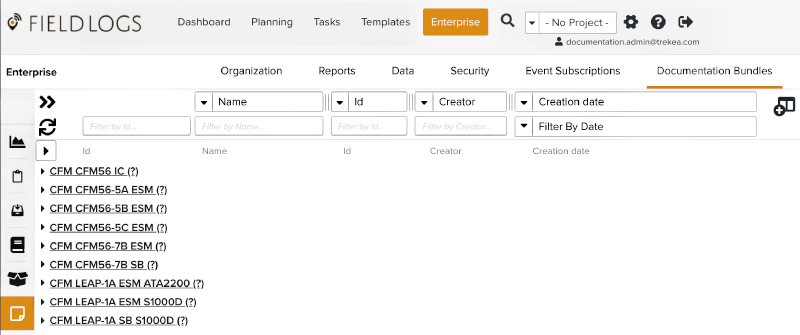
In the section go to the tab >
 .
.On the right of the documentation type, click on the
 button.
A new row appears under the documentation type and the side panel opens.
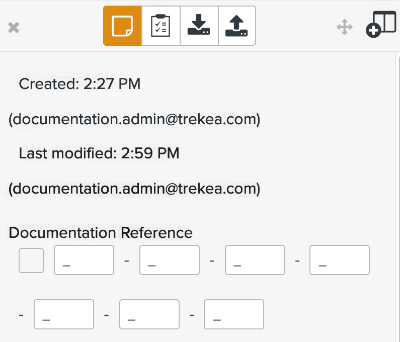
Enter a key under .
Exemple: 72-00-01-00-000-0000-0
Note
Templates that hold the same key appear in the tab.
Enter a .
Note
The name identifies the managed item. This information is mandatory.
[Optional] Fill all the fields.
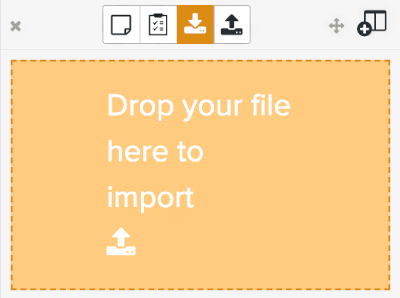
In the side panel, go to the tab.
The system asks you to save the managed item.
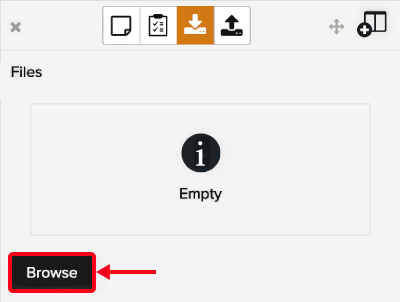
Drag and drop the document or click on to add the document as a managed item.
Warning
Make sure that a managed item is selected. If you do not select a managed item, the tab is blank.
Click on .

The managed item is saved.
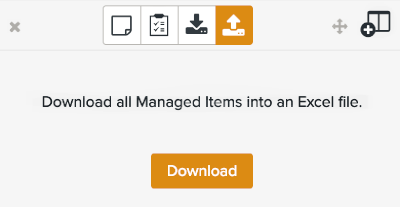
Tip
In the tab, you can export information about all the managed items in an Excel file.