Creating a Role
A user in FieldLogs is associated with one or more Roles.
A Role has the following functions:
Grants the user Access Rights to Secured Objects.
Enables the user to be part of Projects and UserSets.
Allows the user to perform actions according to their Competency Level.
Allows the user to participate in various stages of the Template Publication process.
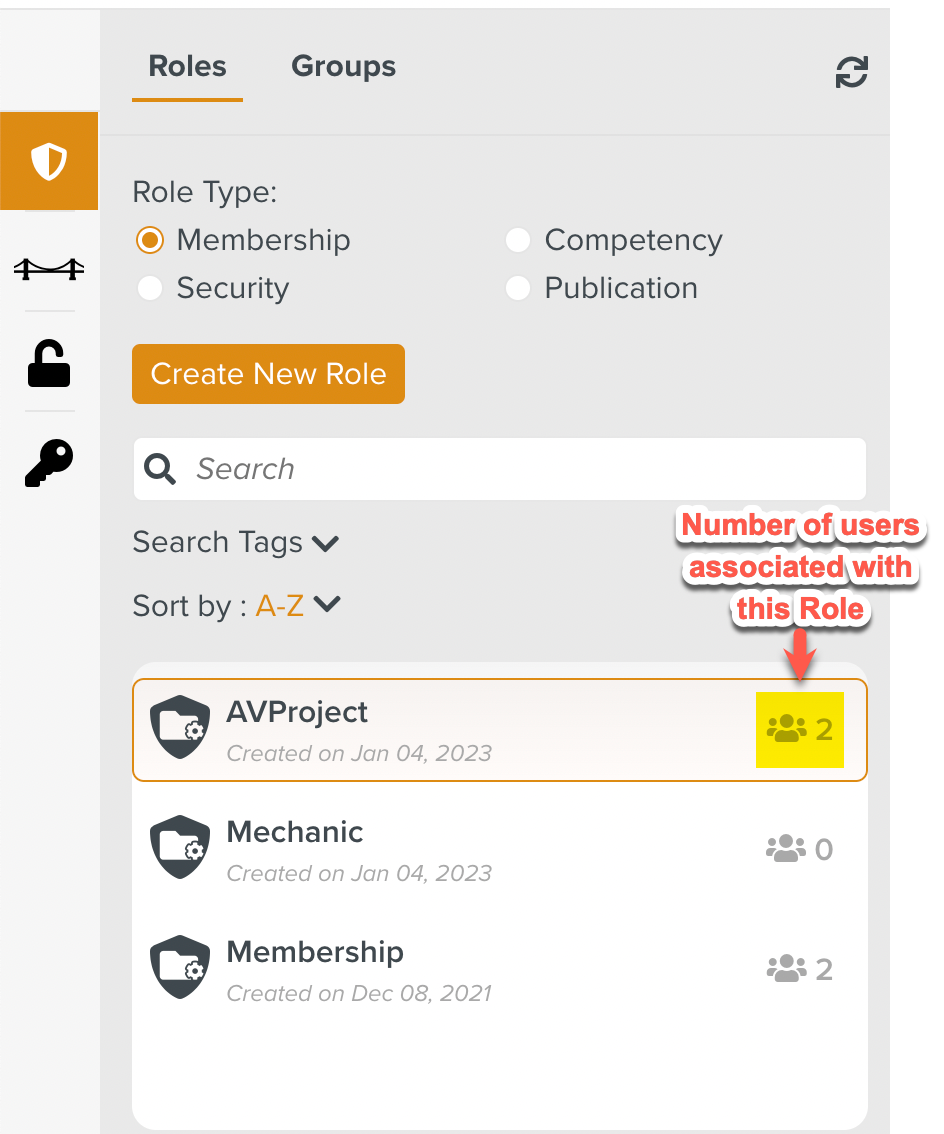
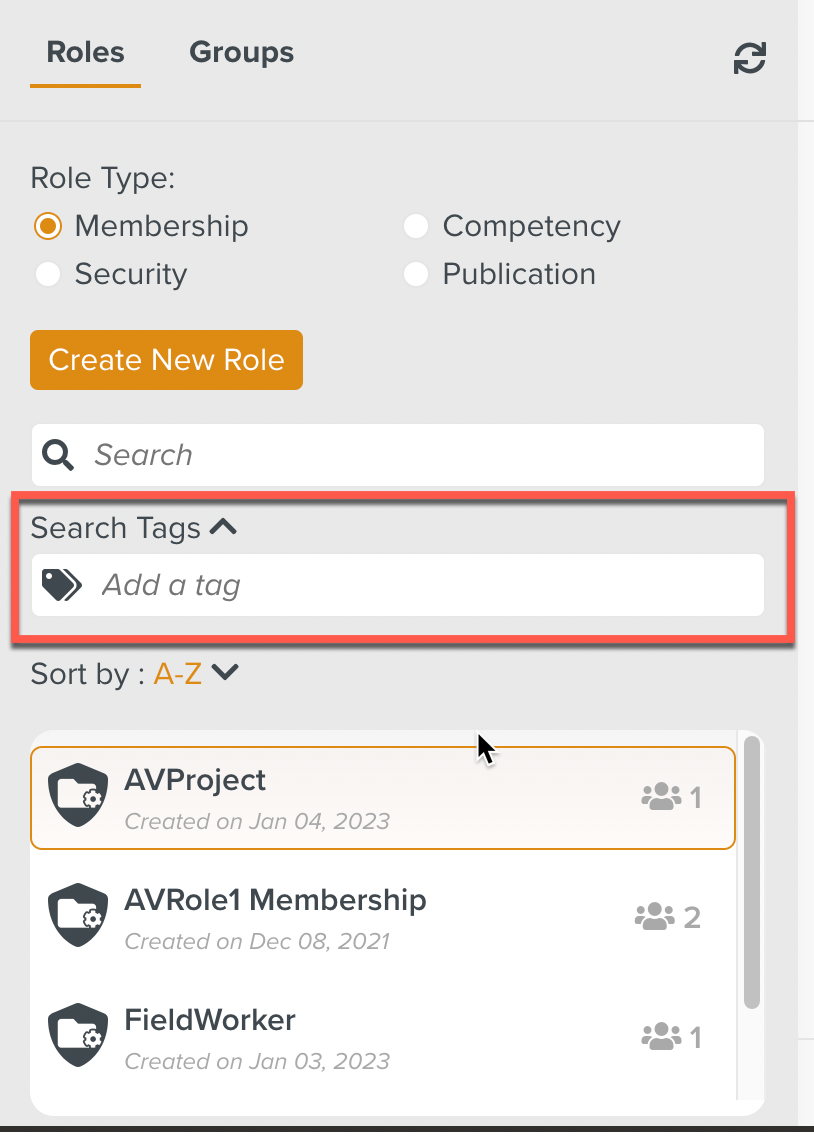
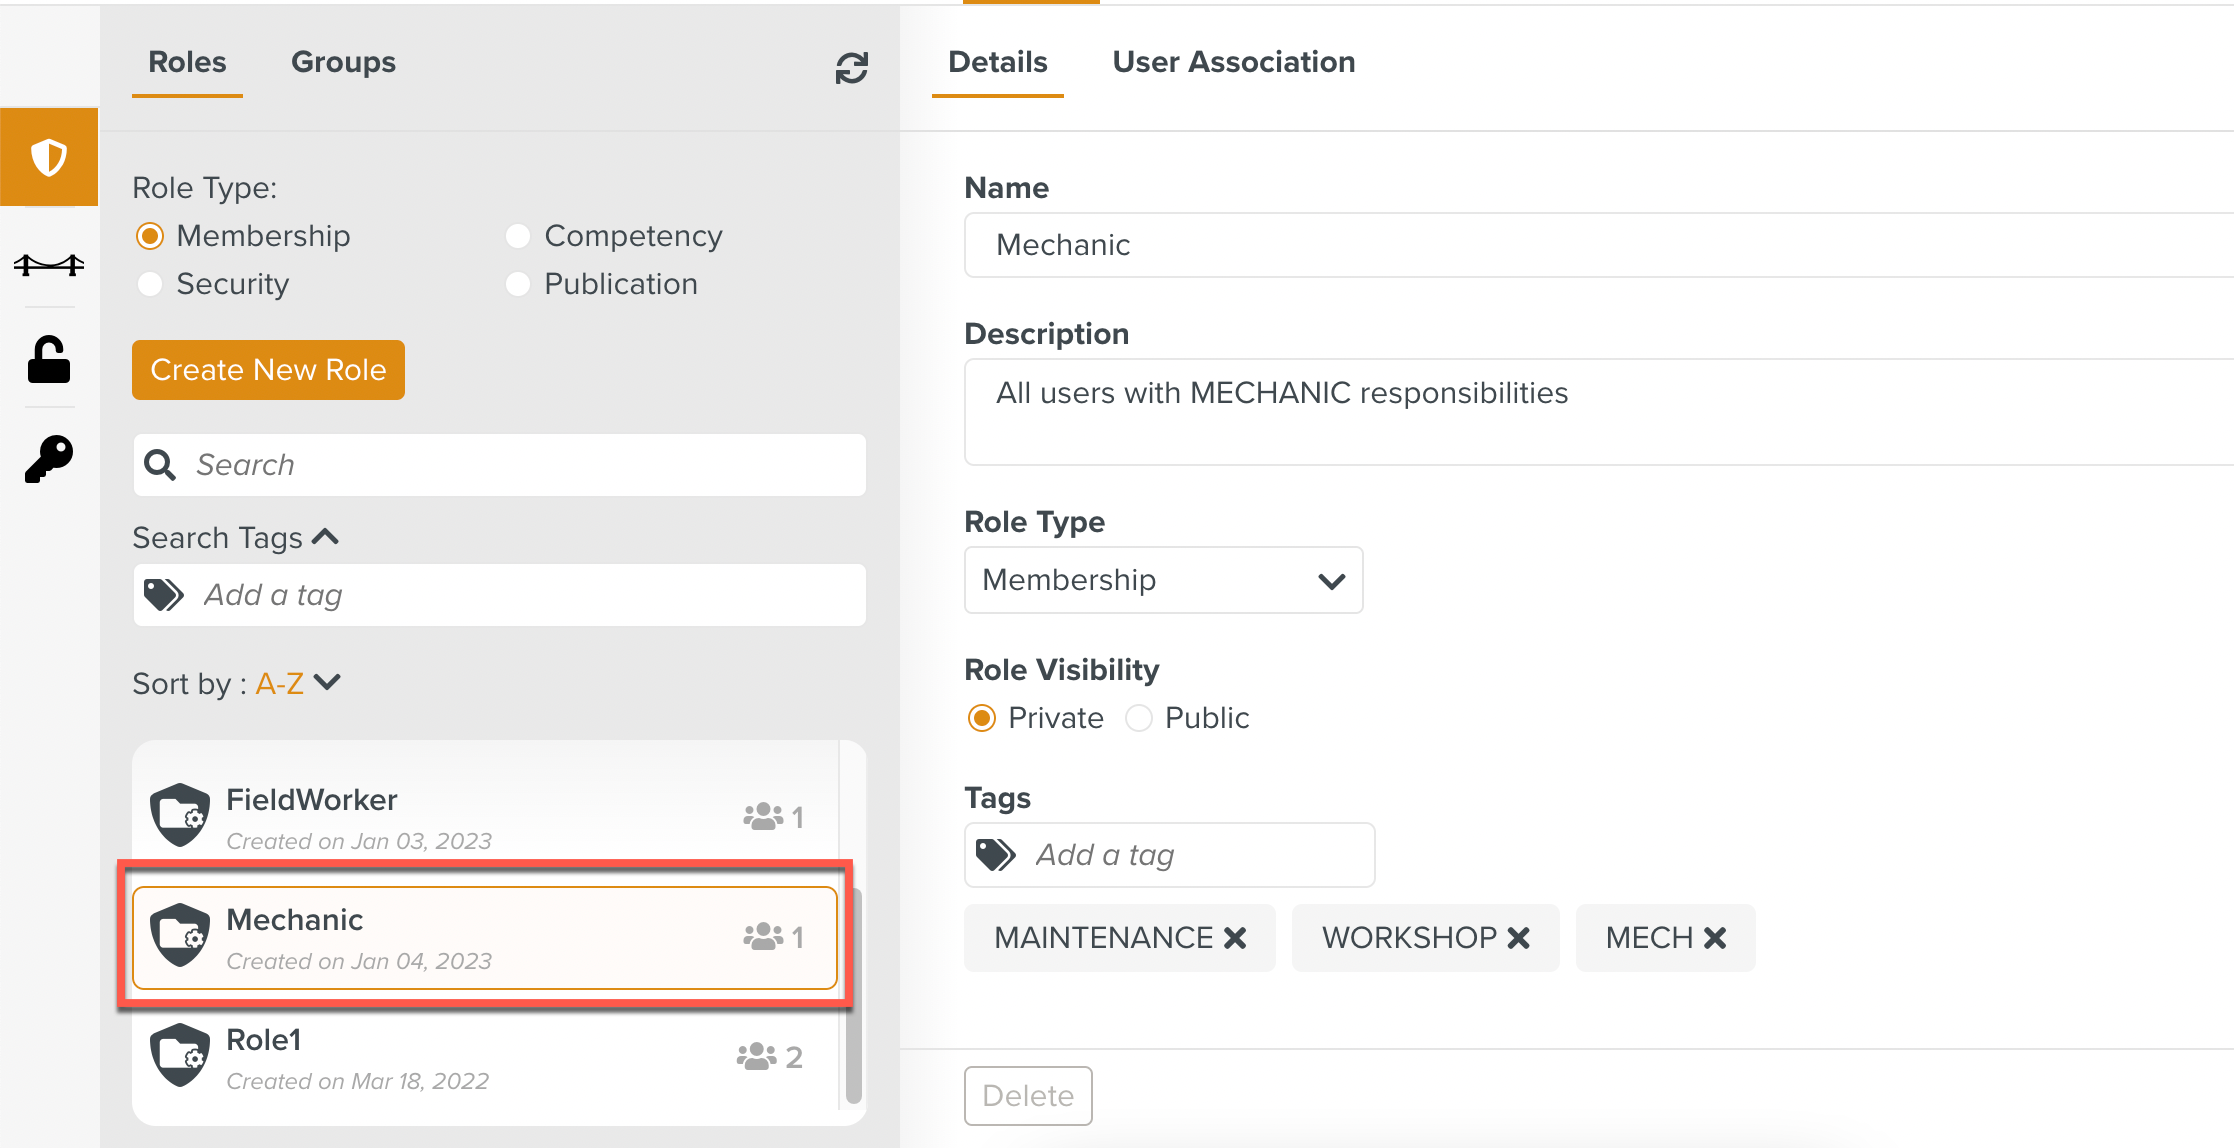
The Roles page lists all the Roles of the selected Type that exist in the Enterprise. The number of users associated with a Role appears next to the name of the Role as indicated below.
 |
To create a Role:
On the main menu, go to > > .

The Roles page appears.
In the Roles page, click .
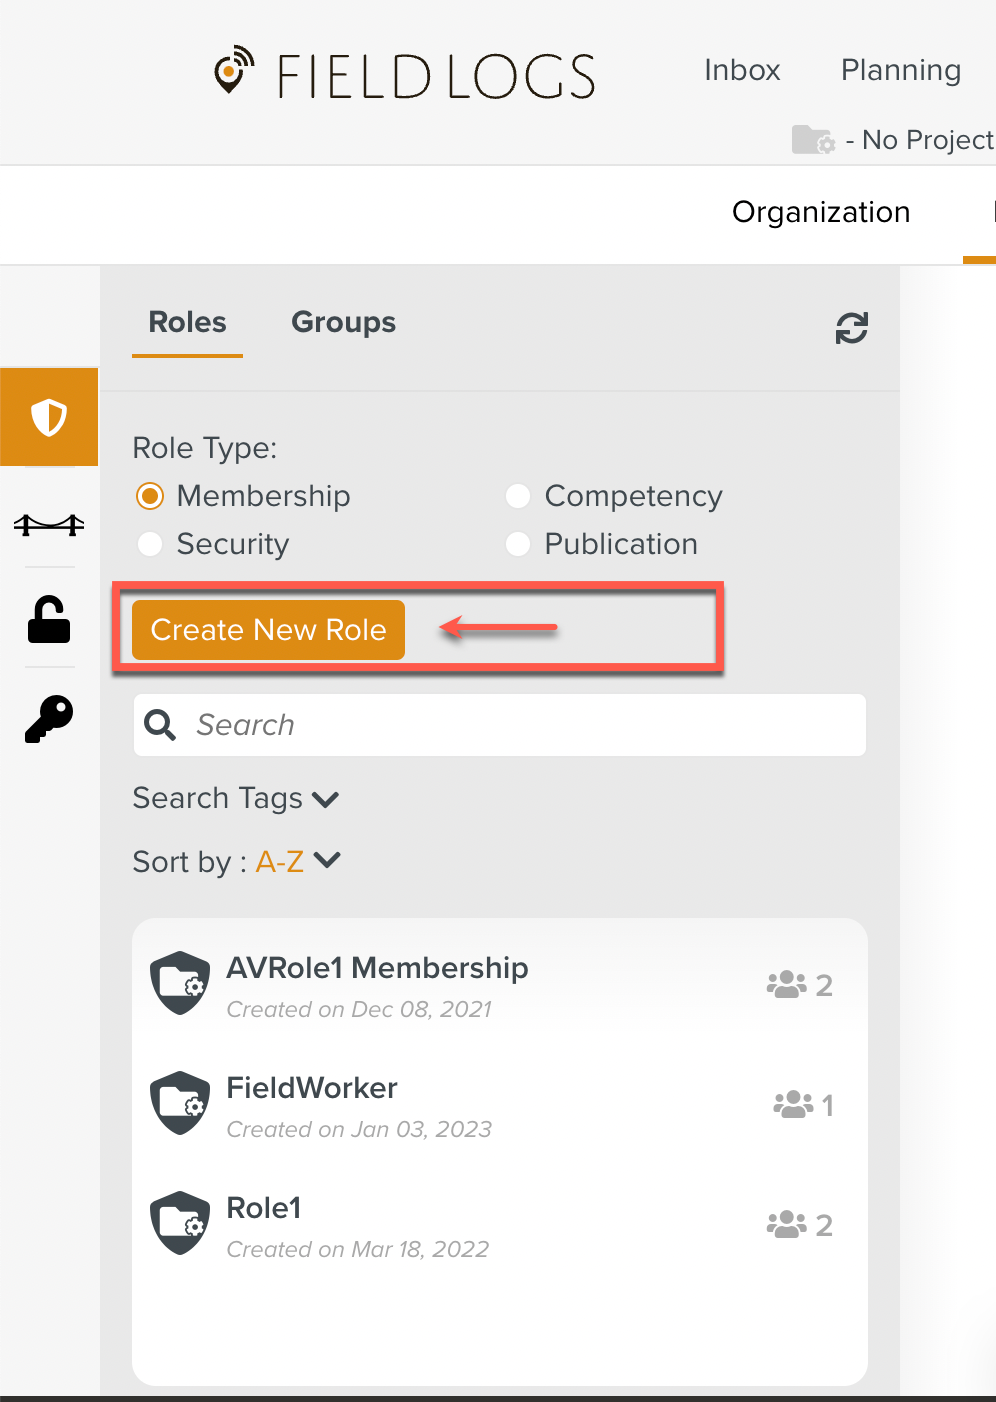
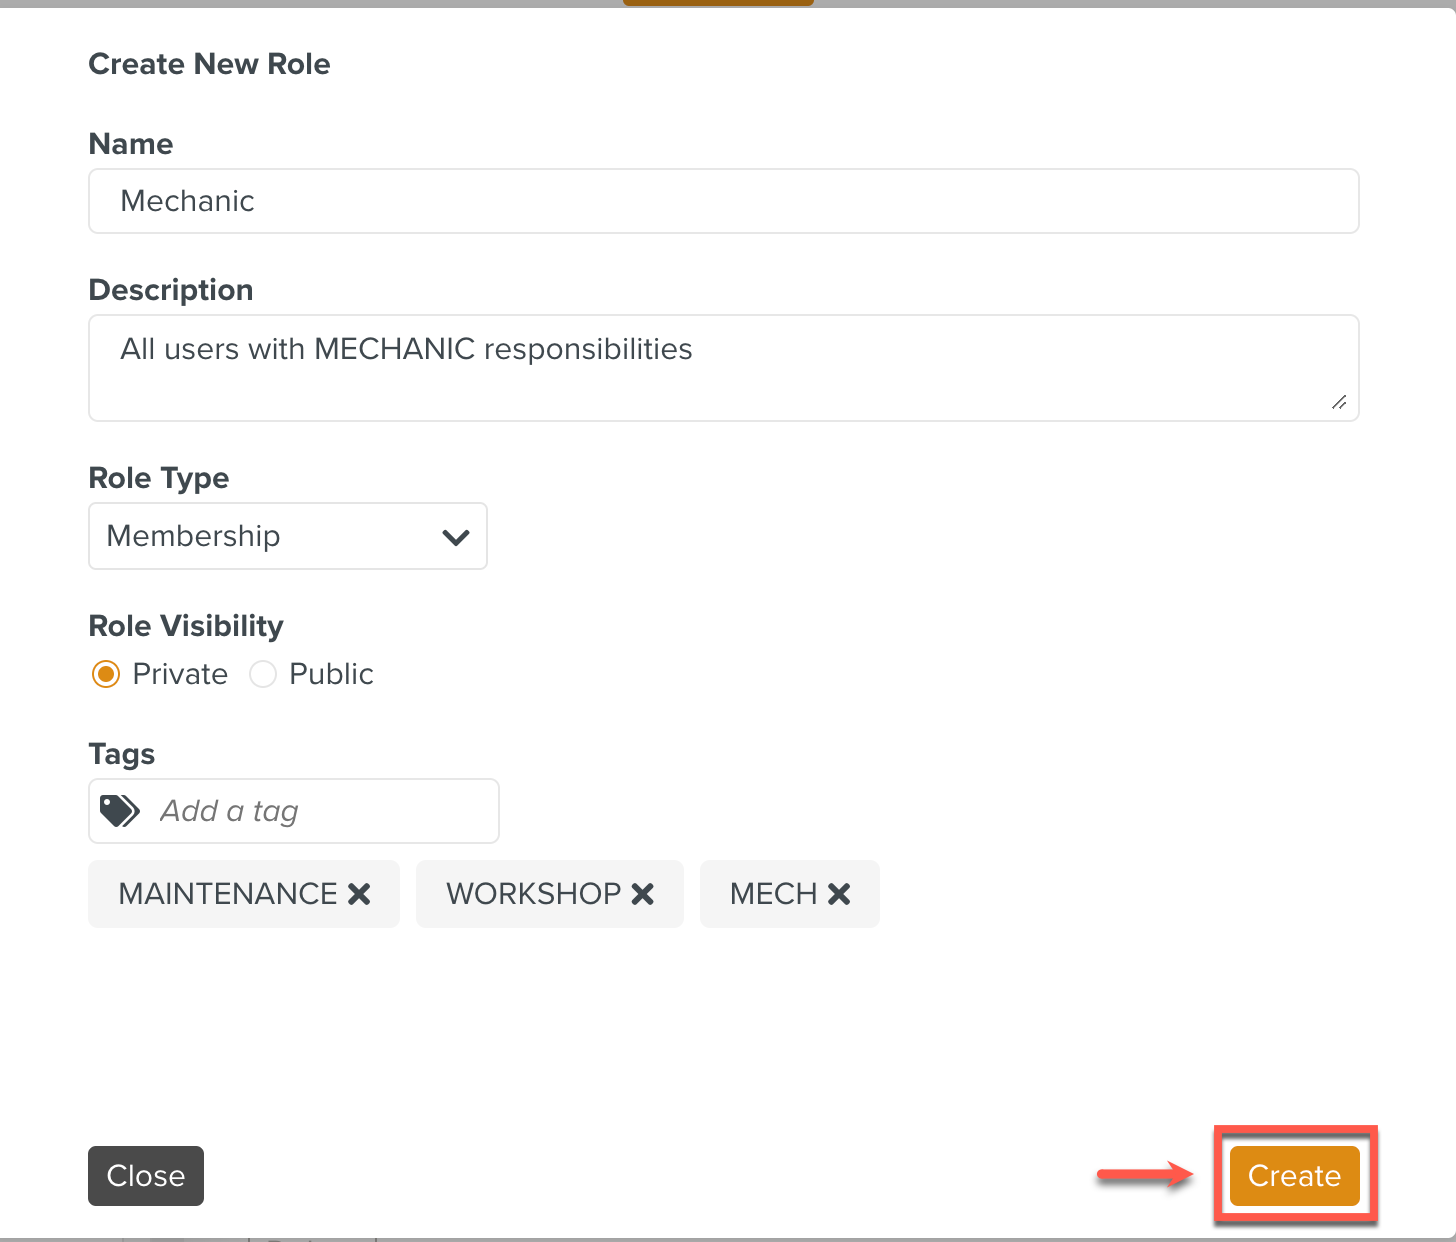
The Create New Role dialog appears.
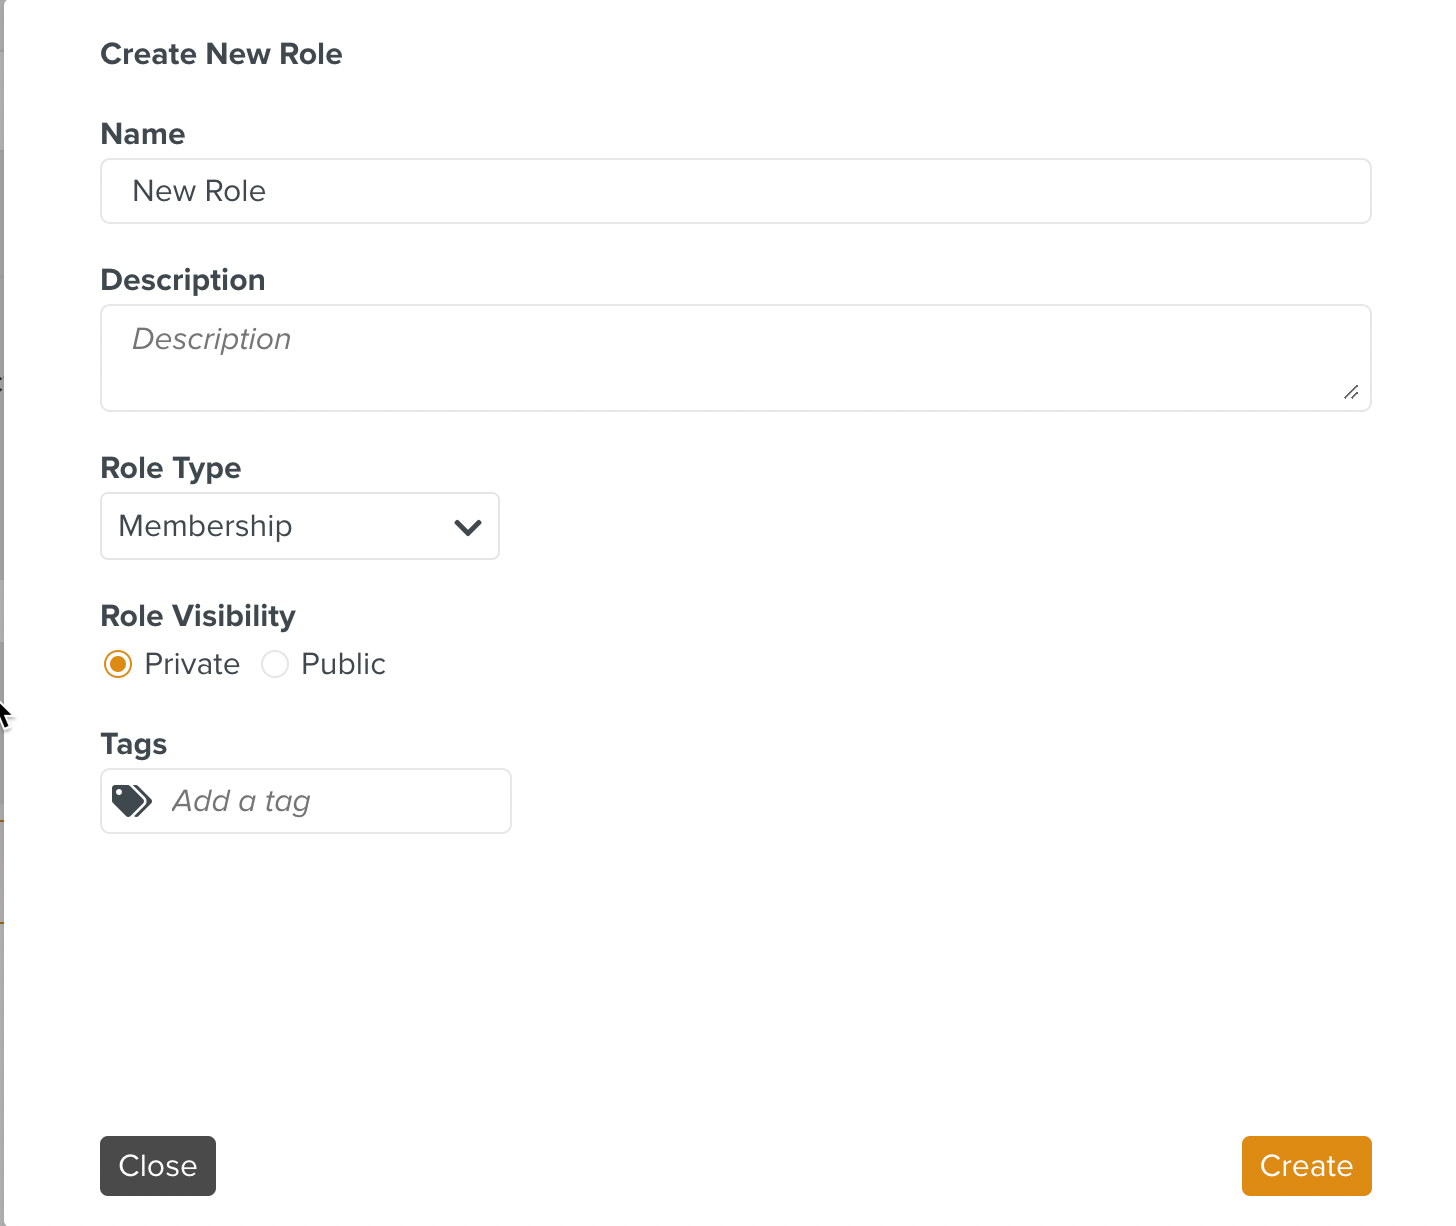
Enter a Name.
[Optional] Enter a Description.
Select a Role Type from the dropdown list.
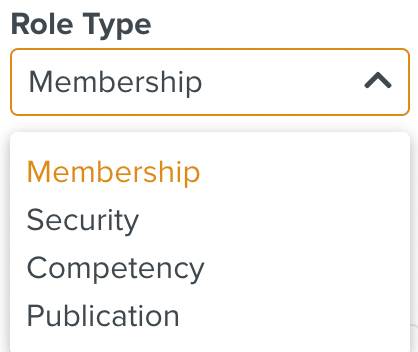
By default, Membership is selected.
Based on the Role Type selected, various options appear.
Set a suitable Role Visibility using the radio buttons.

By default, Private is chosen.
When the Role Visibility is set to Private, only users associated with the Role or Admin Roles will be able to see the Role listed.
When the Role Visibility is set to Public, all users will be able to see the Role listed irrespective of whether they are associated with the Role or not.
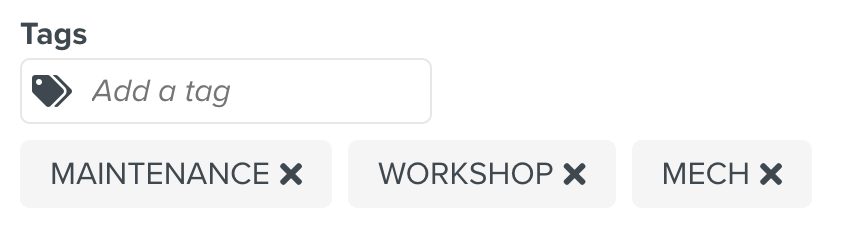
[Optional] Add Tags to the Role.
Multiple Tags can be associated with a Role. Tags are used to organize Roles.
You can also search for Roles based on Tags.
Click .
You have created the Role successfully. The Role is displayed in the list of Roles as seen below.
The Role can now be associated with existing users.
You can also create new users and assign roles to them.
Note
Modifications on Roles take effect immediately. The members affected by the modifications may need to reconnect to FieldLogs to see the modifications.
Any number of Users can be associated with a Role. Users can be associated with multiple Roles.
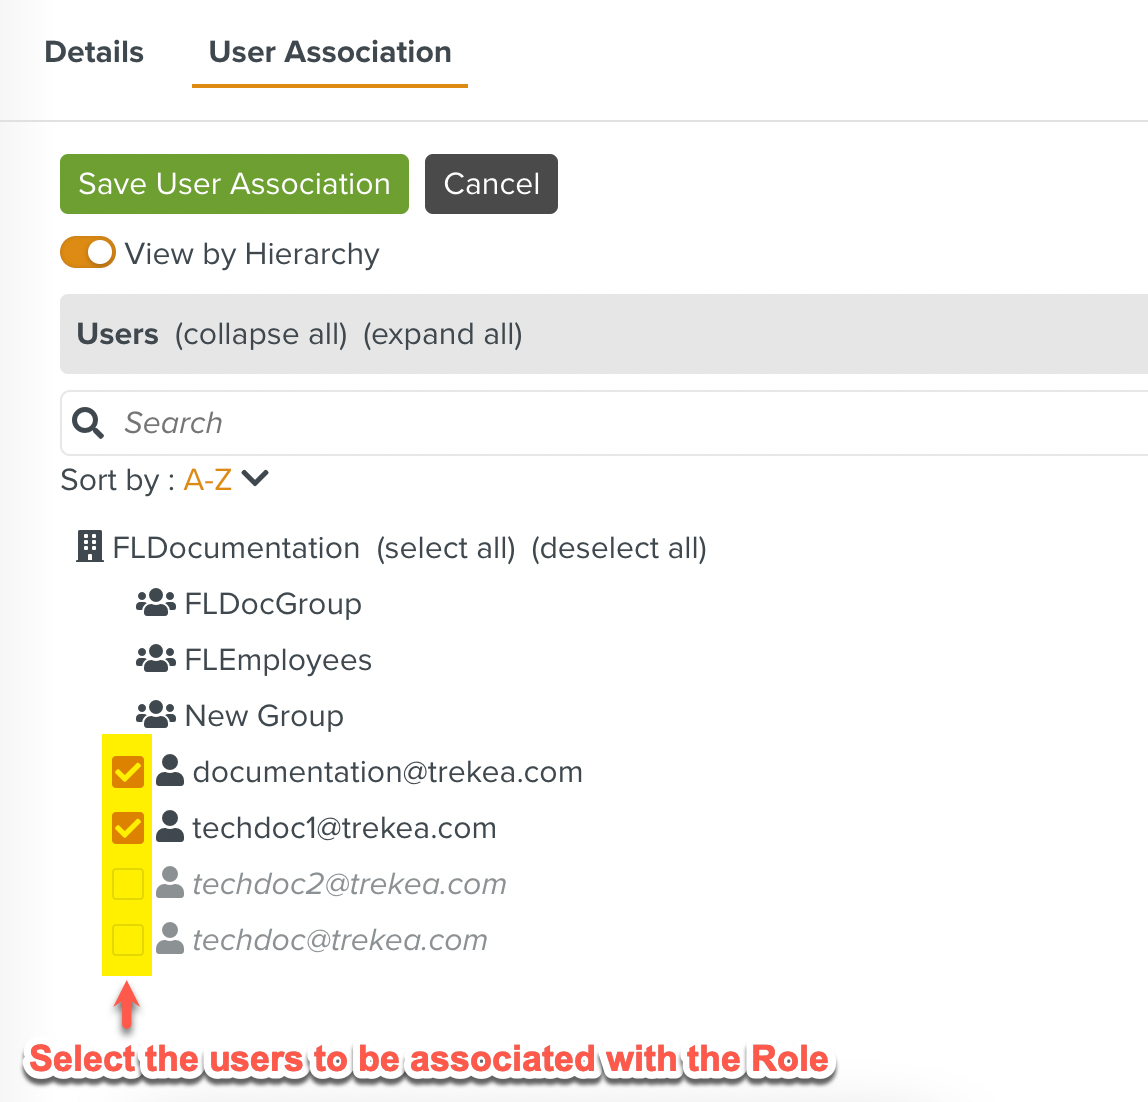
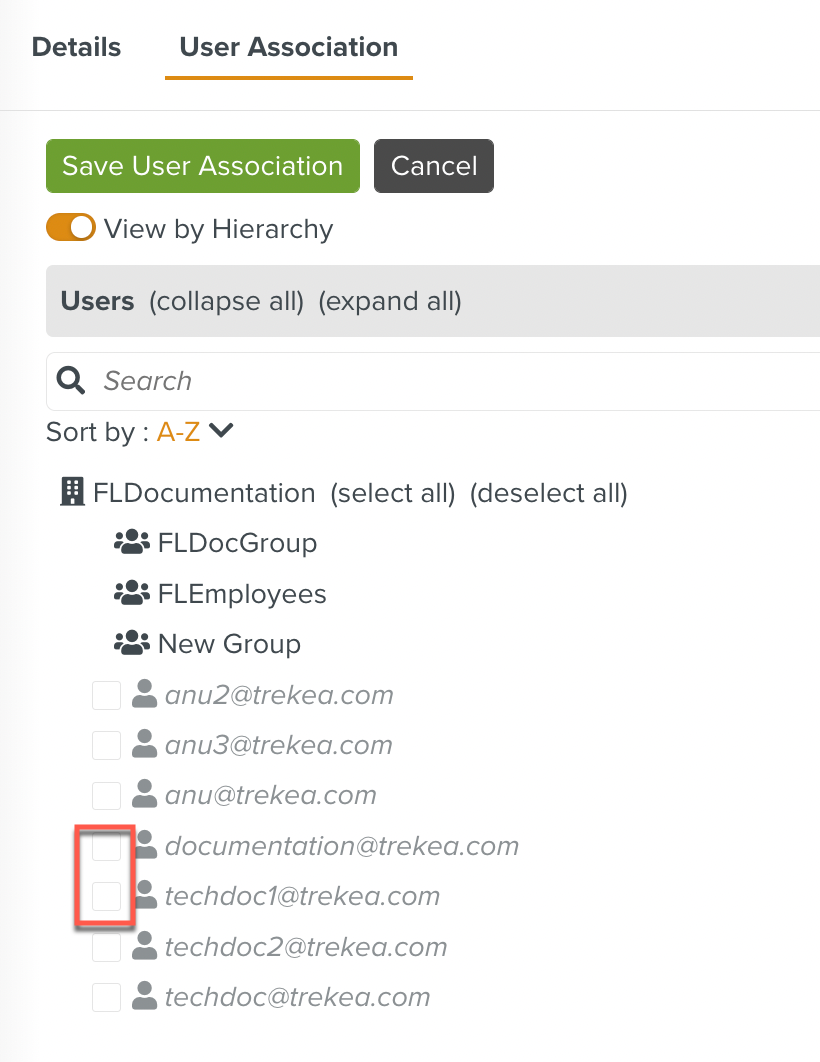
To associate Users with a Role:
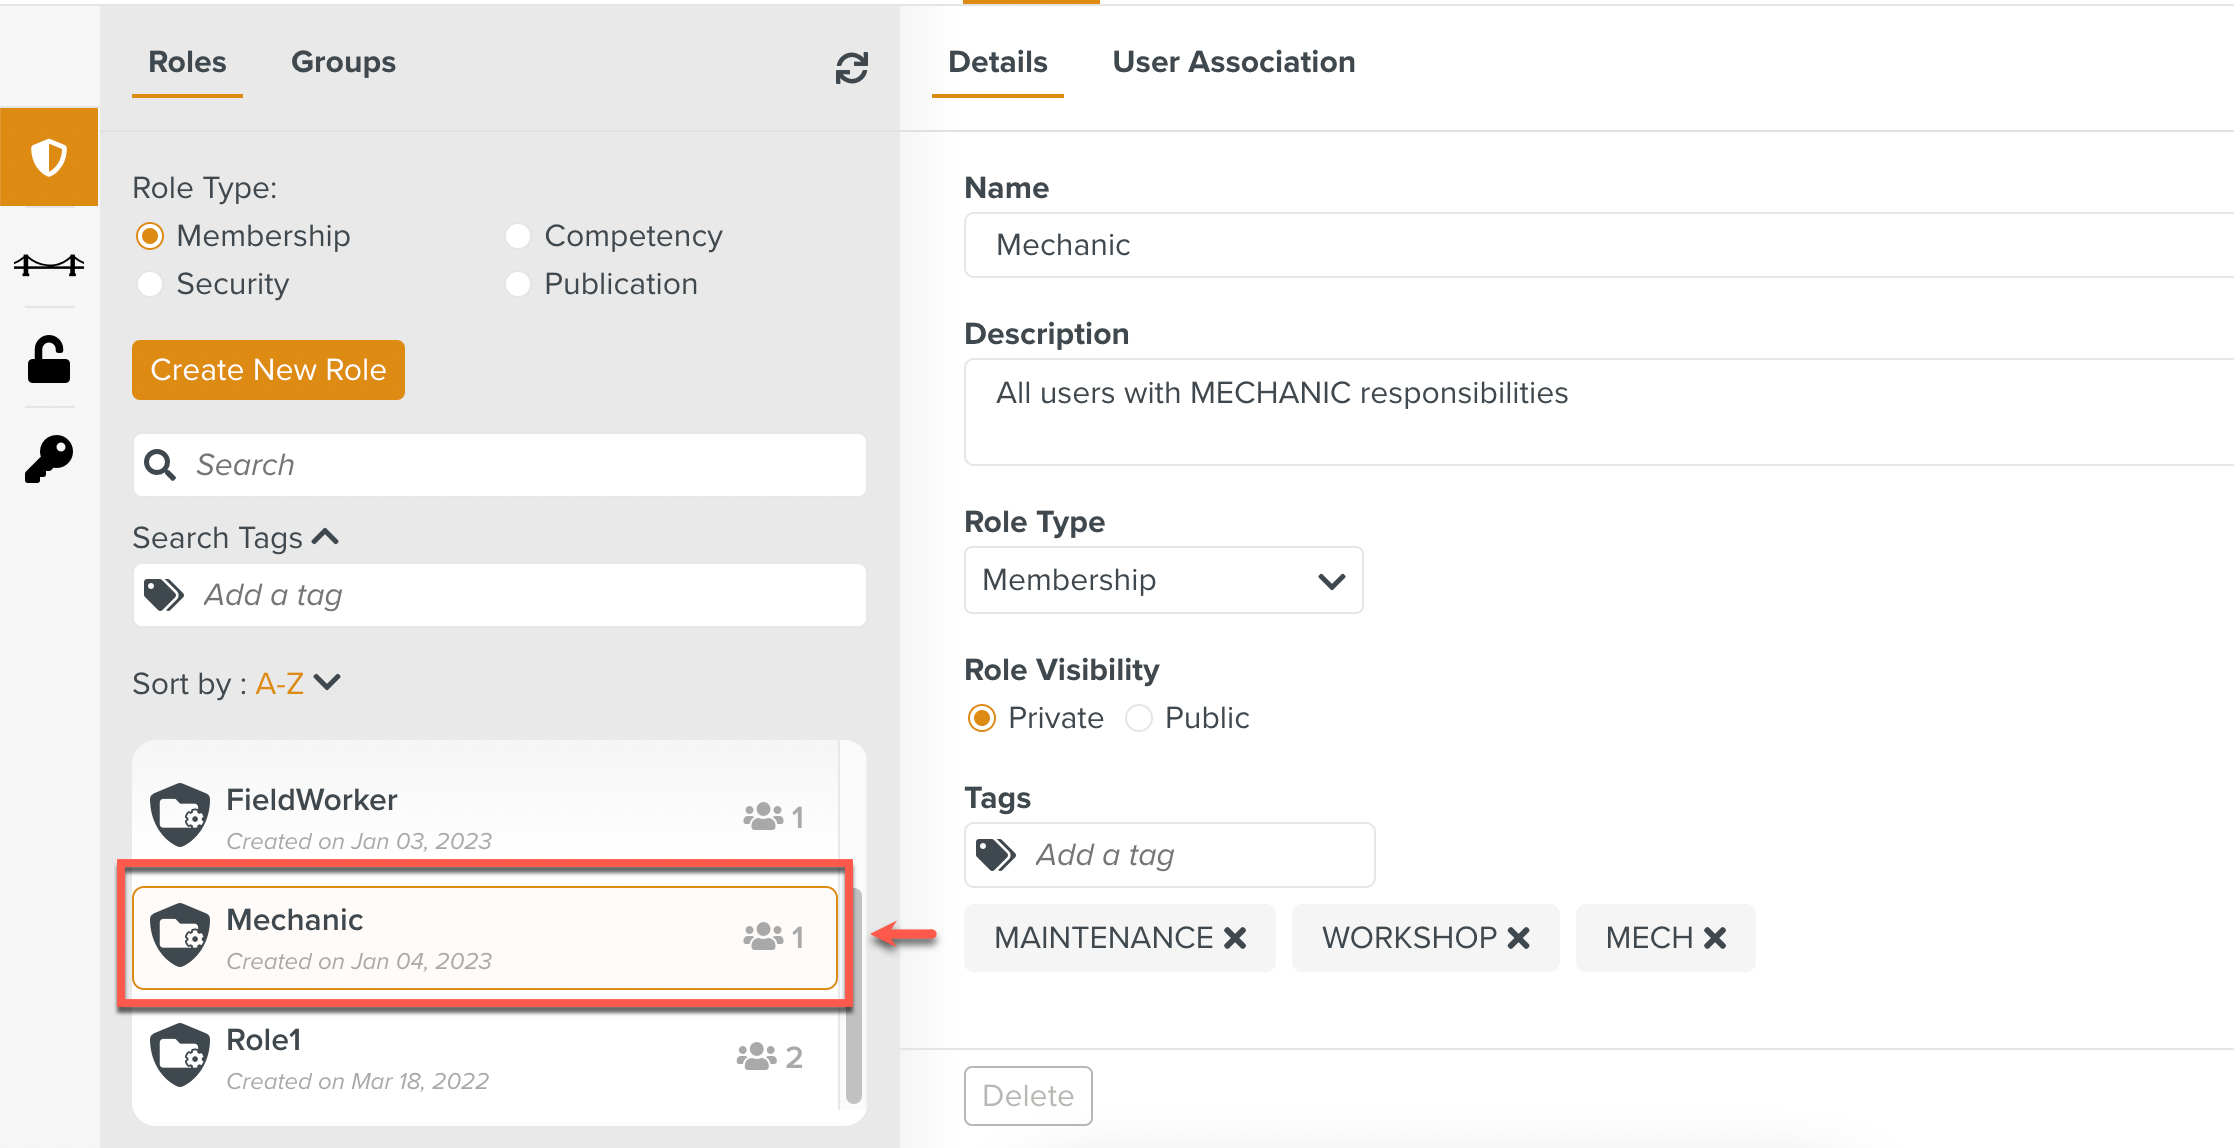
Click the Role to which Users need to be added.
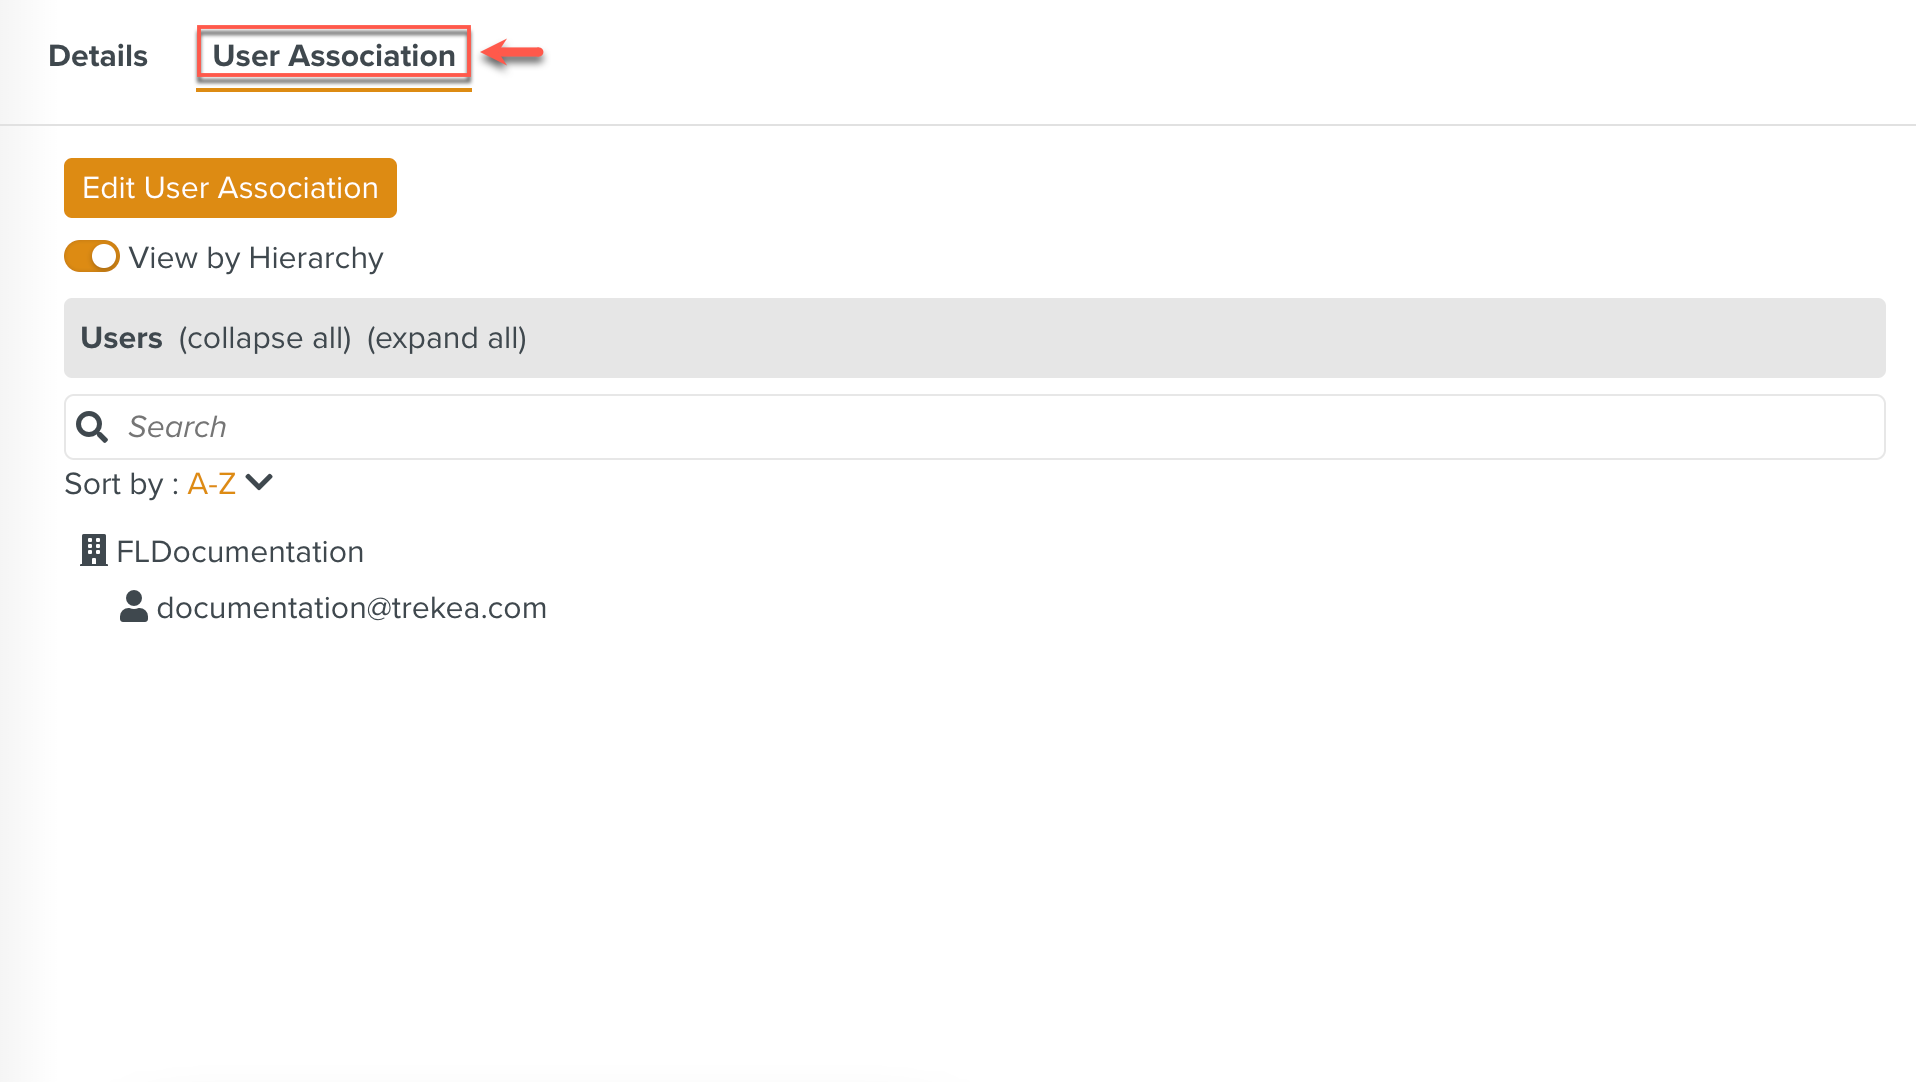
Click the User Association tab of the Role.
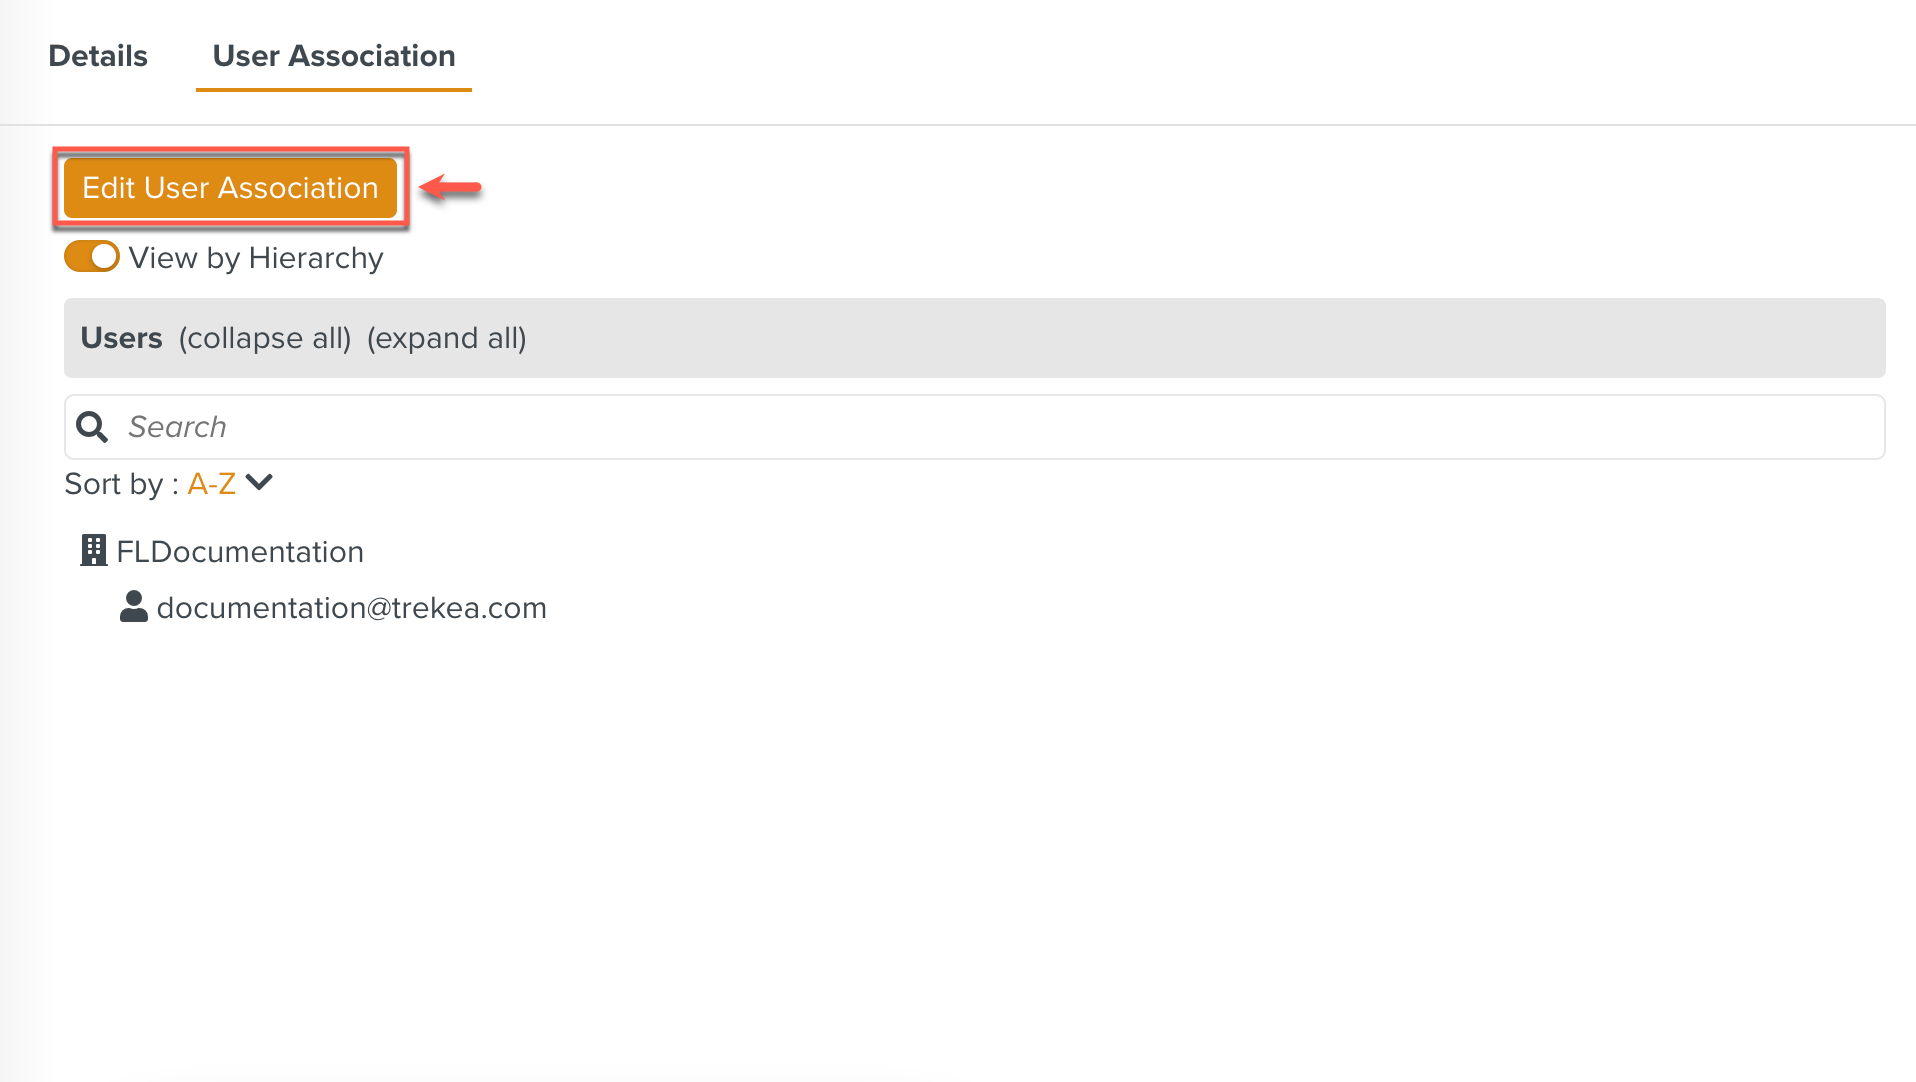
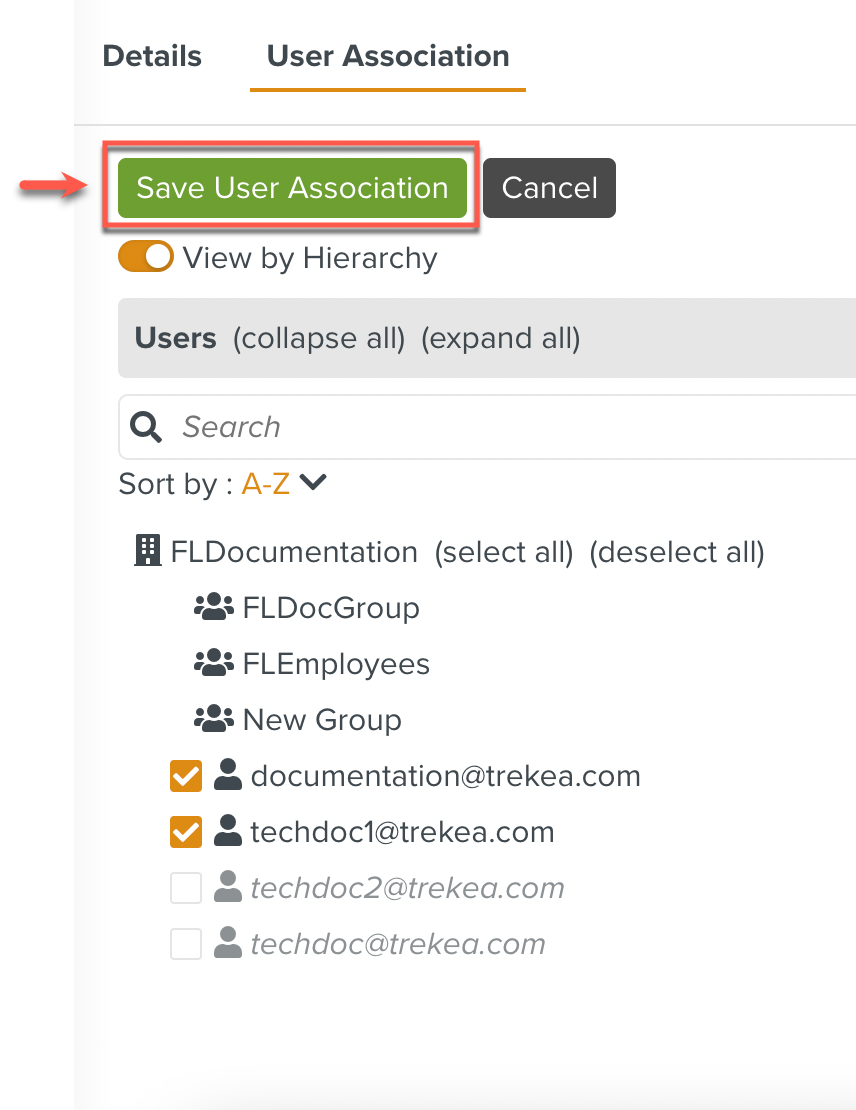
Click .
Select the users to associate with the Role. You must be associated with the role in order to associate other users with the Role.
Note
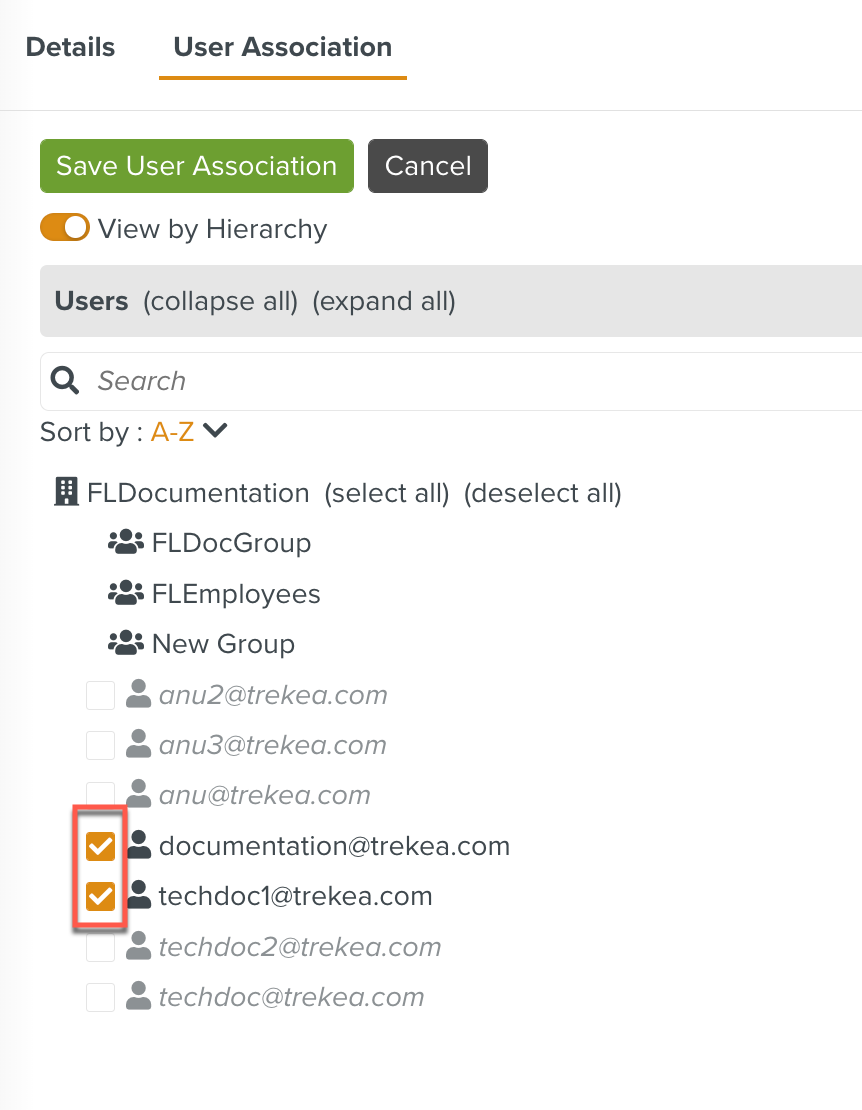
Users currently associated with a Role may need to be dissociated from the Role. You can dissociate users from a Role by unchecking the checkbox against the user.
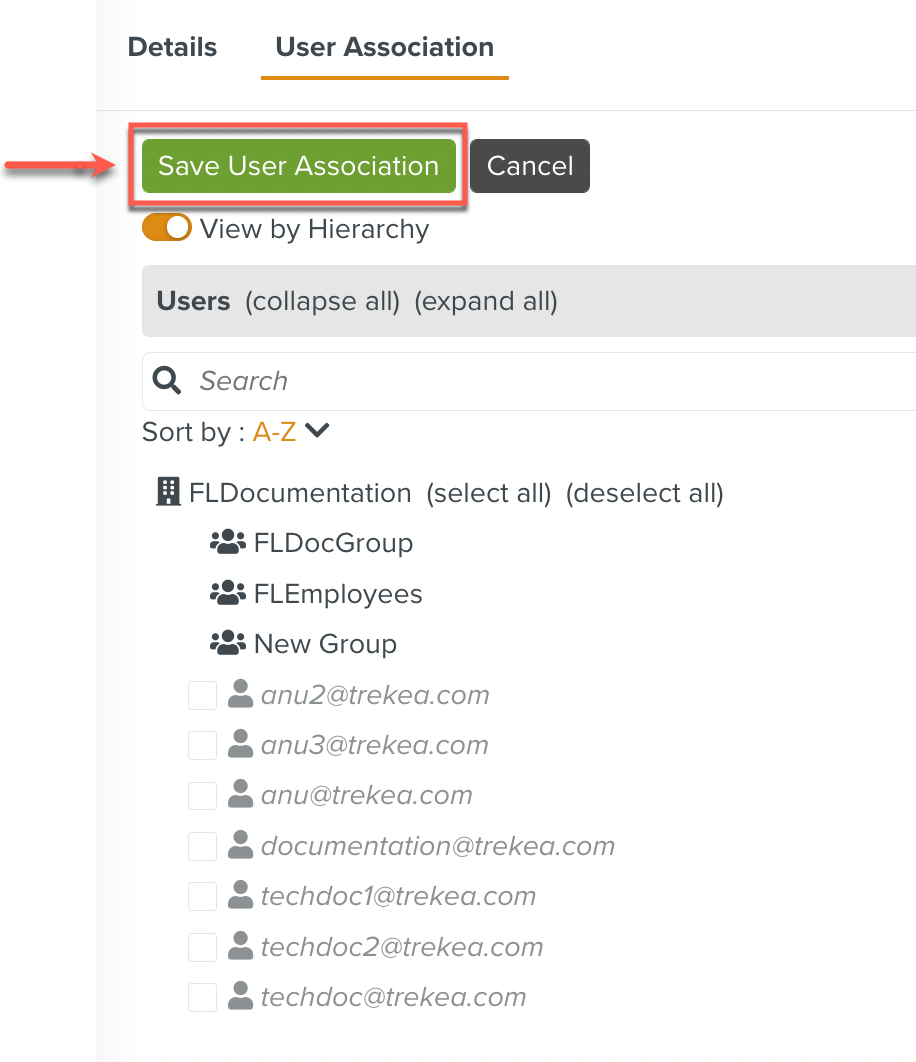
Click .
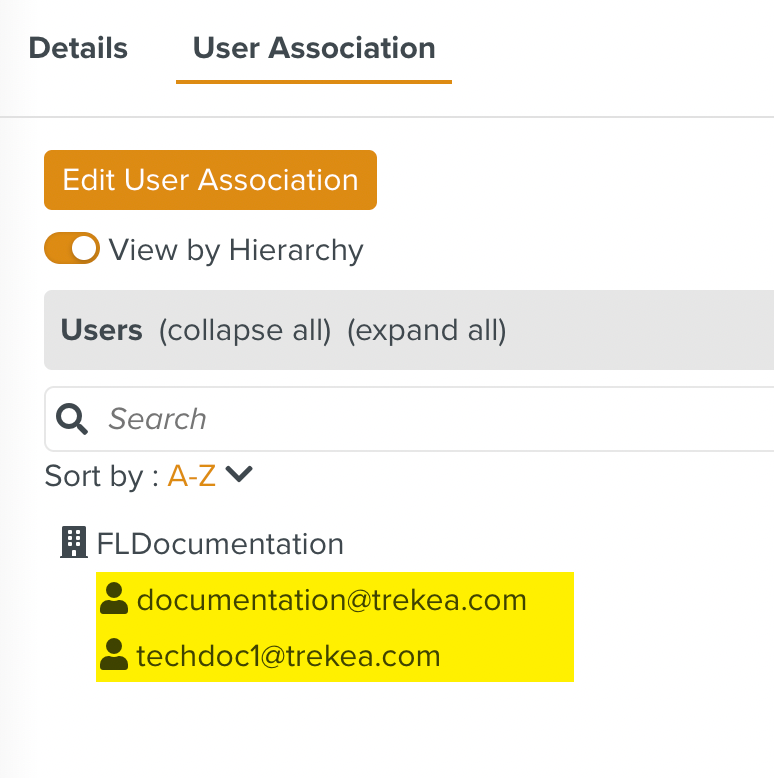
You have successfully associated the selected users with the Role as seen below.
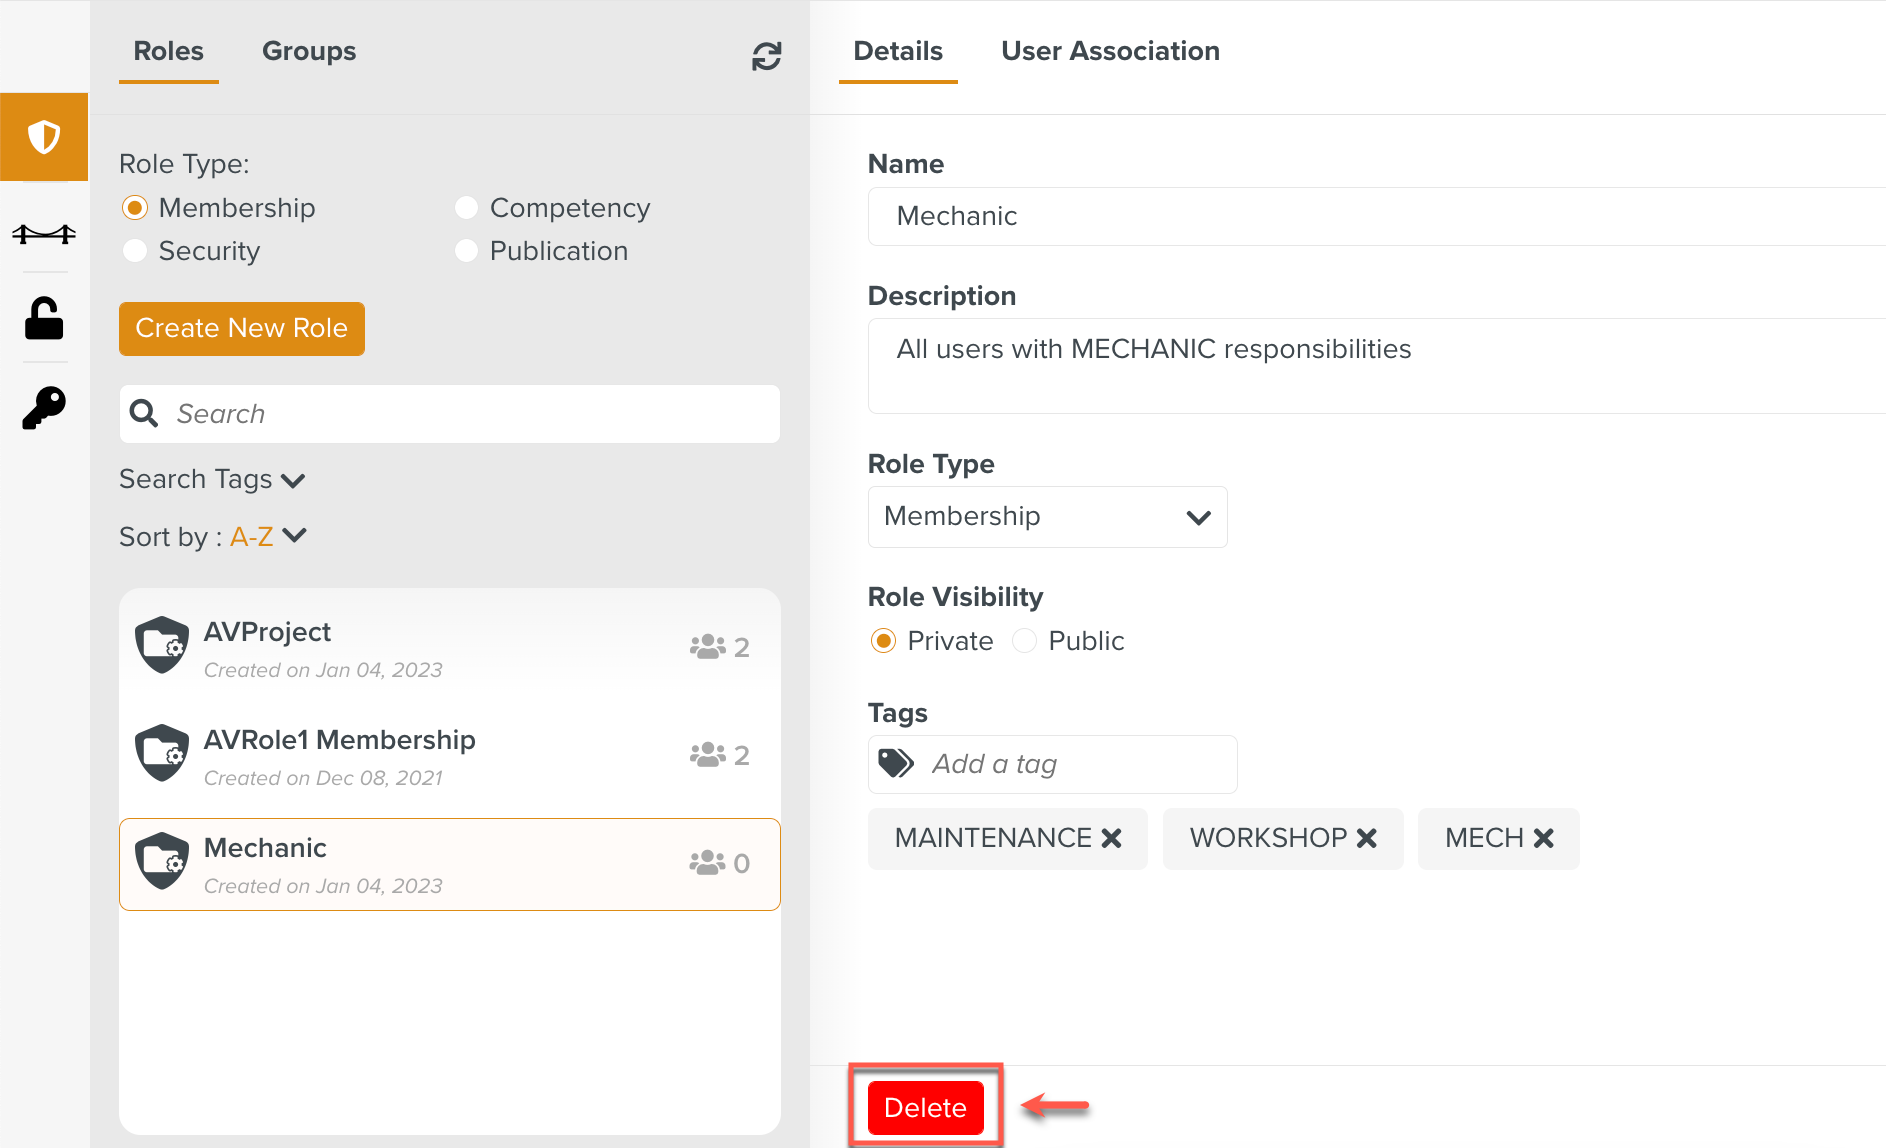
All the users must be dissociated from a Role before the role can be deleted.
To delete a Role:
Select the Role to delete.
Note
Note that the button at the bottom of the Details tab is disabled in the above example. This is because users are still associated with this Role.
In the User Associations tab, remove the associations by unchecking the users.
Click .
Click the tab of the Role. The button will be enabled. Click .
A confirmation dialog appears.
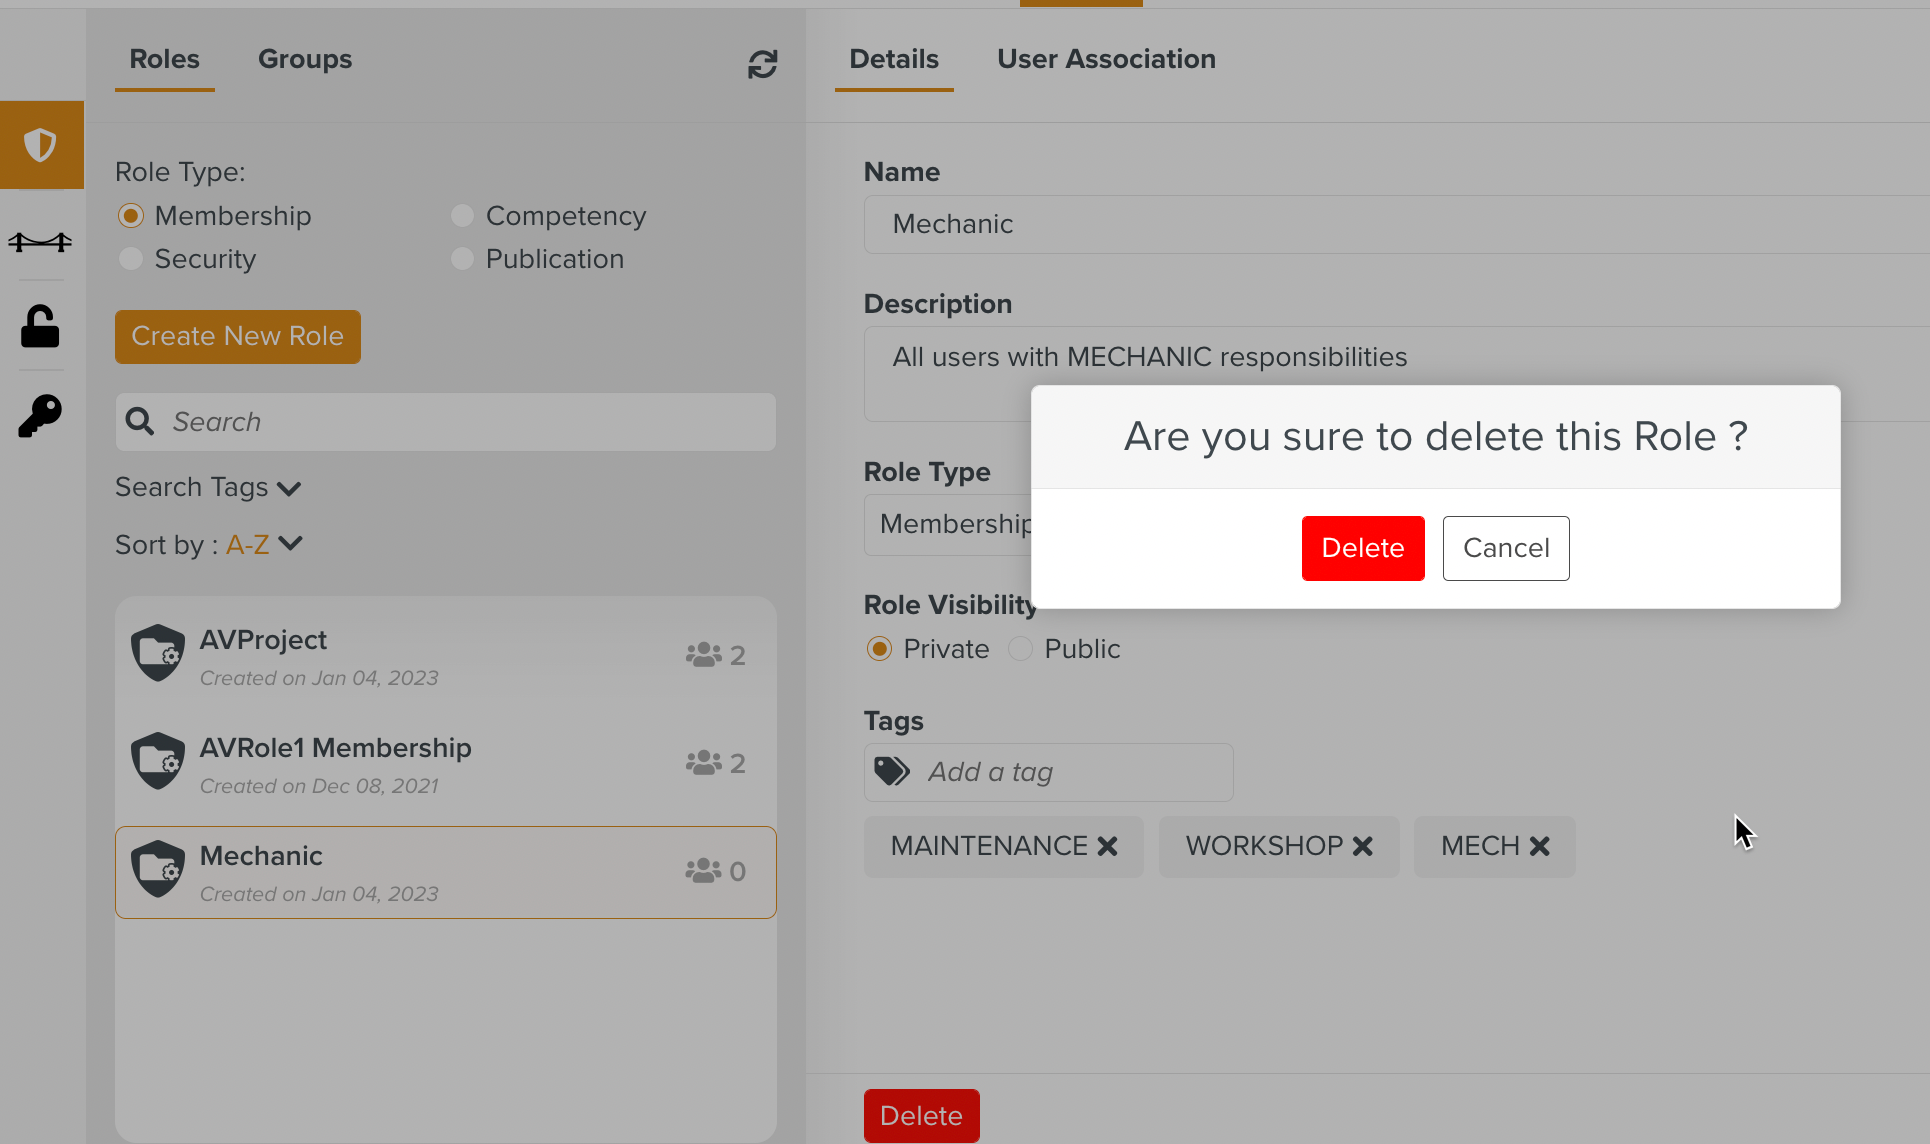
Once you confirm, the Role is deleted.