Adding a Custom Counter to a Custom Operation Plan

A Custom Counter does not contain an Event Trigger. It is an encapsulation of just the Action of the Custom Operation Plan.
Only when a Custom Counter is added to an Operation Plan, it becomes a Custom Operation Plan. Otherwise, it remains an Operation Plan.
The Custom Counter allows you to print reports about the Templates that constitute the Action of the Custom Operation Plan. For example, you can generate a report listing just the names of the Templates that constitute the Action.
Important
Do not use trigger-based Counters and Custom Counters within the same Operation Plan.
Always organize trigger-based Counters in a separate Operation Plan and Custom Counters in a separate Custom Operation Plan.
 |
To add a Custom Counter to a Custom Operation Plan:
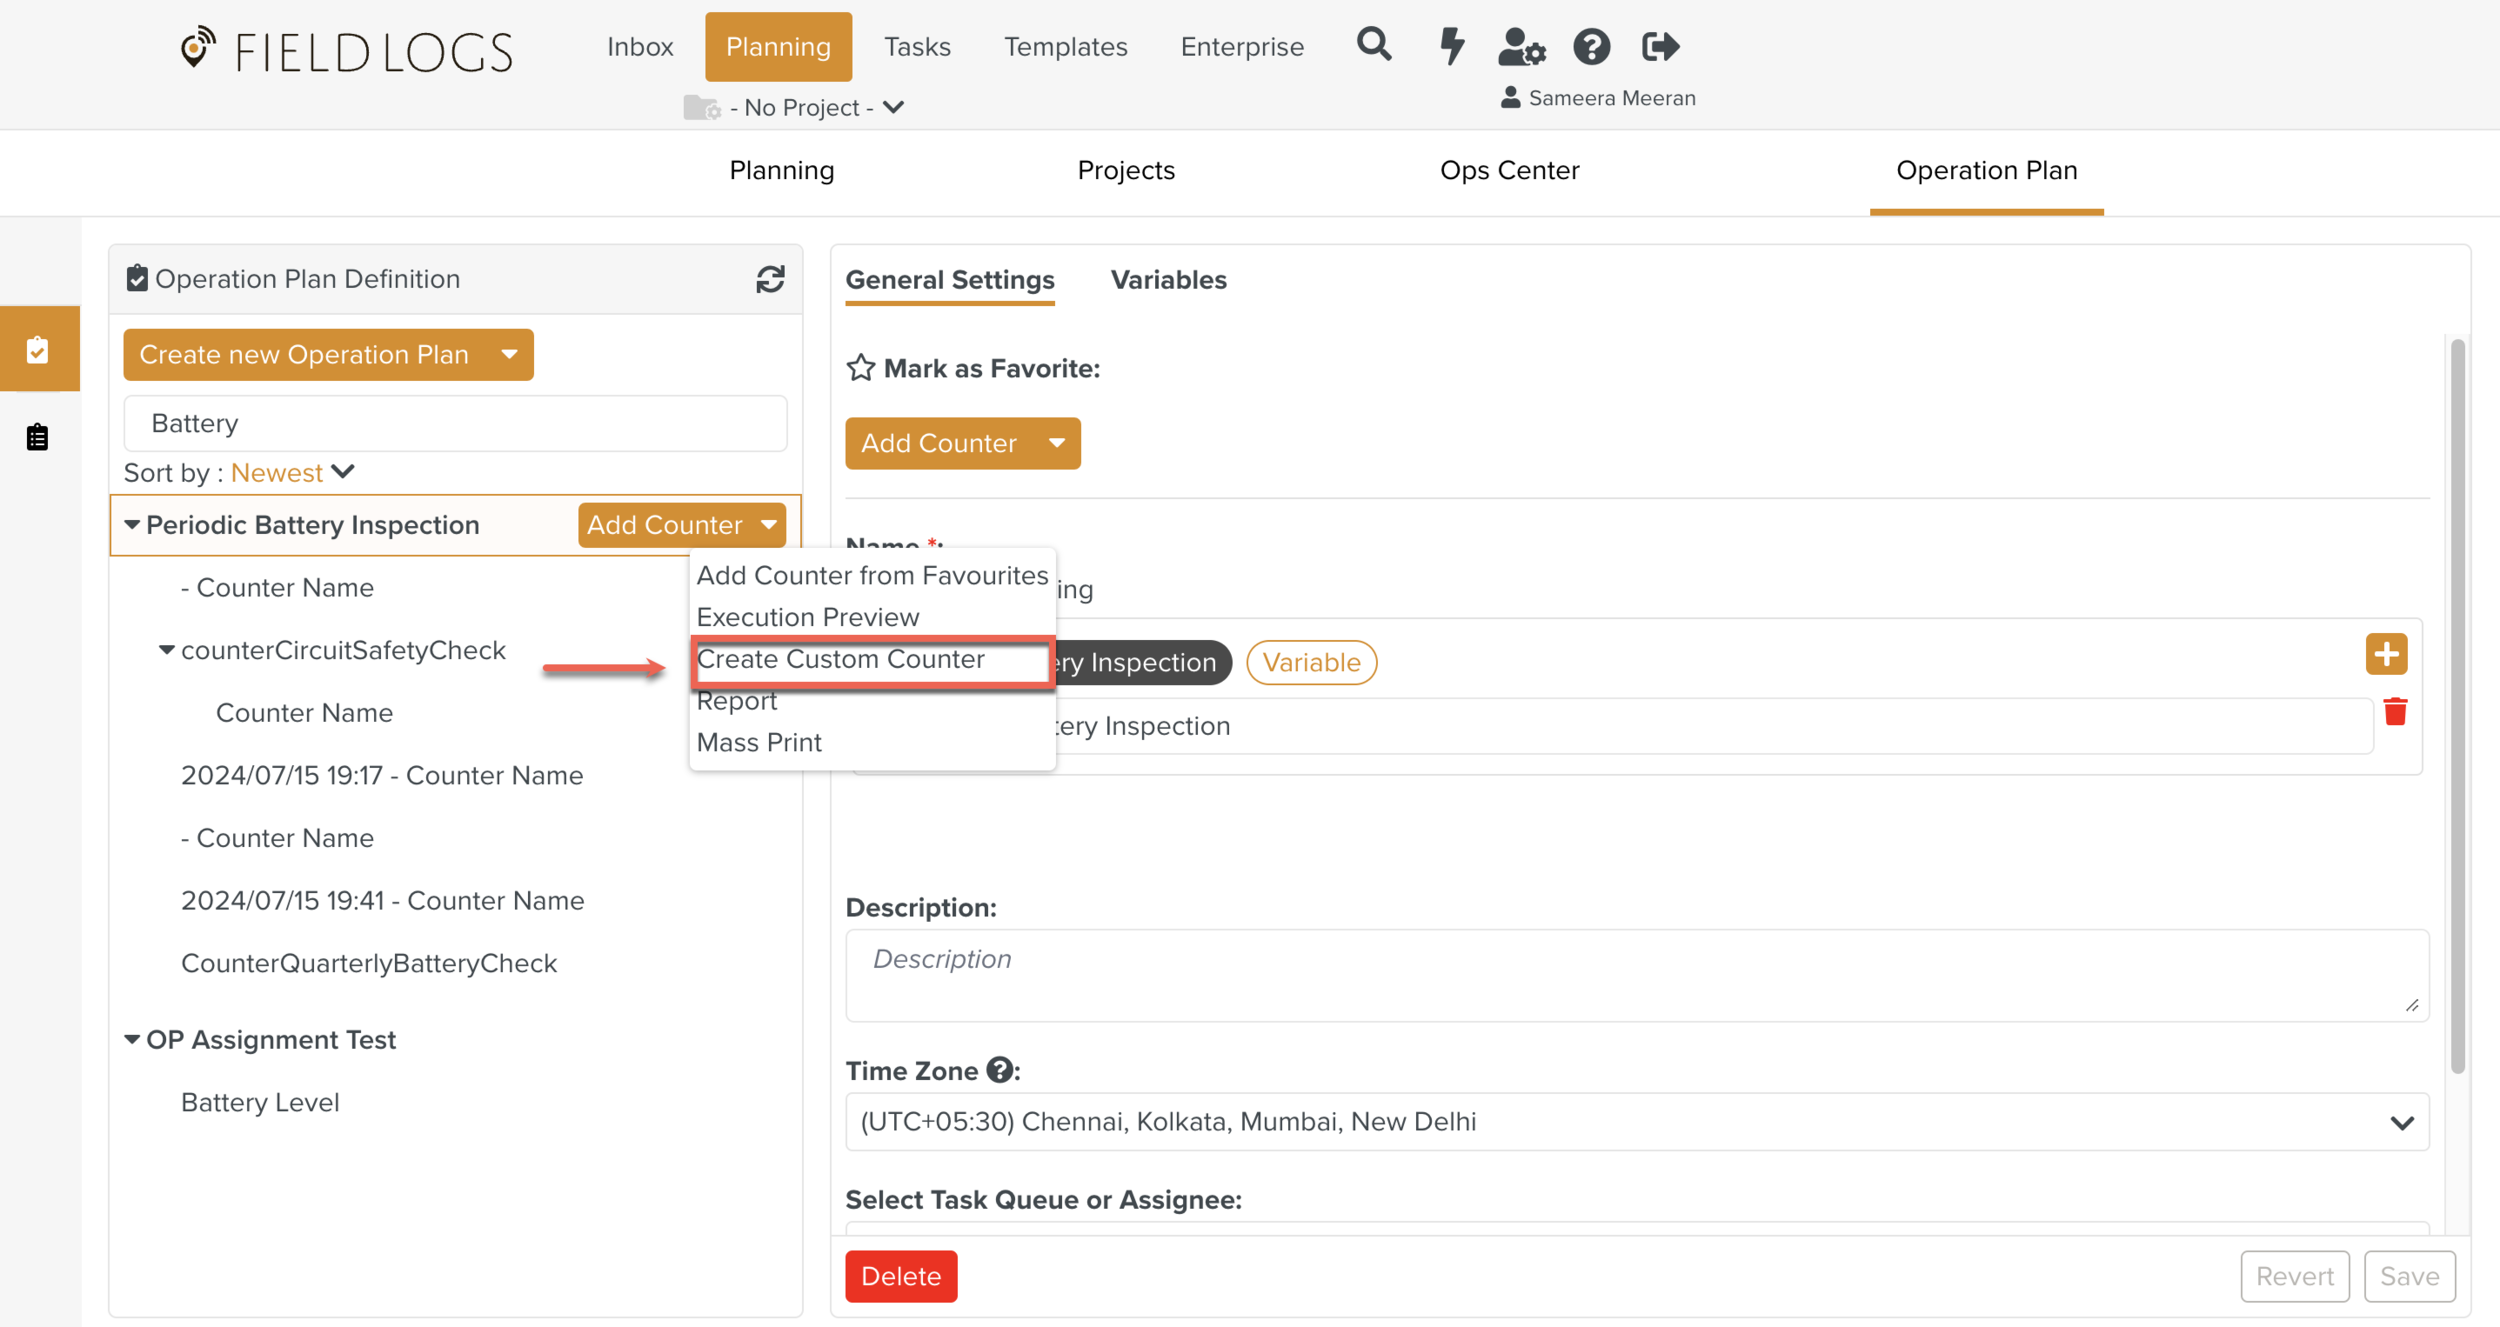
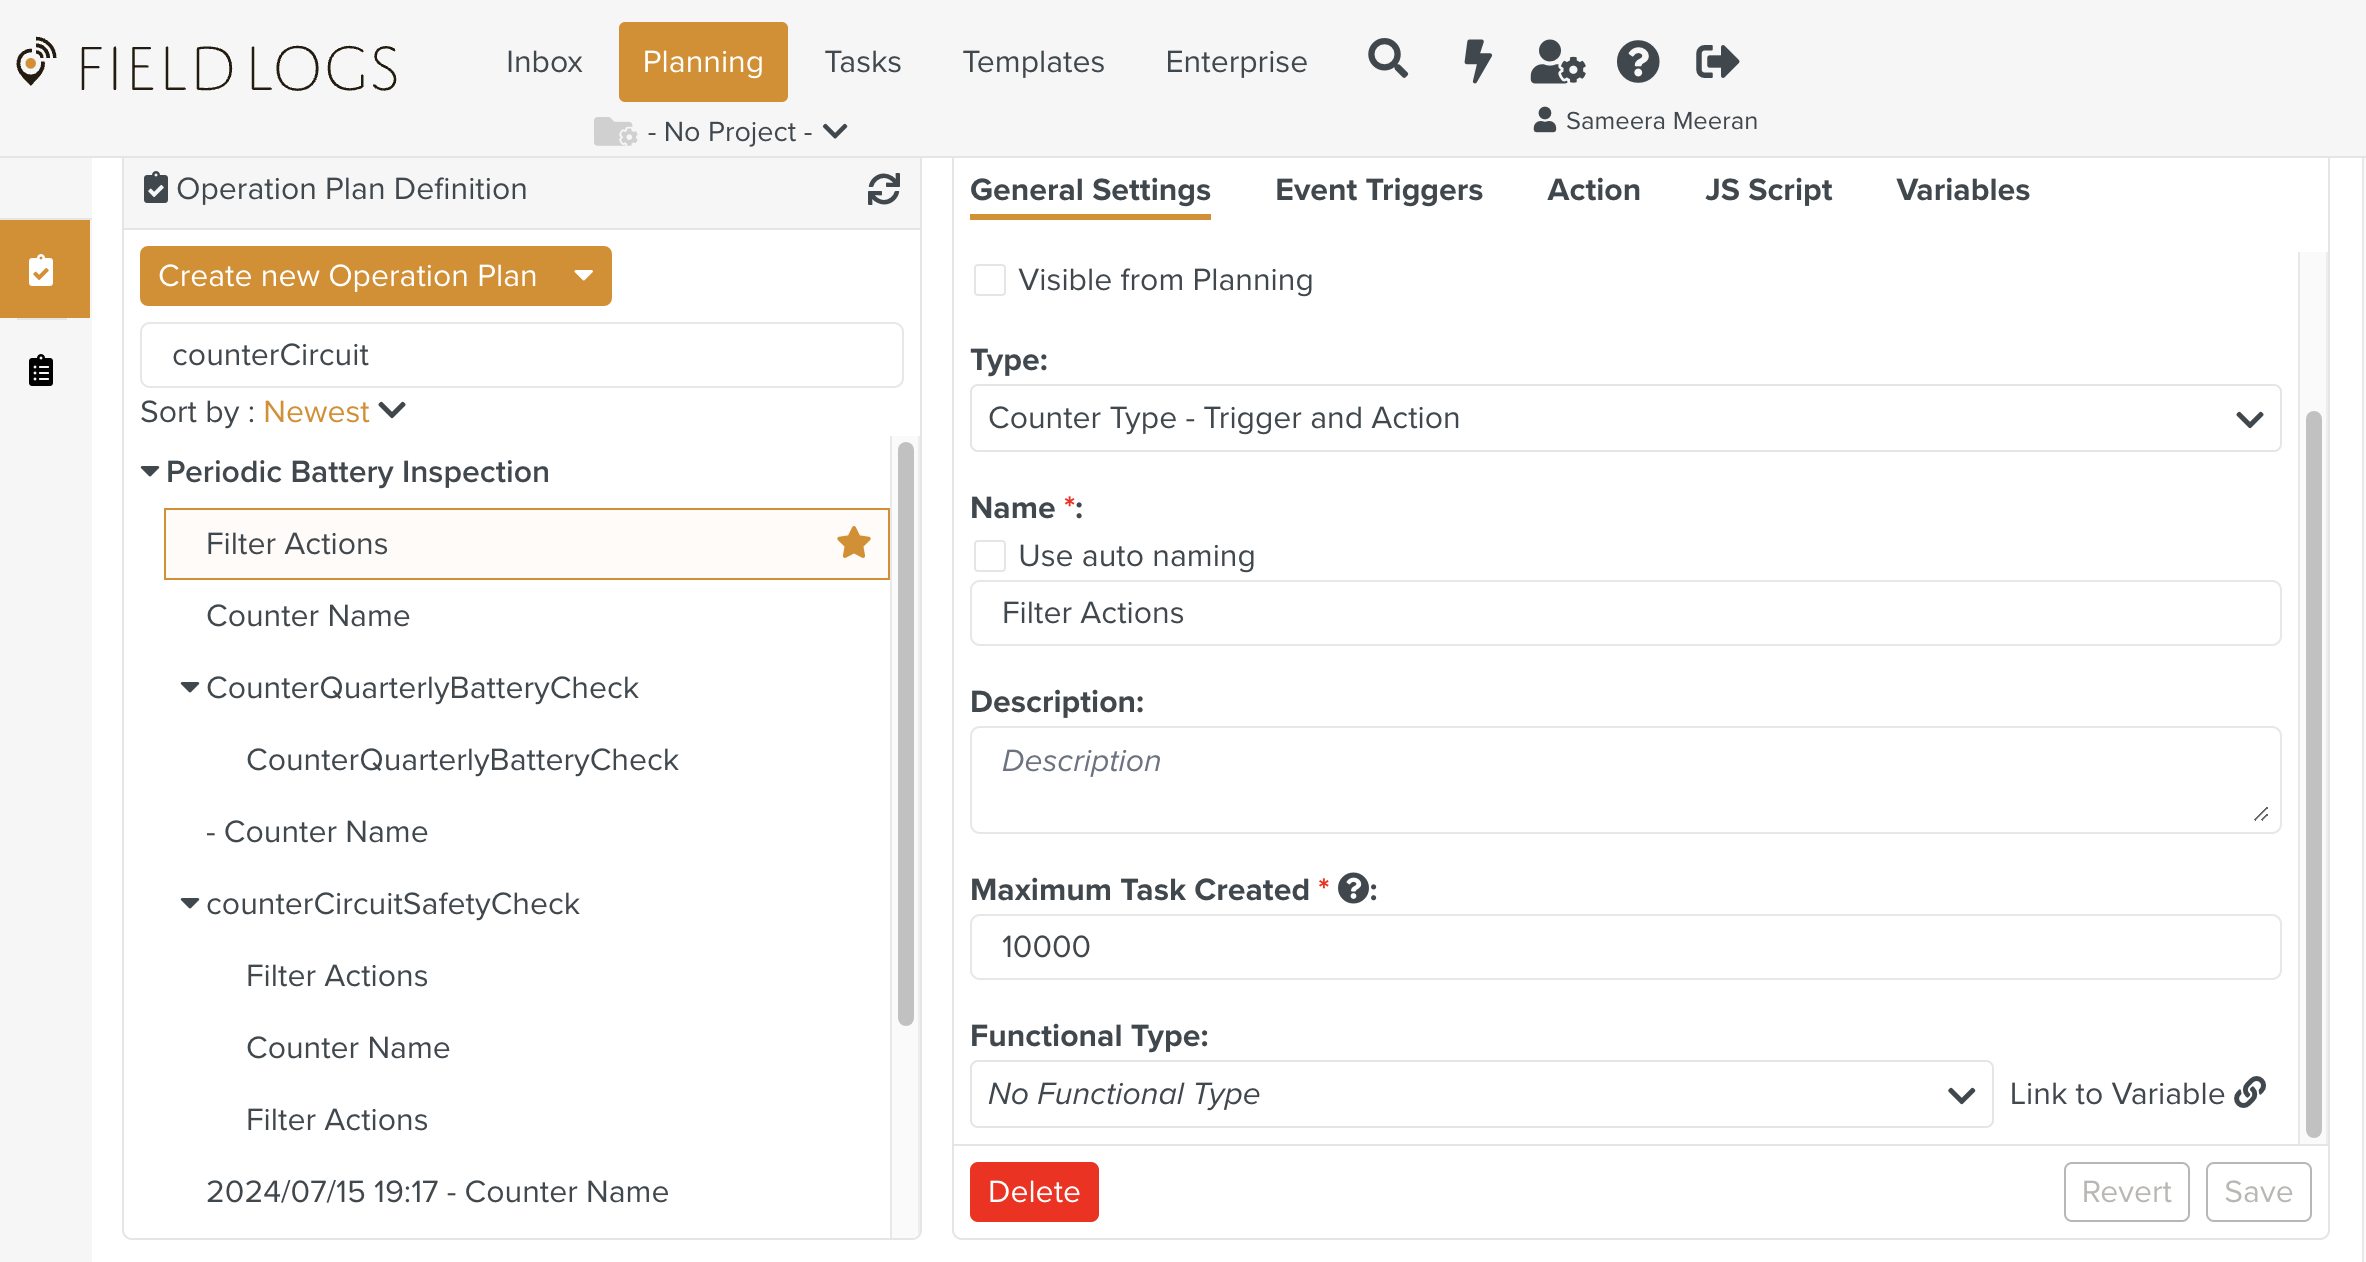
Click the arrow to see the options in the dropdown list near the name of the Custom Operation Plan as shown. You can also use the dropdown list in the tab as indicated below.
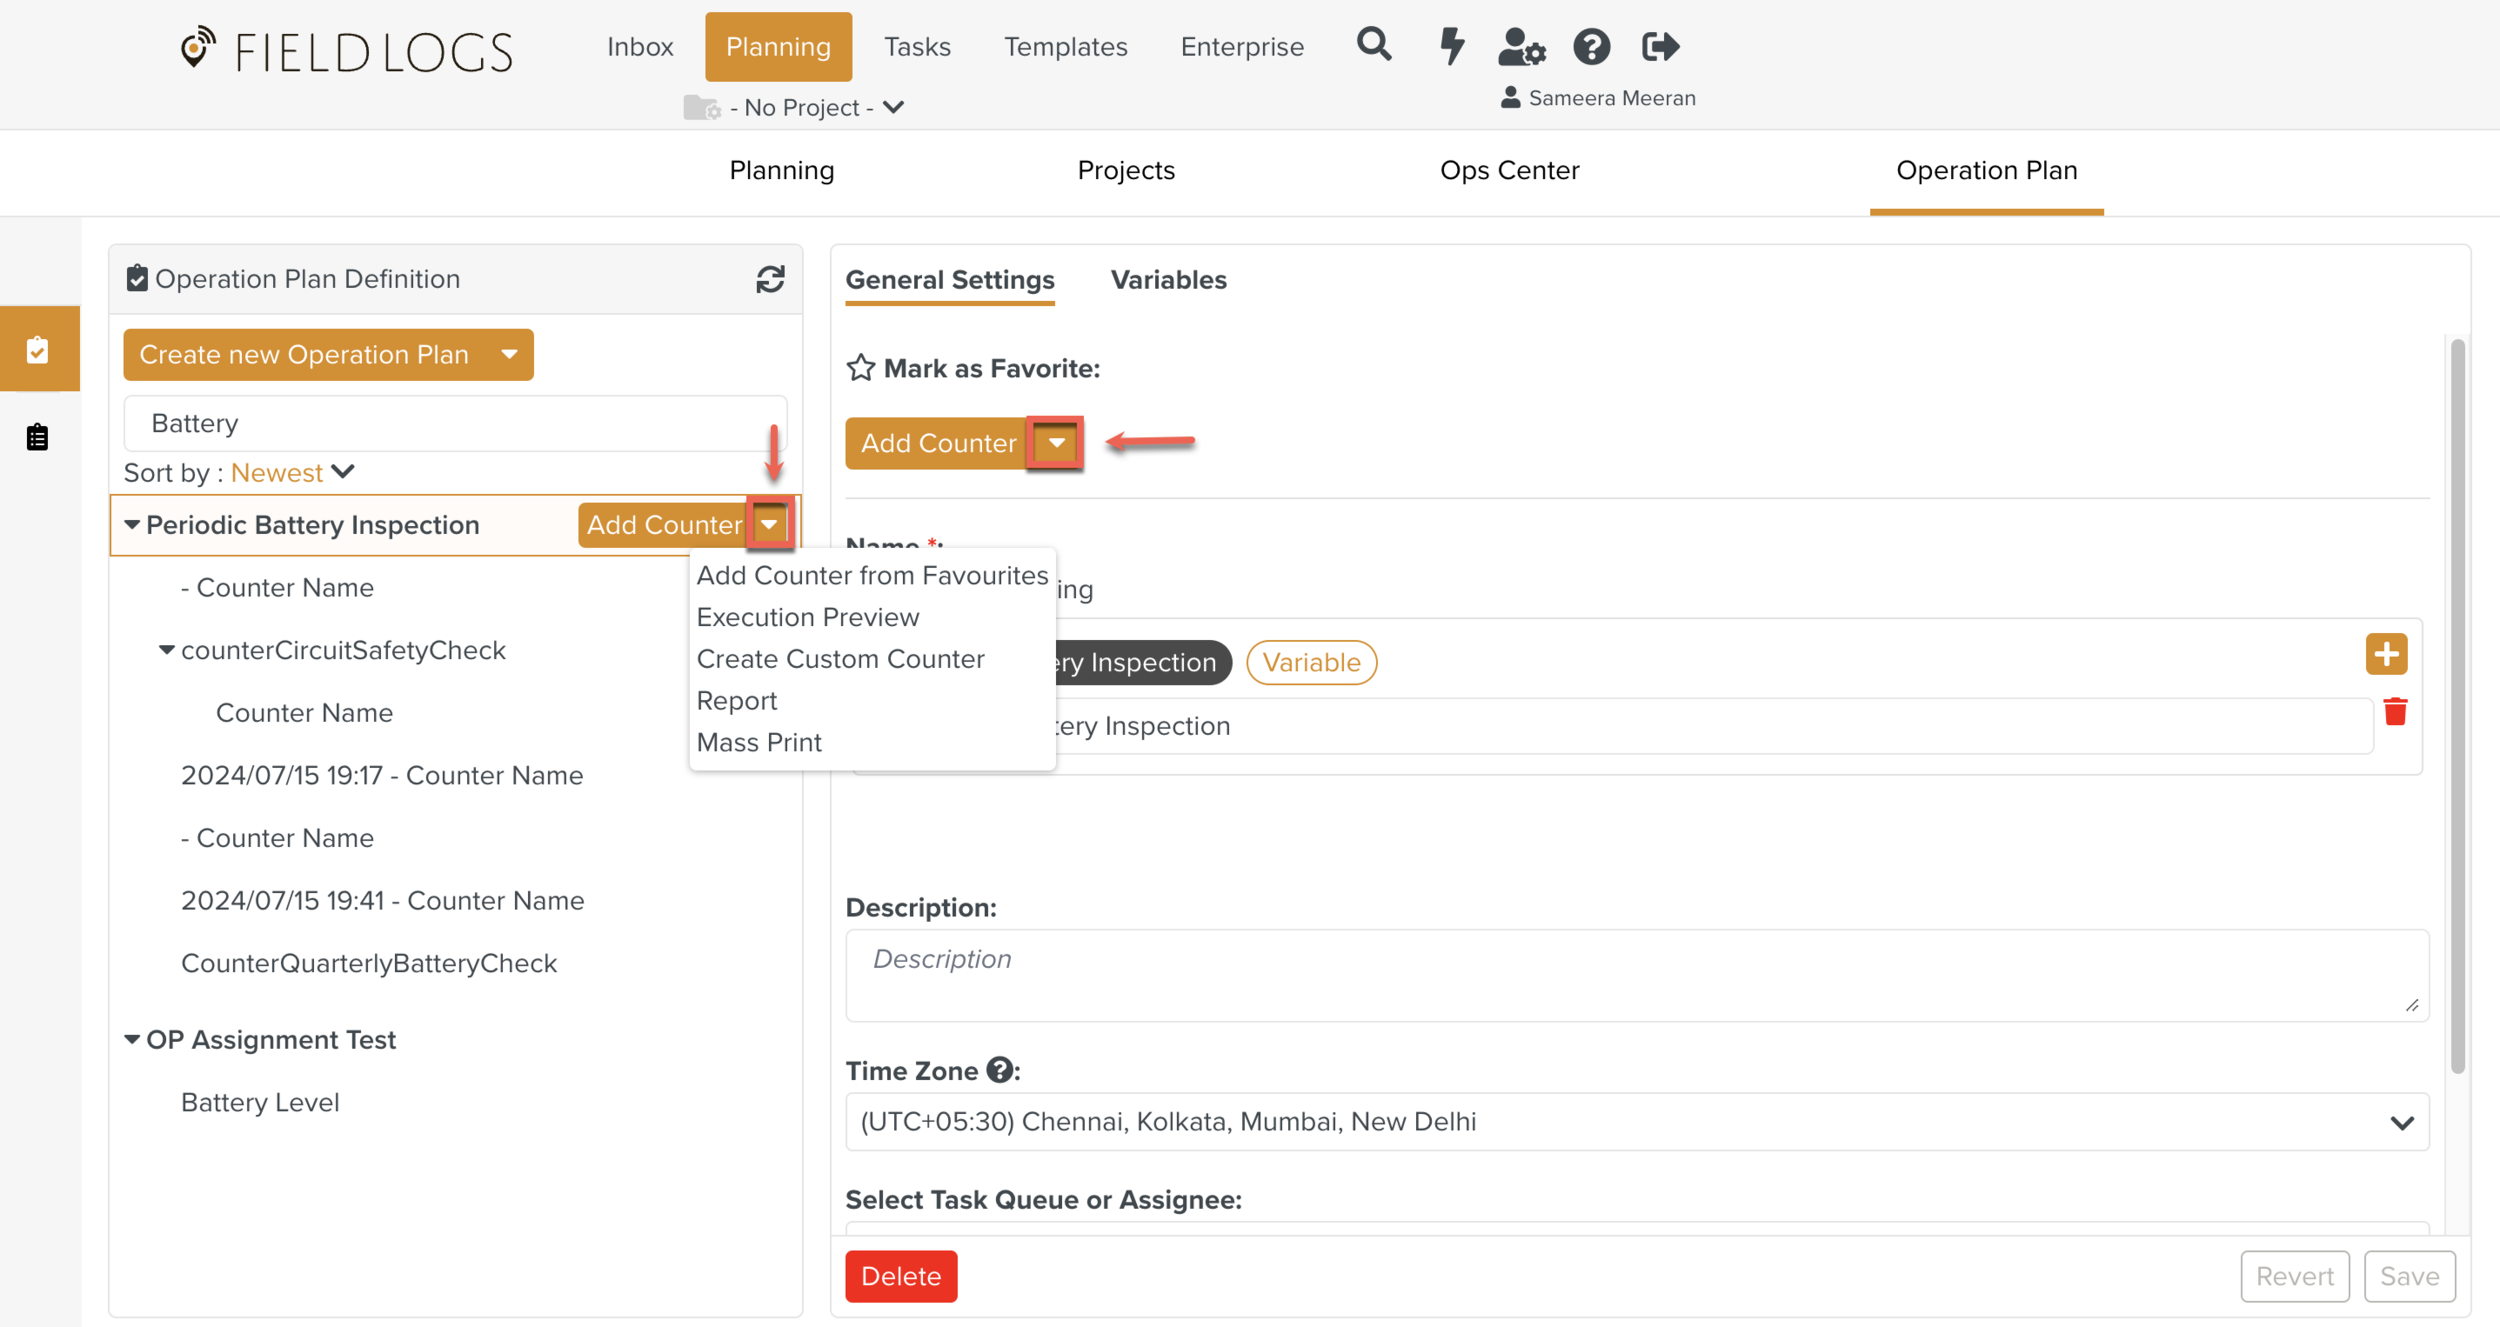
Click from the list of available options.
A new Counter is created under the Operation Plan as shown below. It is given a ther name Counter Name as highlighted below.
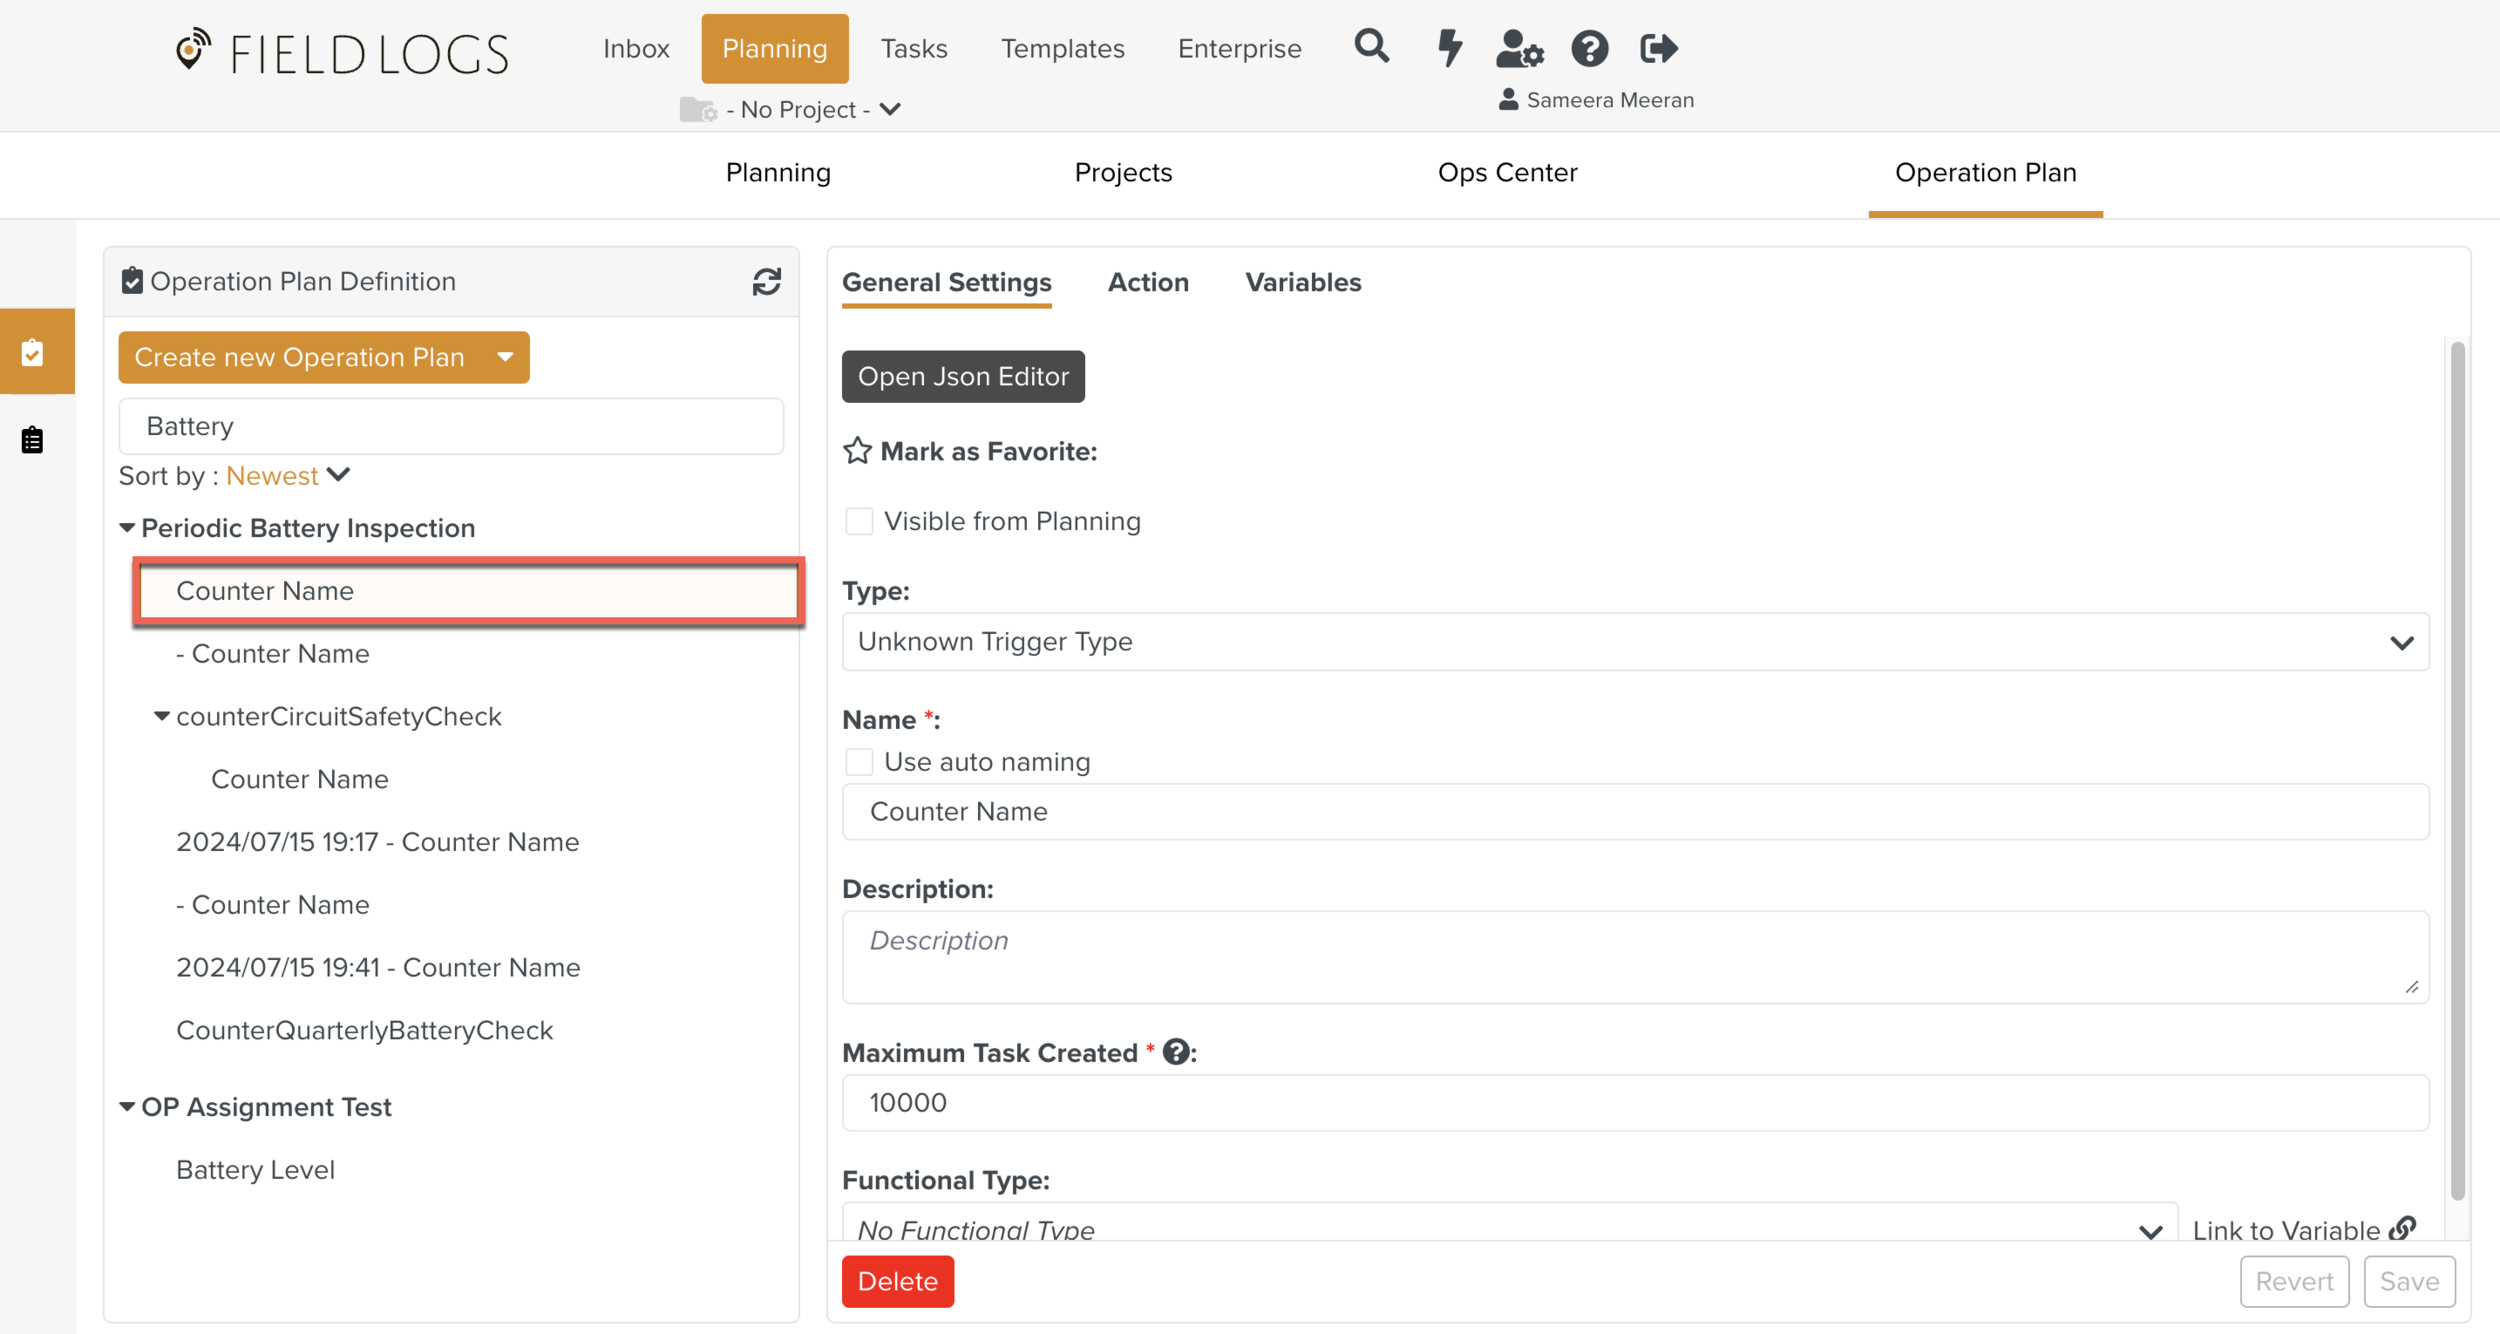
There are three tabs to configure the Custom Counter. They are:
General Settings
Action
Variables
On every Tab, there are three buttons Delete, Revert and Save as seen below.
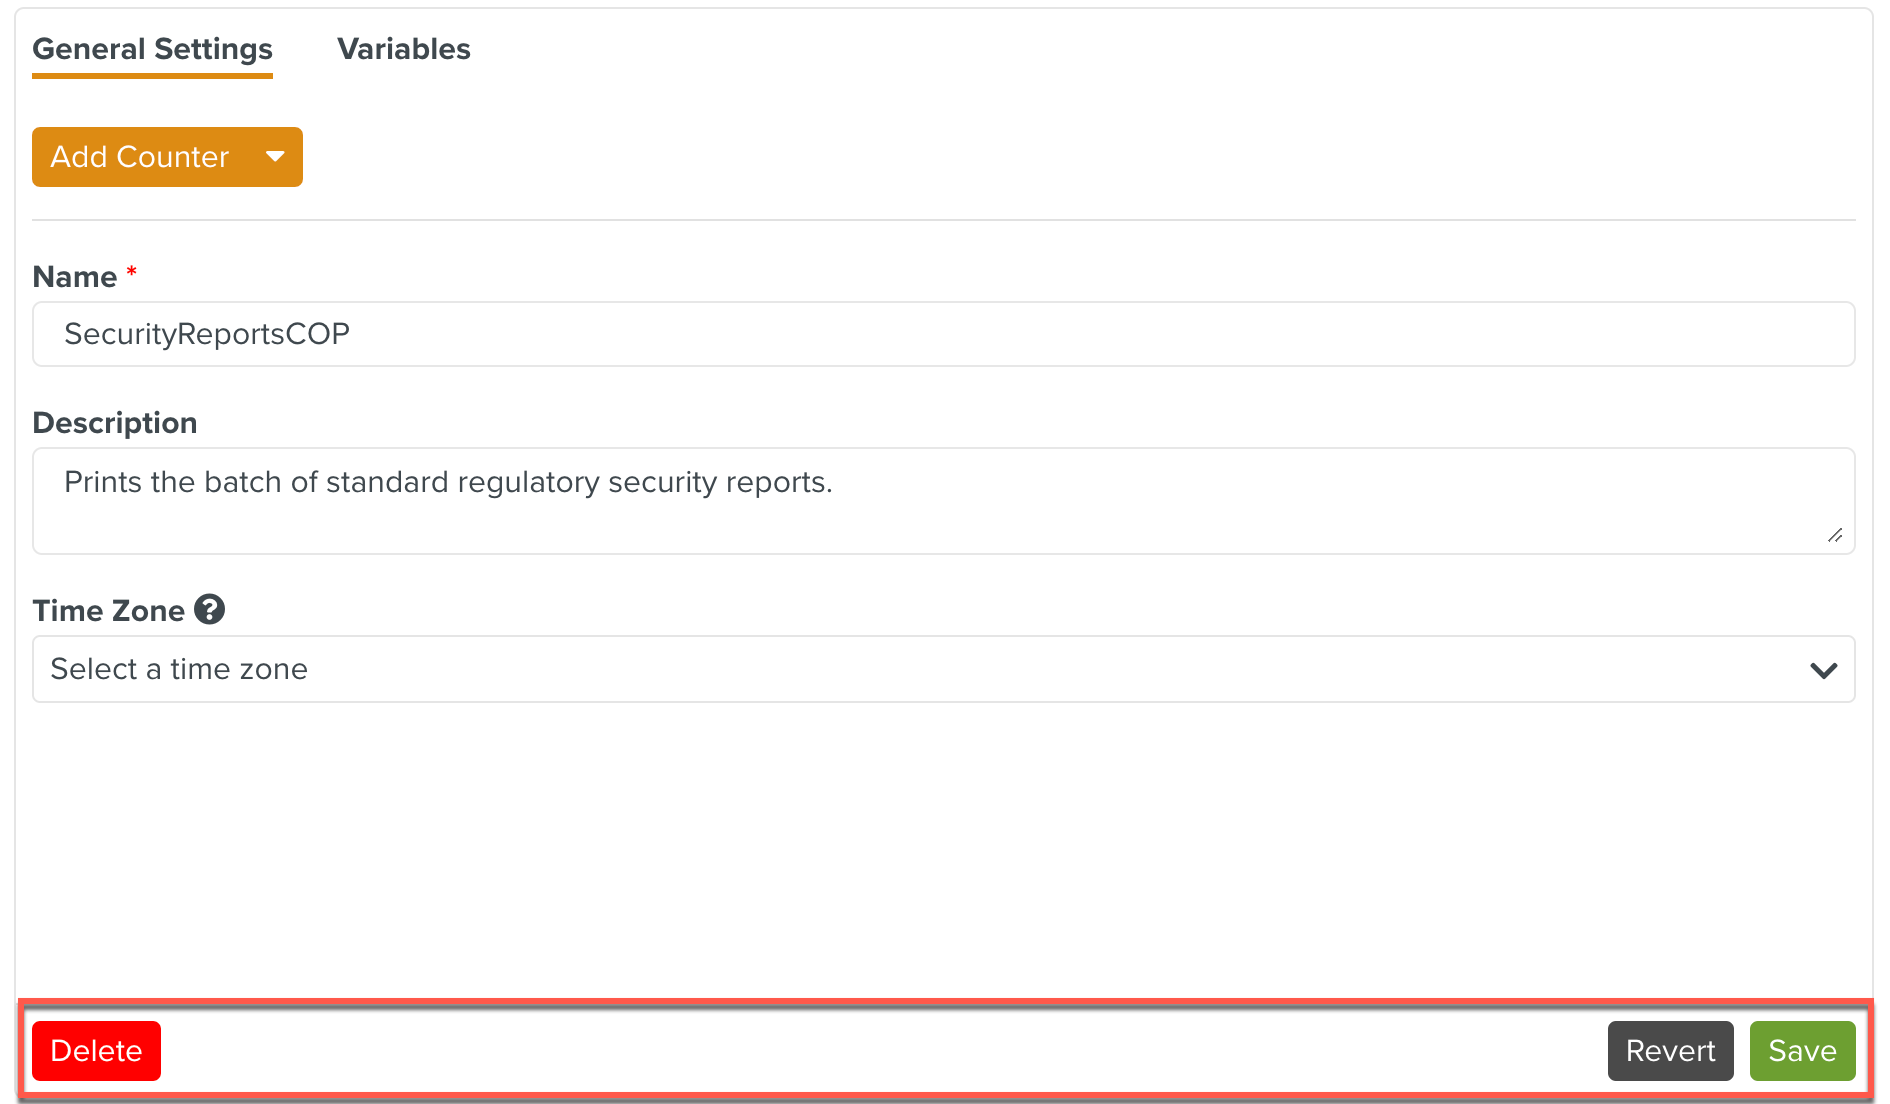
Delete: Deletes the Custom Counter.
Save: Commits all the changes done so far to the Custom Counter.
Revert: Undoes all unsaved changes.
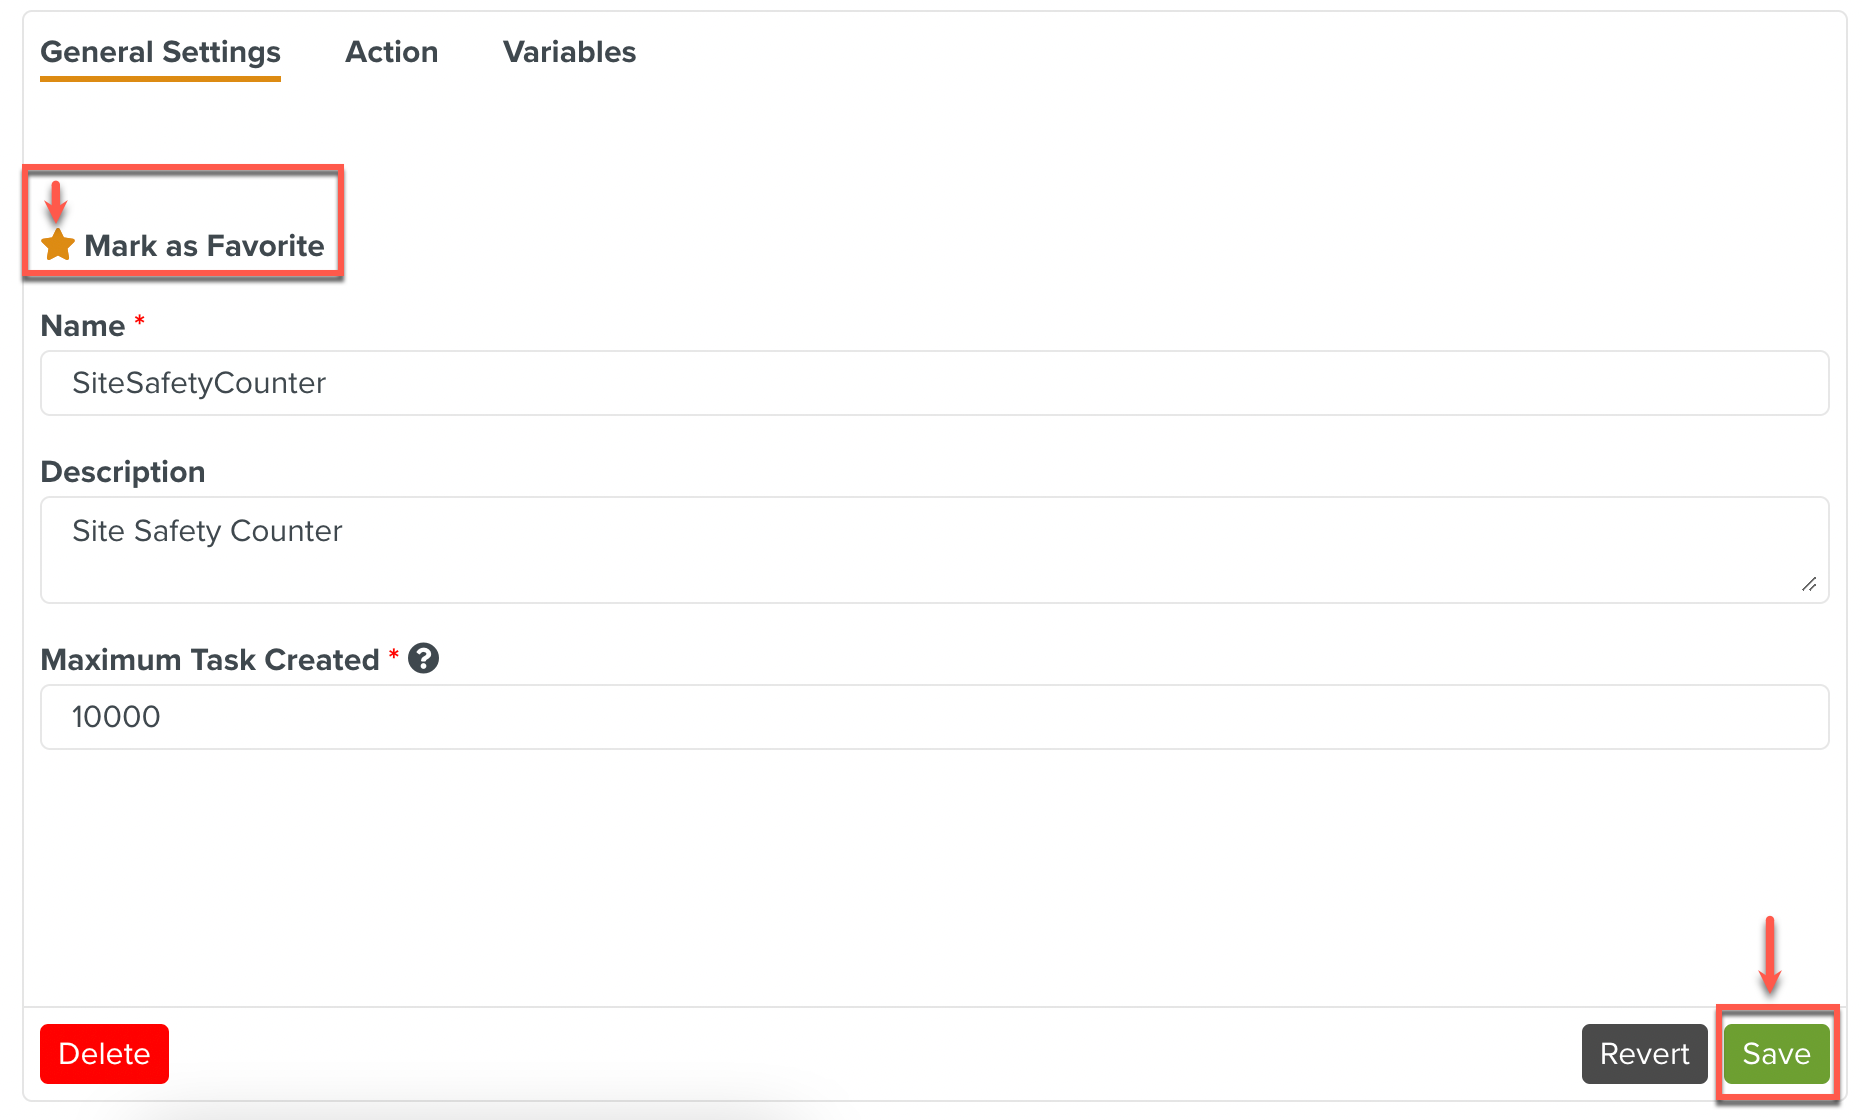
You can customize the name of the Custom Counter in this section. Edit the placeholder text Counter Name to enter an appropriate name for your Counter.
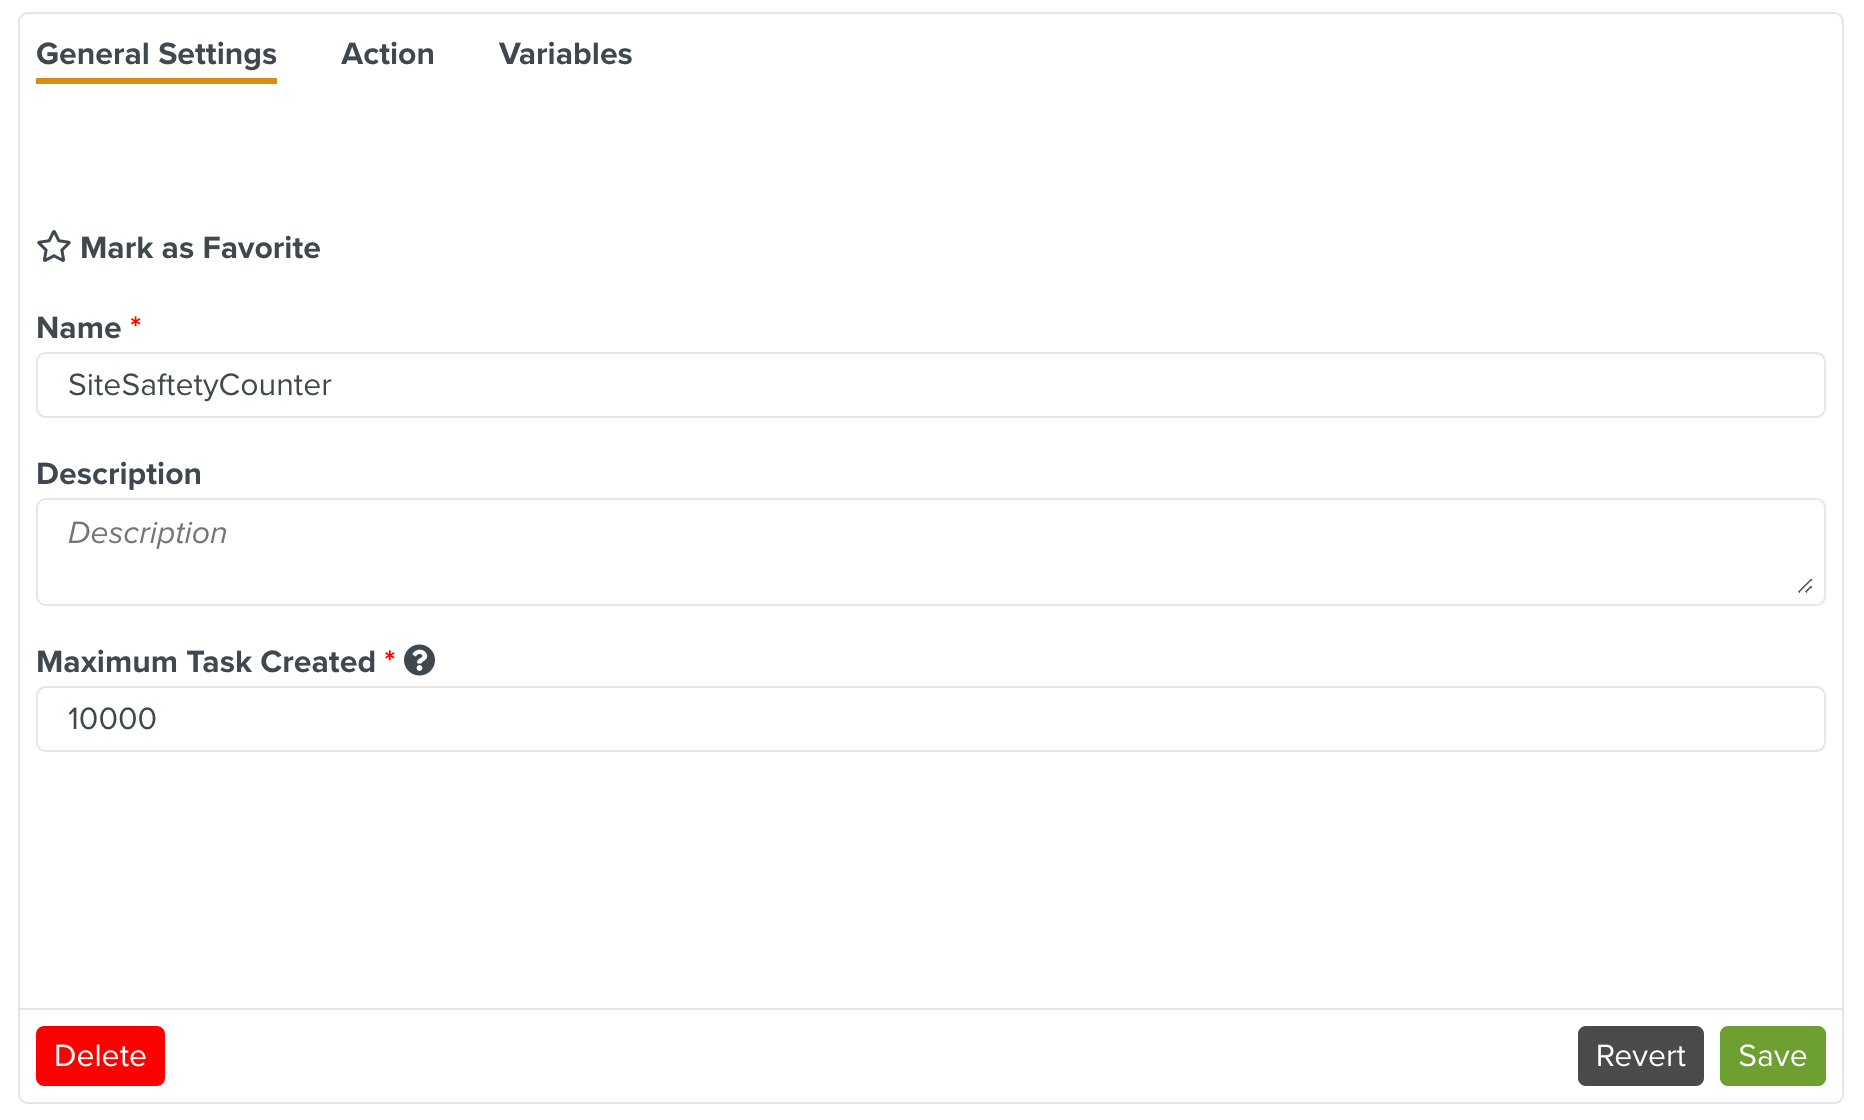
The following fields can be configured:
Name: Name of the Custom Counter.
Description: Description of the purpose of the Custom Counter.
Maximum Task Created: This sets the maximum number of Tasks that this Custom Counter can create.
A sample Custom Counter with its fields set is shown below.
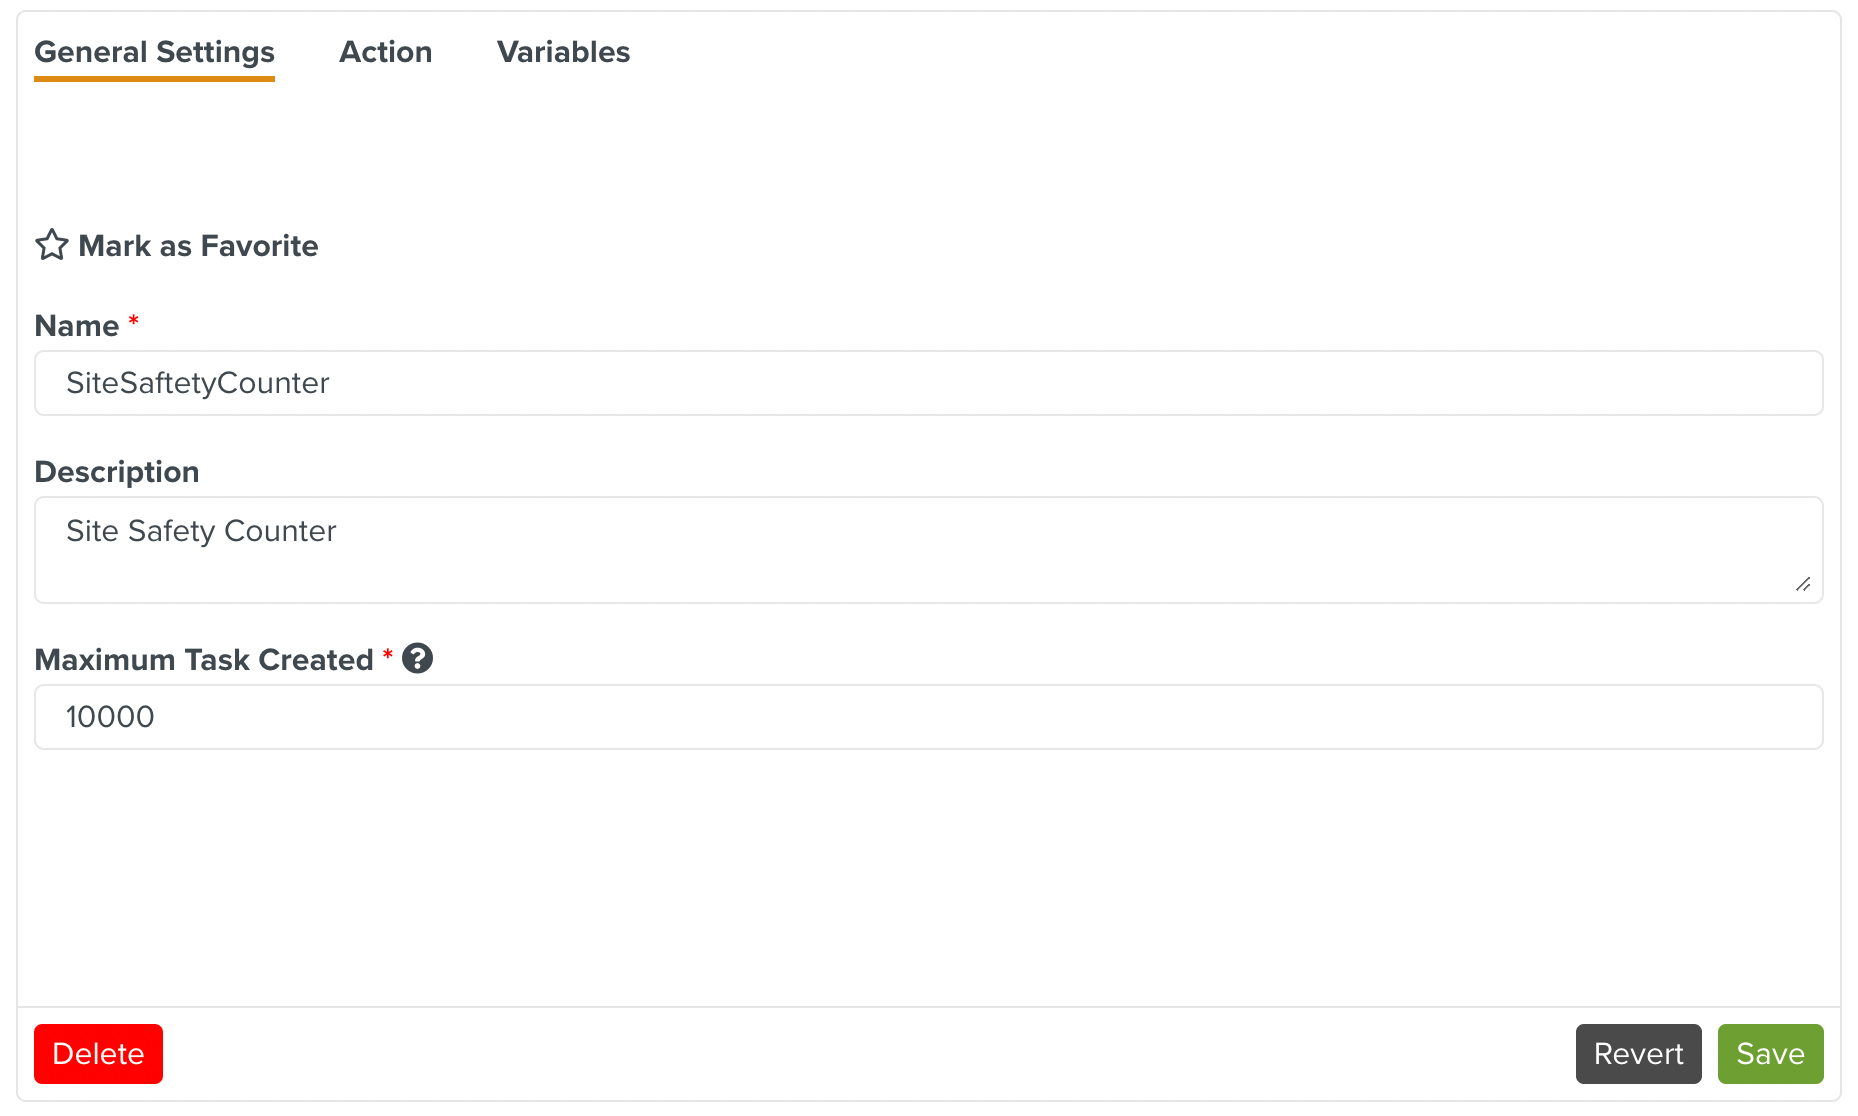
You can re-use this Counter by marking it as a favorite.
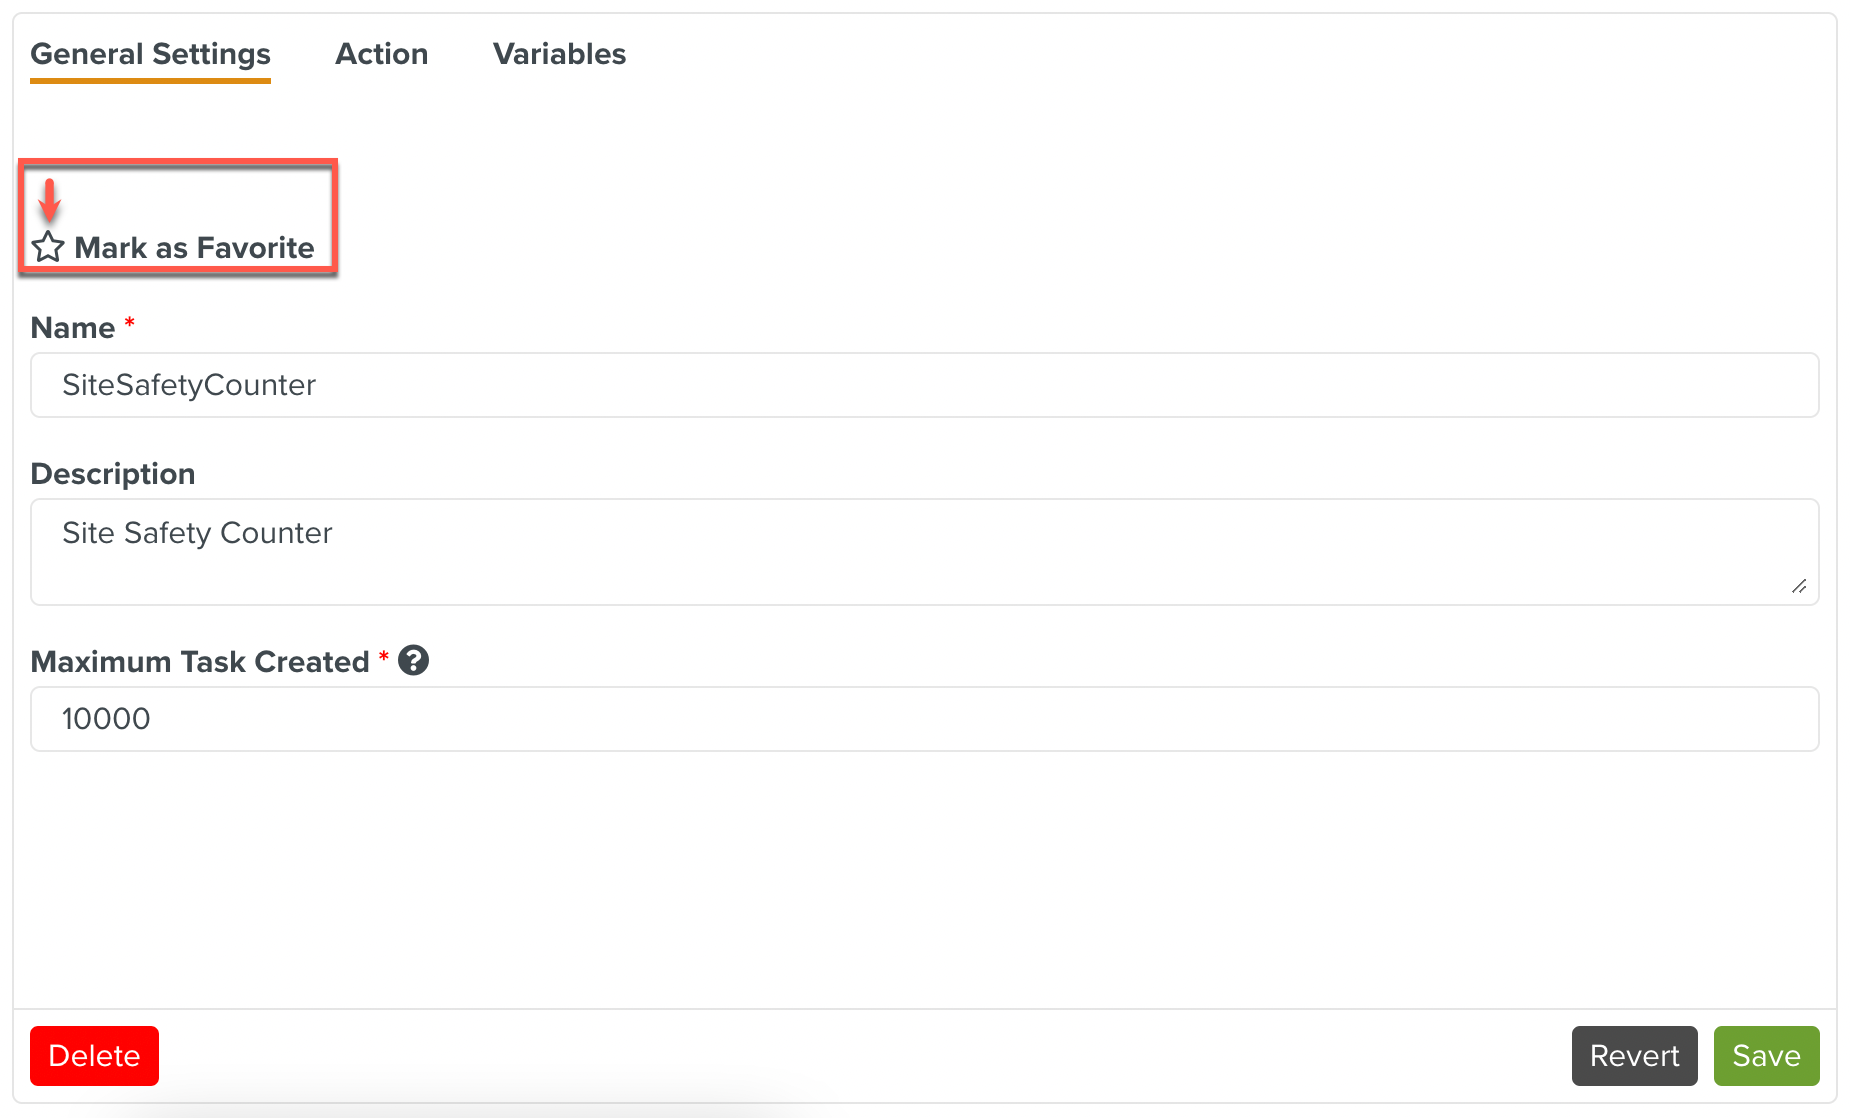
You can mark a Custom Counter as a Favorite if you would like to re-use it in other Operation Plans.
Click the  to mark the Custom Counter as a Favorite as shown below.
The Custom Counter is marked as a Favorite as indicated by the coloured star  . Click to save the changes.
This Custom Counter can now be re-used in other Operation Plans.
To re-use a Counter marked as favorite in a different Operation Plan:
Select in the Operation Plan as shown below.
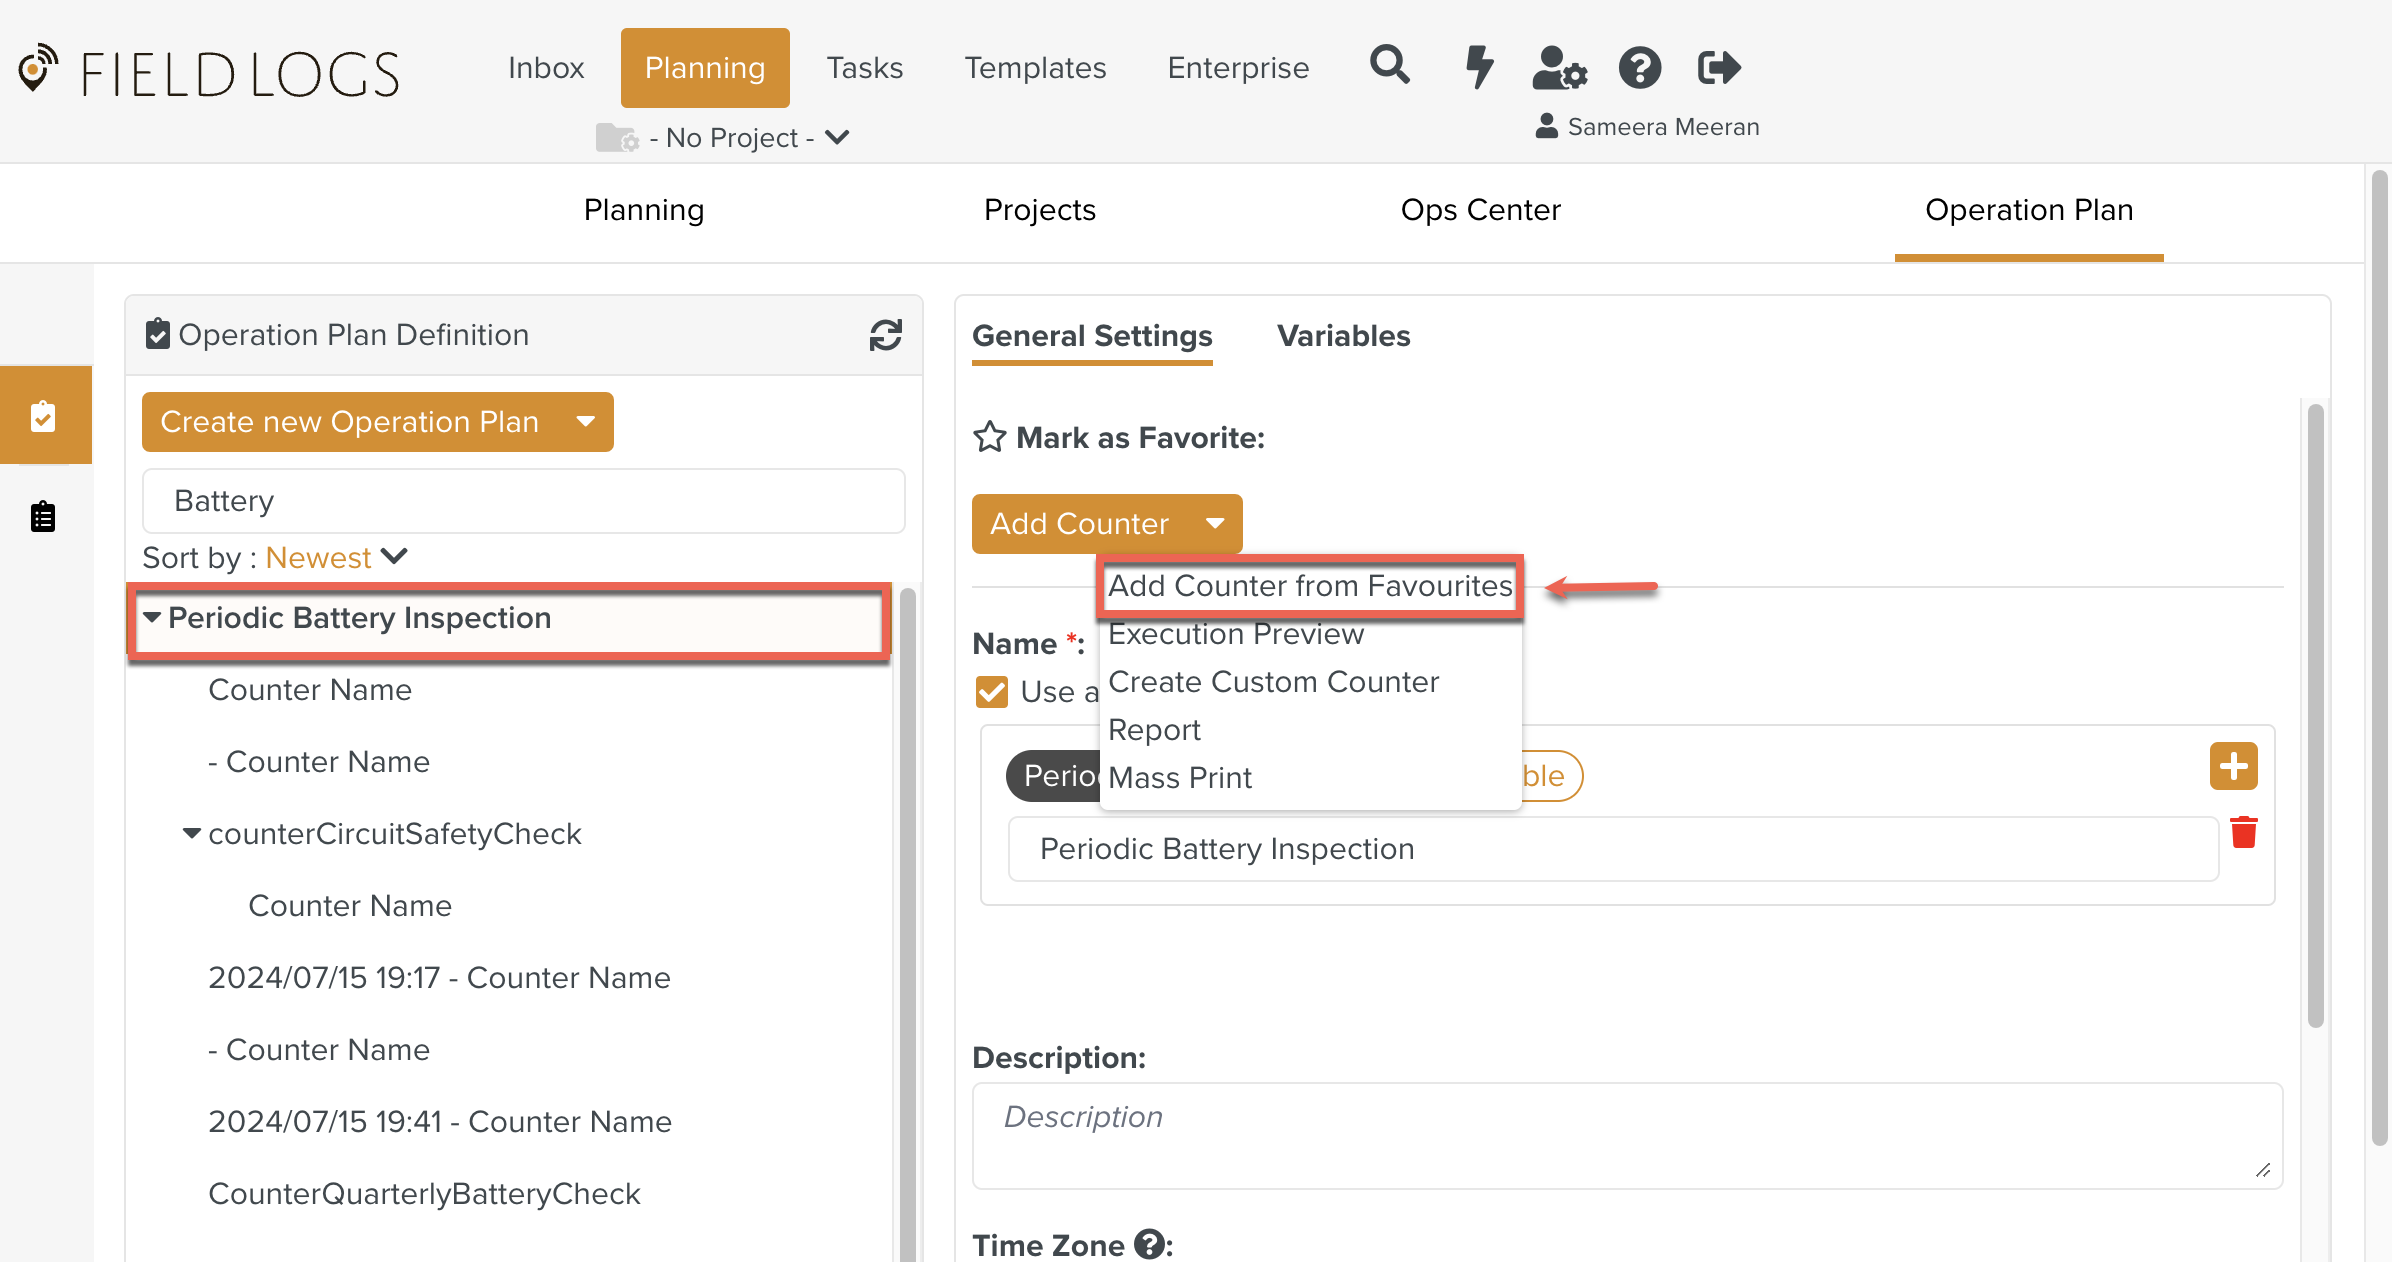
The list of Counters that have been marked as Favorite are displayed.
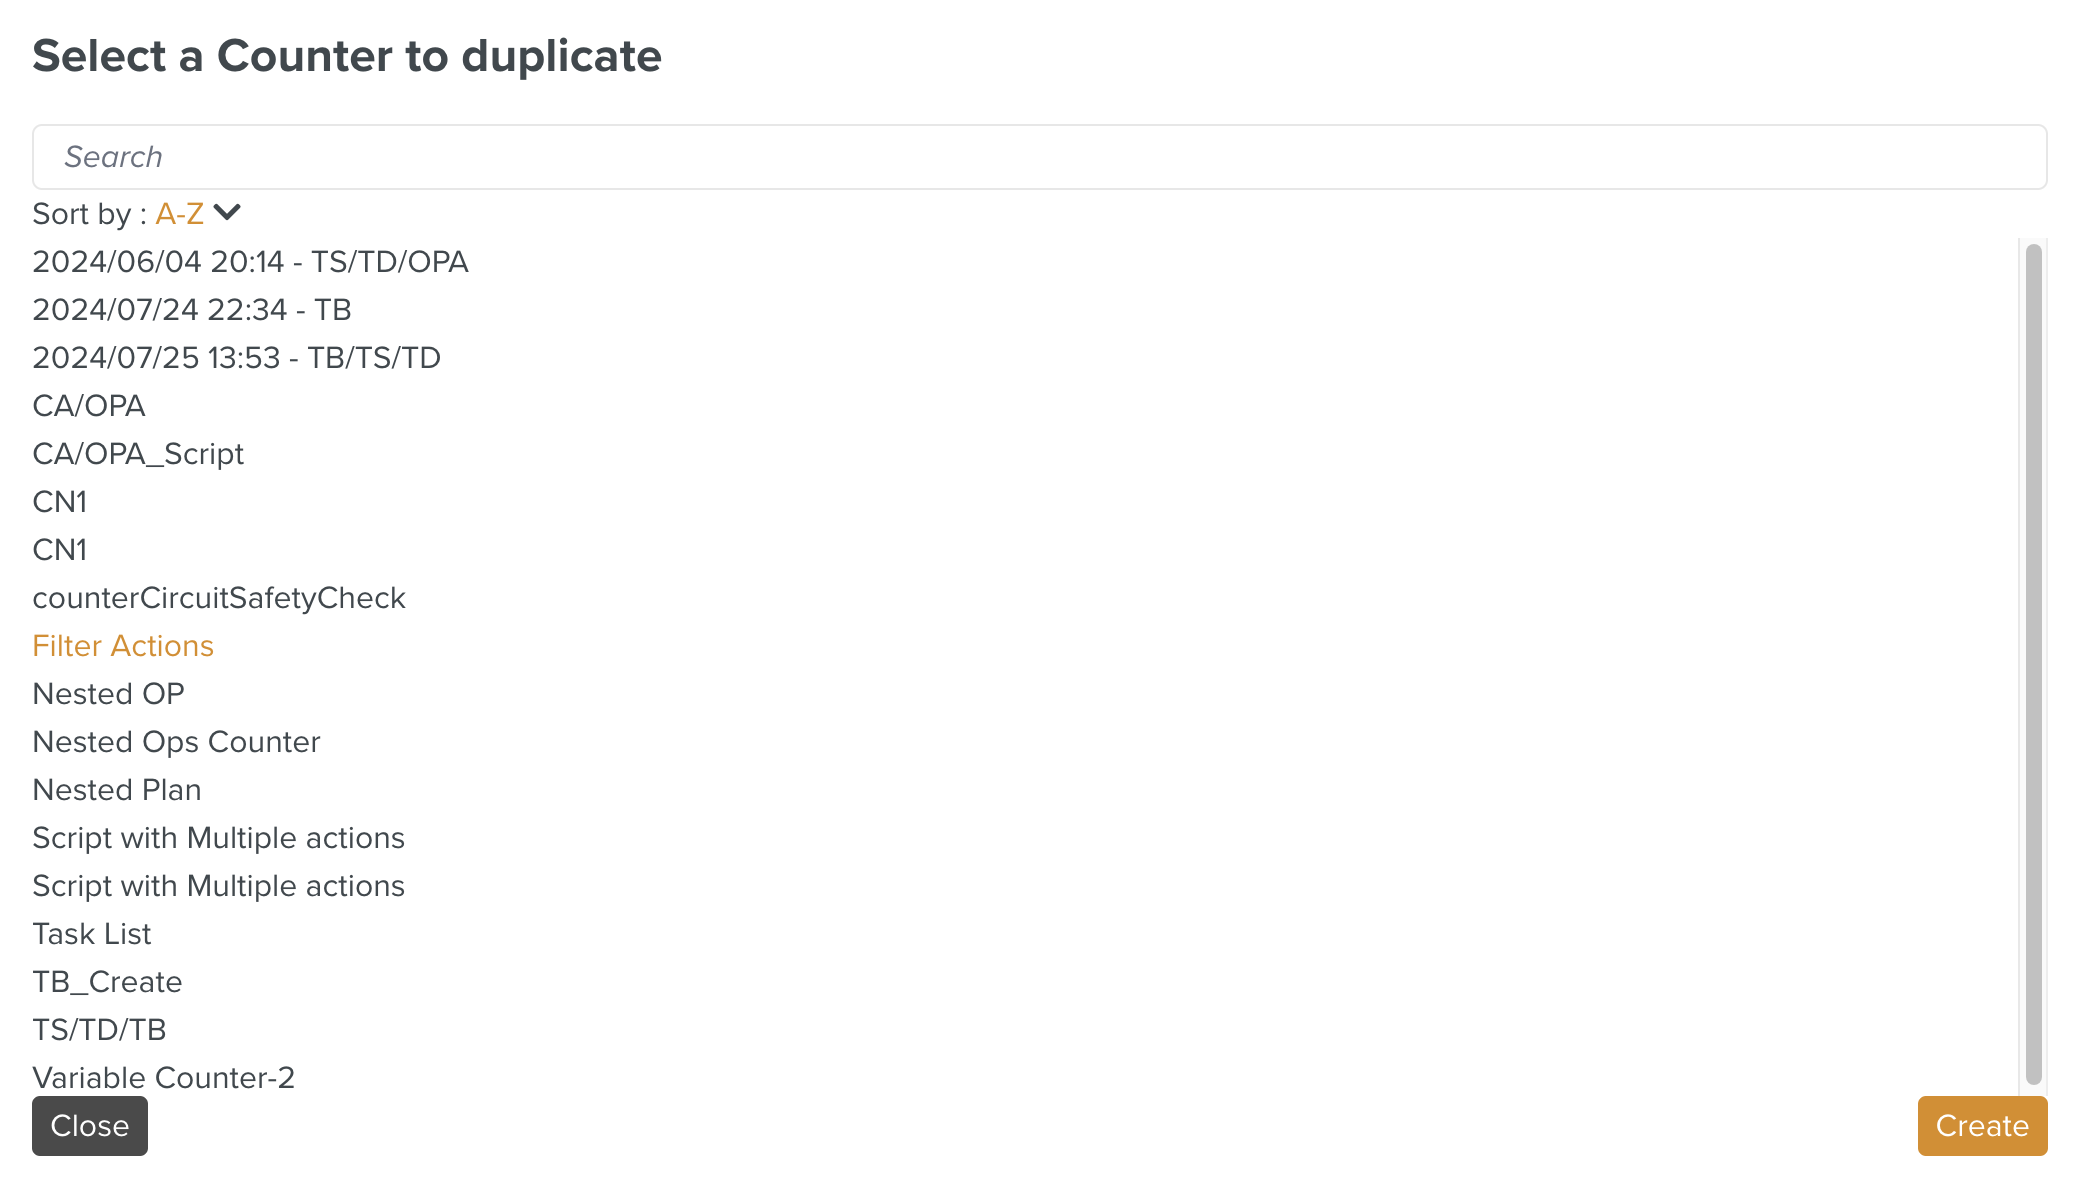
Select the desired Counter to add to your Operation Plan and click .
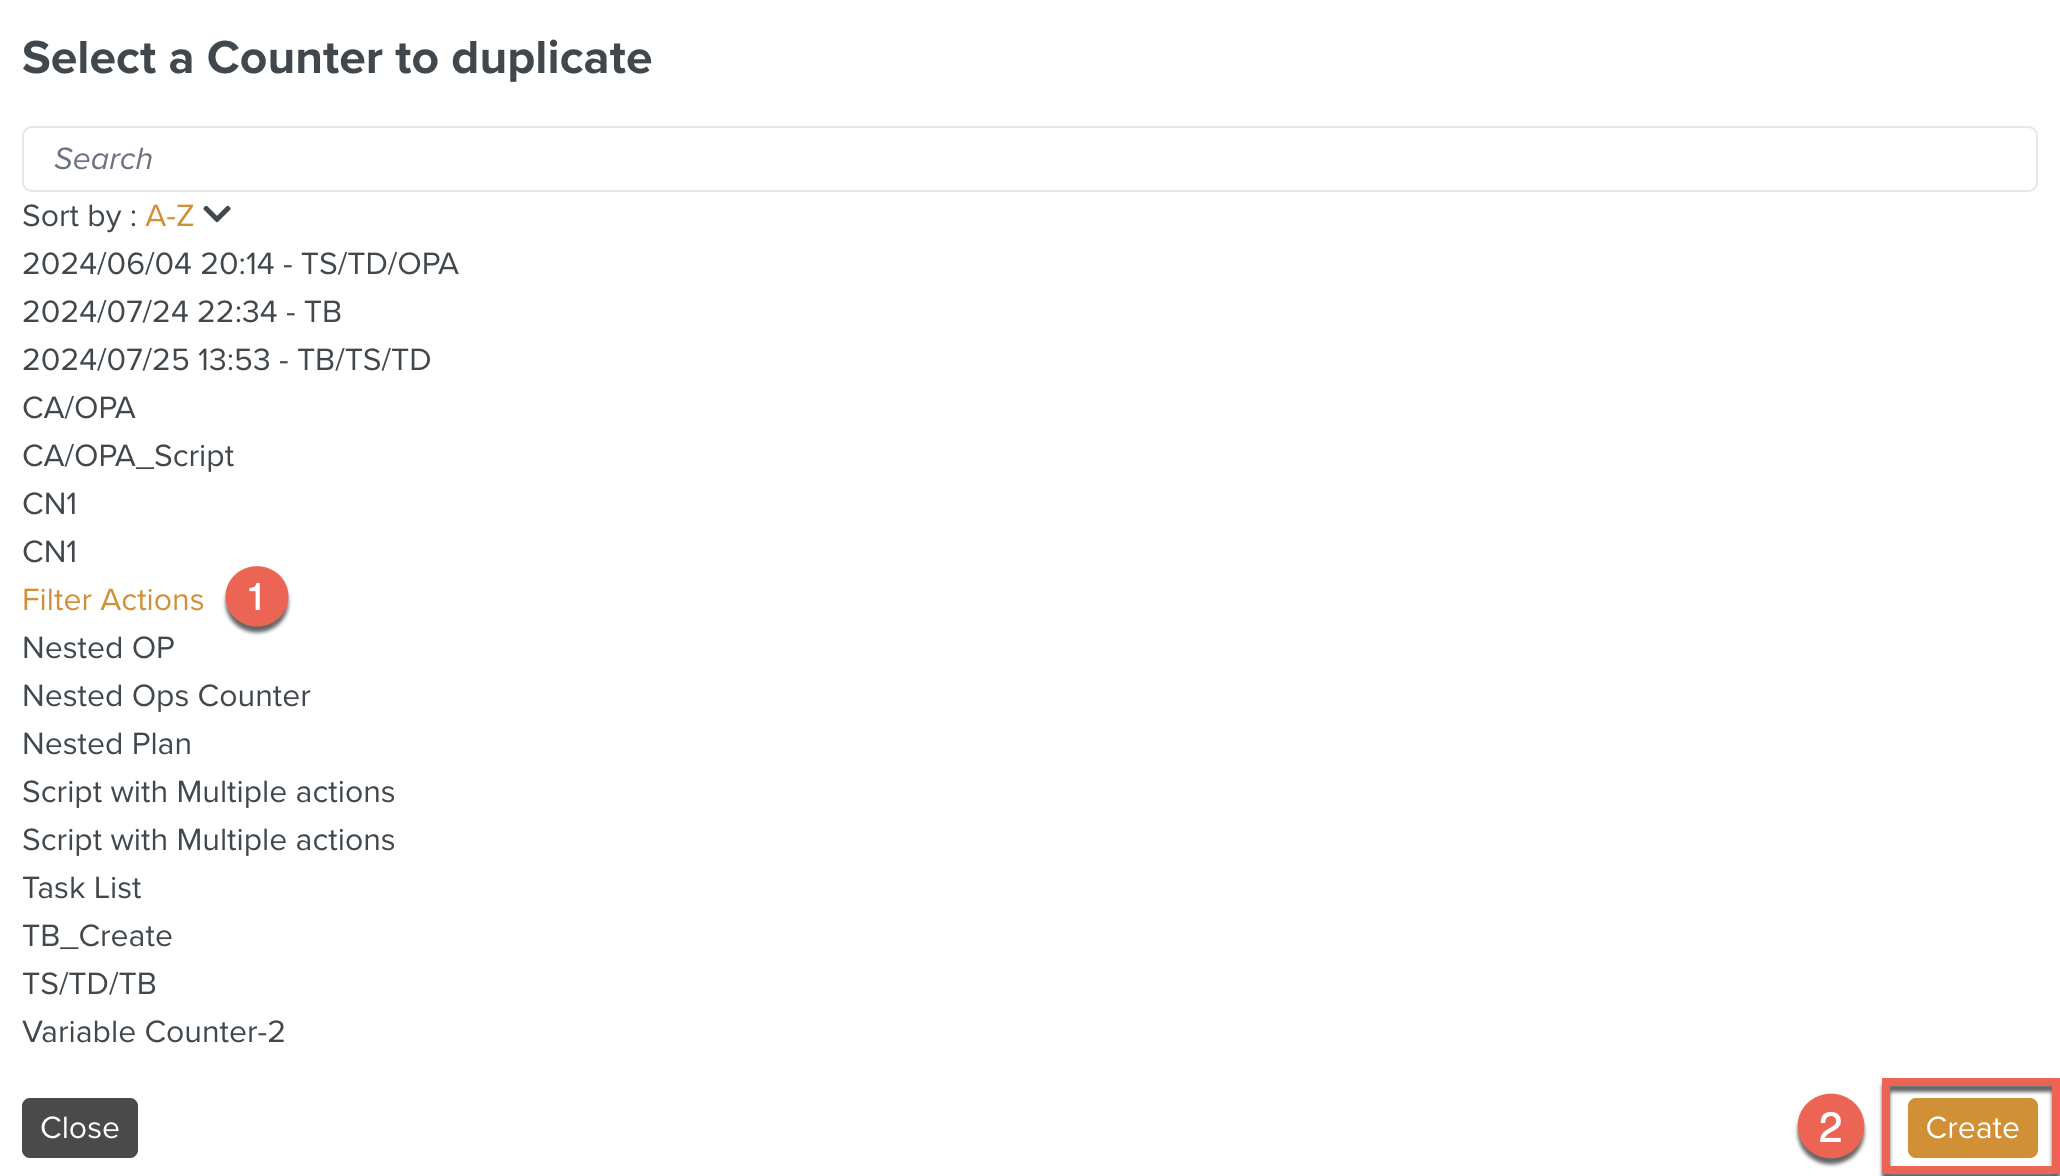
The selected Counter is added to the Operation Plan.
One or more Templates may be configured as the Action of a Custom Counter.
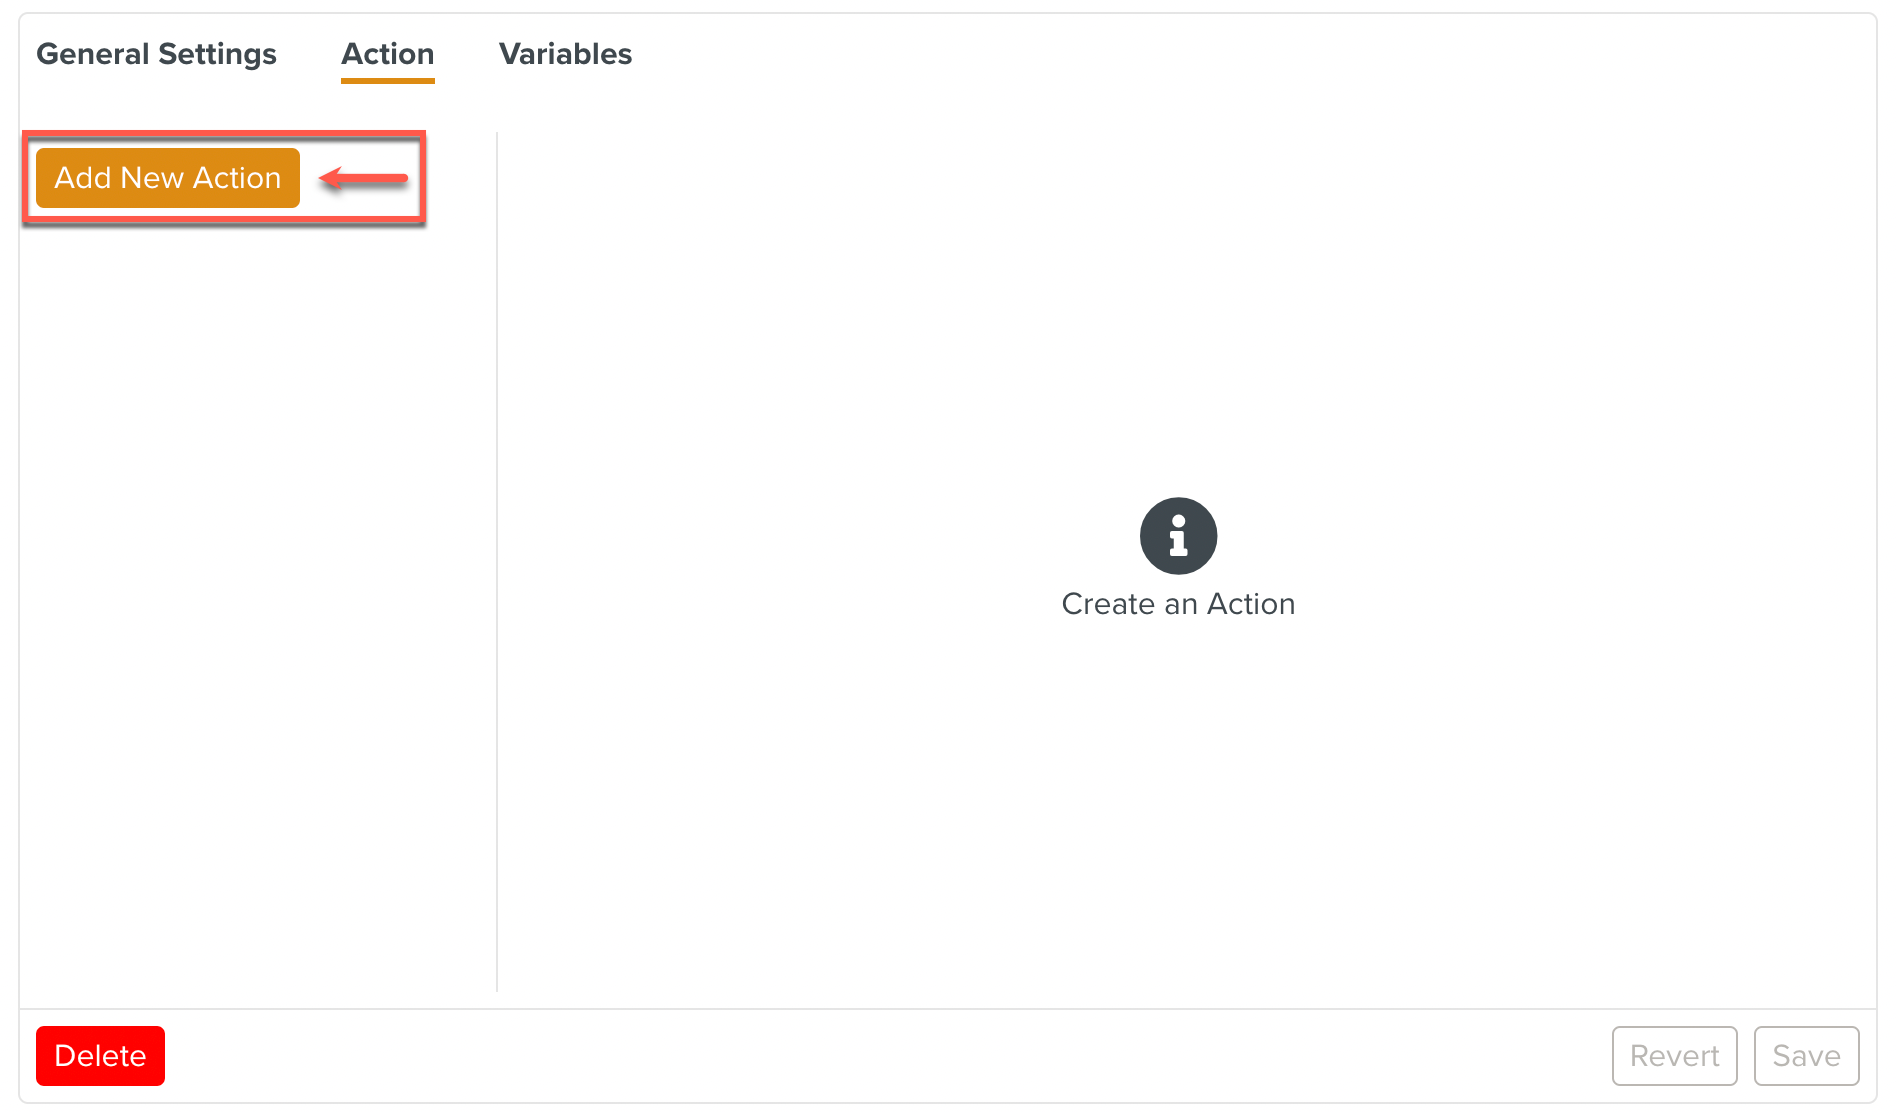
To add an Action to a Custom Counter:
Click Add New Action in the Action Tab as shown below.
A new Action appears with an auto-generated id as shown below.
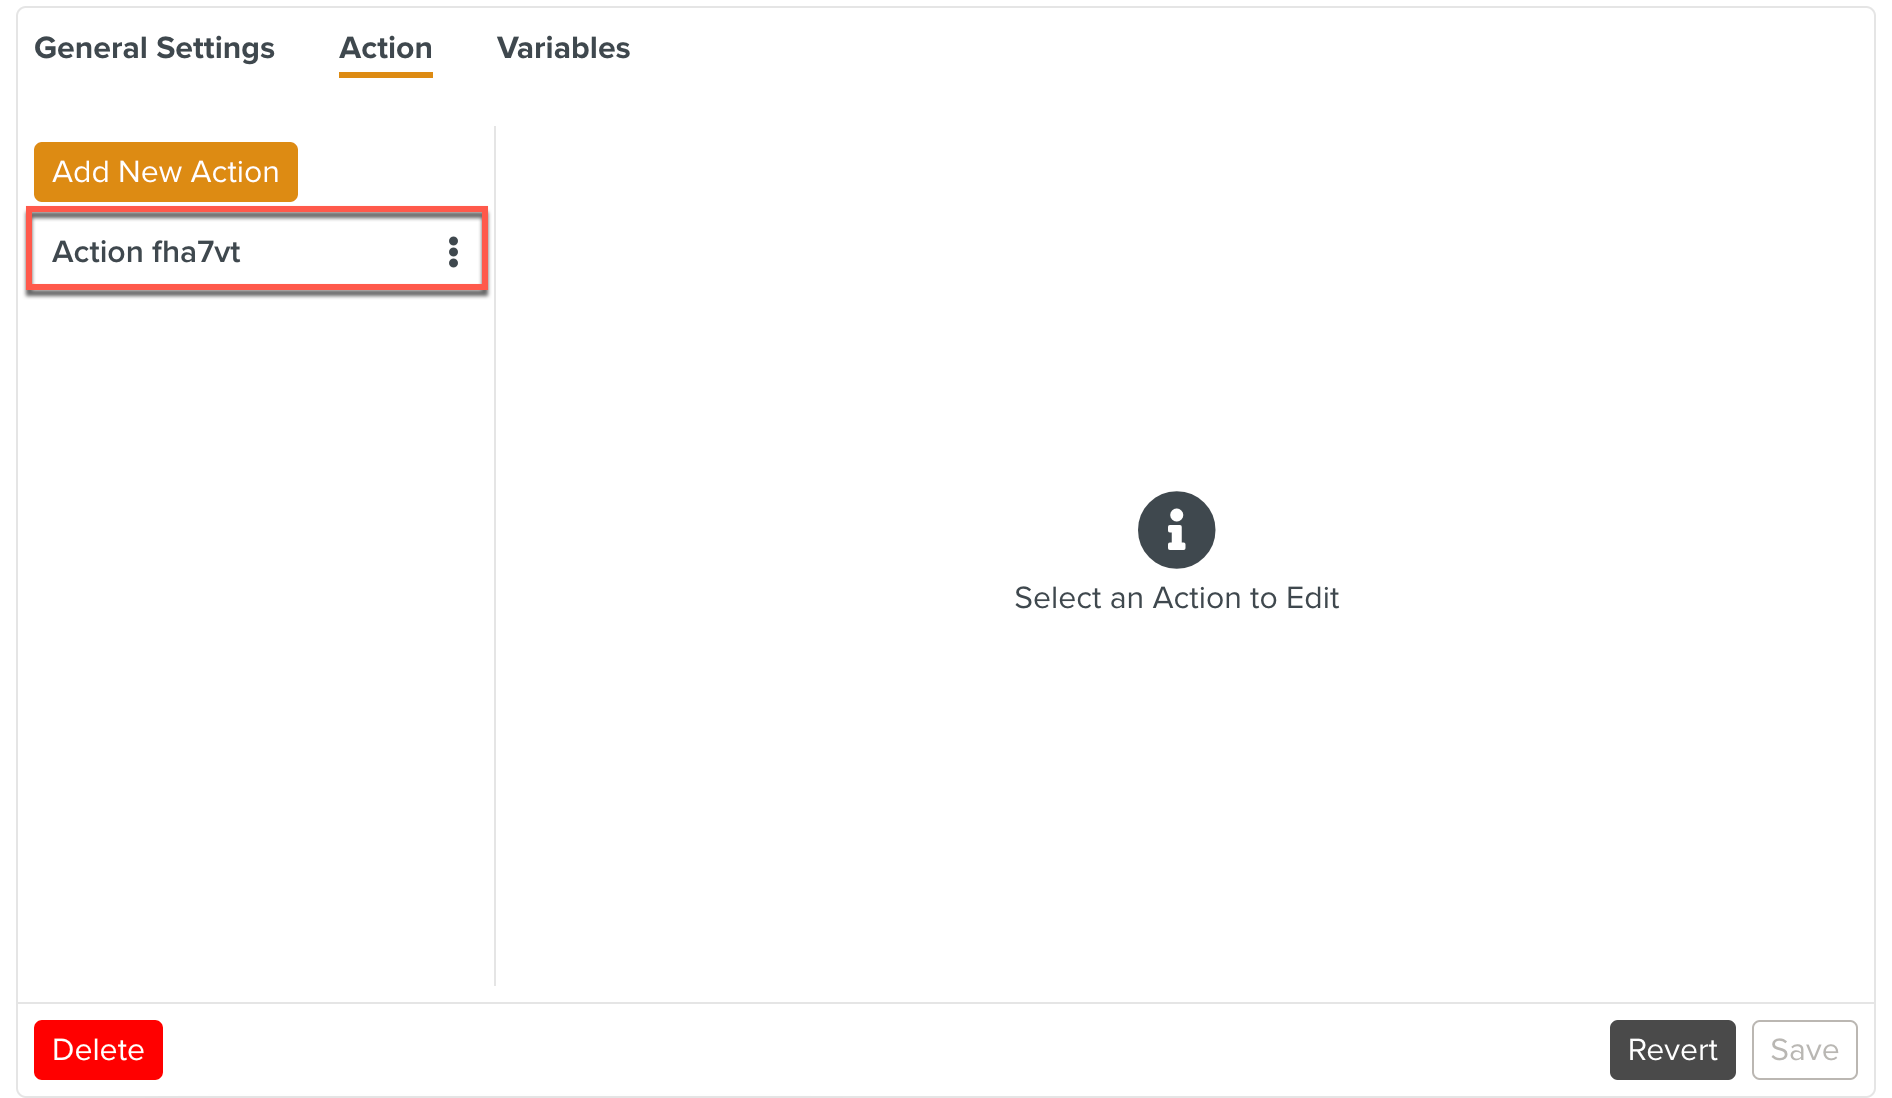
Click the Action. The details of the selected Action appear.

Edit the if required. This is optional. You can choose to keep the system generated .
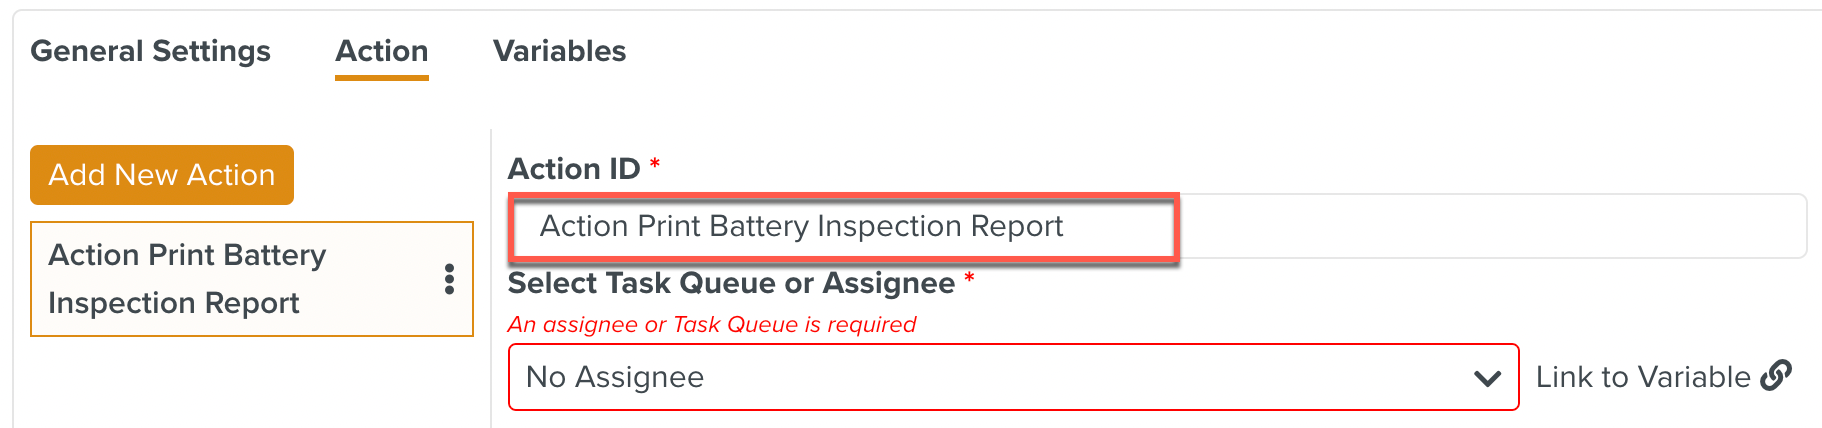
Click the Select Task Queue or Assignee dropdown list to select a Task Queue or an individual assignee to assign the Action. The Task will appear in their respective inboxes.

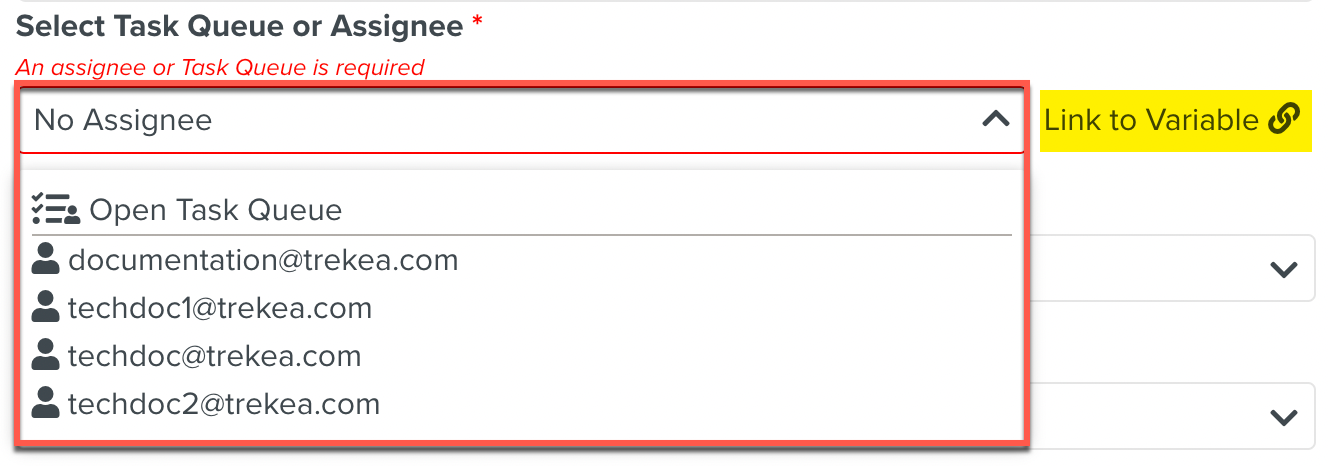
You can also link this field to a variable of type Queue. To know more about variables, see Variables in an Operation Plan.
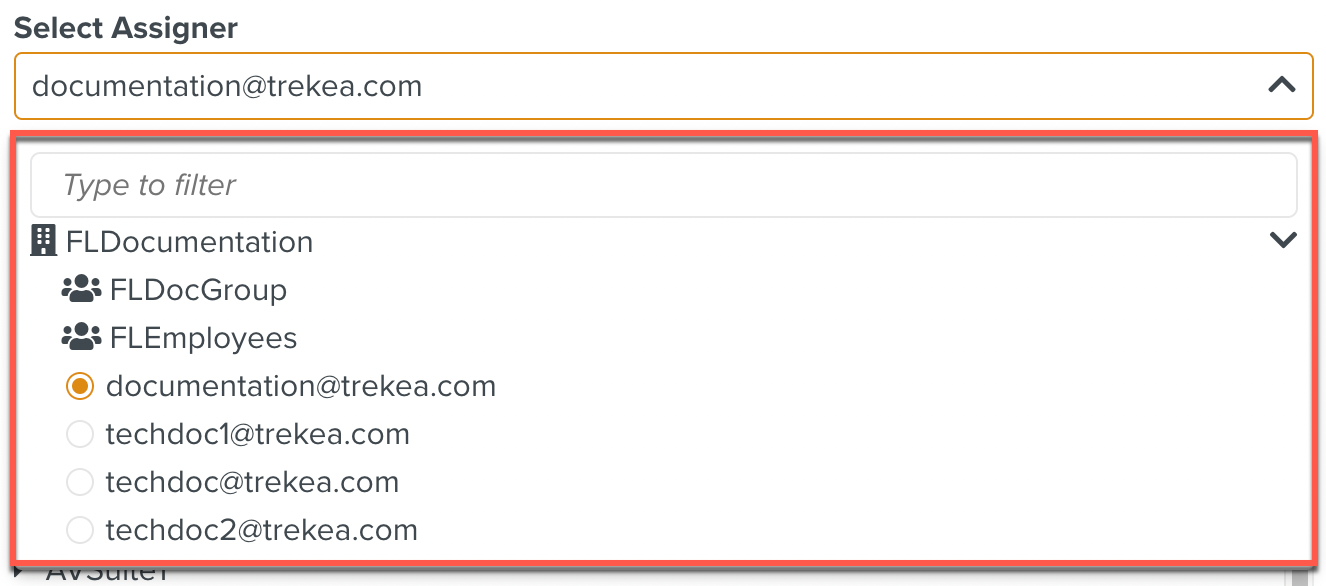
Click the dropdown list to select an Assigner for the Task from the available options. The Task appears in the inbox of the Assignee as assigned by the selected Assigner. This is an optional field.

Click dropdown list to select Team Members. This is an optional field.

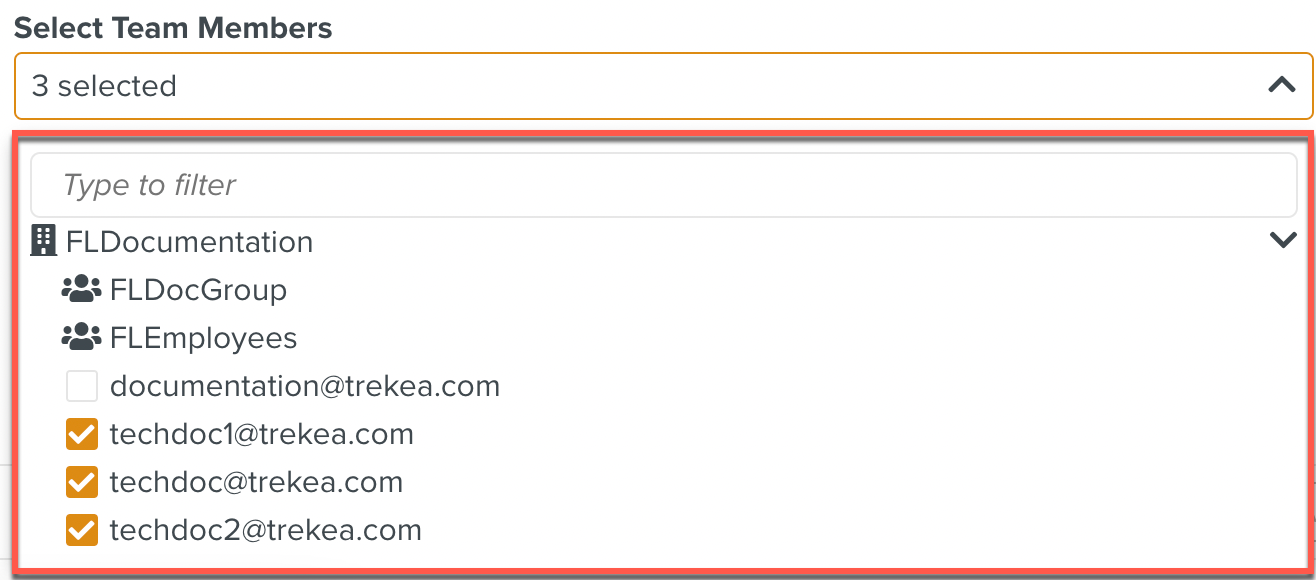
Once the selection is made, the field is updated with the number of Team Members selected.

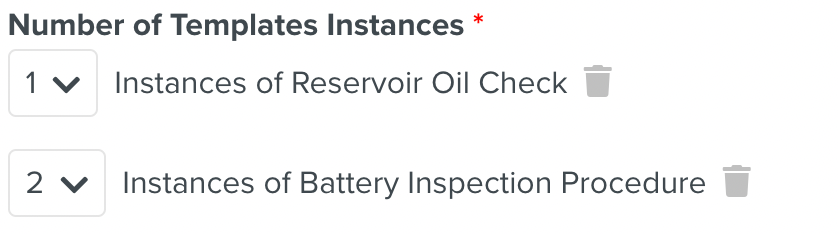
Select one or more Templates. Instances of the selected Templates comprise the Action of this counter.
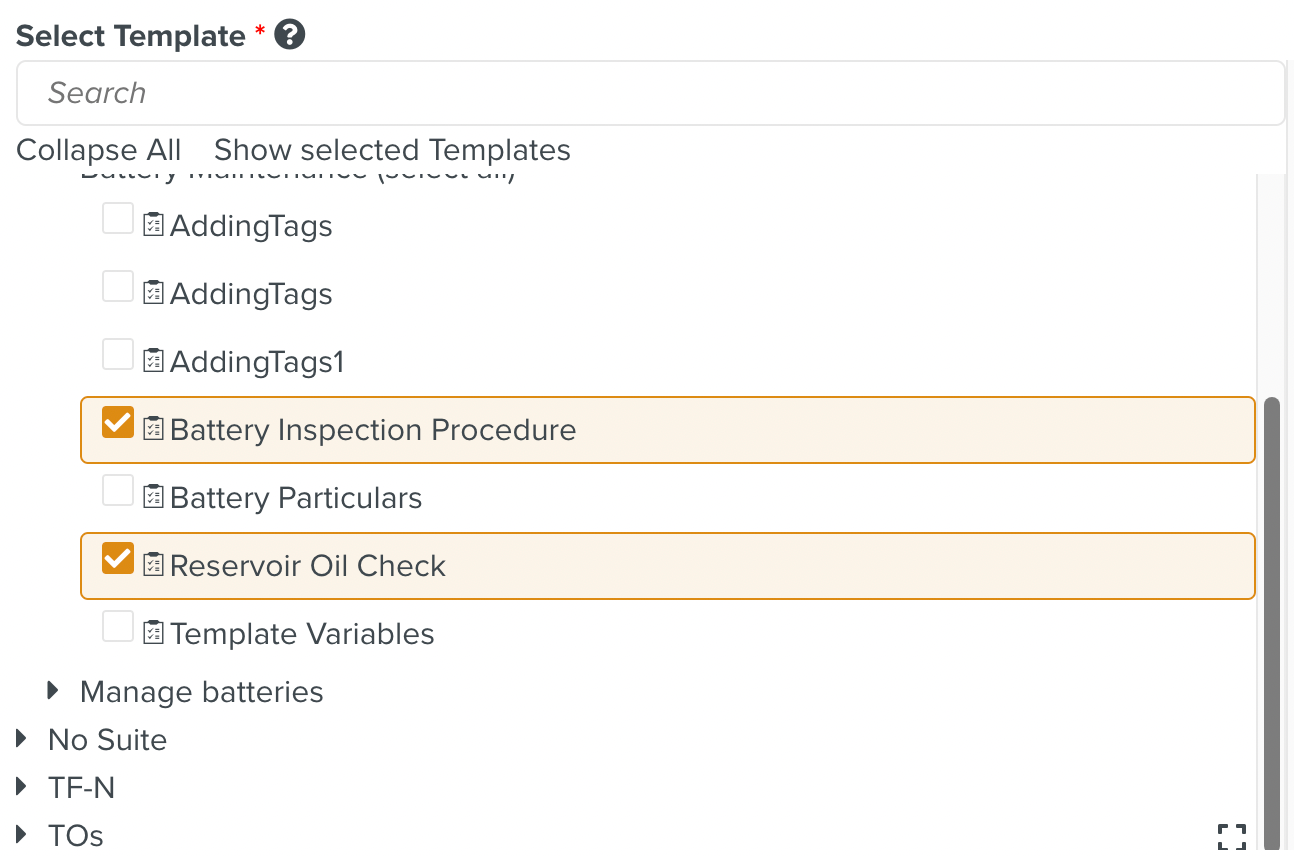
By default, one instance of each of the selected Templates is listed. Optionally, you can specify a different number of instances for each of the Templates.
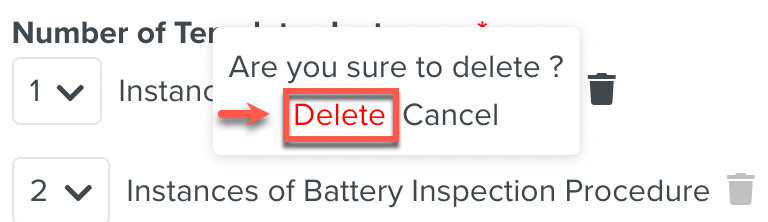
You can choose to delete any of the Templates selected in Step 7 by clicking the
 button as shown below. Click in the confirmation dialog to remove the Template.
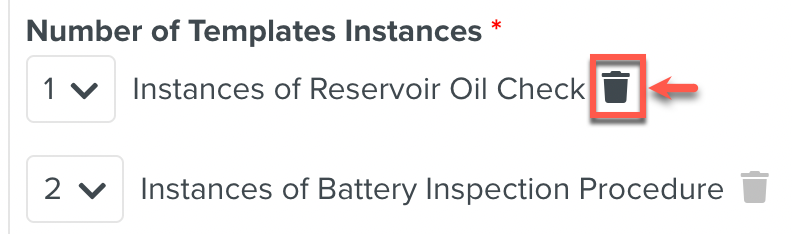
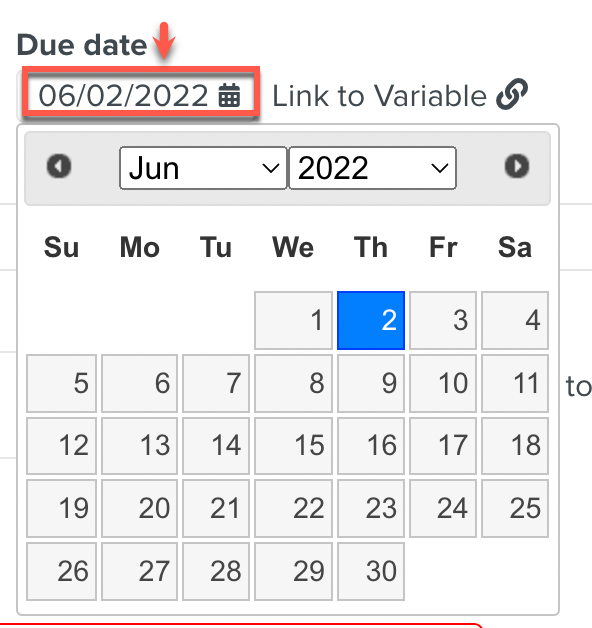
Specify a Start and Due date for the Tasks. These are optional. You can link these fields to a variable of type Date. To know more about linking to variables, see Variables in an Operation Plan.

Click the date as shown below to use the date picker.
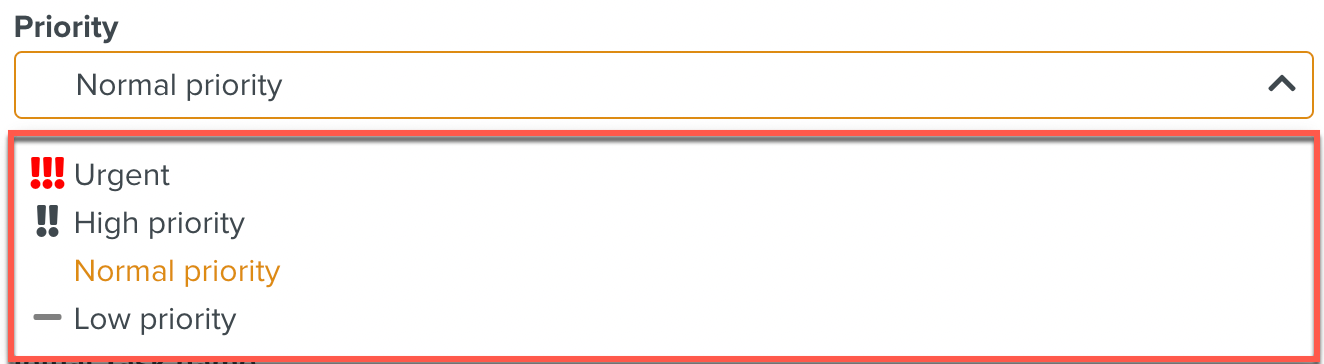
Click the dropdown list to specify a priority for the Tasks. This is an optional field.

Click the dropdown list to specify the Release Package. This is an optional field.

Enter any additional comments pertaining to the Tasks in thetext box. This is an optional field. You can link this field to a variable of type Text. To know more about linking to variables, see Variables in an Operation Plan.

Enter the . This is required field.

You can enter a text value as shown below or choose to link this field to a variable of type Text. To know more about linking to variables, see Variables in an Operation Plan.

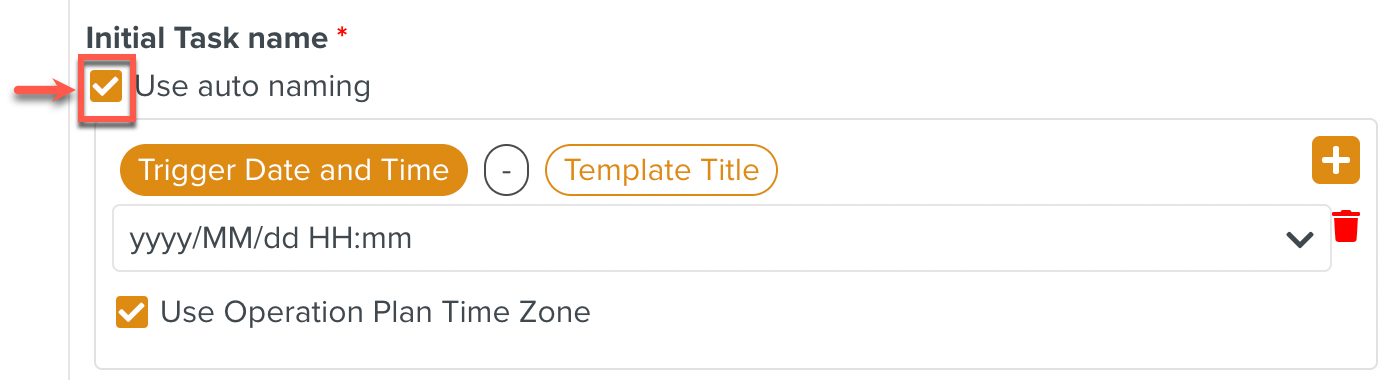
Check to use auto naming. A format appears as below.
Click
 to include more fields in the name.
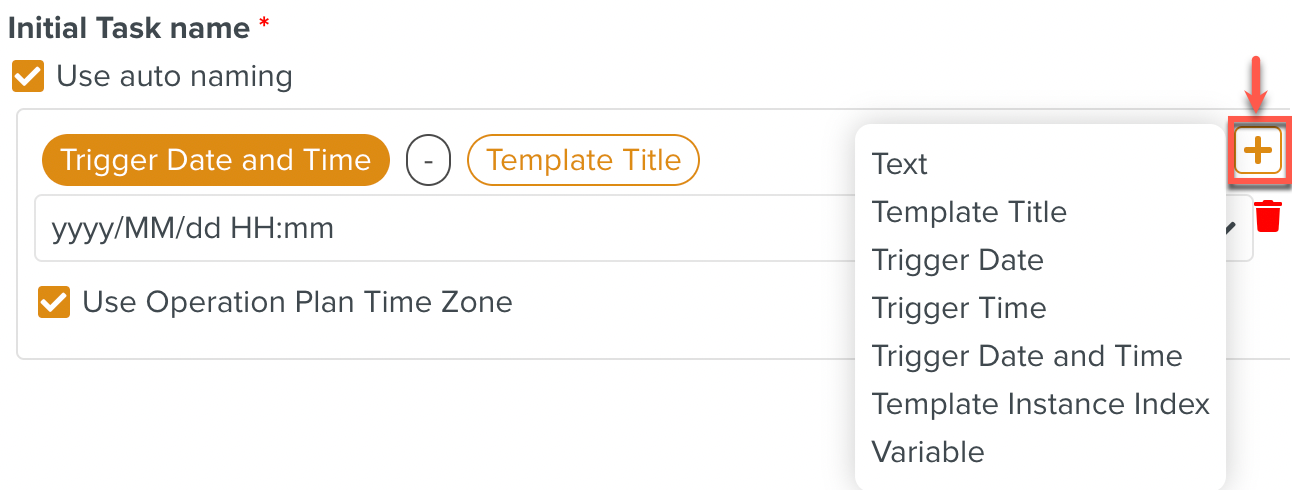
If the selected Templates have Template variables, they can be linked to the Operation Plan variables. This is optional.
To know more, see Linking Template Variables to Operation Plan Variables.
