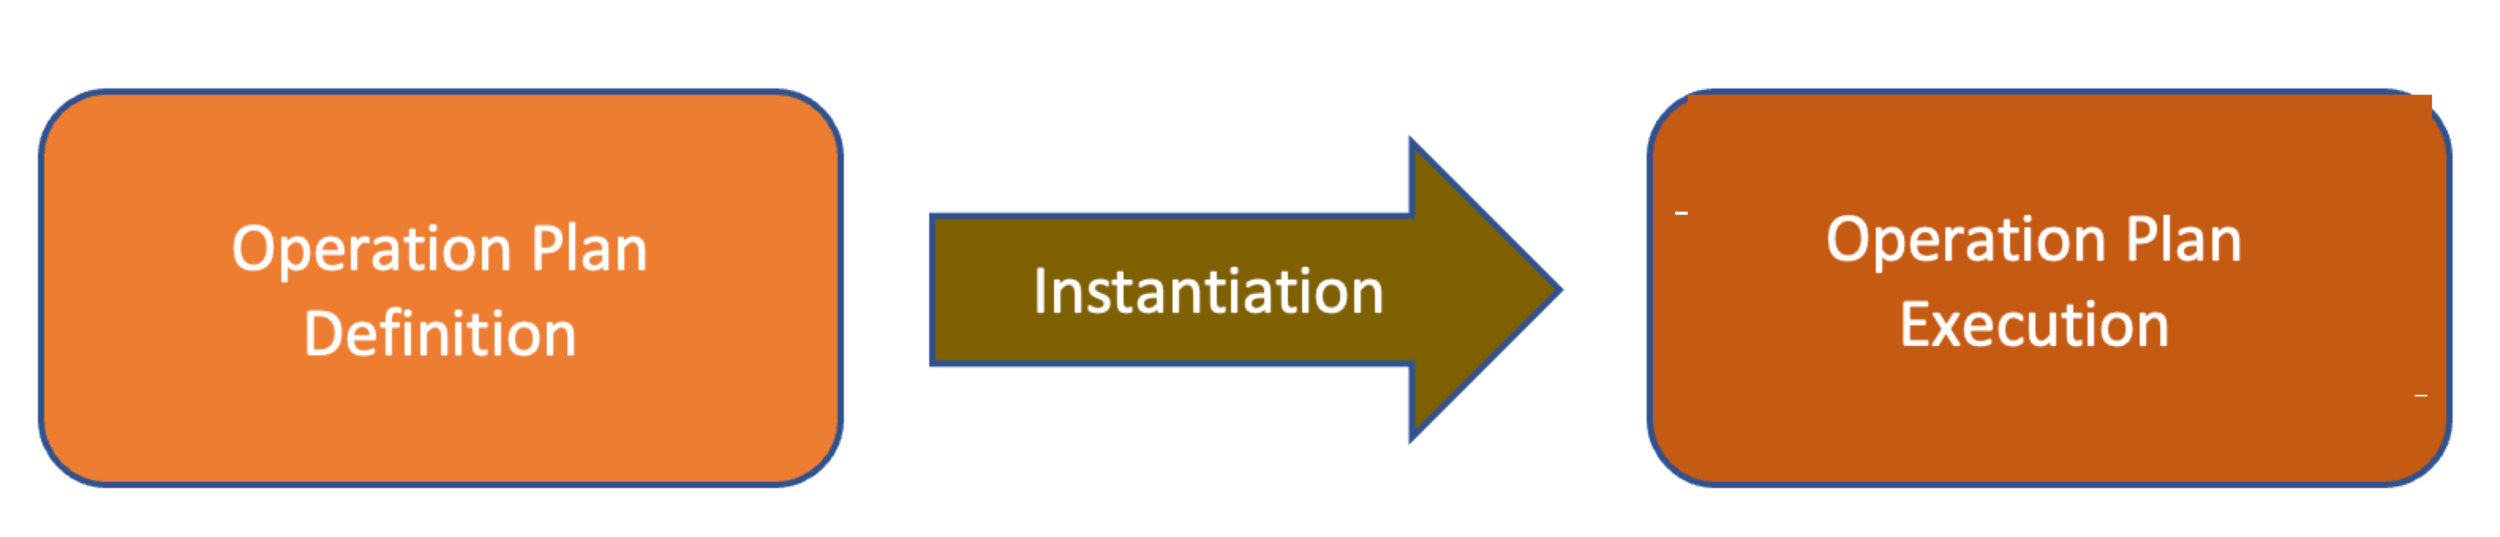
Instantiating an Operation Plan
An executable instance called the Operation Plan Execution is created by instantiating an Operation Plan Definition.
 |
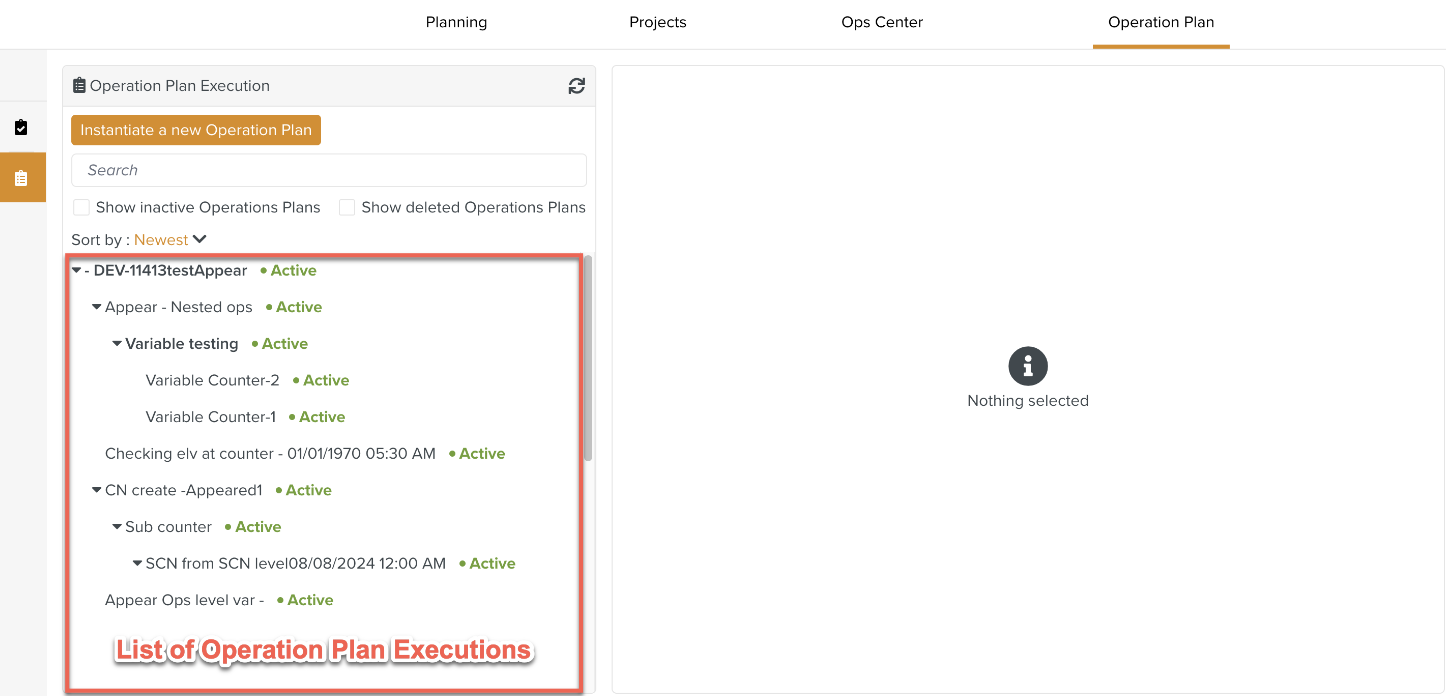
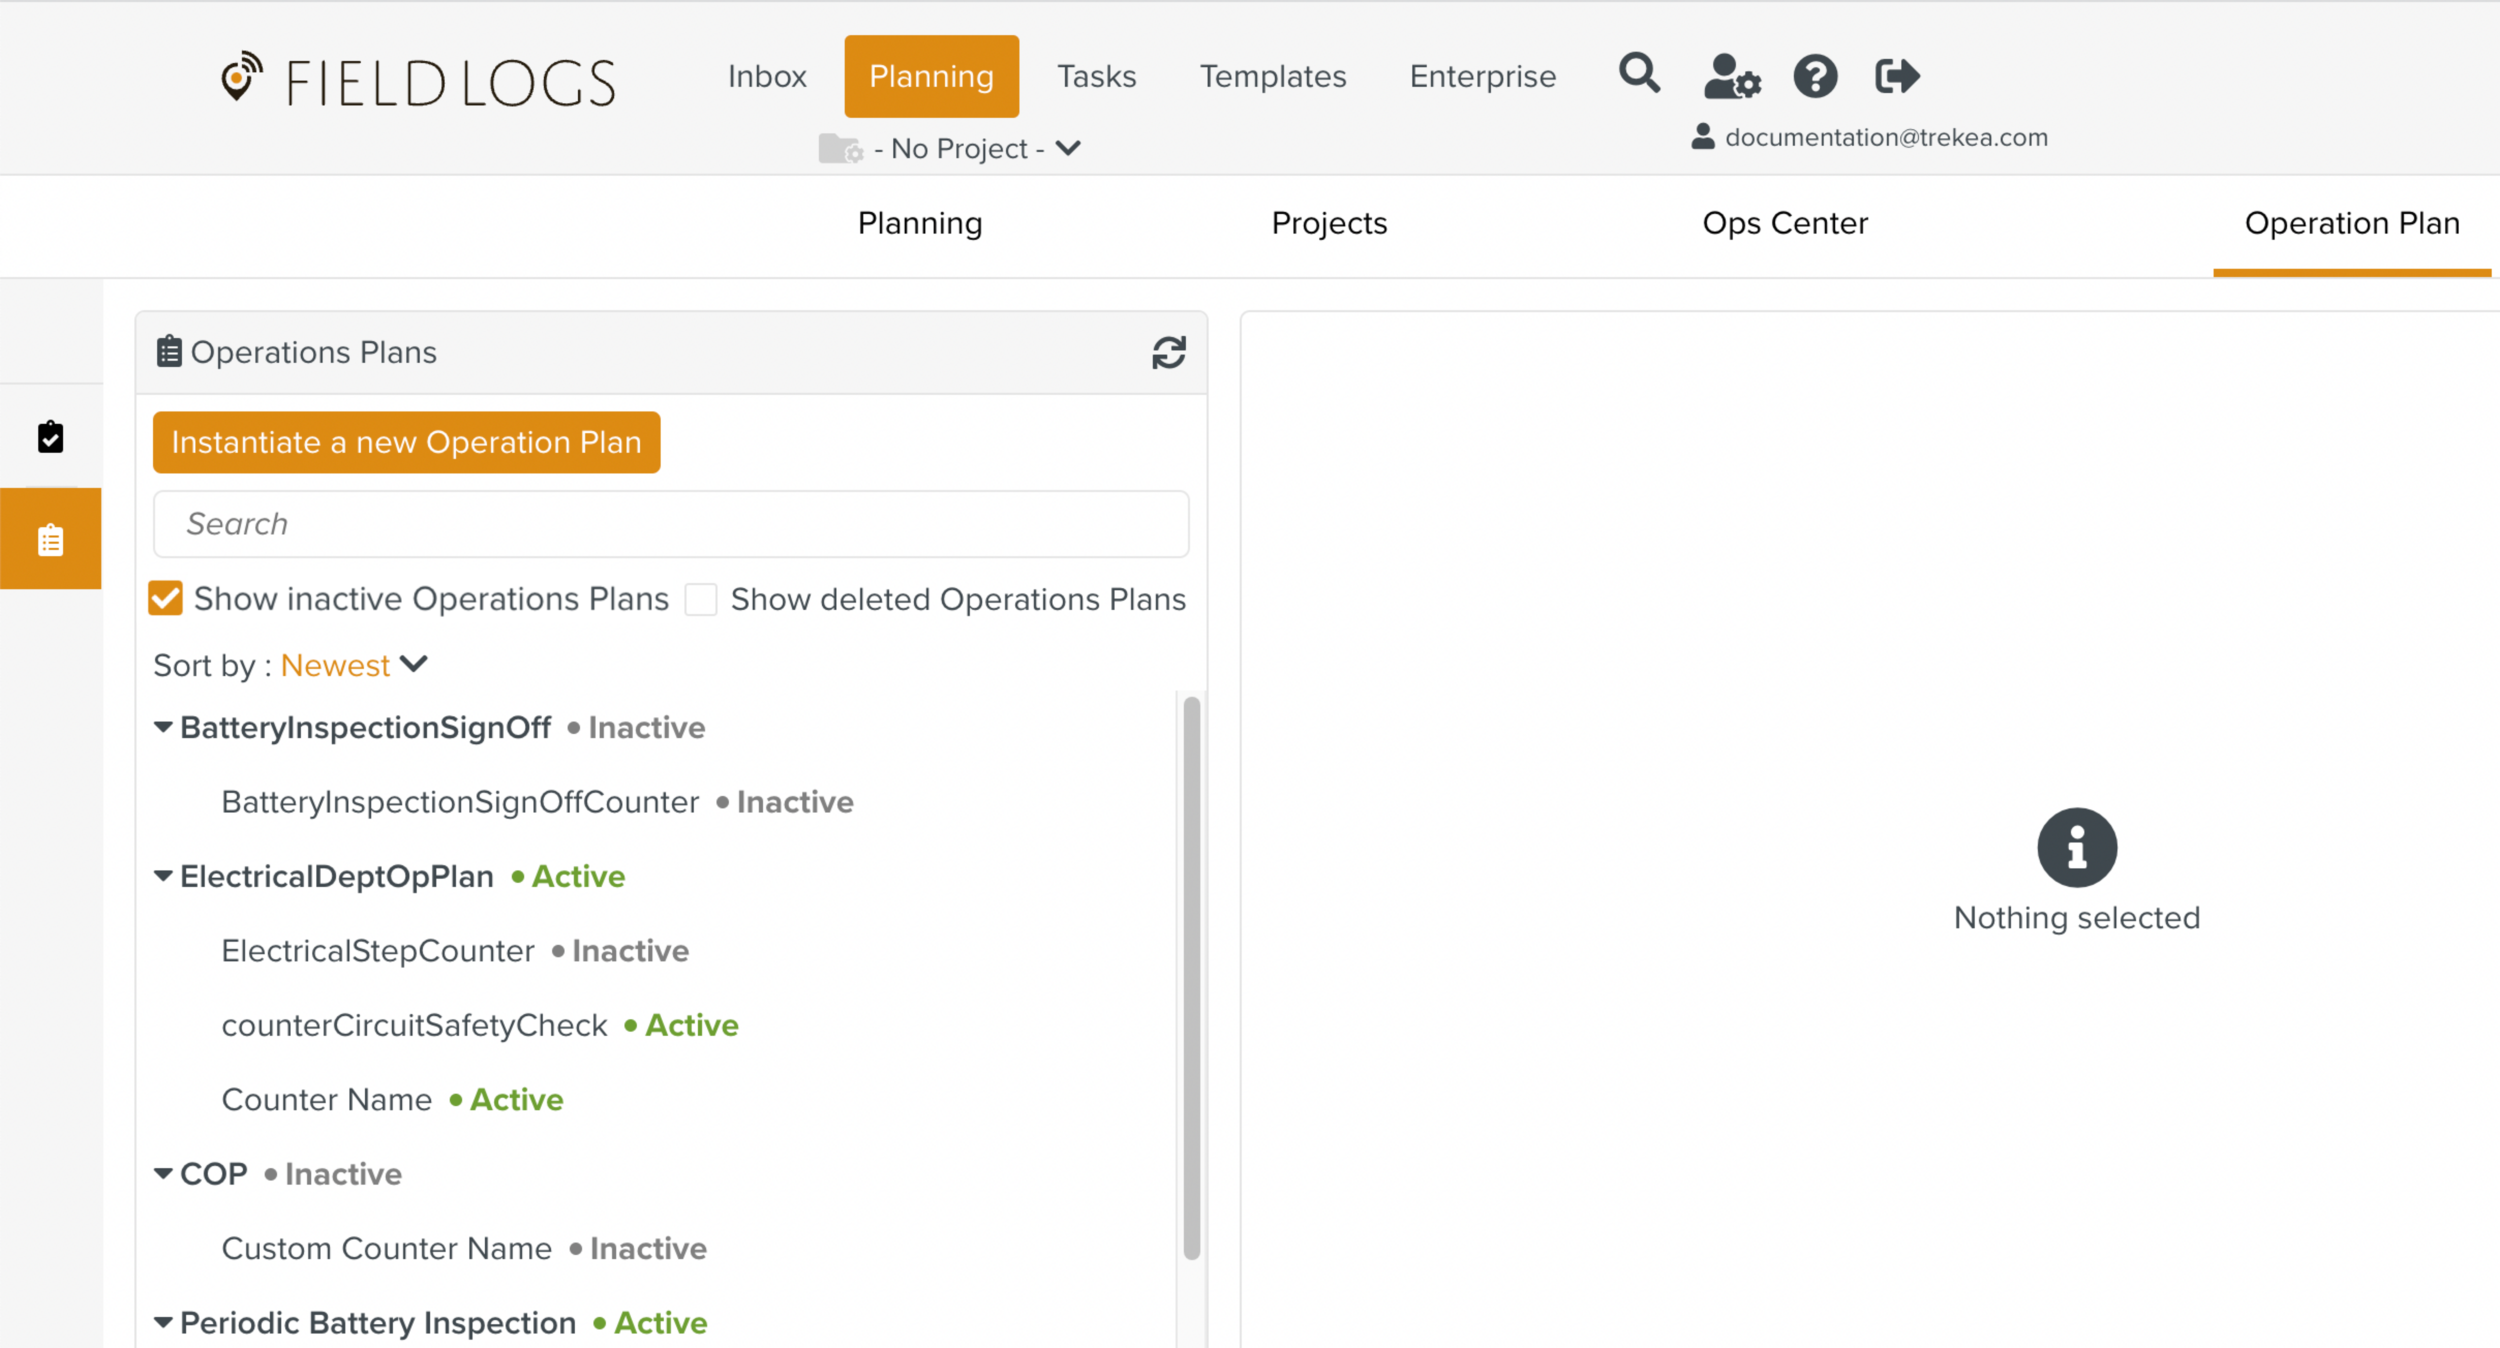
The Operation Plan Execution tab displays the list of existing instances of Operation Plan Executions.
 |
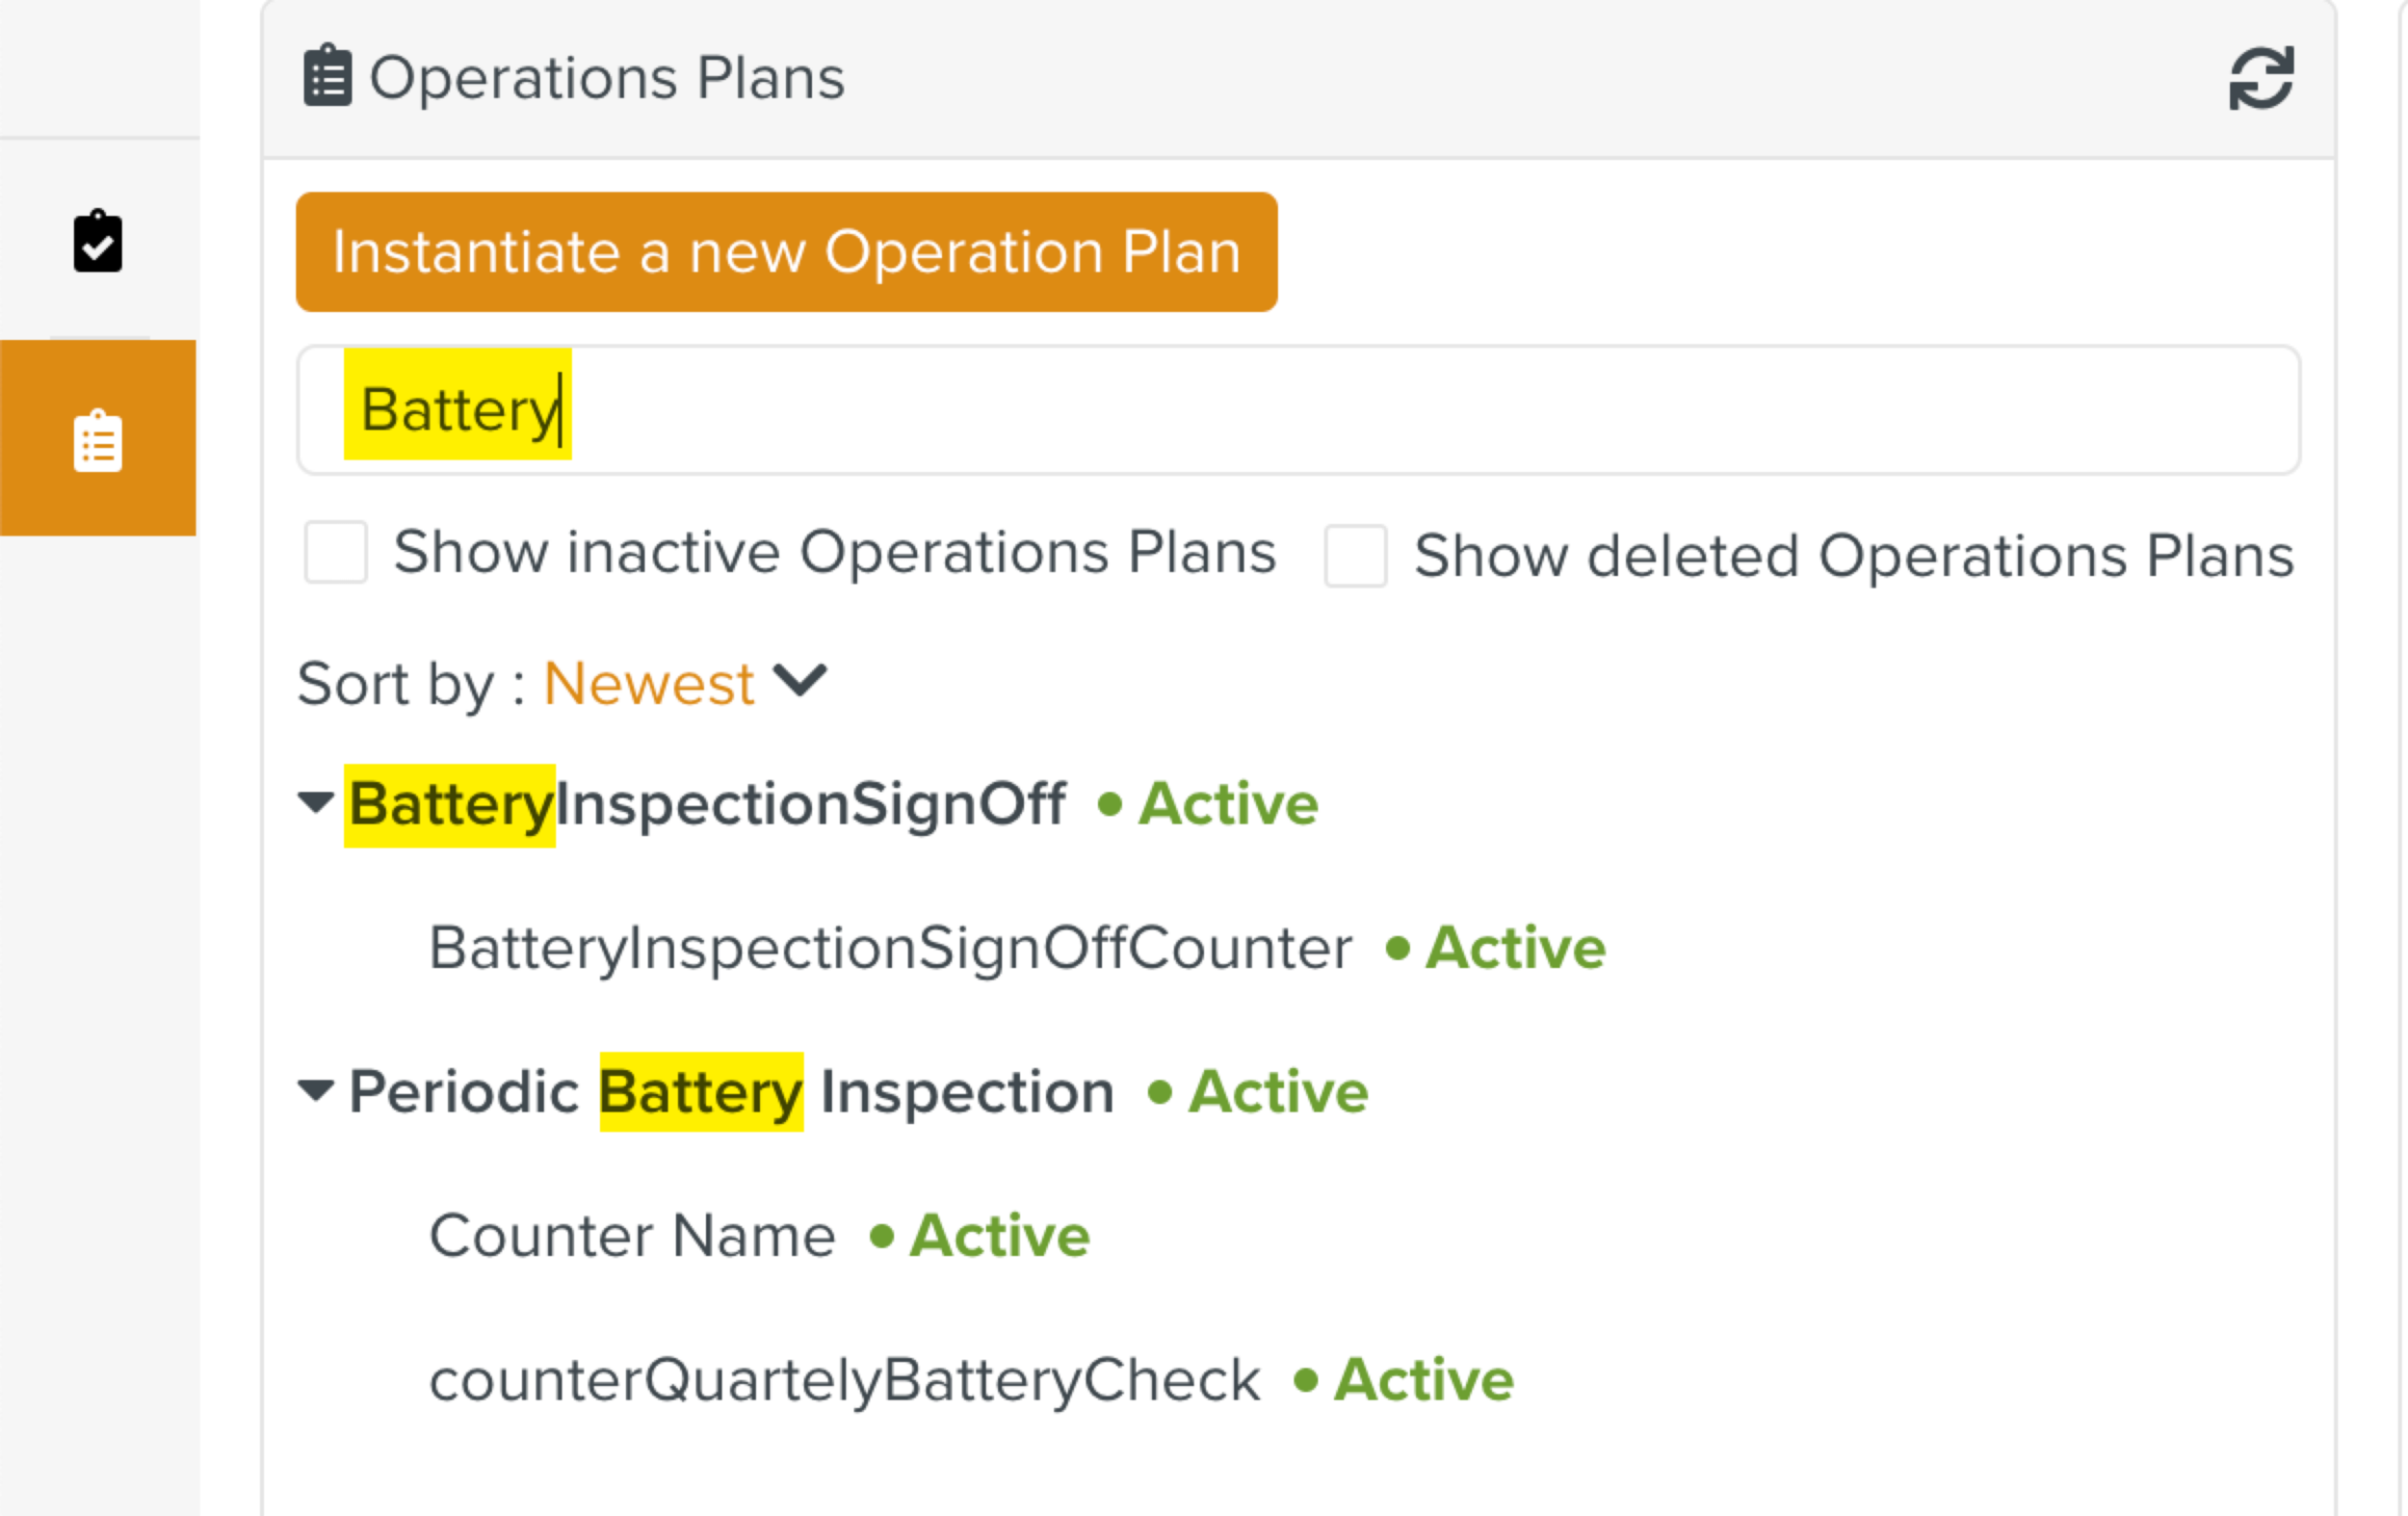
You can search for Operation Plan Executions using the bar. The list displays all the Operation Plan Executions that contain the search text as shown.
 |
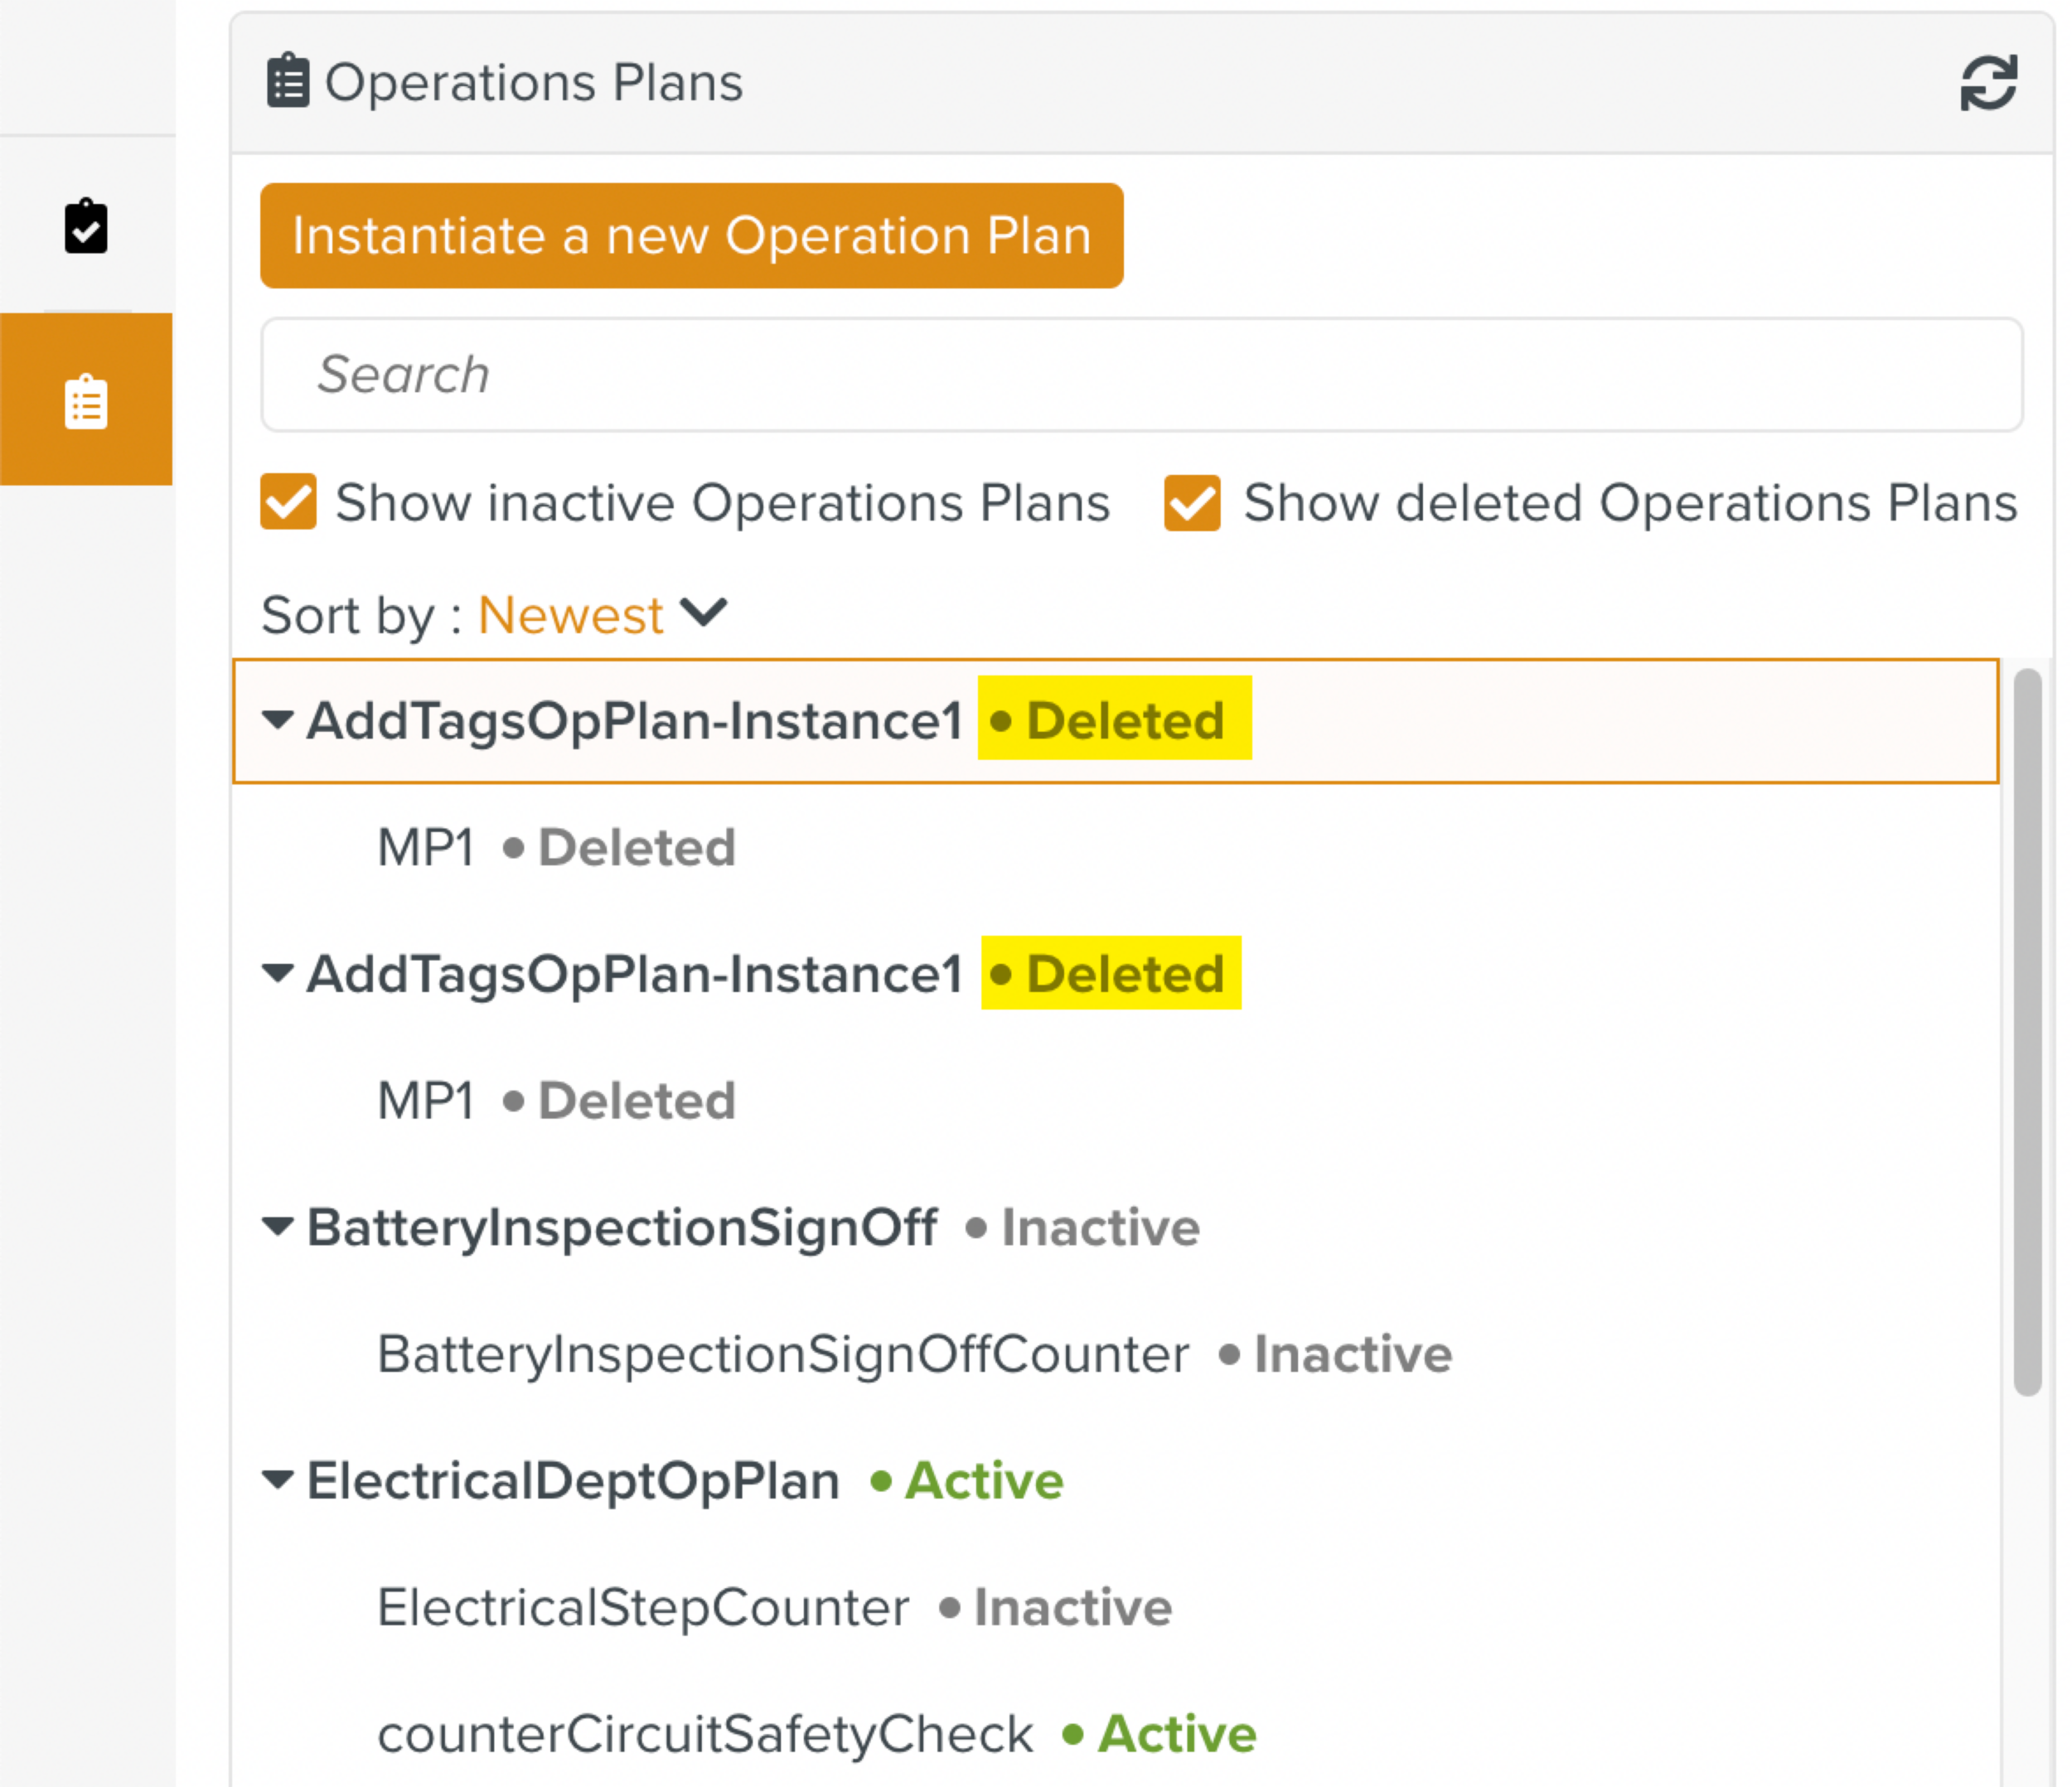
You can filter the displayed list by checking the following options:
: If this option is checked, the inactive Operation Plan Execution instances are also displayed.
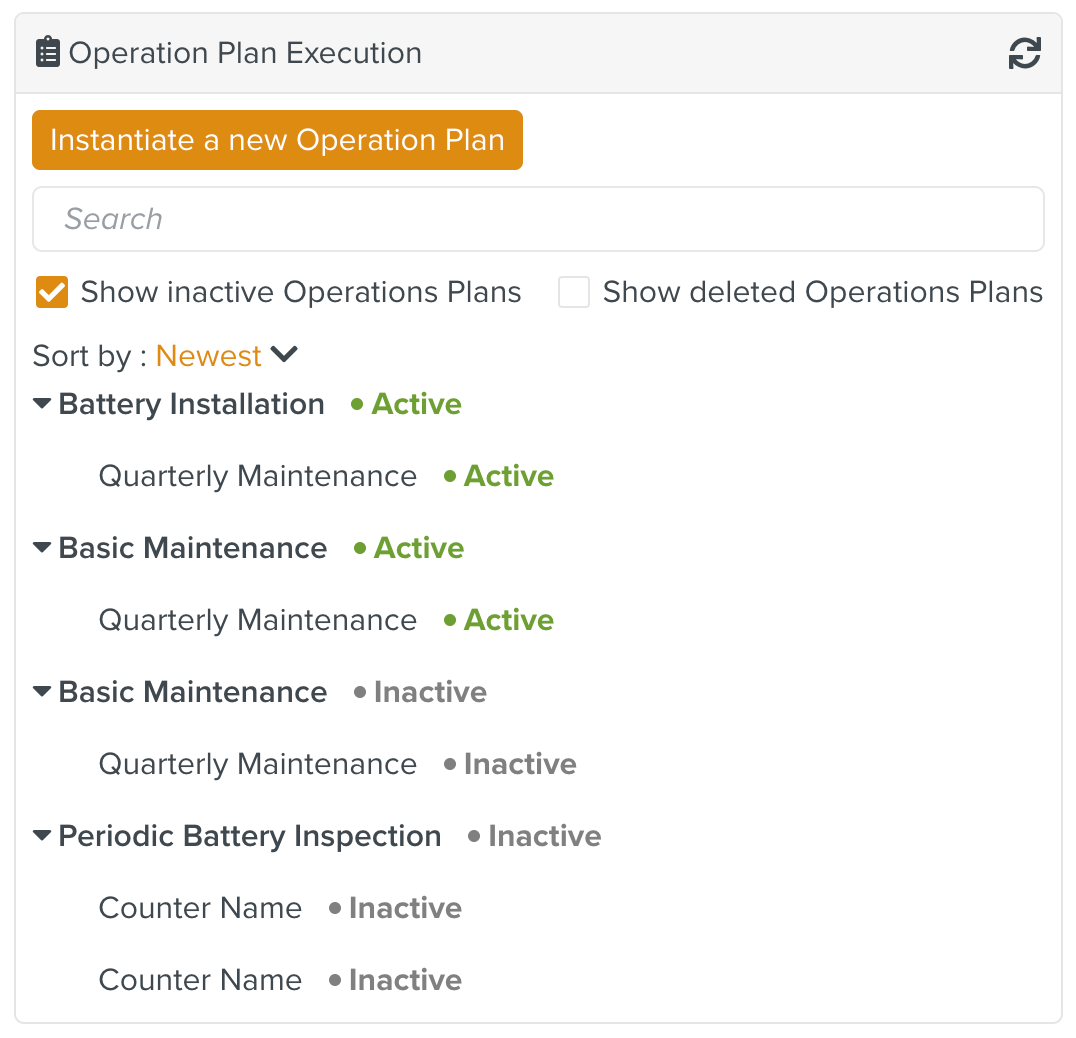
: If this option is checked, deleted instances of Operation Plan Executions are also displayed.
To instantiate an Operation Plan:
From the main menu, navigate to > > as shown.
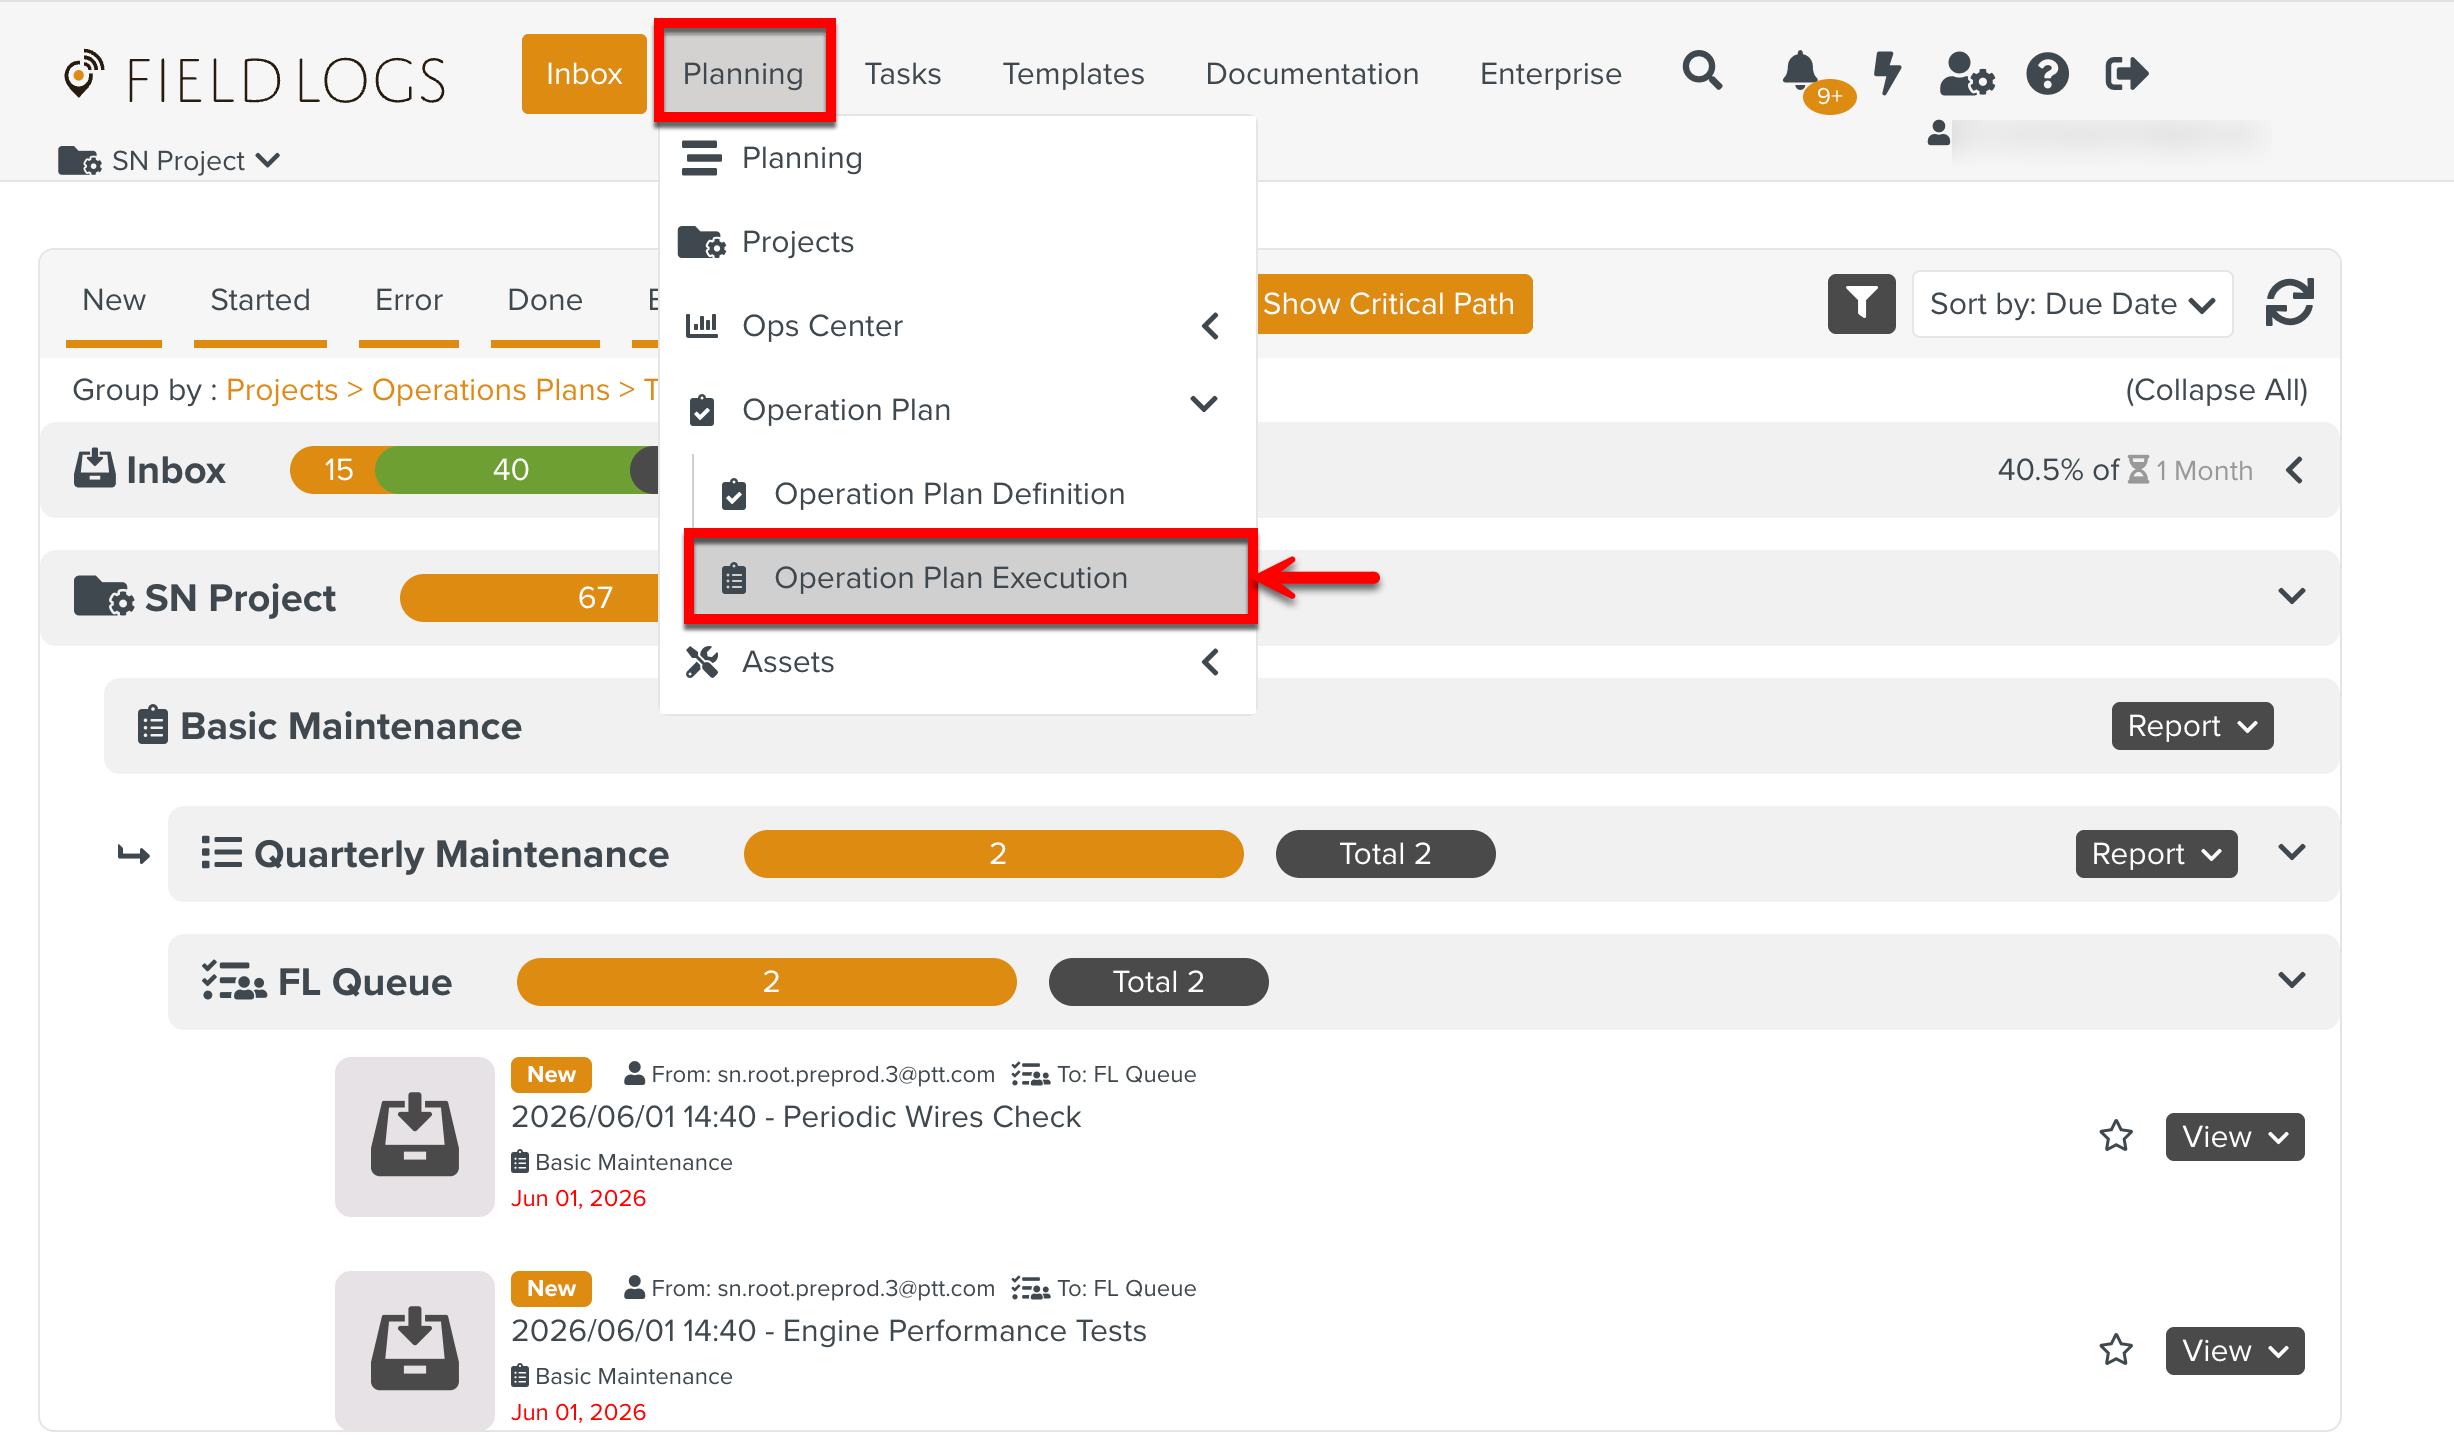
The Operation Plan Execution tab opens as shown below.
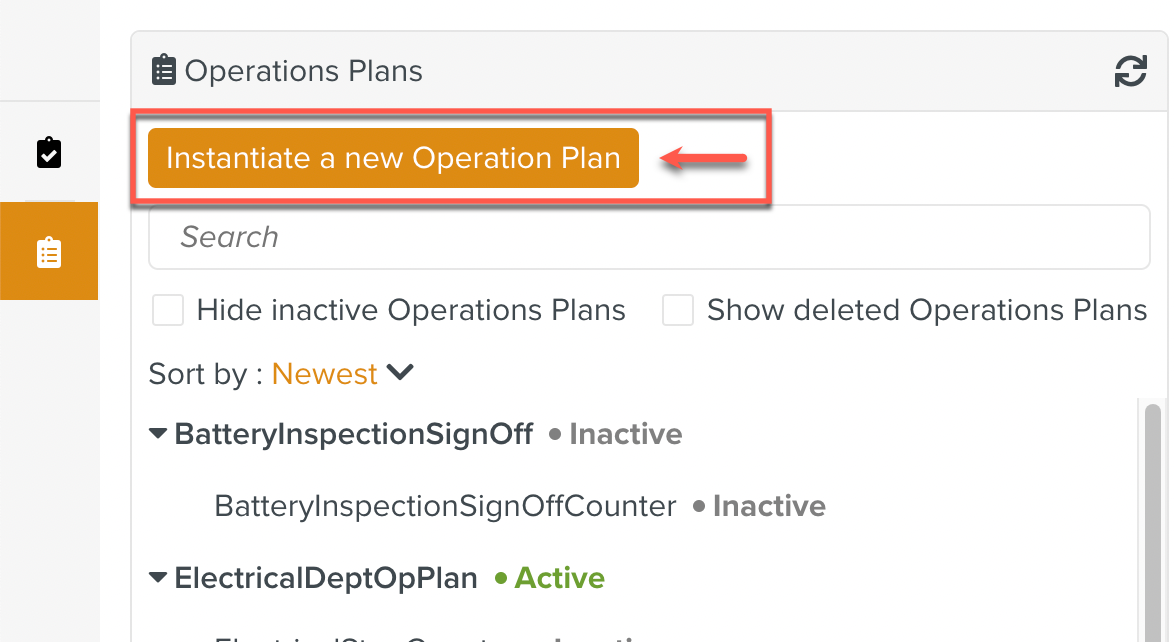
Click .
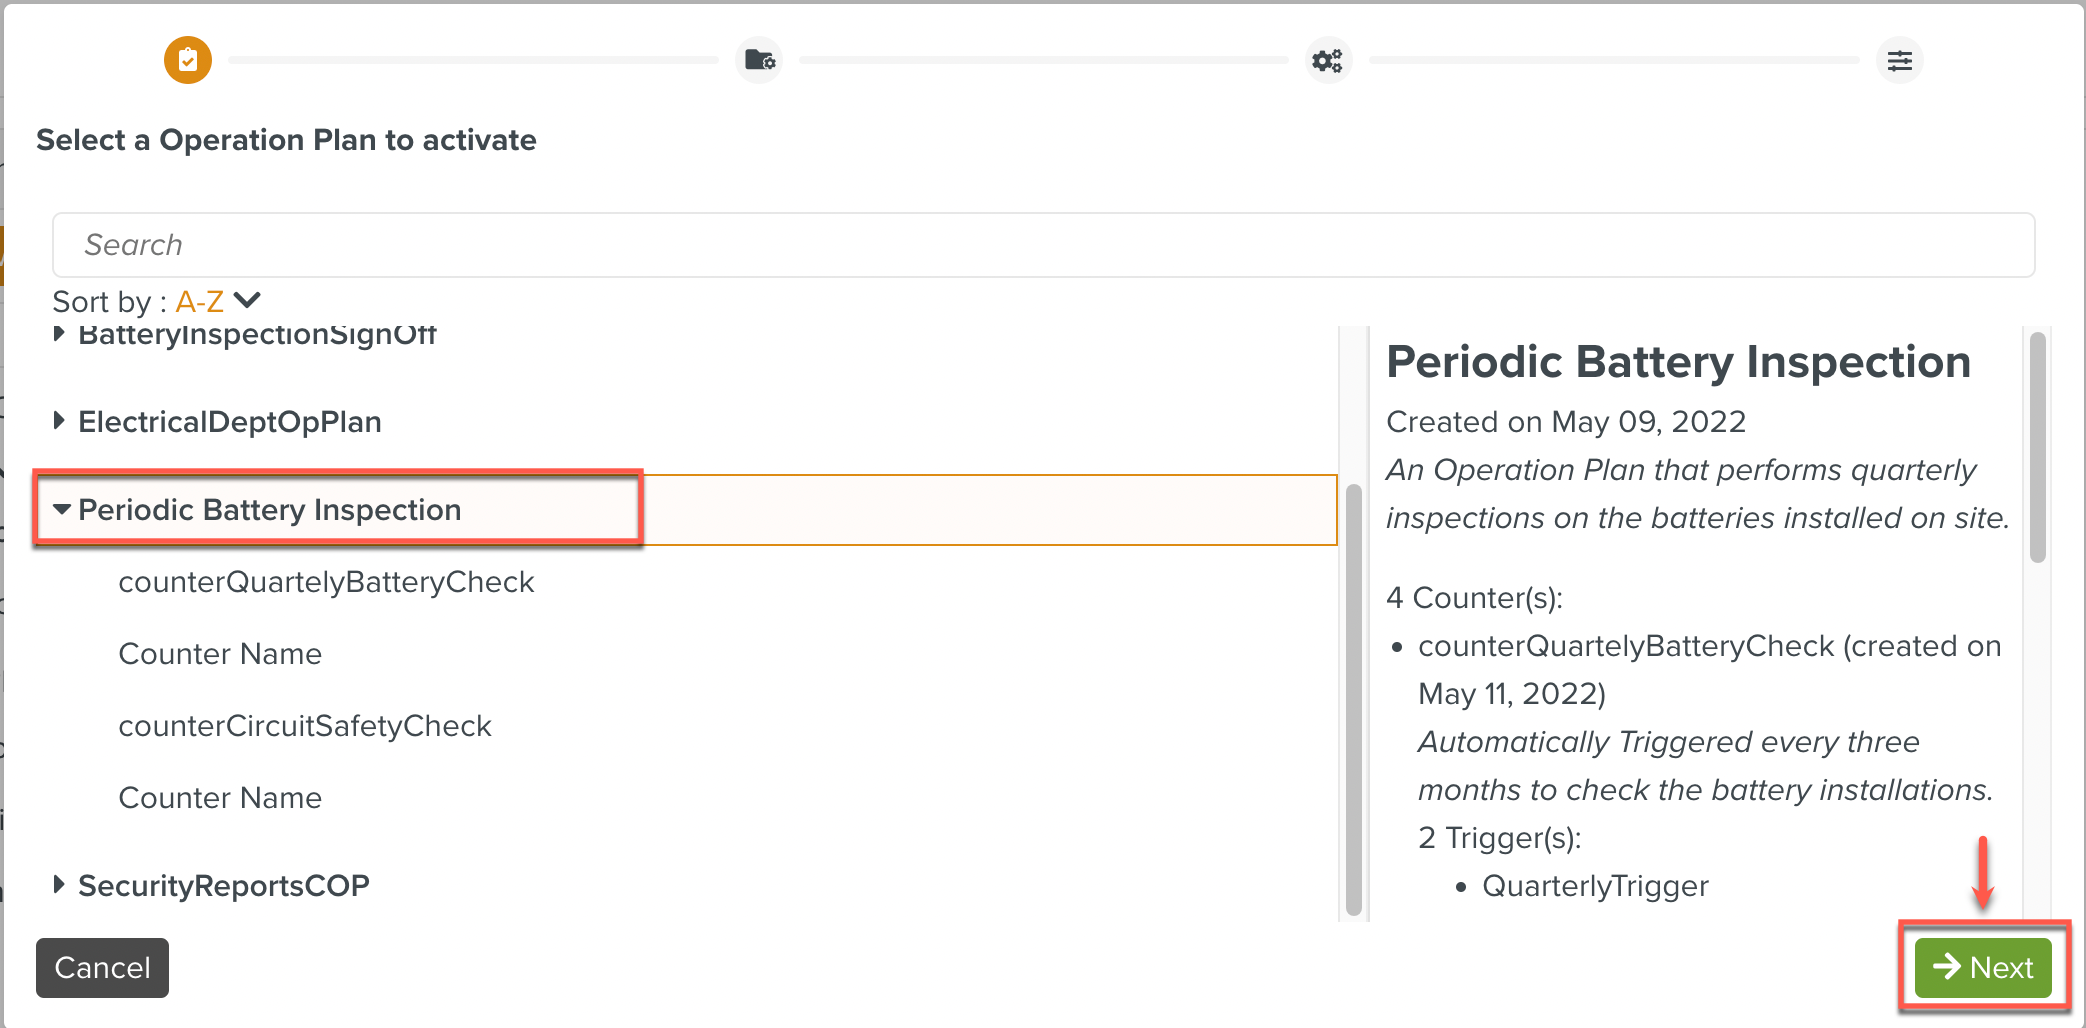
Select the Operation Plan to be instantiated from the list and click . Note that the information about the selected Operation Plan is displayed on the right.
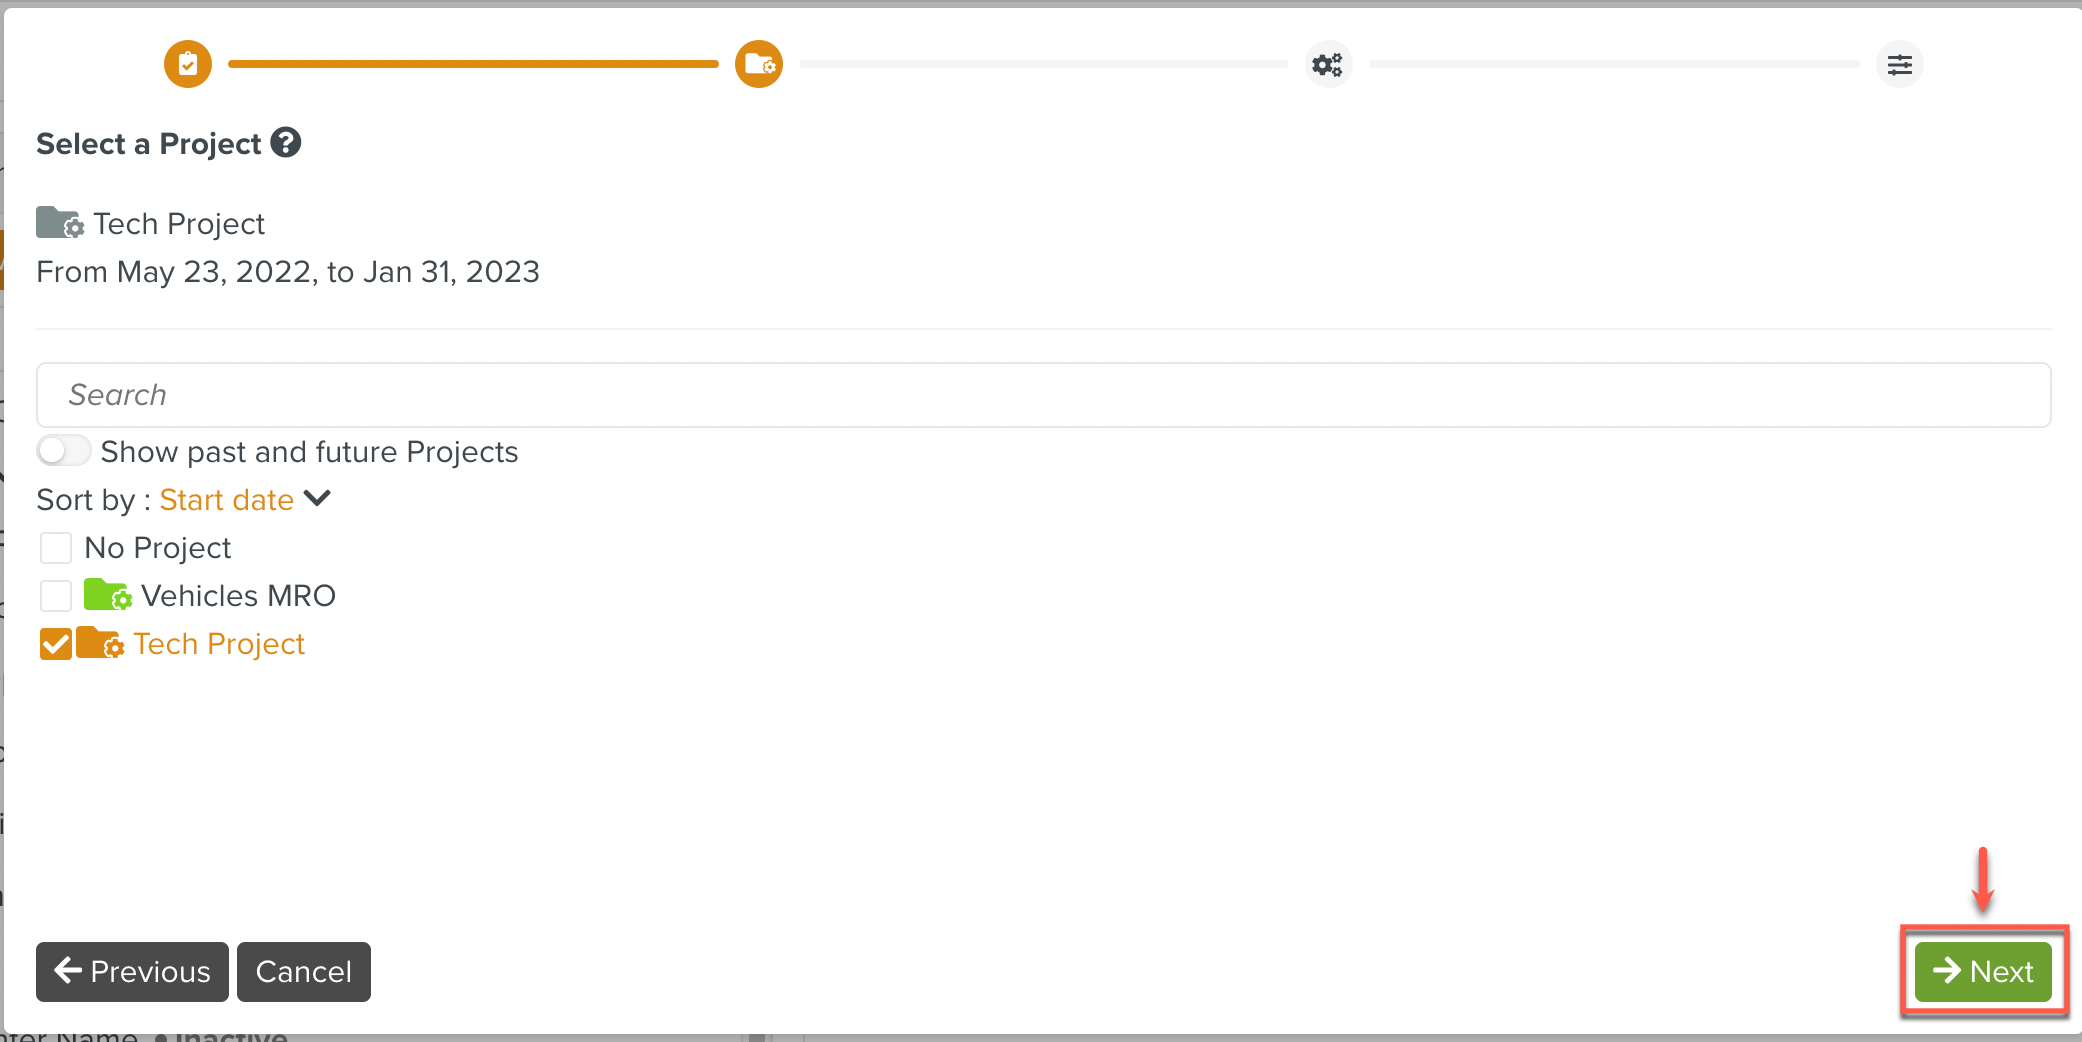
Check one or more Projects in which this Operation Plan needs to be executed.
Note that selected Project name(s), corresponding Project start and end dates appear above the Search bar. Click .
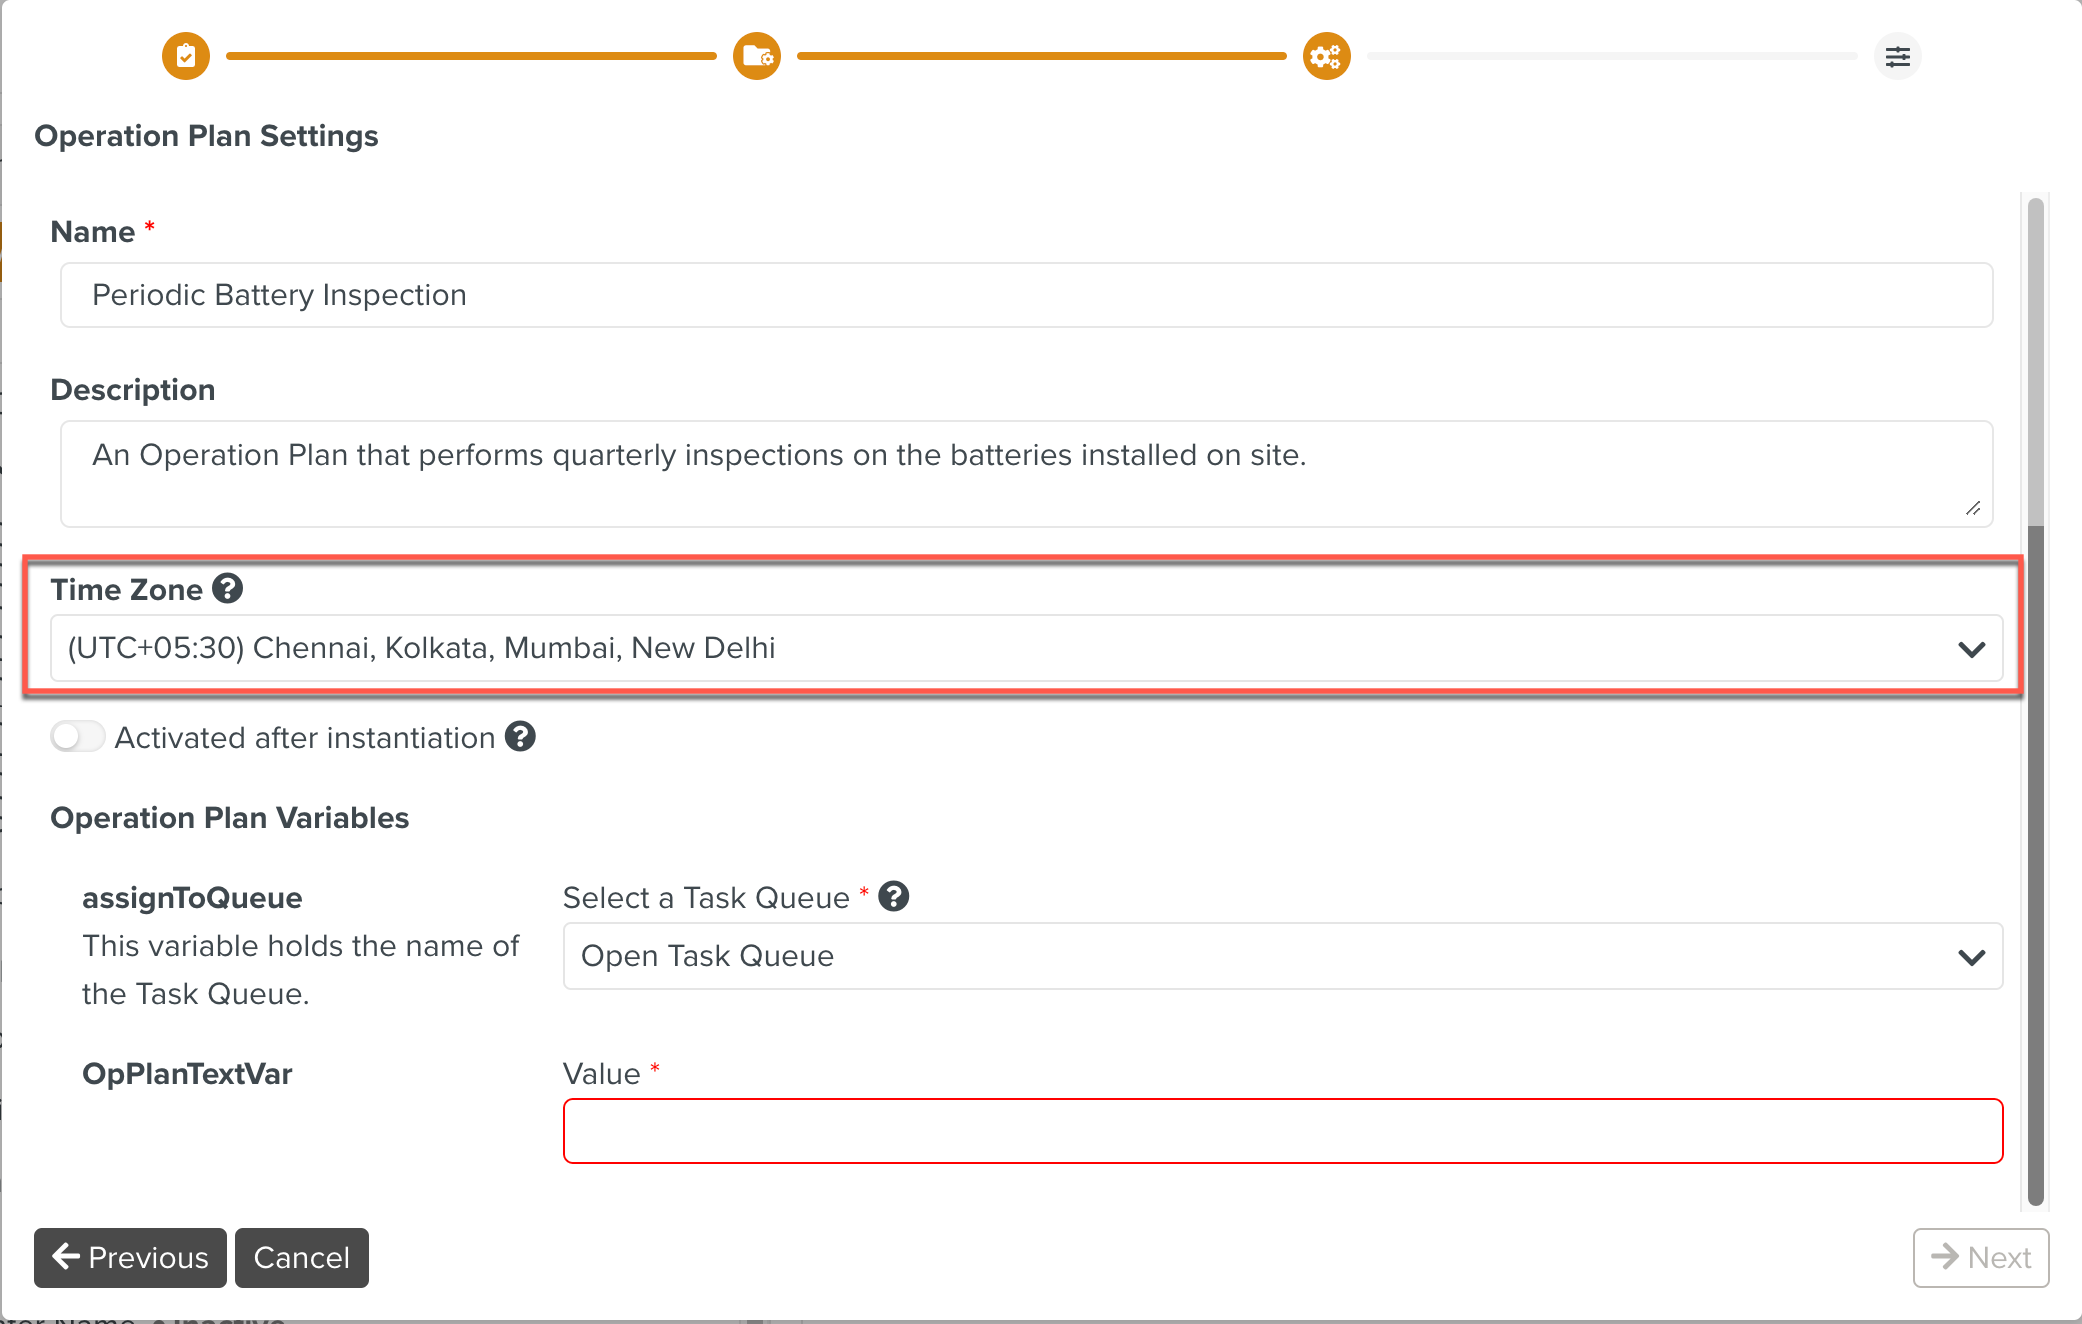
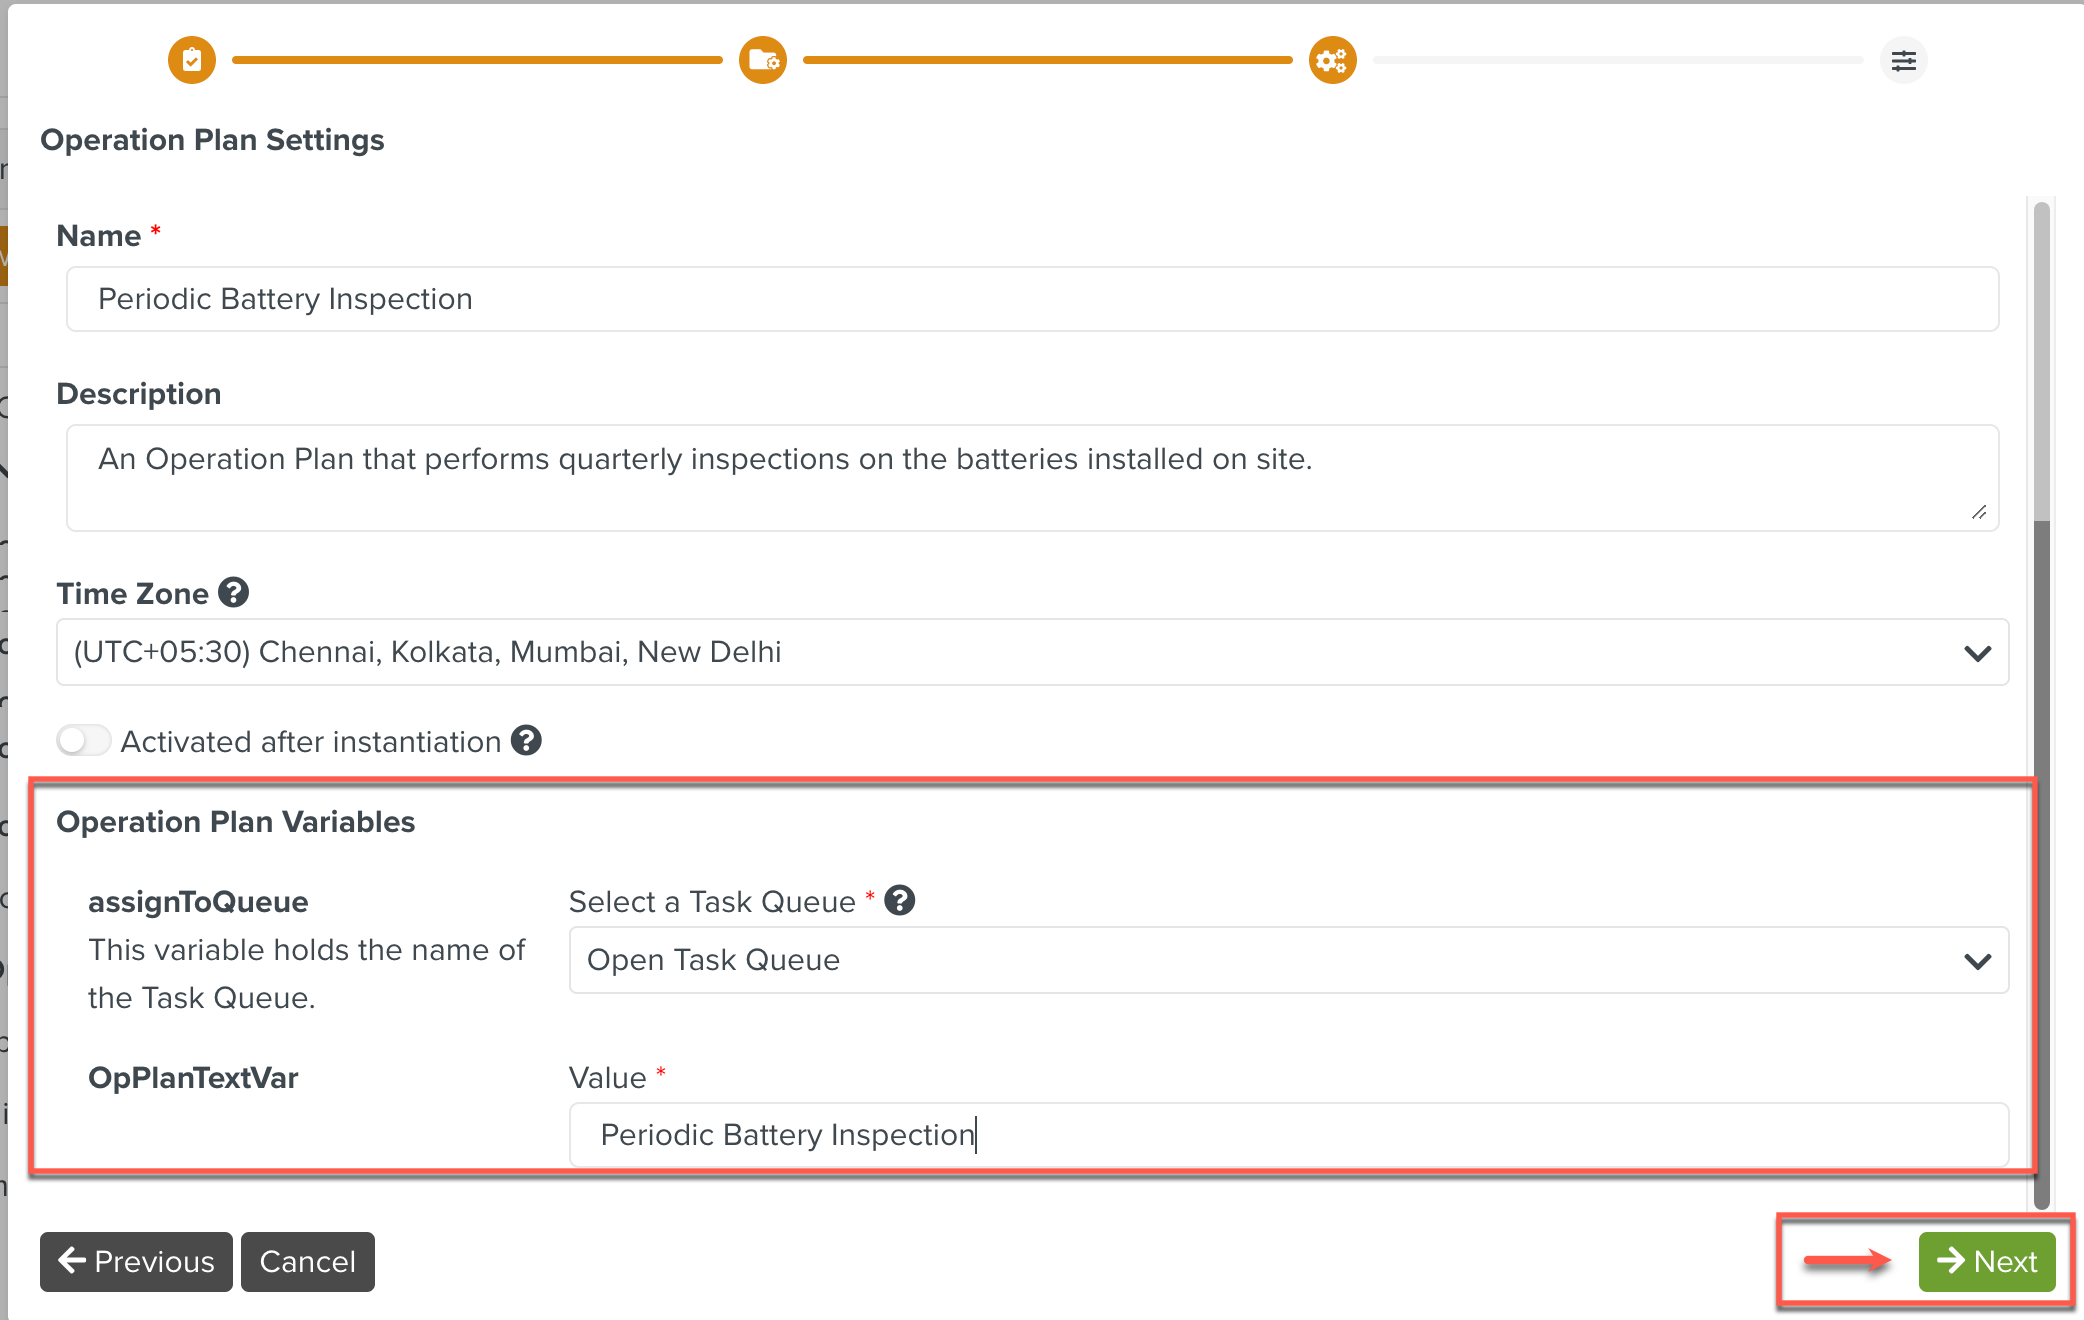
Enter the Operation Plan Settings in the dialog. You can customize the name of the Operation Plan Execution and the Description.
You can also select a Time Zone. This Time Zone will override the Time Zone set in the Operation Plan Definition.
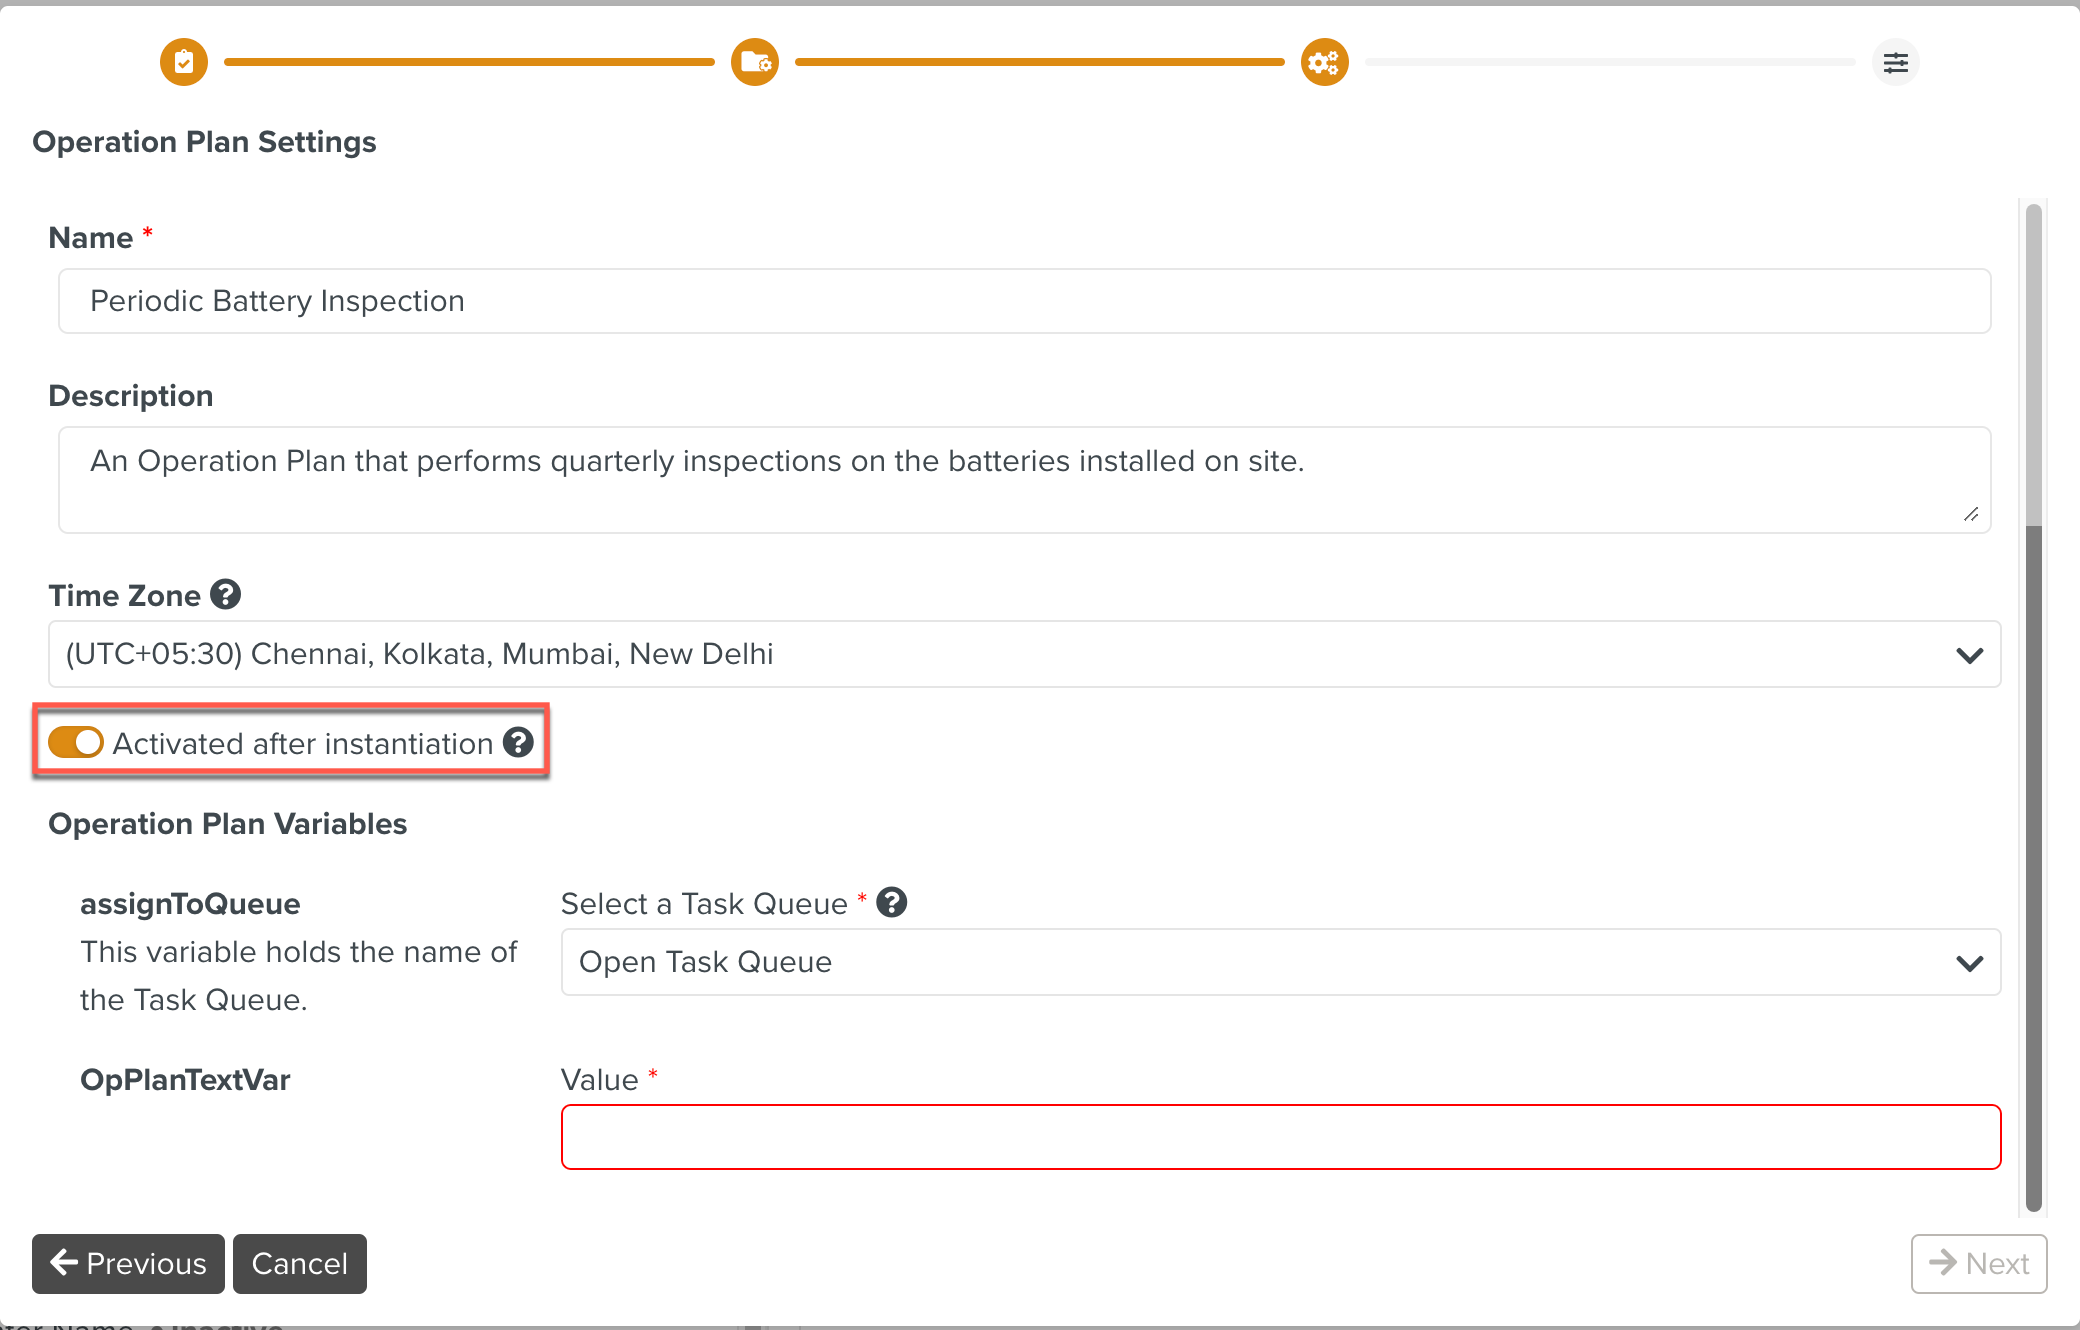
You can choose to activate this Operation Plan Execution immediately after Instantiation using the toggle as shown.
If the Operation Plan Definition contains Variables, you must set values for this instance of the Operation Plan Execution. In the example below, there are two Operation Plan Variables assignToQueue and OpPlanTextVar.
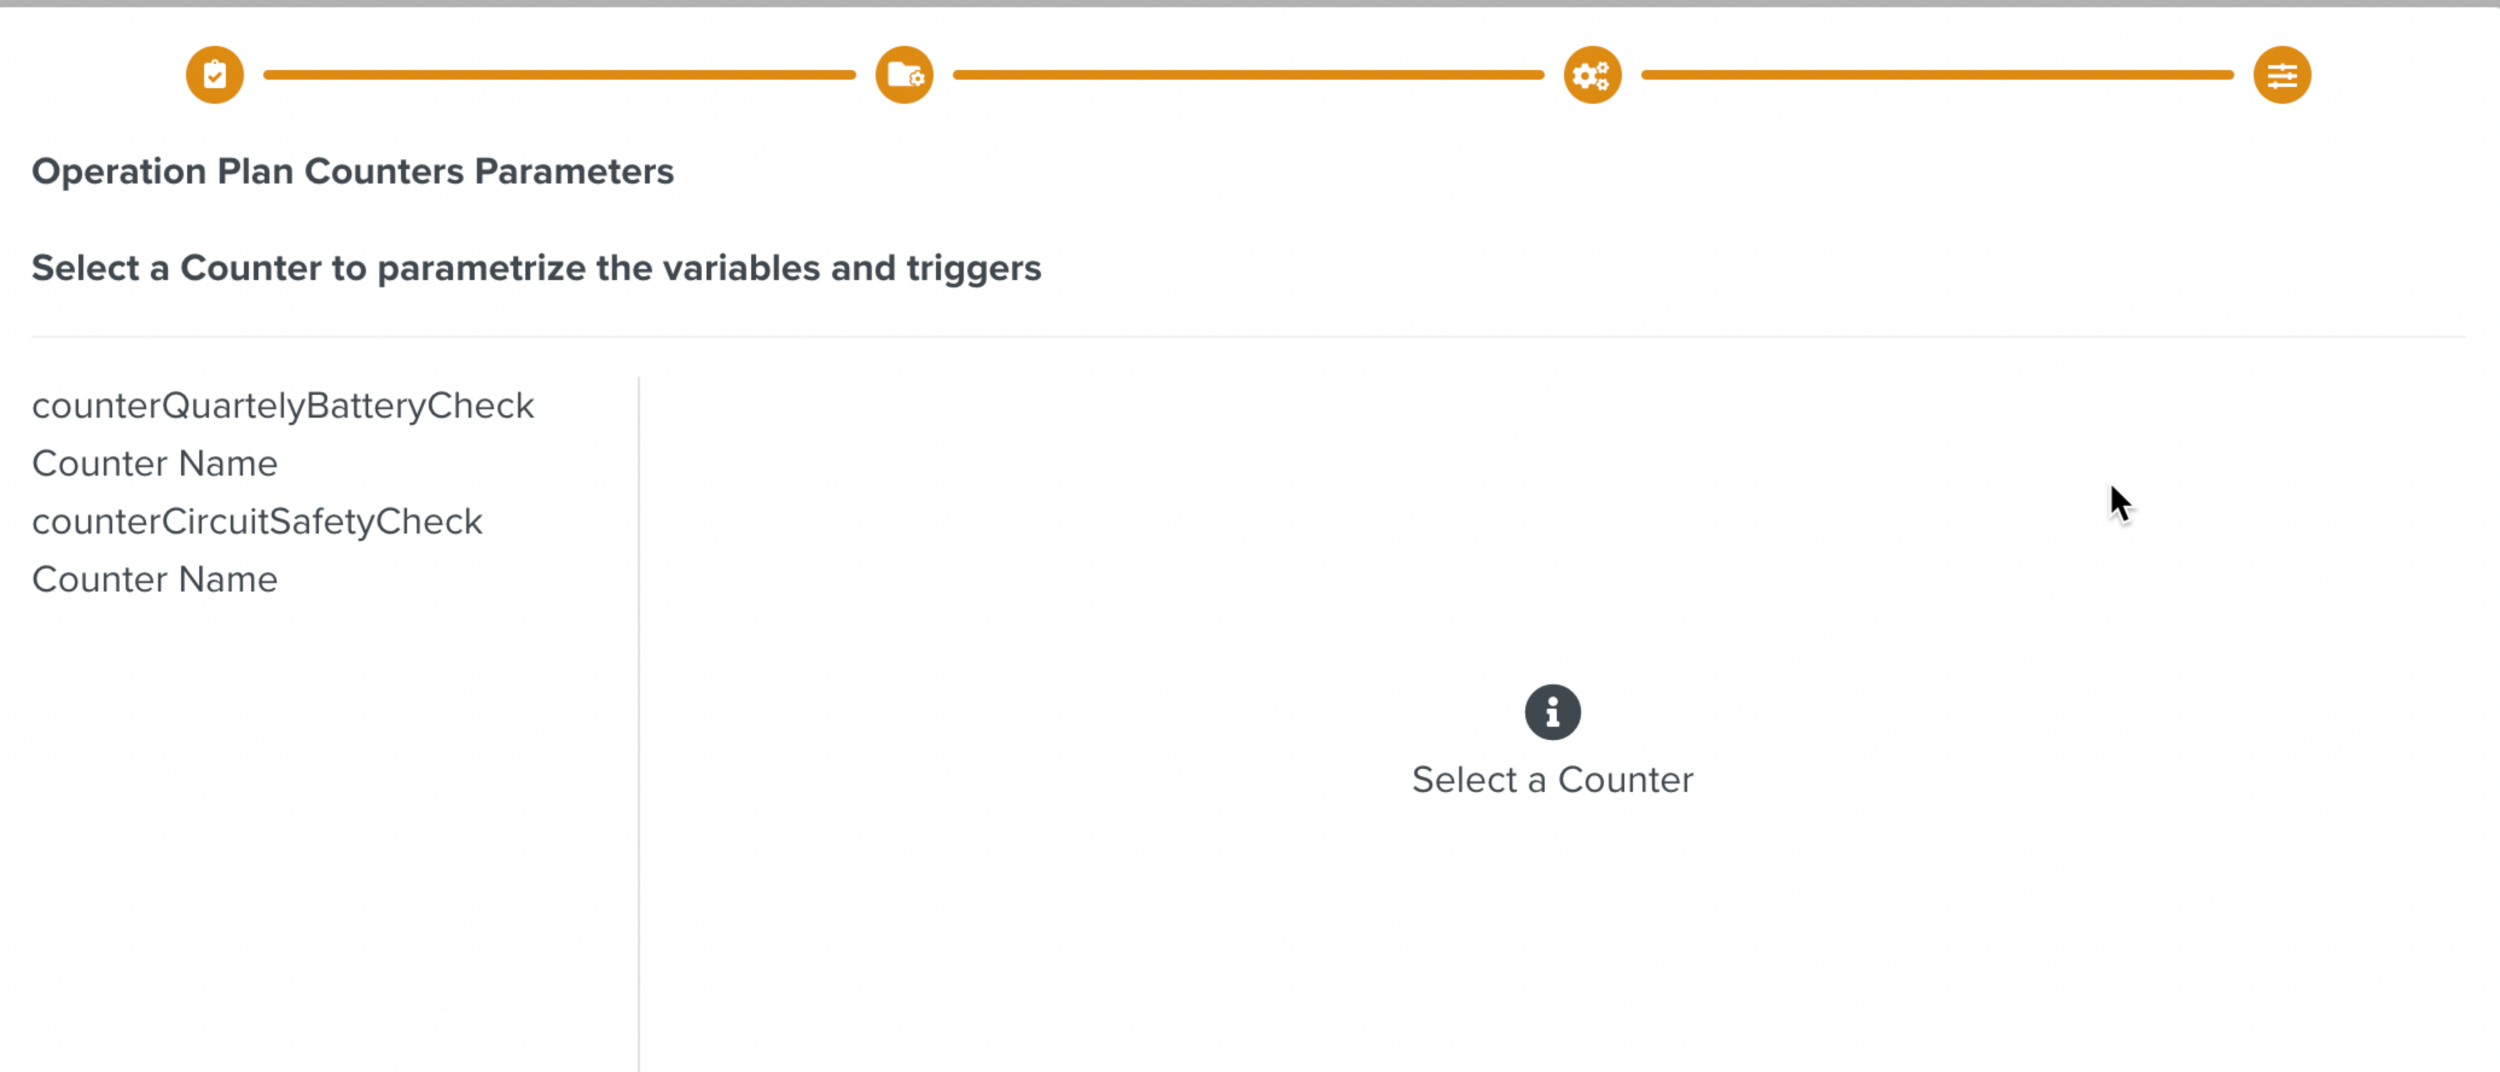
Click . The Operation Plan Counters Parameters section appears.
Note
Values must be provided for all the required variables of all the Counters.
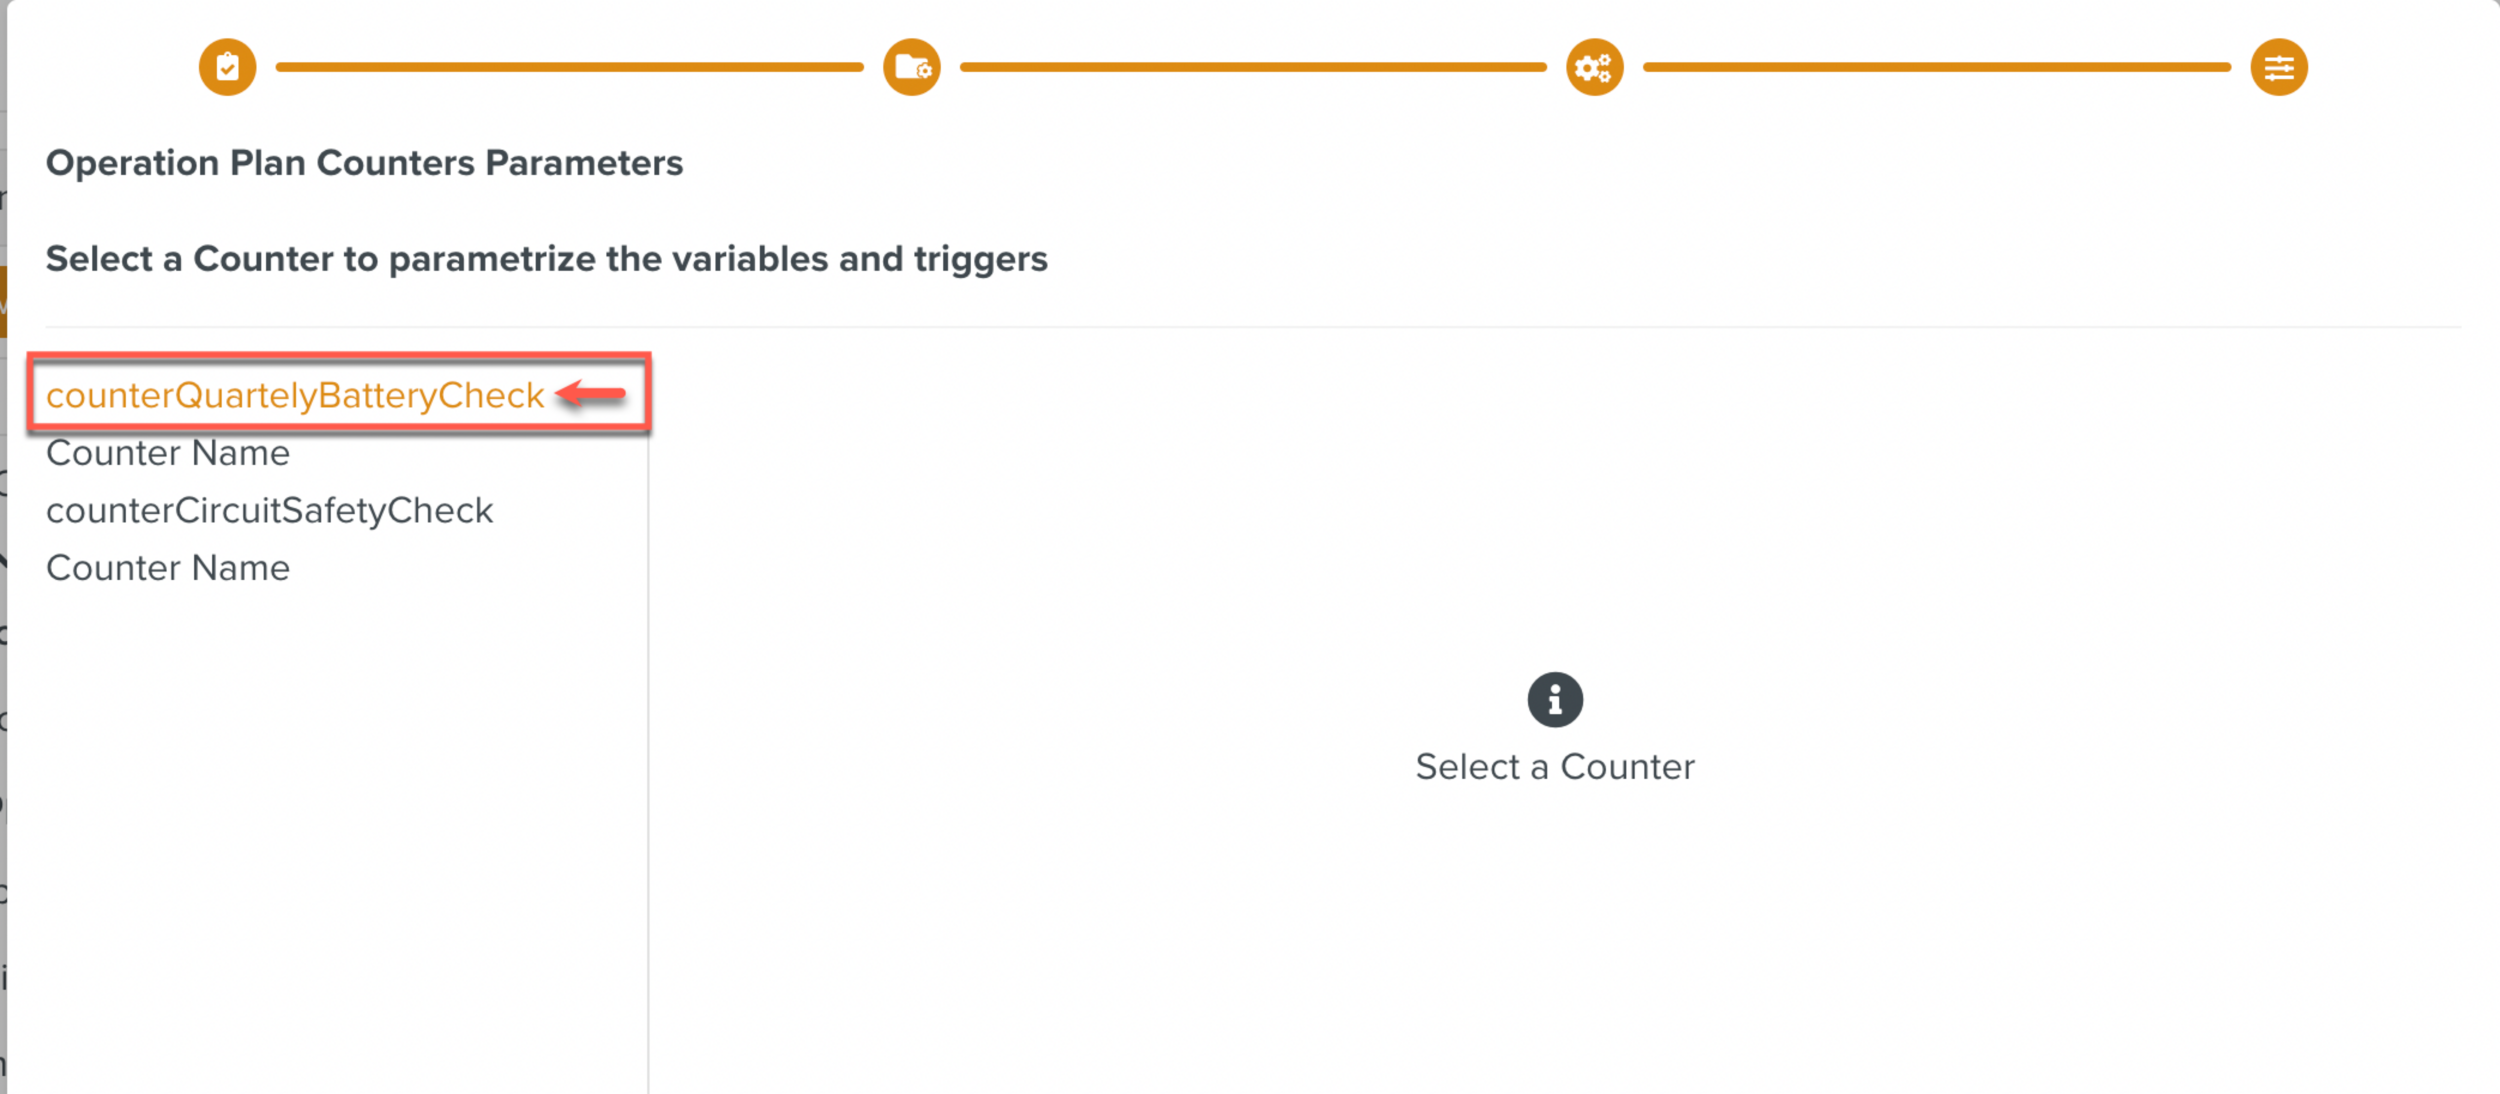
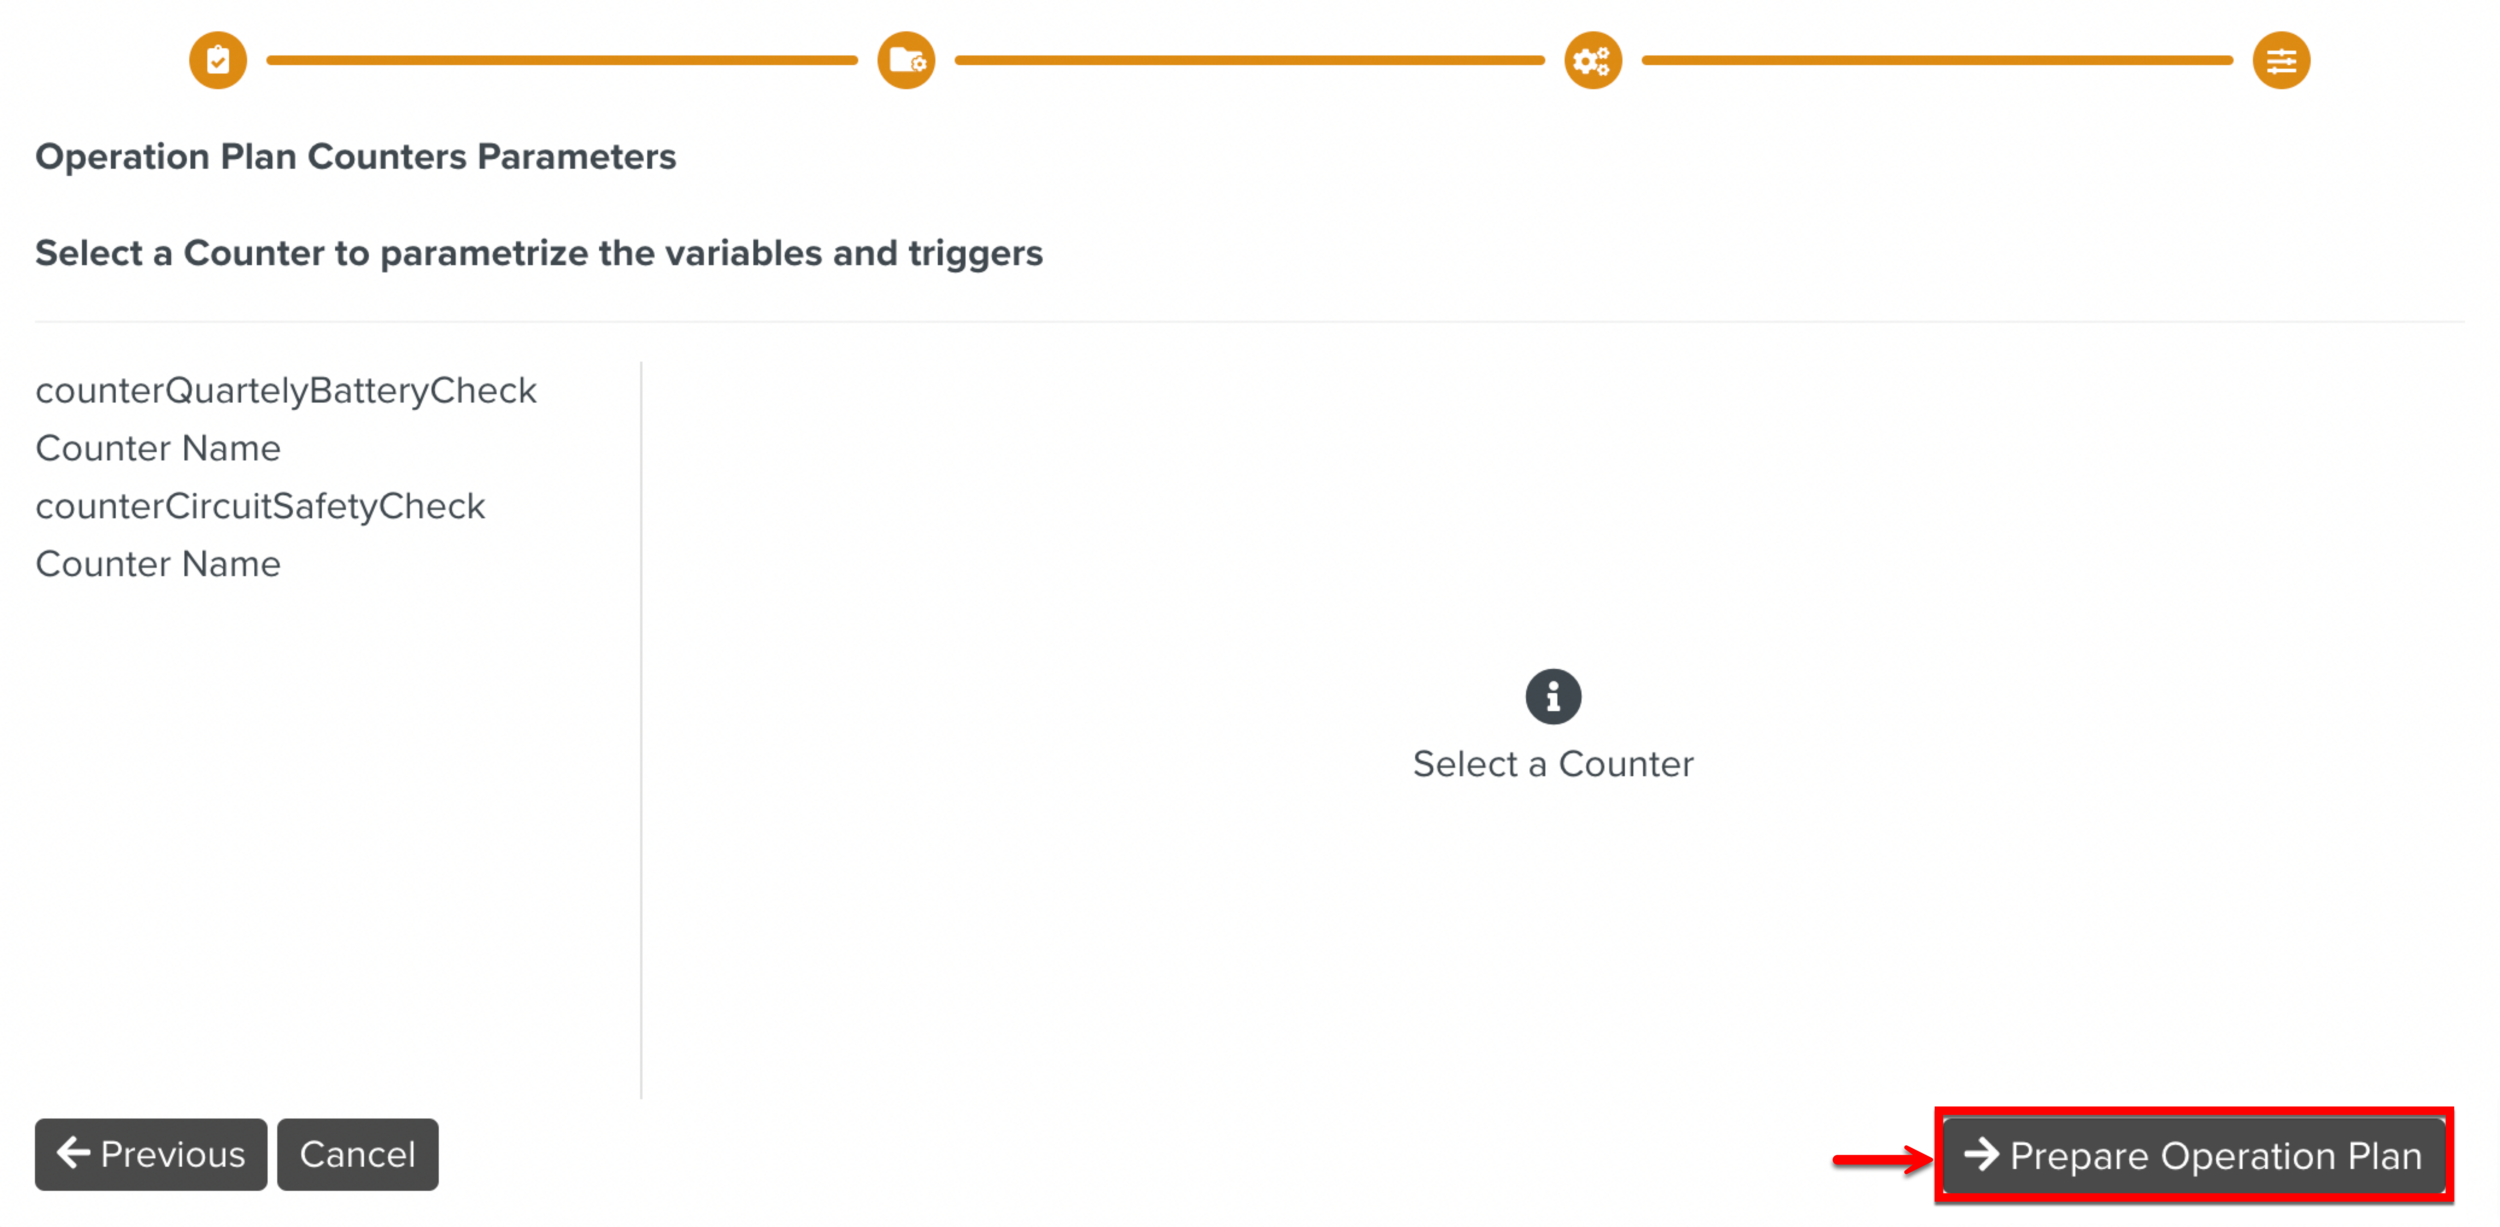
Select a Counter to parameterize the variables and Triggers.
Note
'Parameterization' refers to setting values to the Variables and customizing details in the Triggers.
These values will override the values provided in the Operation Plan Definition. This allows different instances of the same Operation Plan to be executed with different values.
Set values for the variables in the Counter in the tab.
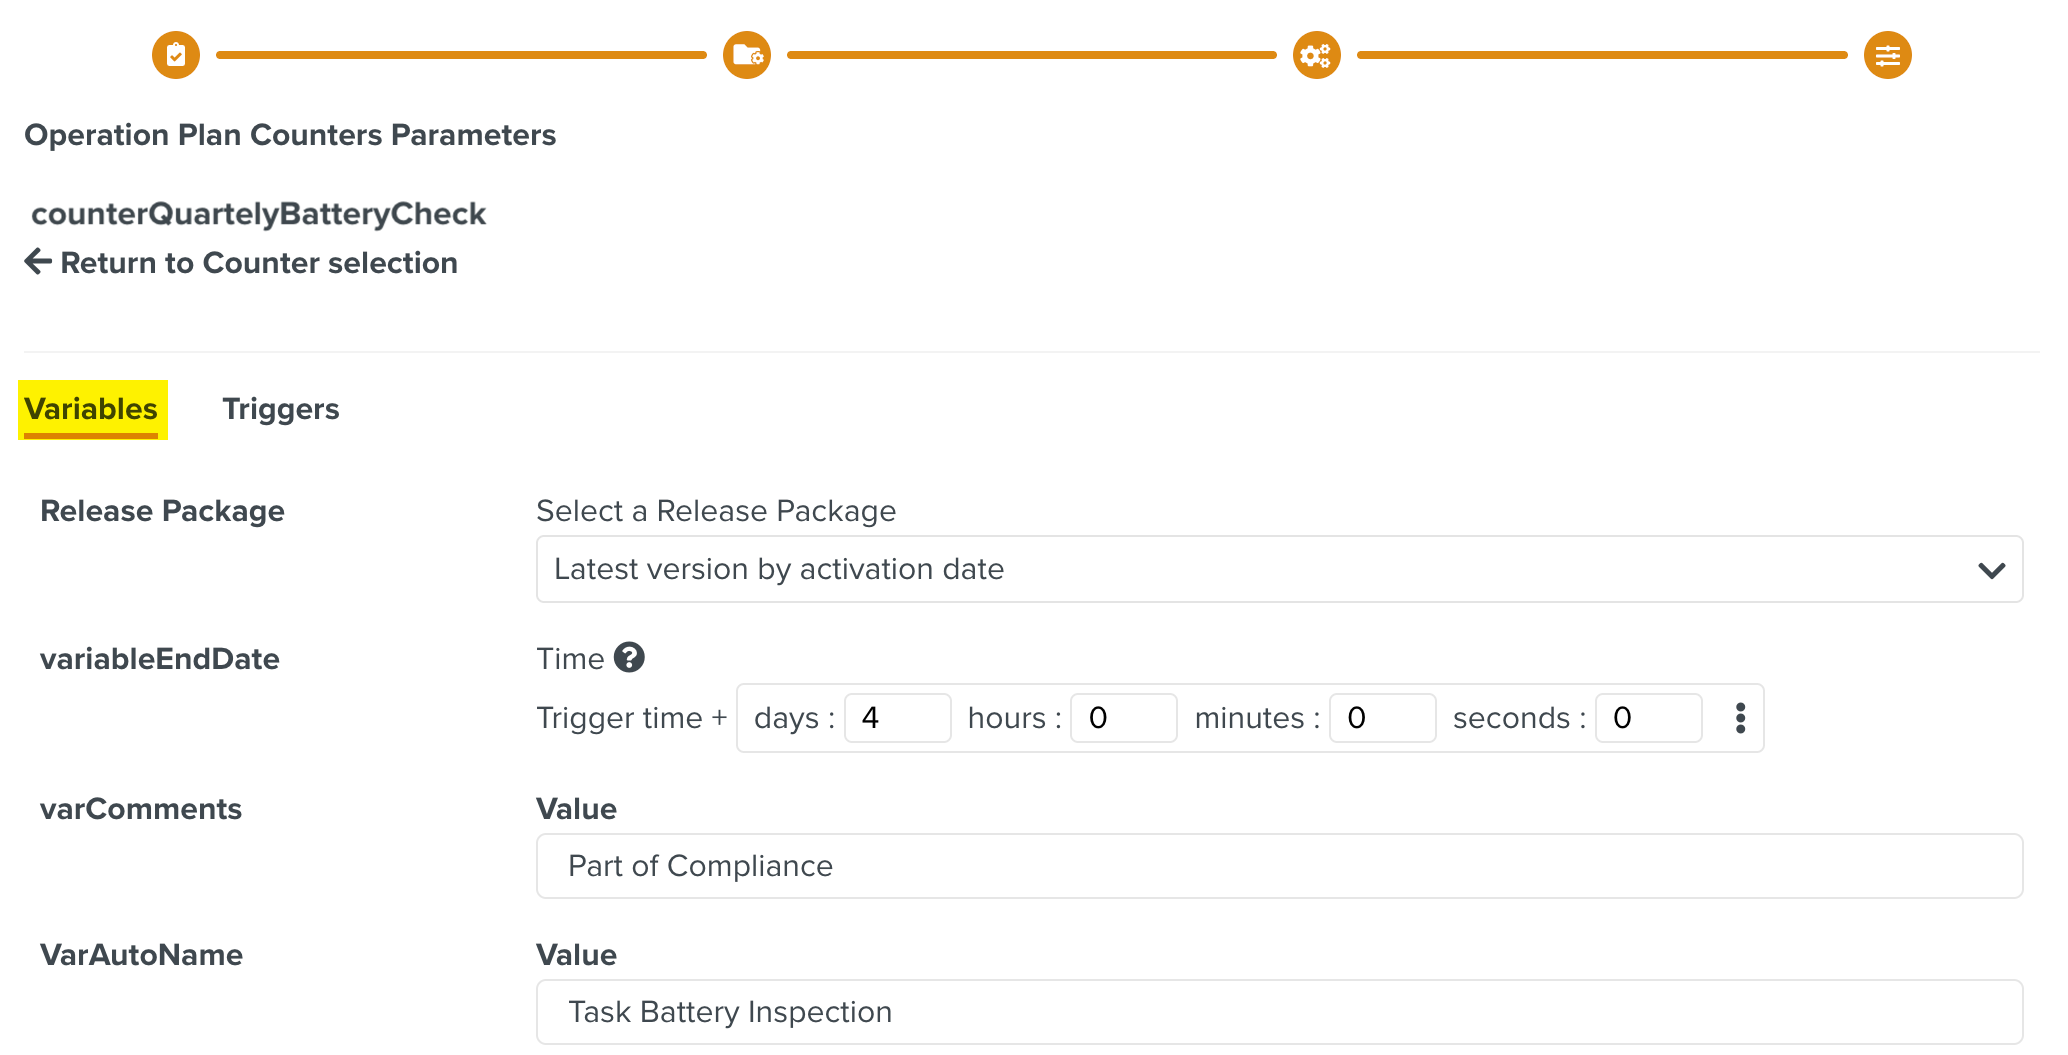
For the variable type Release Package, you can select either a specific version or the latest version. When you select the Latest version by activation date option, the available latest version of the Release Package is auto-selected.
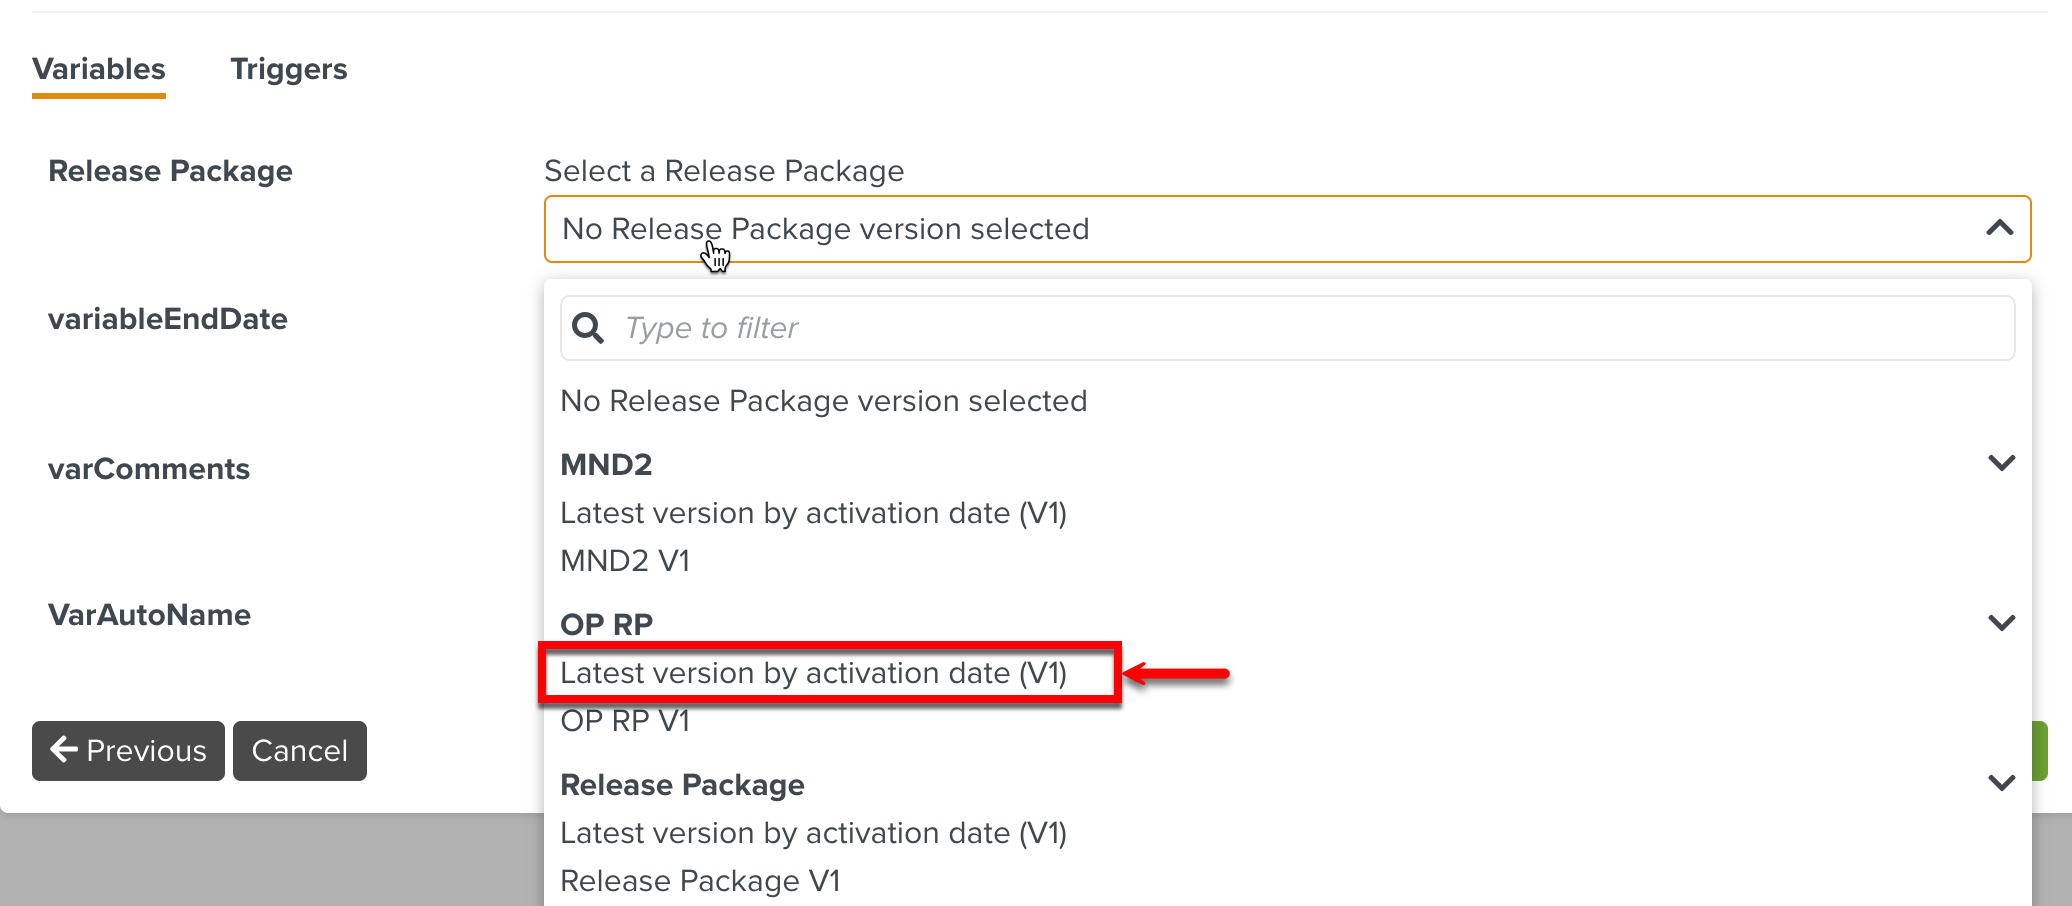
Whenever this Operation Plan is activated, the latest version of the Release Package (OP RP) is automatically selected during the execution of the respective Task that belongs to this Operation Plan.
[Optional] Customize the Triggers in the Counter.
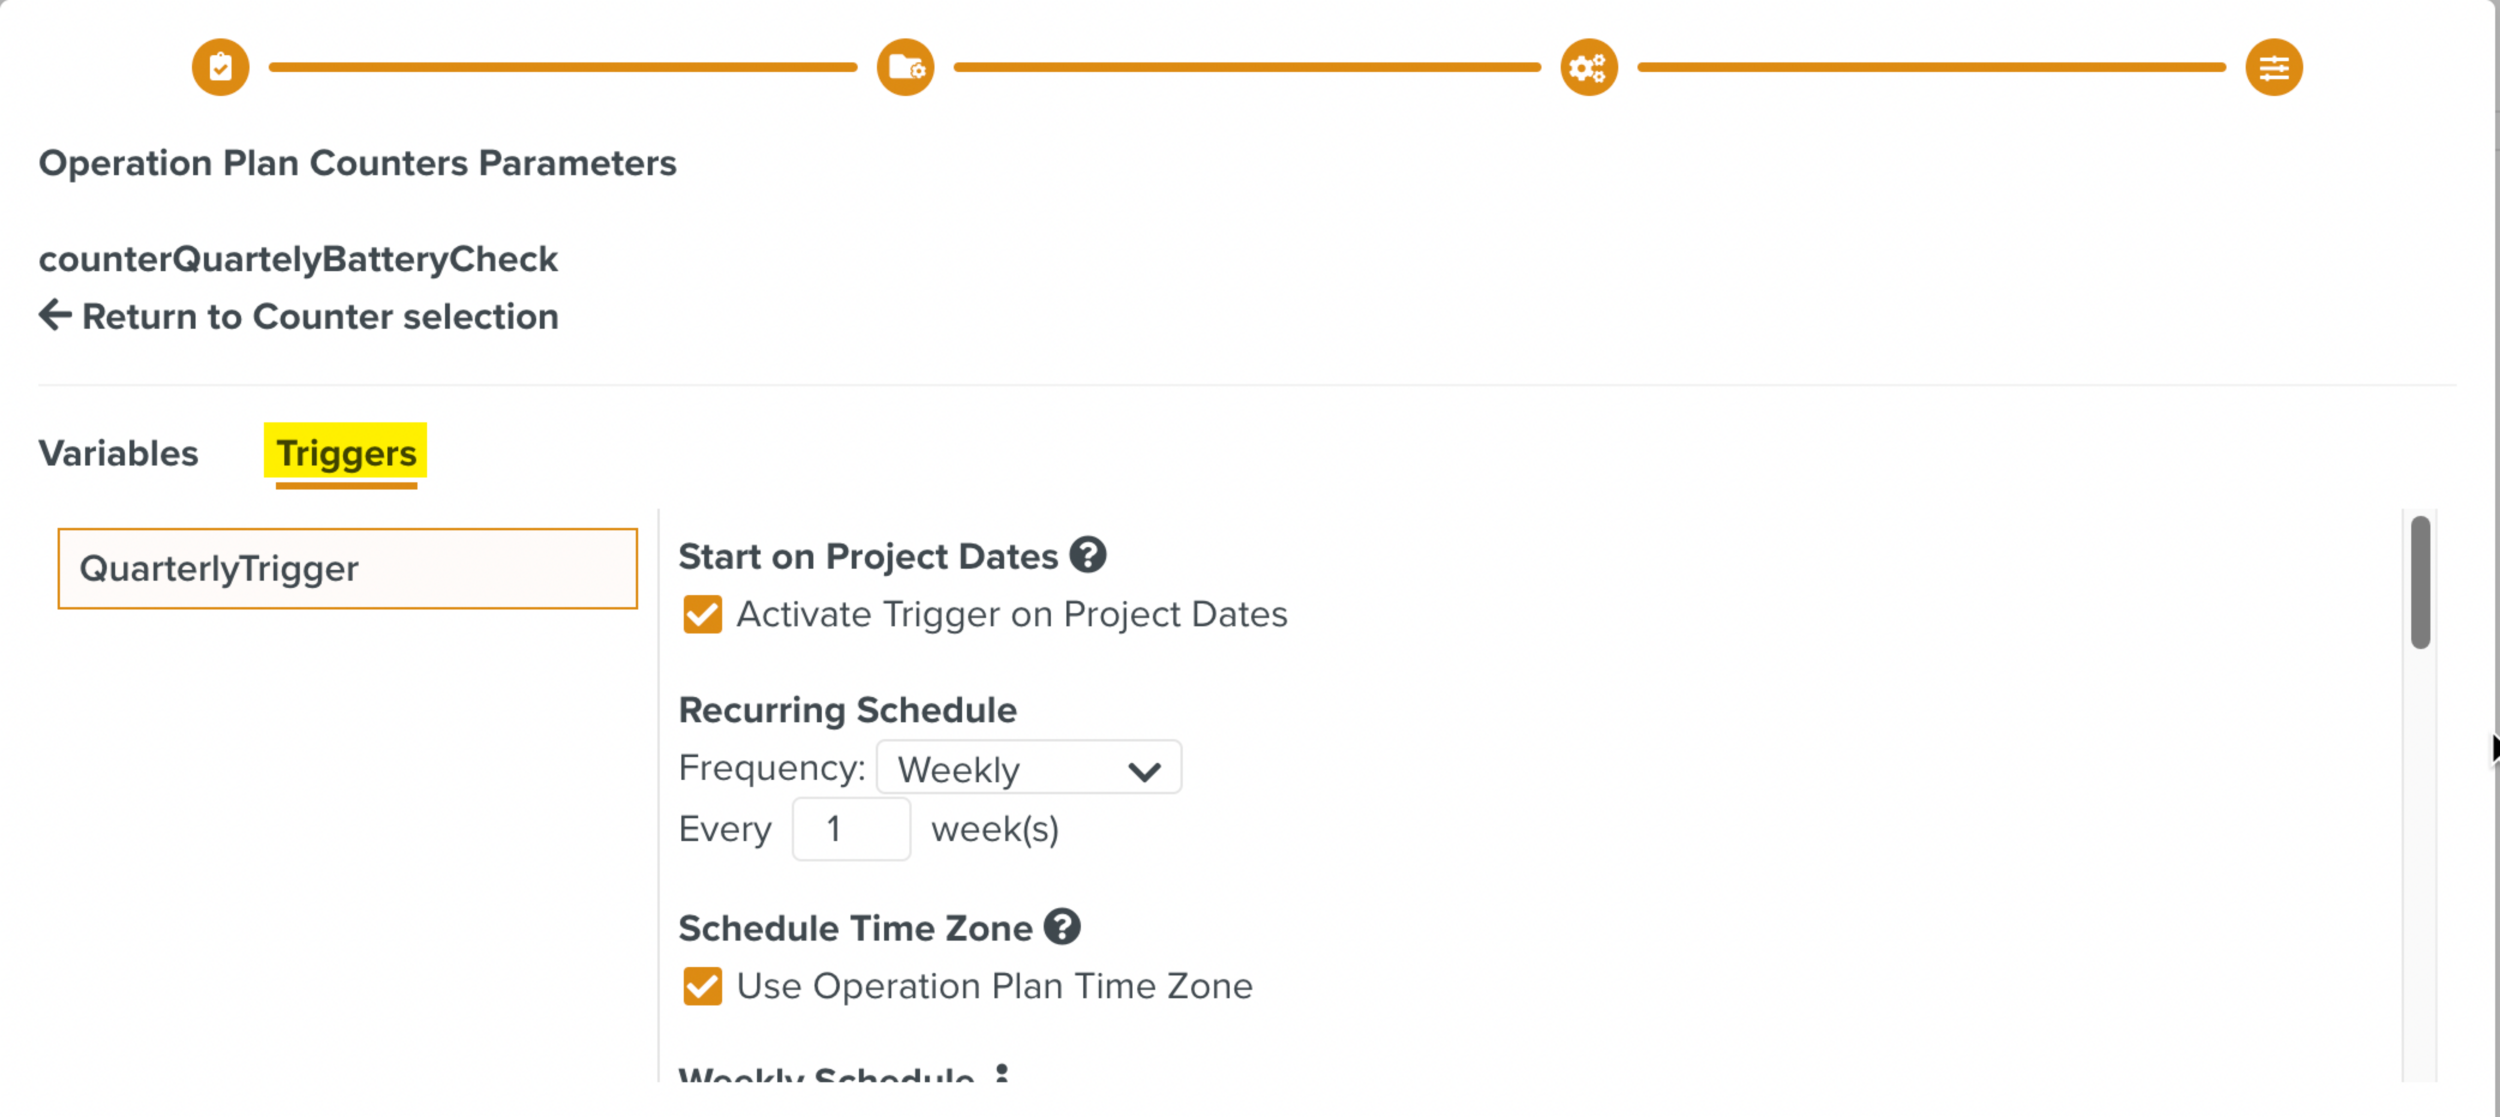
Note
Only Time Based Triggers can be customized.
Click to choose the next Counter.
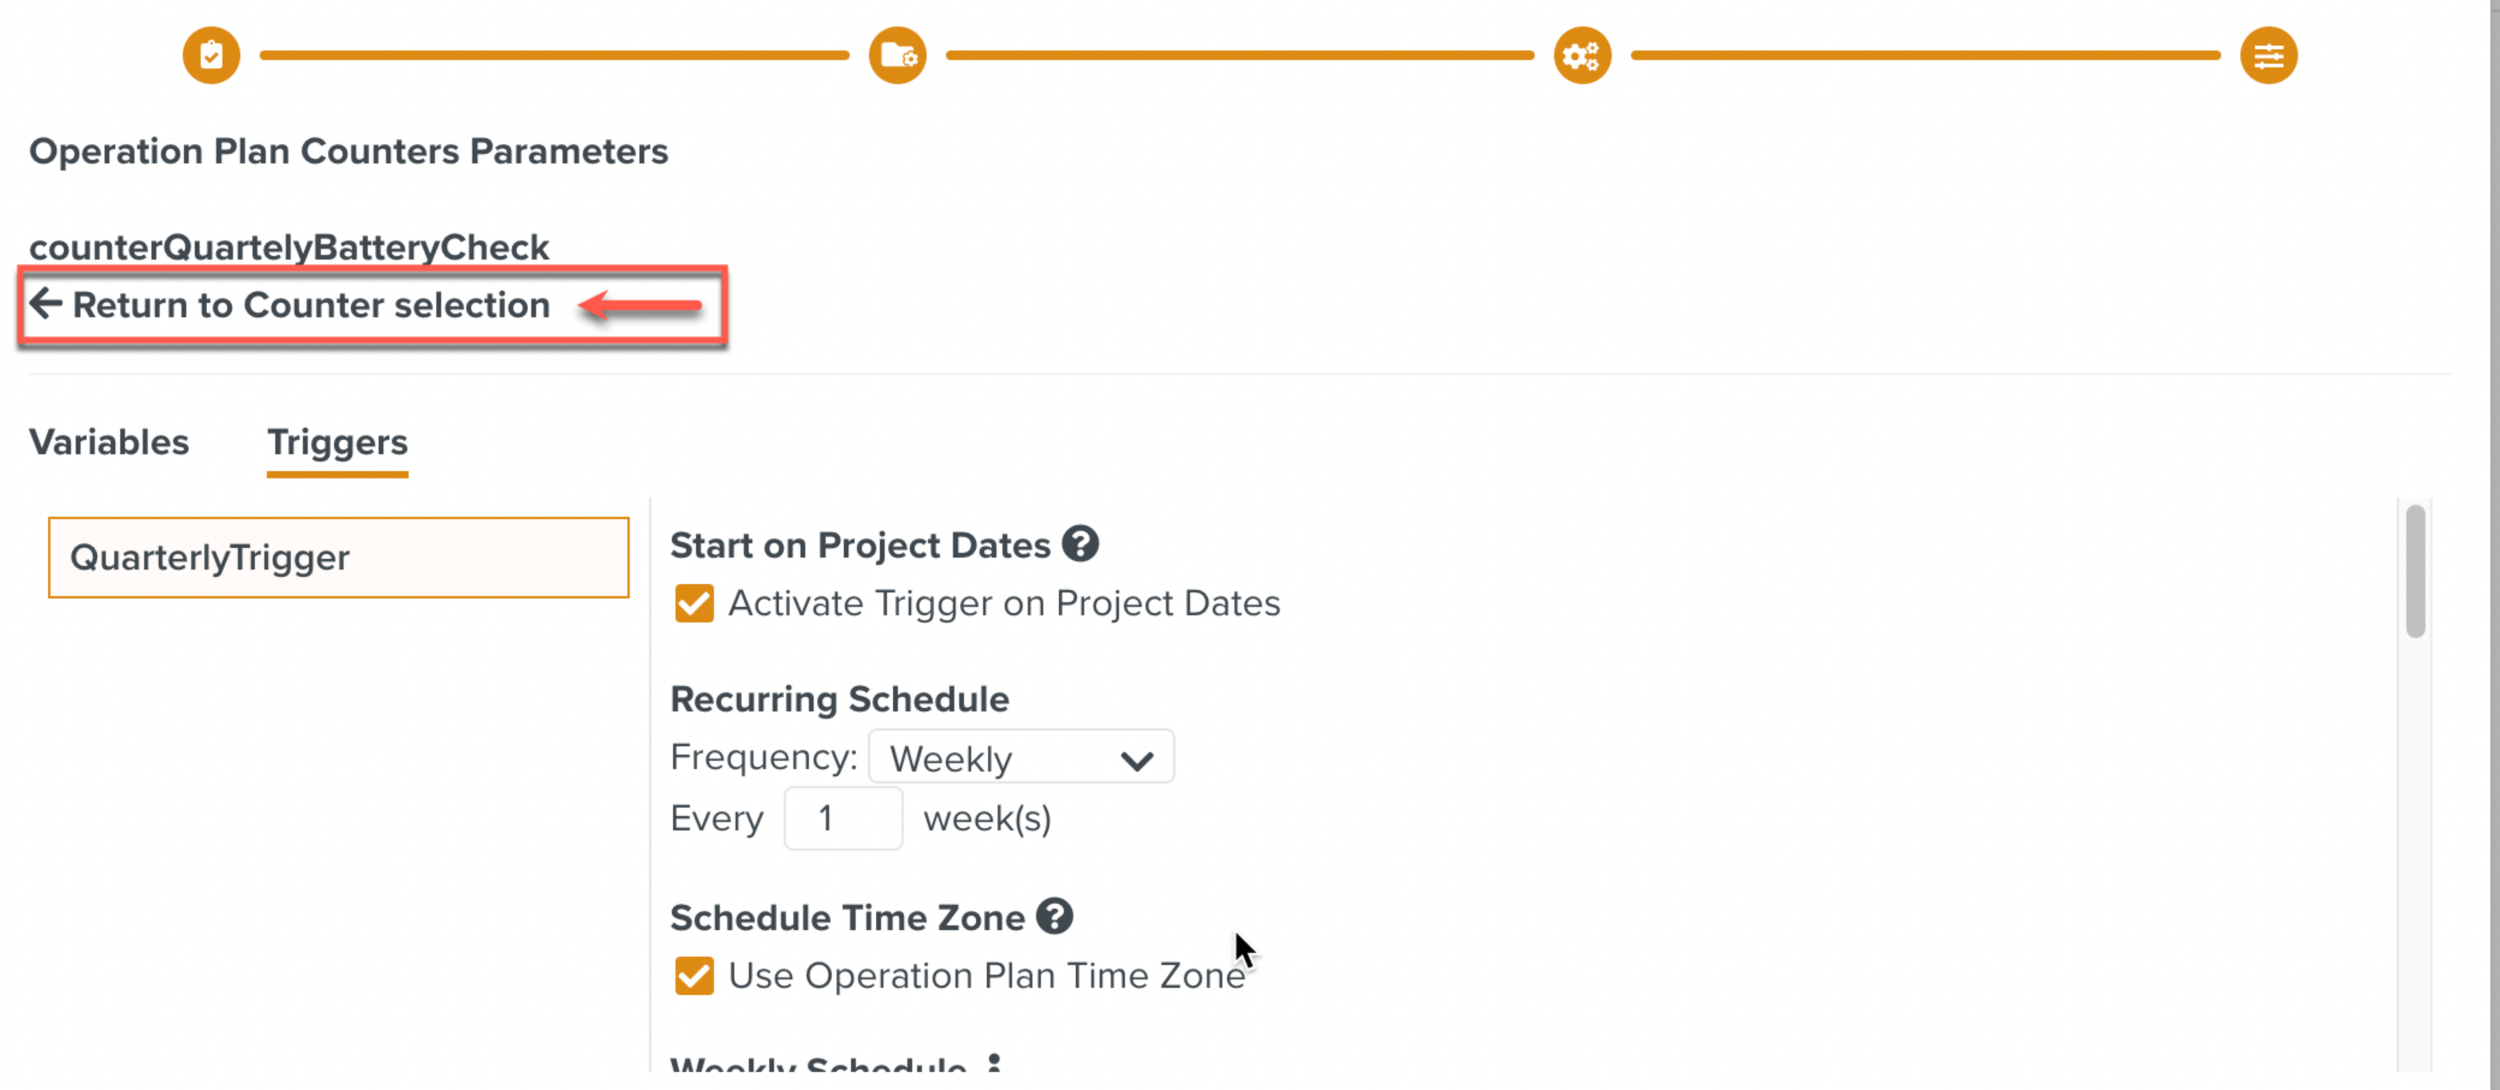
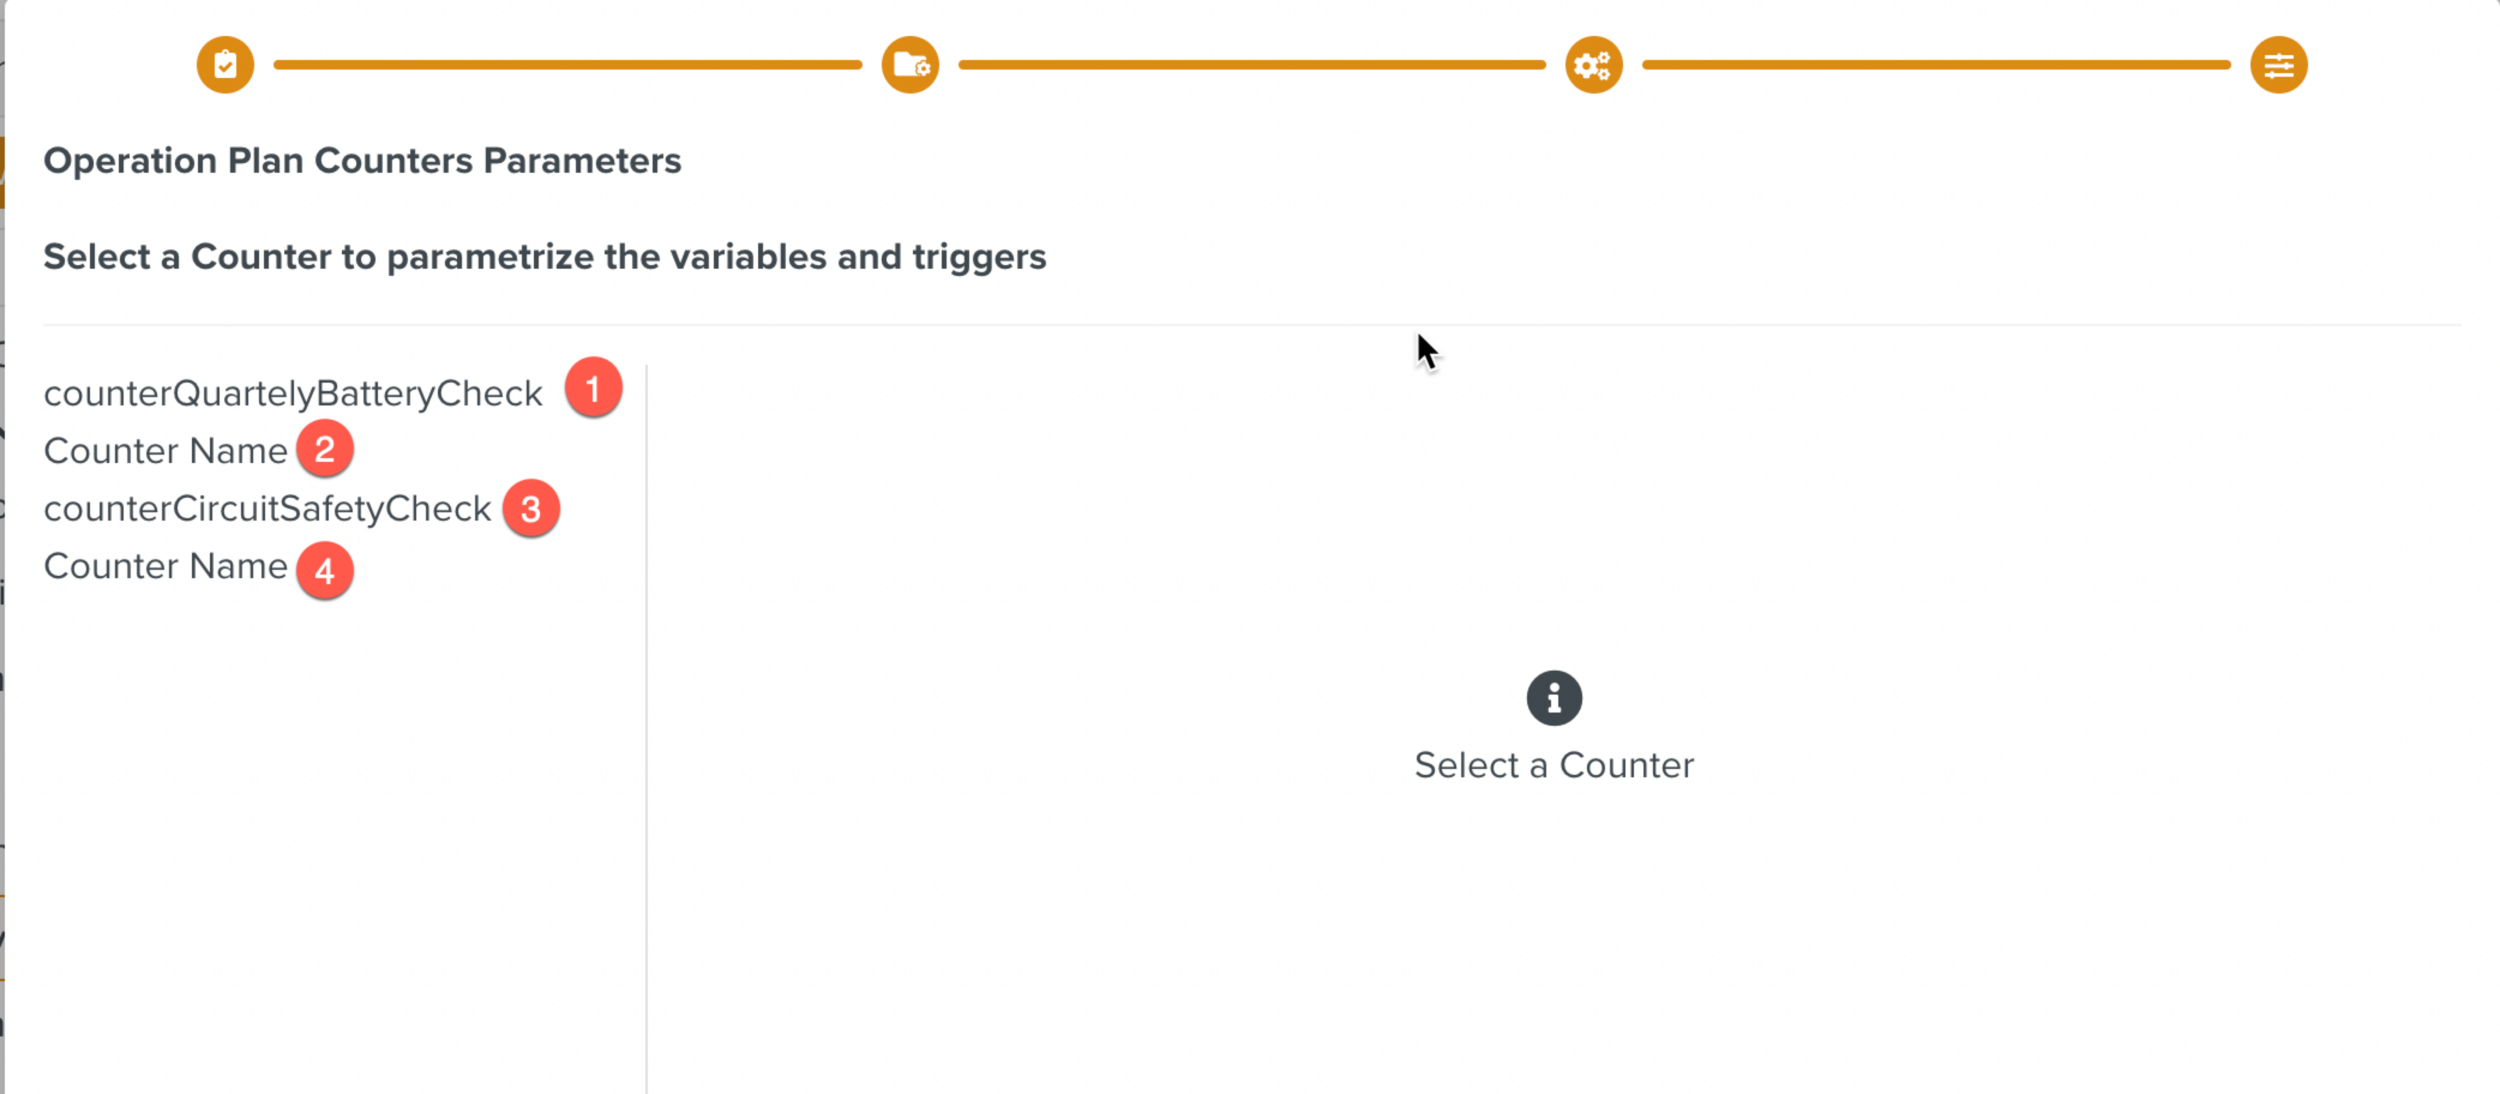
The list of Counters in the Operation Plan appears.
In the below example, there are four counters. If required, Steps 8 - 11 can be repeated for all of them.
Click .
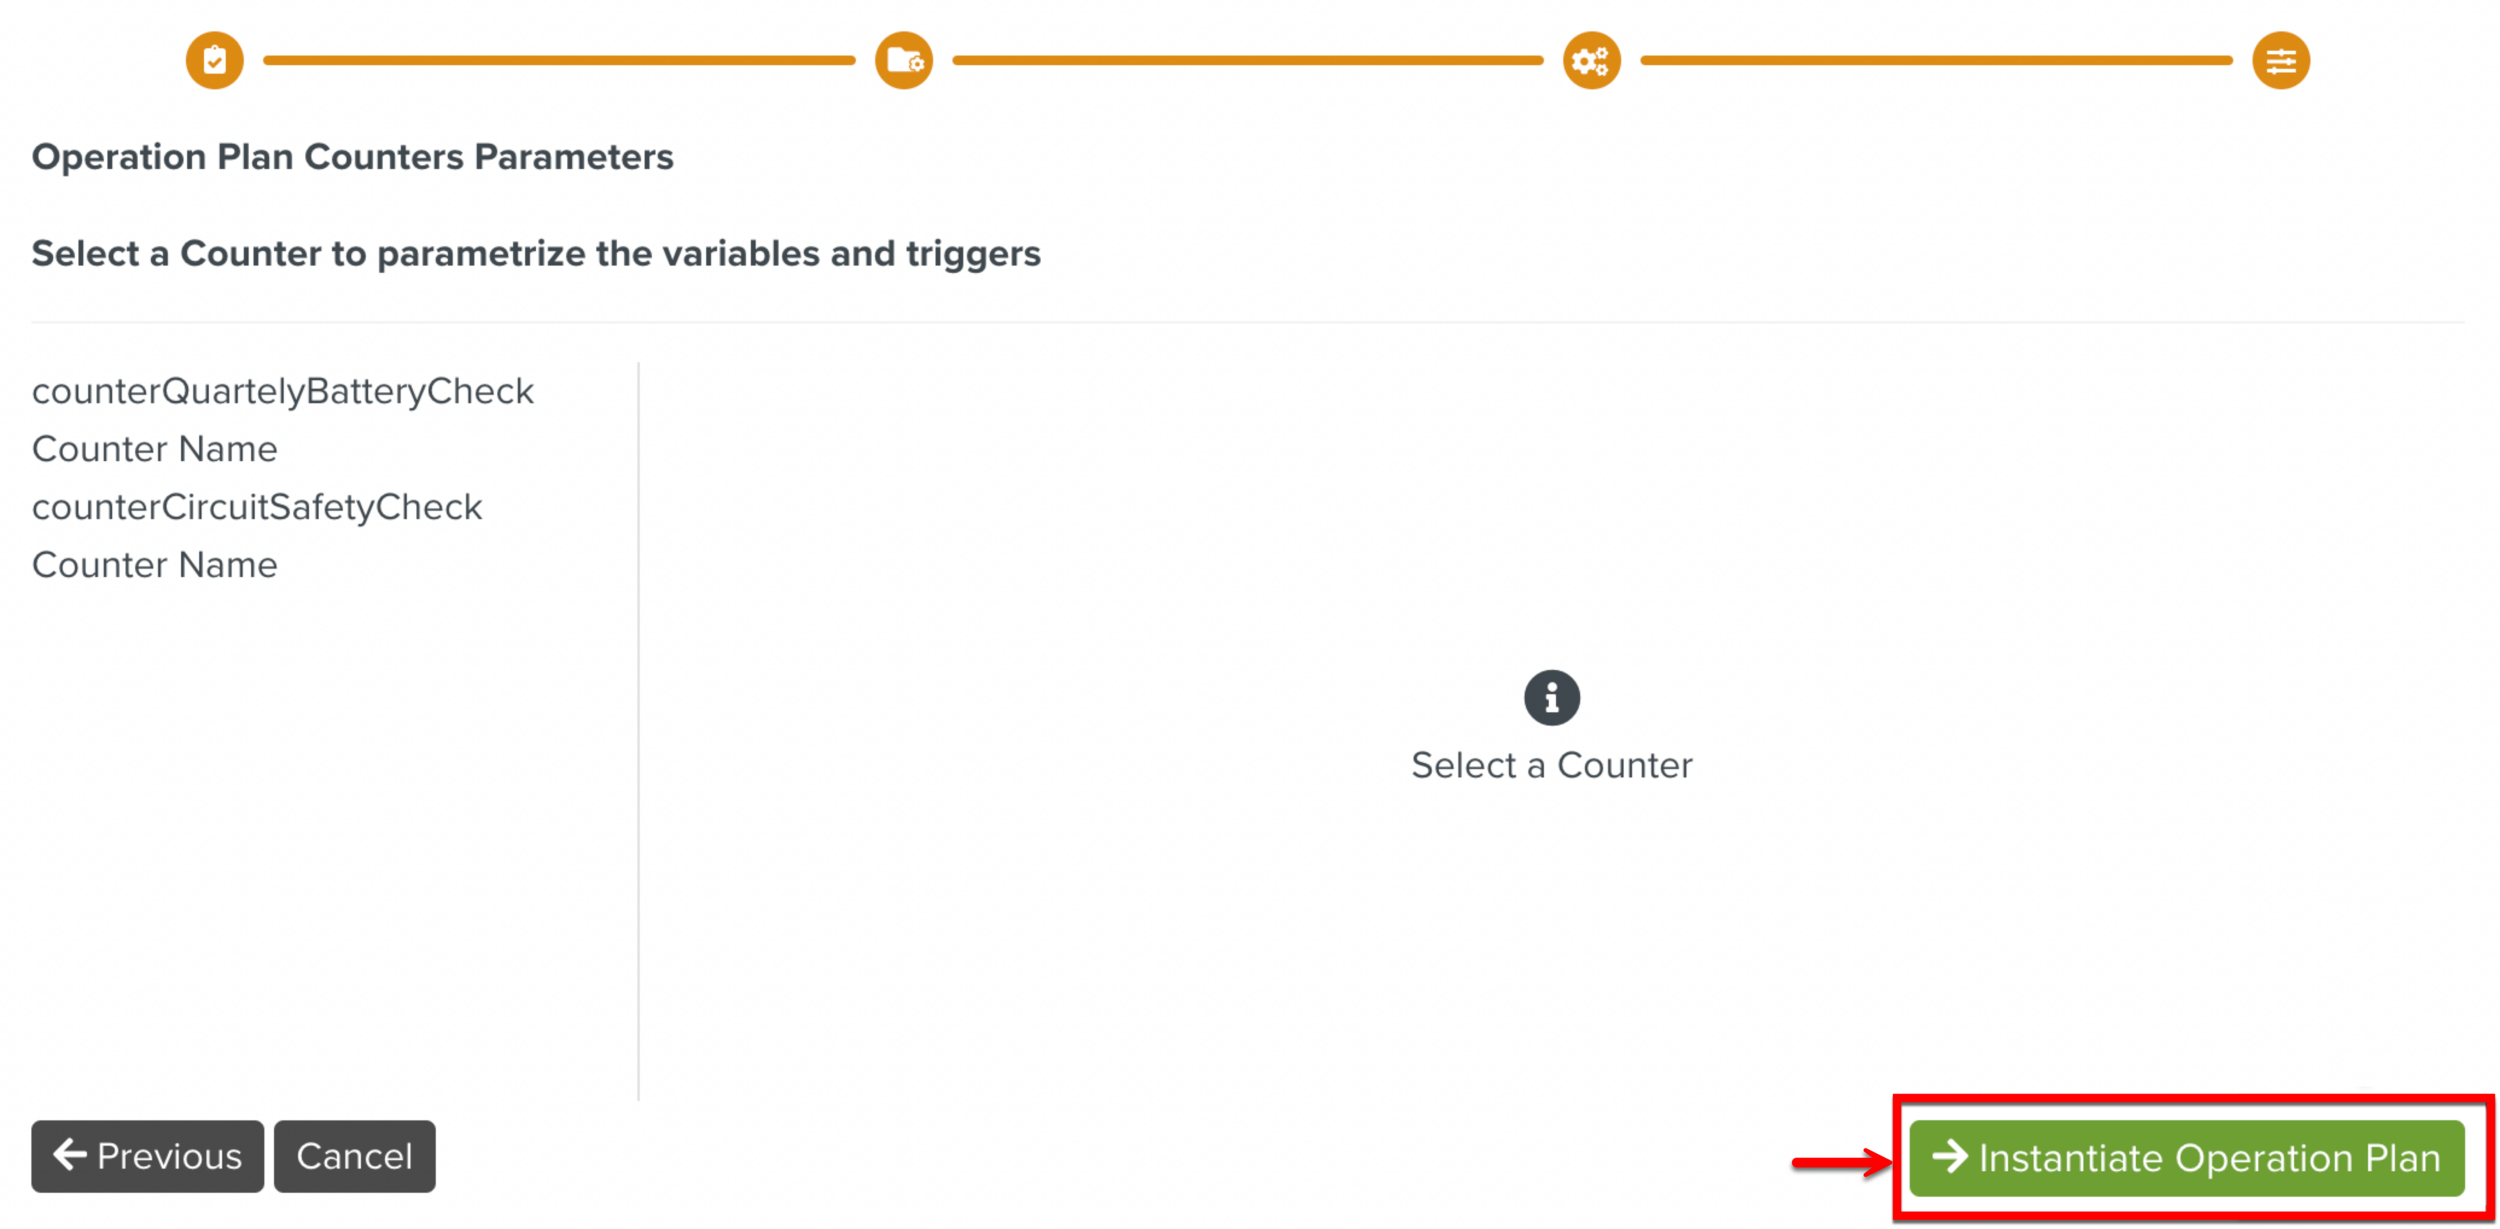
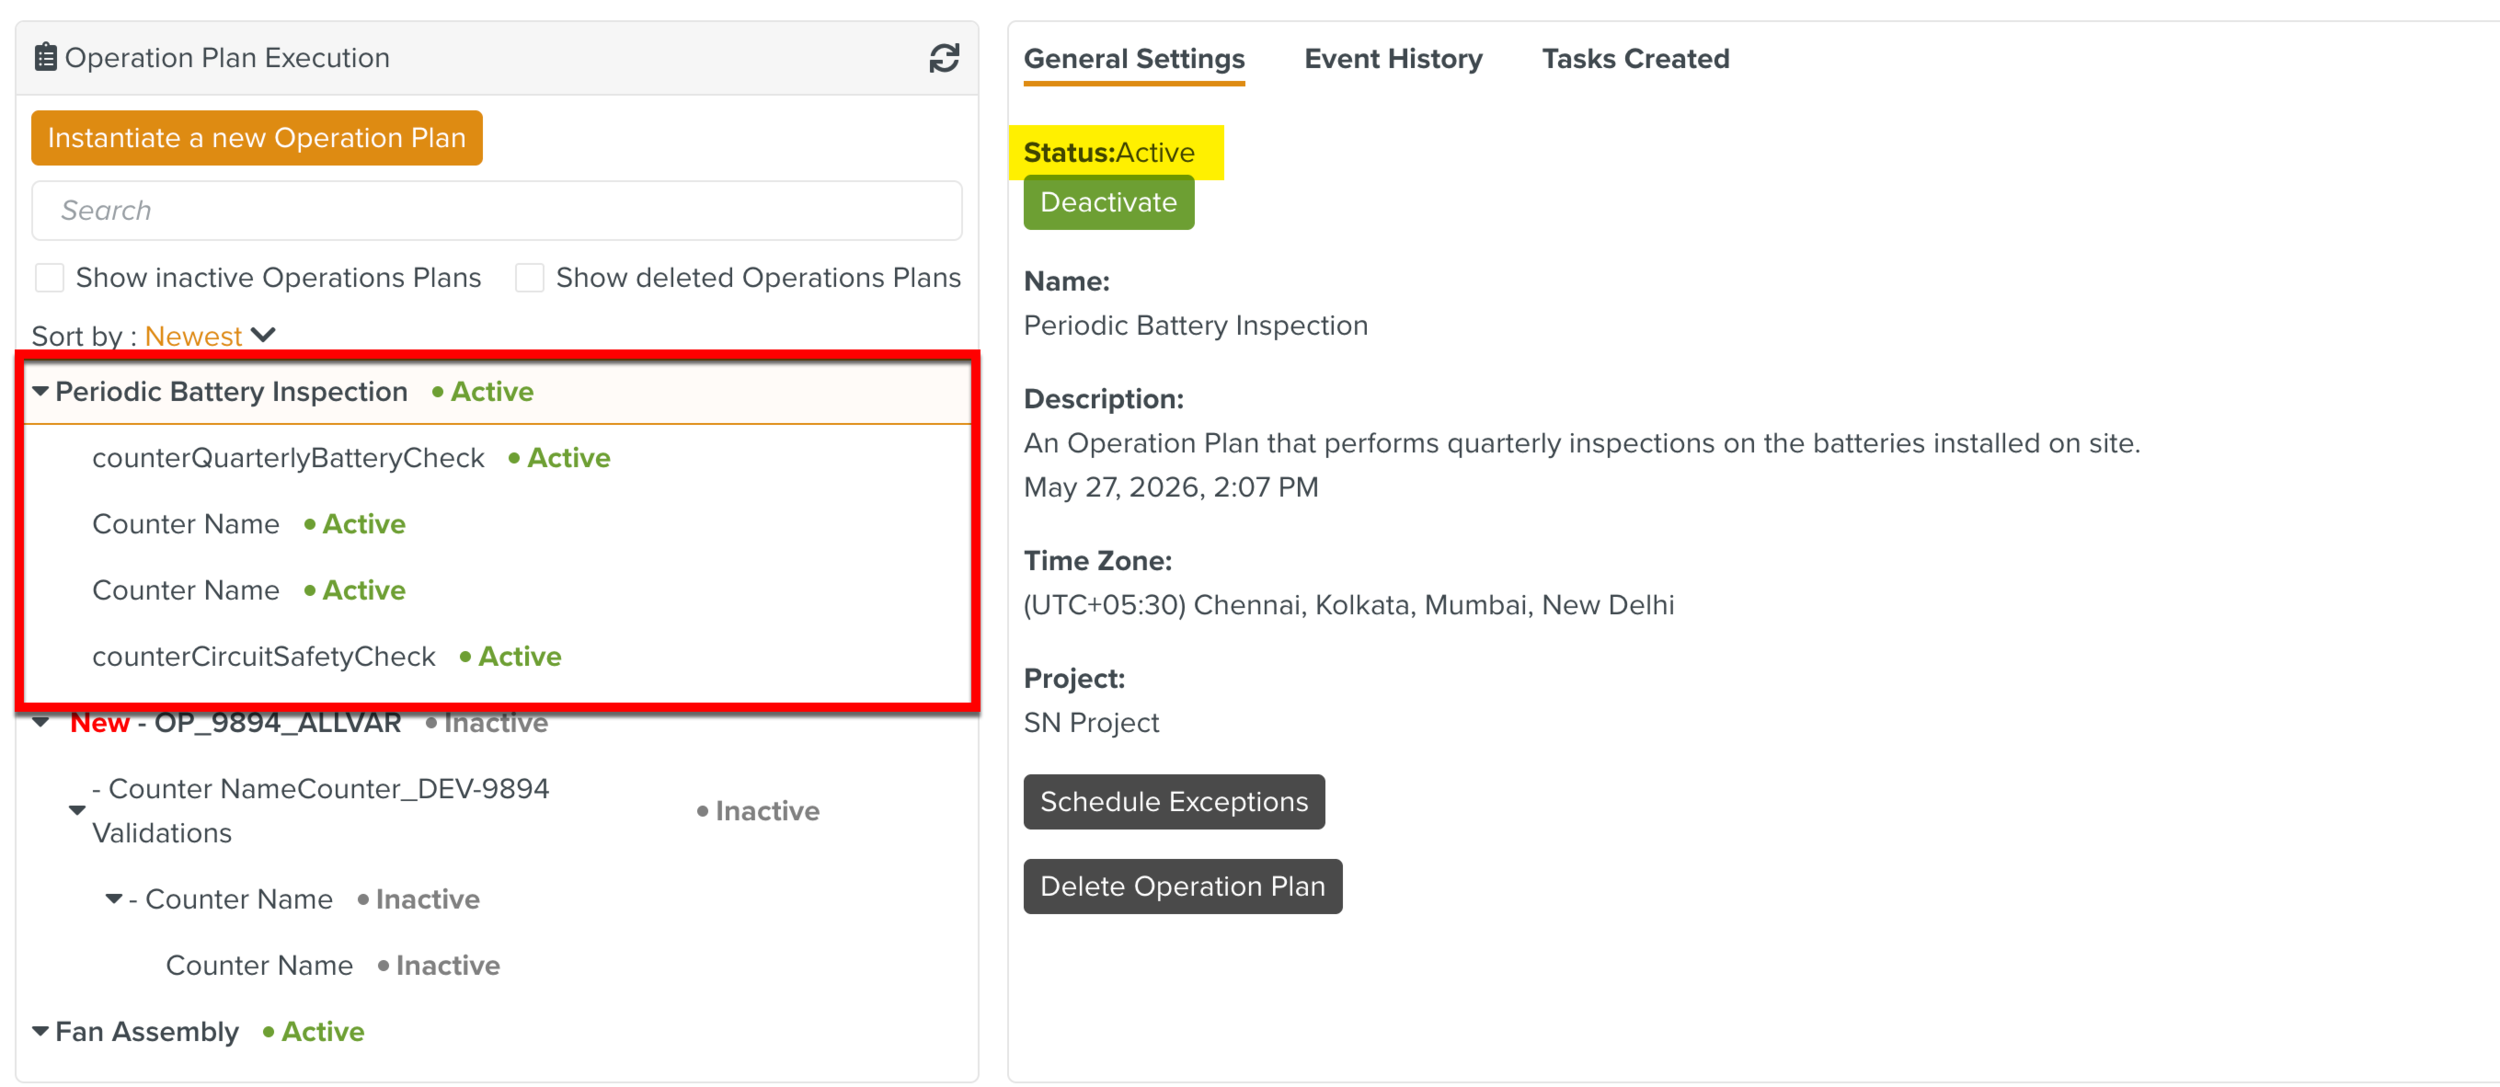
The newly added Operation Plan Execution appears in the list as shown and is automatically activated.
If the Activated after instantiation toggle is disabled, the button is replaced by .
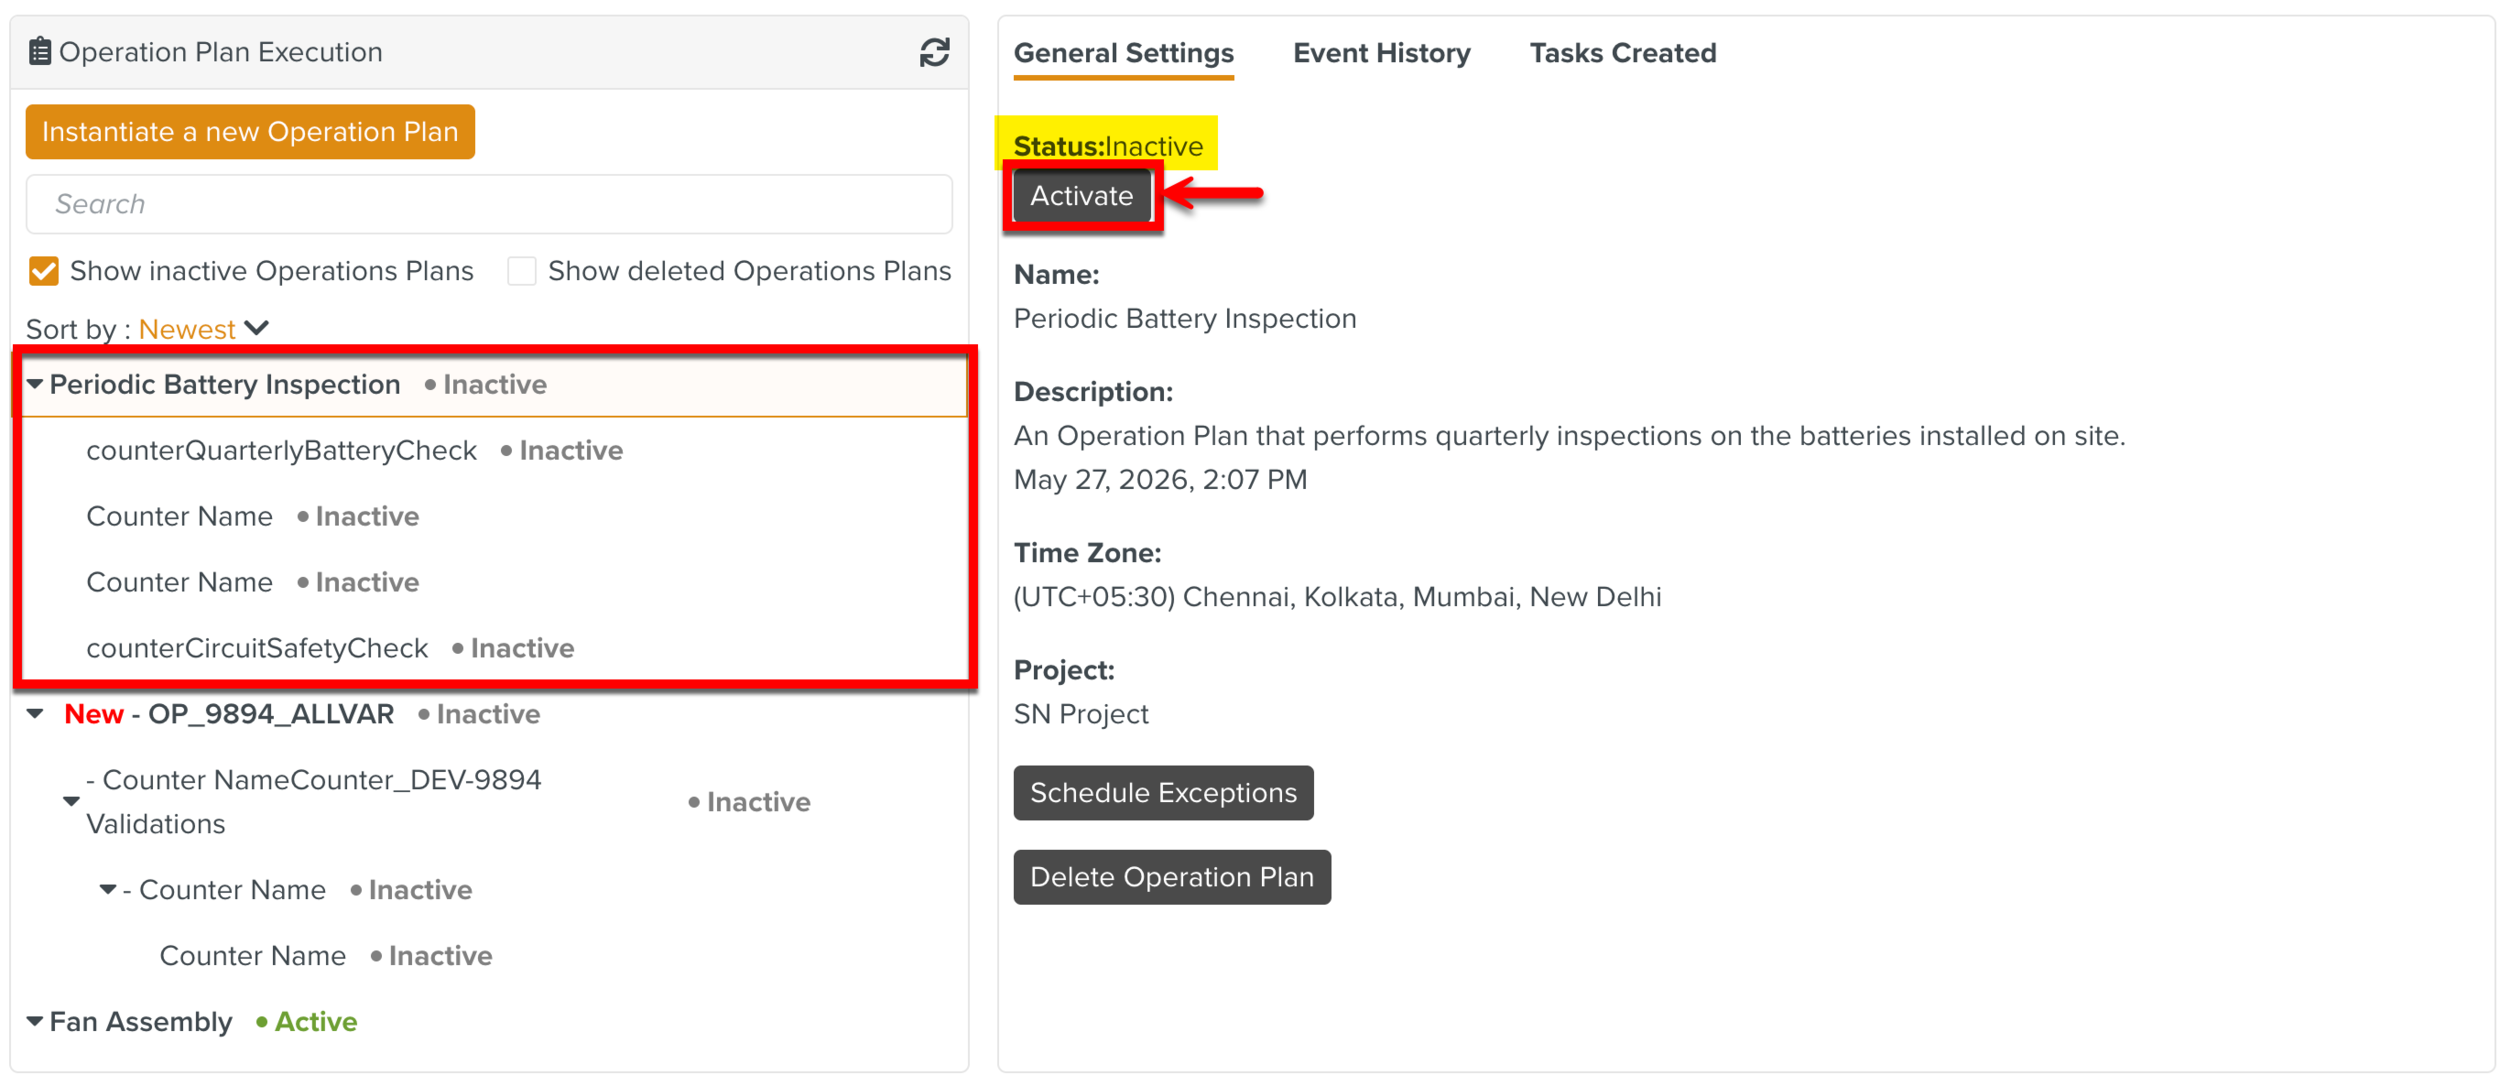
Clicking this option creates an Inactive Operation Plan execution.
 |
It has to be manually activated by clicking the button as shown below.
 |