Creating a Lifecycle Form
A Lifecycle Form is used to request information from the user in a User Task of a Custom Lifecycle.
A Custom Lifecycle can be used to detail the steps required for:
A Lifecycle Form can be mandatory or optional. If a Lifecycle Form is mandatory, the process cannot proceed until it meets the requirement specified in that step.
Steps to Create a Lifecycle Form
To create a Lifecycle Form:
From the main menu, go to > > .
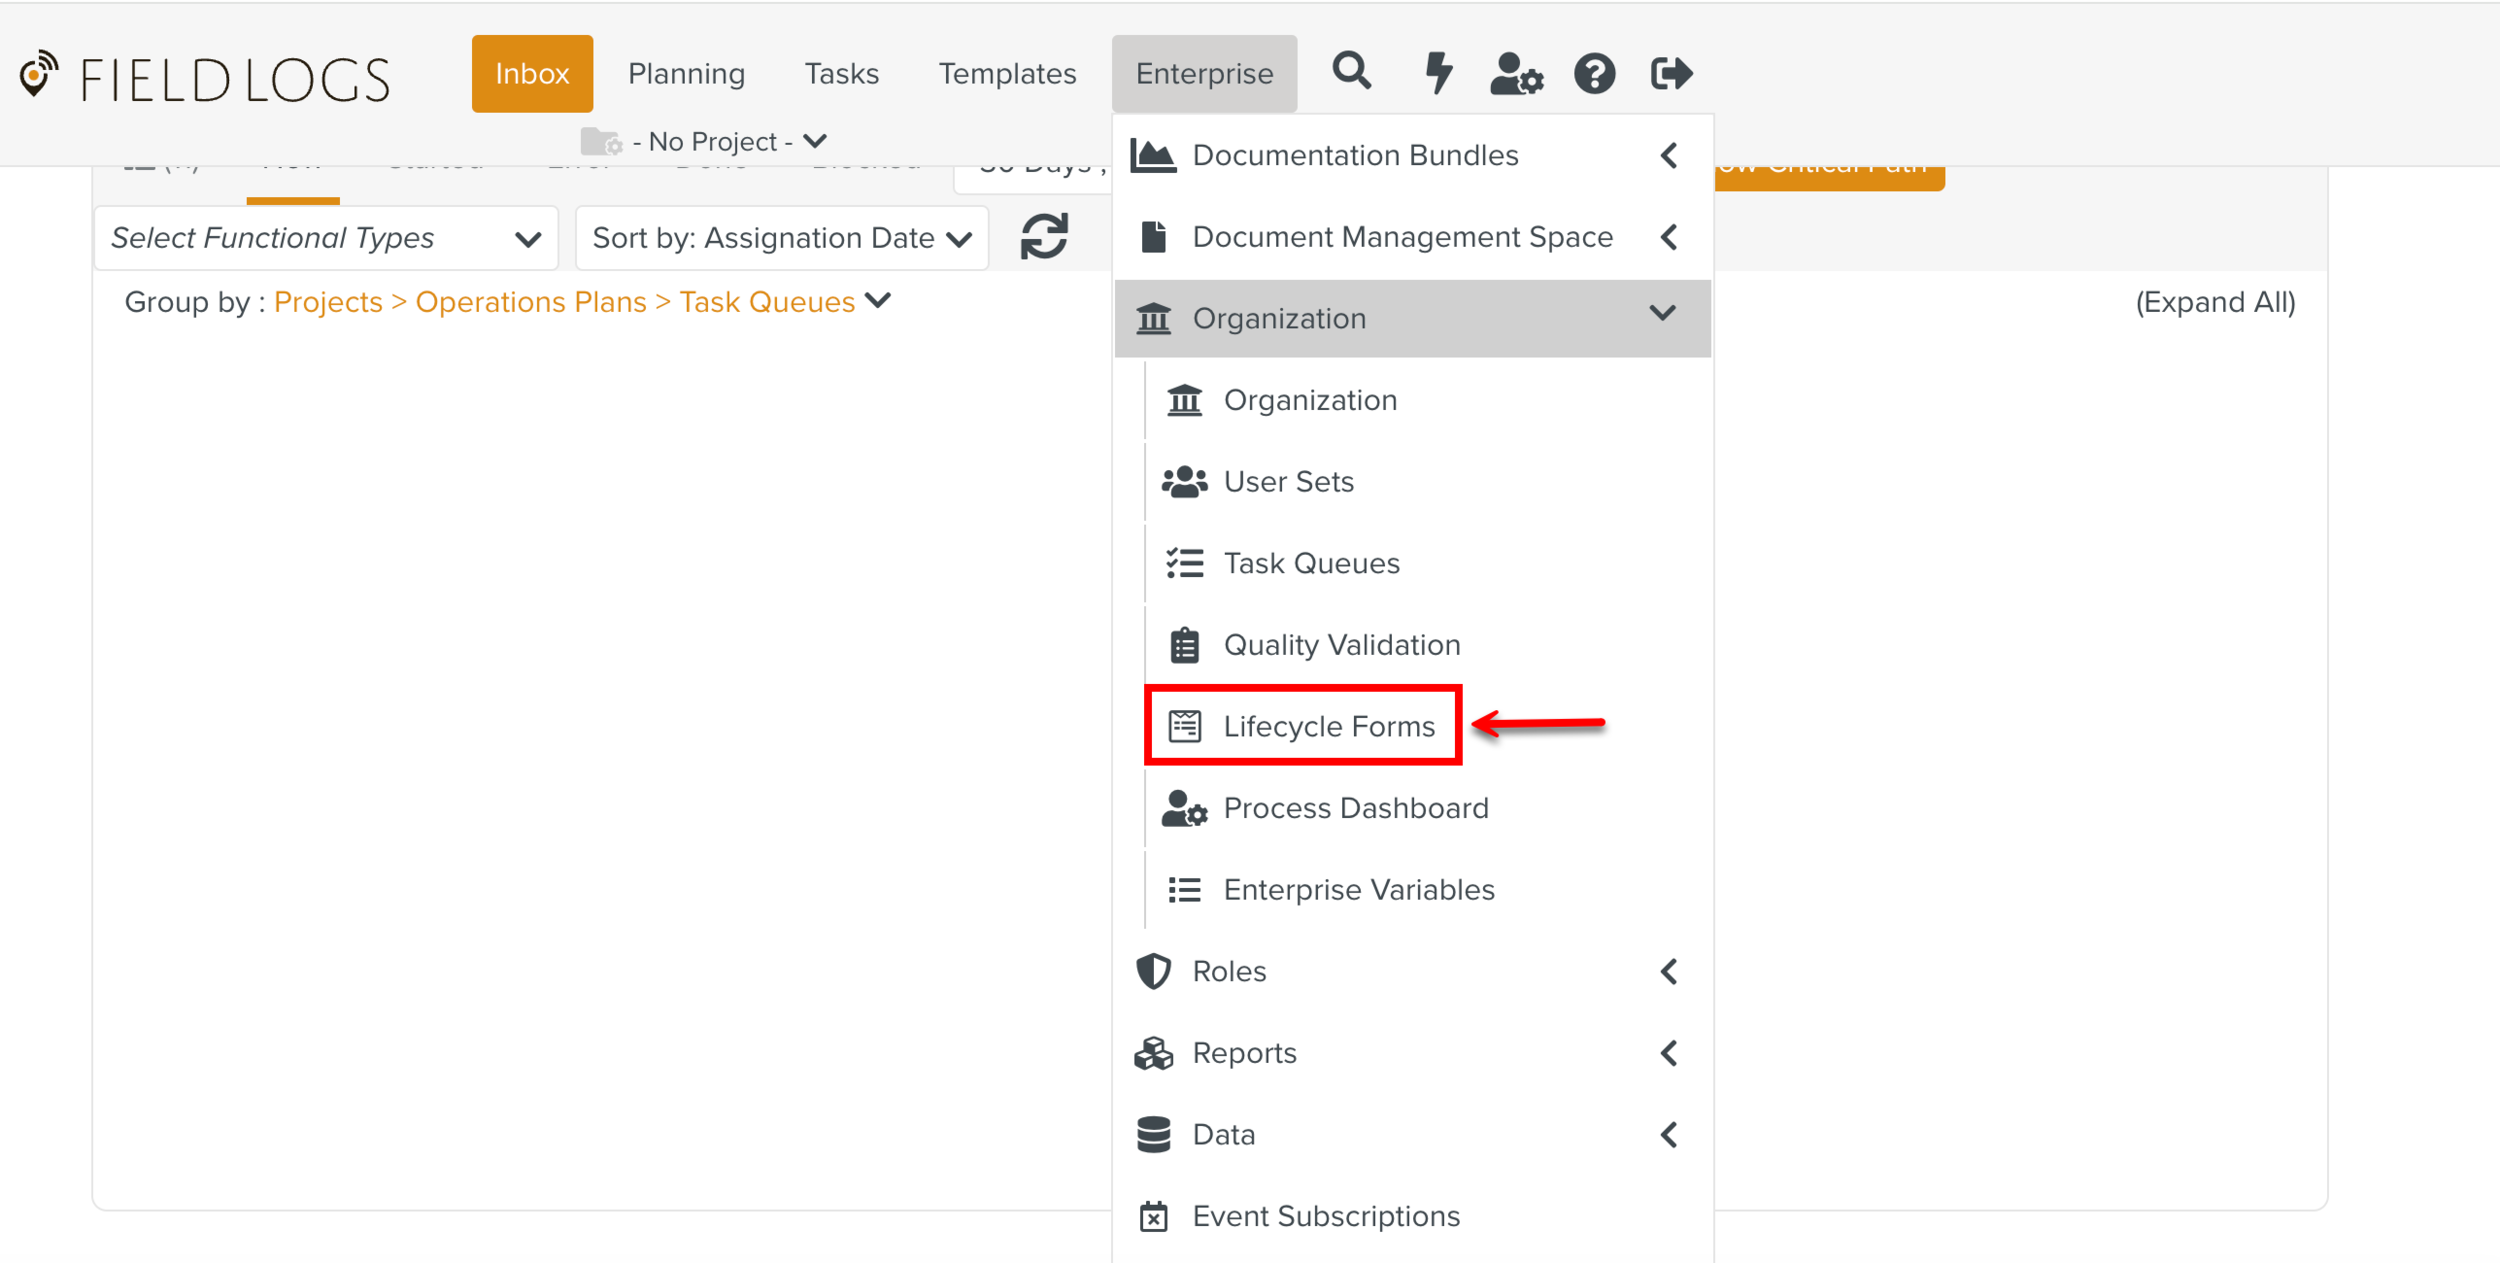
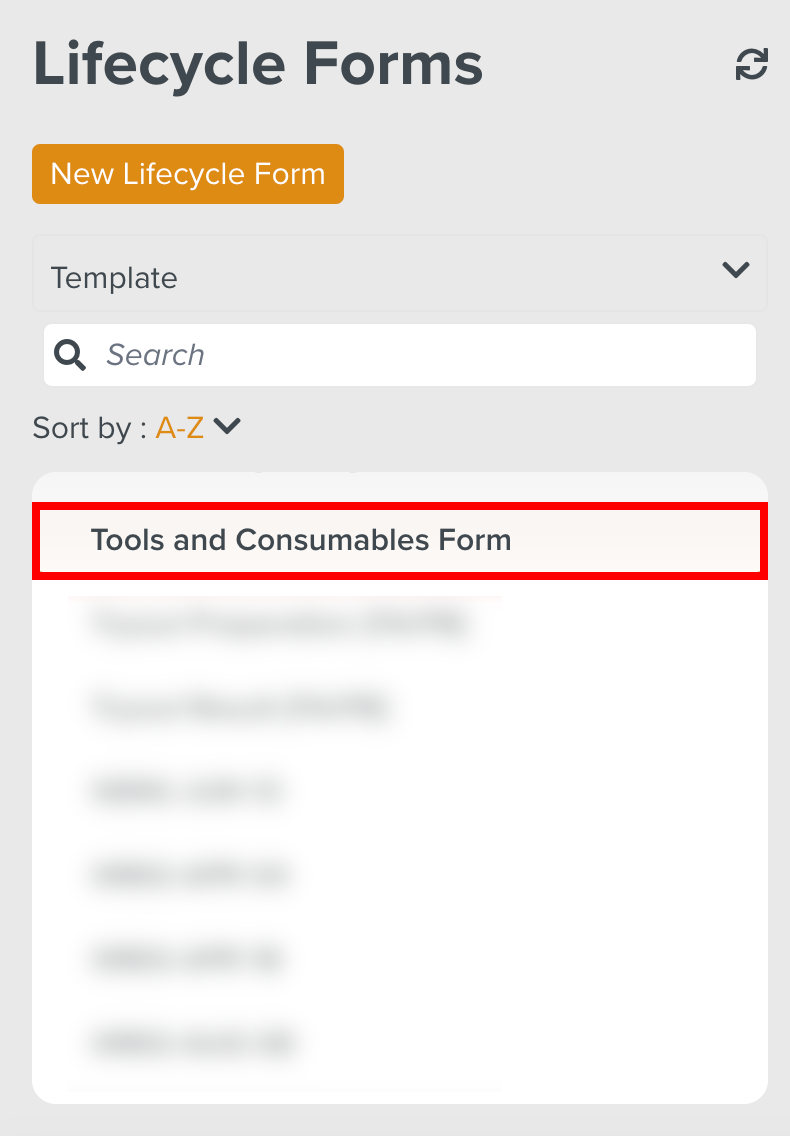
The page Lifecycle Forms opens.
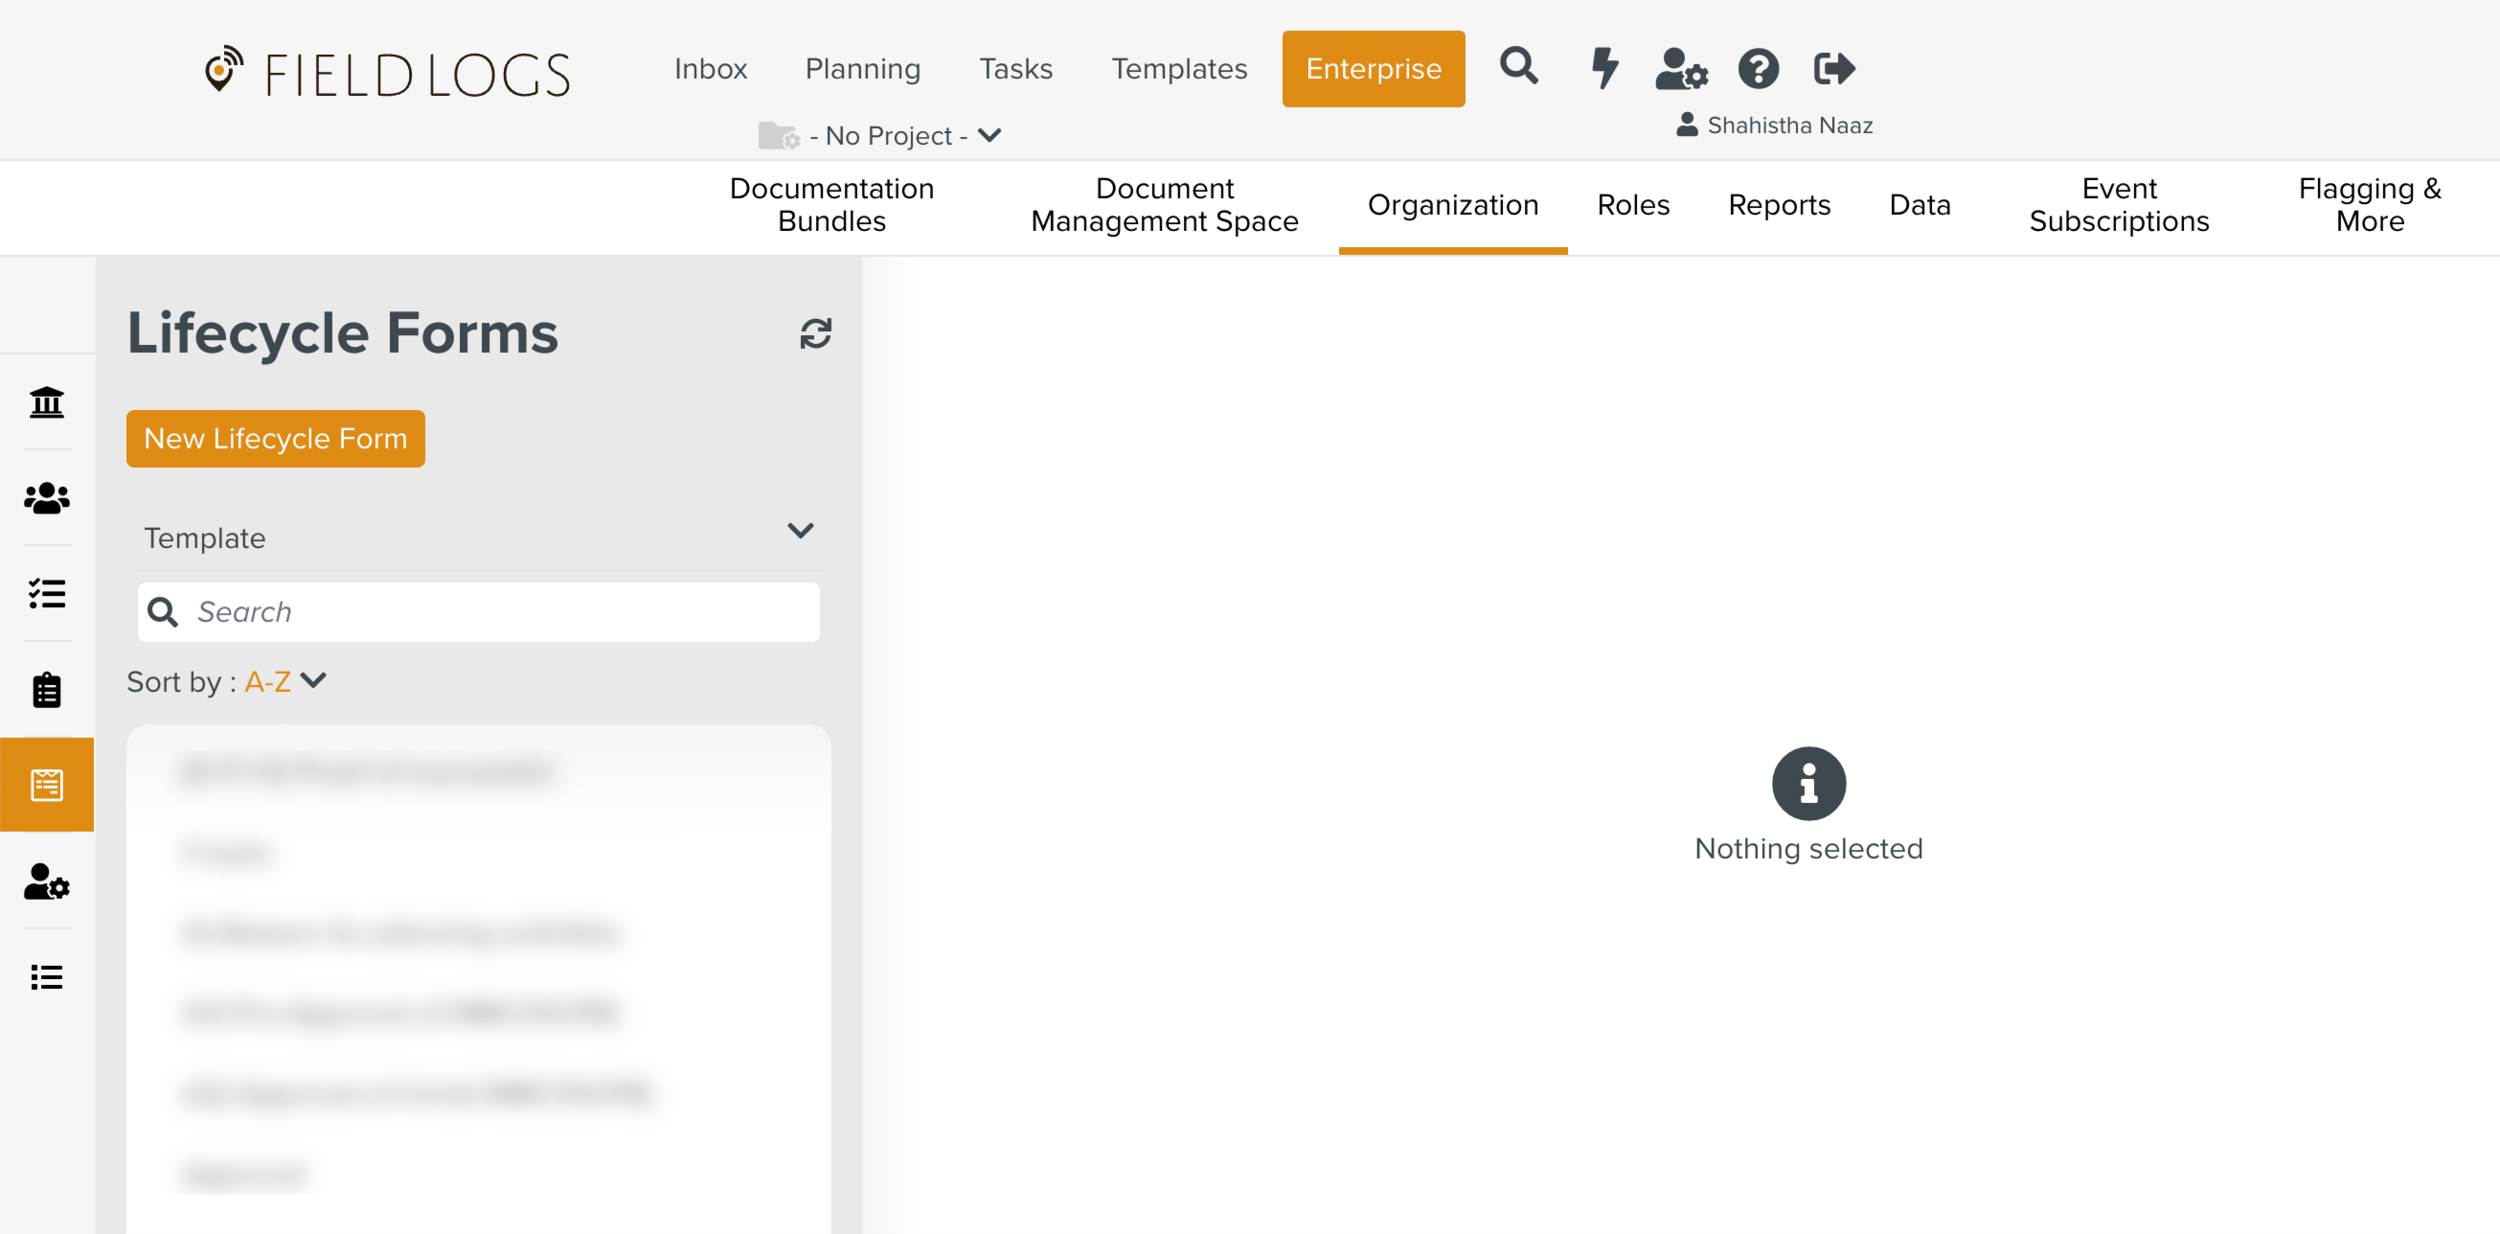
Click .

Enter the name and description for the Form.
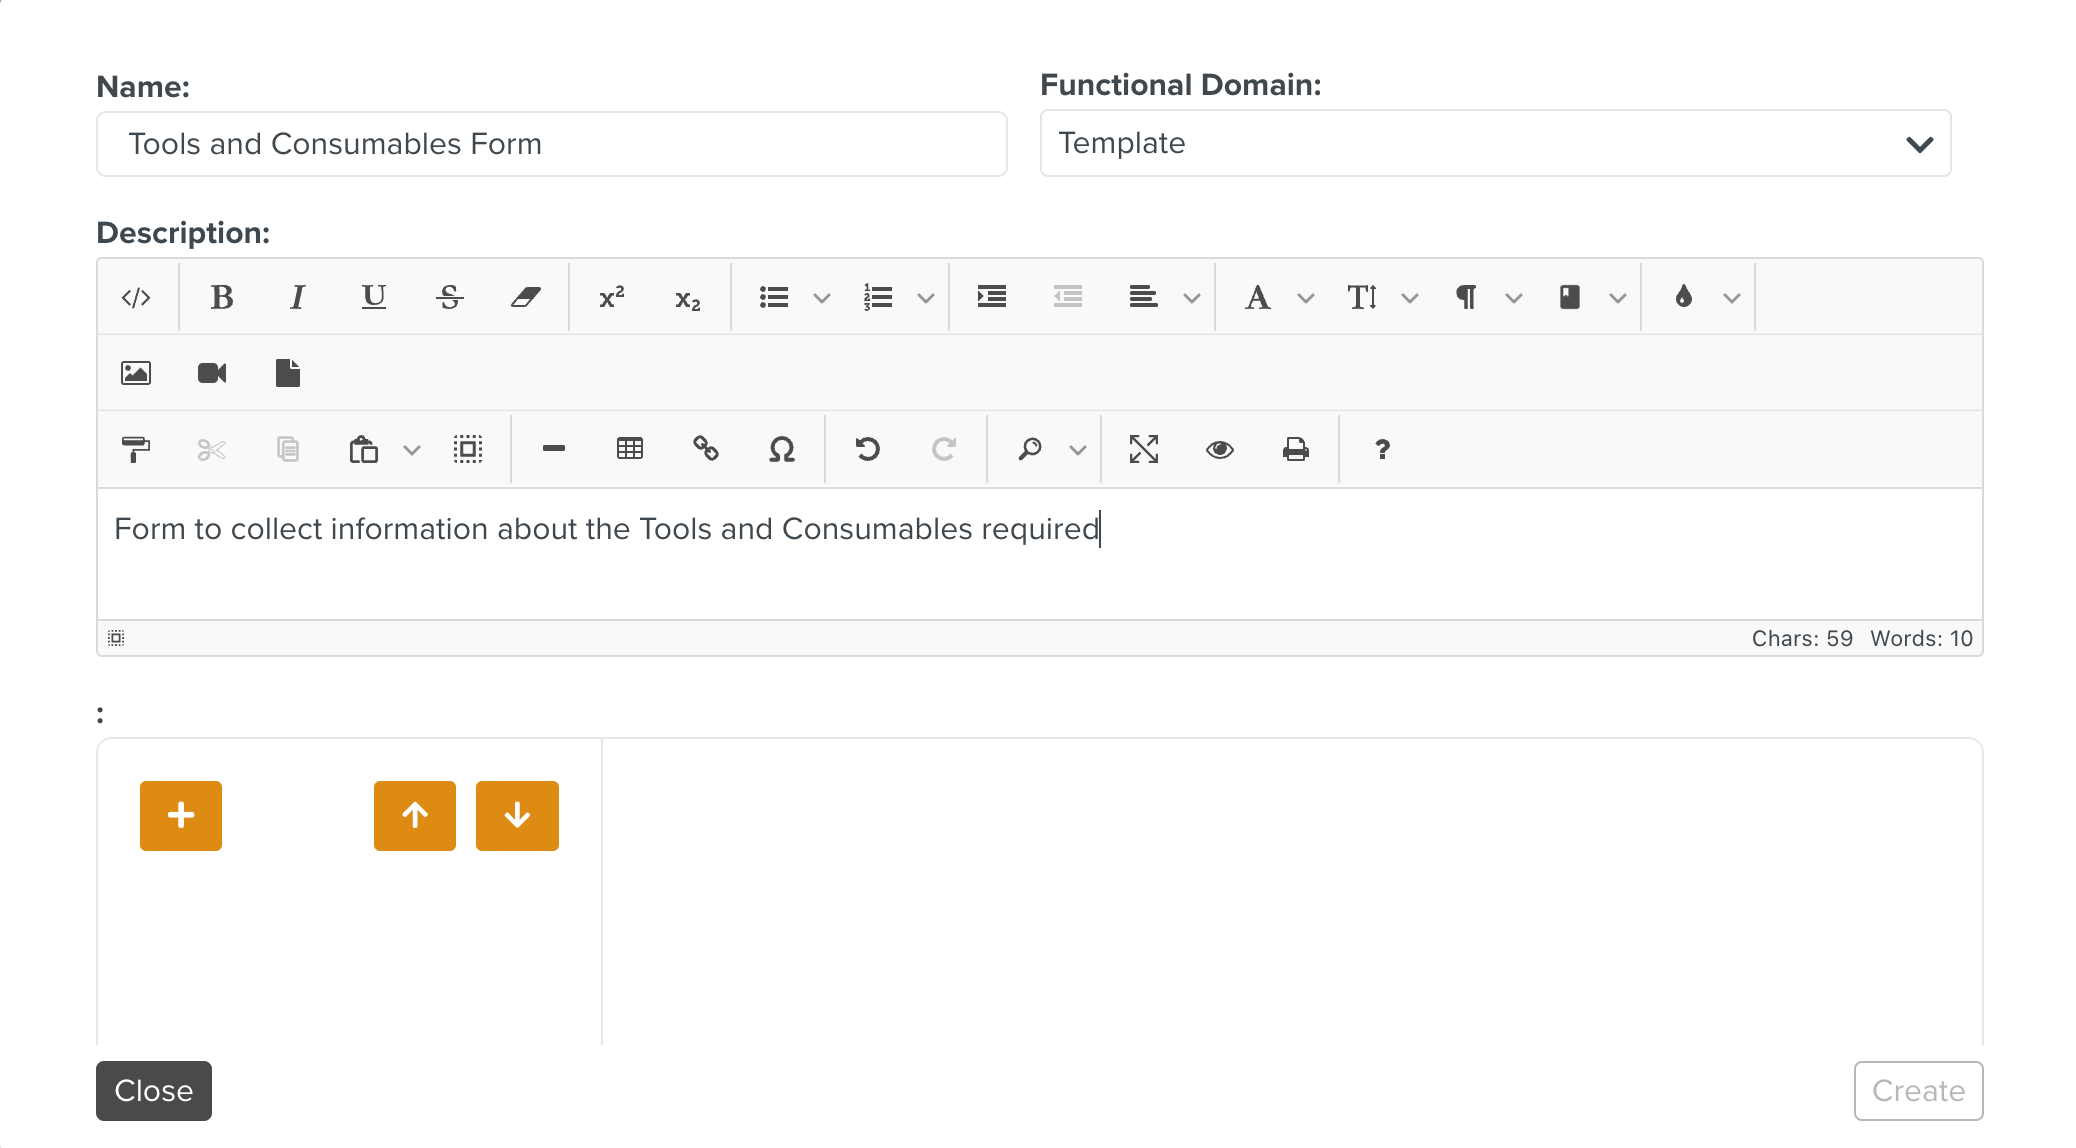
Select a Functional Domain for the Form. The Functional Domain denotes the process in which the Form can be used.
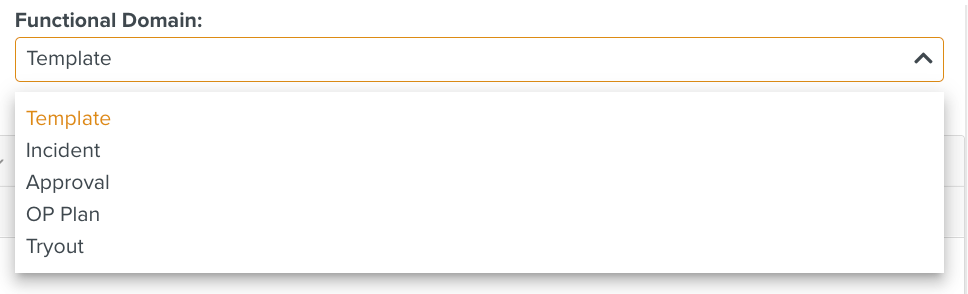
The following options are available:
Template: Select Template, to use the form in the Template Publication process.
Incident: Select Incident, to use the form in the Incident Resolution process.
Approval: Select Approval, to use the Form for the Document Approval process.
OP Plan: Select OP Plan to use the form for Operation Plan Tasks.
Tryout: Select Tryout to use the form in the Tryout process.
Click
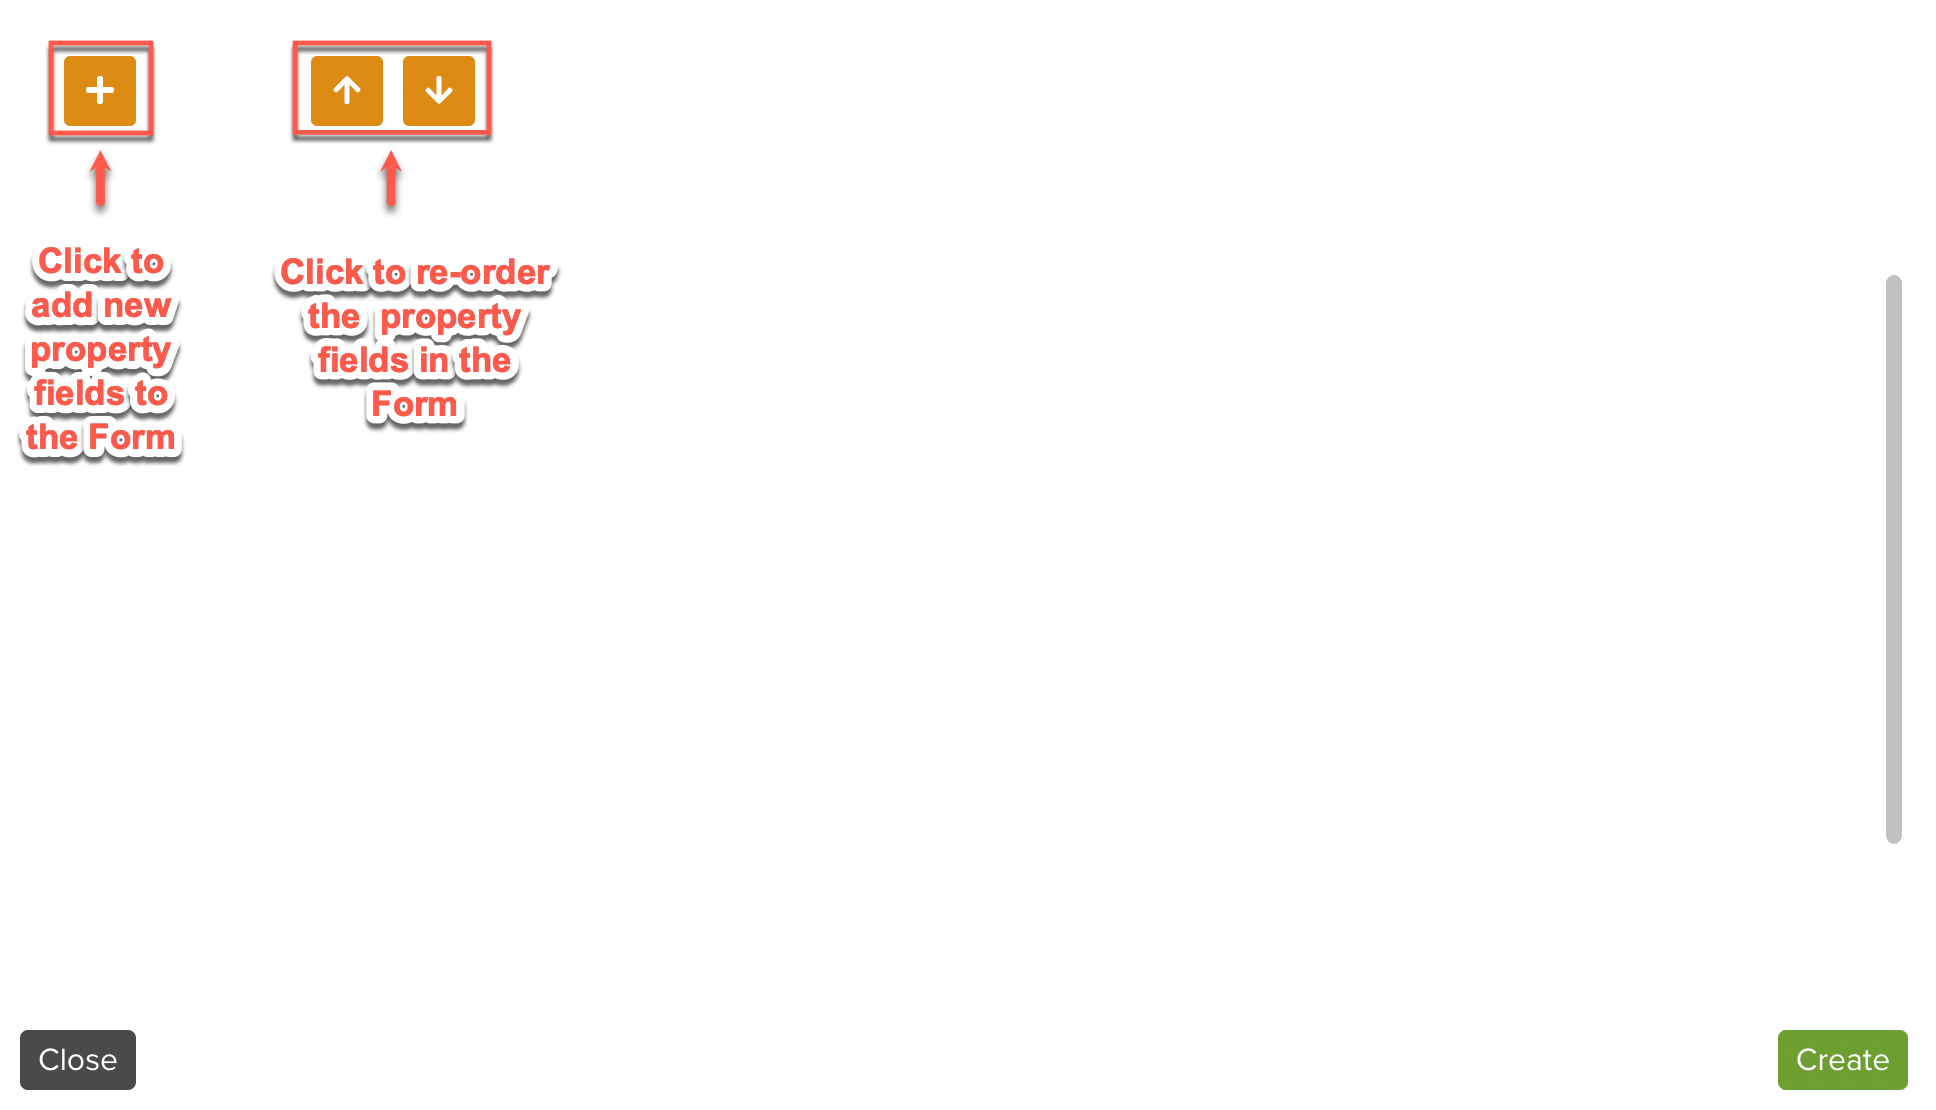
 to add property fields to the Form.
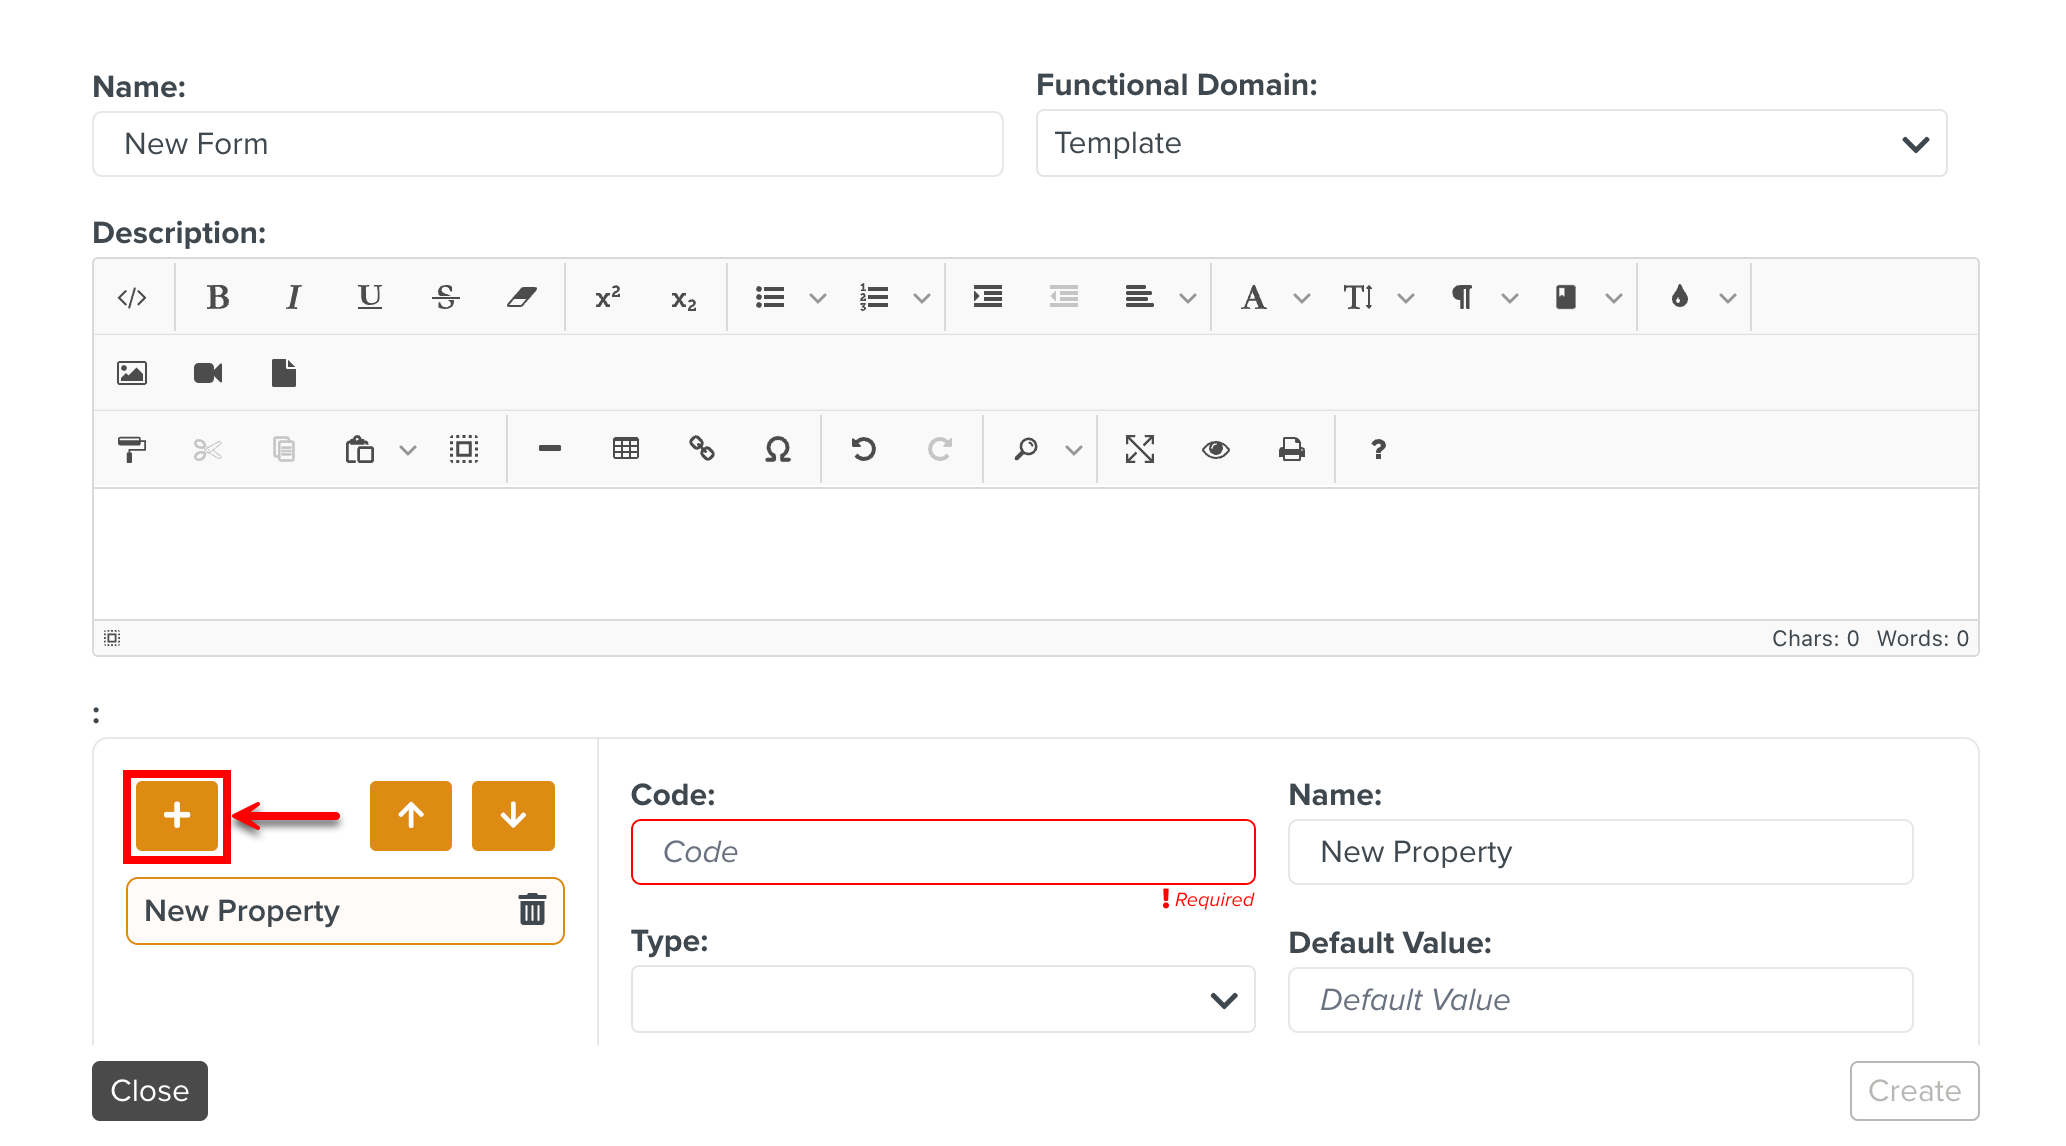
You can re-order property fields in the Form using the arrows as indicated below.
[Mandatory] Enter a code for the Field. The value of this Field can be referenced in the Lifecycle by concatenating the FormCode and FieldCode, i.e., using the format
FormCodeFieldCode.
[Mandatory] Enter a name for the Field.
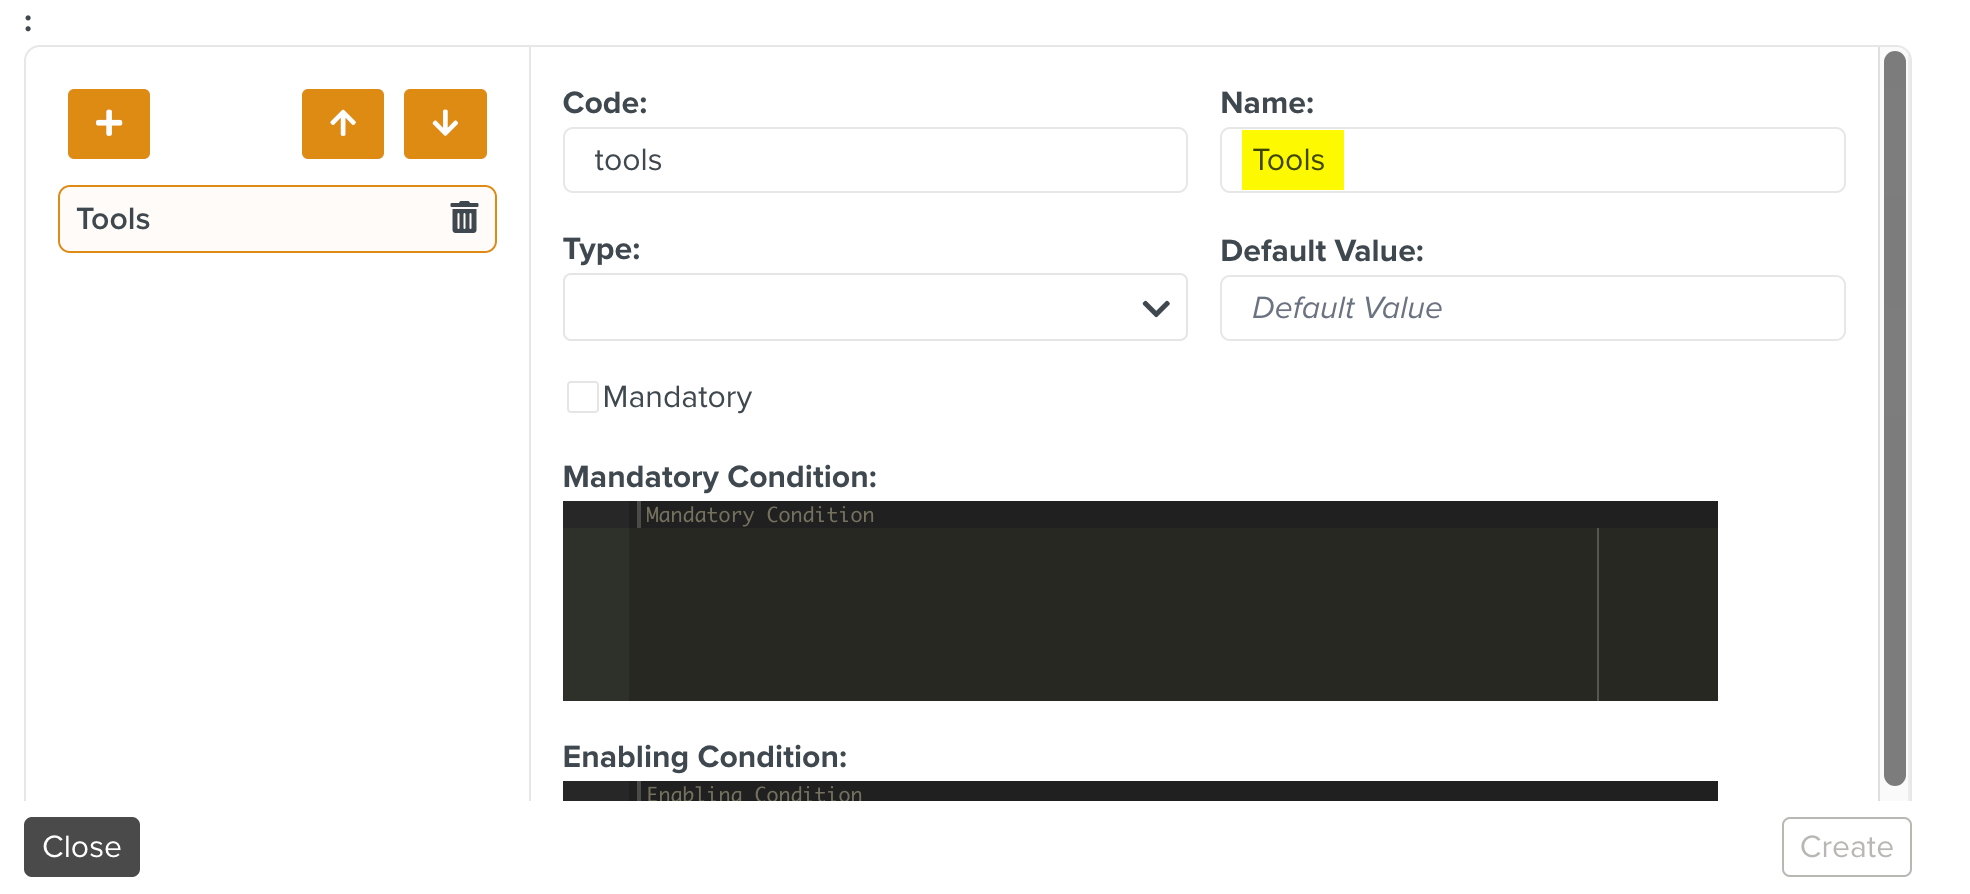
Select the Field Type from the Type dropdown list. This indicates the data type of the Field.

In the below example, Check and Approved are Fields of Type File.
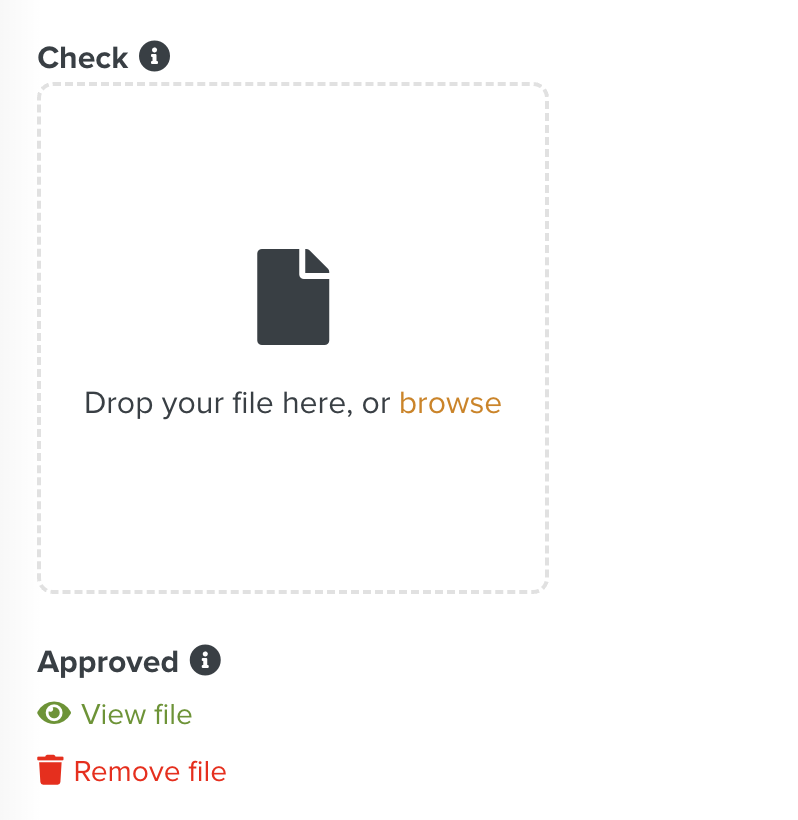
The required file is already attached to the Approved Field. Hence, the View file and Remove file options are displayed.
Note
A 4 eyes review constraint does not allow the author of the Template to review it. A different person is required to review it.
To enforce a 4 eyes review constraint, select 4 eyes review.
Check Mandatory if this Field needs to be mandatory in the Form.

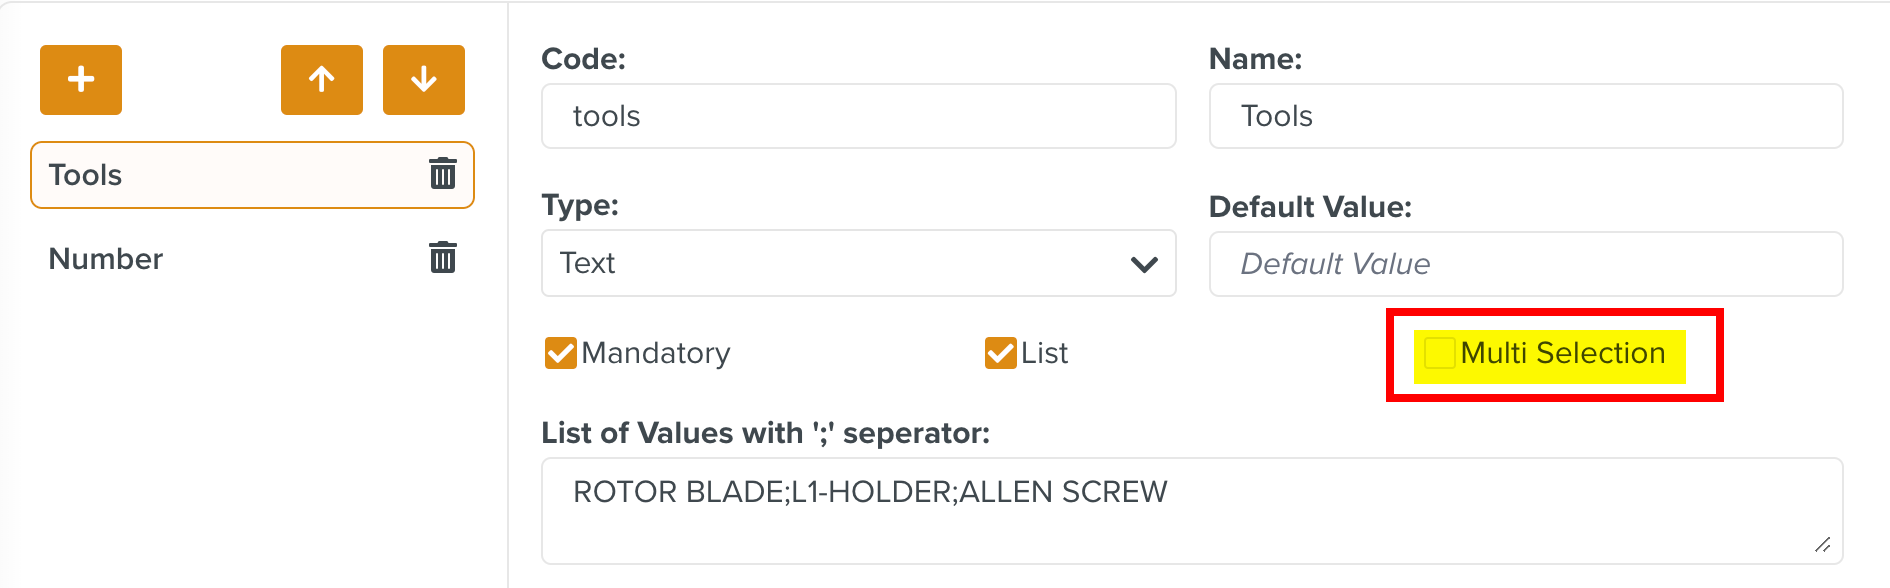
If the Field is a dropdown list, check List. If the list allows multi-selection of list items, check Multi Selection.

Enter the values to be populated in the list, with a semicolon to separate the values.

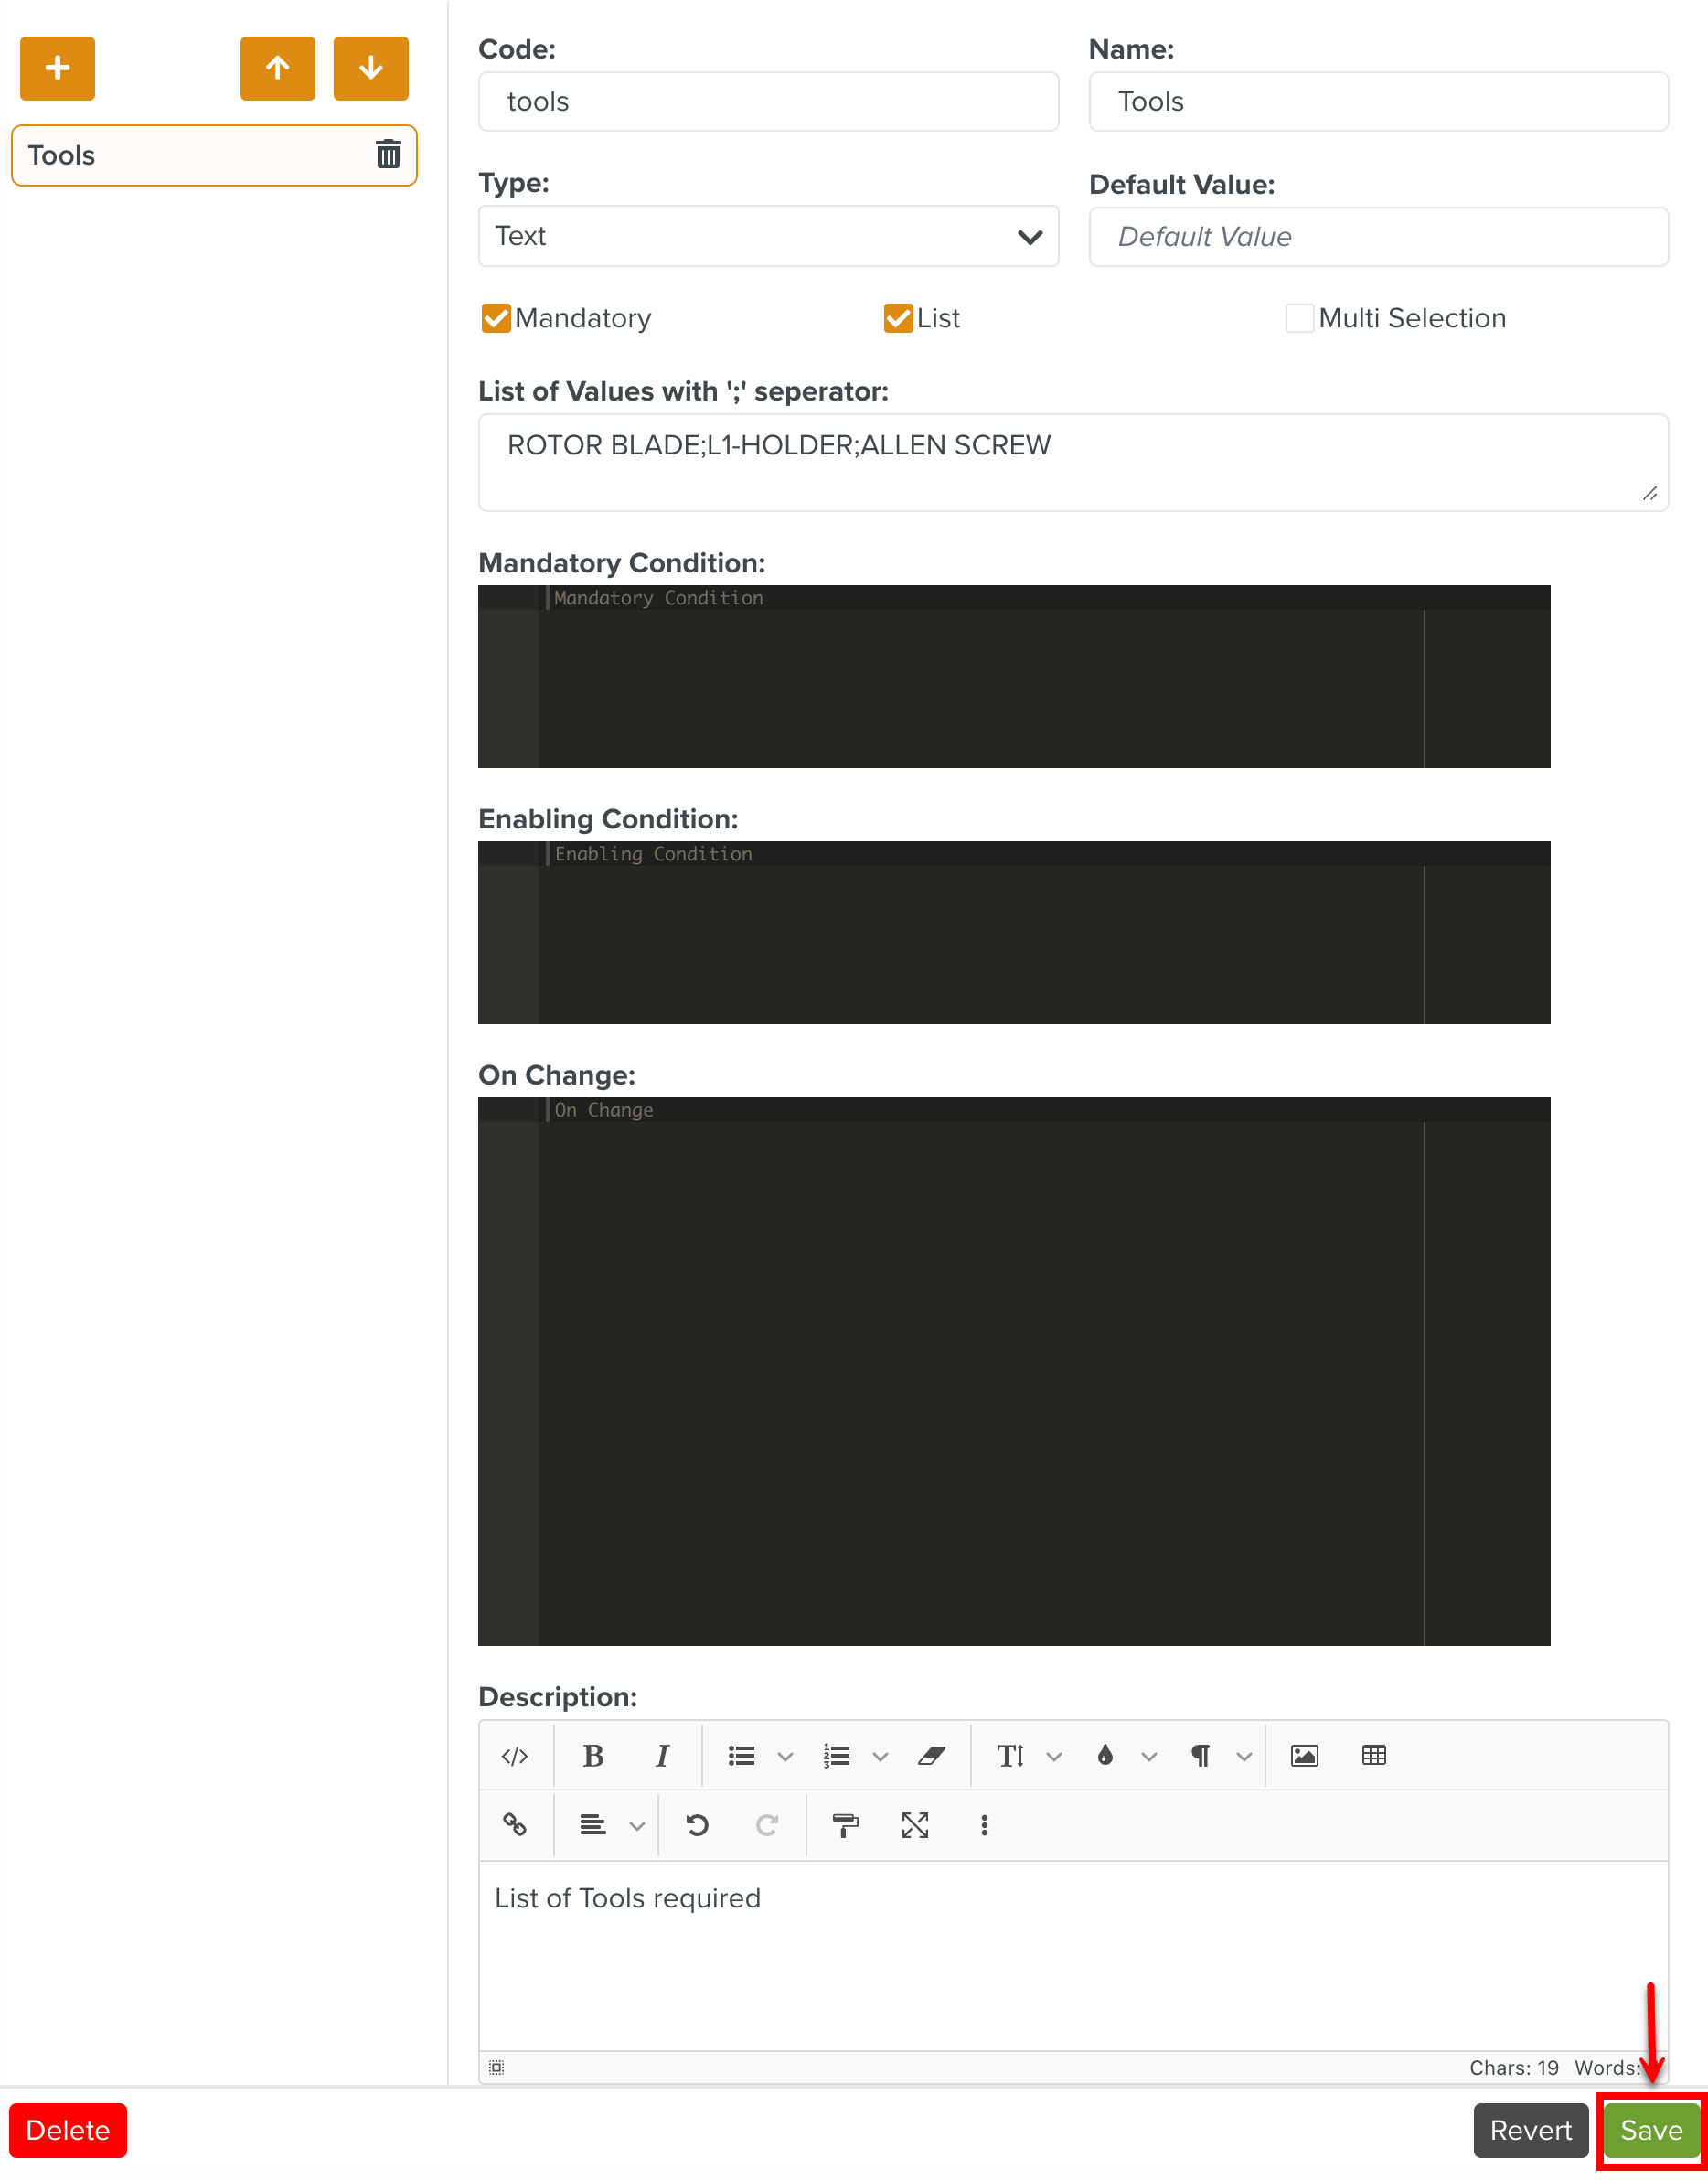
[Optional] If there is more than one Field, you can set the following types of conditions for a Field:
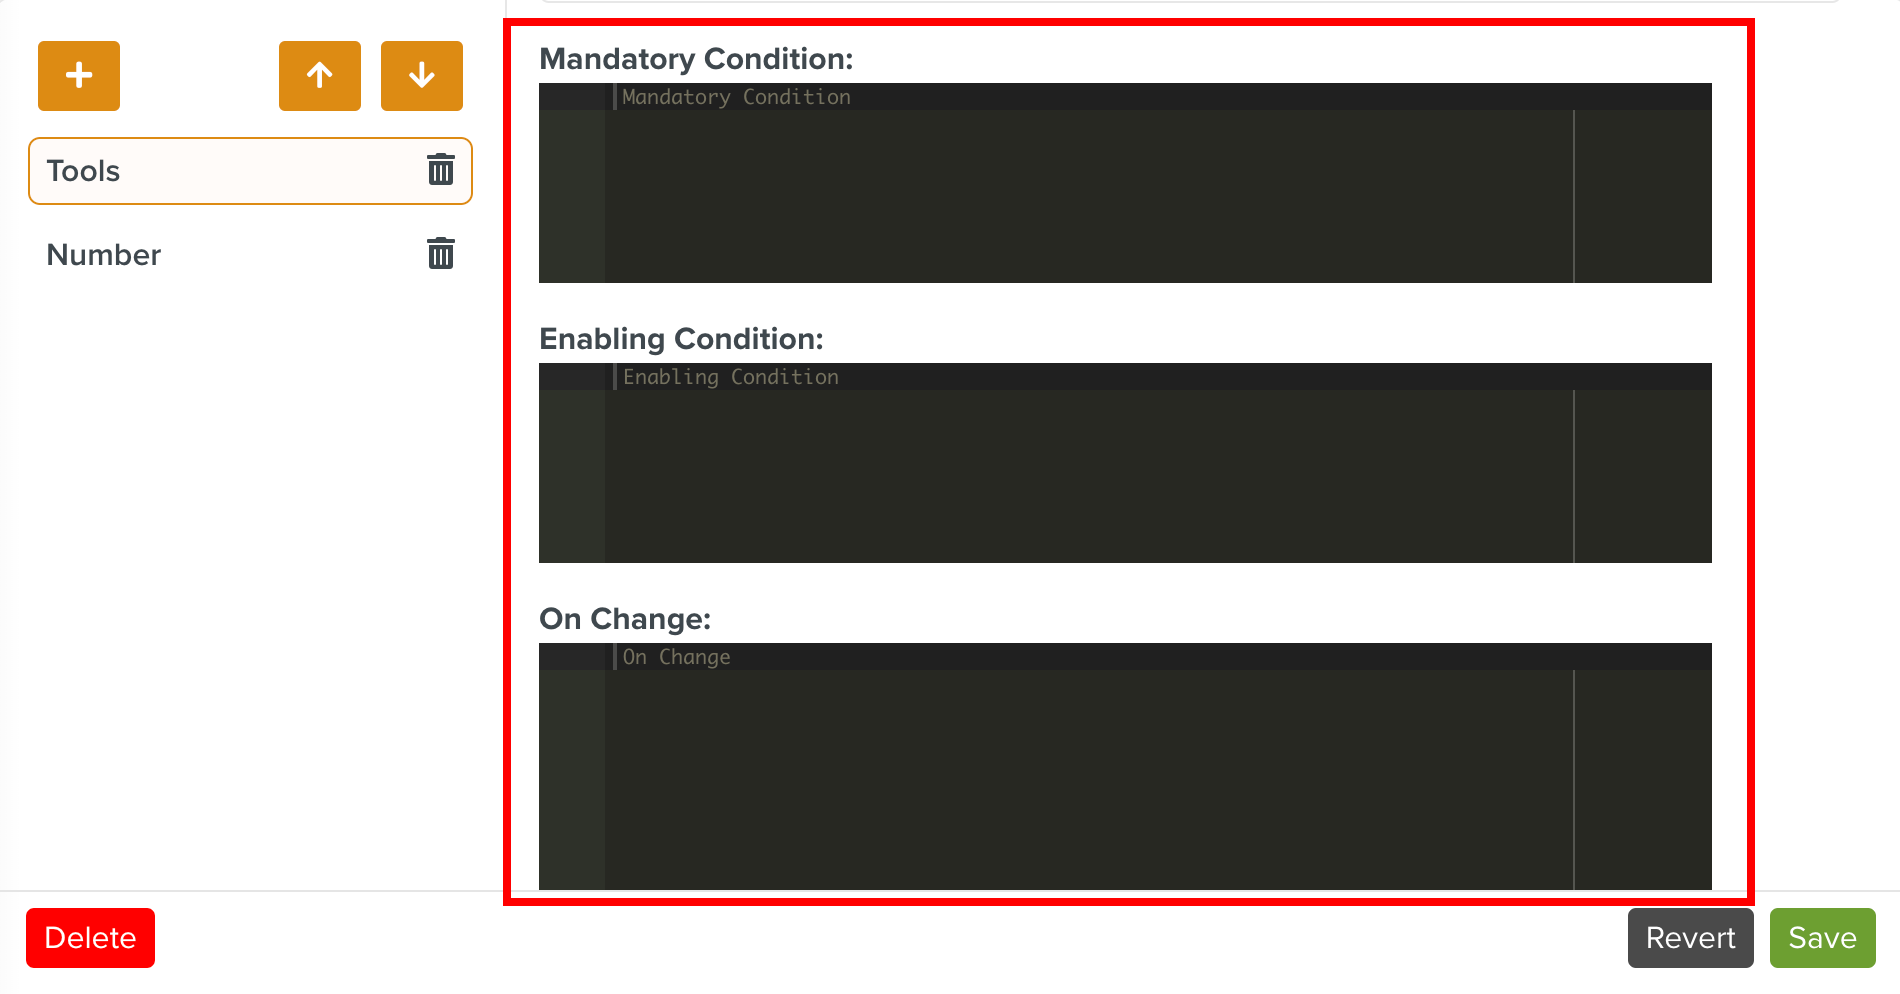
Mandatory Condition: When this condition is true, the selected field is mandatory.
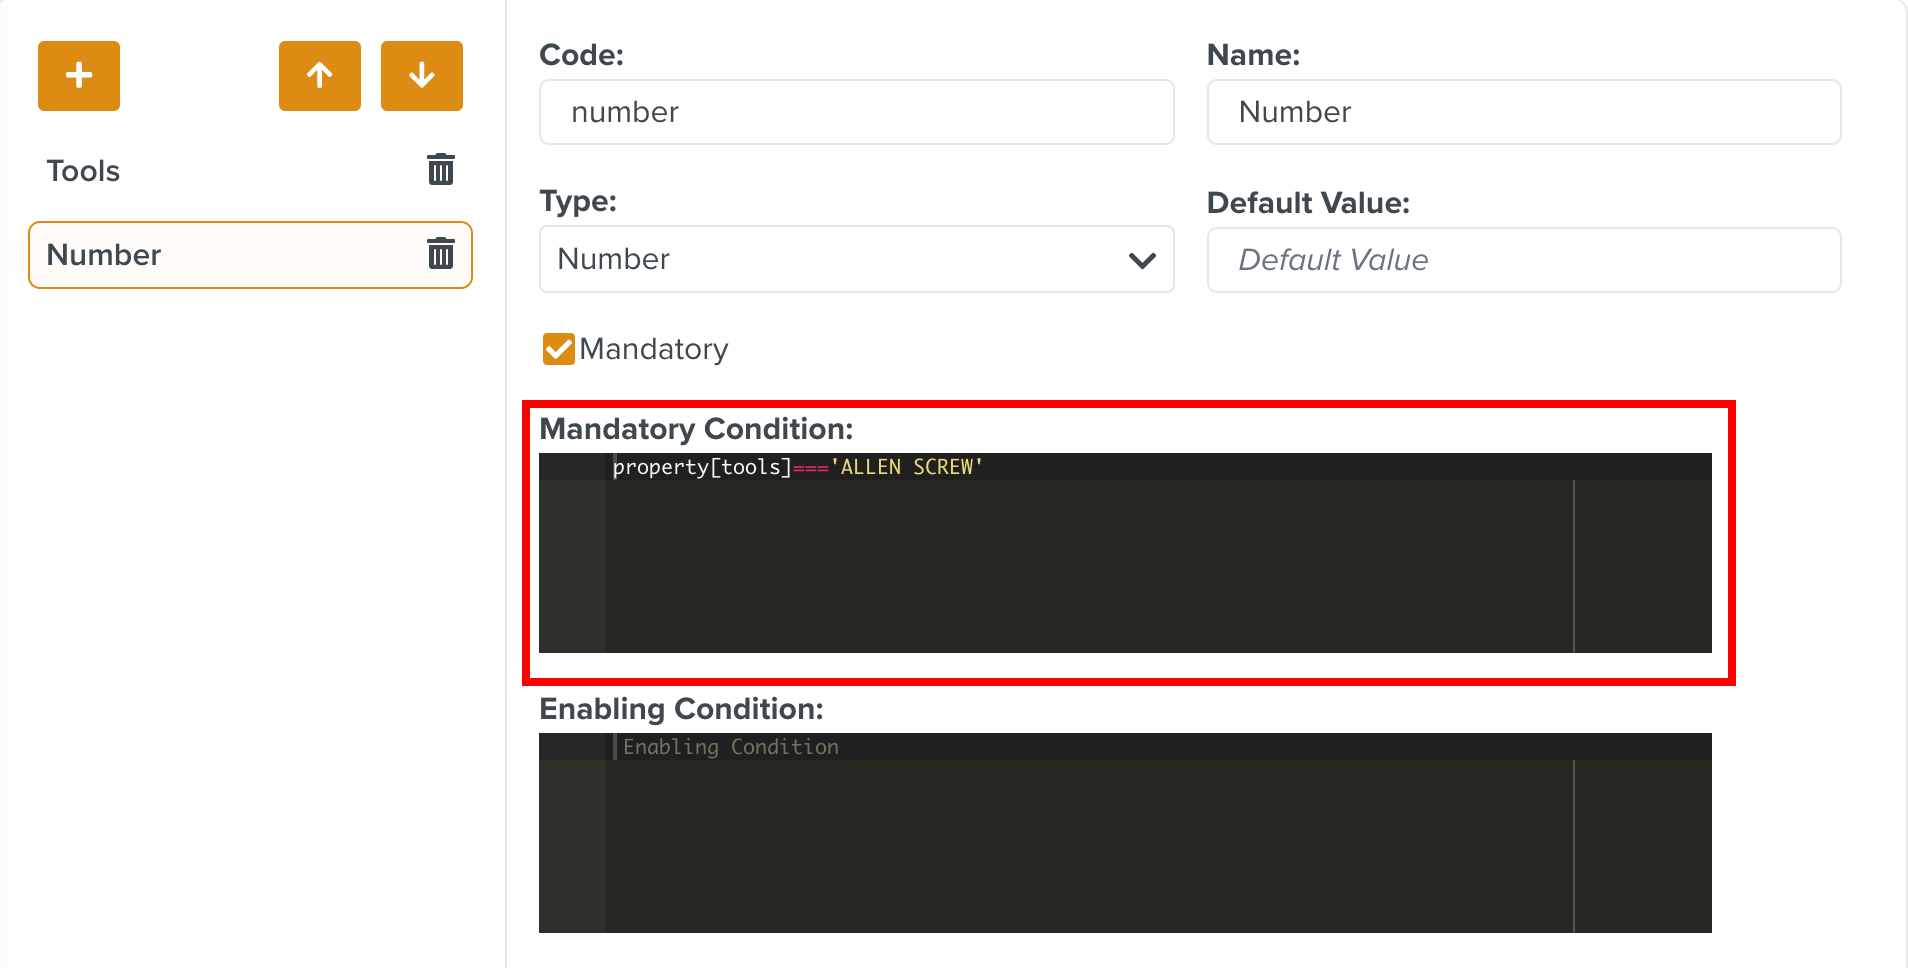
In this example, the Field Number is mandatory when this condition is true.

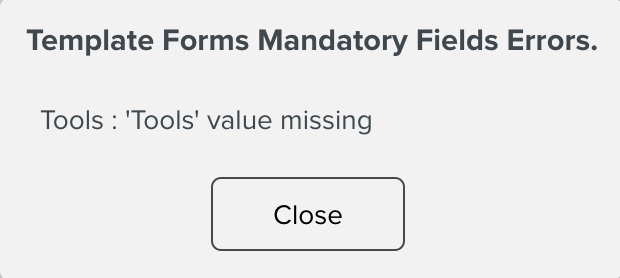
Note
If you do not provide a value in the mandatory Field, an error message is displayed when you submit the Template.
Enabling Condition: When this condition is true, the selected field is enabled.
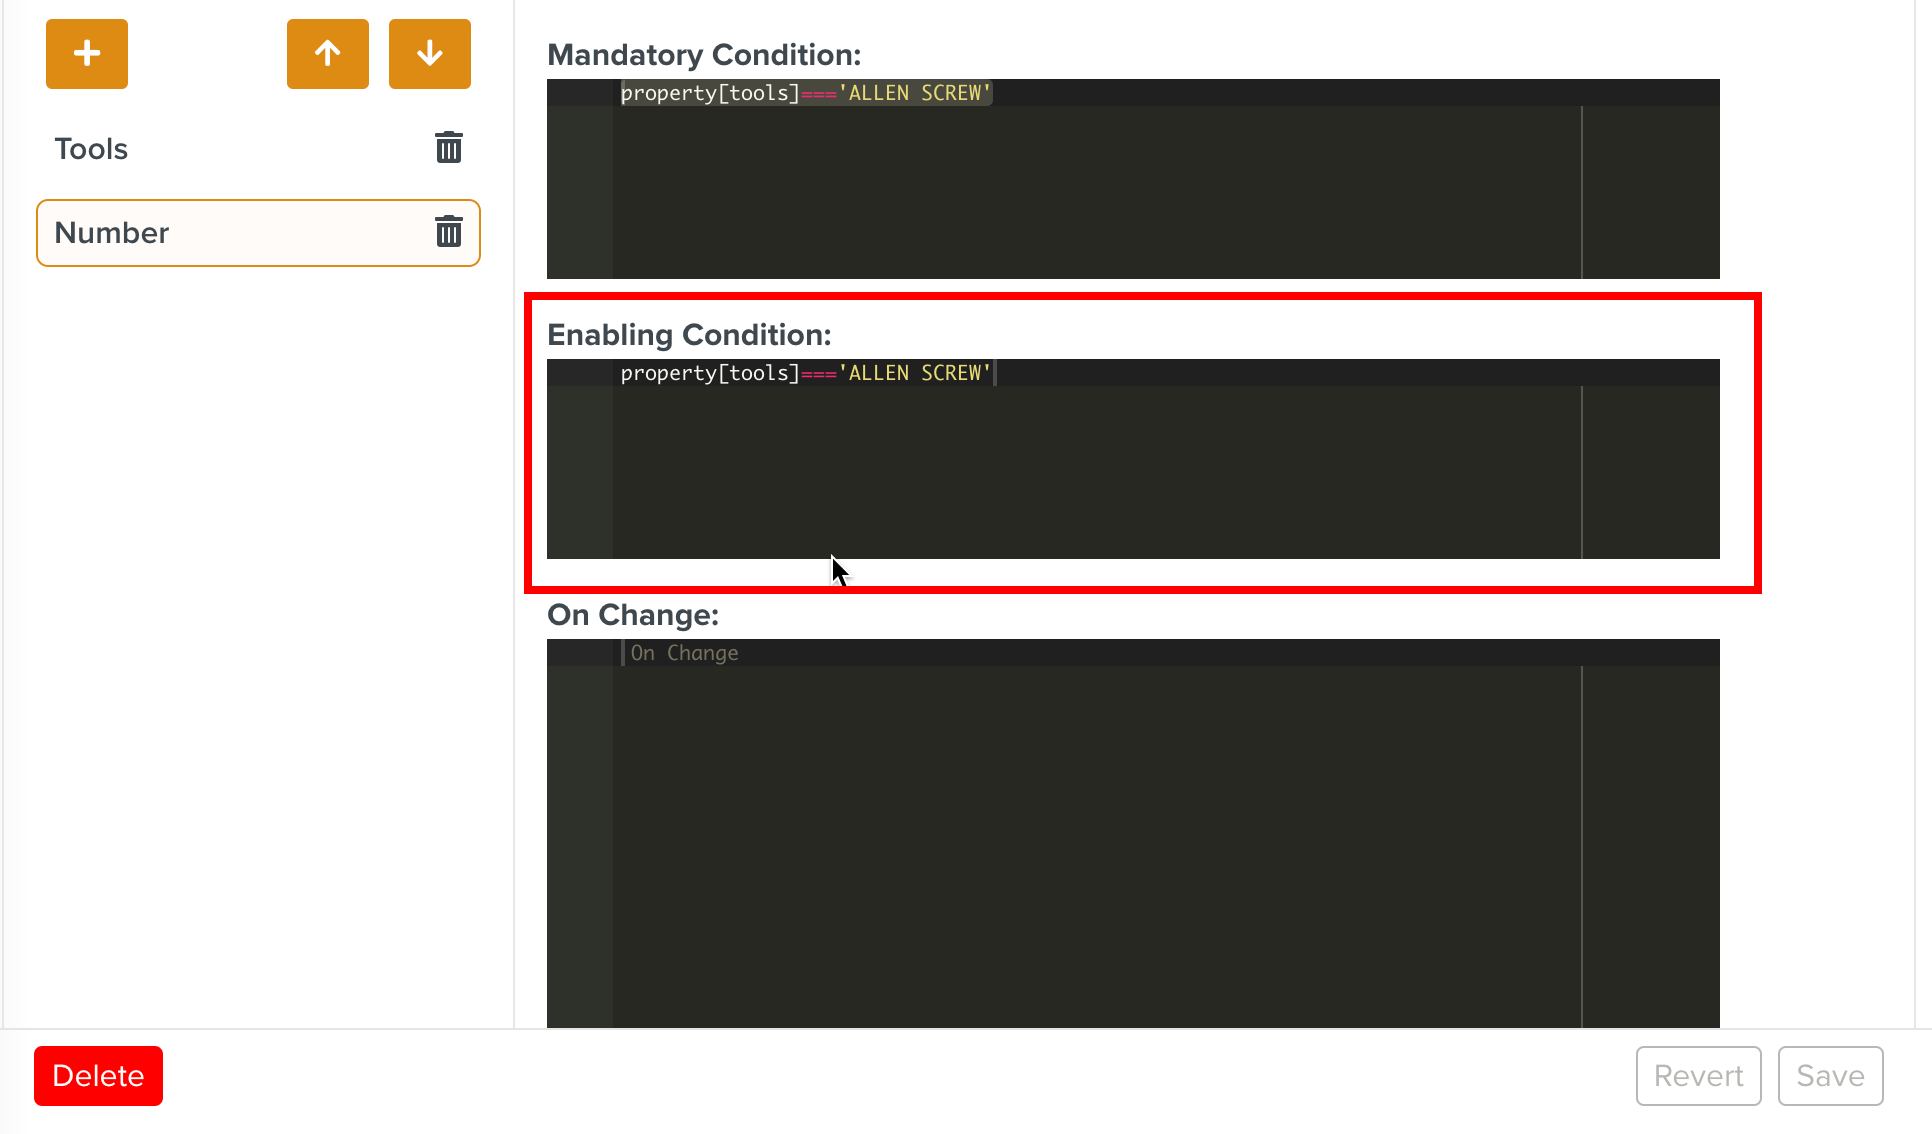
In this example, the Field Number is enabled when this condition is true.
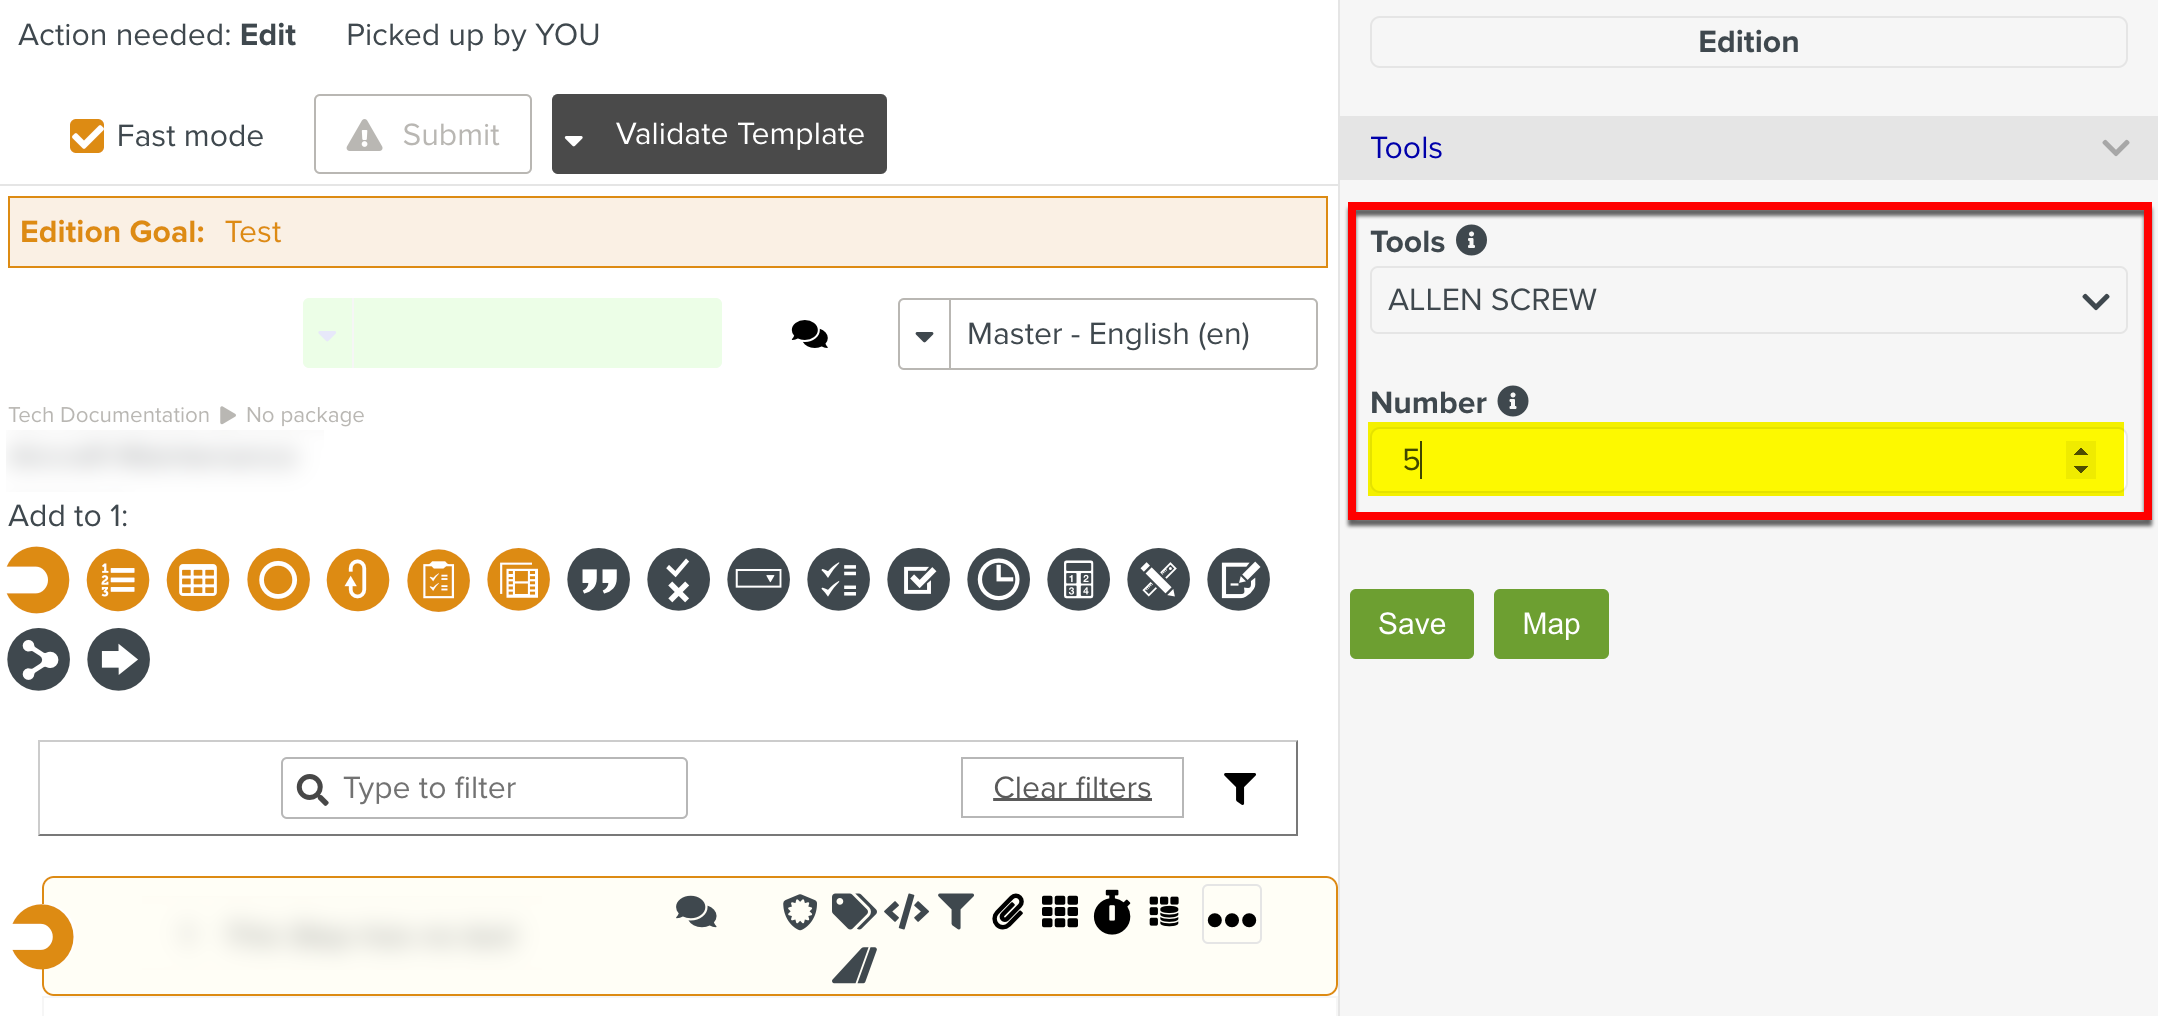
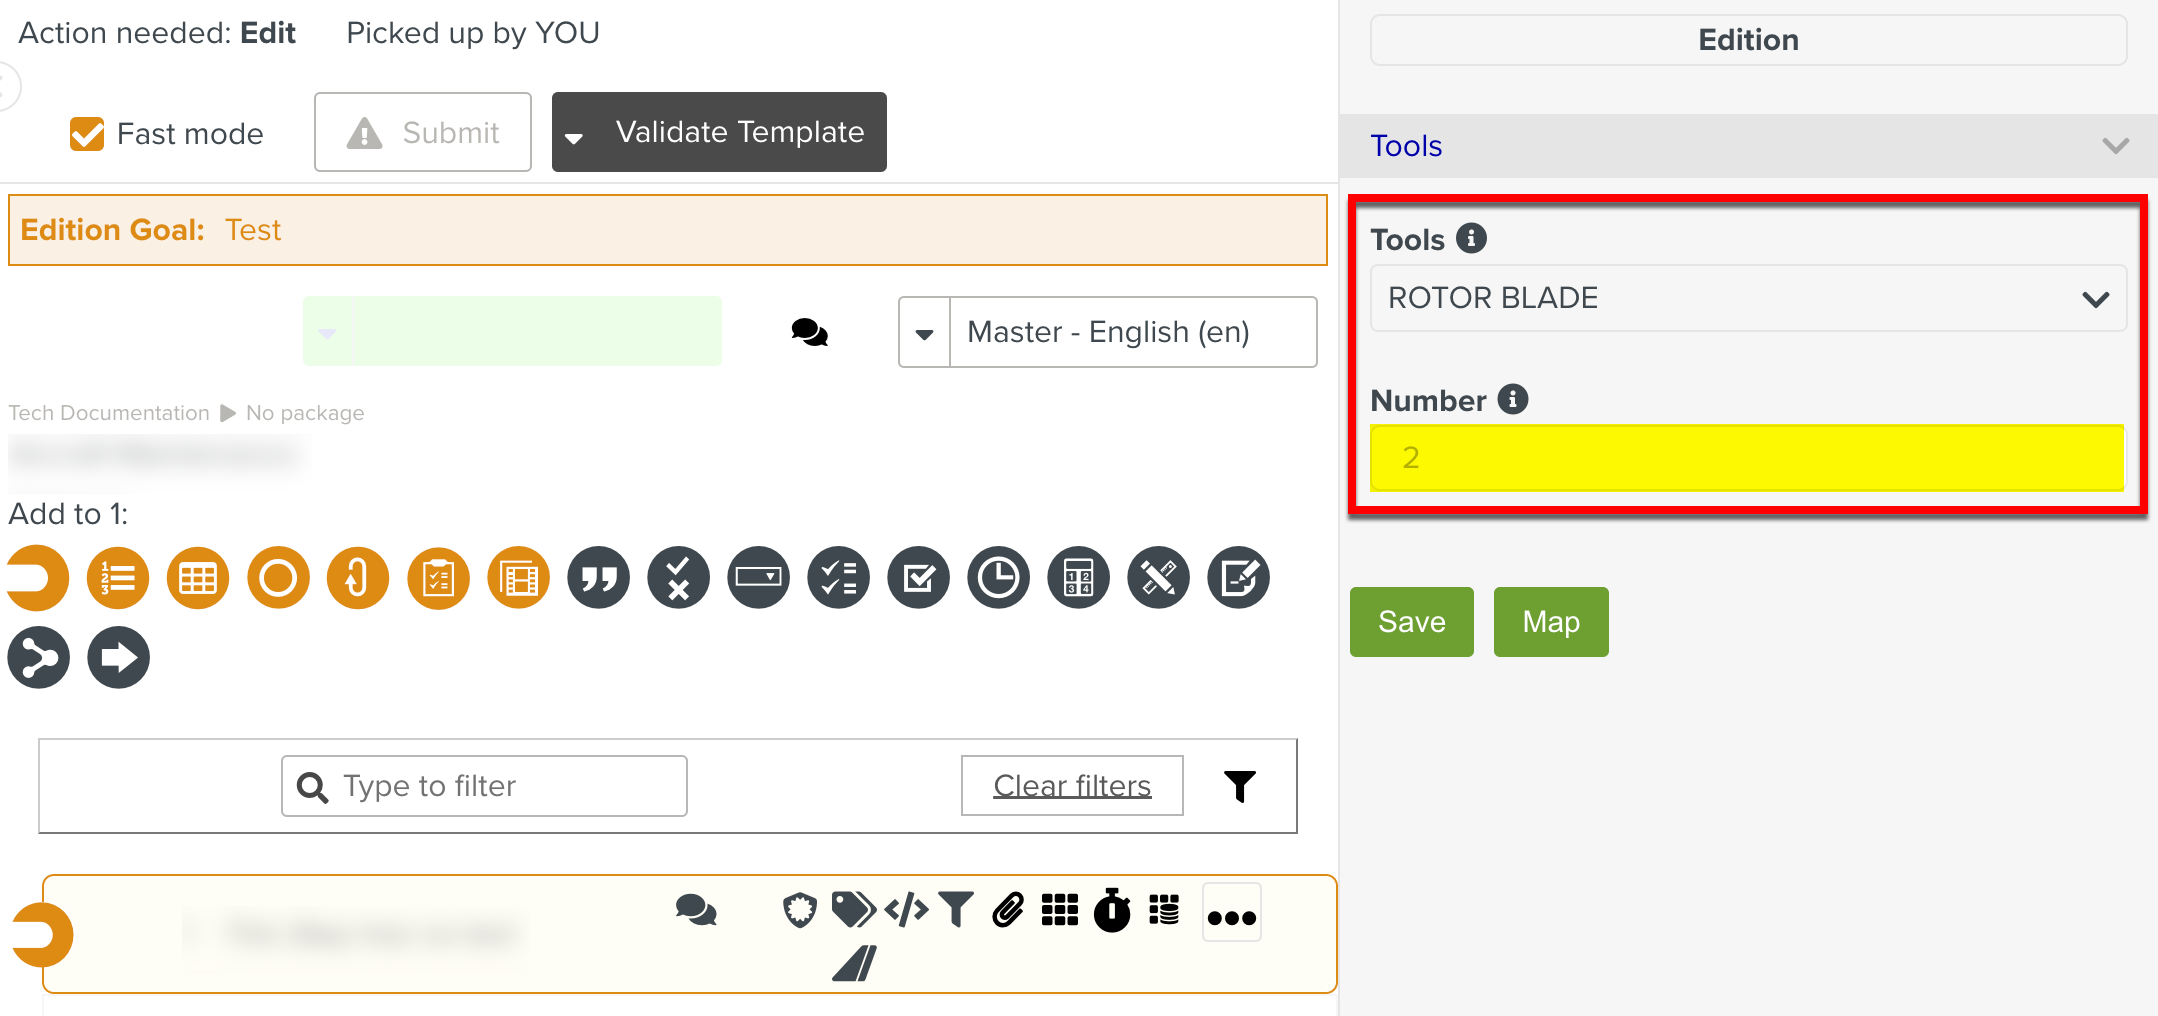
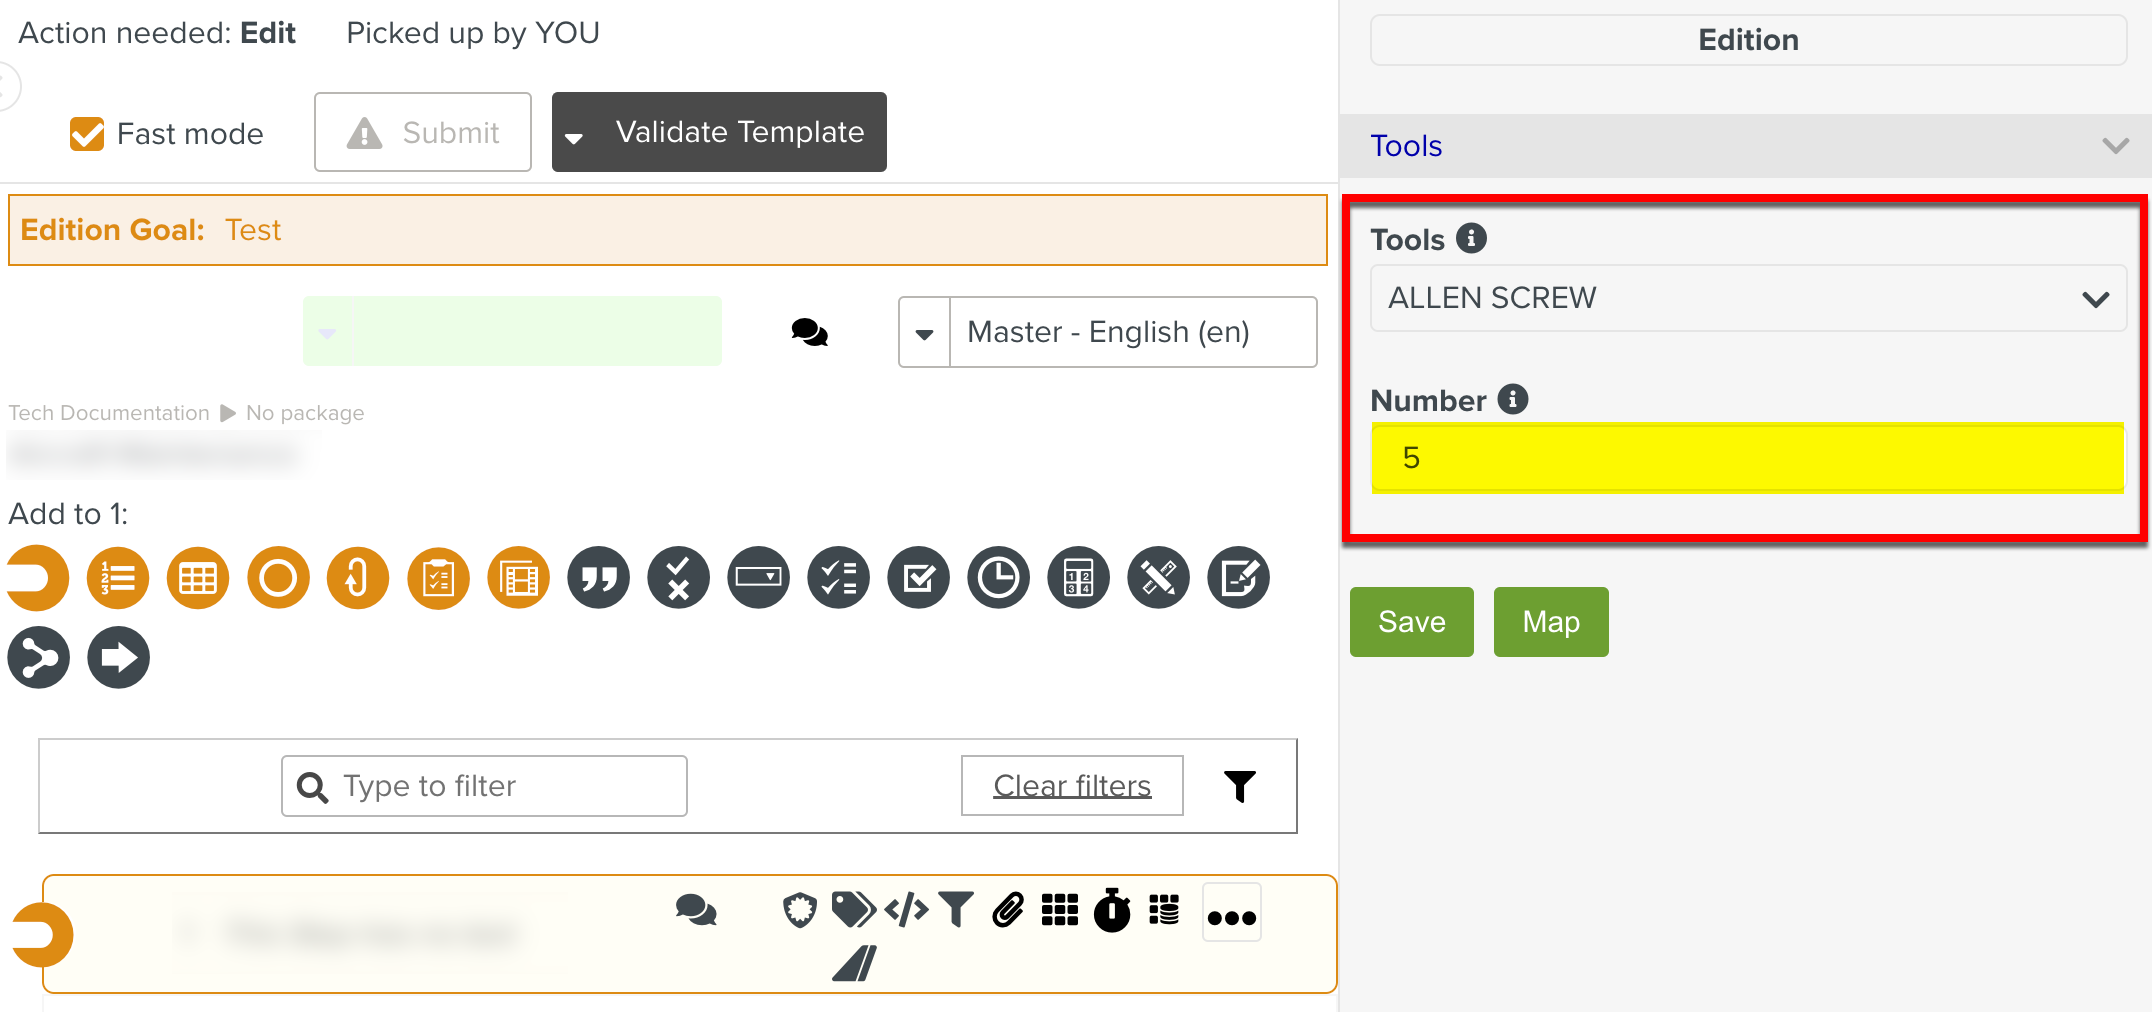
On Change: The condition set activates a dynamic form behavior where the selection of one Field value automatically triggers the selection or update of another Field value.
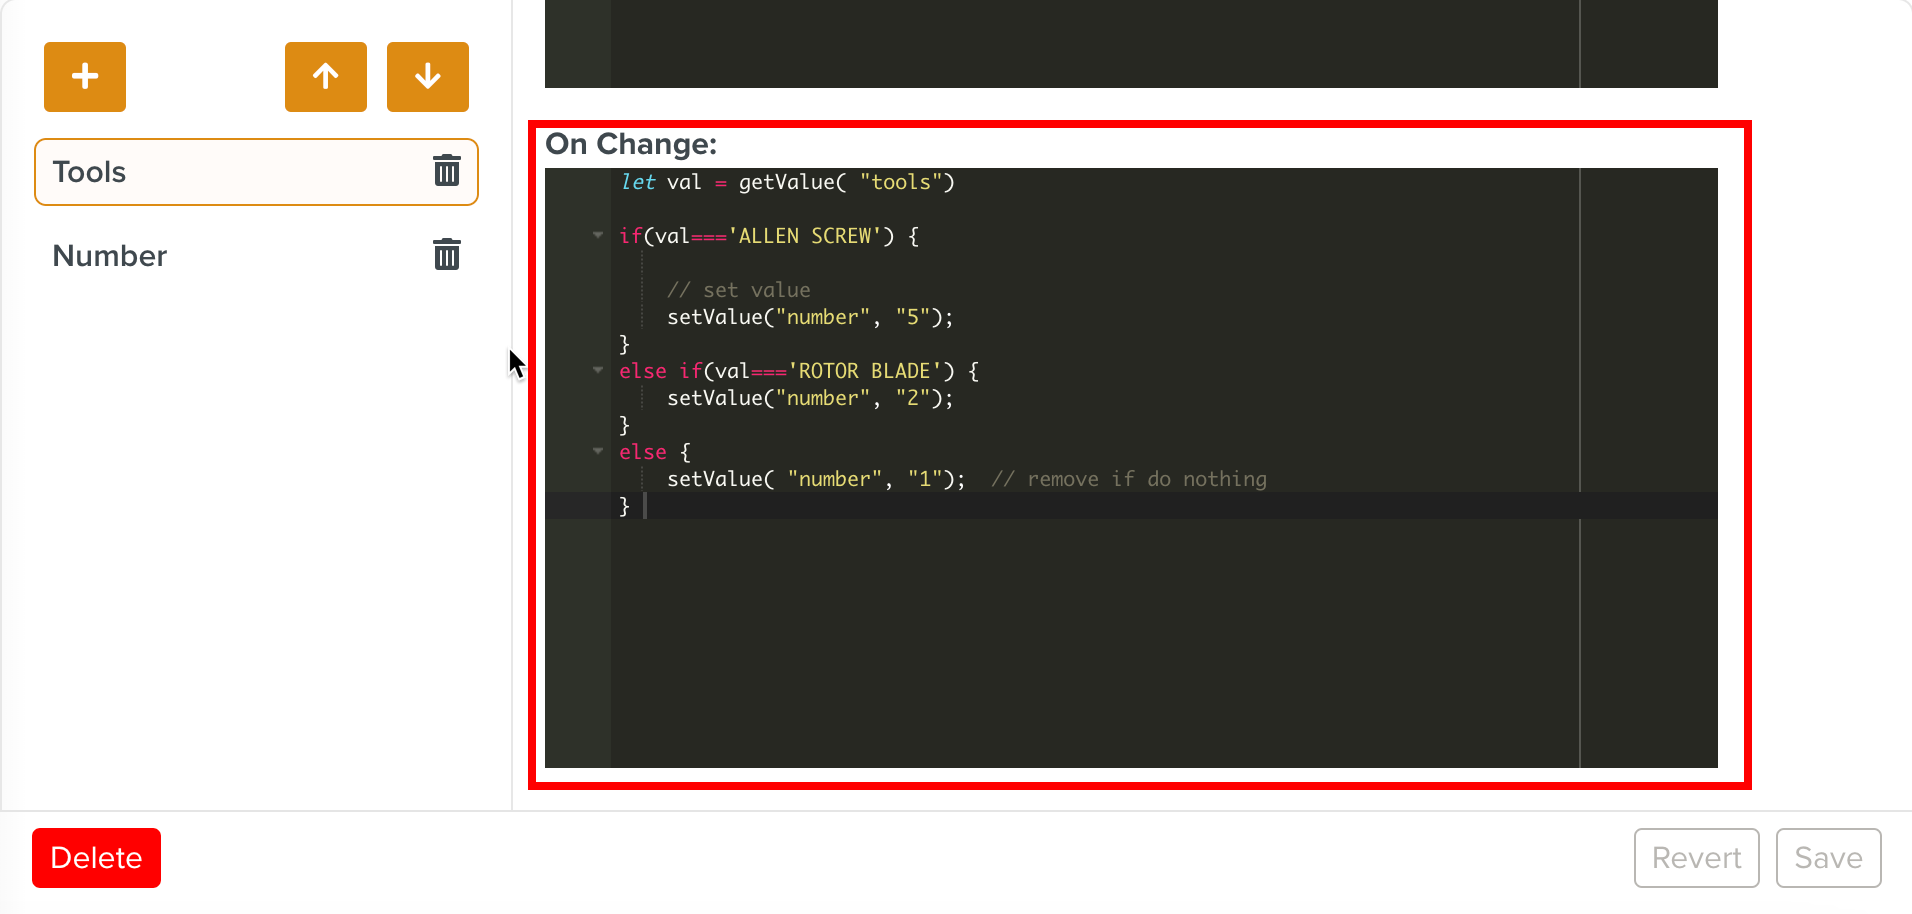
In the example below, for a Template Publication process, a condition is set to automatically trigger the selection of Field Number value when the value of the Field Tools is selected or updated.
Note
As the On Change script doesn't support multiple selections, deselect the Multiple Selection option.
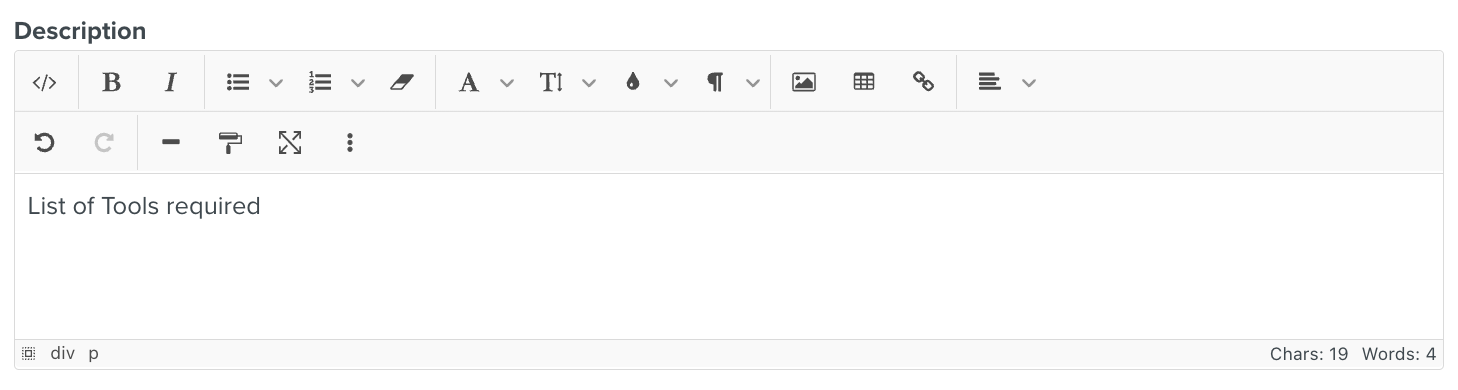
Add a description for the Field.
Click .
You have successfully created a new Form. It is now available to use in a User Task in a Custom Lifecycle.
 |
 |