Creating a Flag
Note
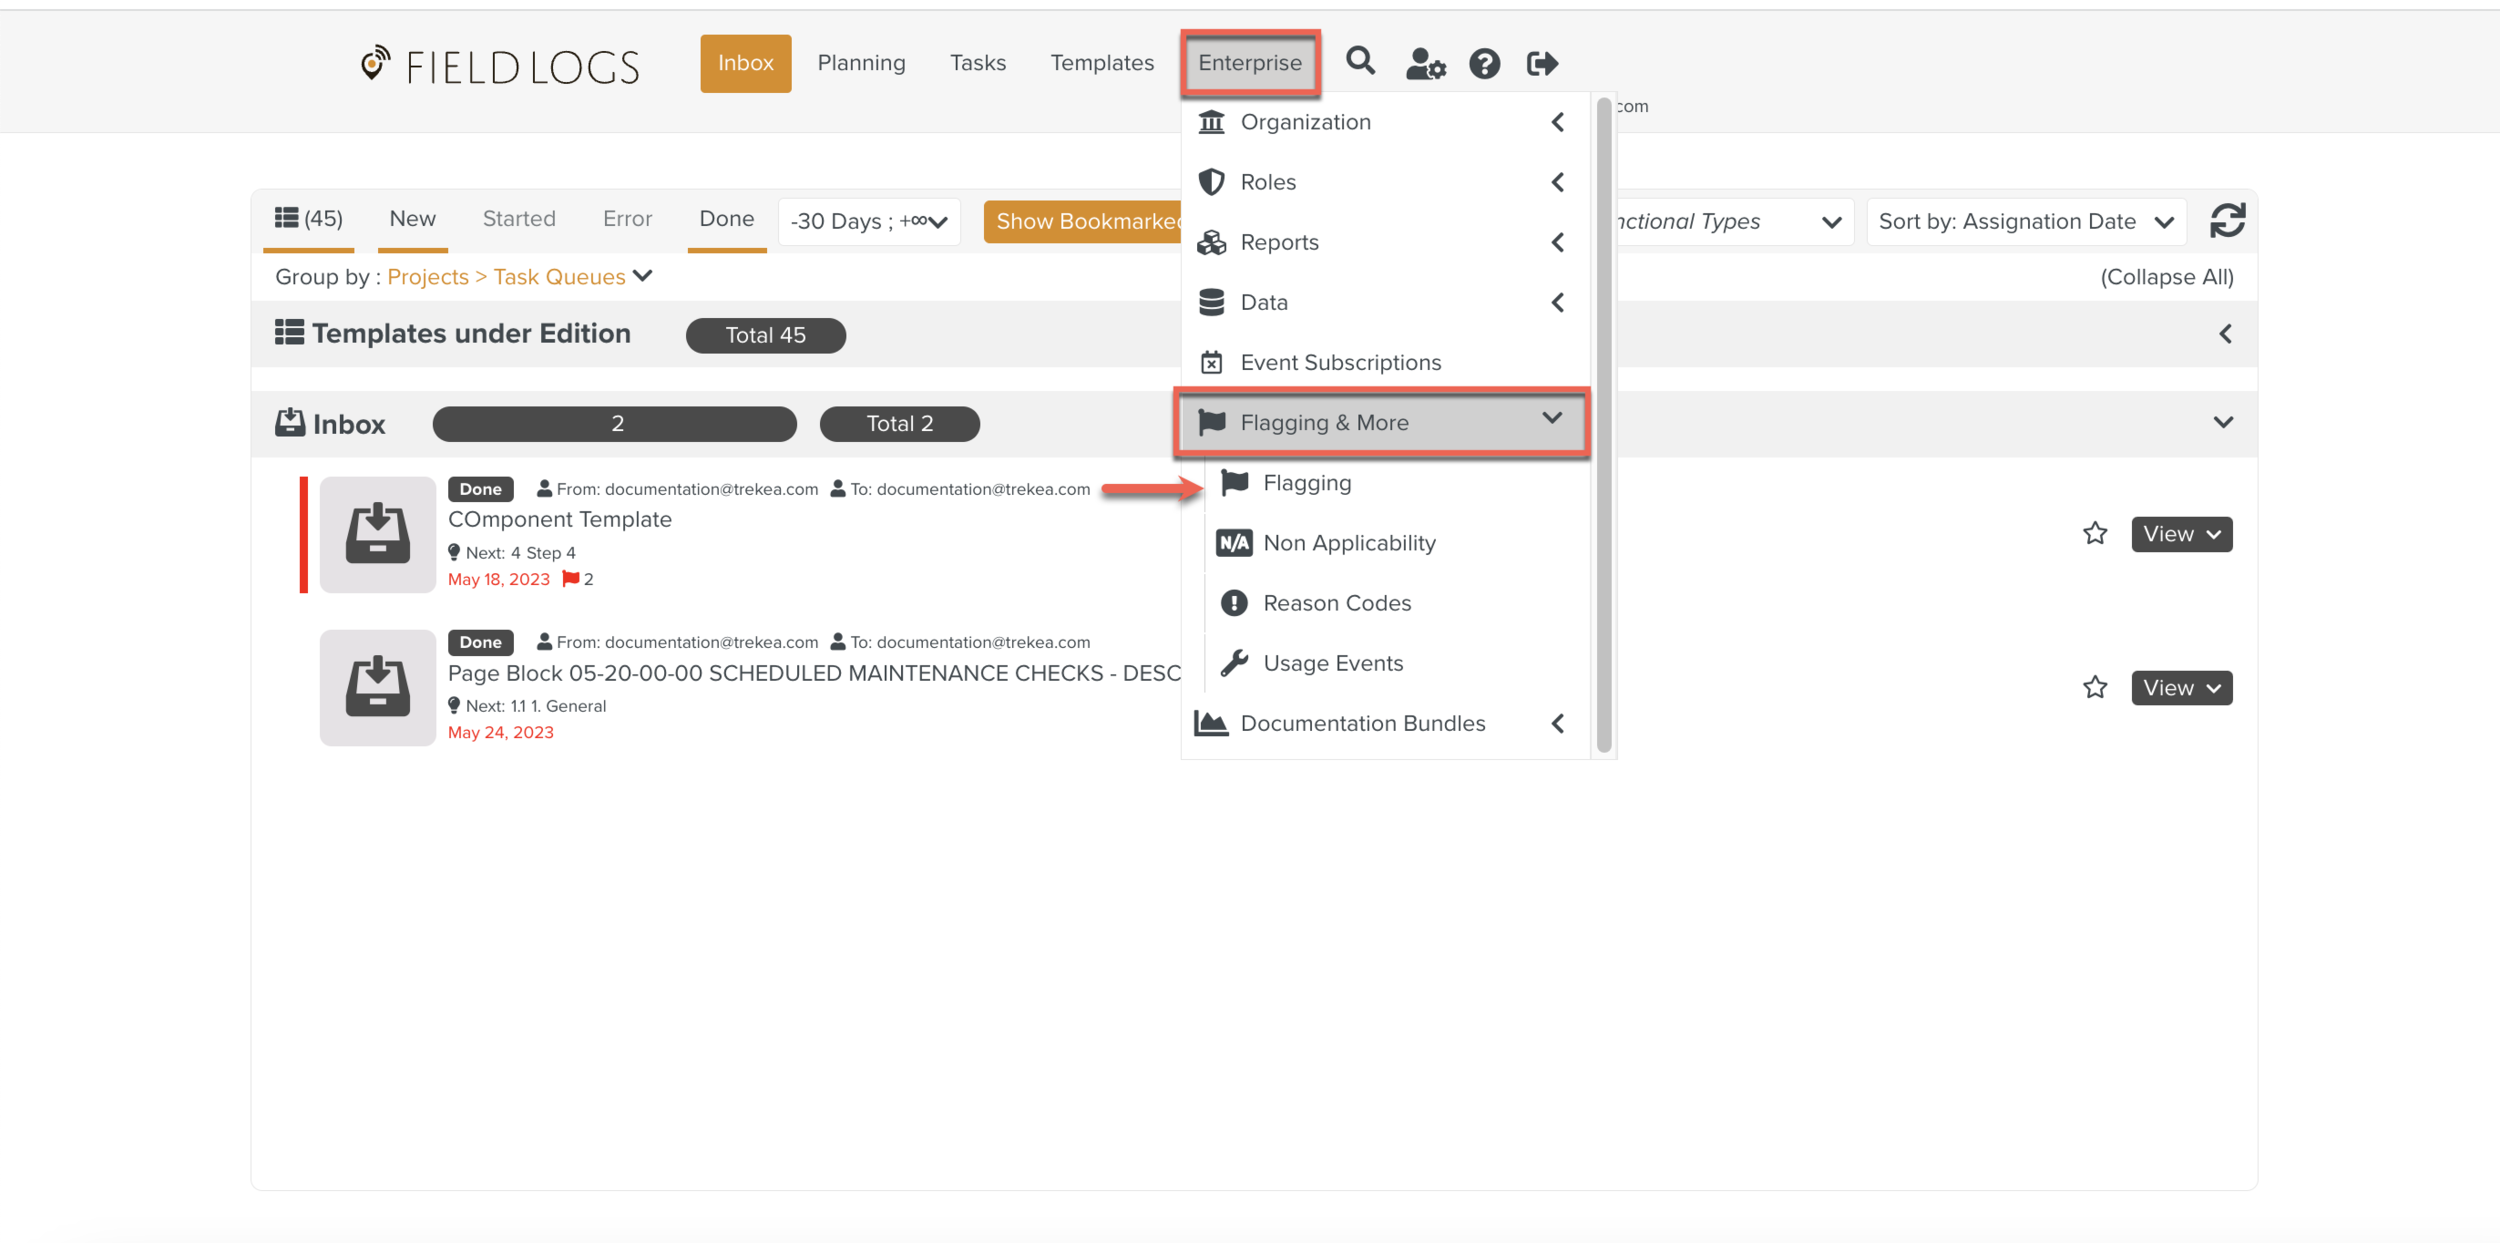
To view the Enterprise menu, the user must be associated with a Security Role that has the appropriate access rights.
A Flag is an indicator of an Event or an incident that occurred while executing a Task or on a specific Step of a Template.
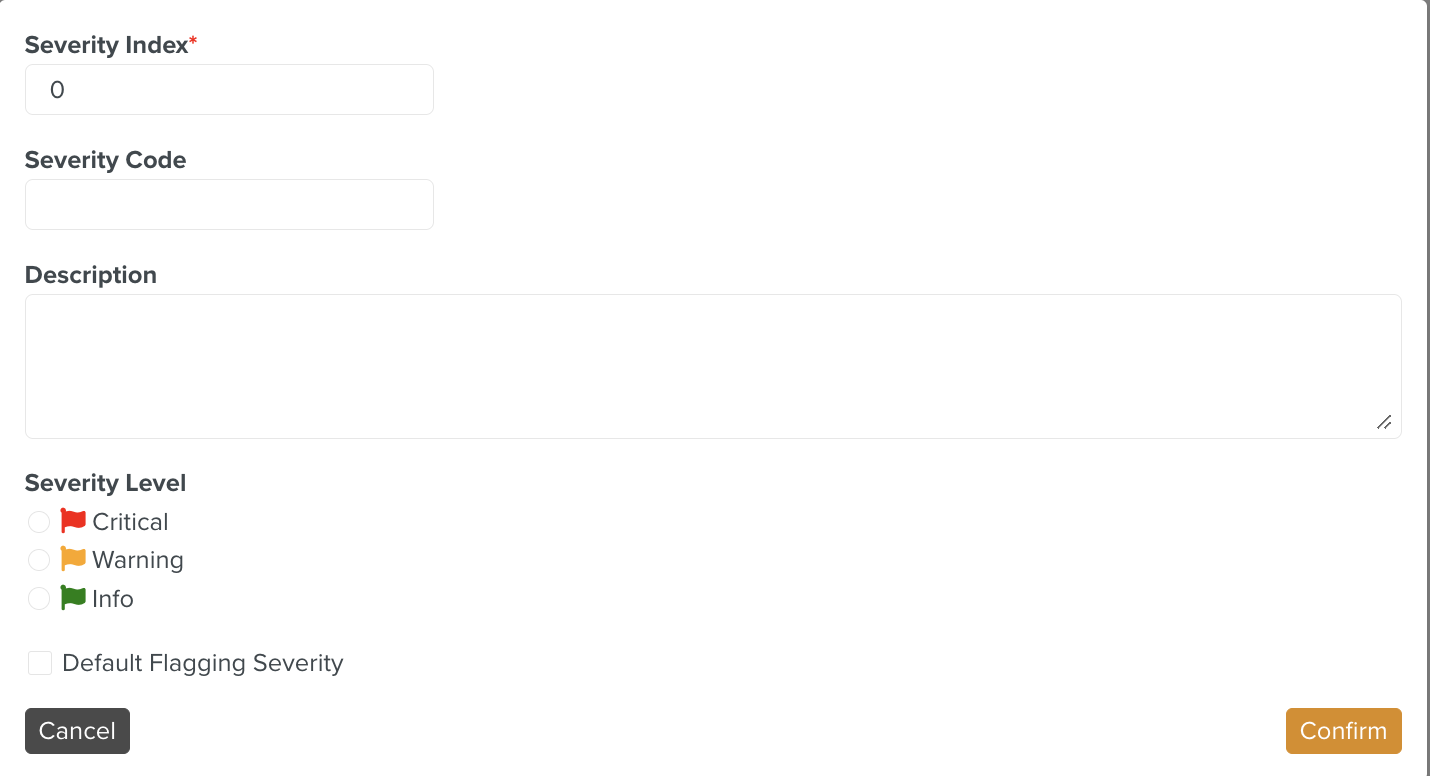
A Flag raised for an Event at runtime is shown below.
 |
A Flag summary contains the following information:
Summary: A summary of the Event.
Severity Index: There are 3 Severity Index - Info, Warning, and Critical
CAR: CAR stands for Cause, Action, and Resolution. The letter turns bold when you select a Reason Code for any of them.
In the above screenshot, the Flag "Missing the scanner" has a Cause "Missing tool" and an Action "Supply new tool" due to which the letters C and A appear bold.
Important
Unless a Flag is associated with a Flag Group, it cannot be used.
A Flag must be associated with the Userset for it to be available at runtime.
The Syncing Profile of the user is used to link the required Flag Groups to the user. All the linked Flag Groups are then available to the user at runtime.
To create a Flag:
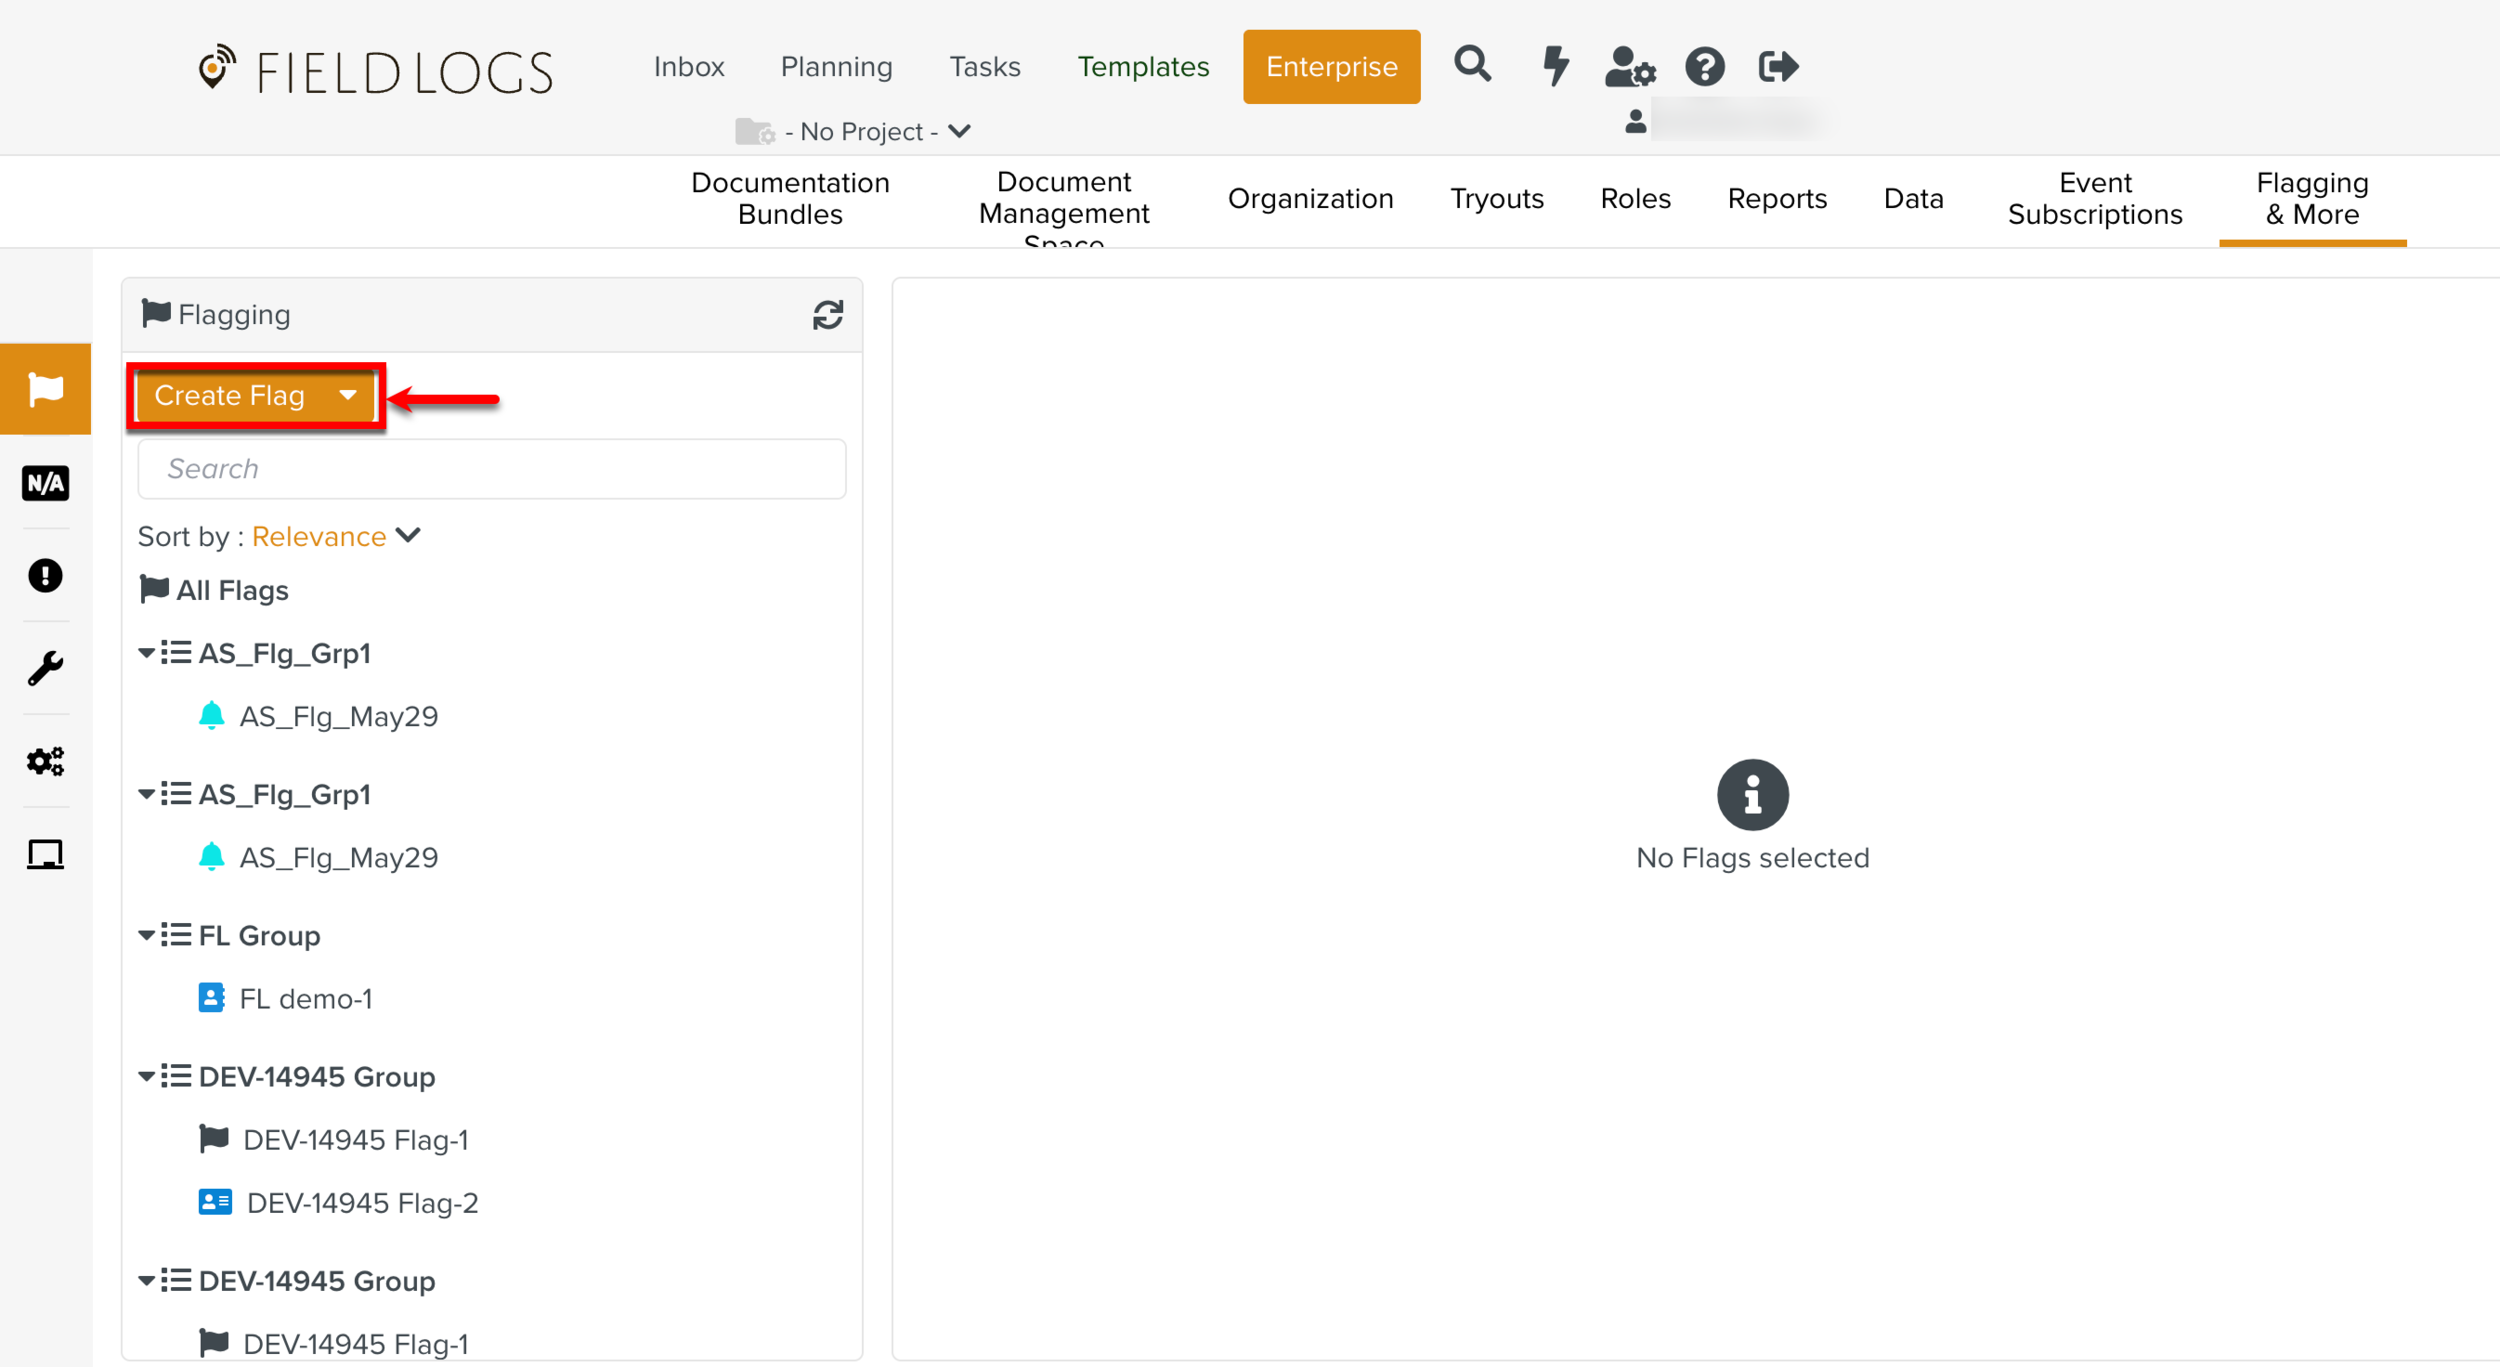
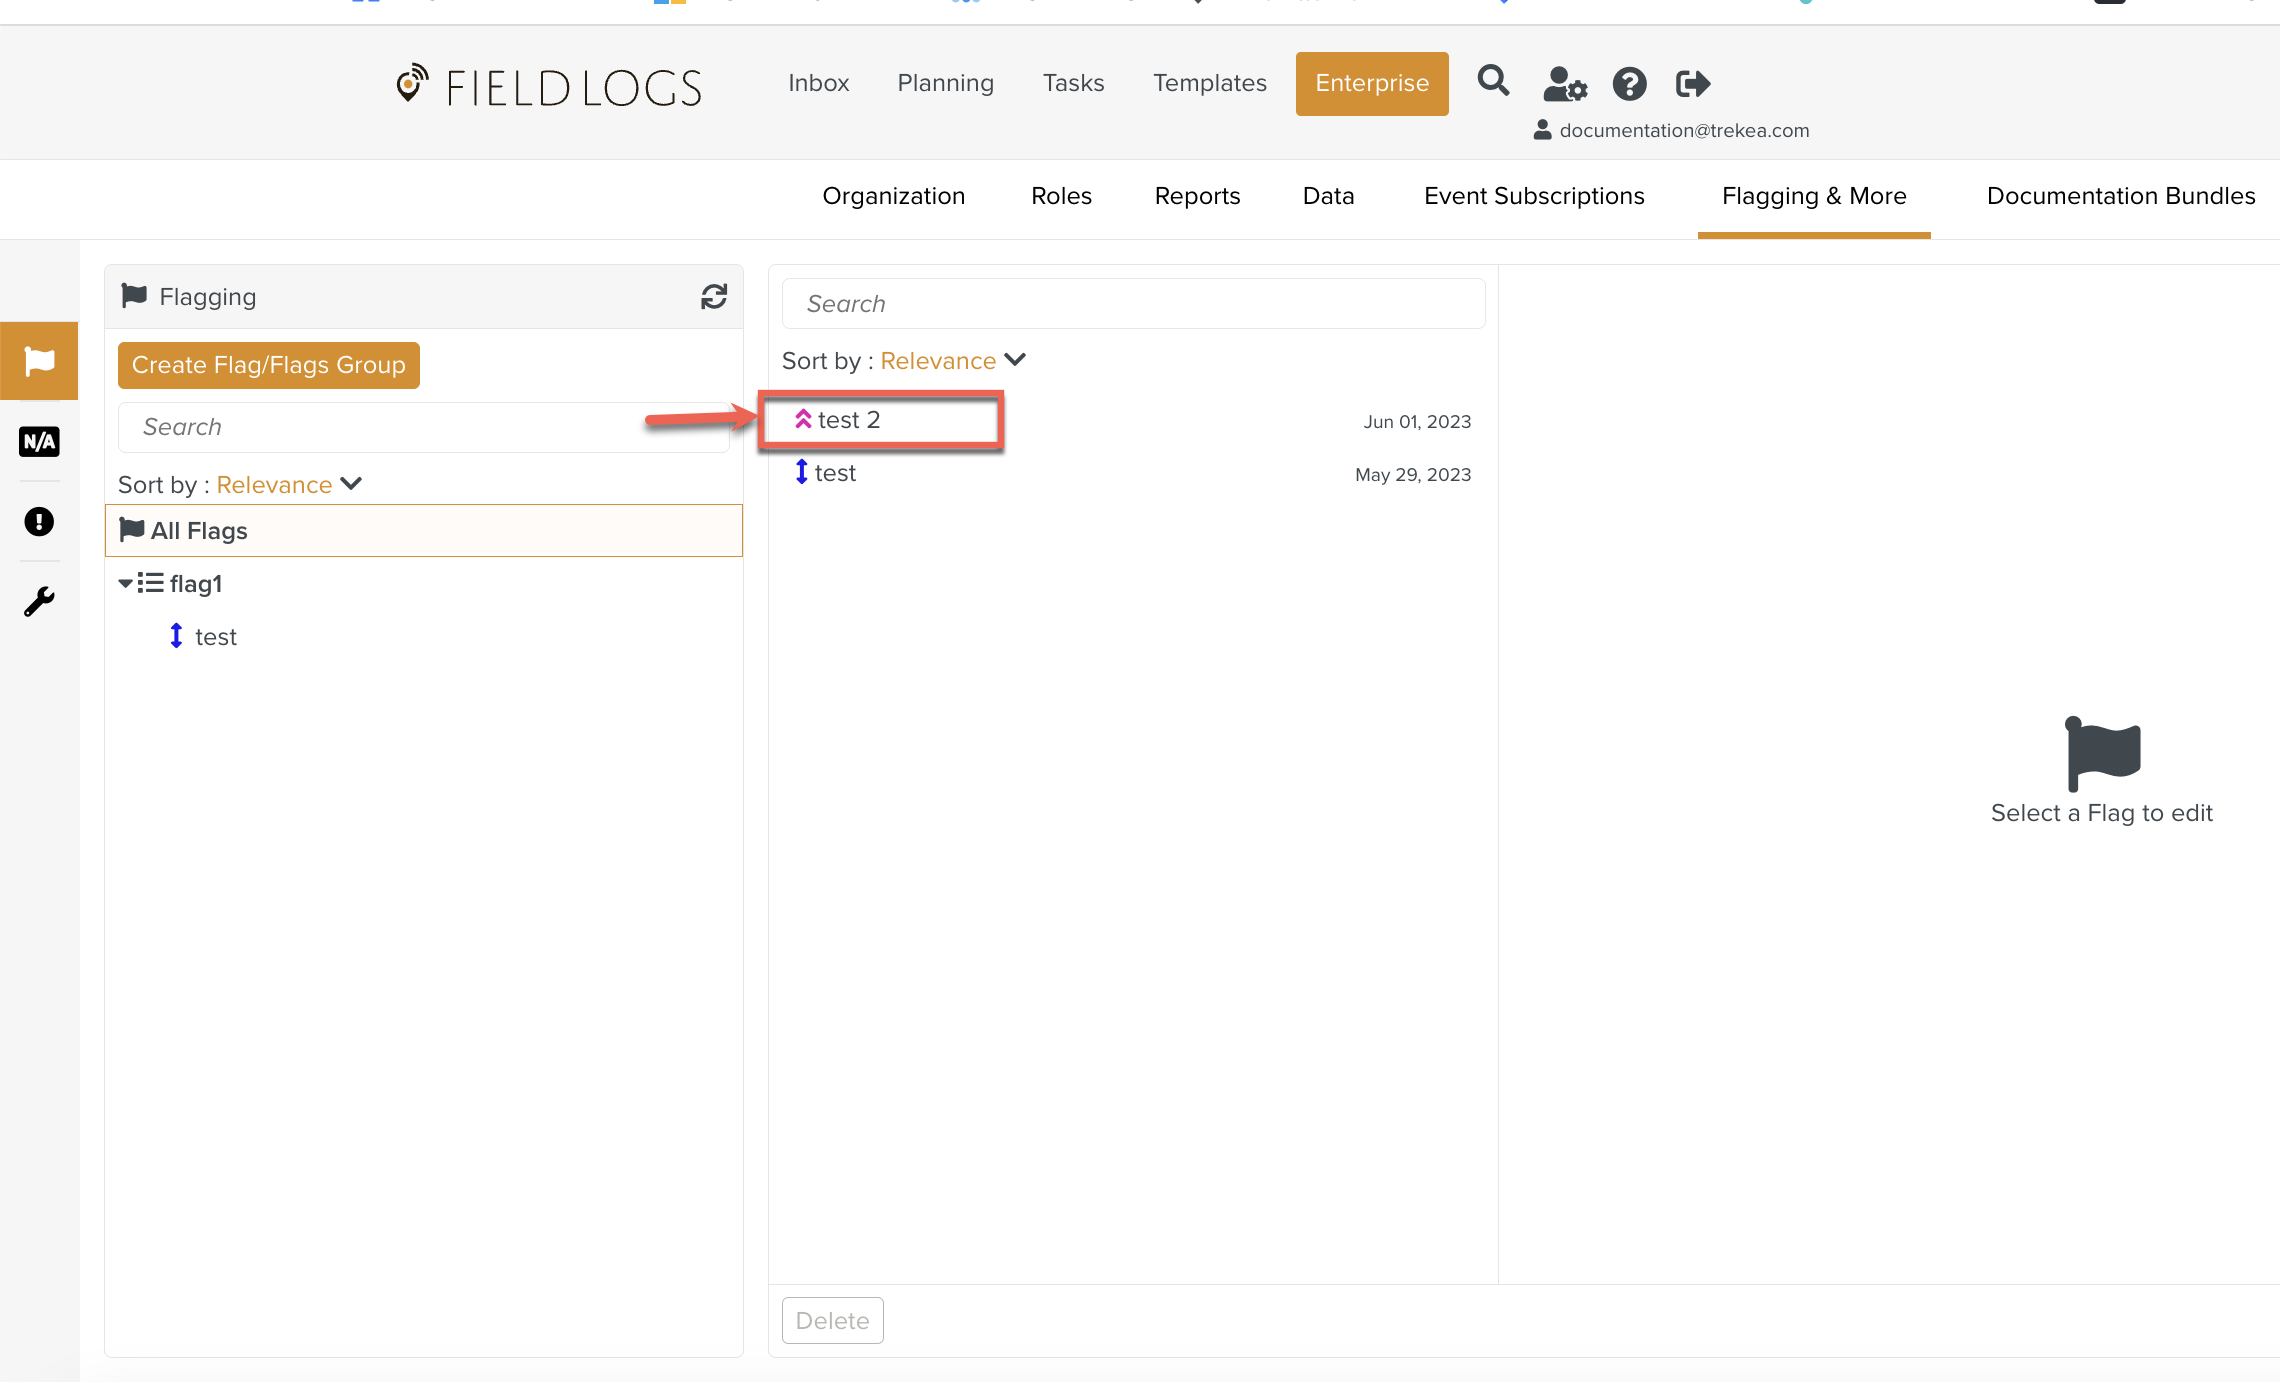
On the main menu, go to Enterprise > Flagging & More > Flagging.
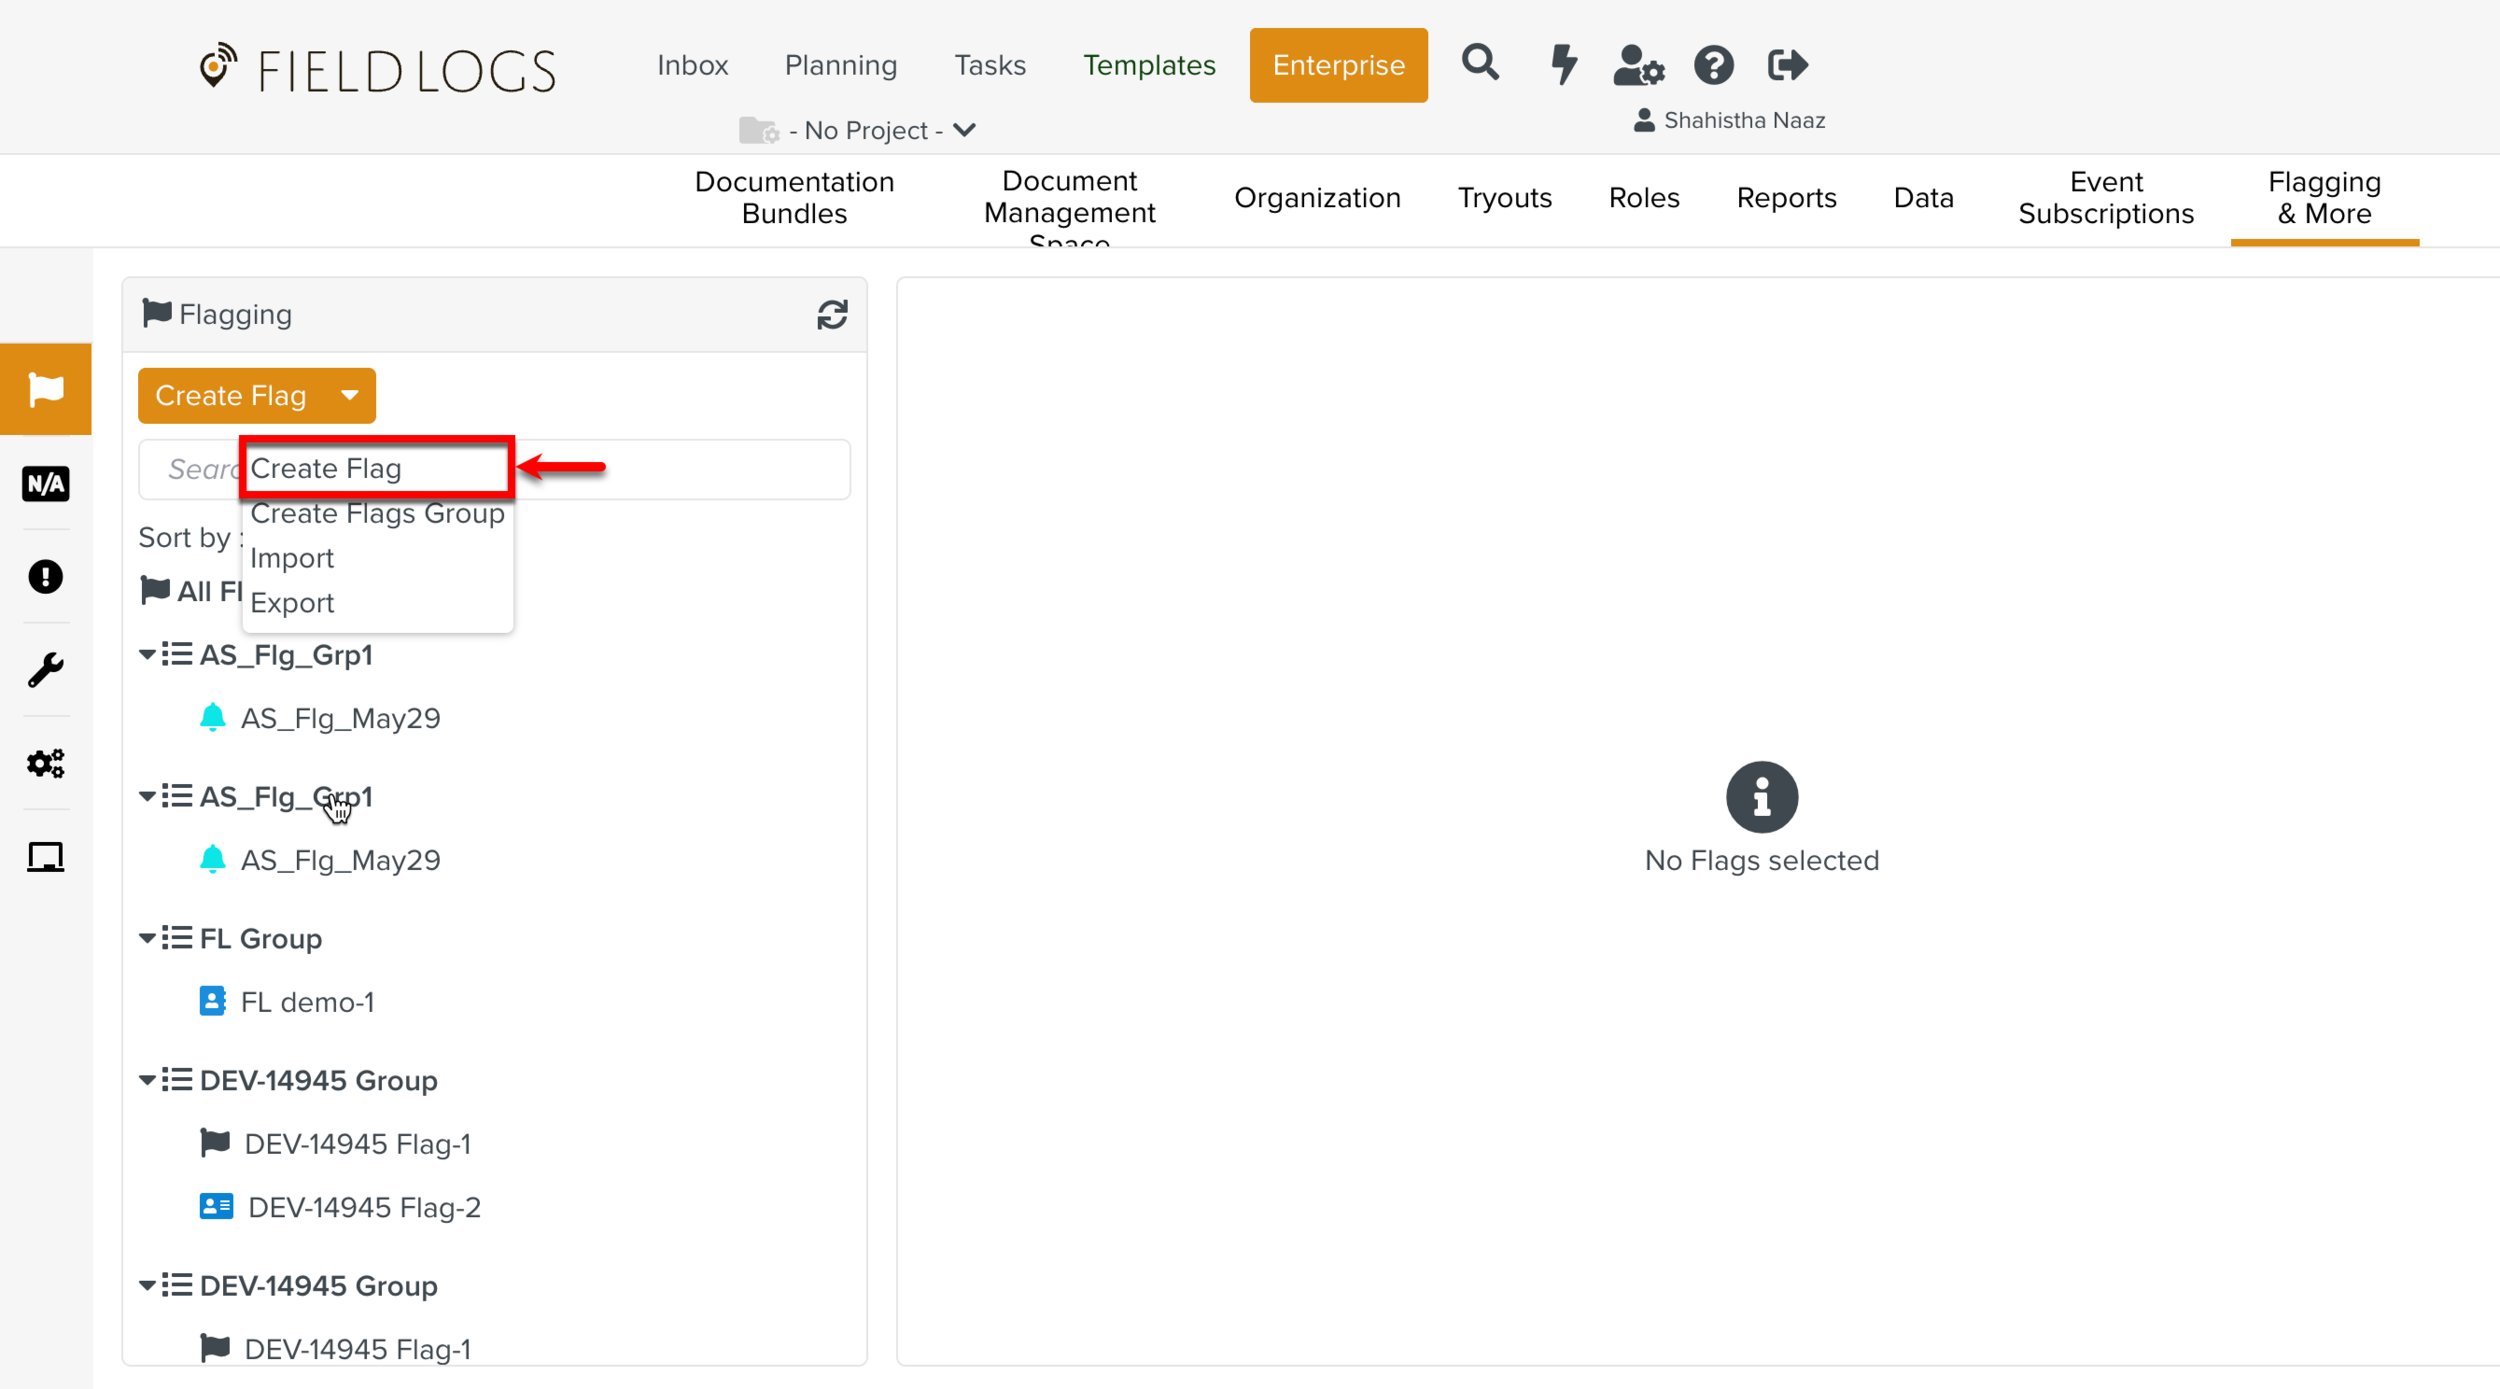
Click button or select the Create Flag option from the dropdown as shown below.
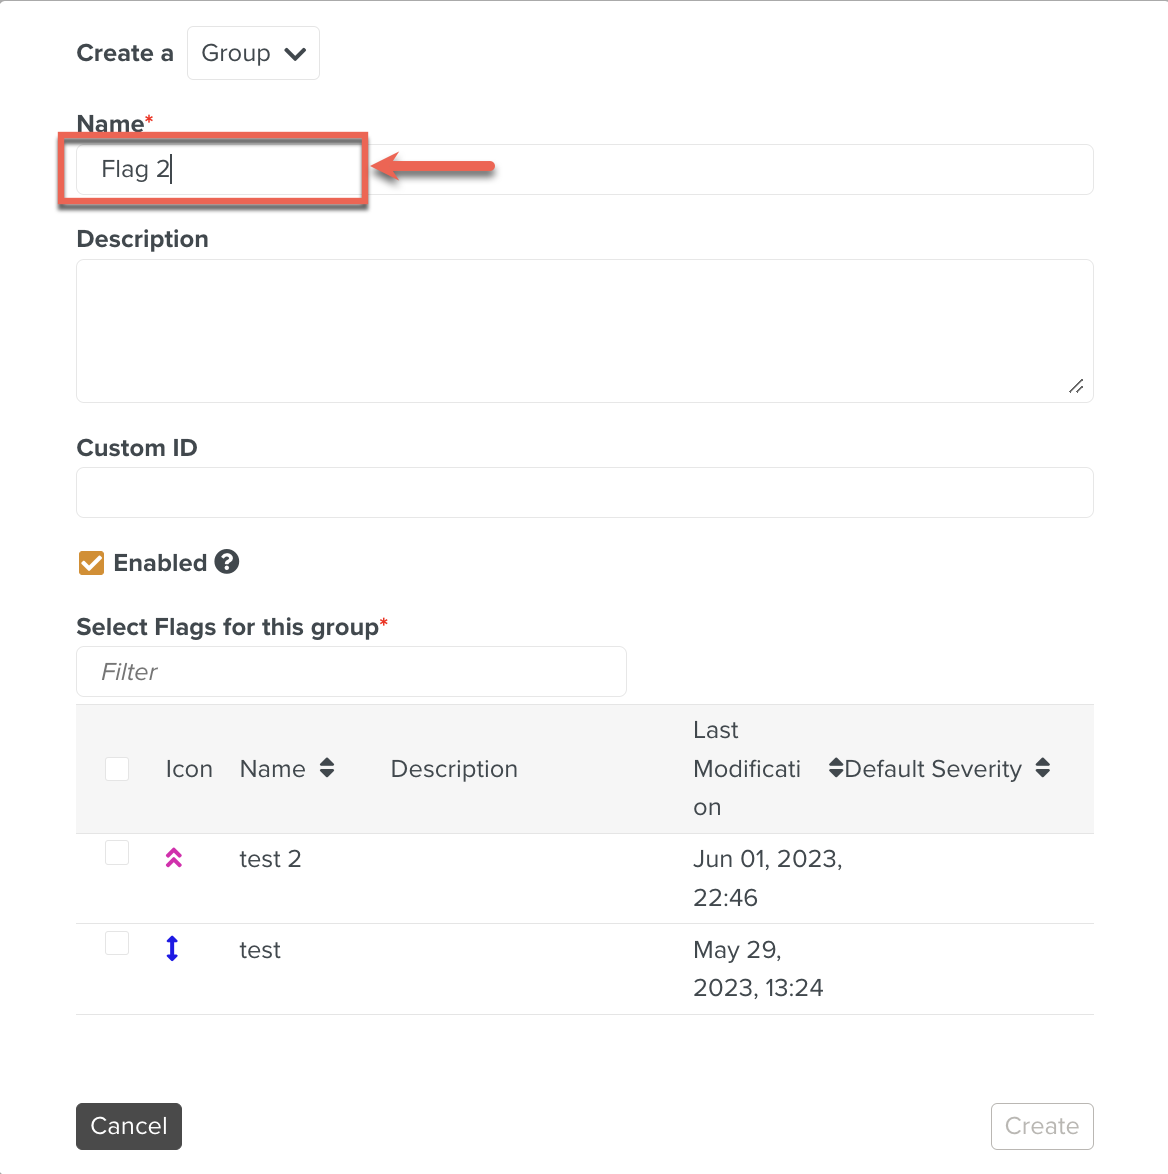
Enter Name.
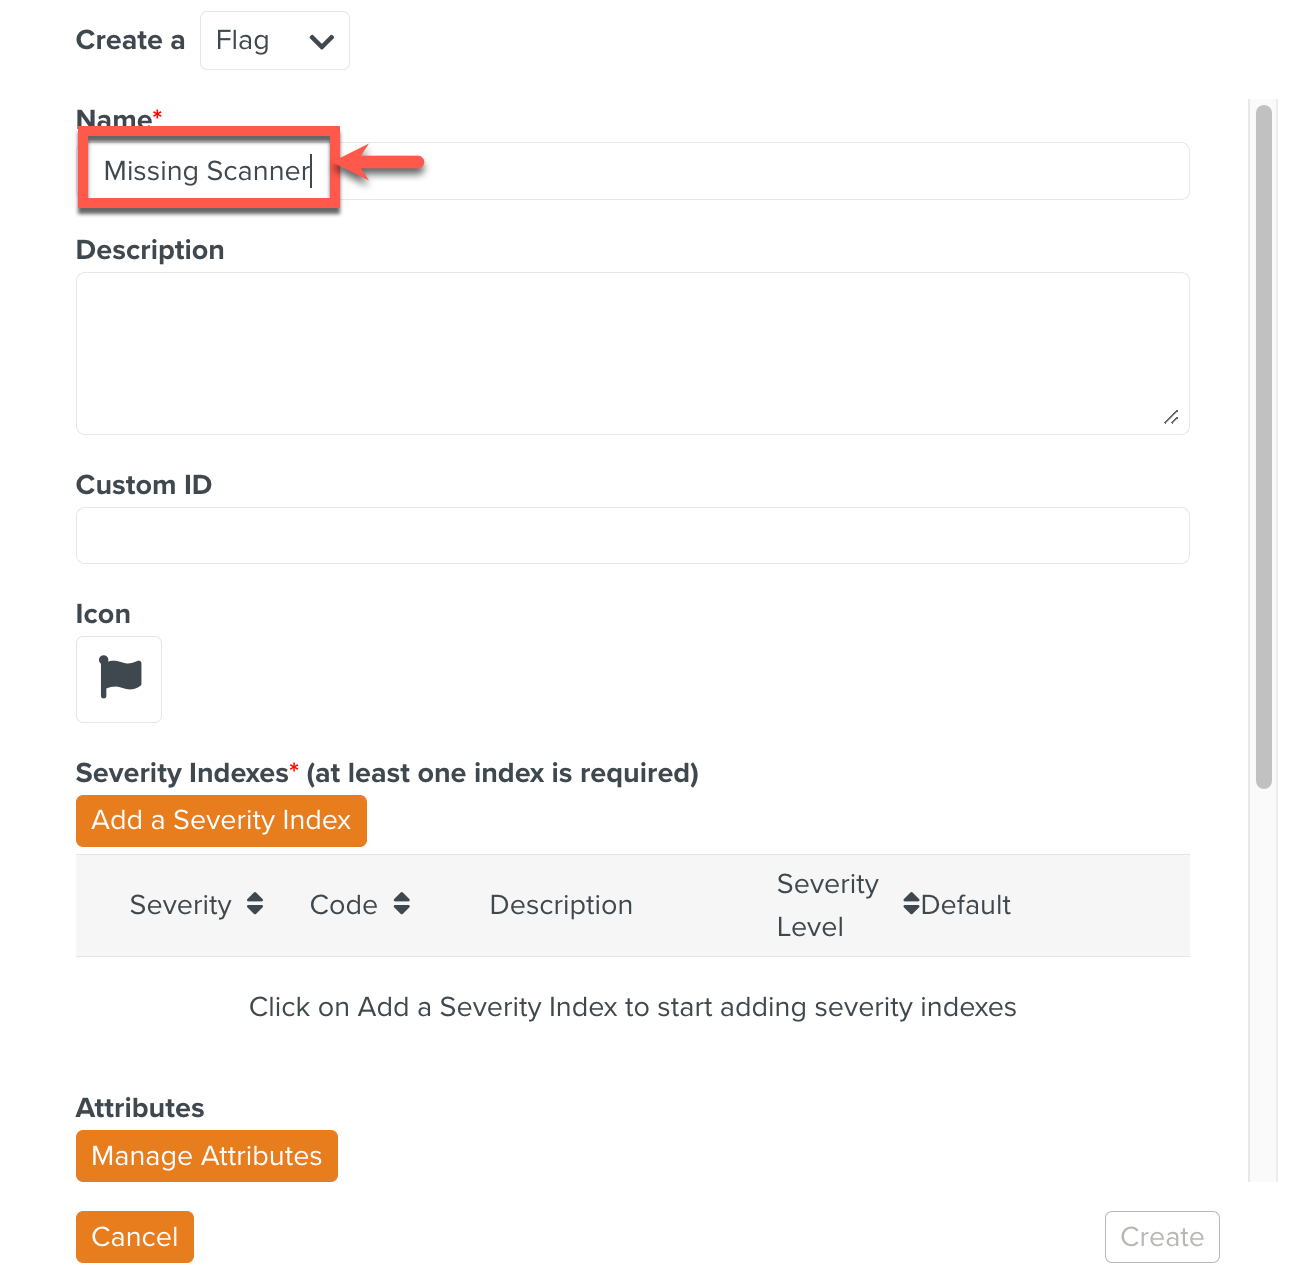
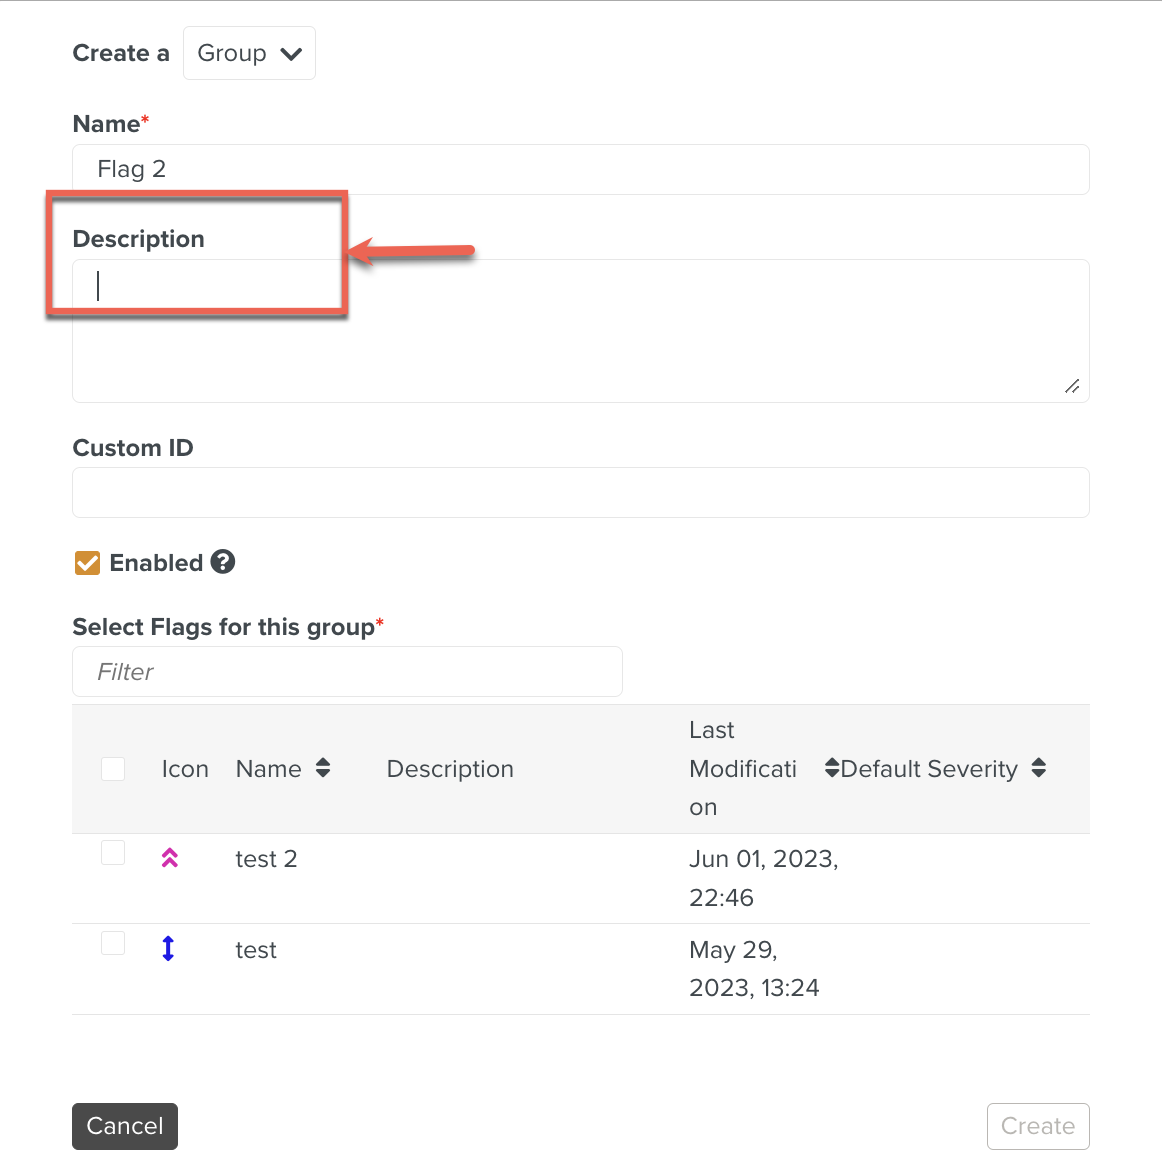
[Optional] Enter Description.
[Optional] Enter Custom ID.
The Custom ID is only for your use as every Flag has a complex internal ID number at the creation. The Custom ID enables you to index your Flag.
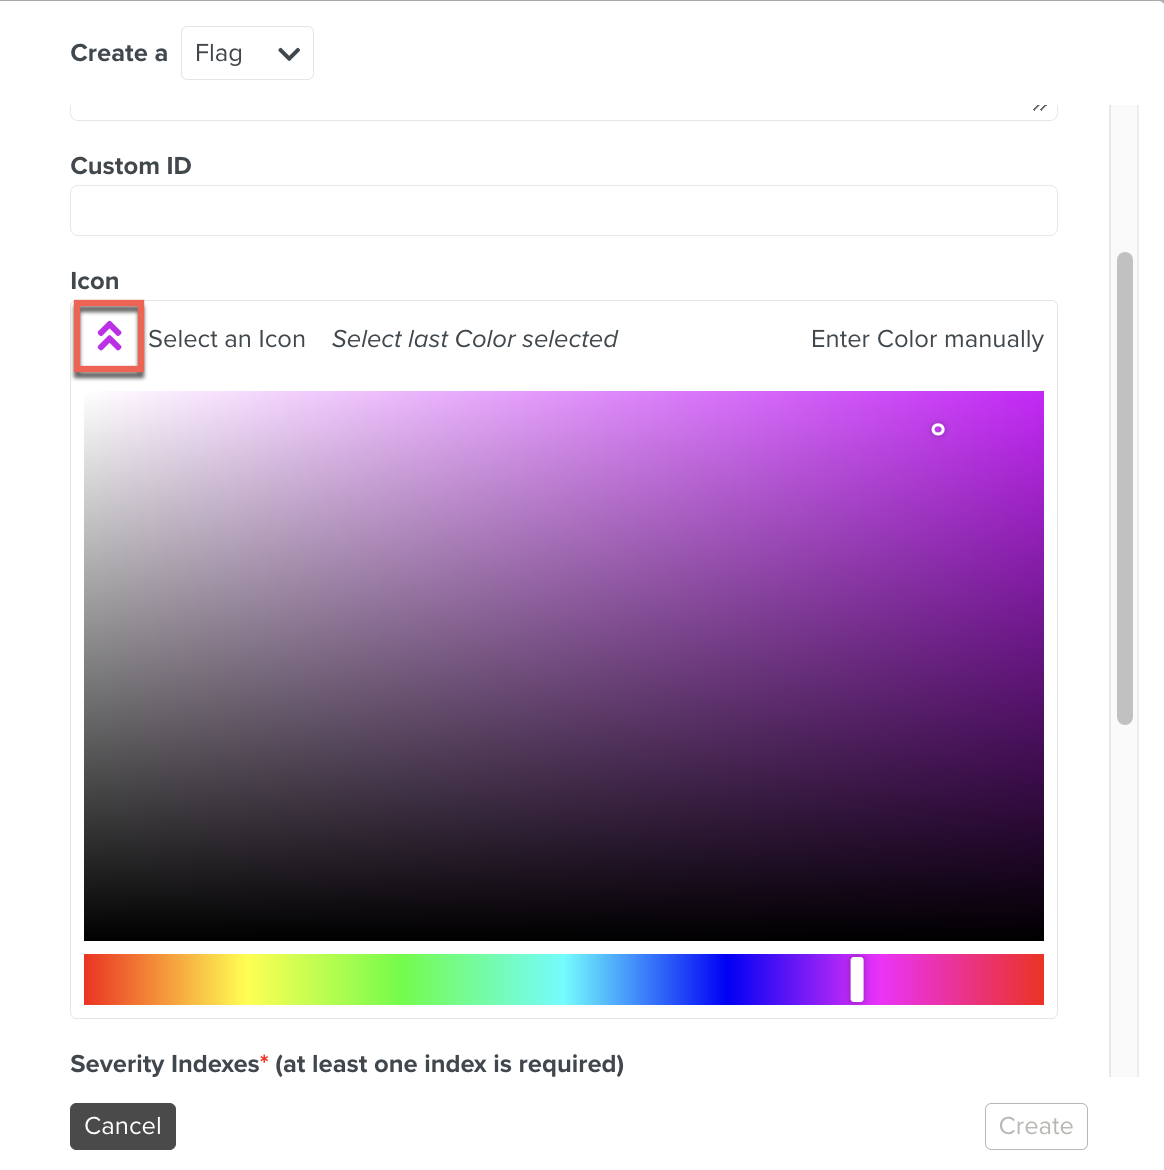
Click
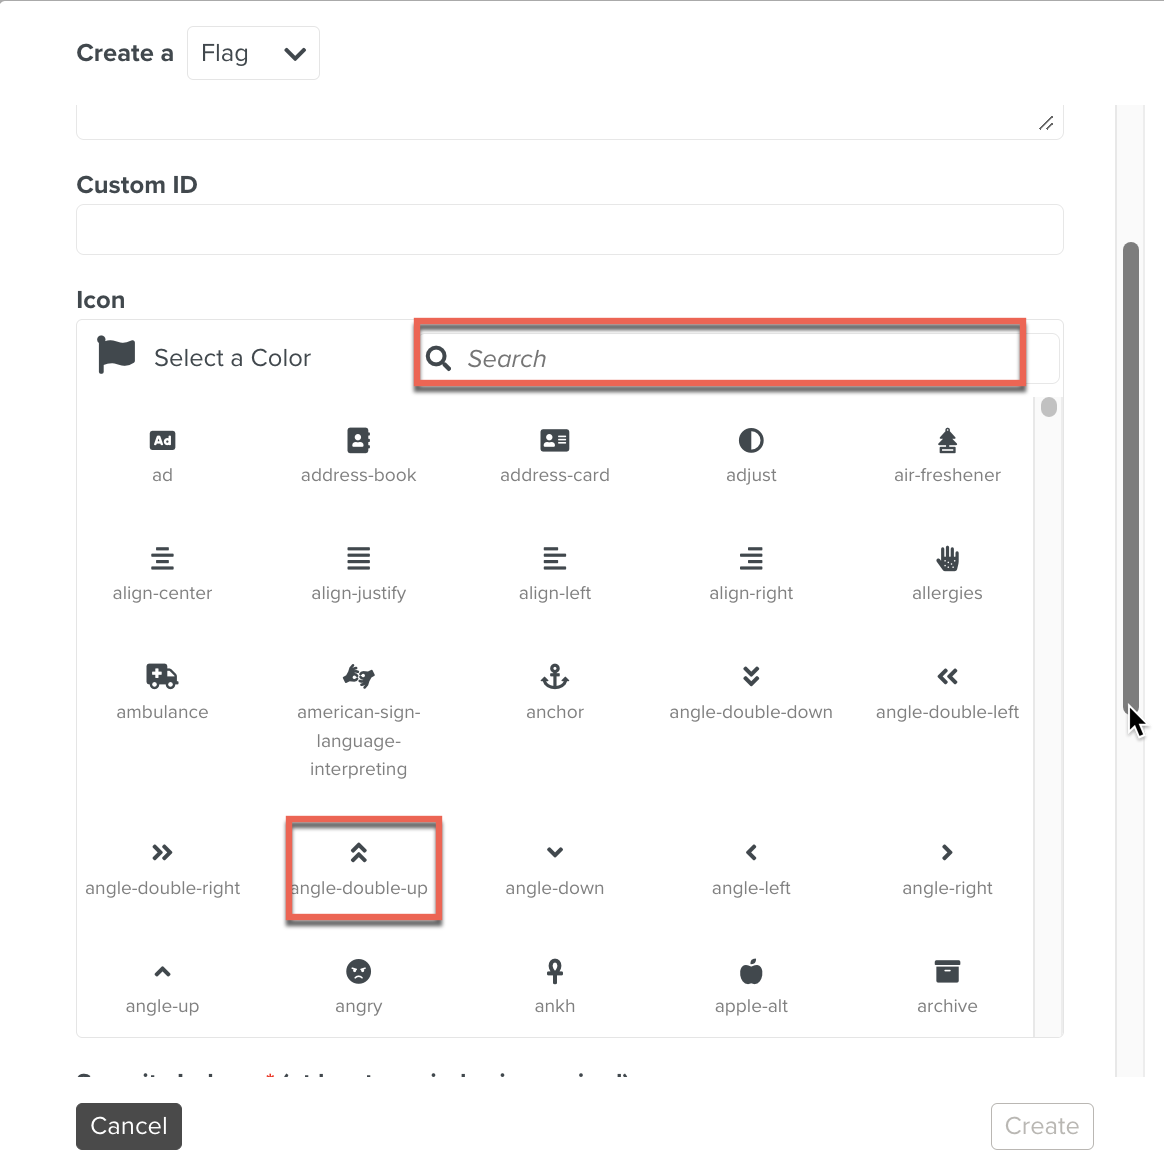
 and select an Icon.
You can search through the search option, or you can select an Icon from the list as shown below.
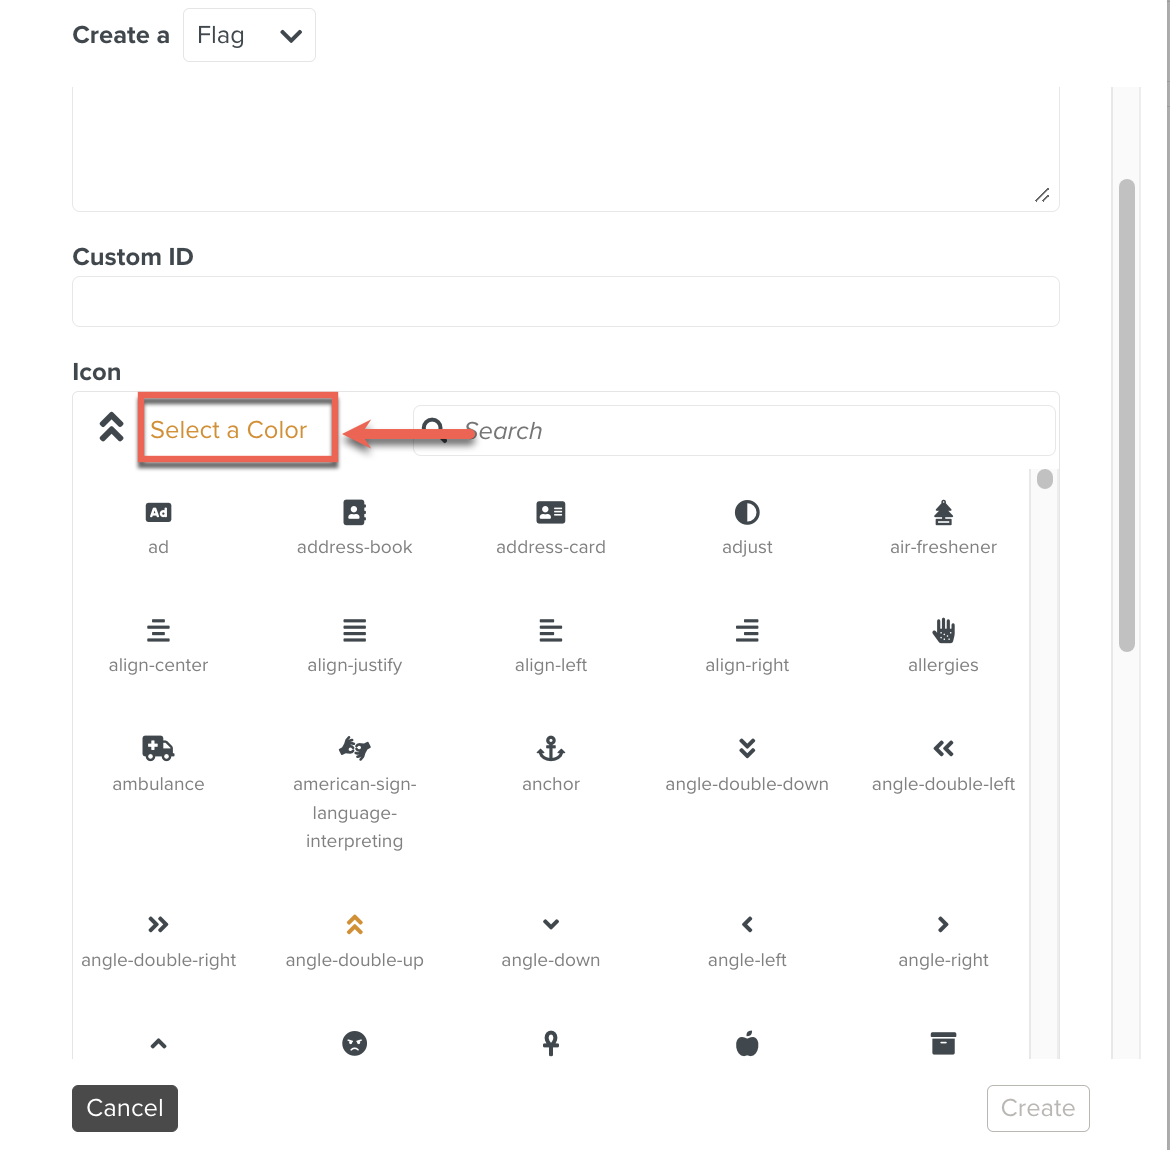
Click Select a Color as shown below.
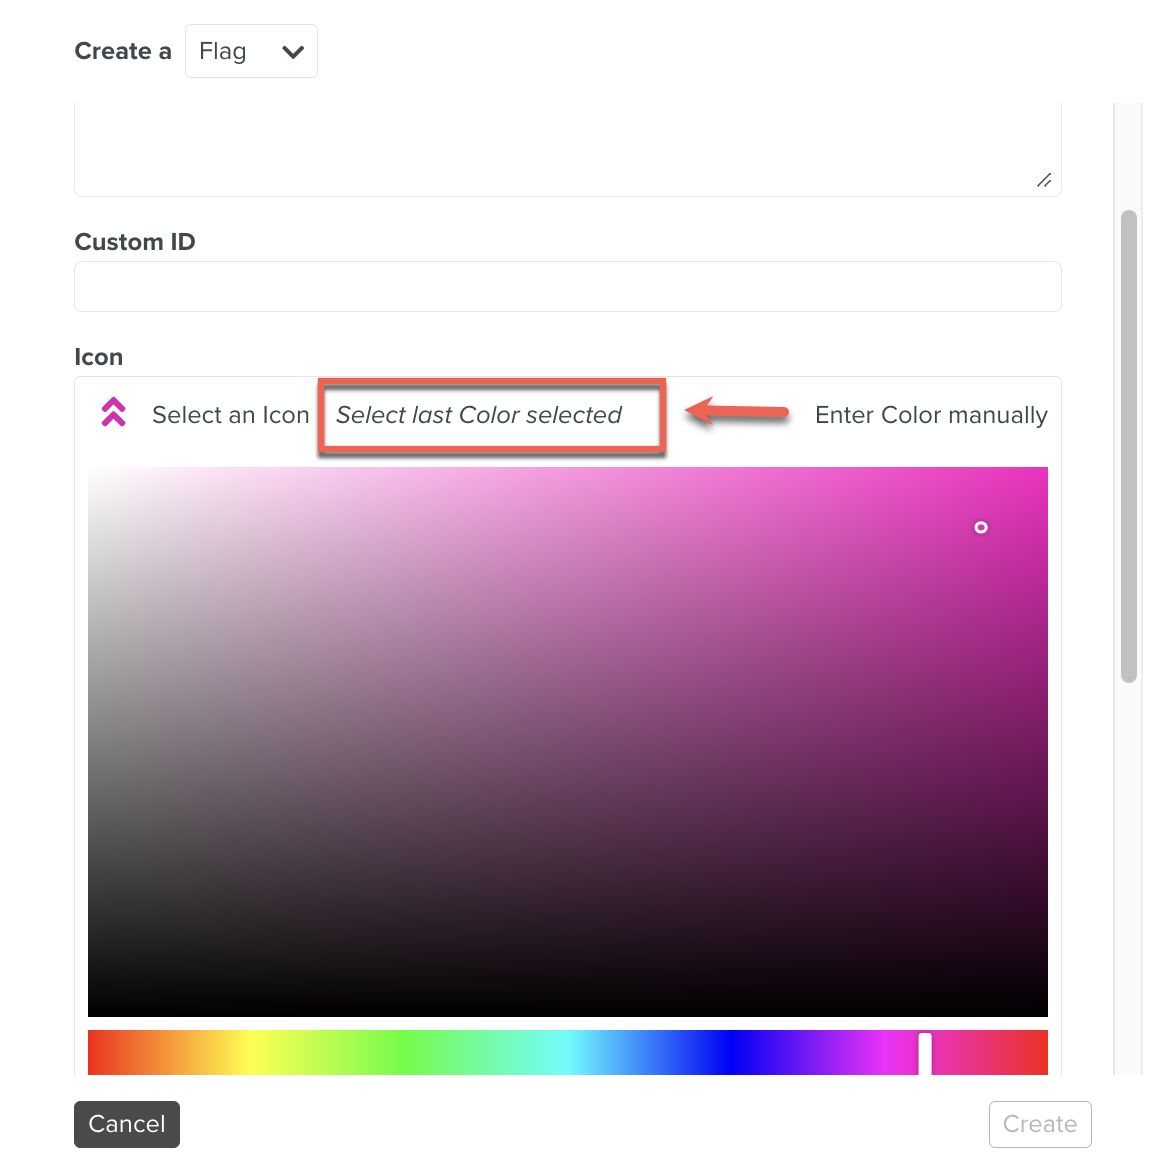
To use the last Color used, click Select last Color selected.
Click .
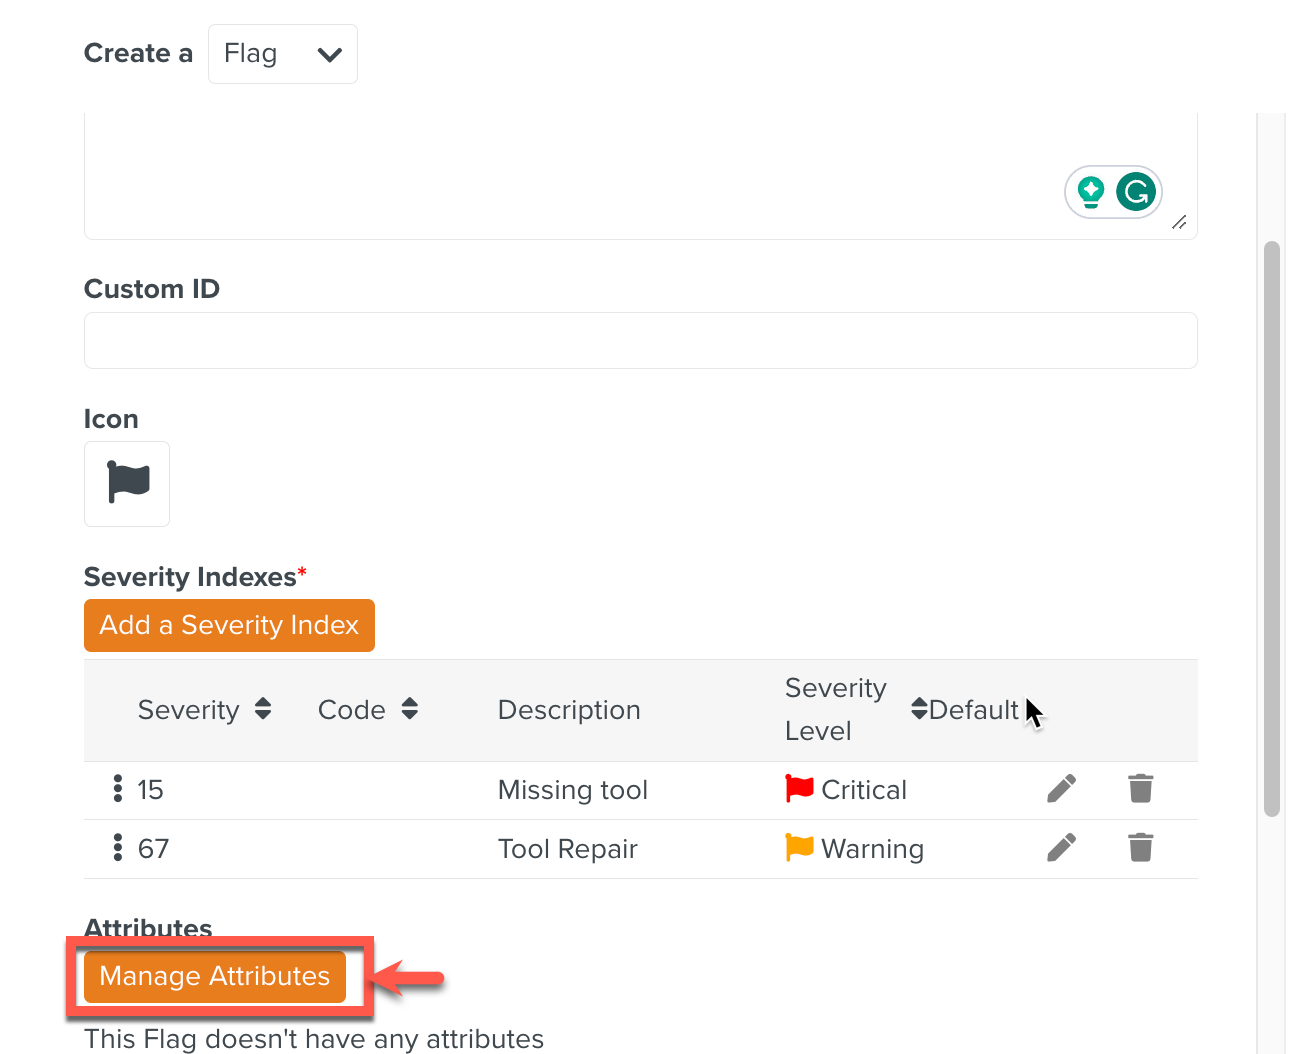
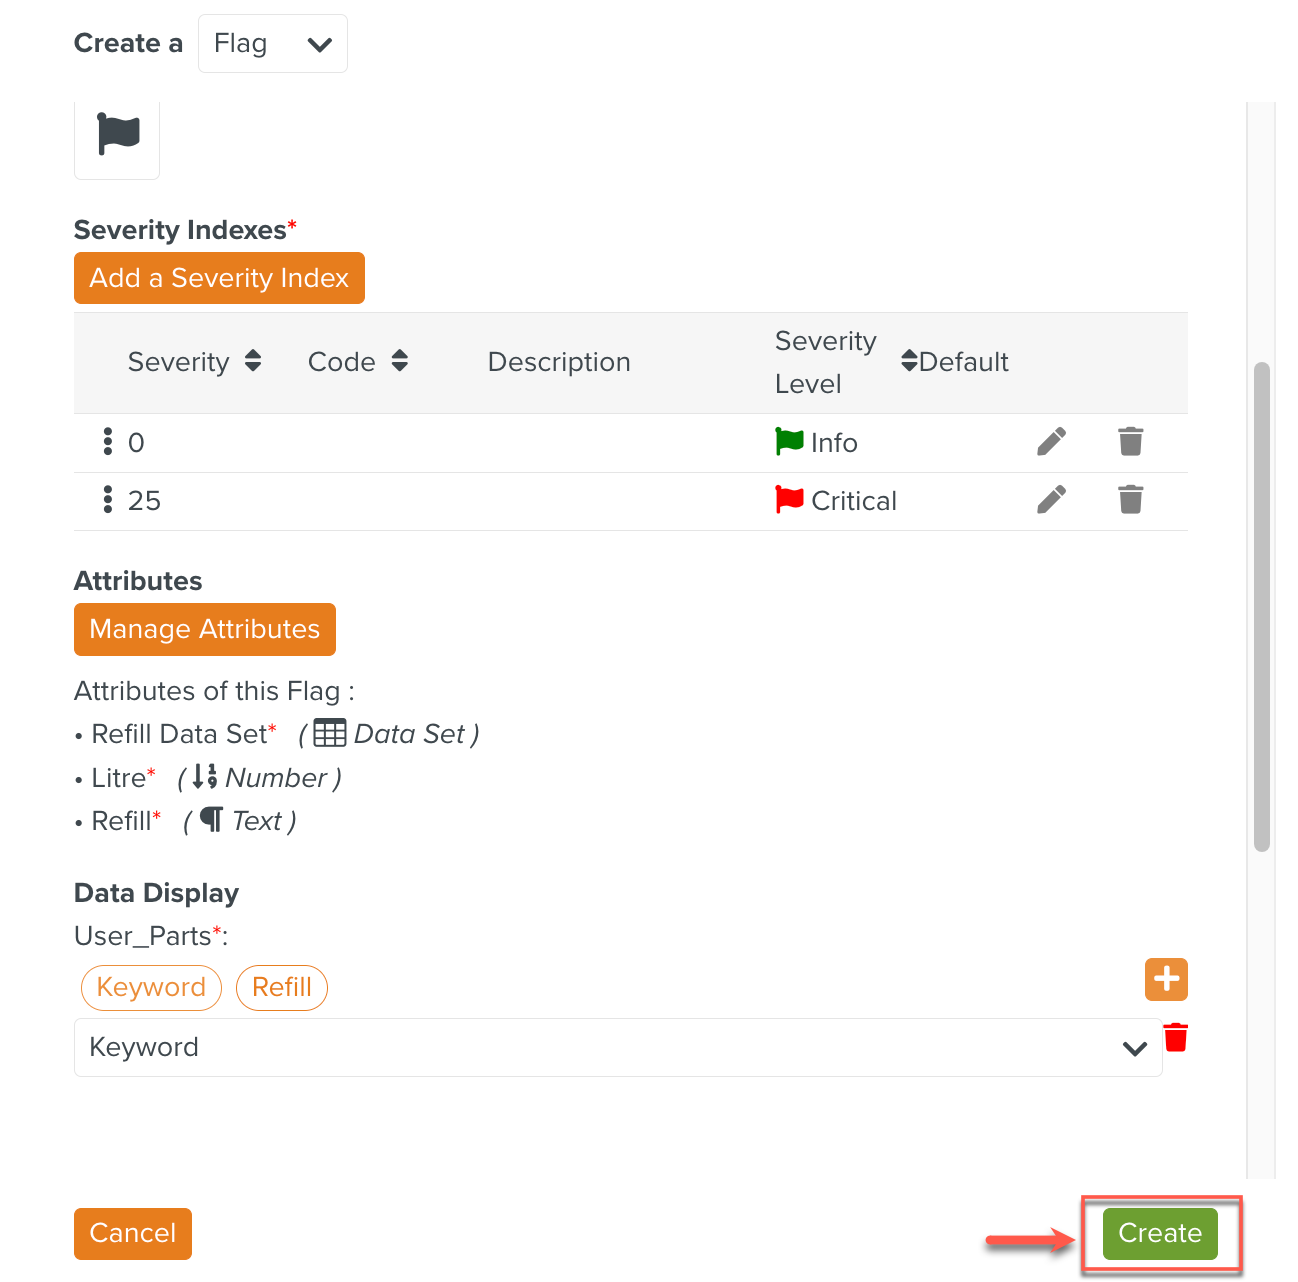
The Severity Code serves as an identifier of the severity when the user analyzes the Job data.
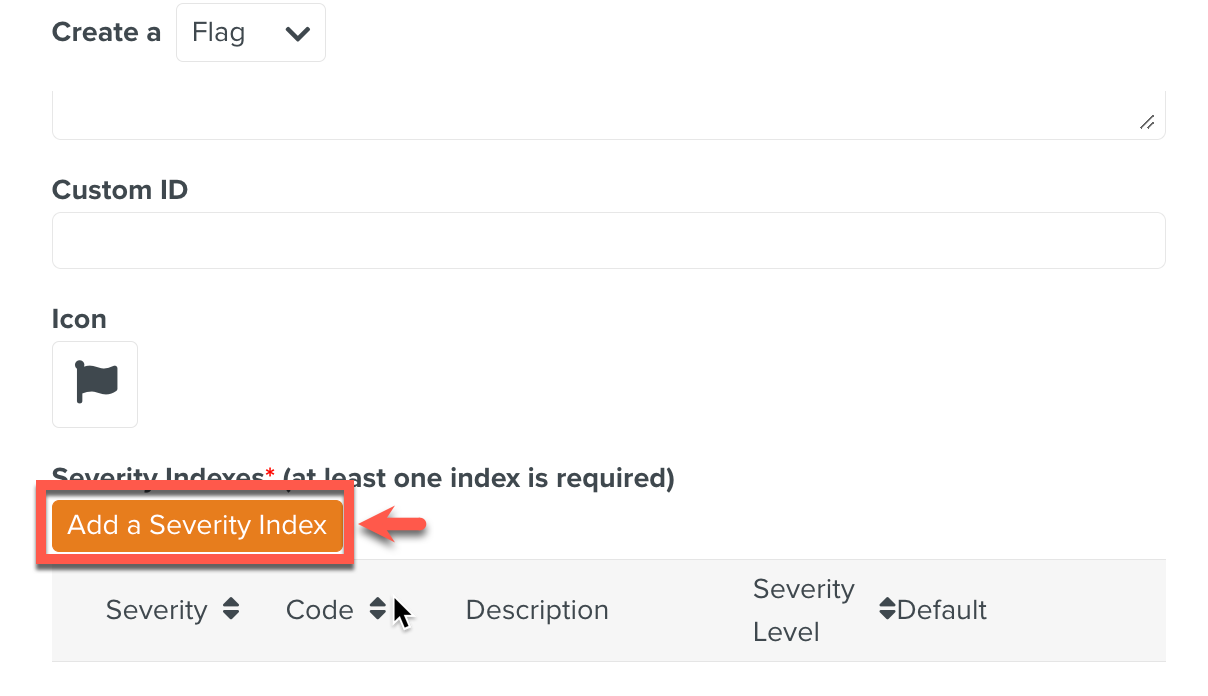
Enter the details of the Severity Index.
Enter a different number for each Severity Index.
The description informs the user of the type of Severity Index and the Severity Level is an indication of the gravity of the Severity Index.
Note
You need to create at least one Severity Index.
If you check the box, the Severity Index becomes the default Severity Index. It will become the first Severity Index to show during the creation of the Flag.

The Severity Index allows you to define with precision the Severity of the situation. They are visible in the Flag:
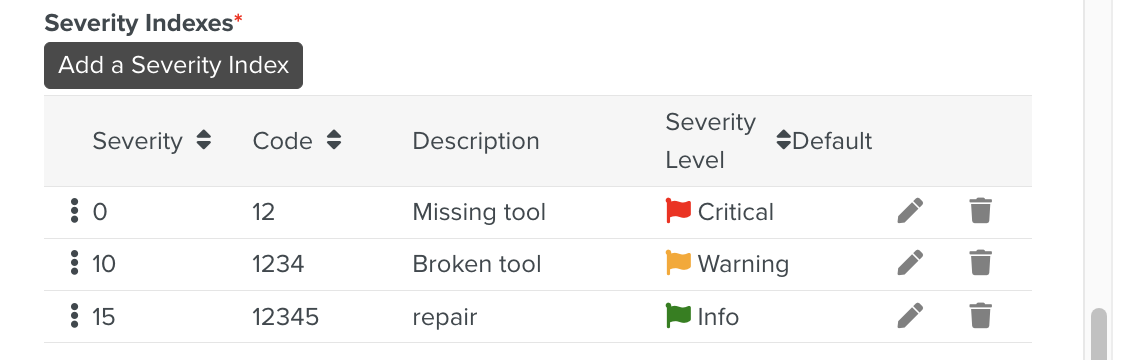
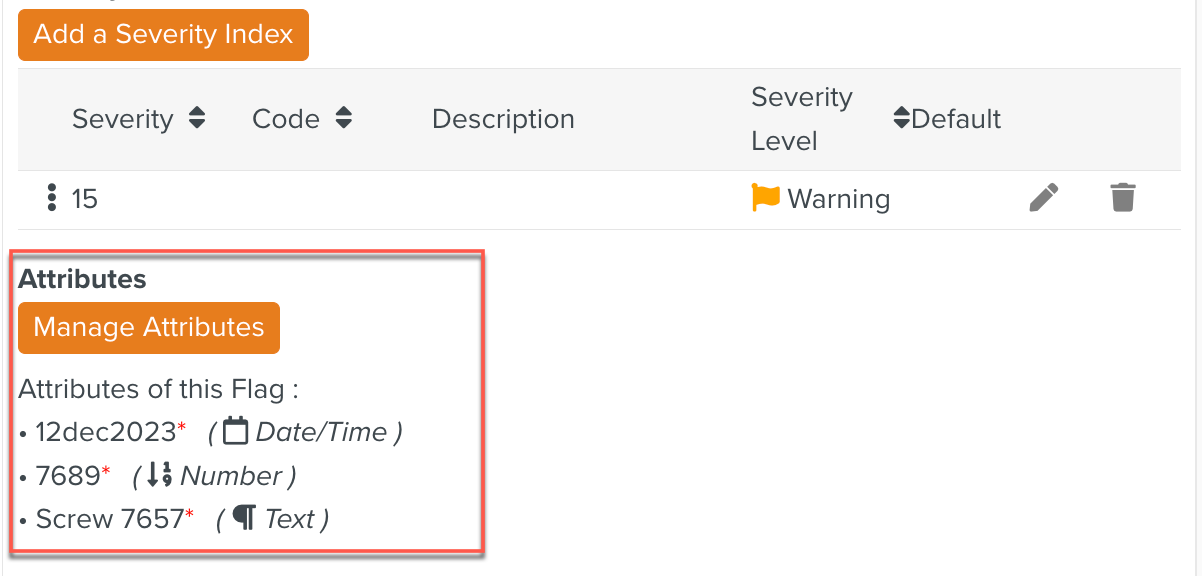
The Severity Indexes are created.
Click .
Attributes provide additional details related to the Flag.
The below dialog appears.
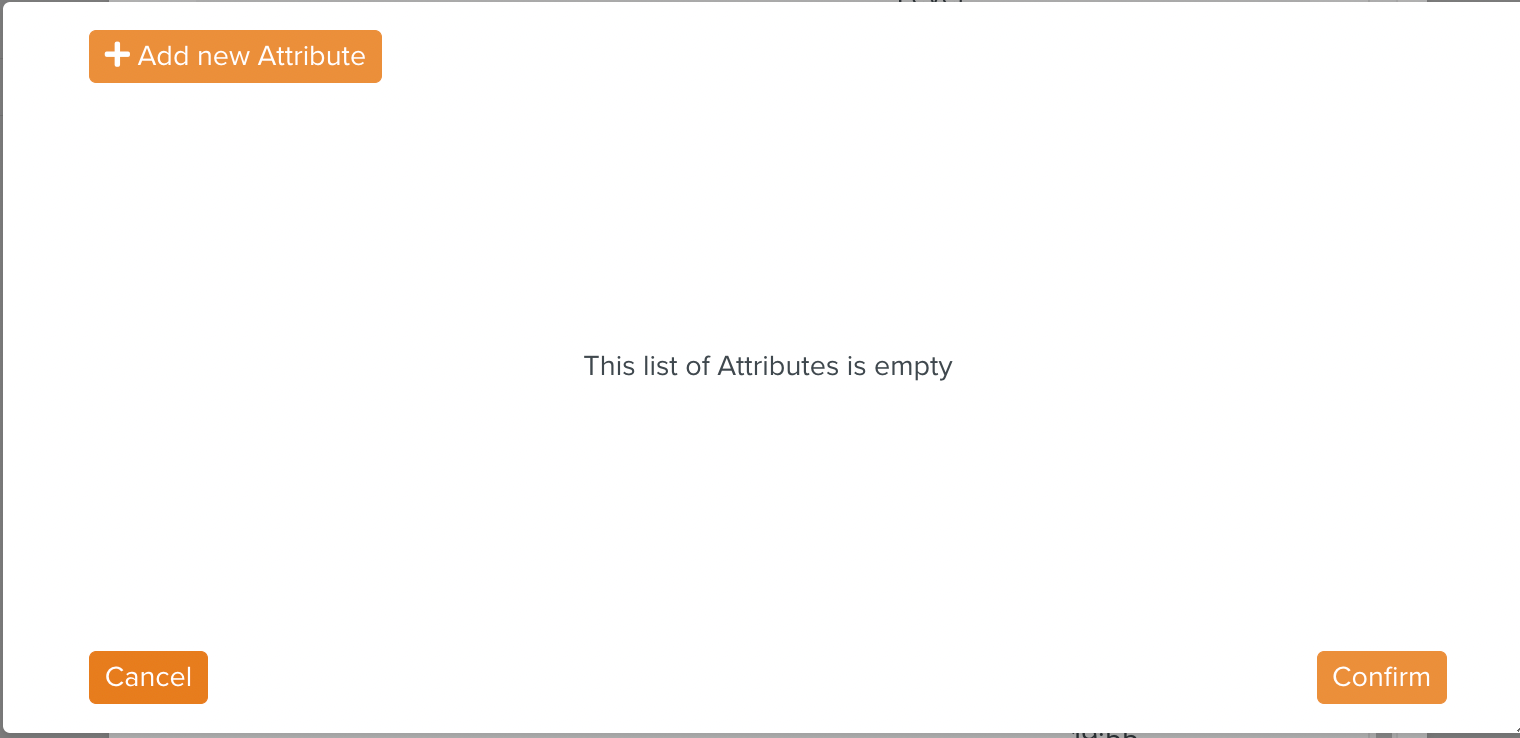
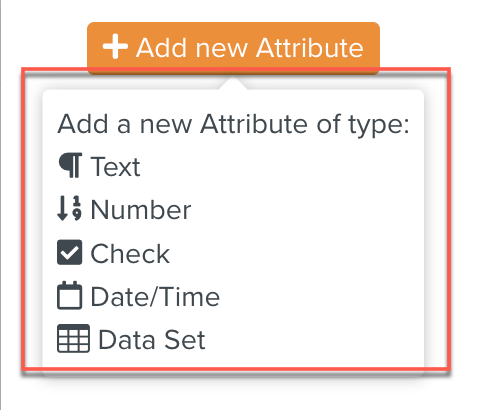
Click Add new Attribute.

Select an Attribute type from the list displayed.
Enter the details of the Attribute.
Enter the Attribute Name.
[Optional] Enter the Attribute Label.
[Optional] Click the
 icon to categorize the Attributes based on a Group.
[Optional] Select an existing Group from the dropdown or create a new Group.
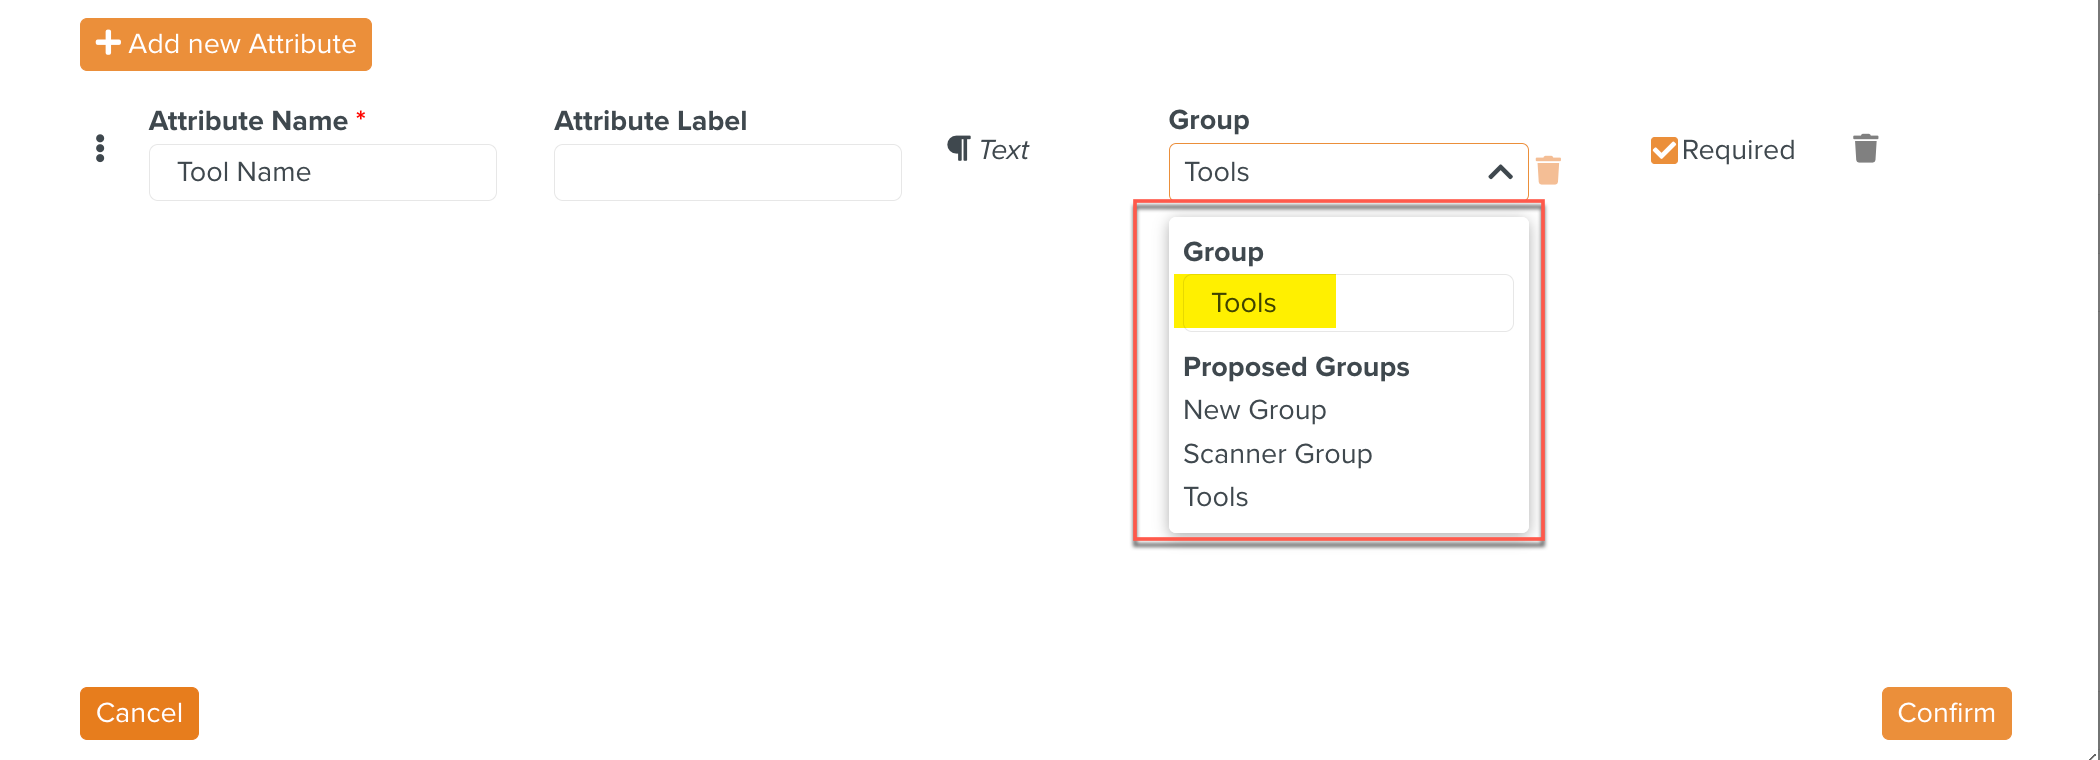
[Optional] Check Required as shown below to make an attribute mandatory.

[Optional] Click the Delete icon
 to delete the Attribute.
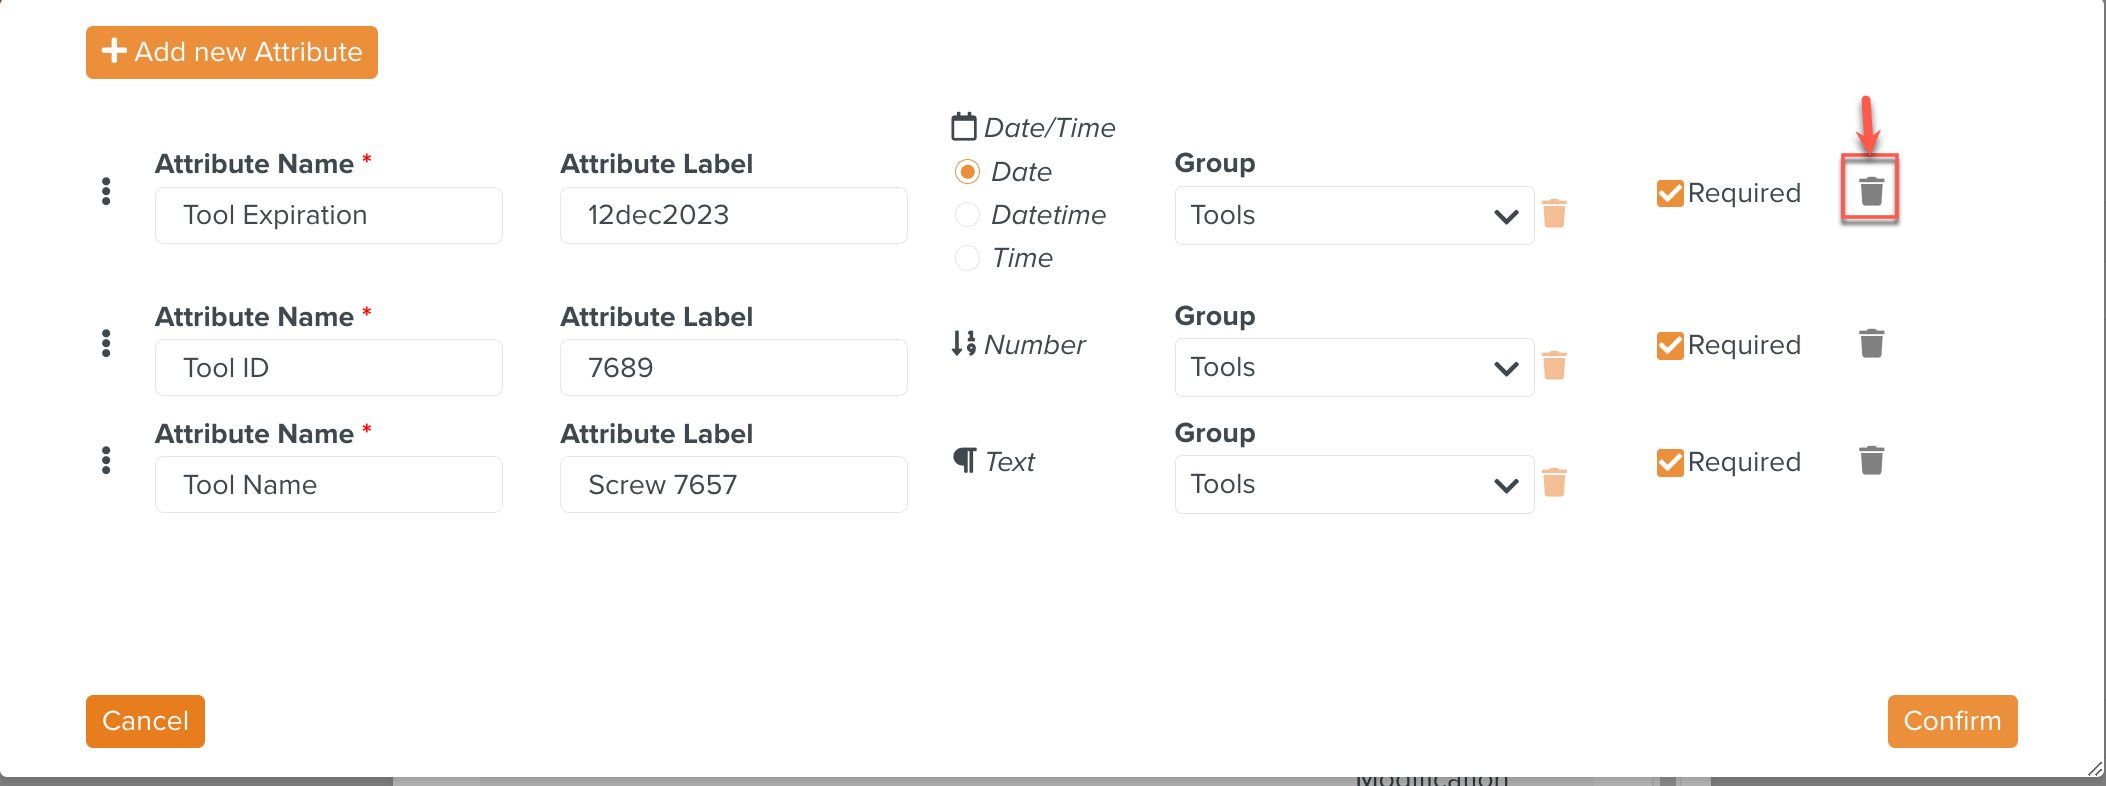
Click to save the Attributes added.
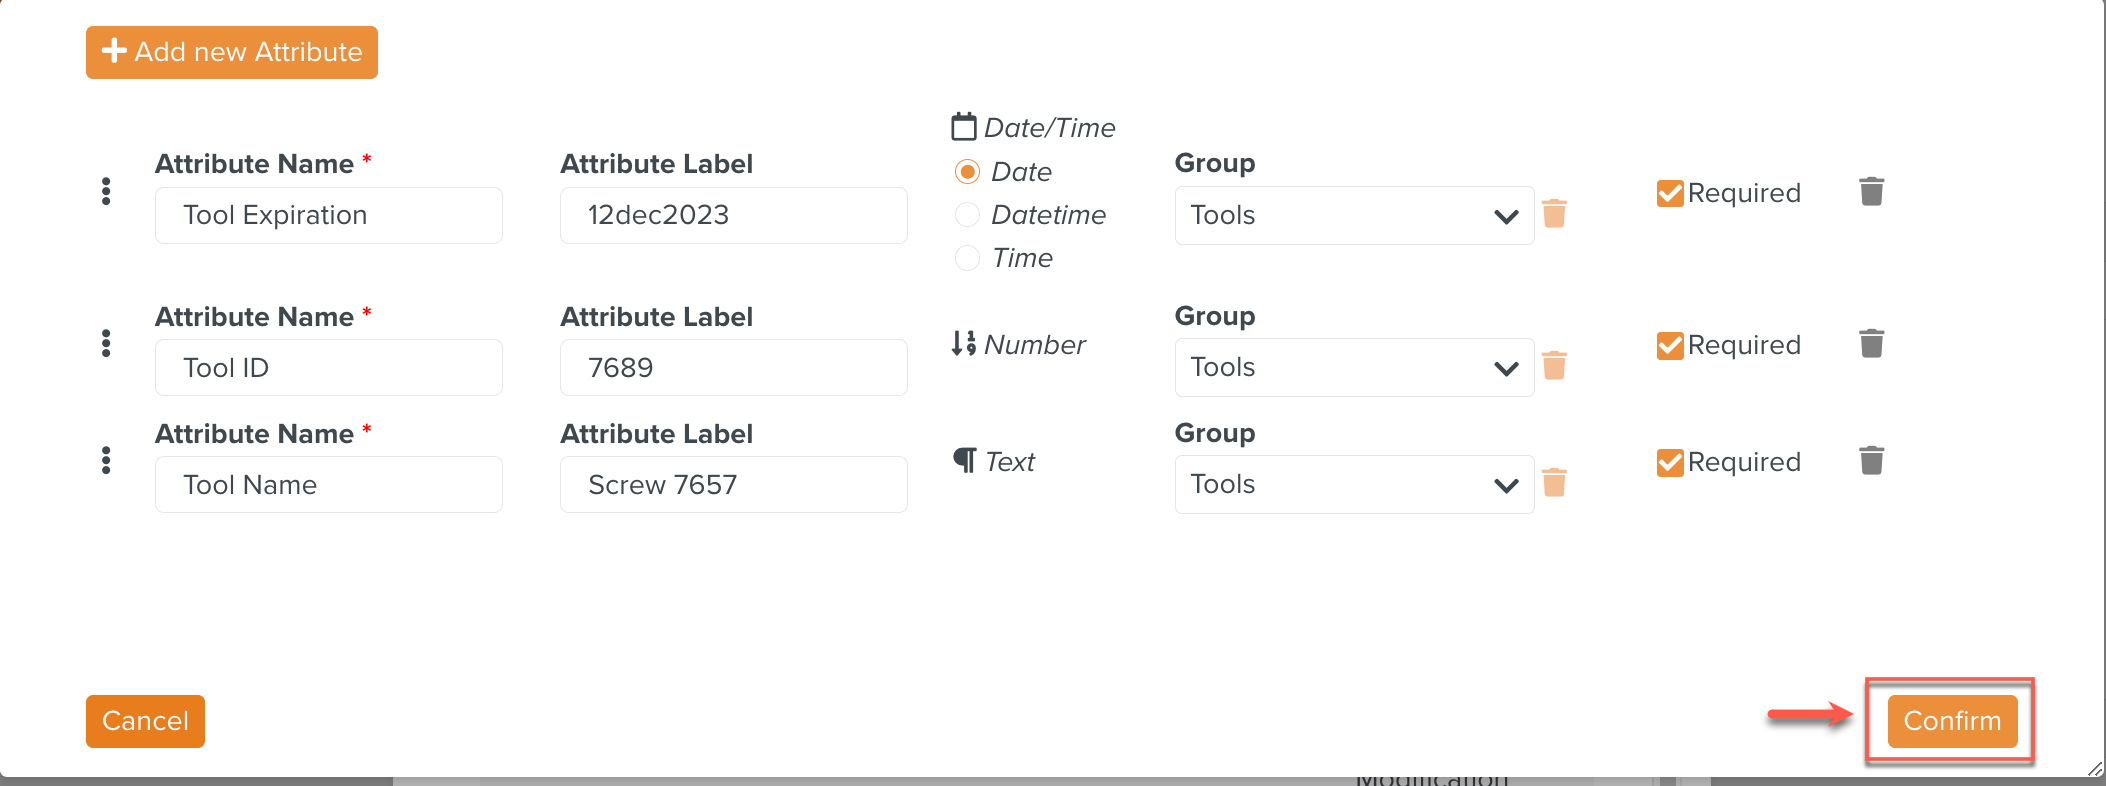
The Attributes are saved.
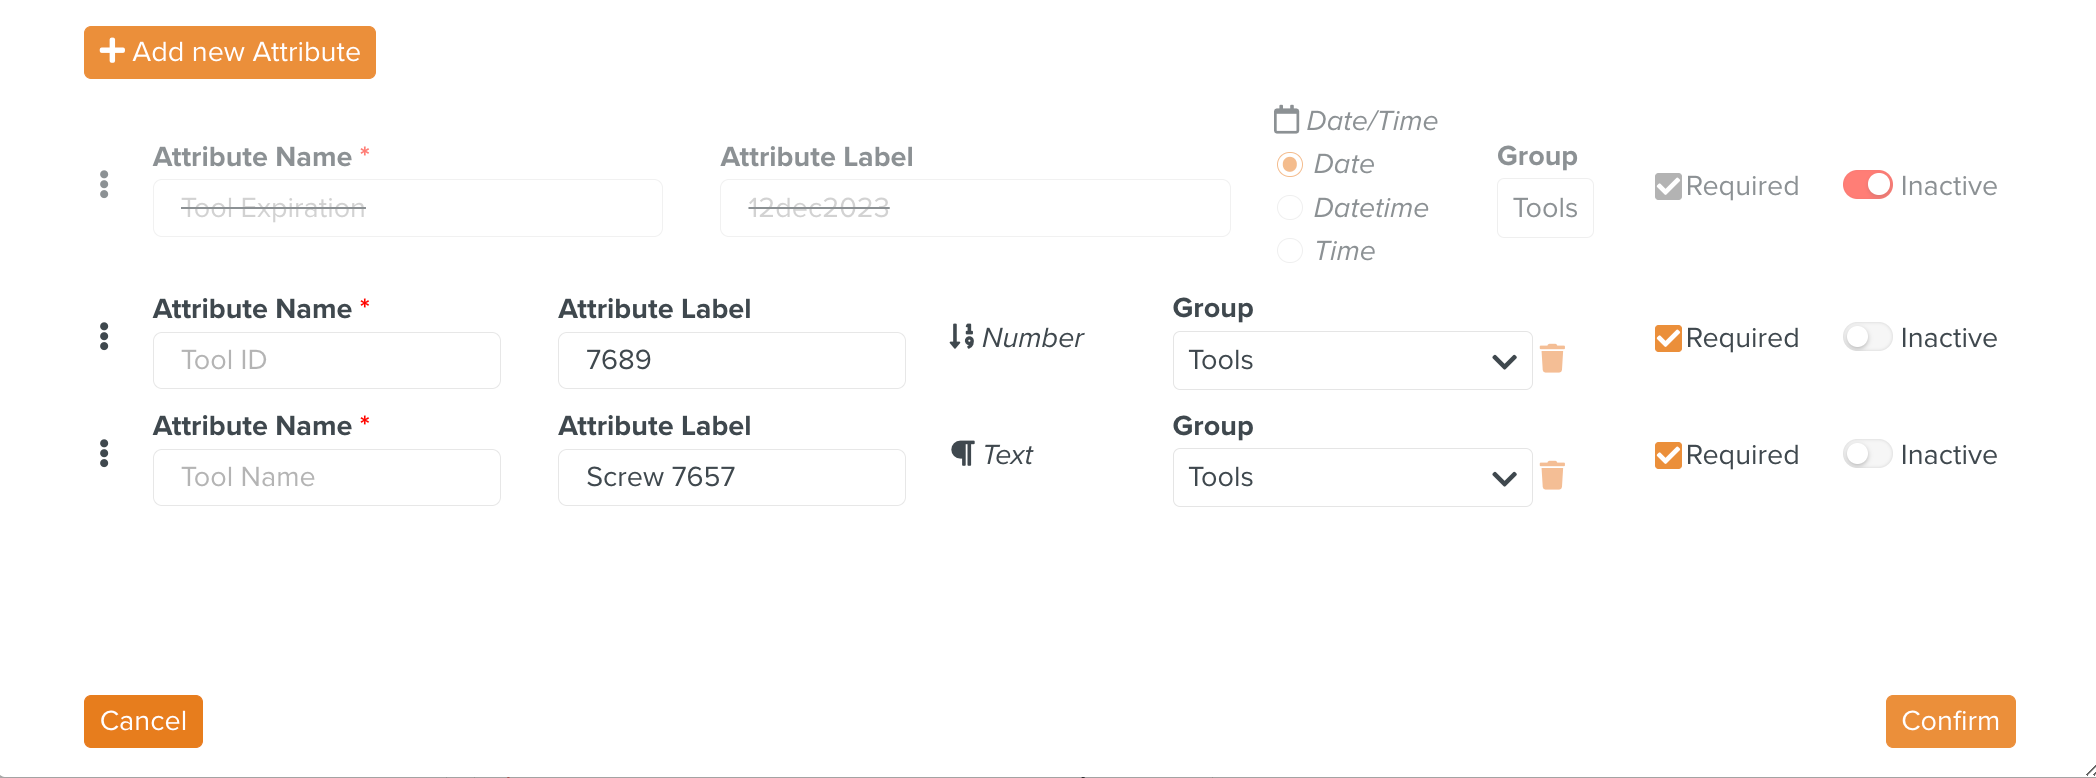
The Flag Attribute can be enabled or disabled by toggling the button. This is possible after the Attributes are saved.
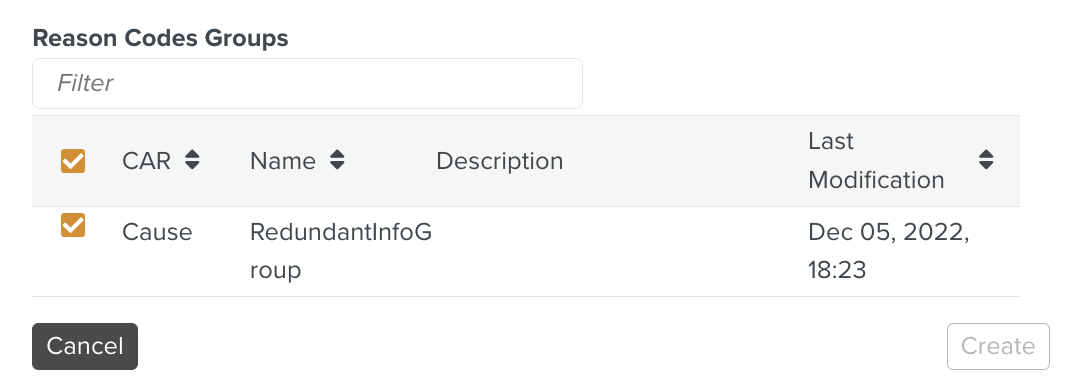
Add Reason Code Groups.
Click .
Note
When you choose an Attribute type as a Data Set, select the Data Display (either Text/Property) to enable the button.
The Flag is created.
Flags Group helps you arrange your flags into different categories, so Field Employees understand their use and find them quickly.
To create a Flag Group:
On the main menu, go to Enterprise > Flagging & More > Flagging.
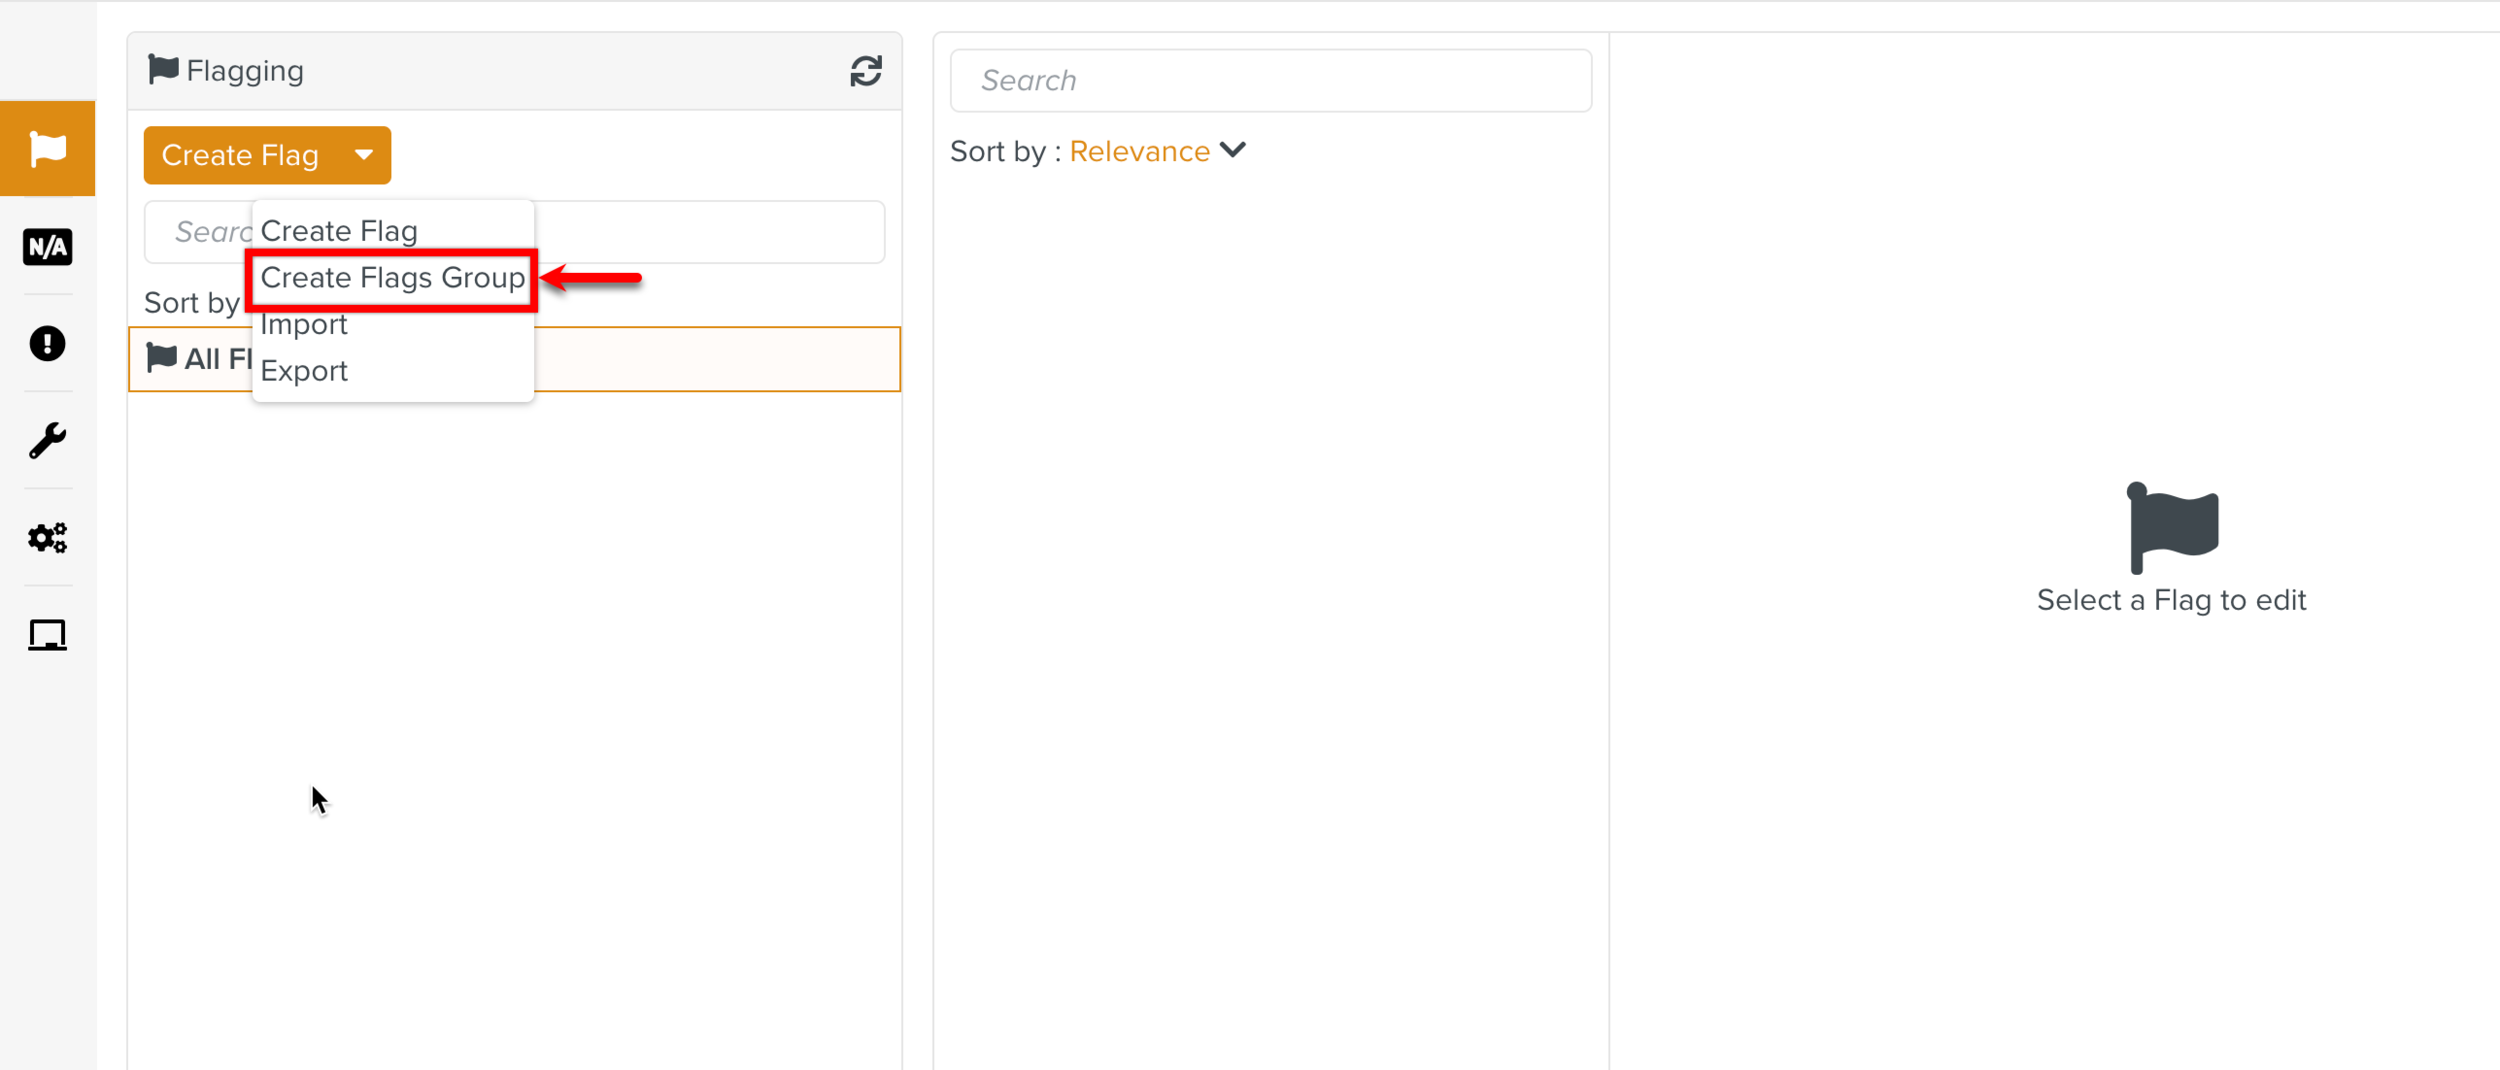
Expand the Create Flag dropdown to select the Create Flags Group option.
The dialog Create a Group appears.
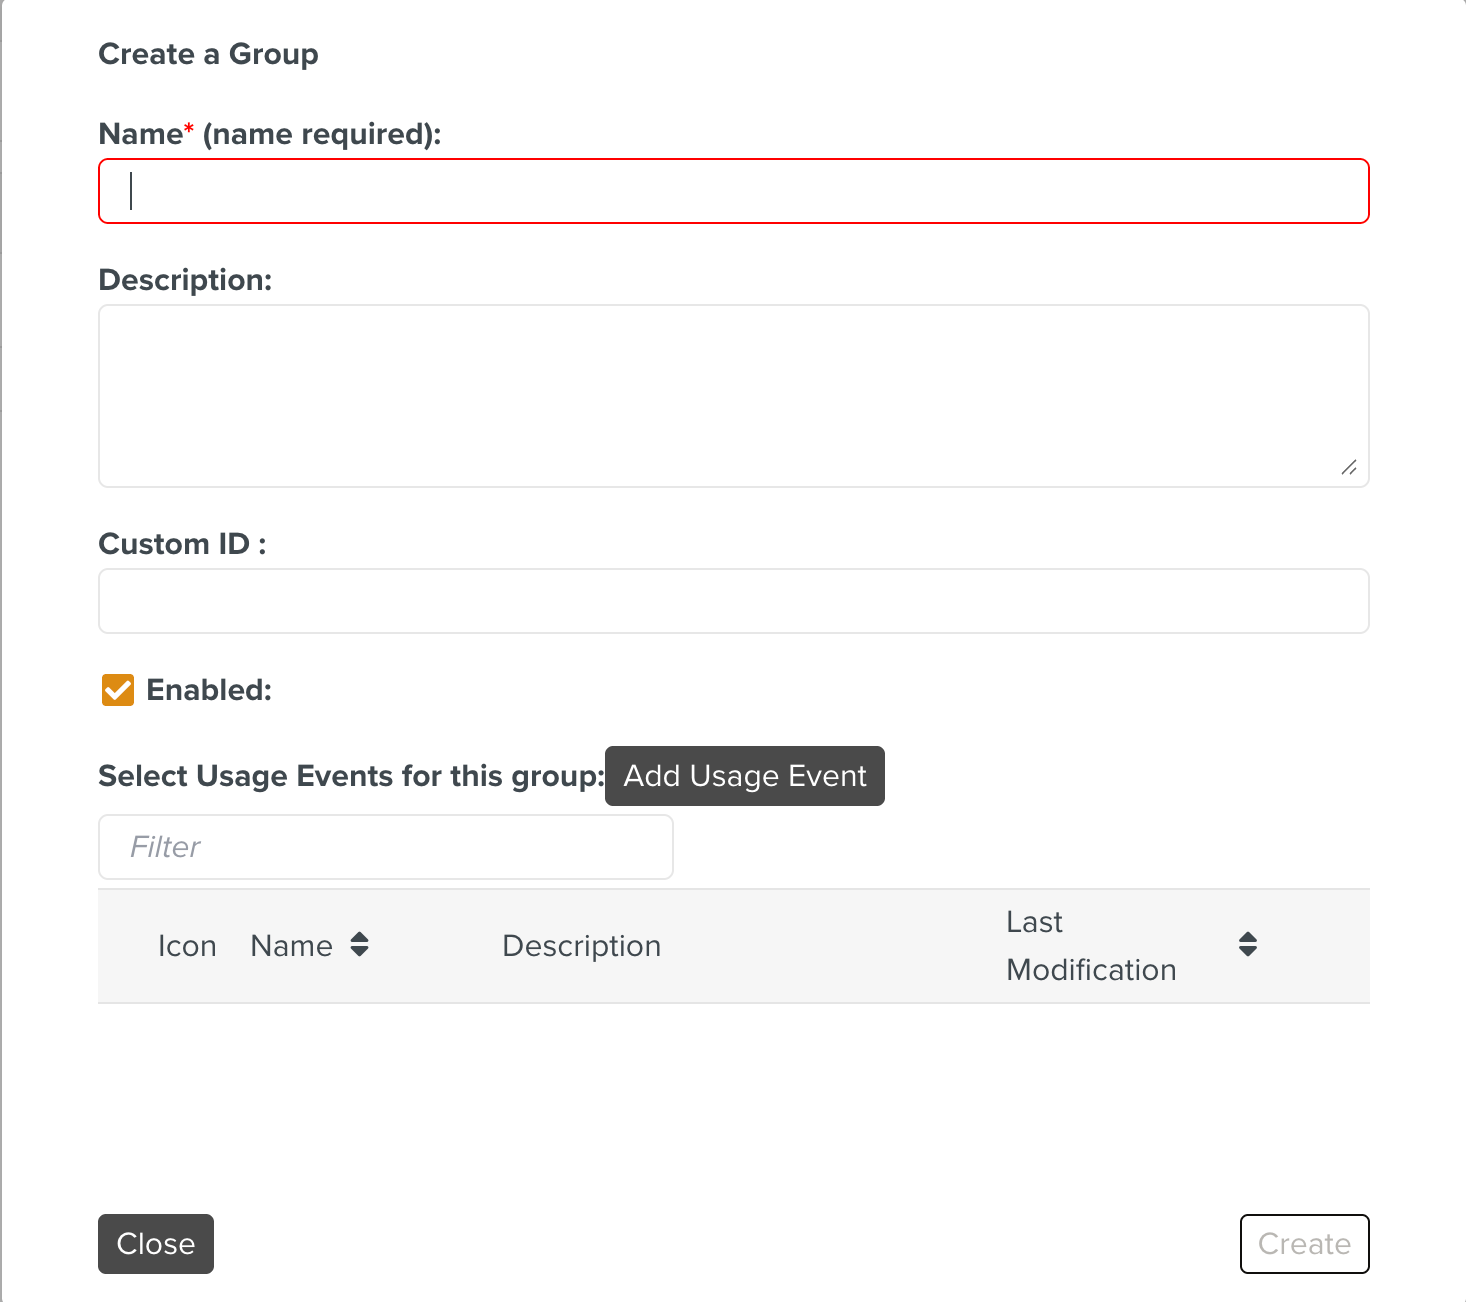
Enter a Name.
[Optional] Enter a Description.
[Optional] Choose Custom ID.
The Custom ID is only for your own use as every Flags Group has a complex internal ID number at the creation. The Custom ID is a valuable solution to index your Flags Groups.
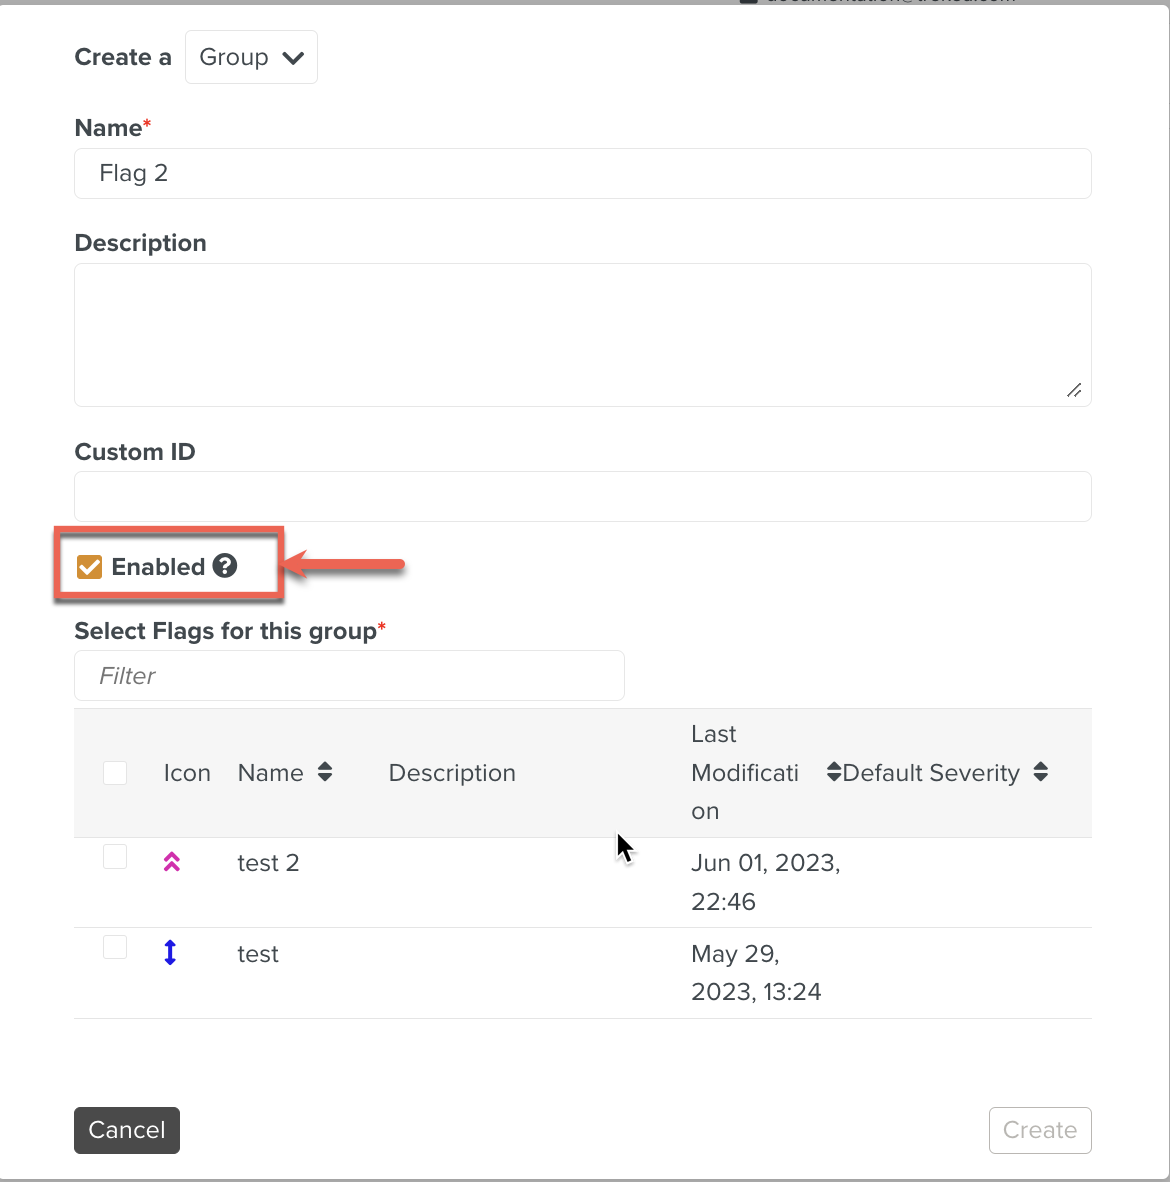
[Optional] Check the box .
When you check , the Flags Group becomes visible to the users. If the box remains unchecked, the Flags Group is not visible and is restricted to the Syncing profiles who can see the Flags Group.
Note
Flags Group can be restricted by Syncing profiles.
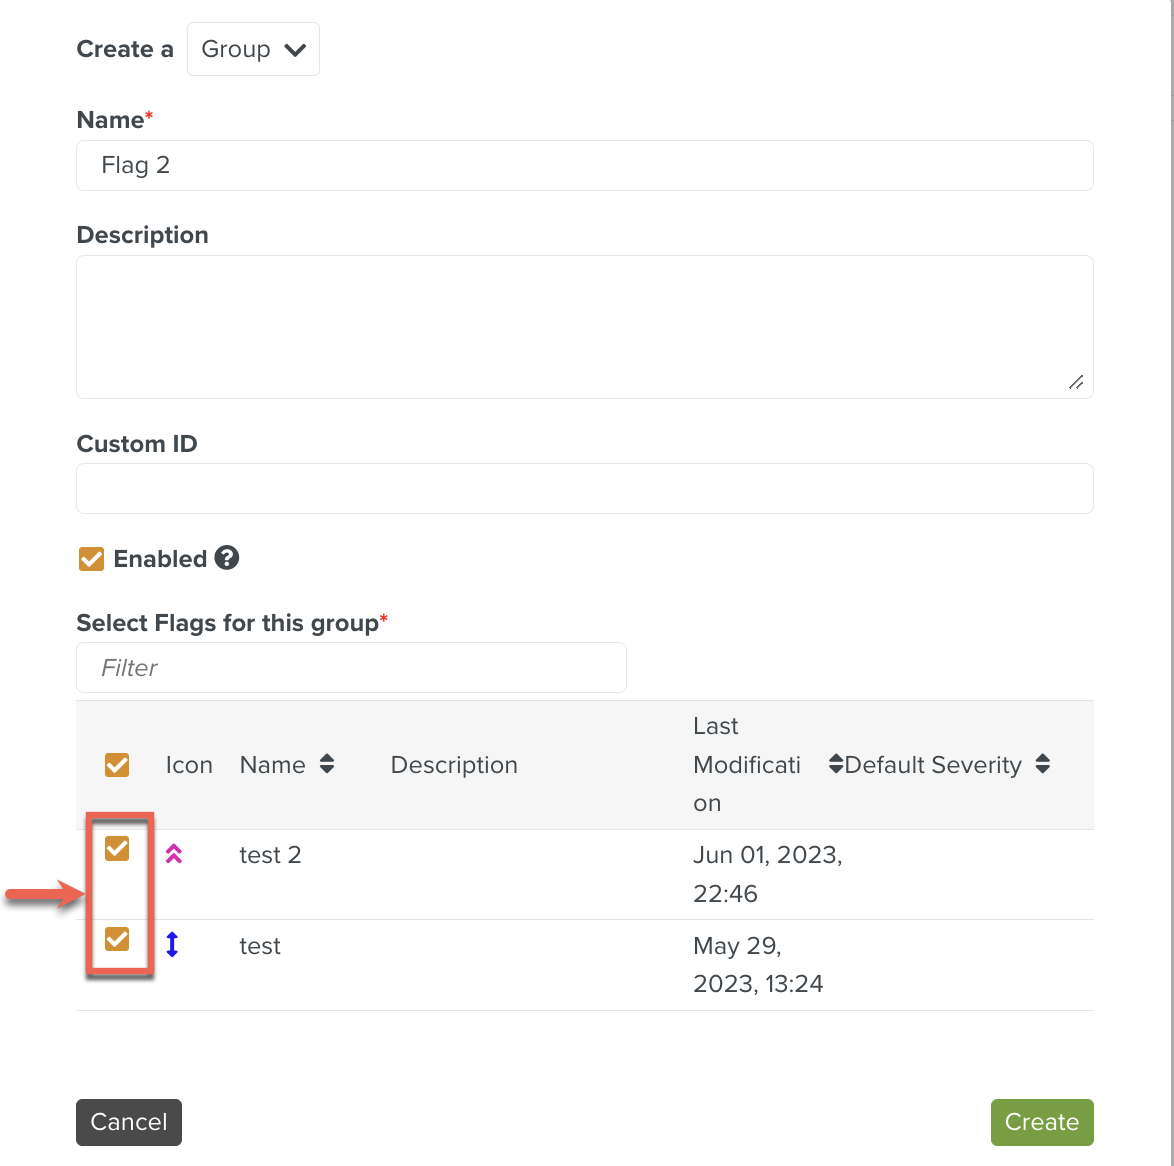
Select the Flags to the Group as shown below.
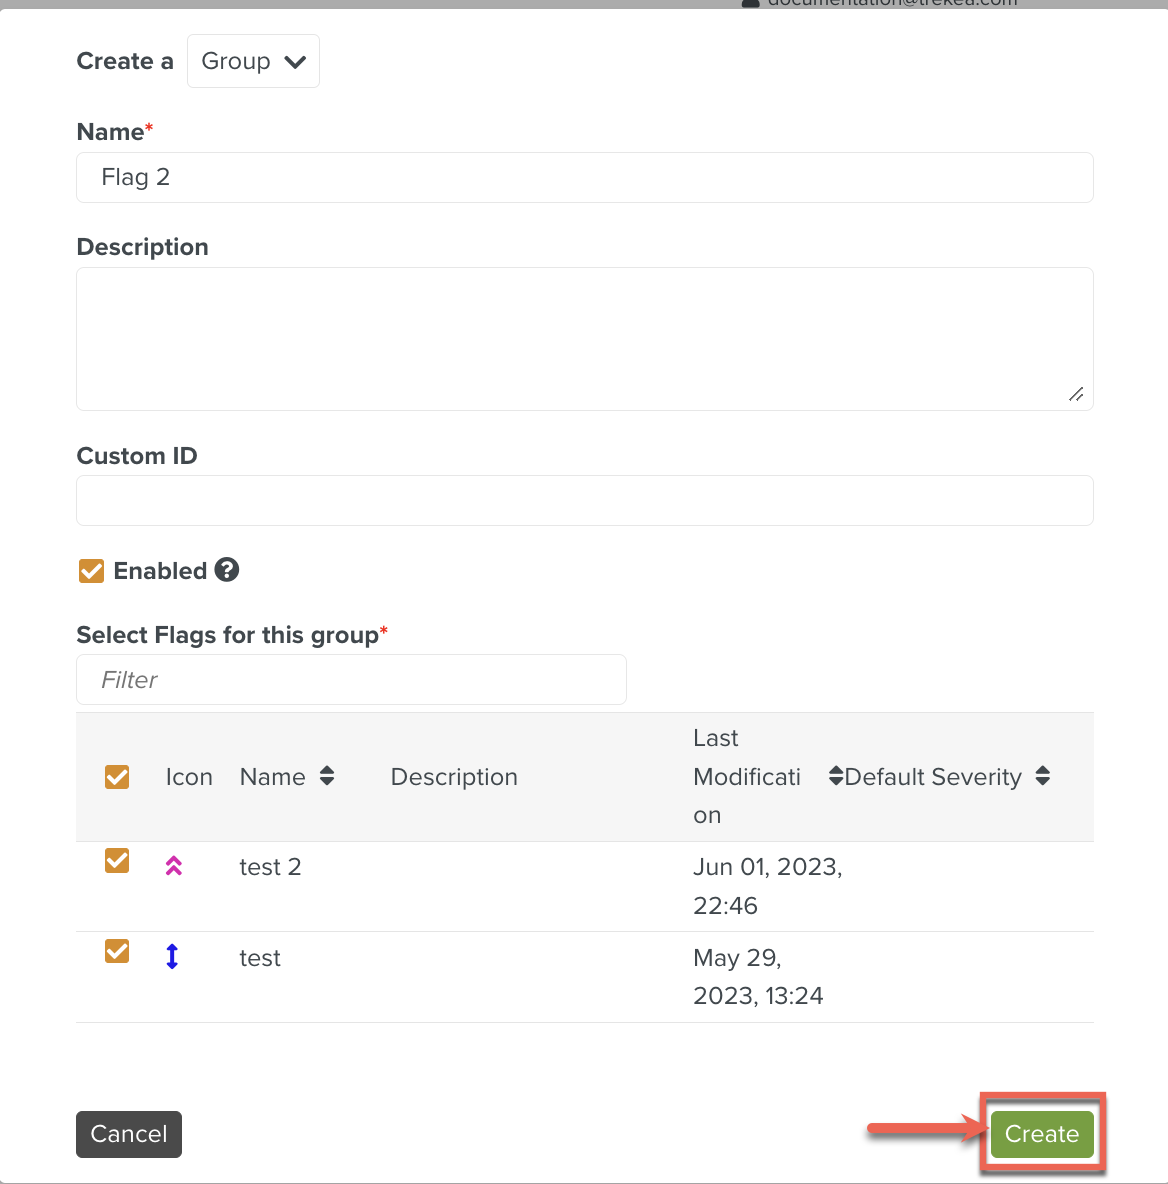
Click .
The Flags are grouped under the Flag Group.
