Uploading a Document in Document Management Space
To upload a Document in Document Management Space:
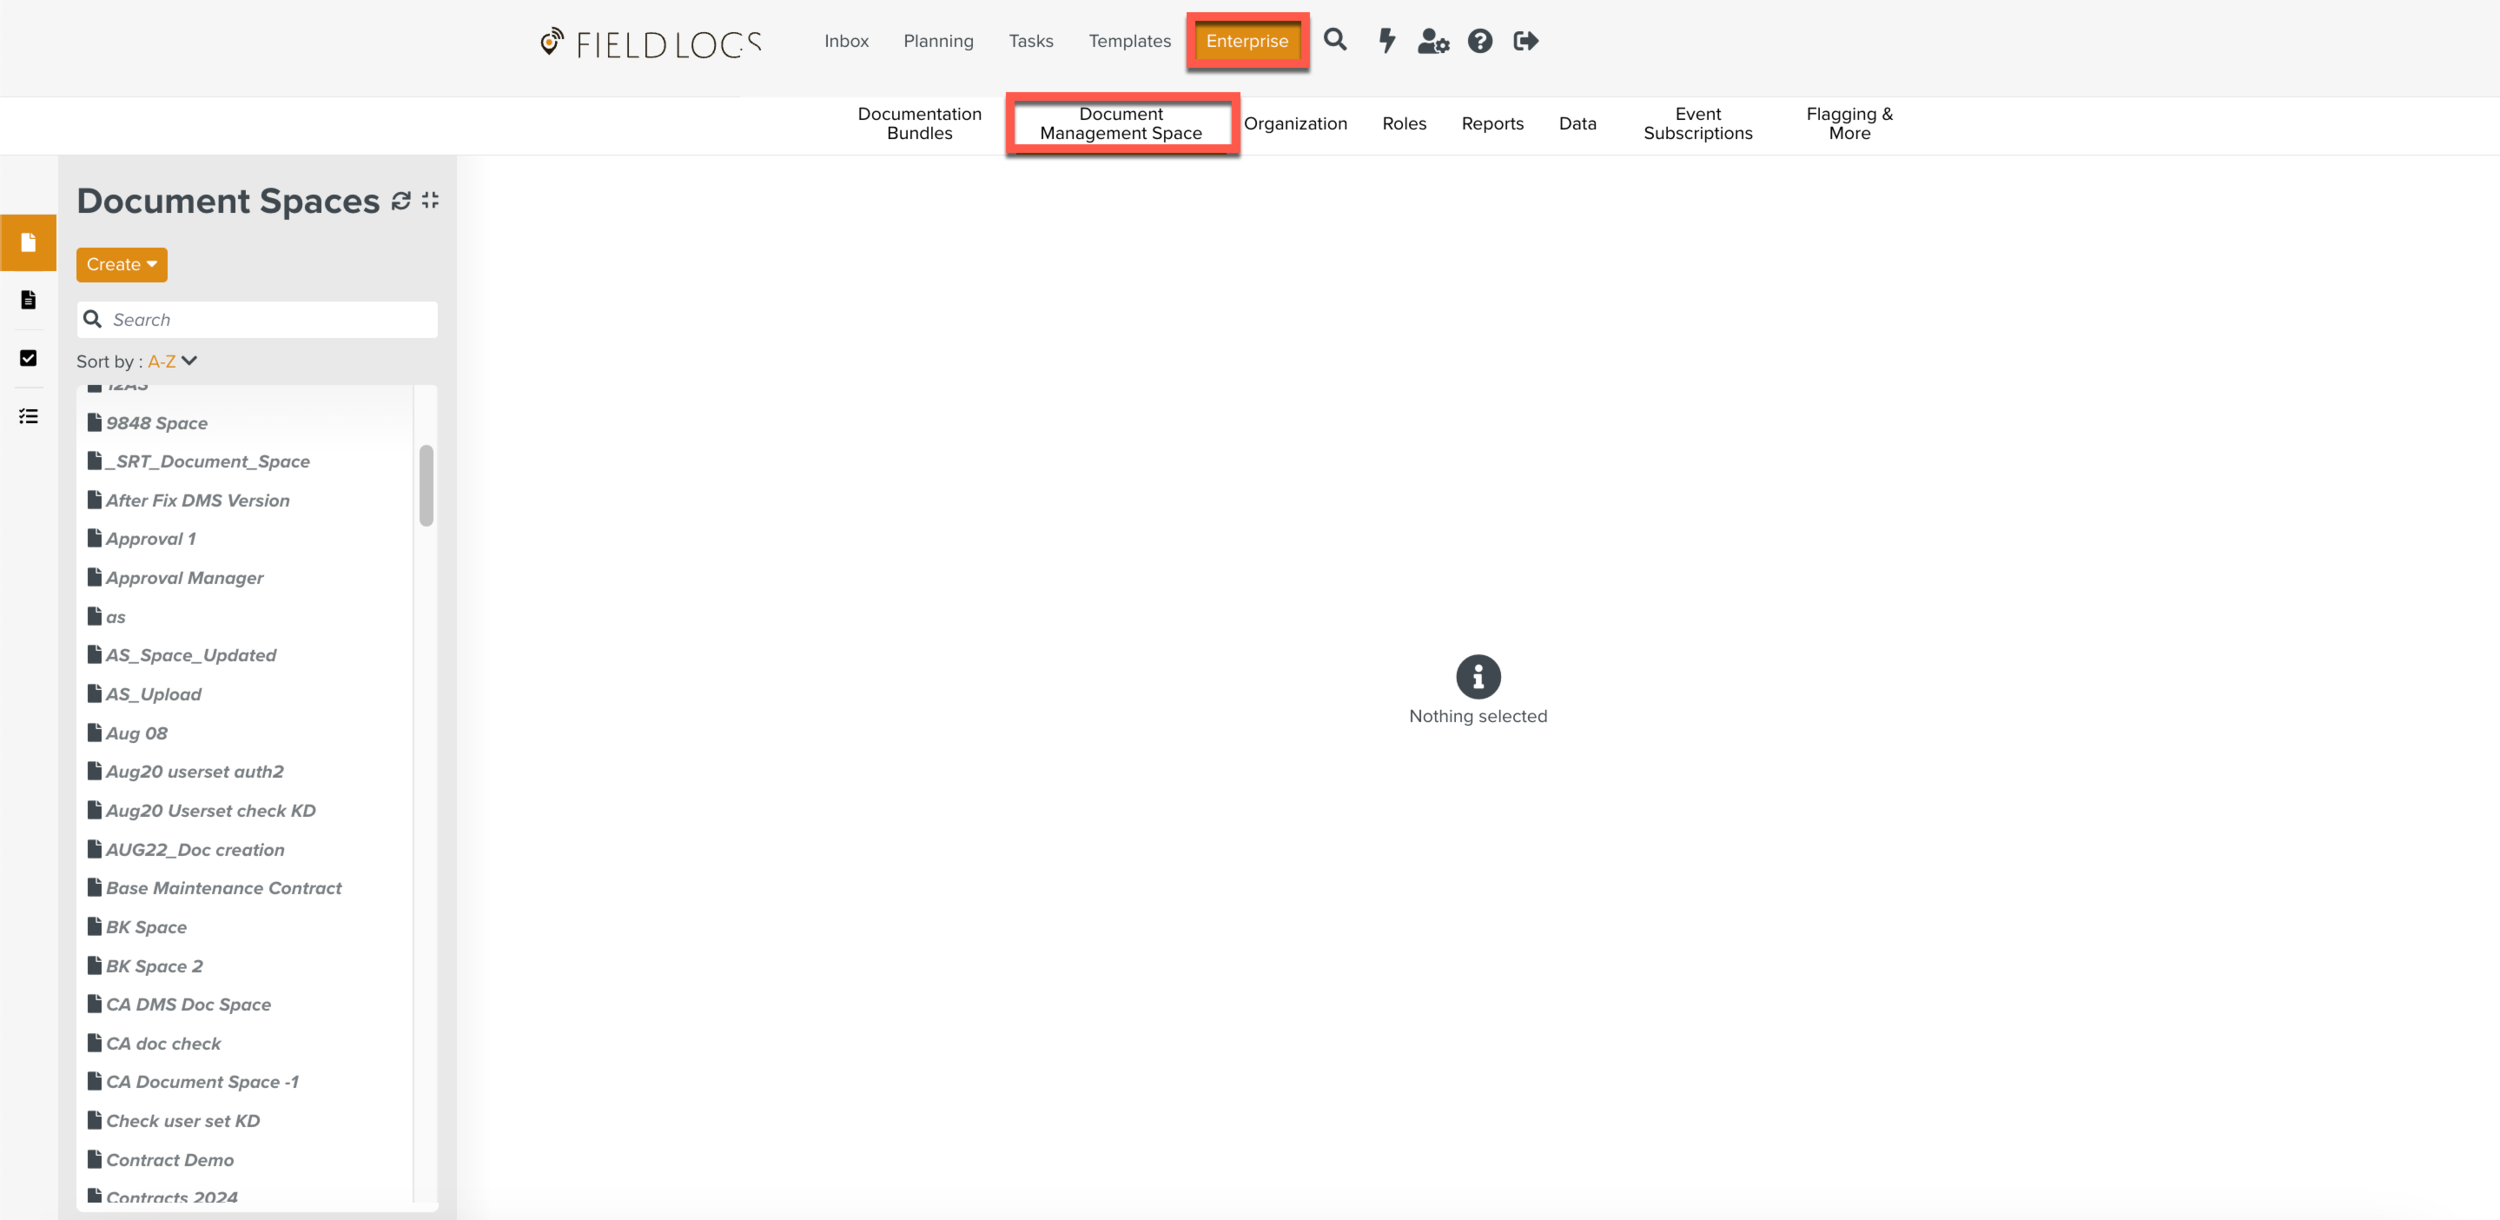
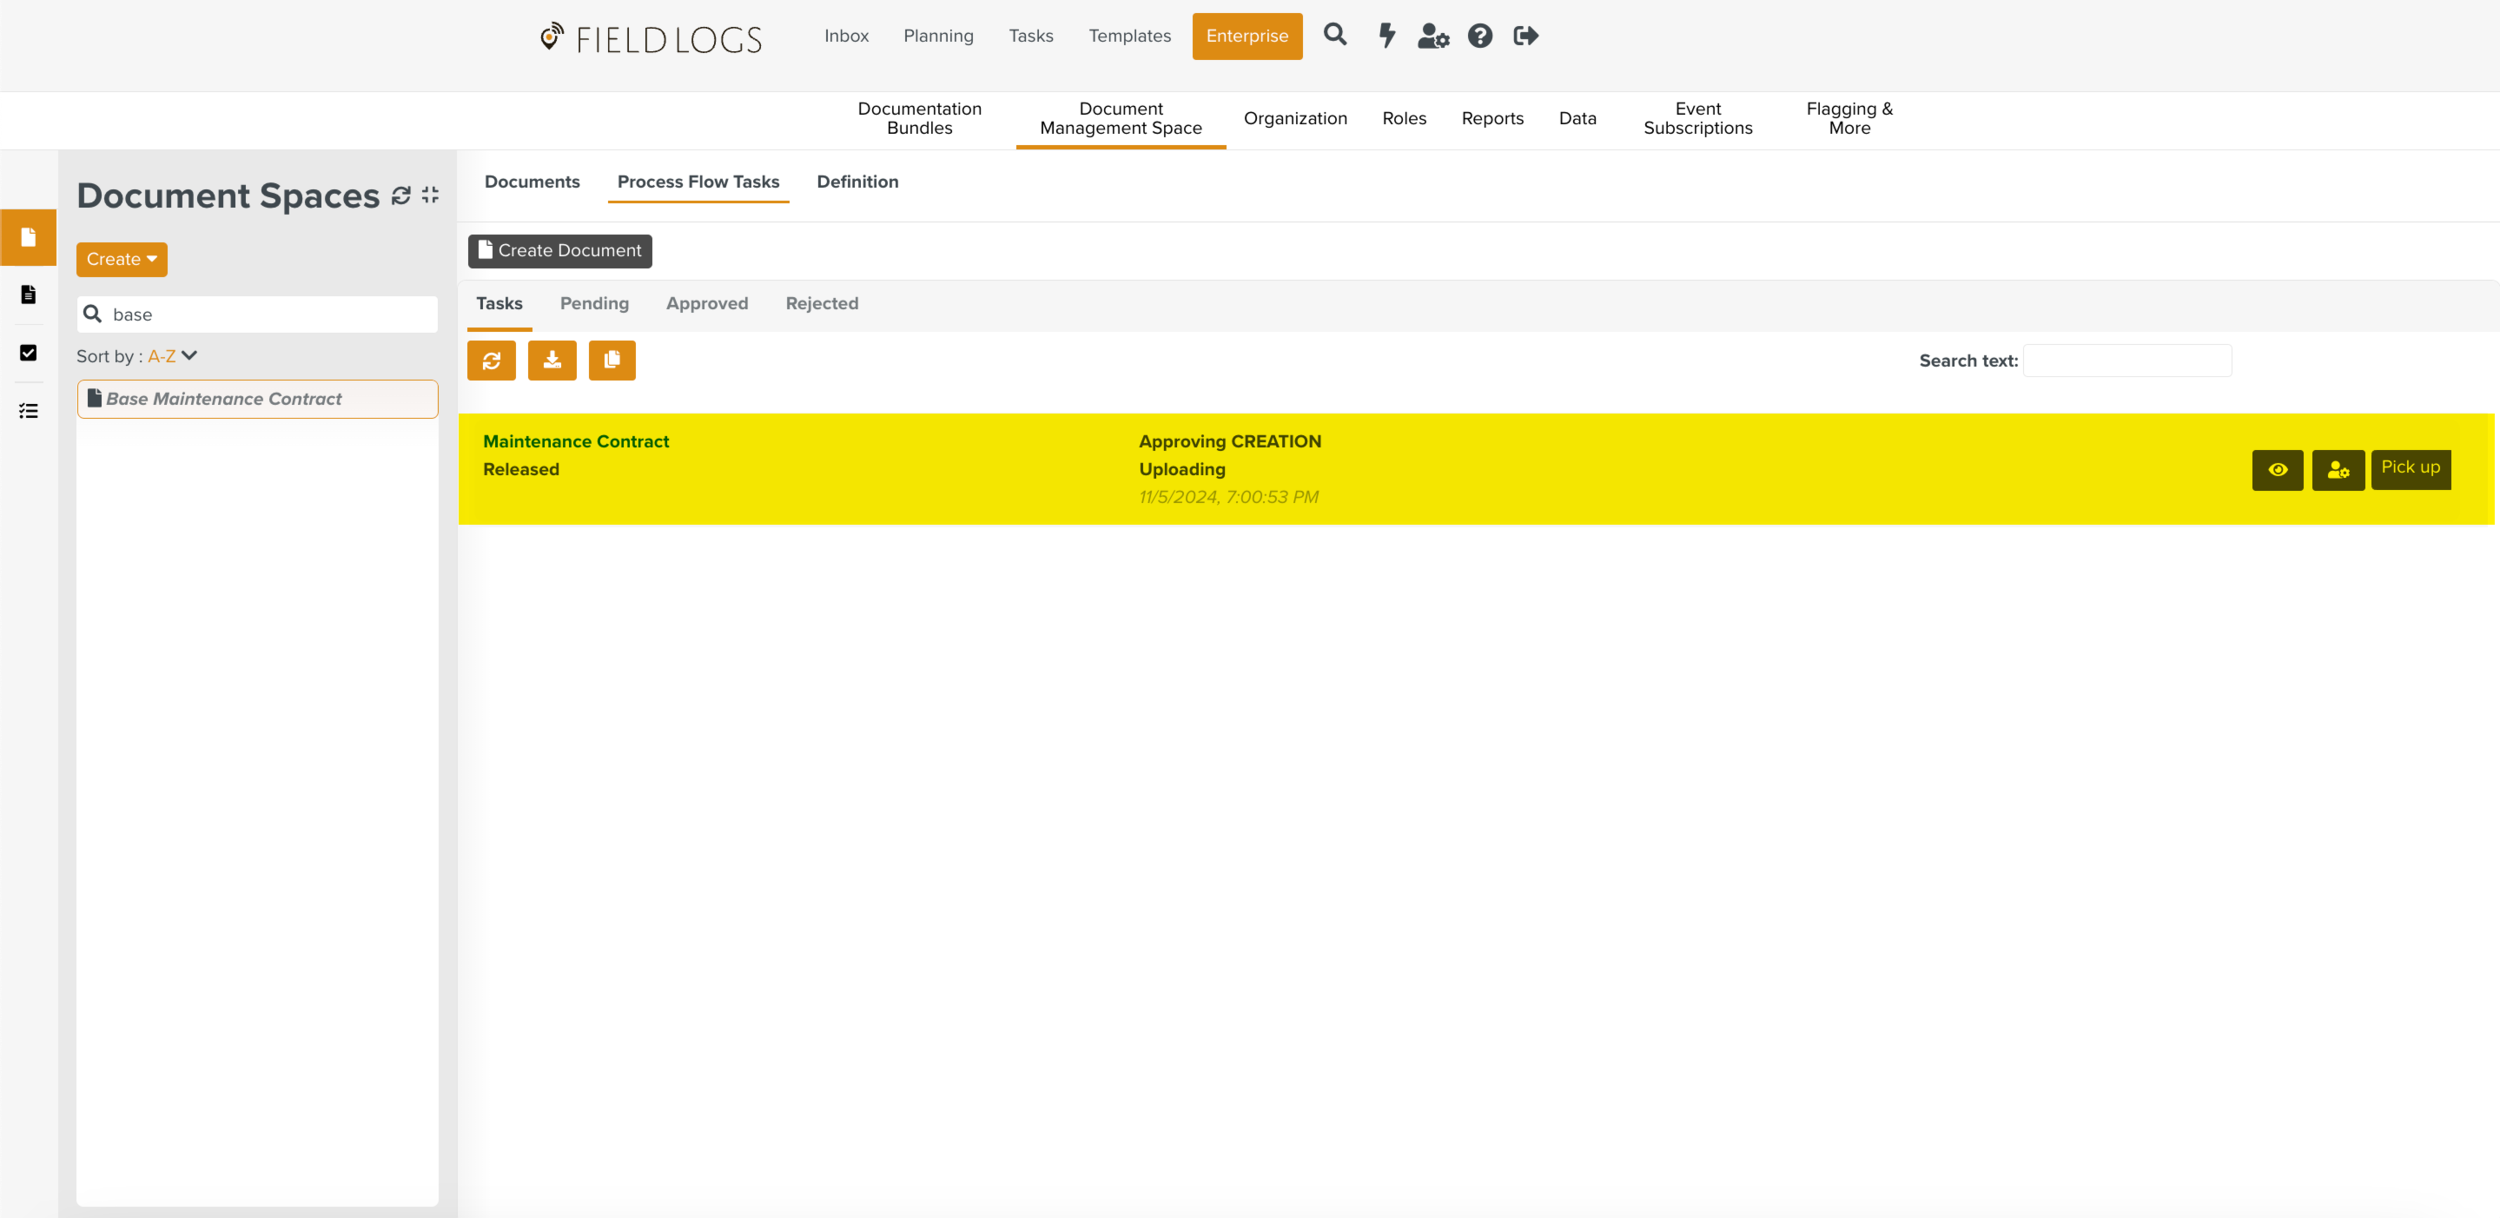
From the main menu go to Enterprise > Document Management Space.
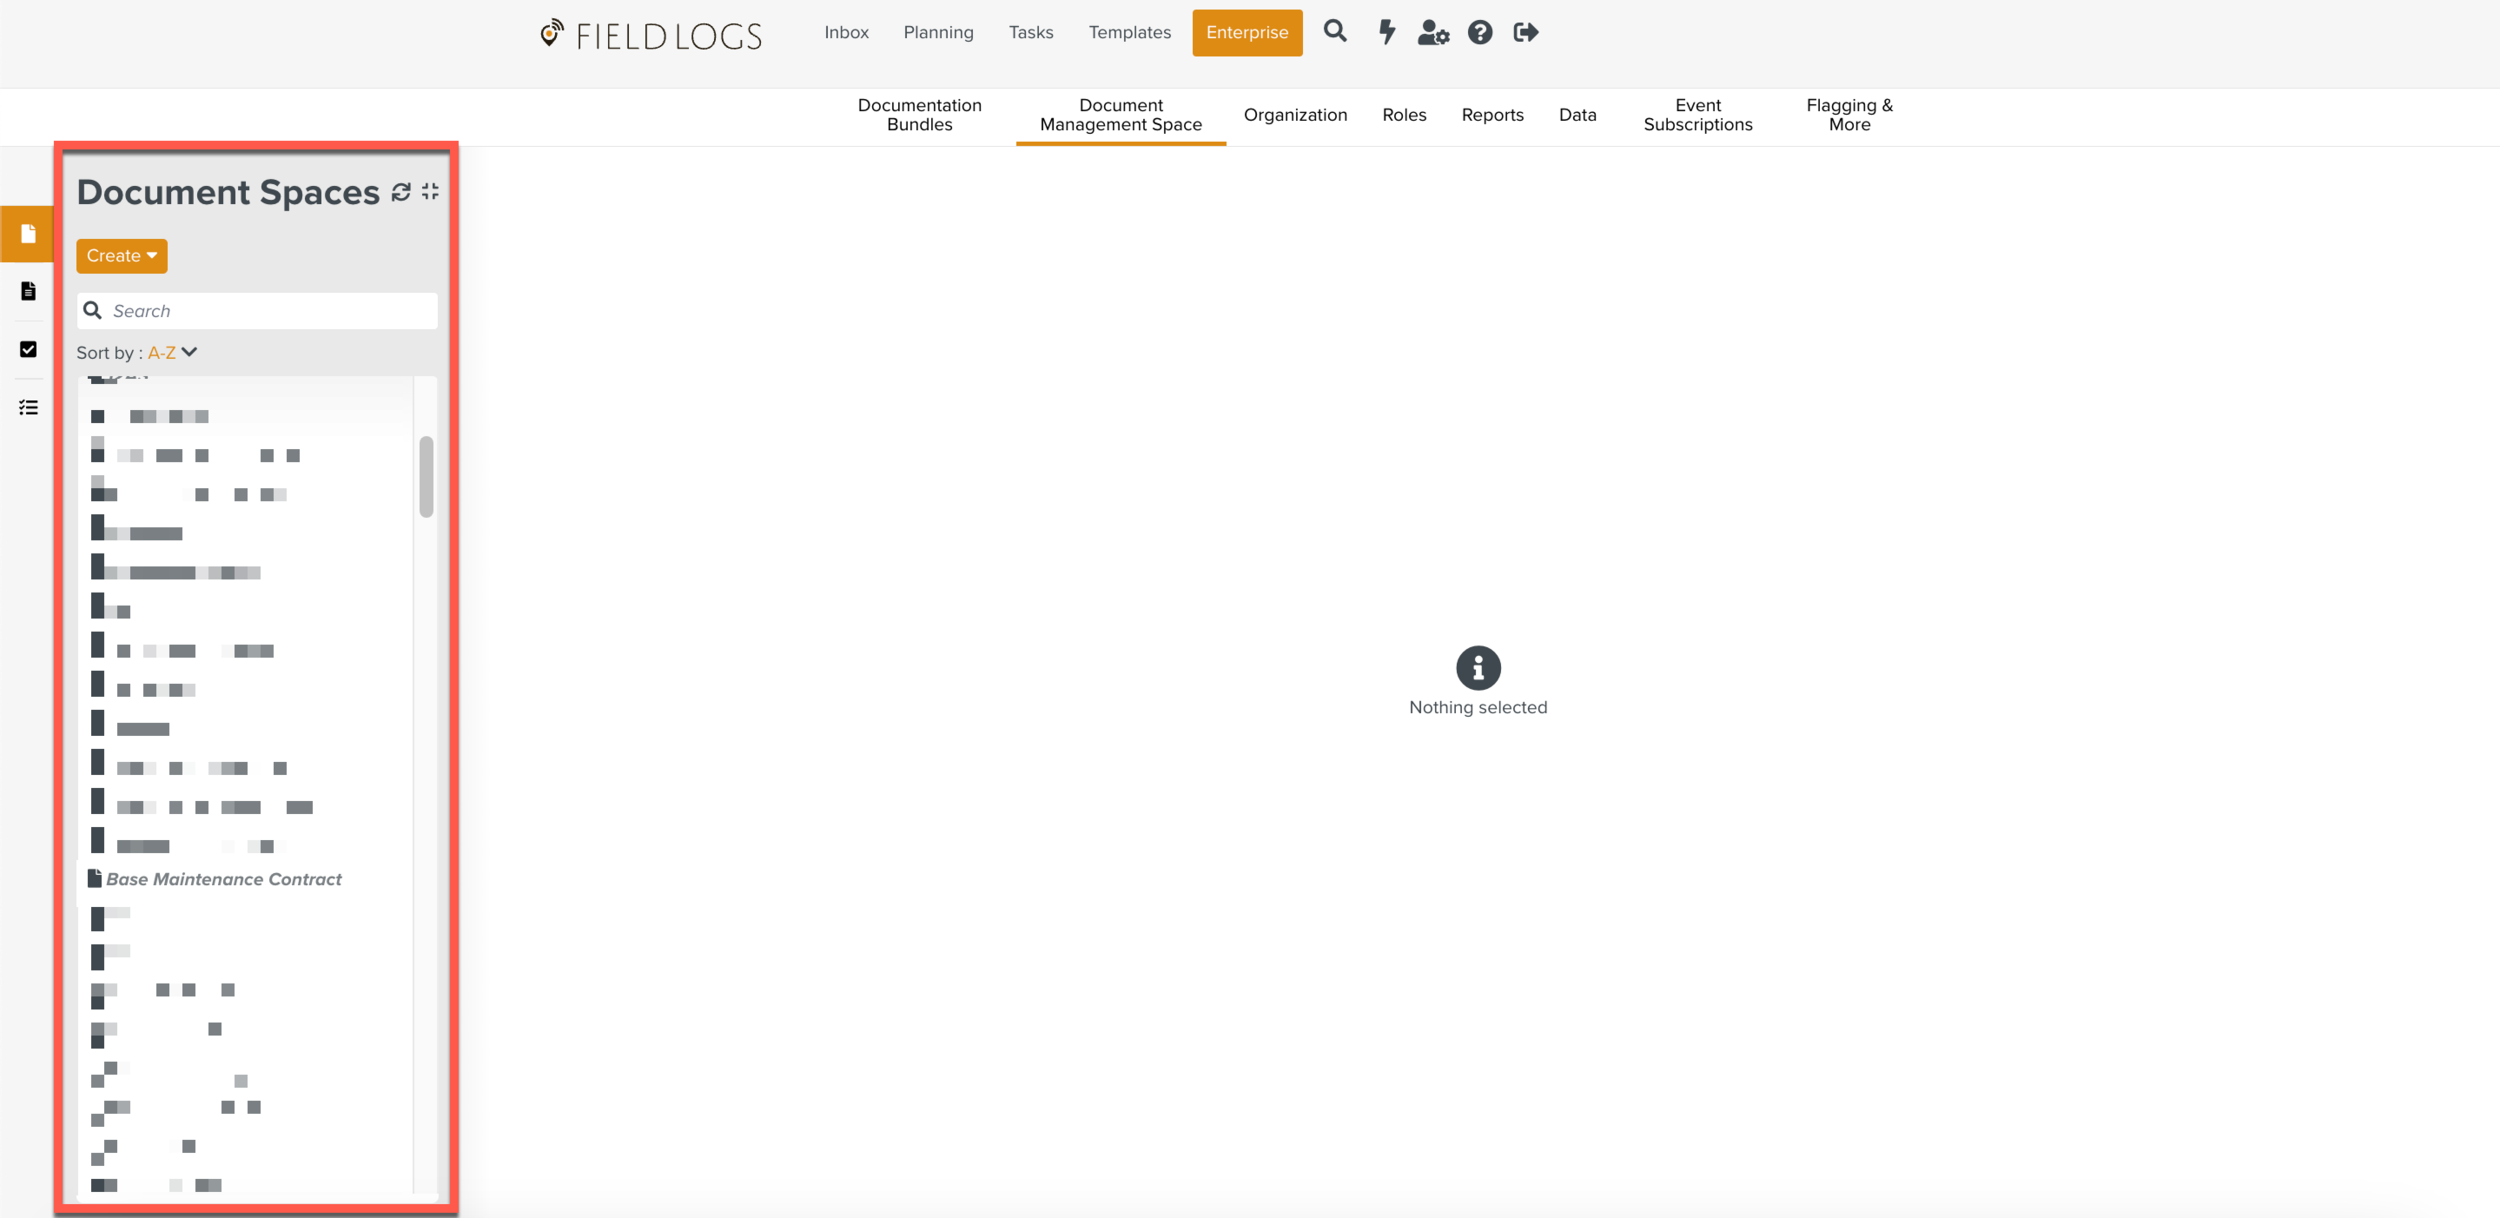
Select the Document Space you want to create a Document in.
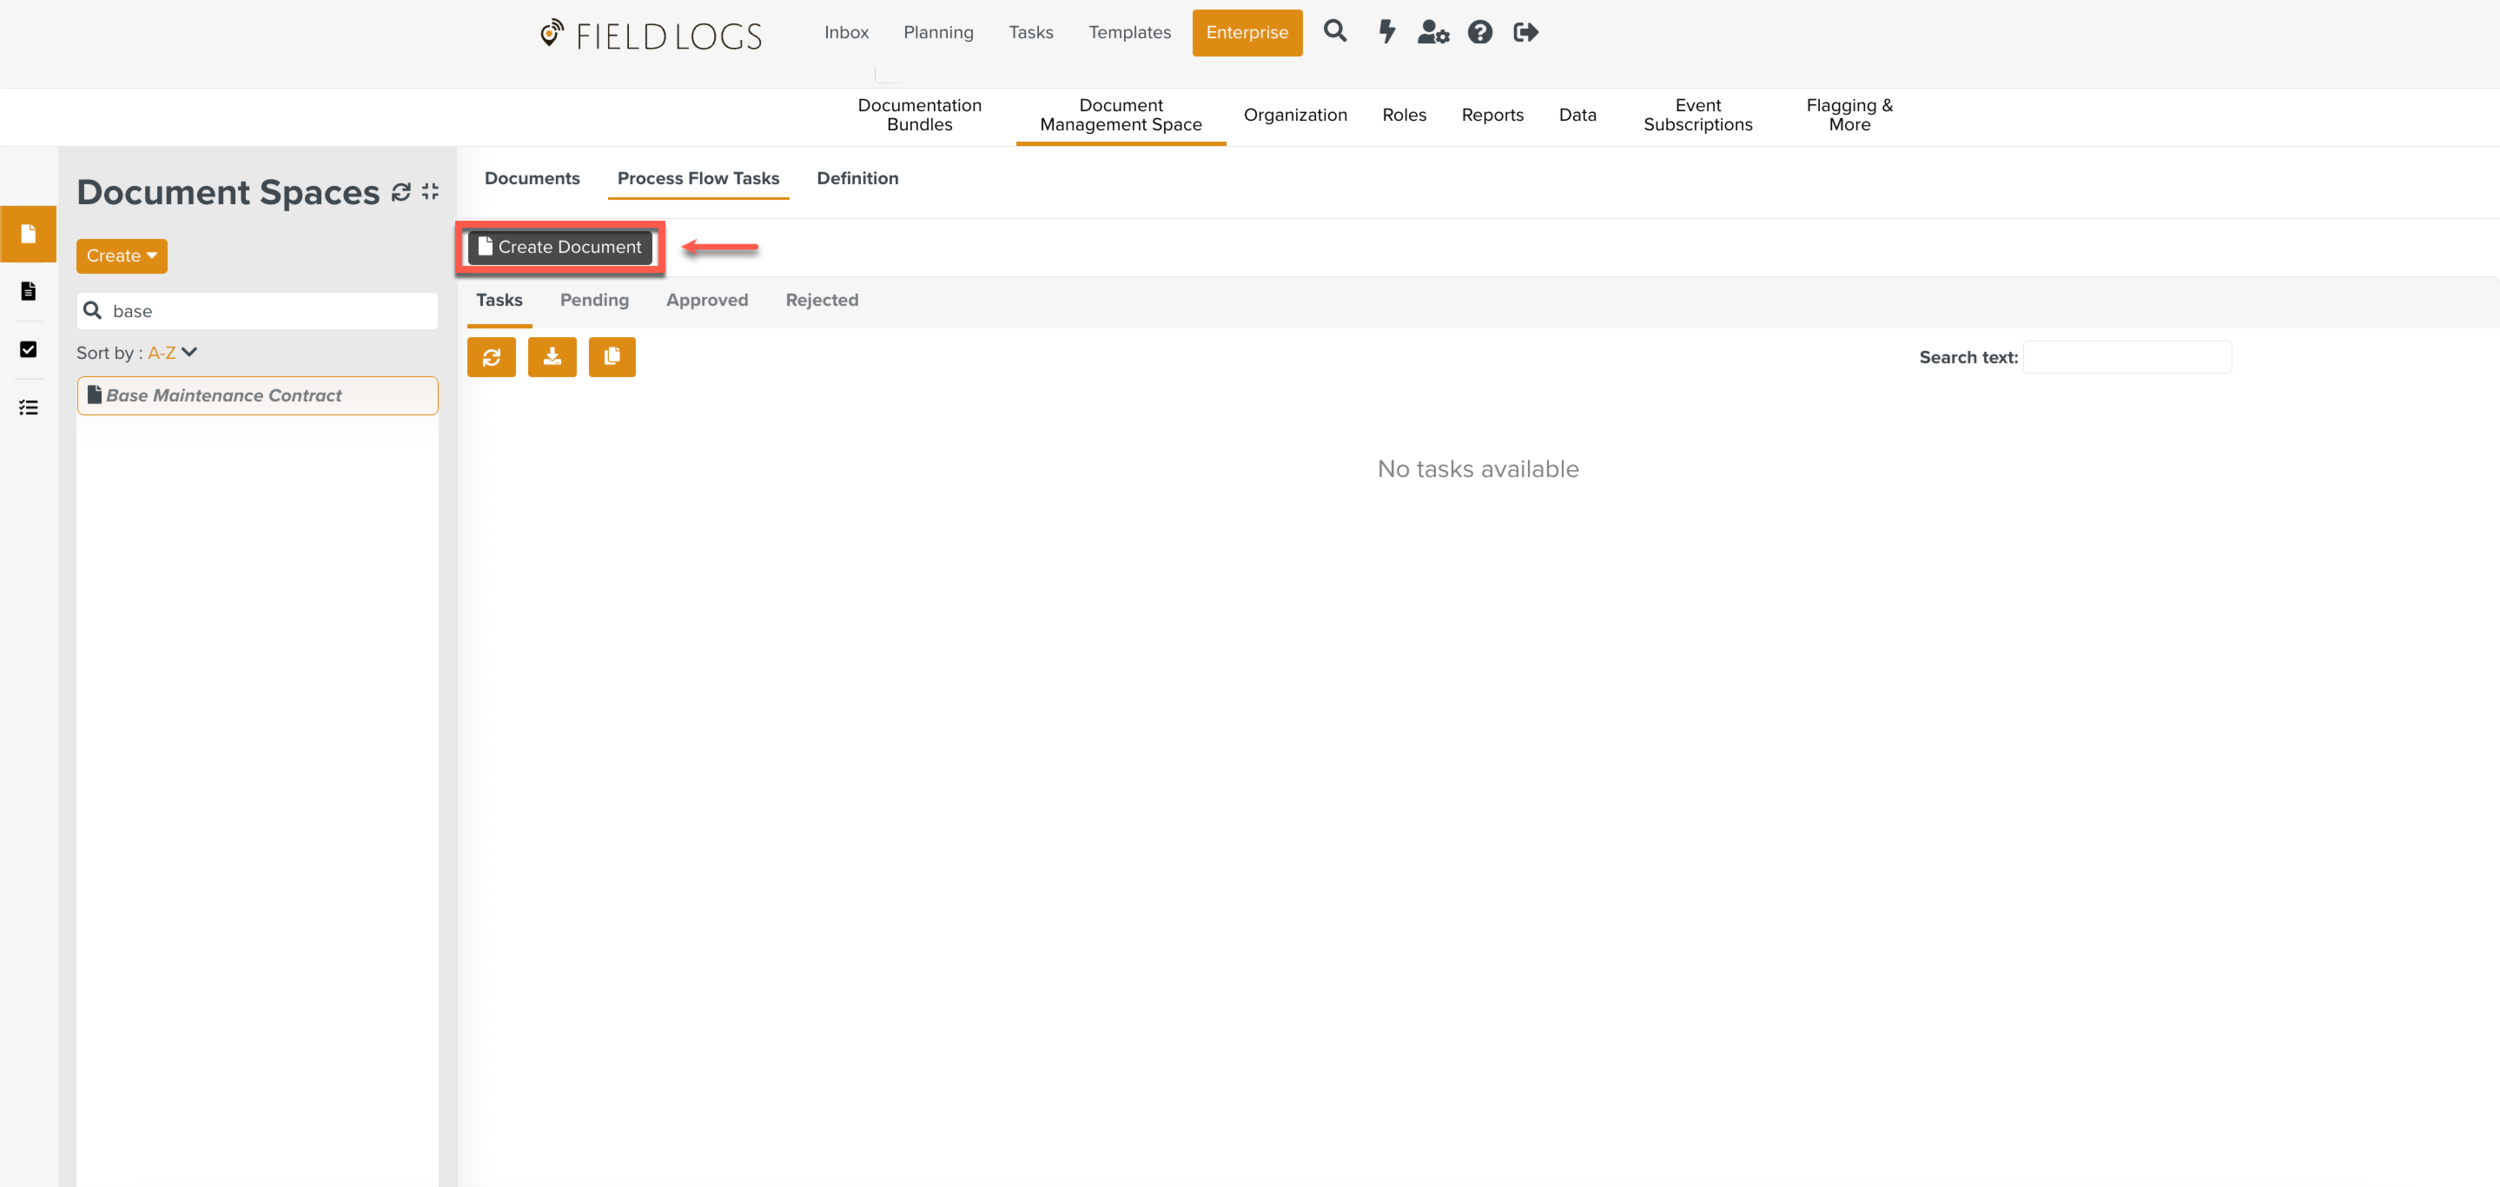
Click Create Document.
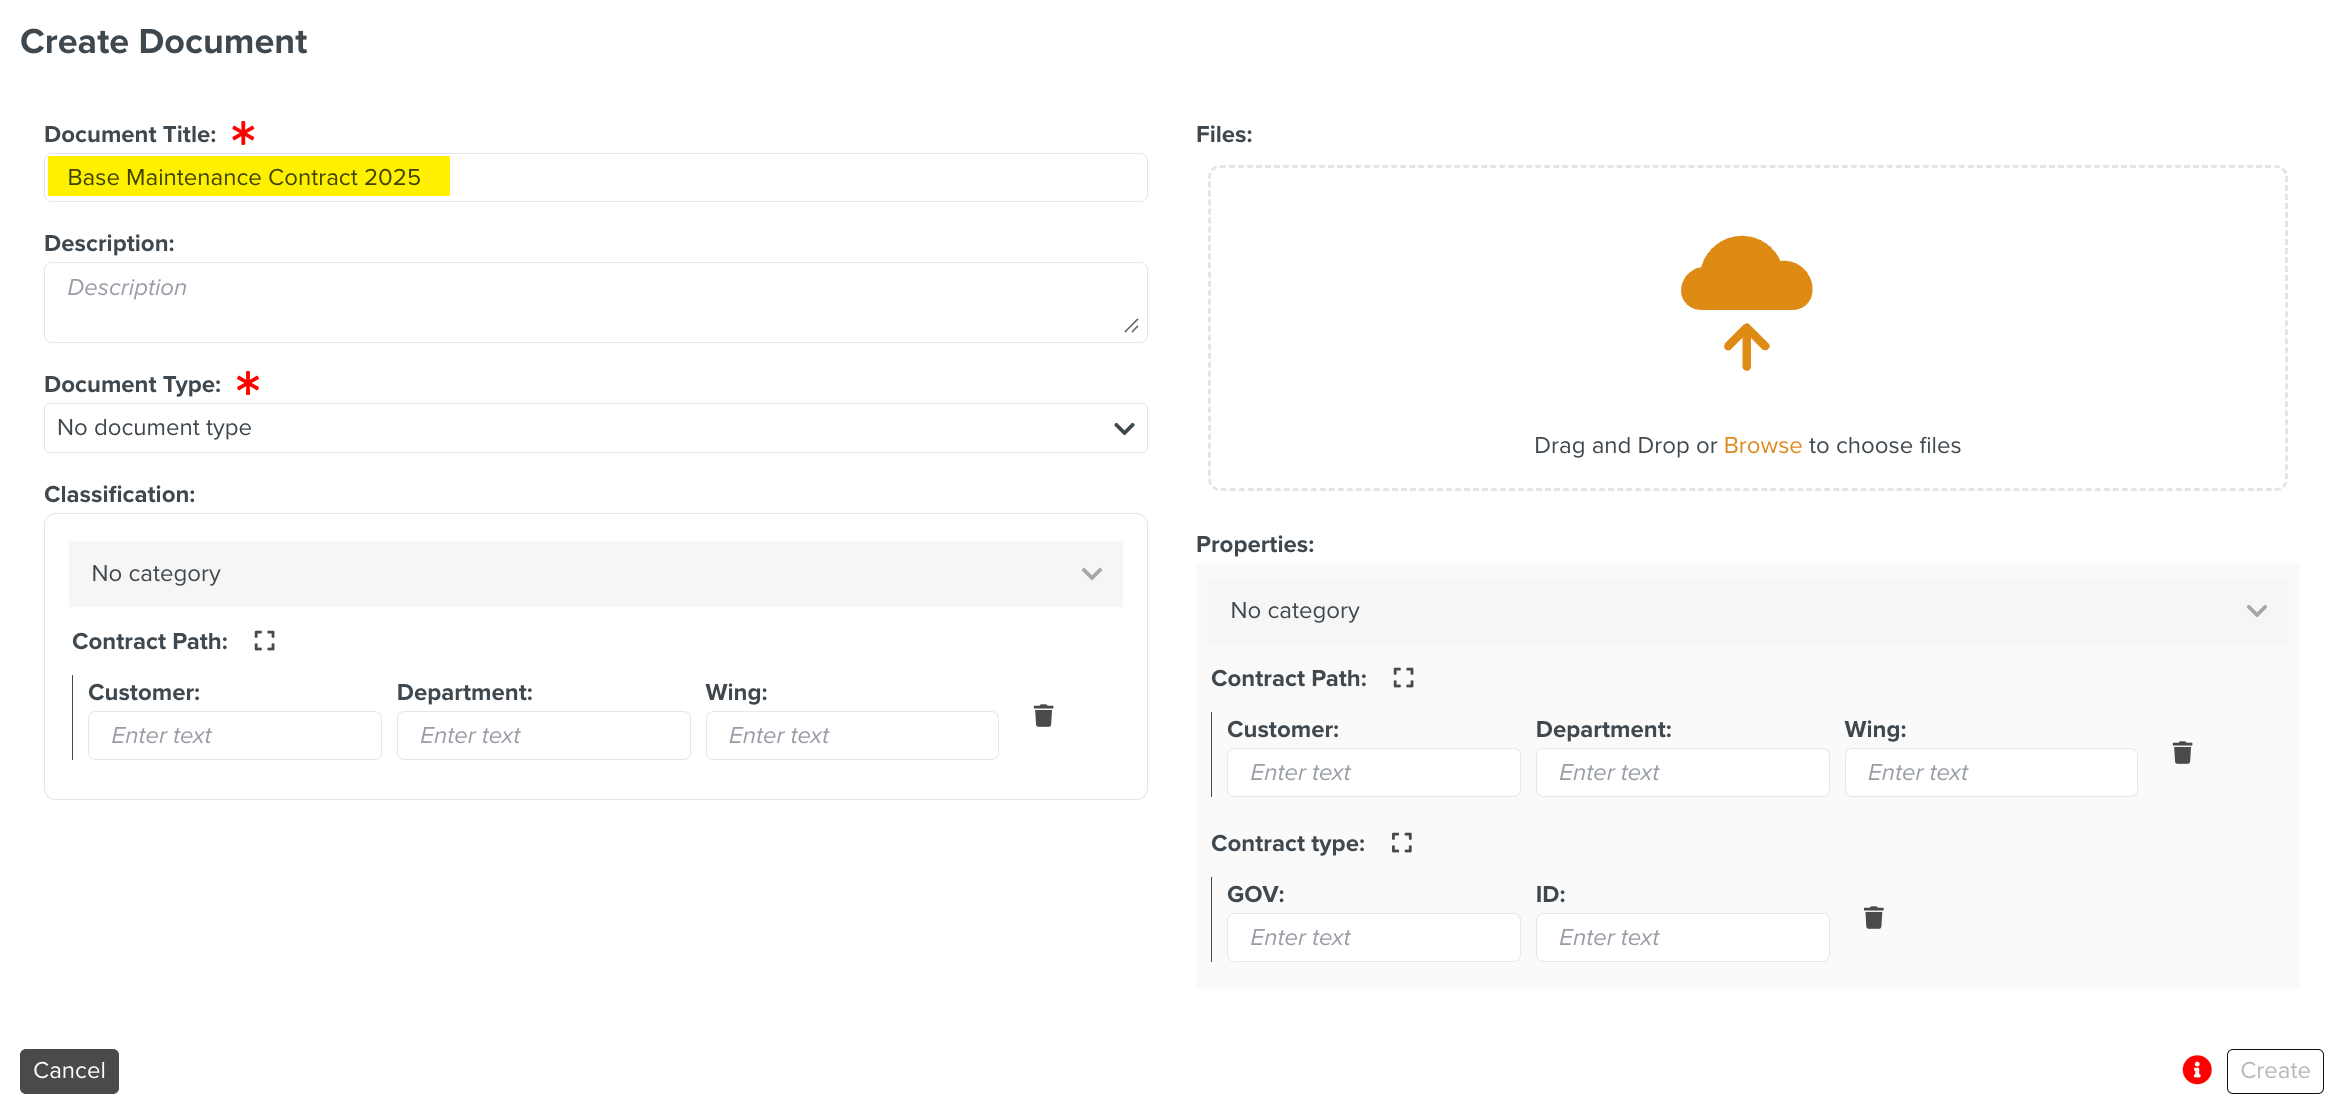
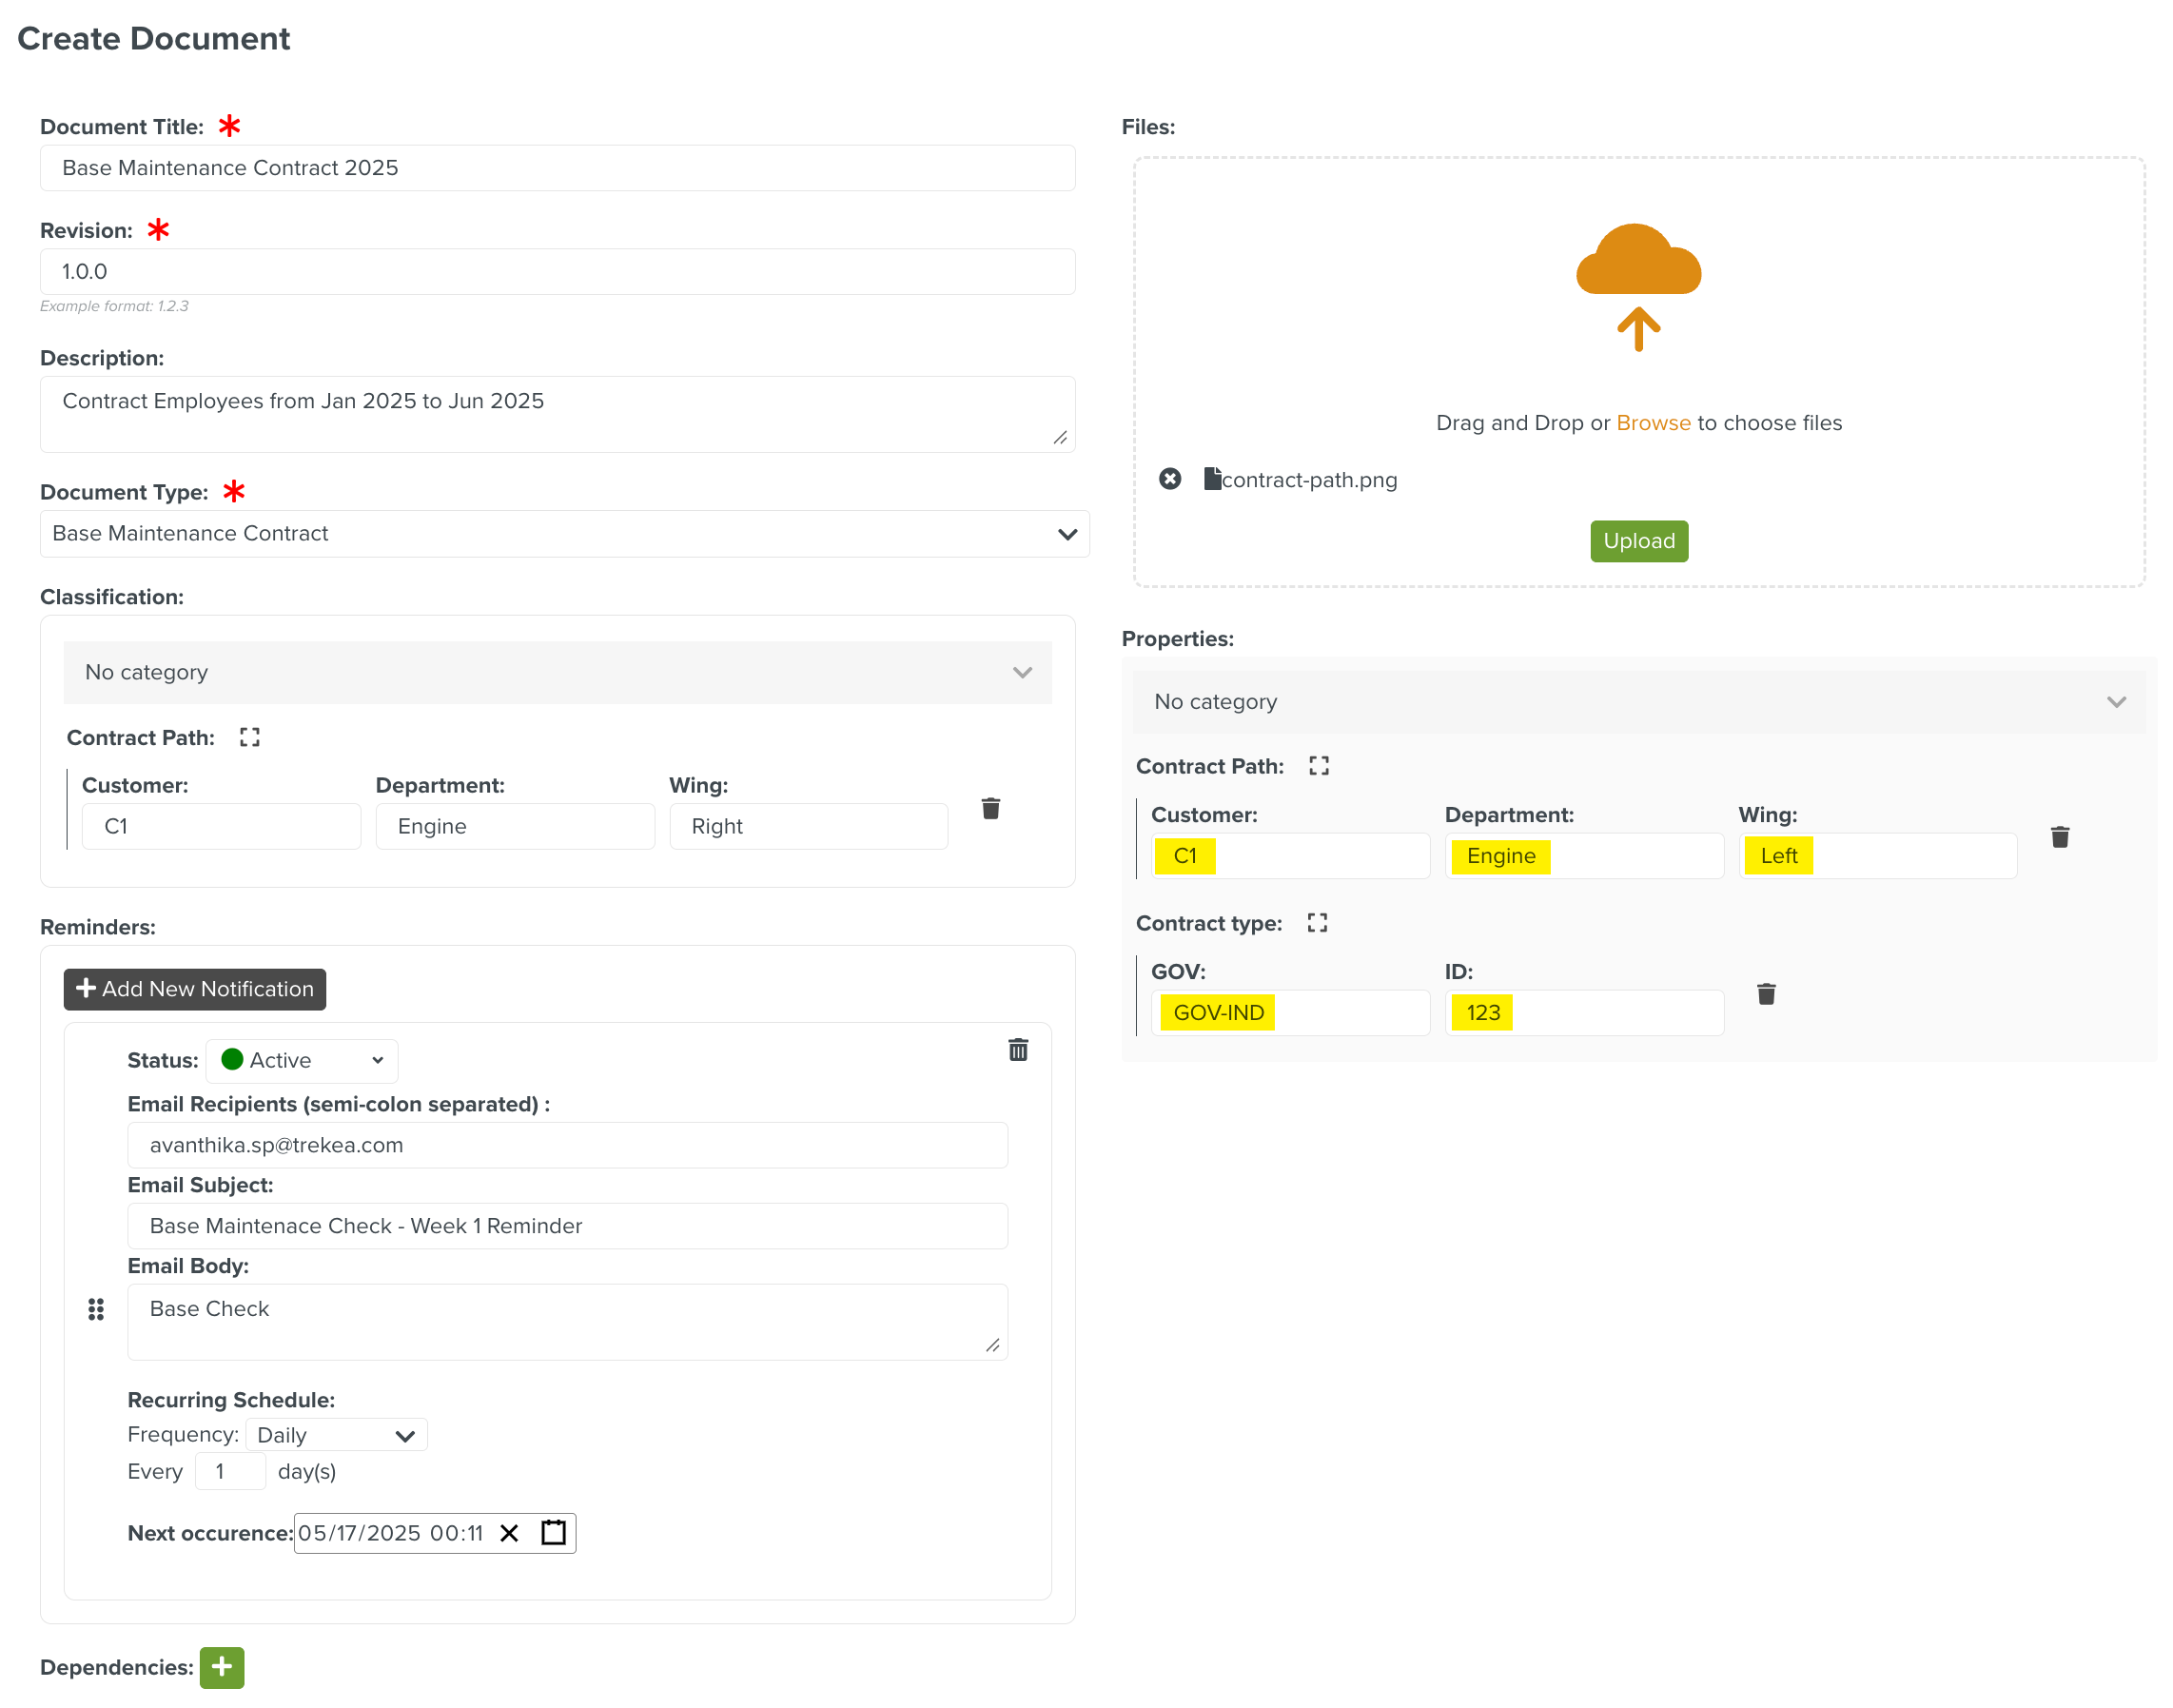
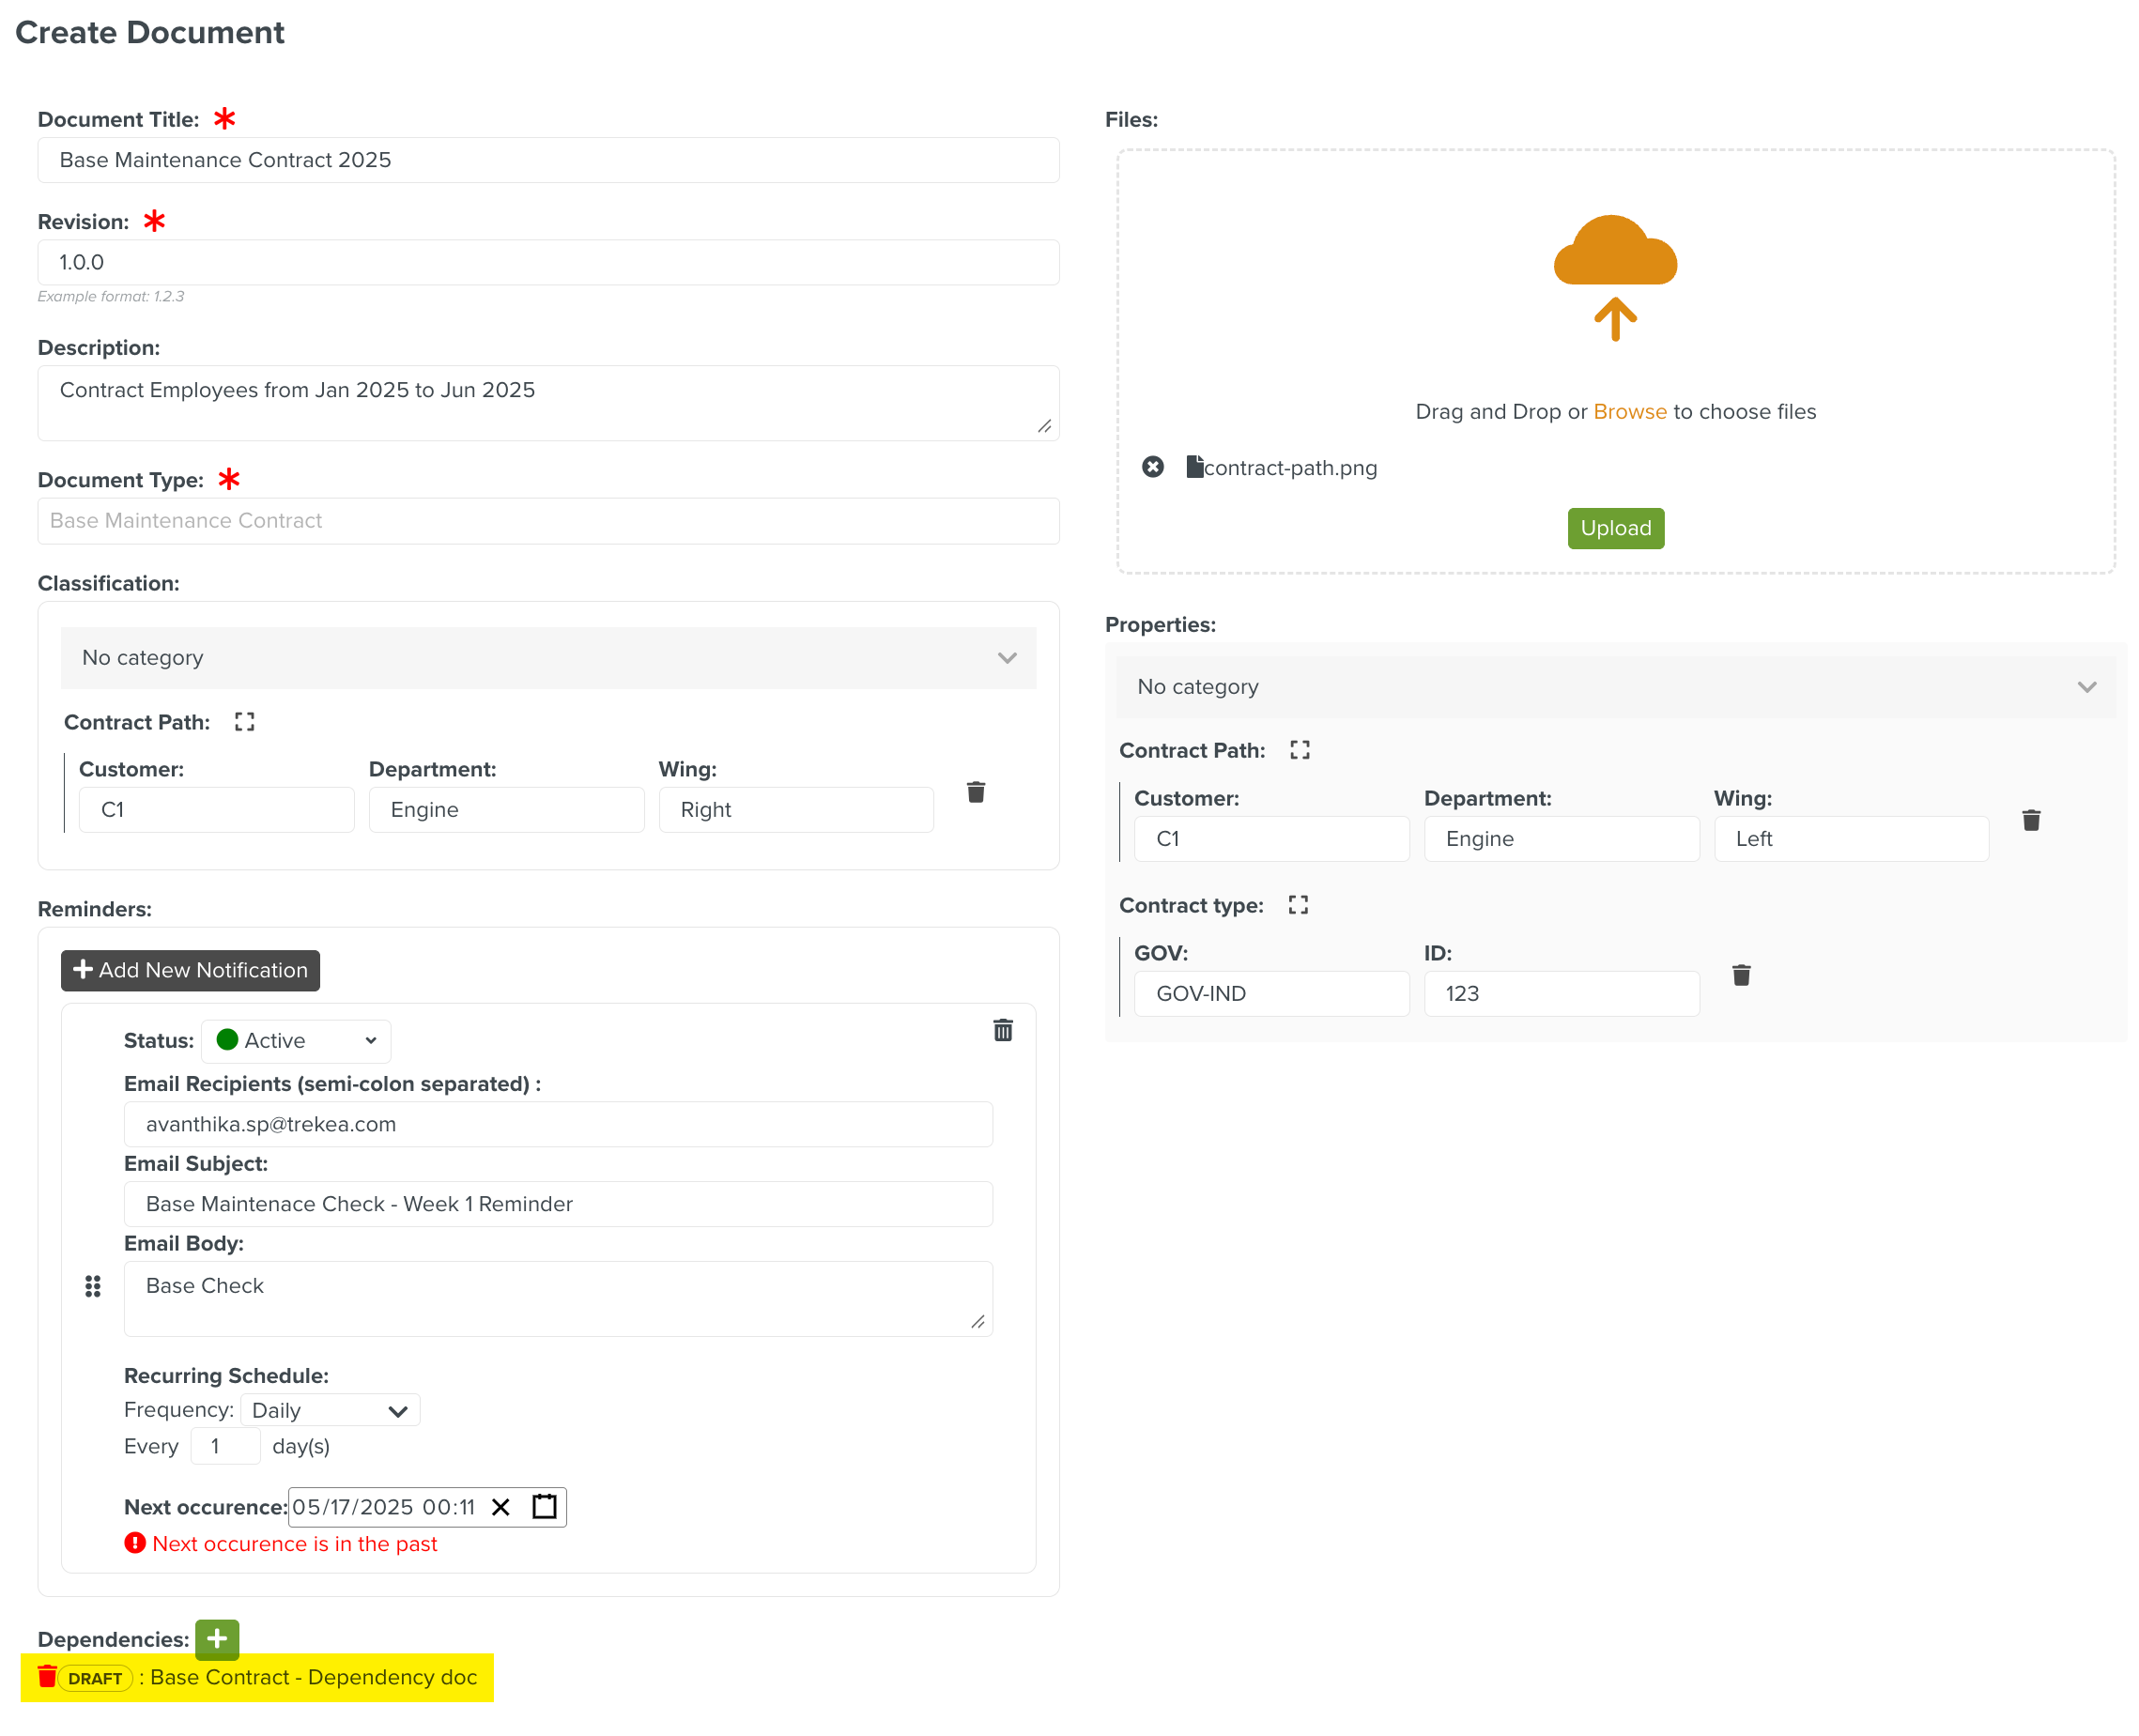
The Create Document dialog is displayed.
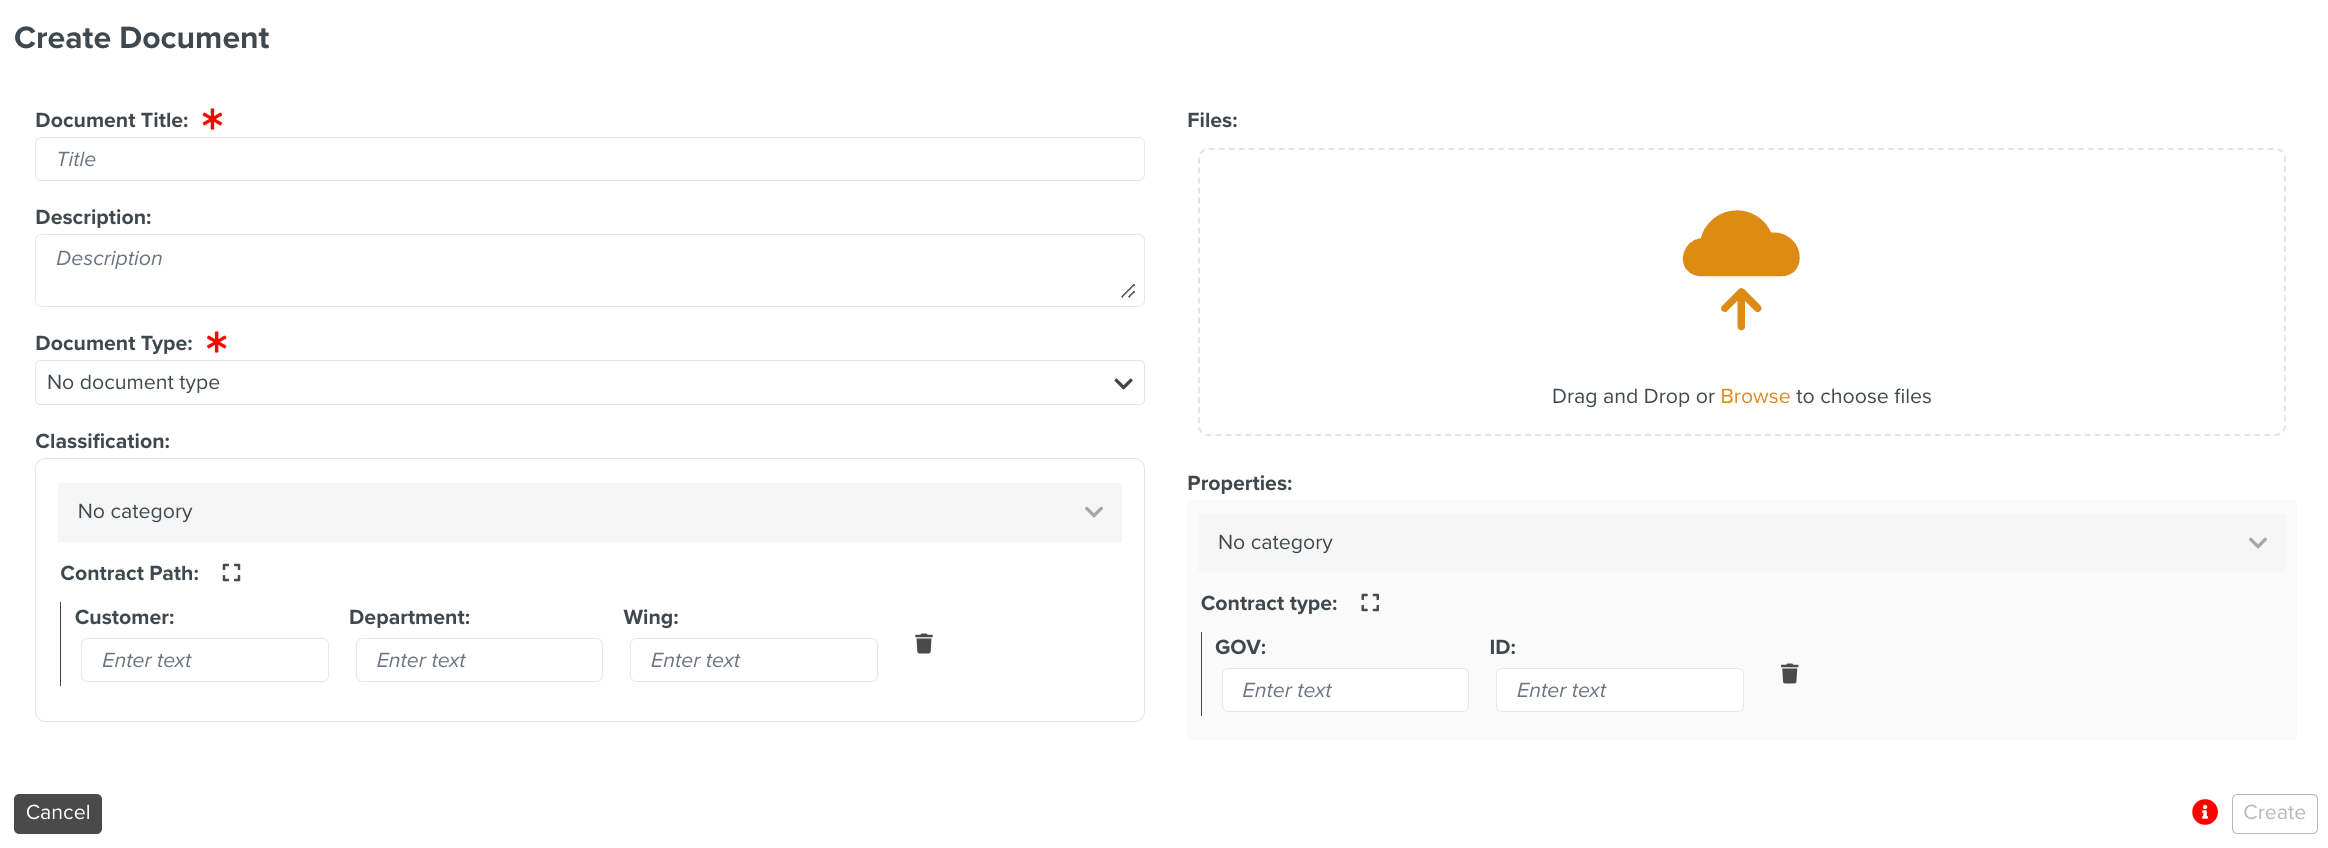
Enter the Document Title.
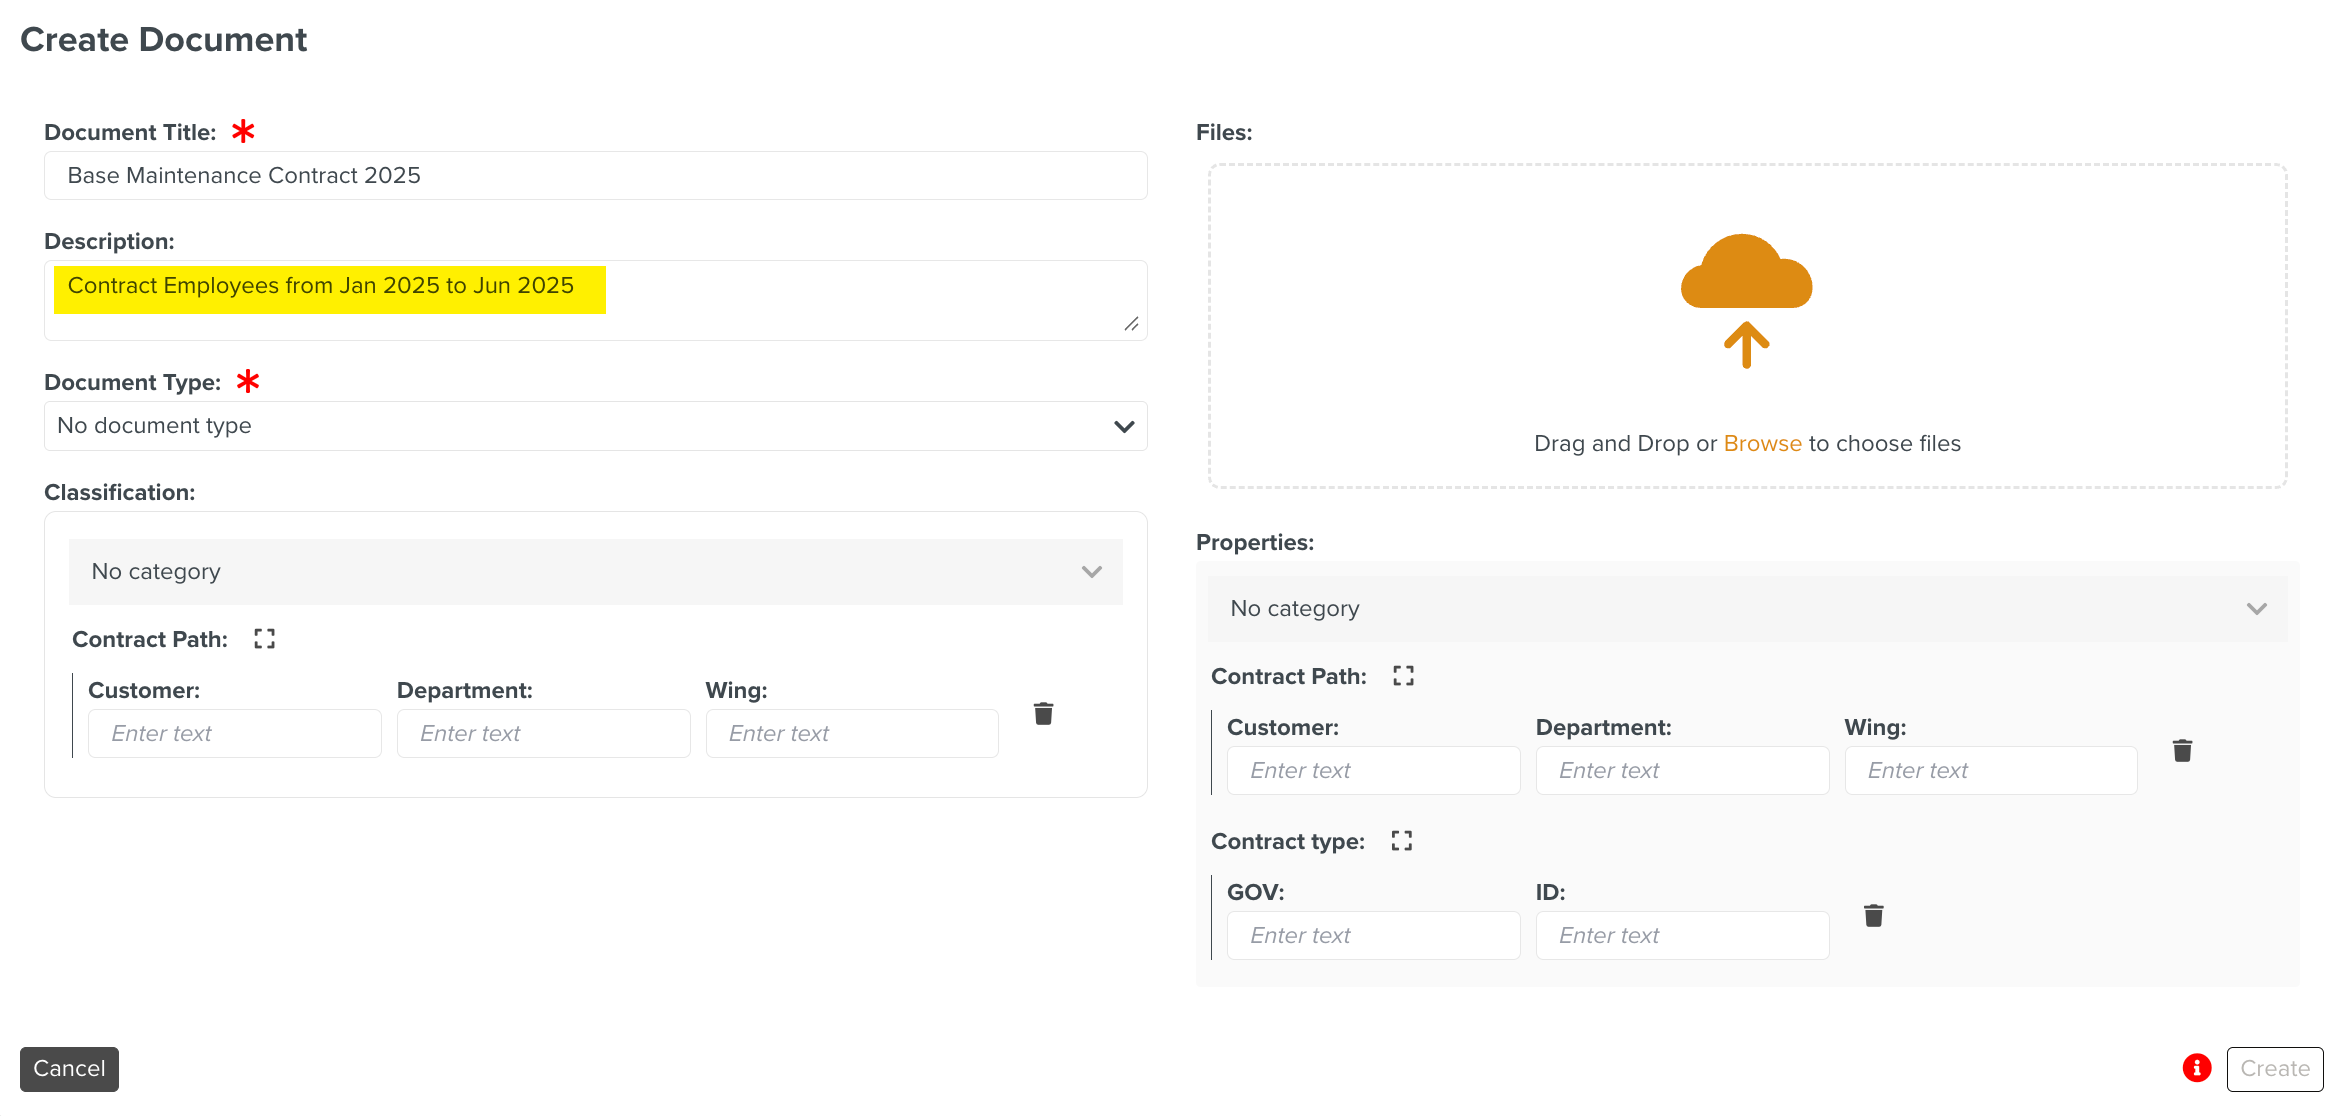
[Optional] Add a description.
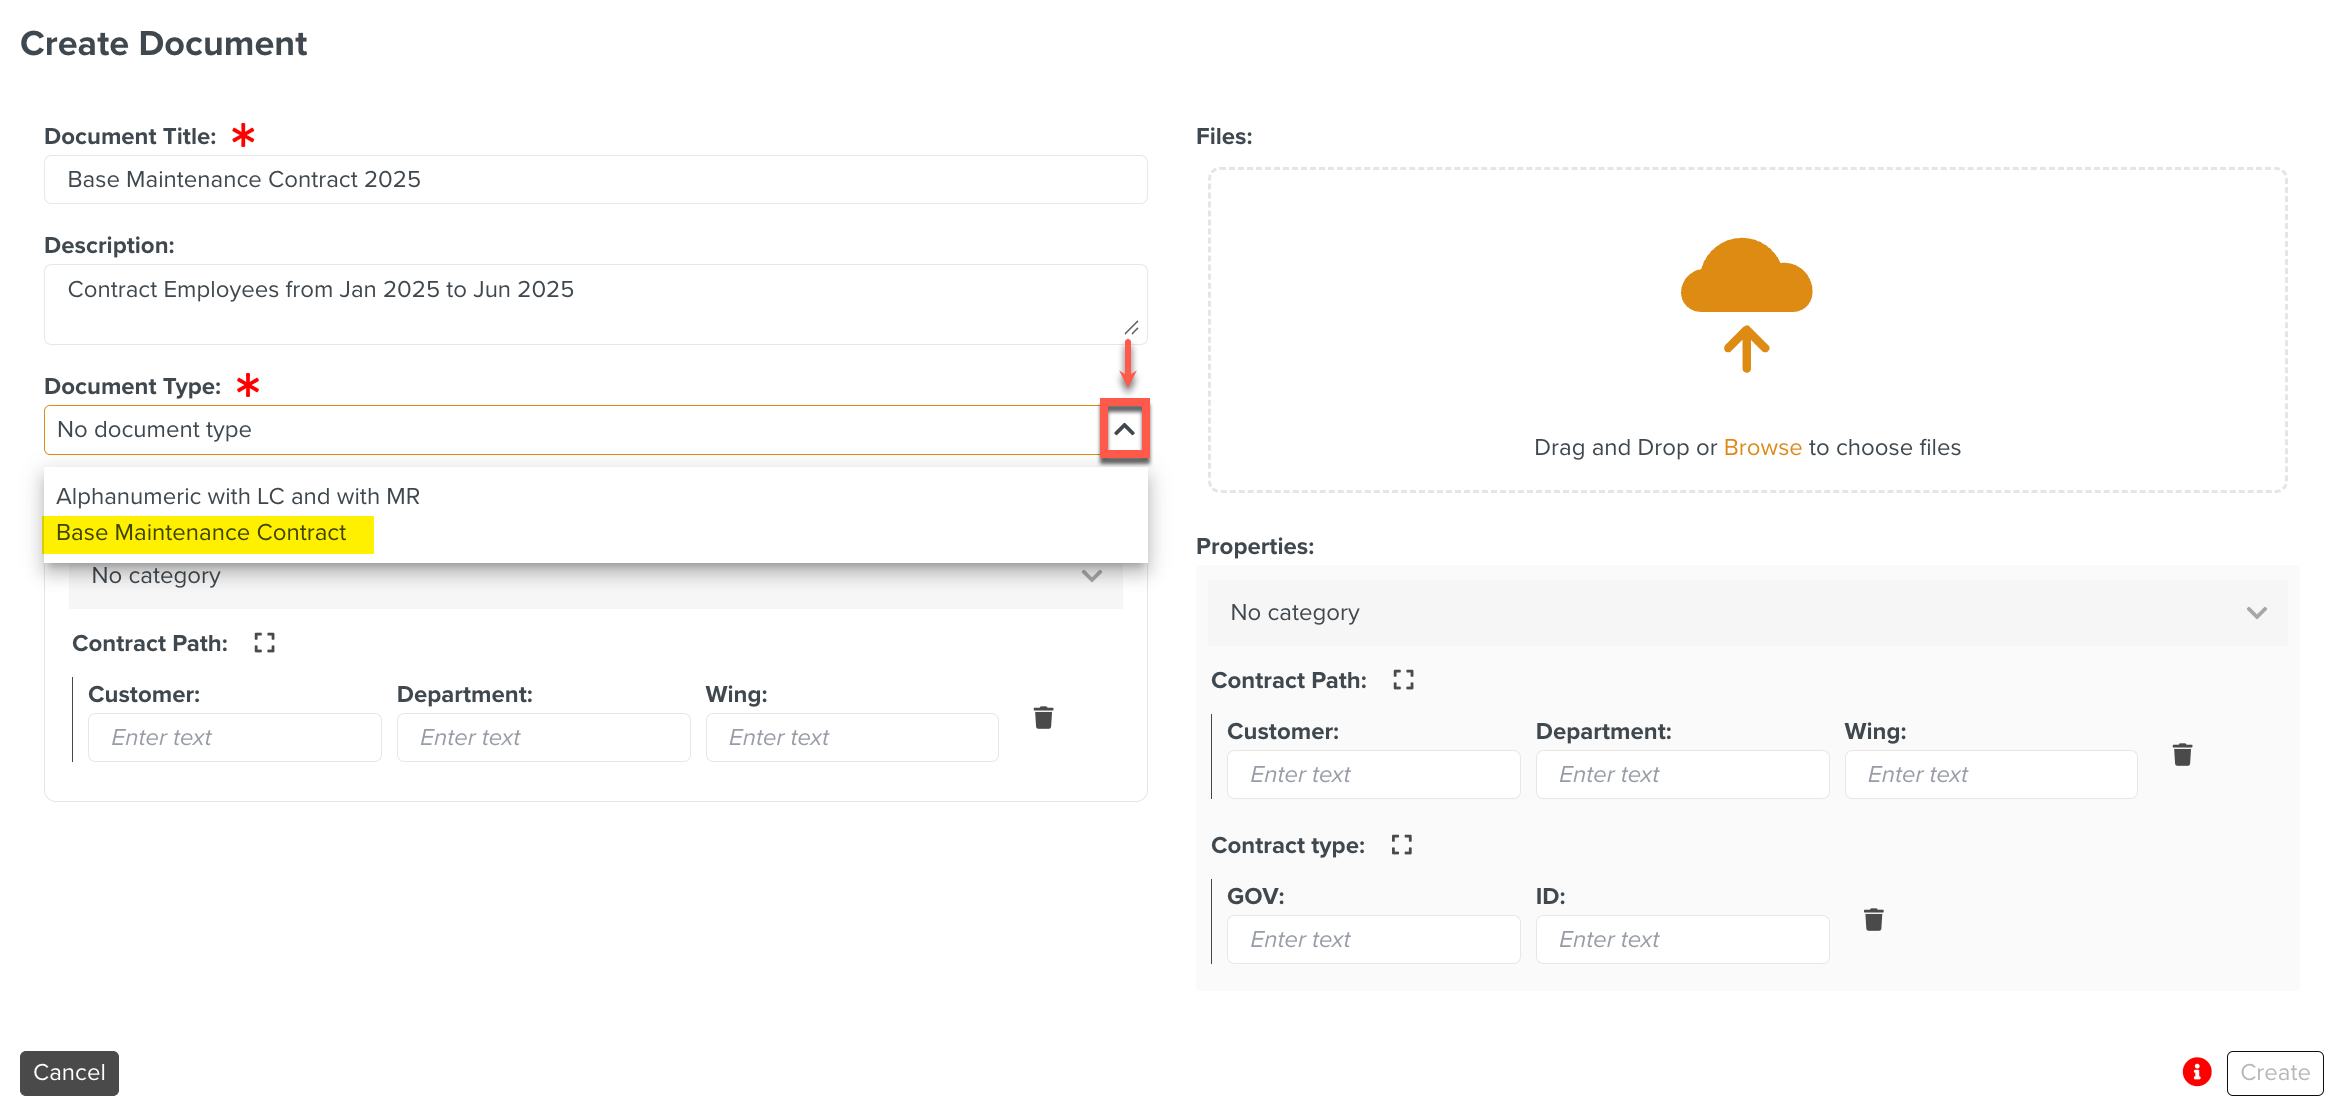
Click
 to select a Document Type.
In the example below, Base Maintenance Contract is selected.
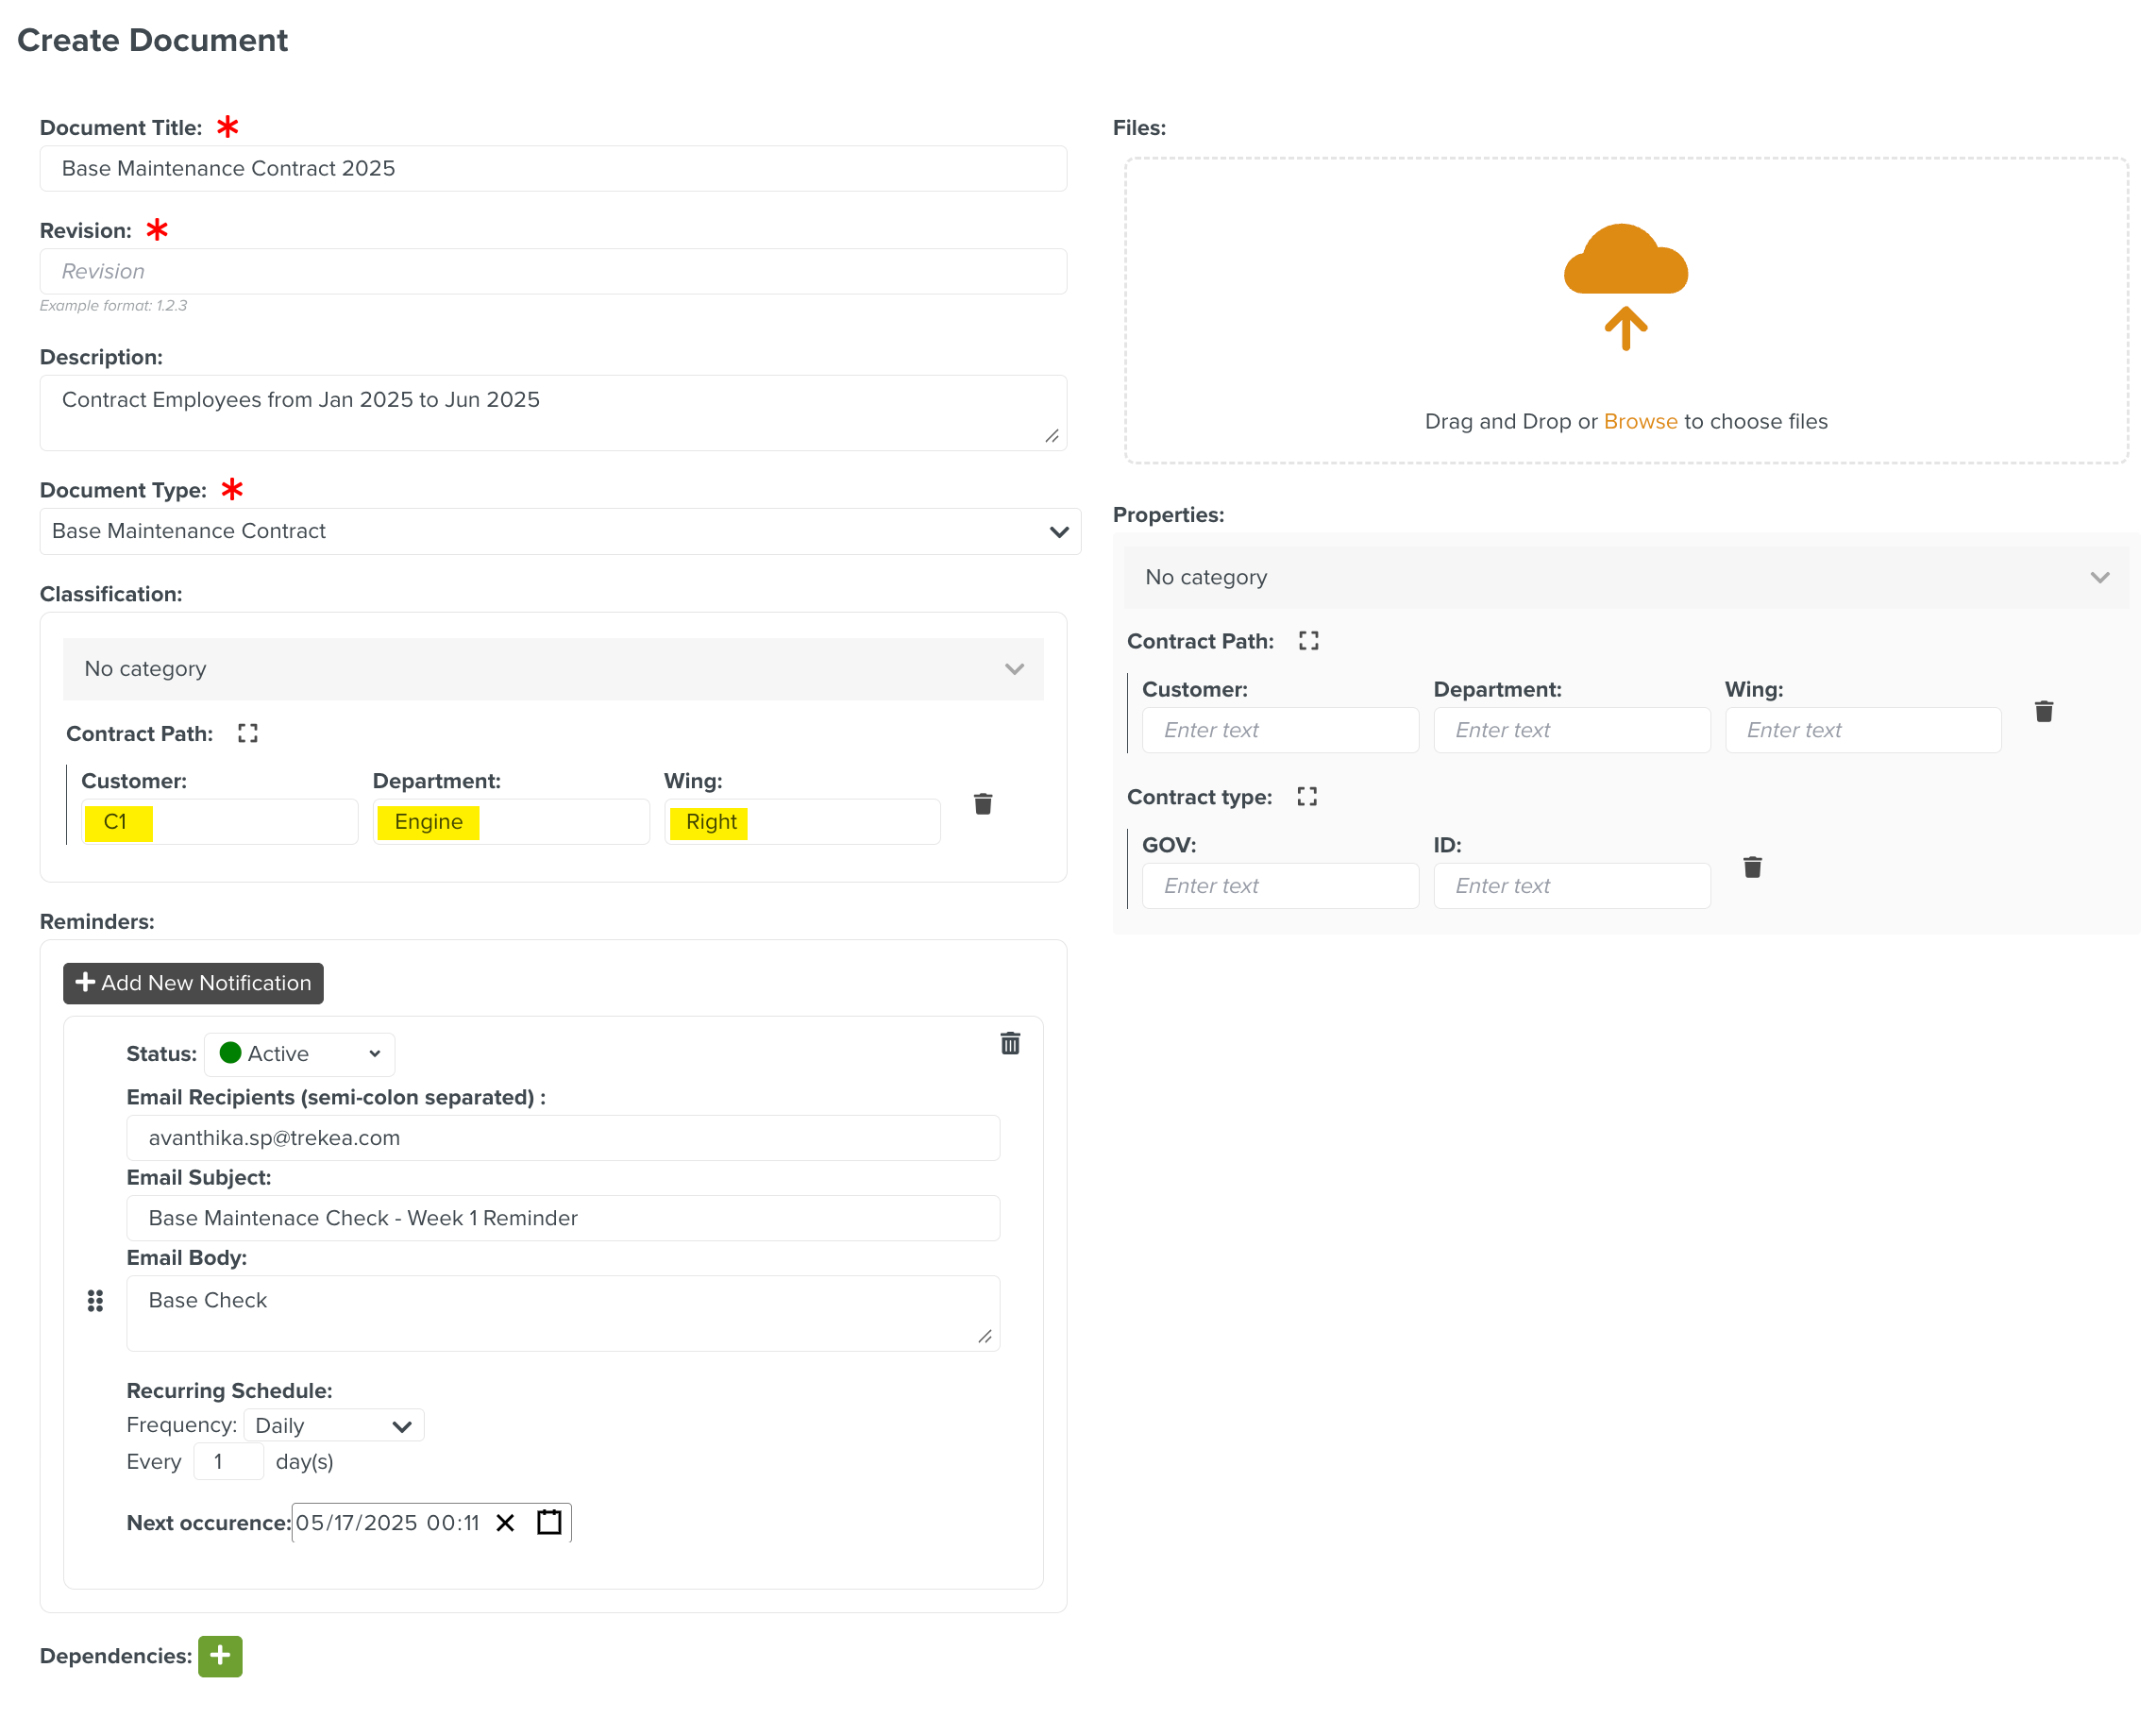
Enter Contract Path details defined under Classification.
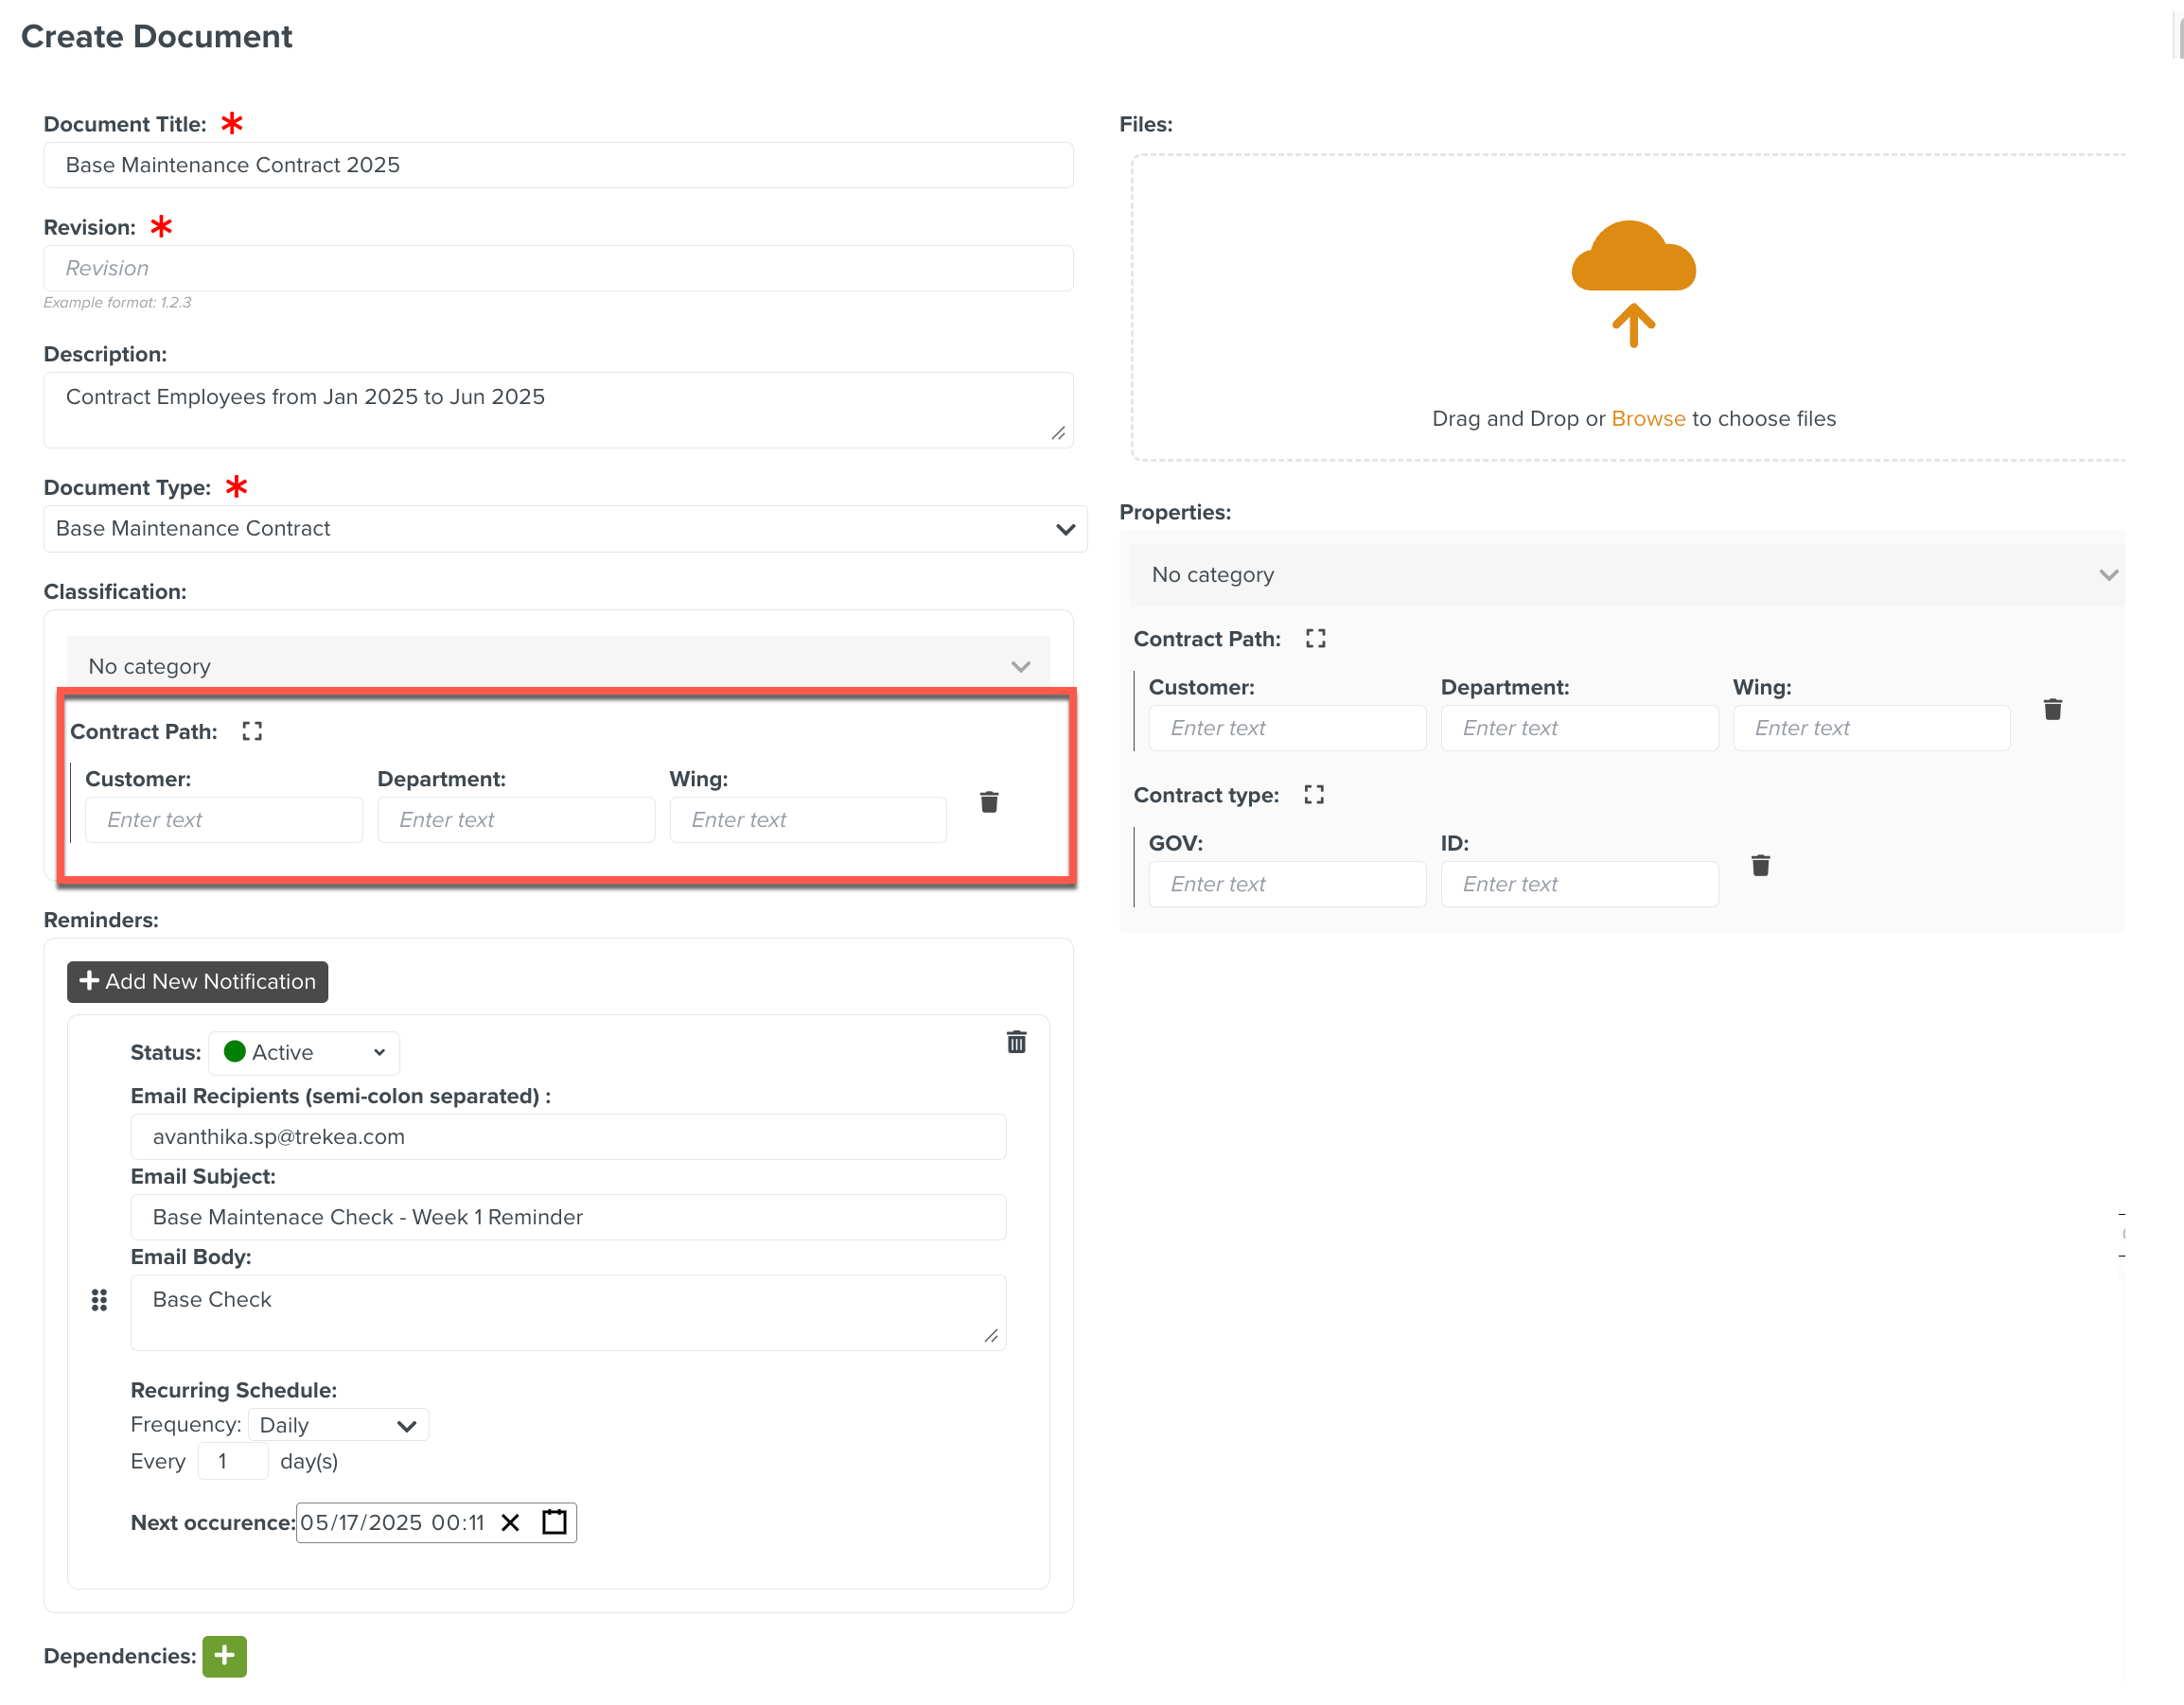
You can enter data for Customer, Department and Wing as highlighted below.
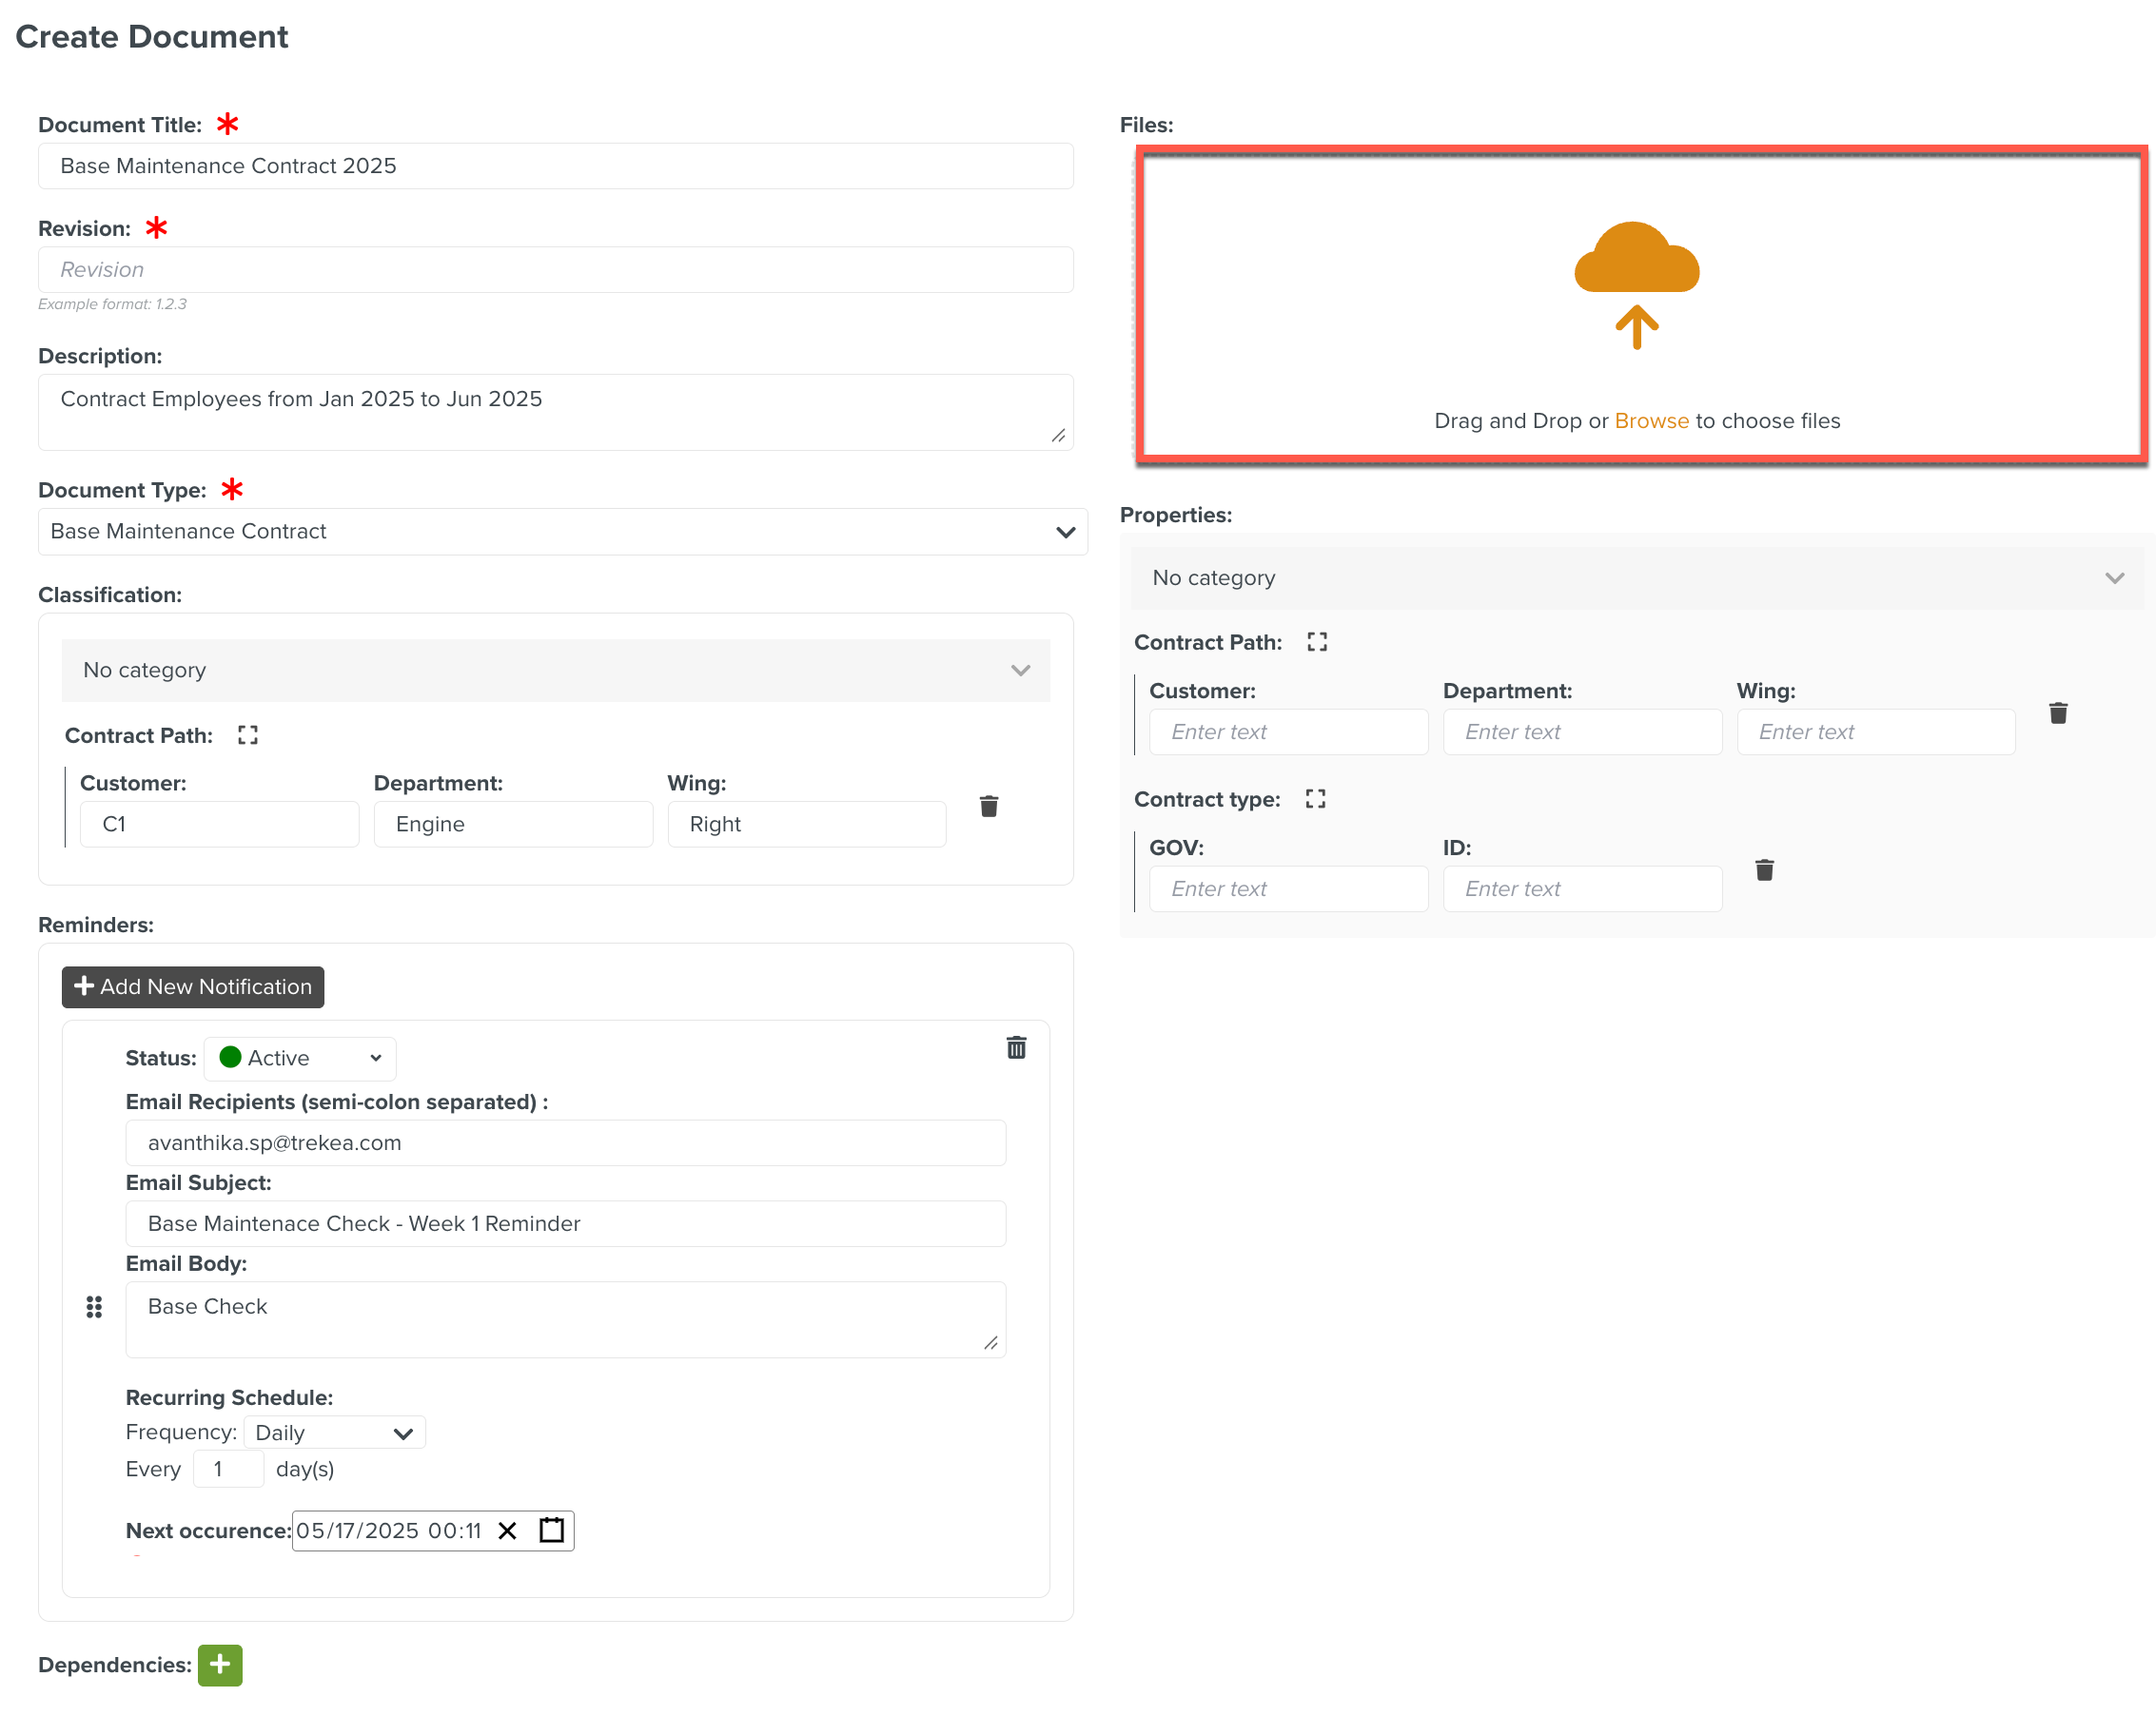
Click Browse to upload a file.
Click Upload.
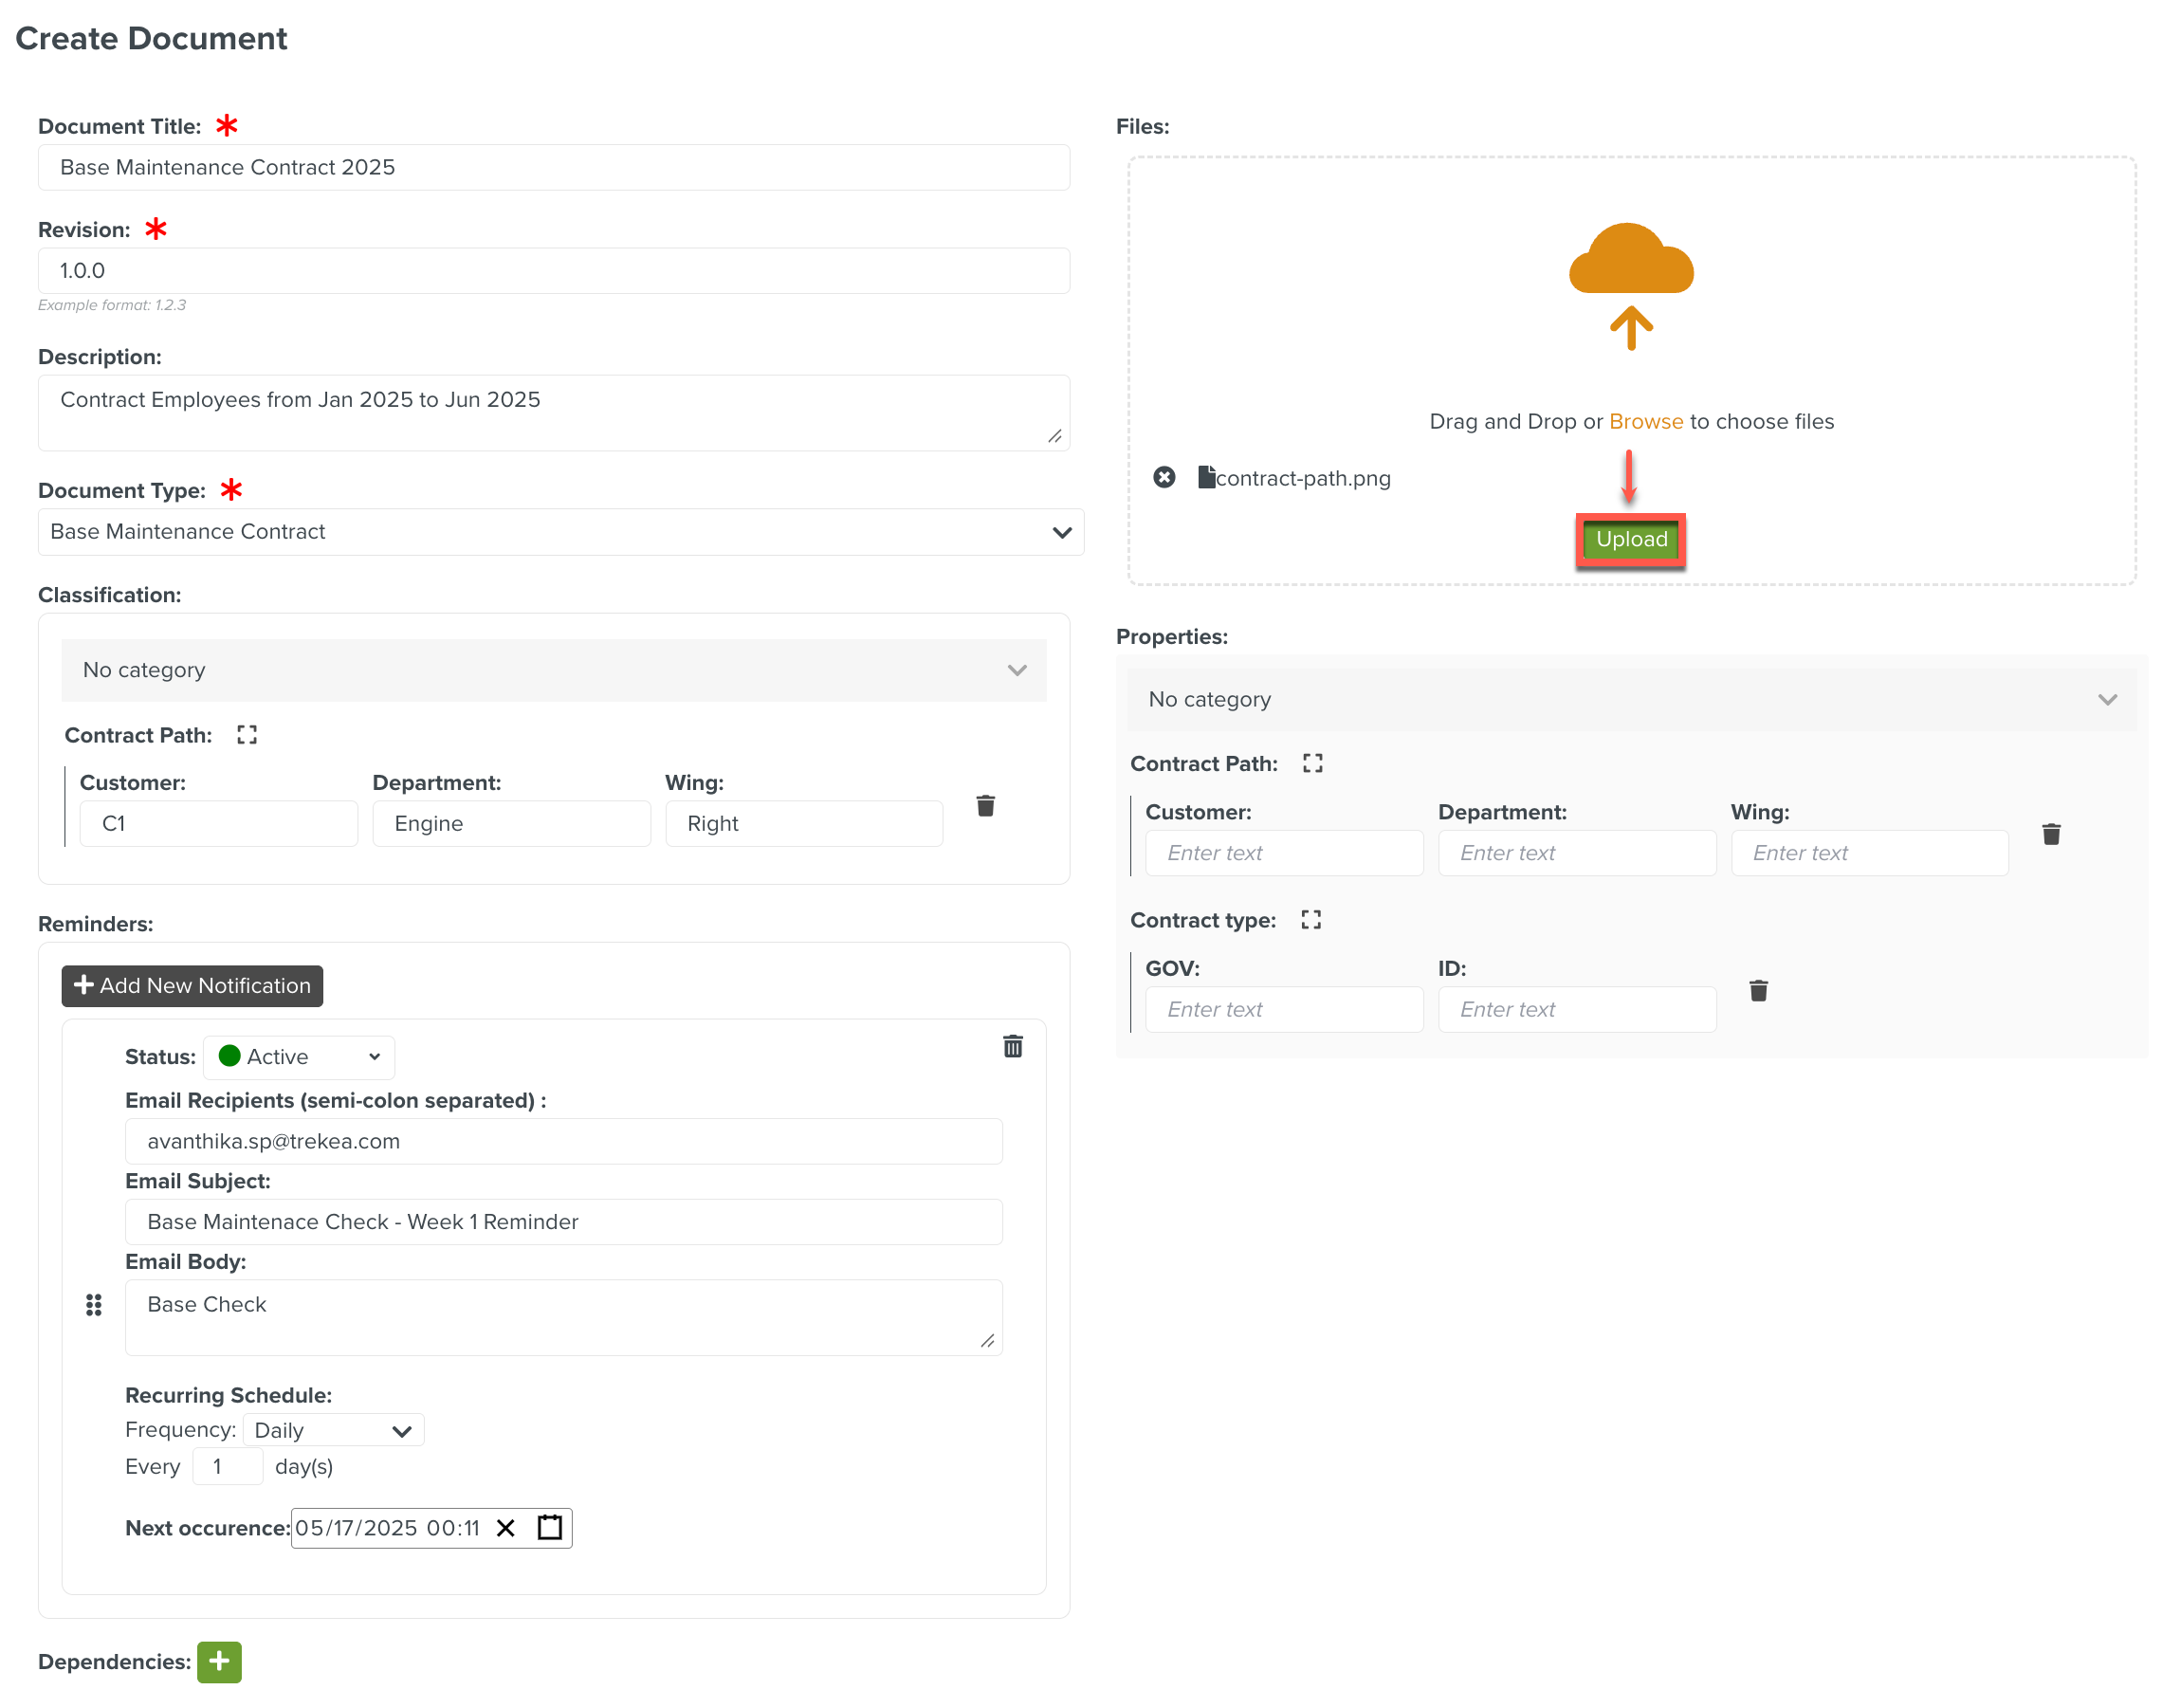
The contract-path image file is uploaded.
Enter Properties defined by custom field property while creating a Document.
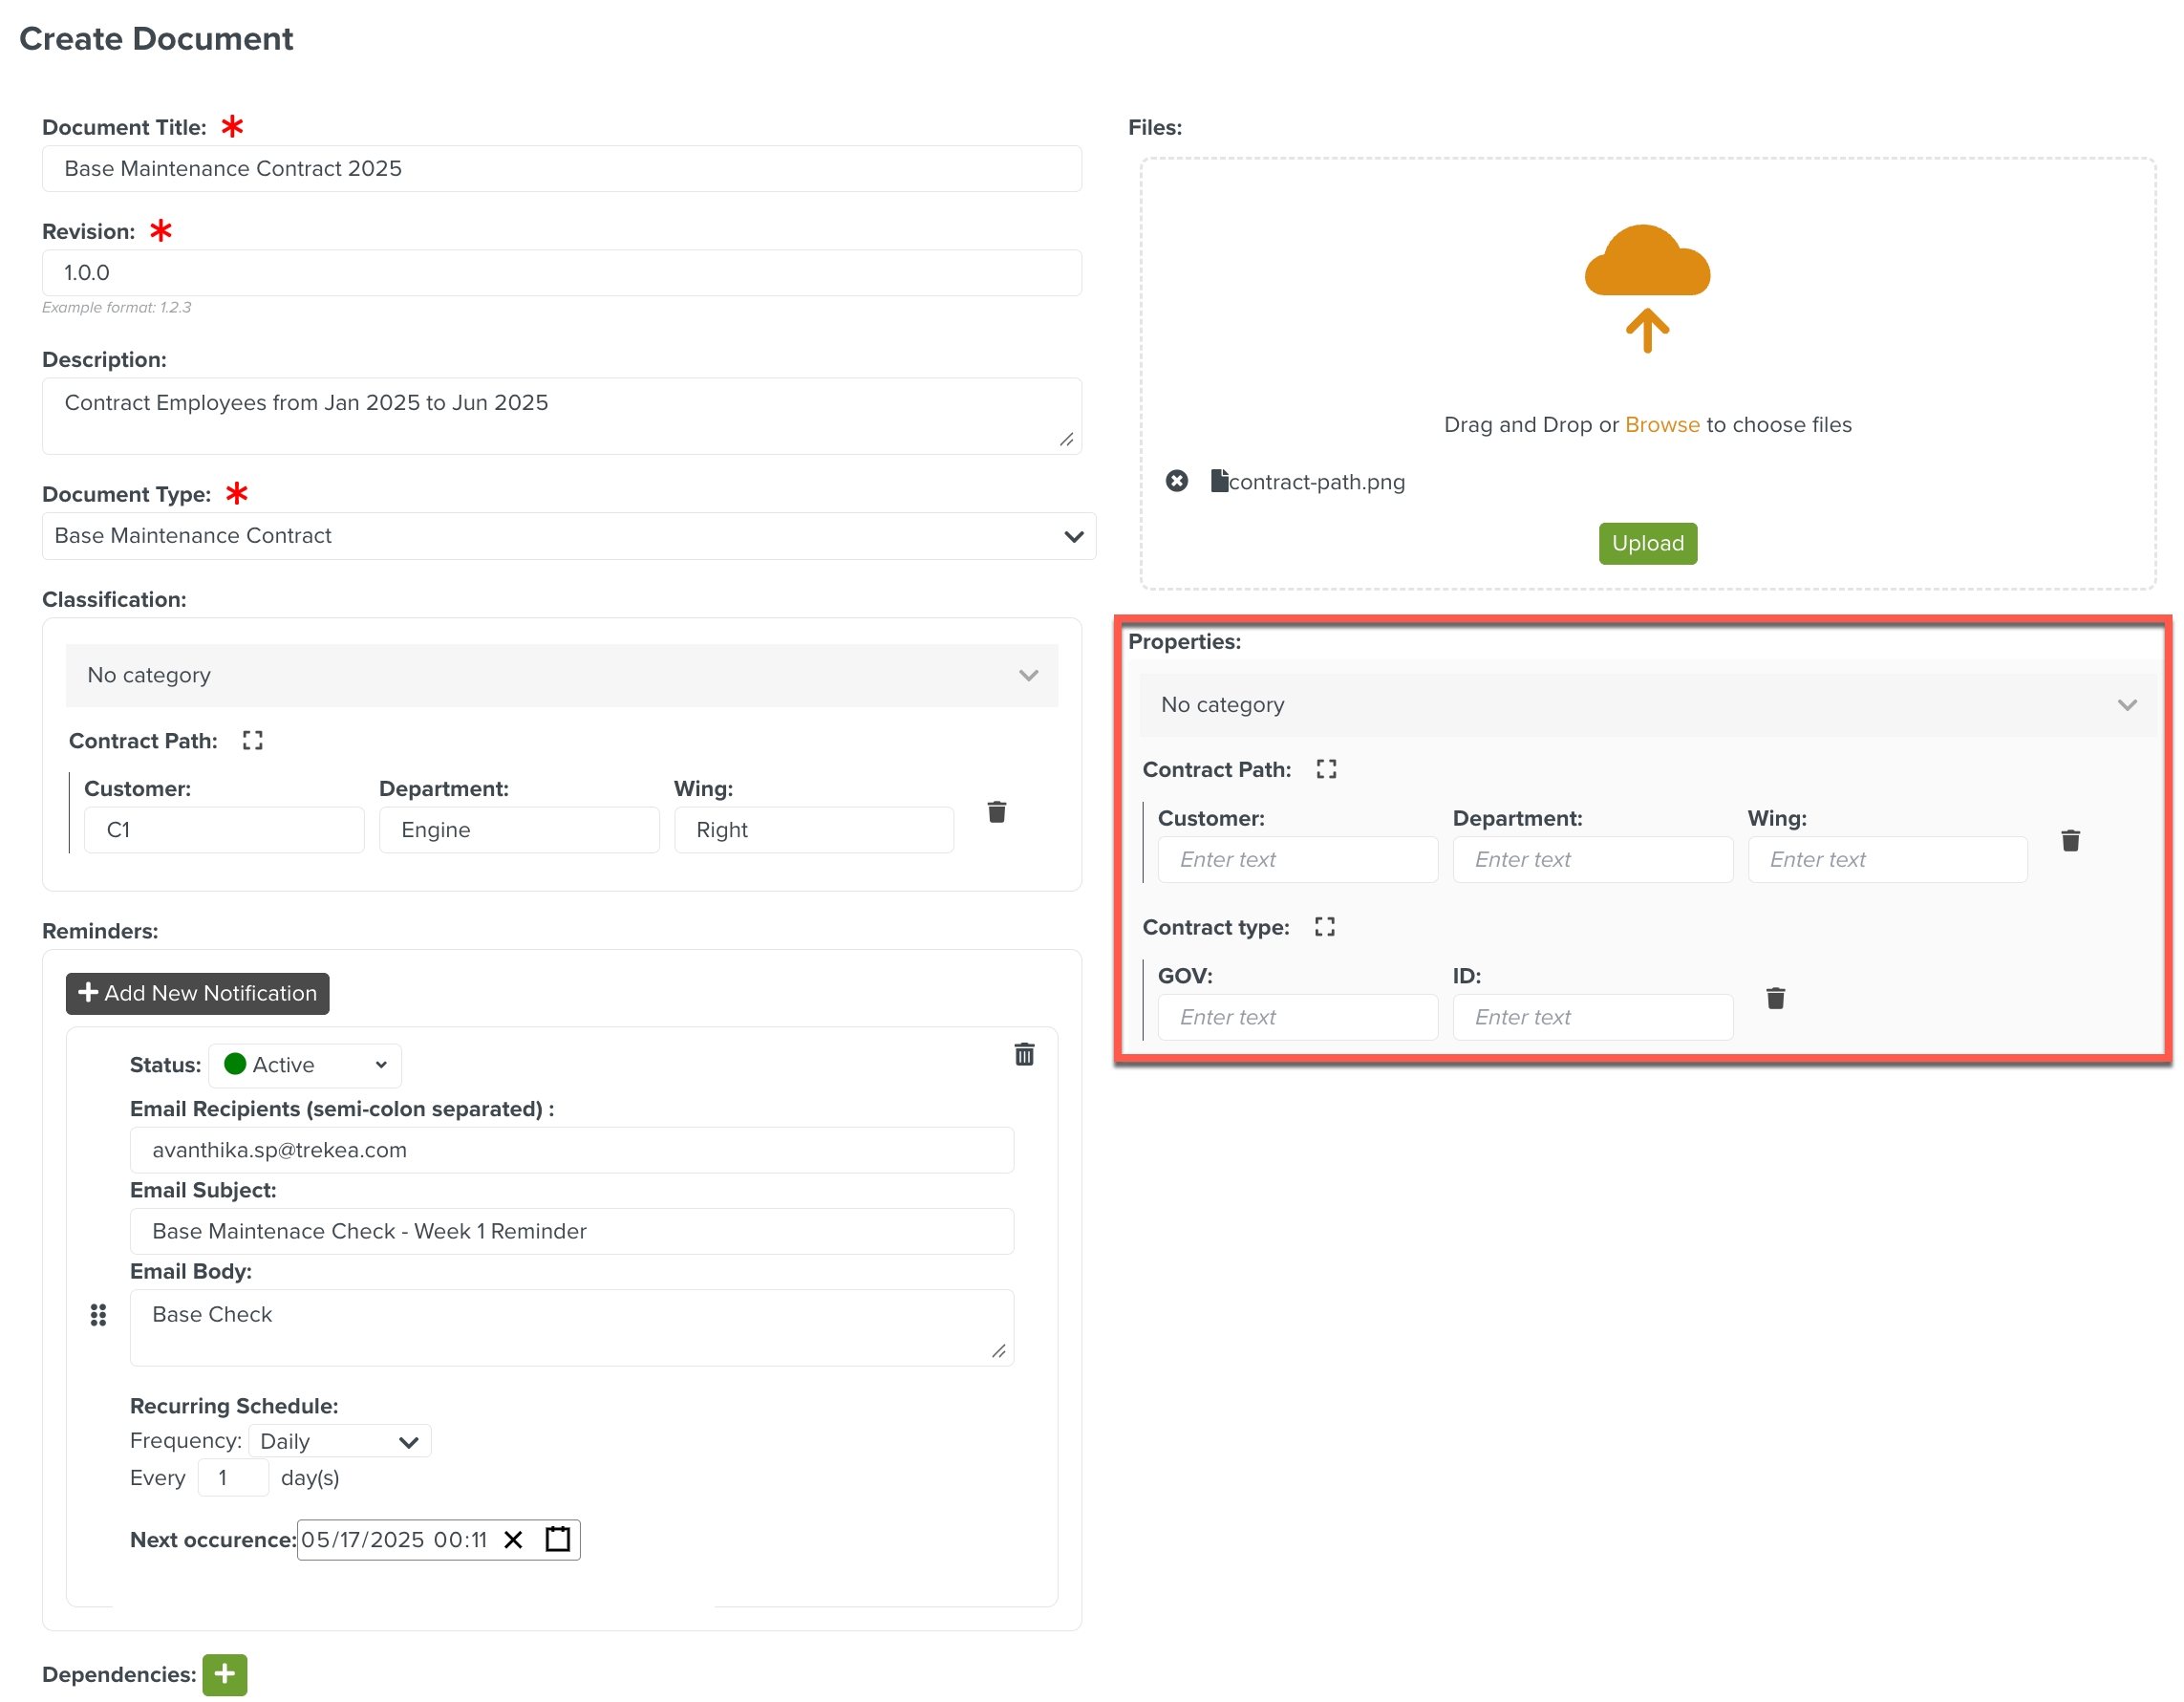
The required details are added as highlighted in the example below.
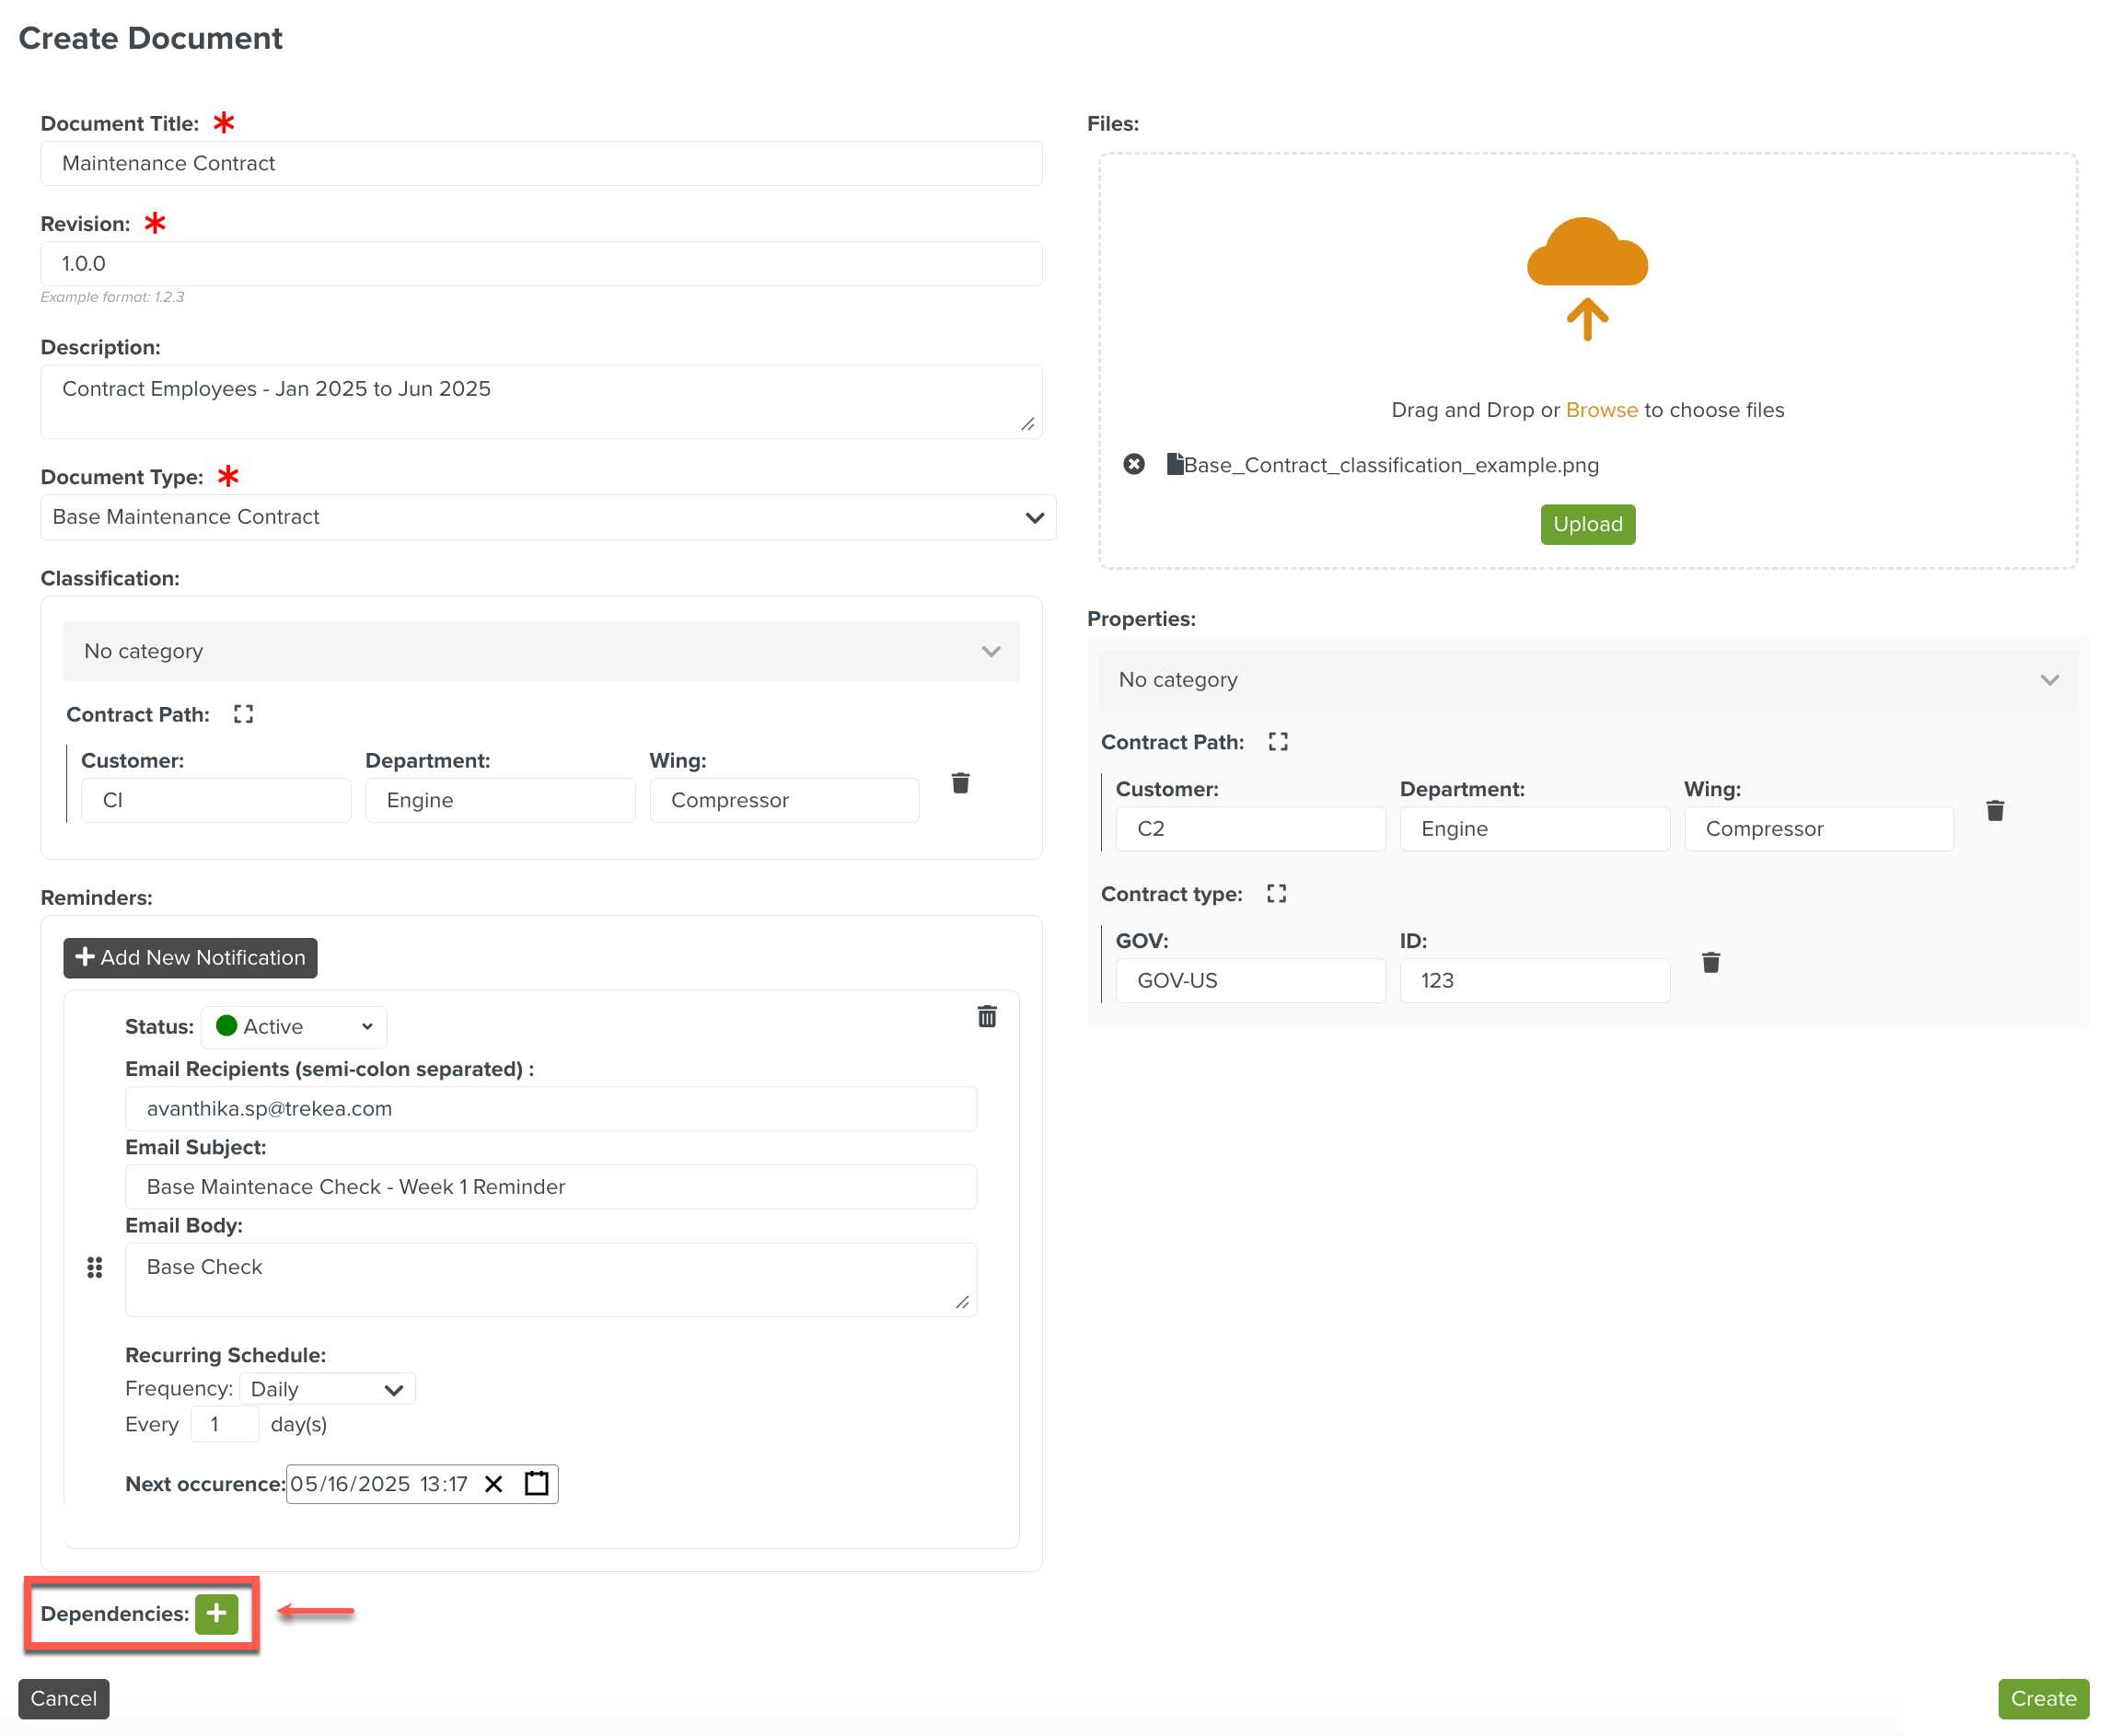
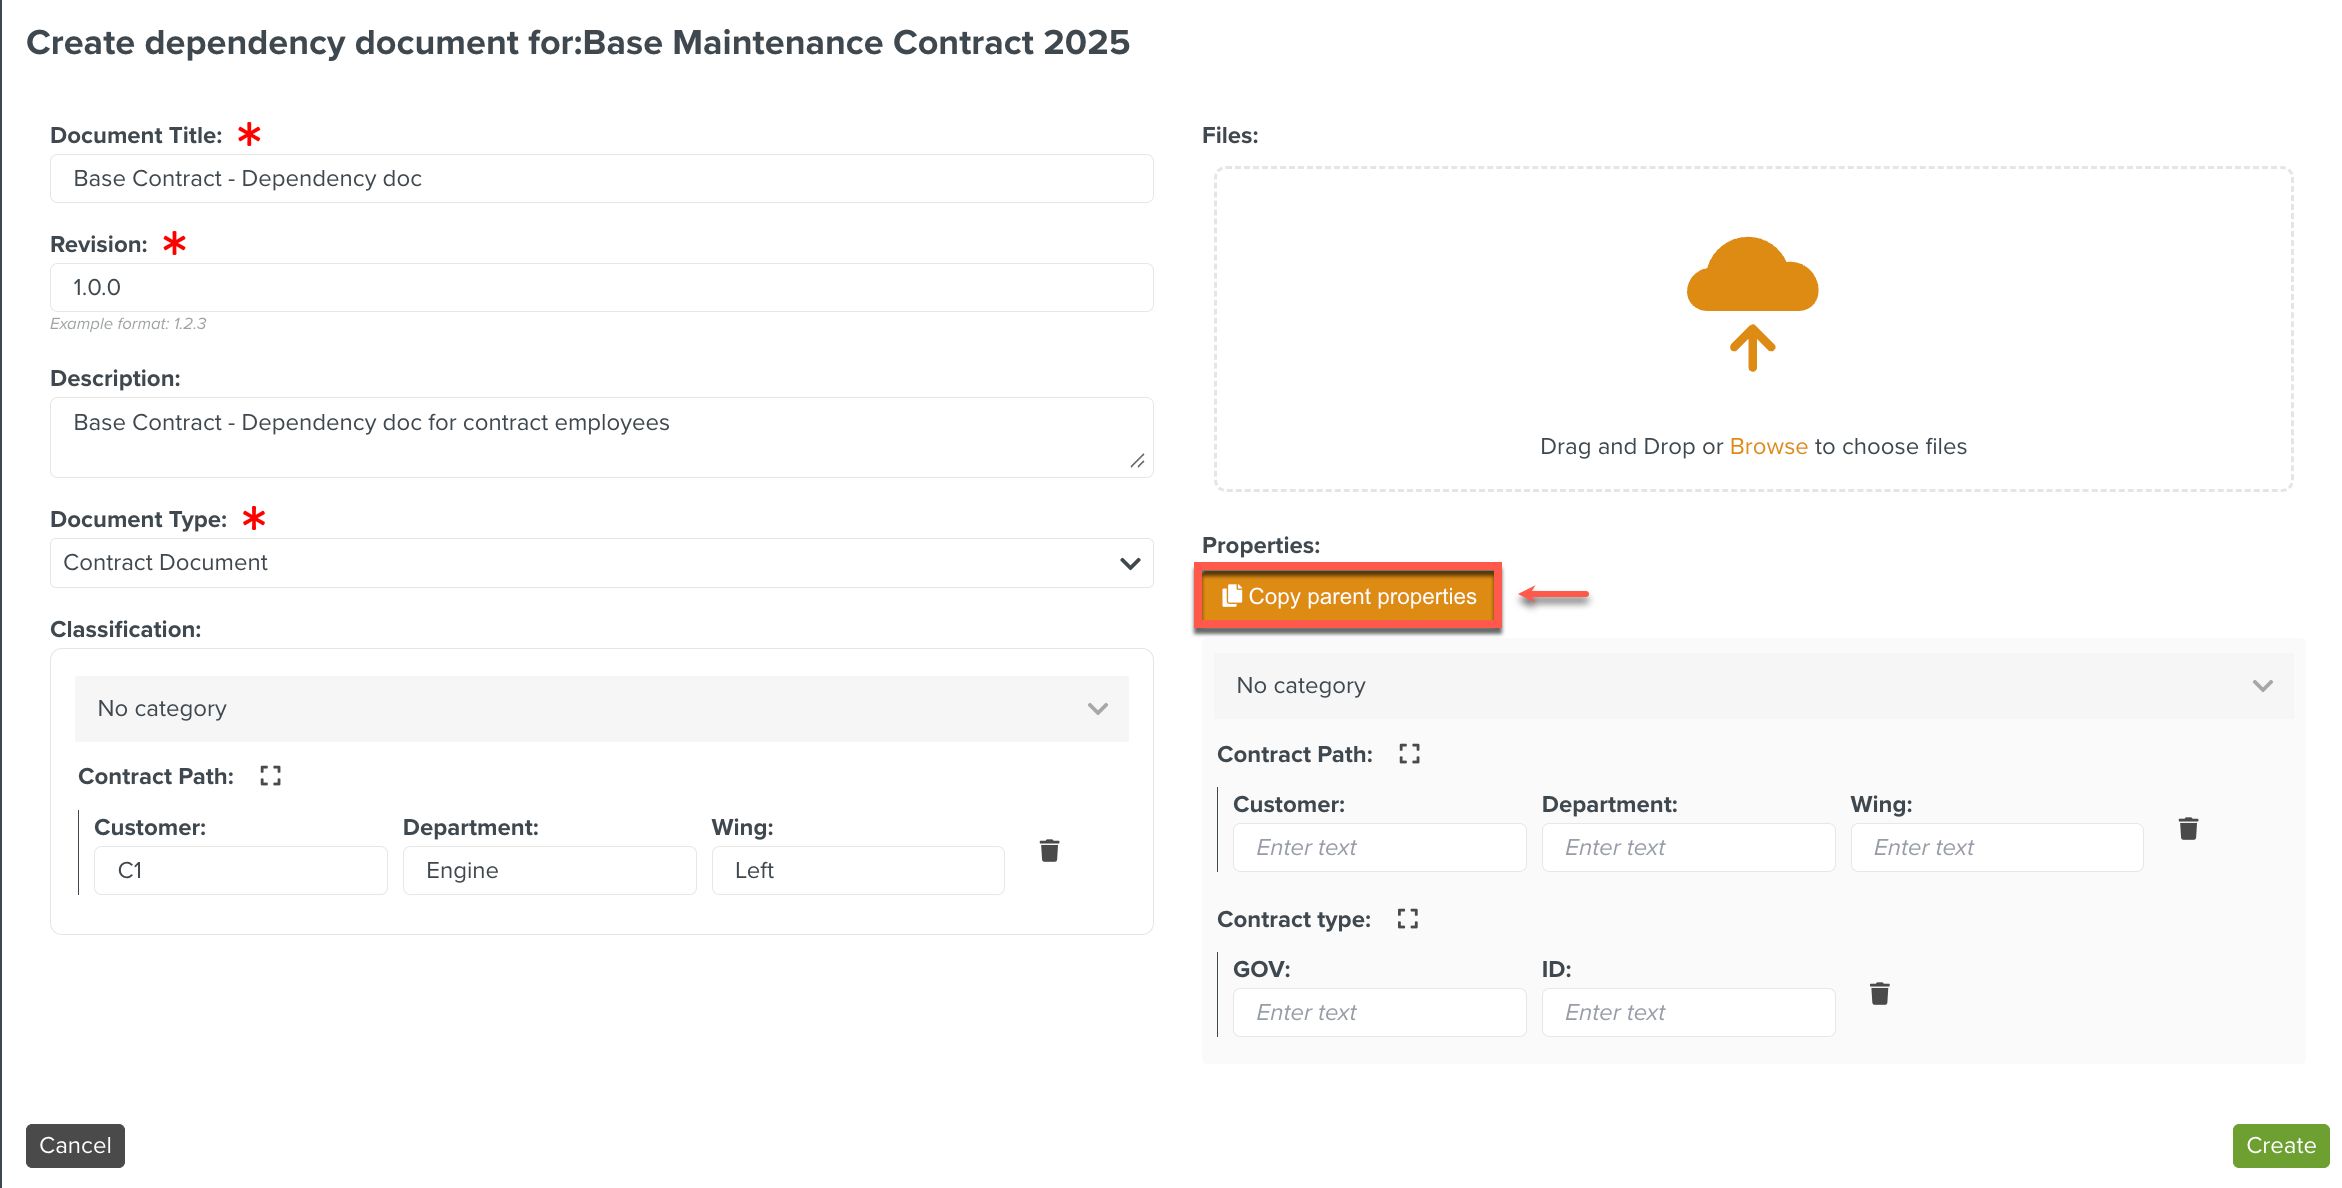
[Optional] Click
 to add Dependencies.
Dependent documents are sub documents linked to a primary Document. It will follow the Approval cycle associated with the Document type selected for the Dependent document.
The Create dependency document for:Maintenance Contract dialog is displayed.
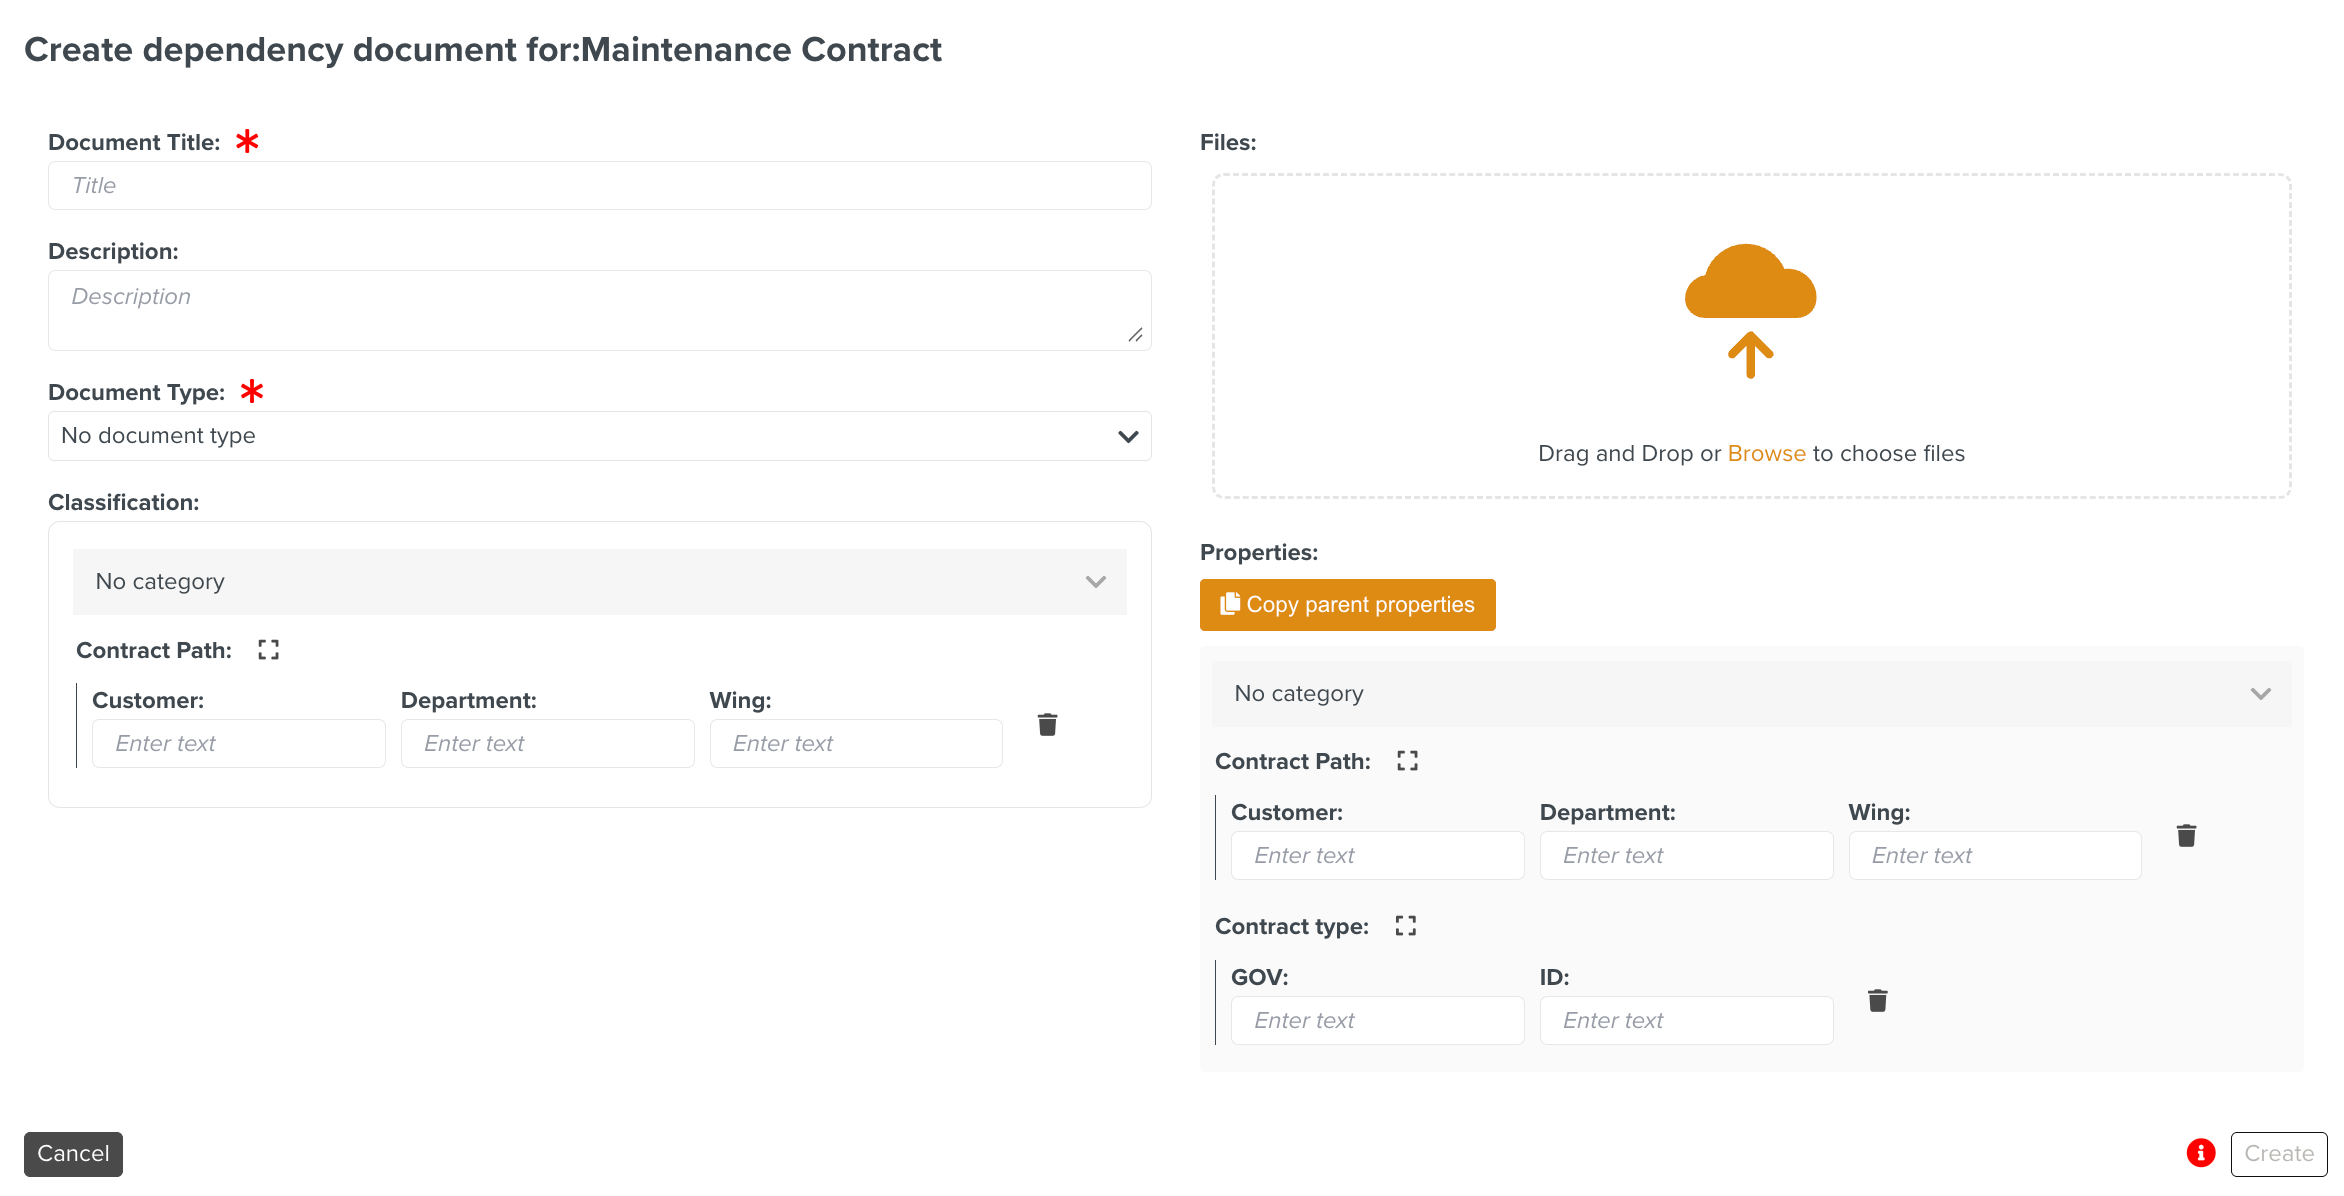
Enter the required details for the dependency document.
Enter the values for the Properties.
[Optional] Click to populate the properties from the parent document.

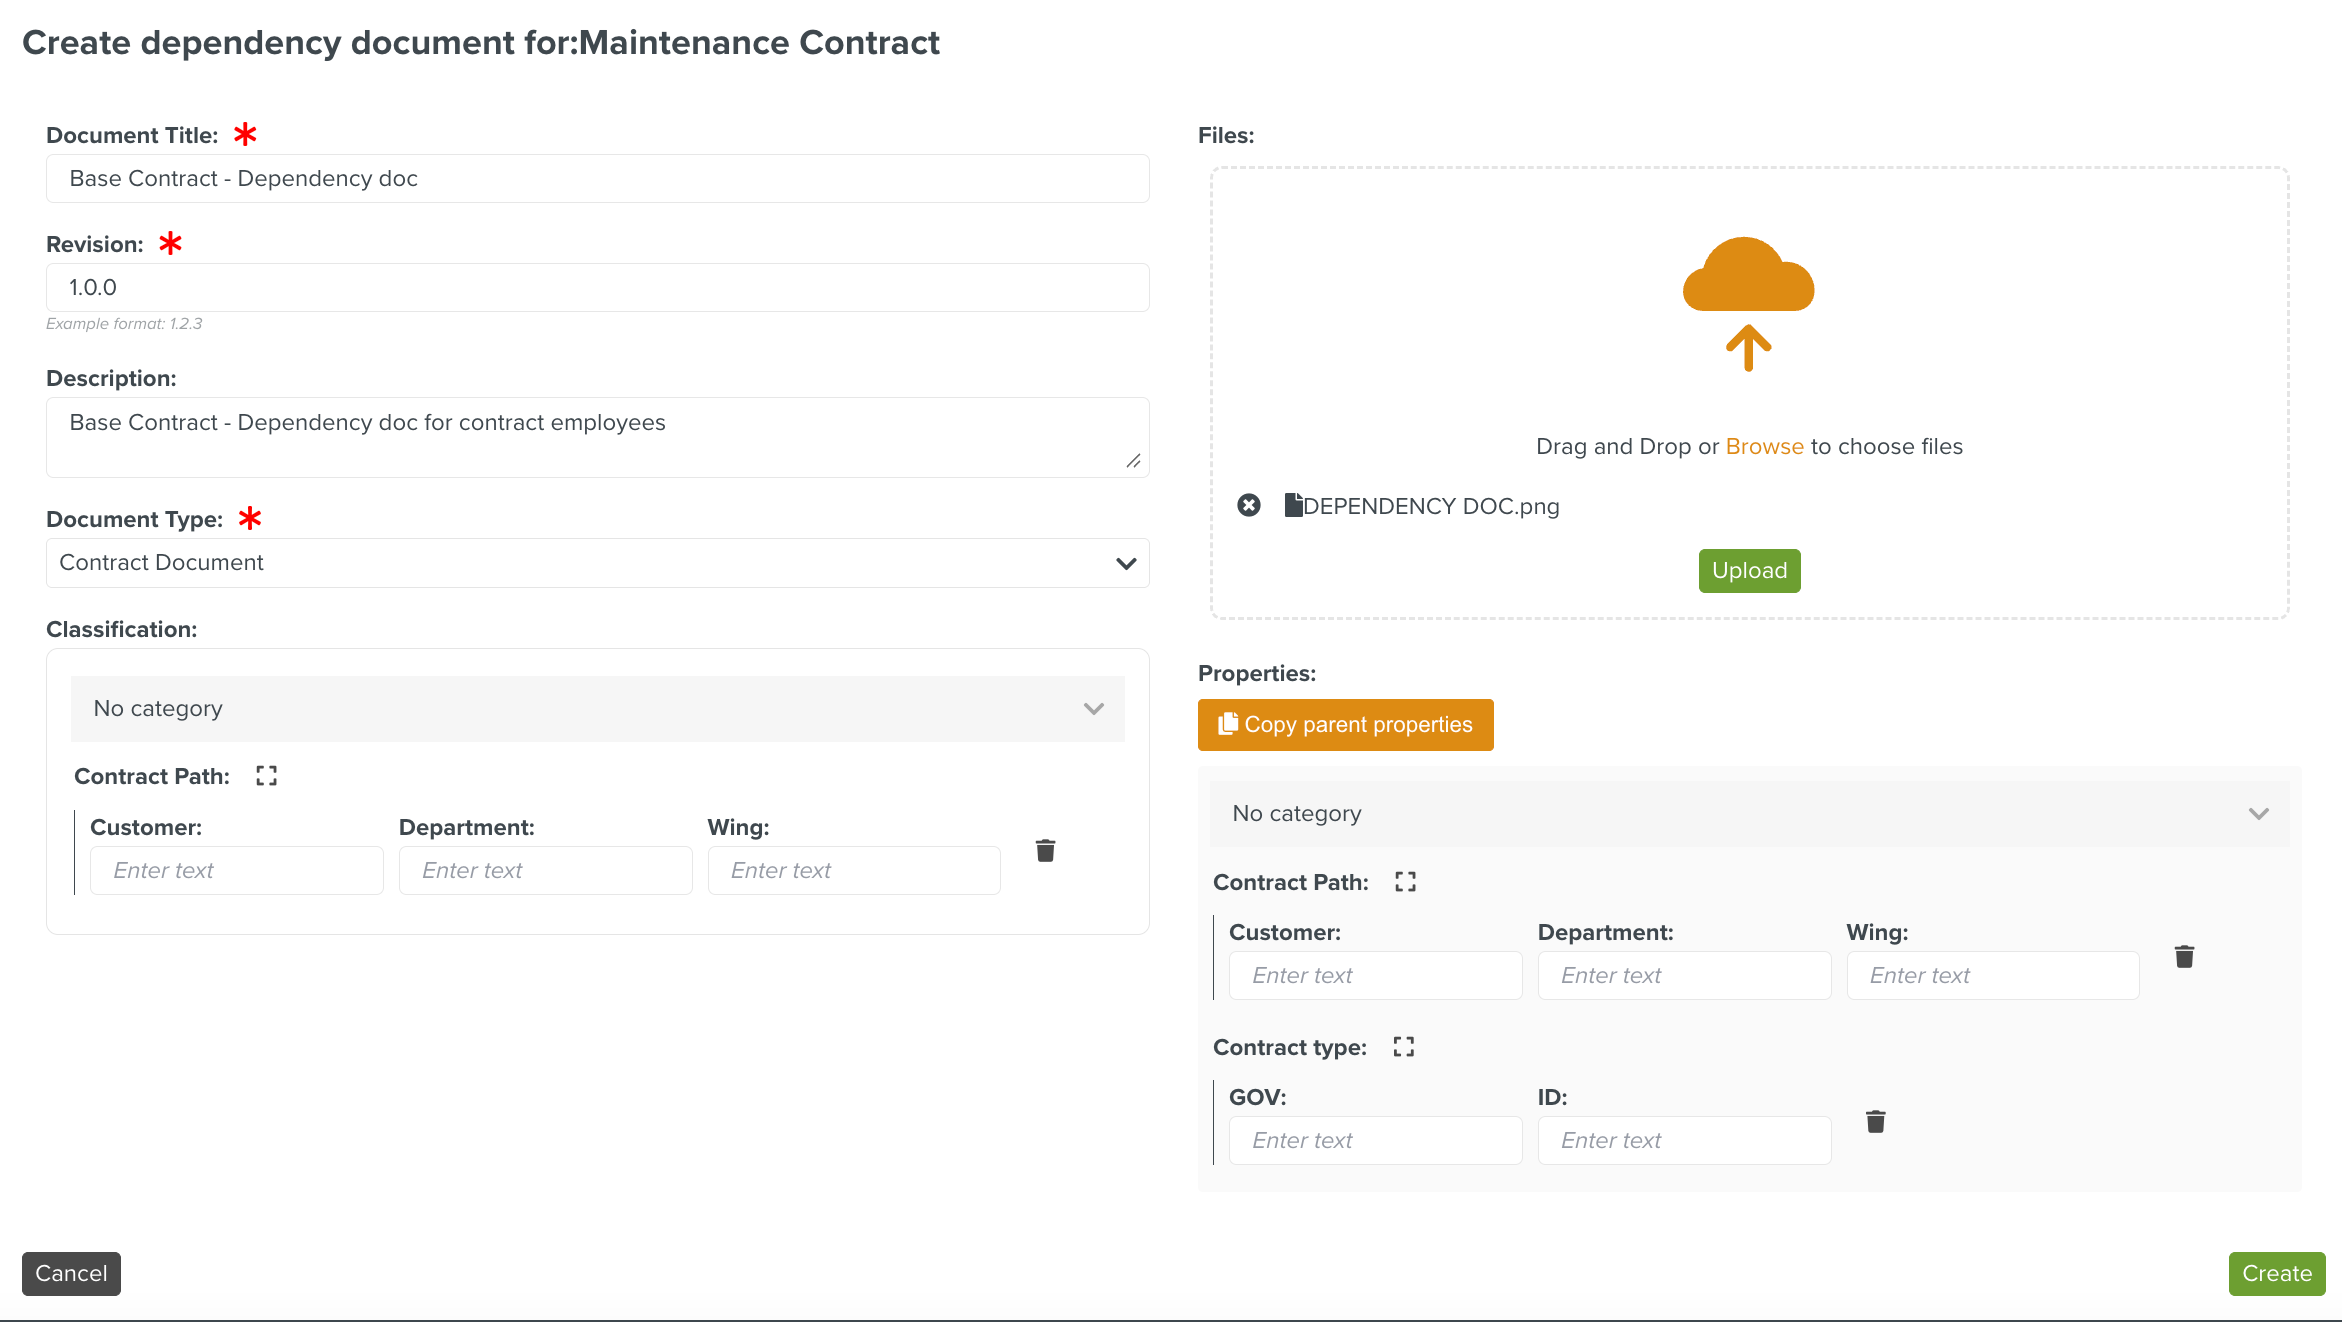
Click Create.
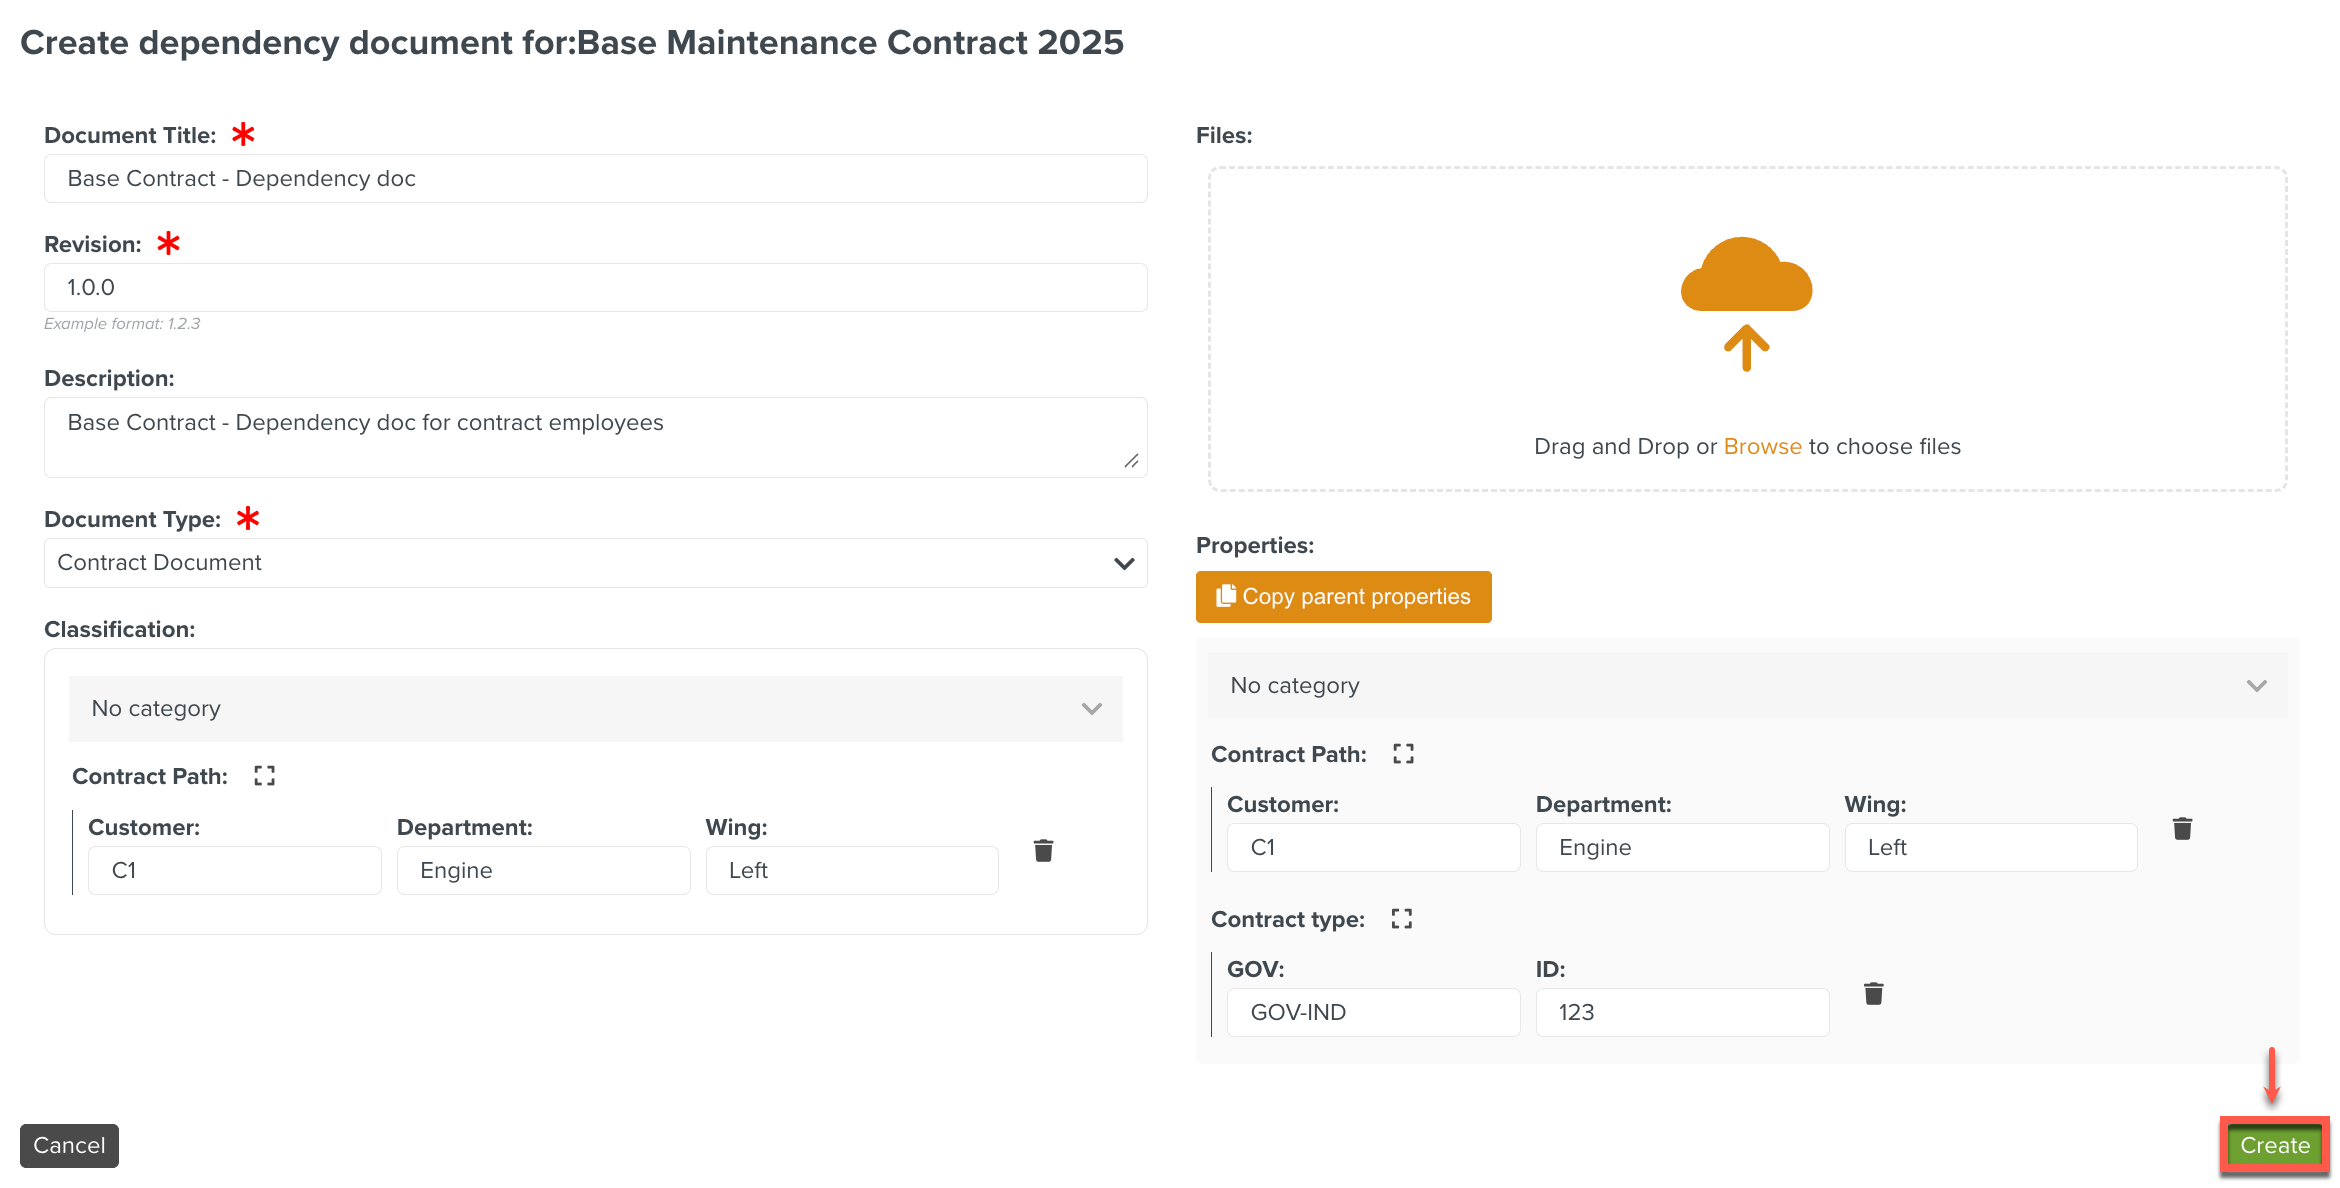
The Base Contract- dependency doc is created.
If an Approval Type is associated with the Document Type then the approval process is initiated. If not, it is directly created.
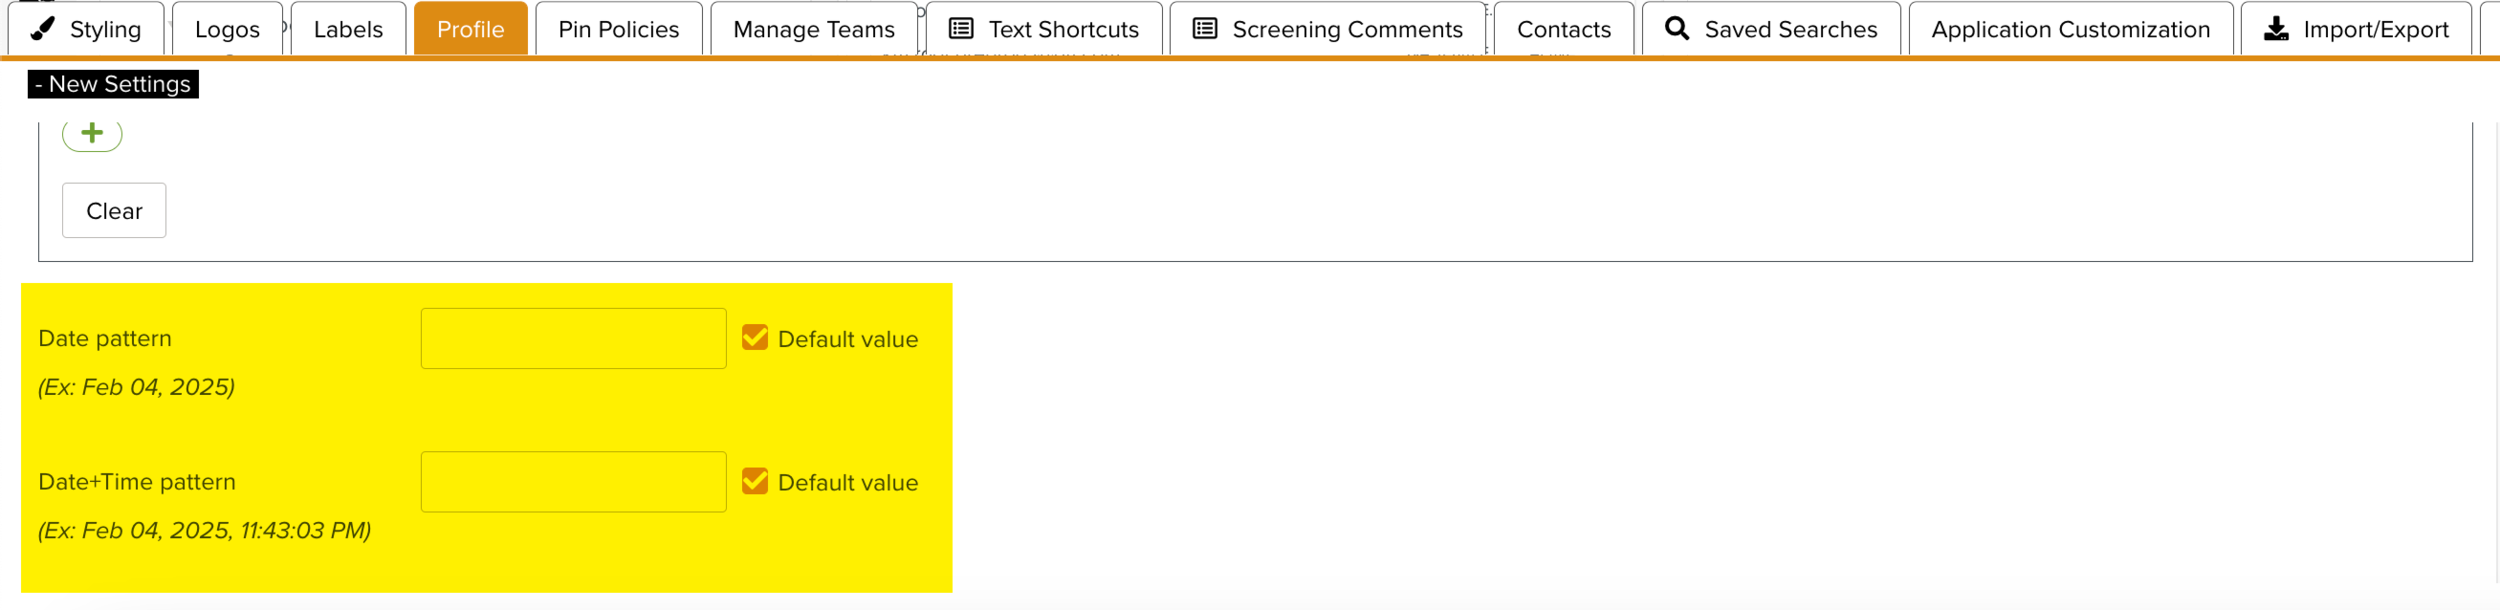
You can choose the date and time pattern for the Approval Tasks.
Note
The pattern in which the date and time is displayed can be customized using the Enterprise Setting Date + Time pattern as shown below.
Once the Document is created, it appears in the Document Space. You can view the details of the Document.
Navigating to a specific Document using a link
This feature allows a user to open a specific Document via a link that would directly launch Document Management System and display the correct Document.
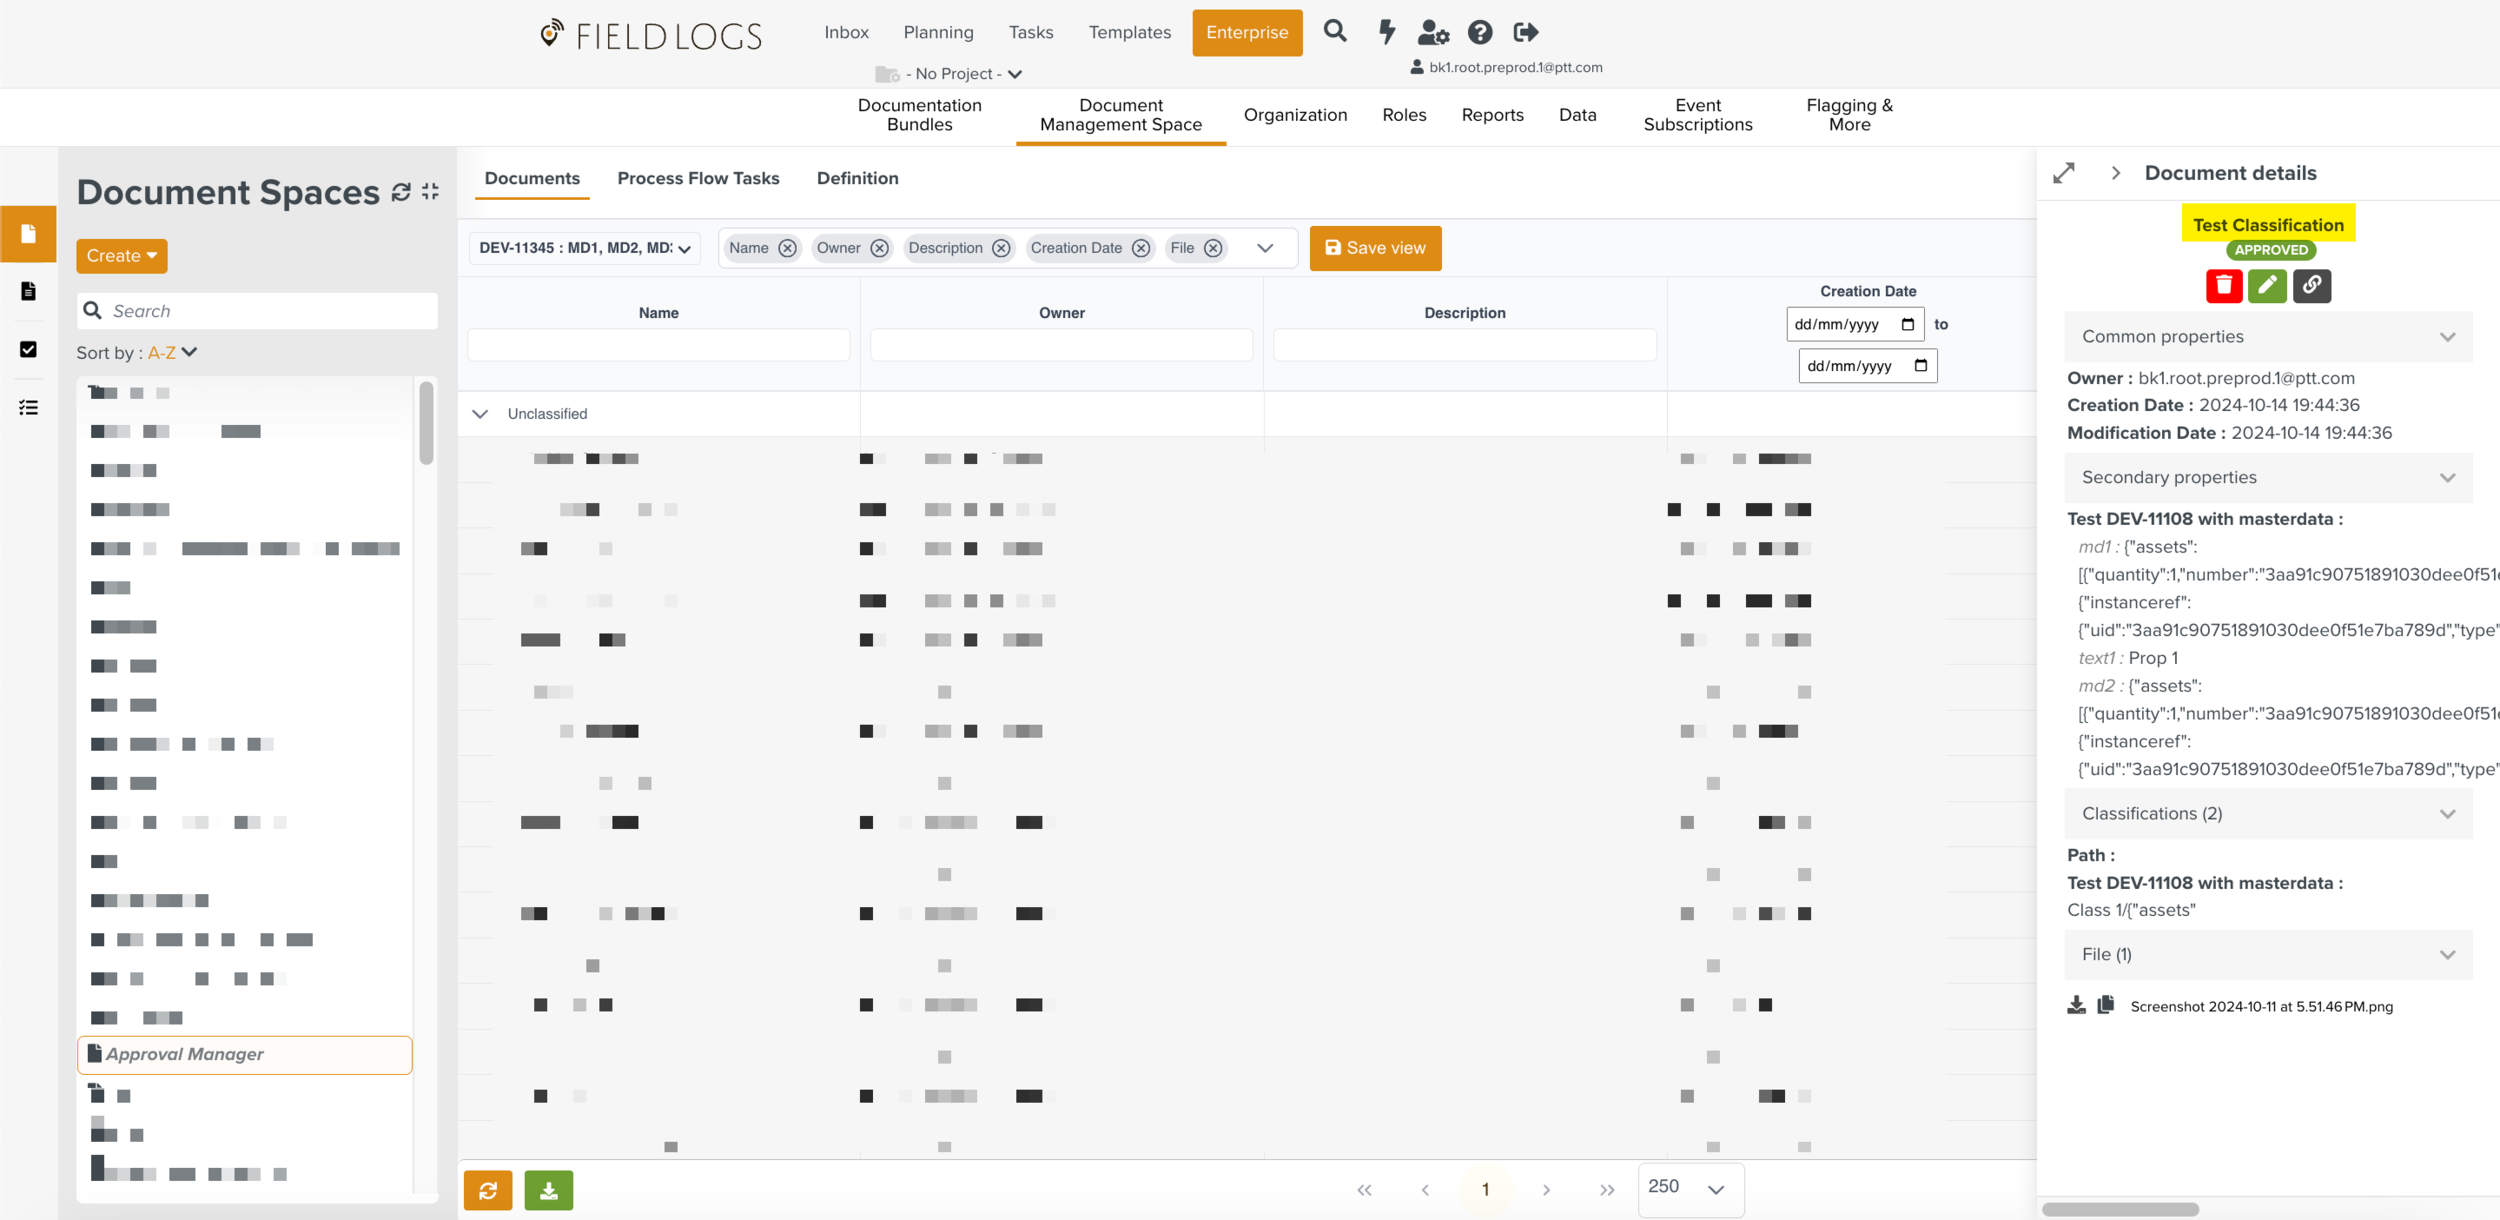
In the example below, Test Classification Document is selected.
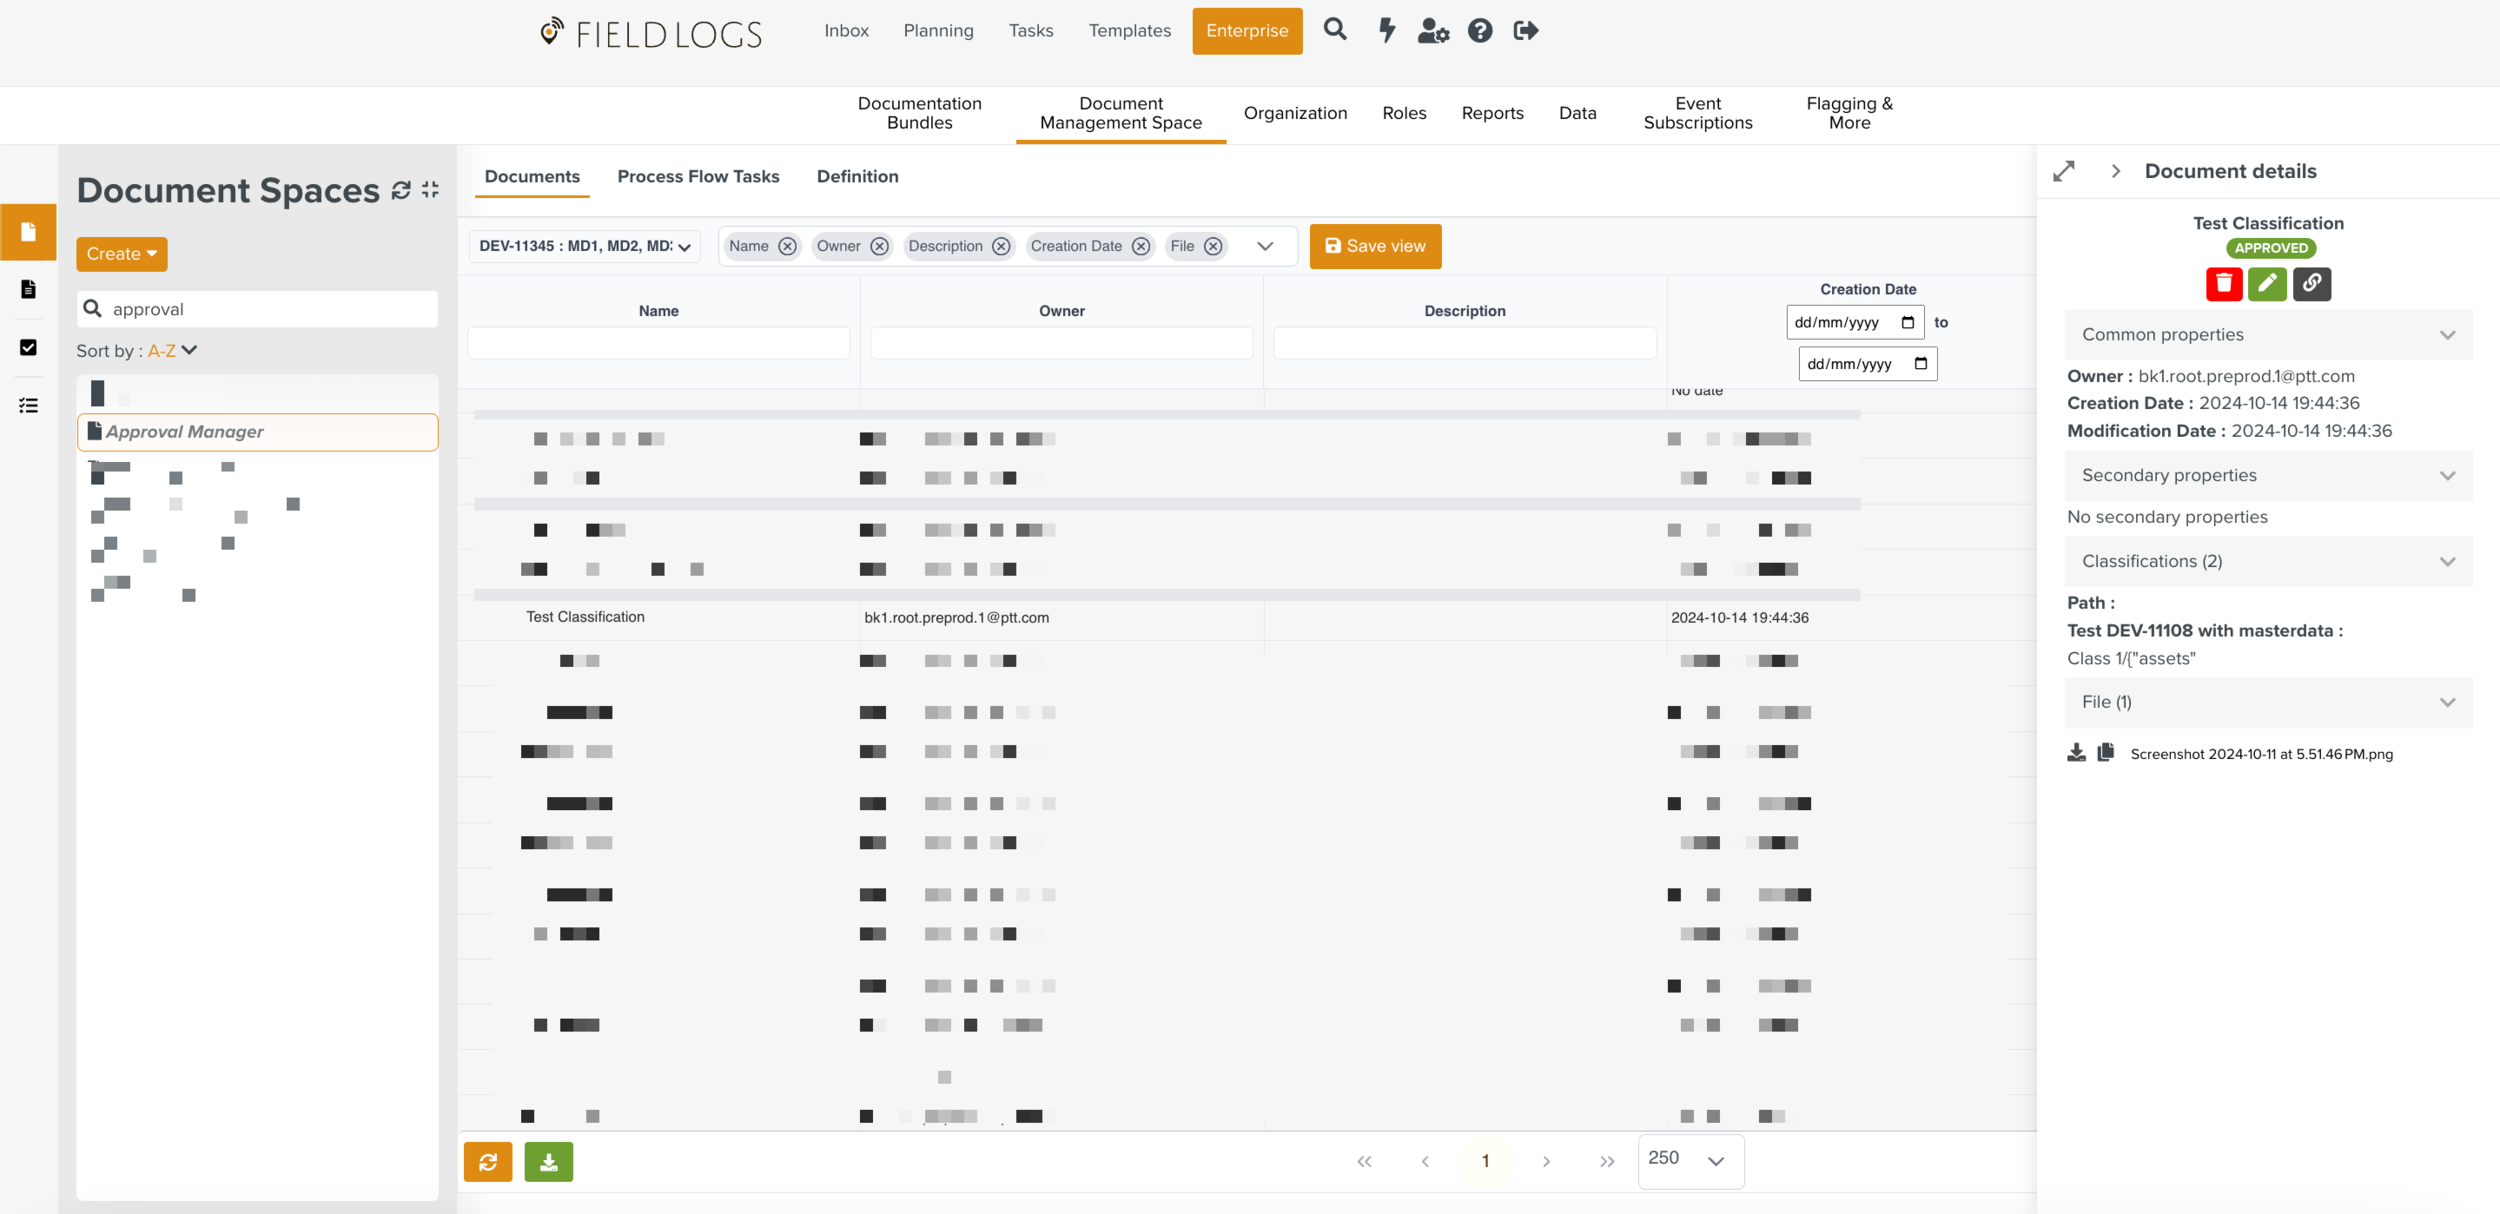 |
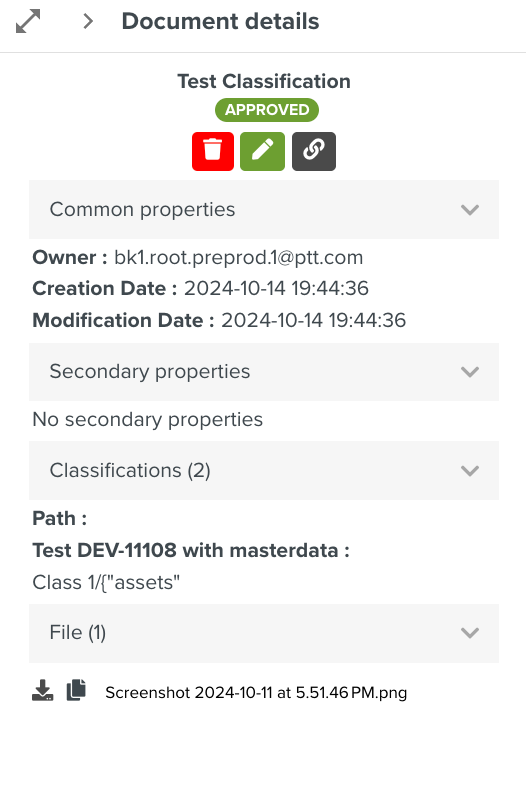
The Document details dialog is displayed.
 |
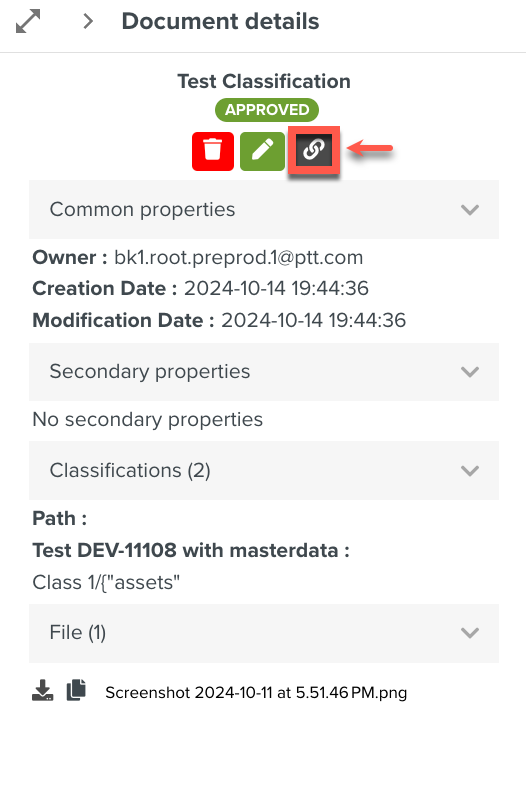
Click  to share link.
 |
The Share link dialog is displayed.
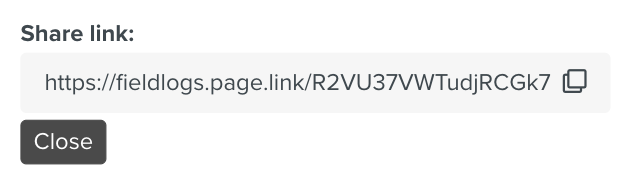 |
Click  to copy the link and paste it in the browser.
 |
The selected Document is displayed.
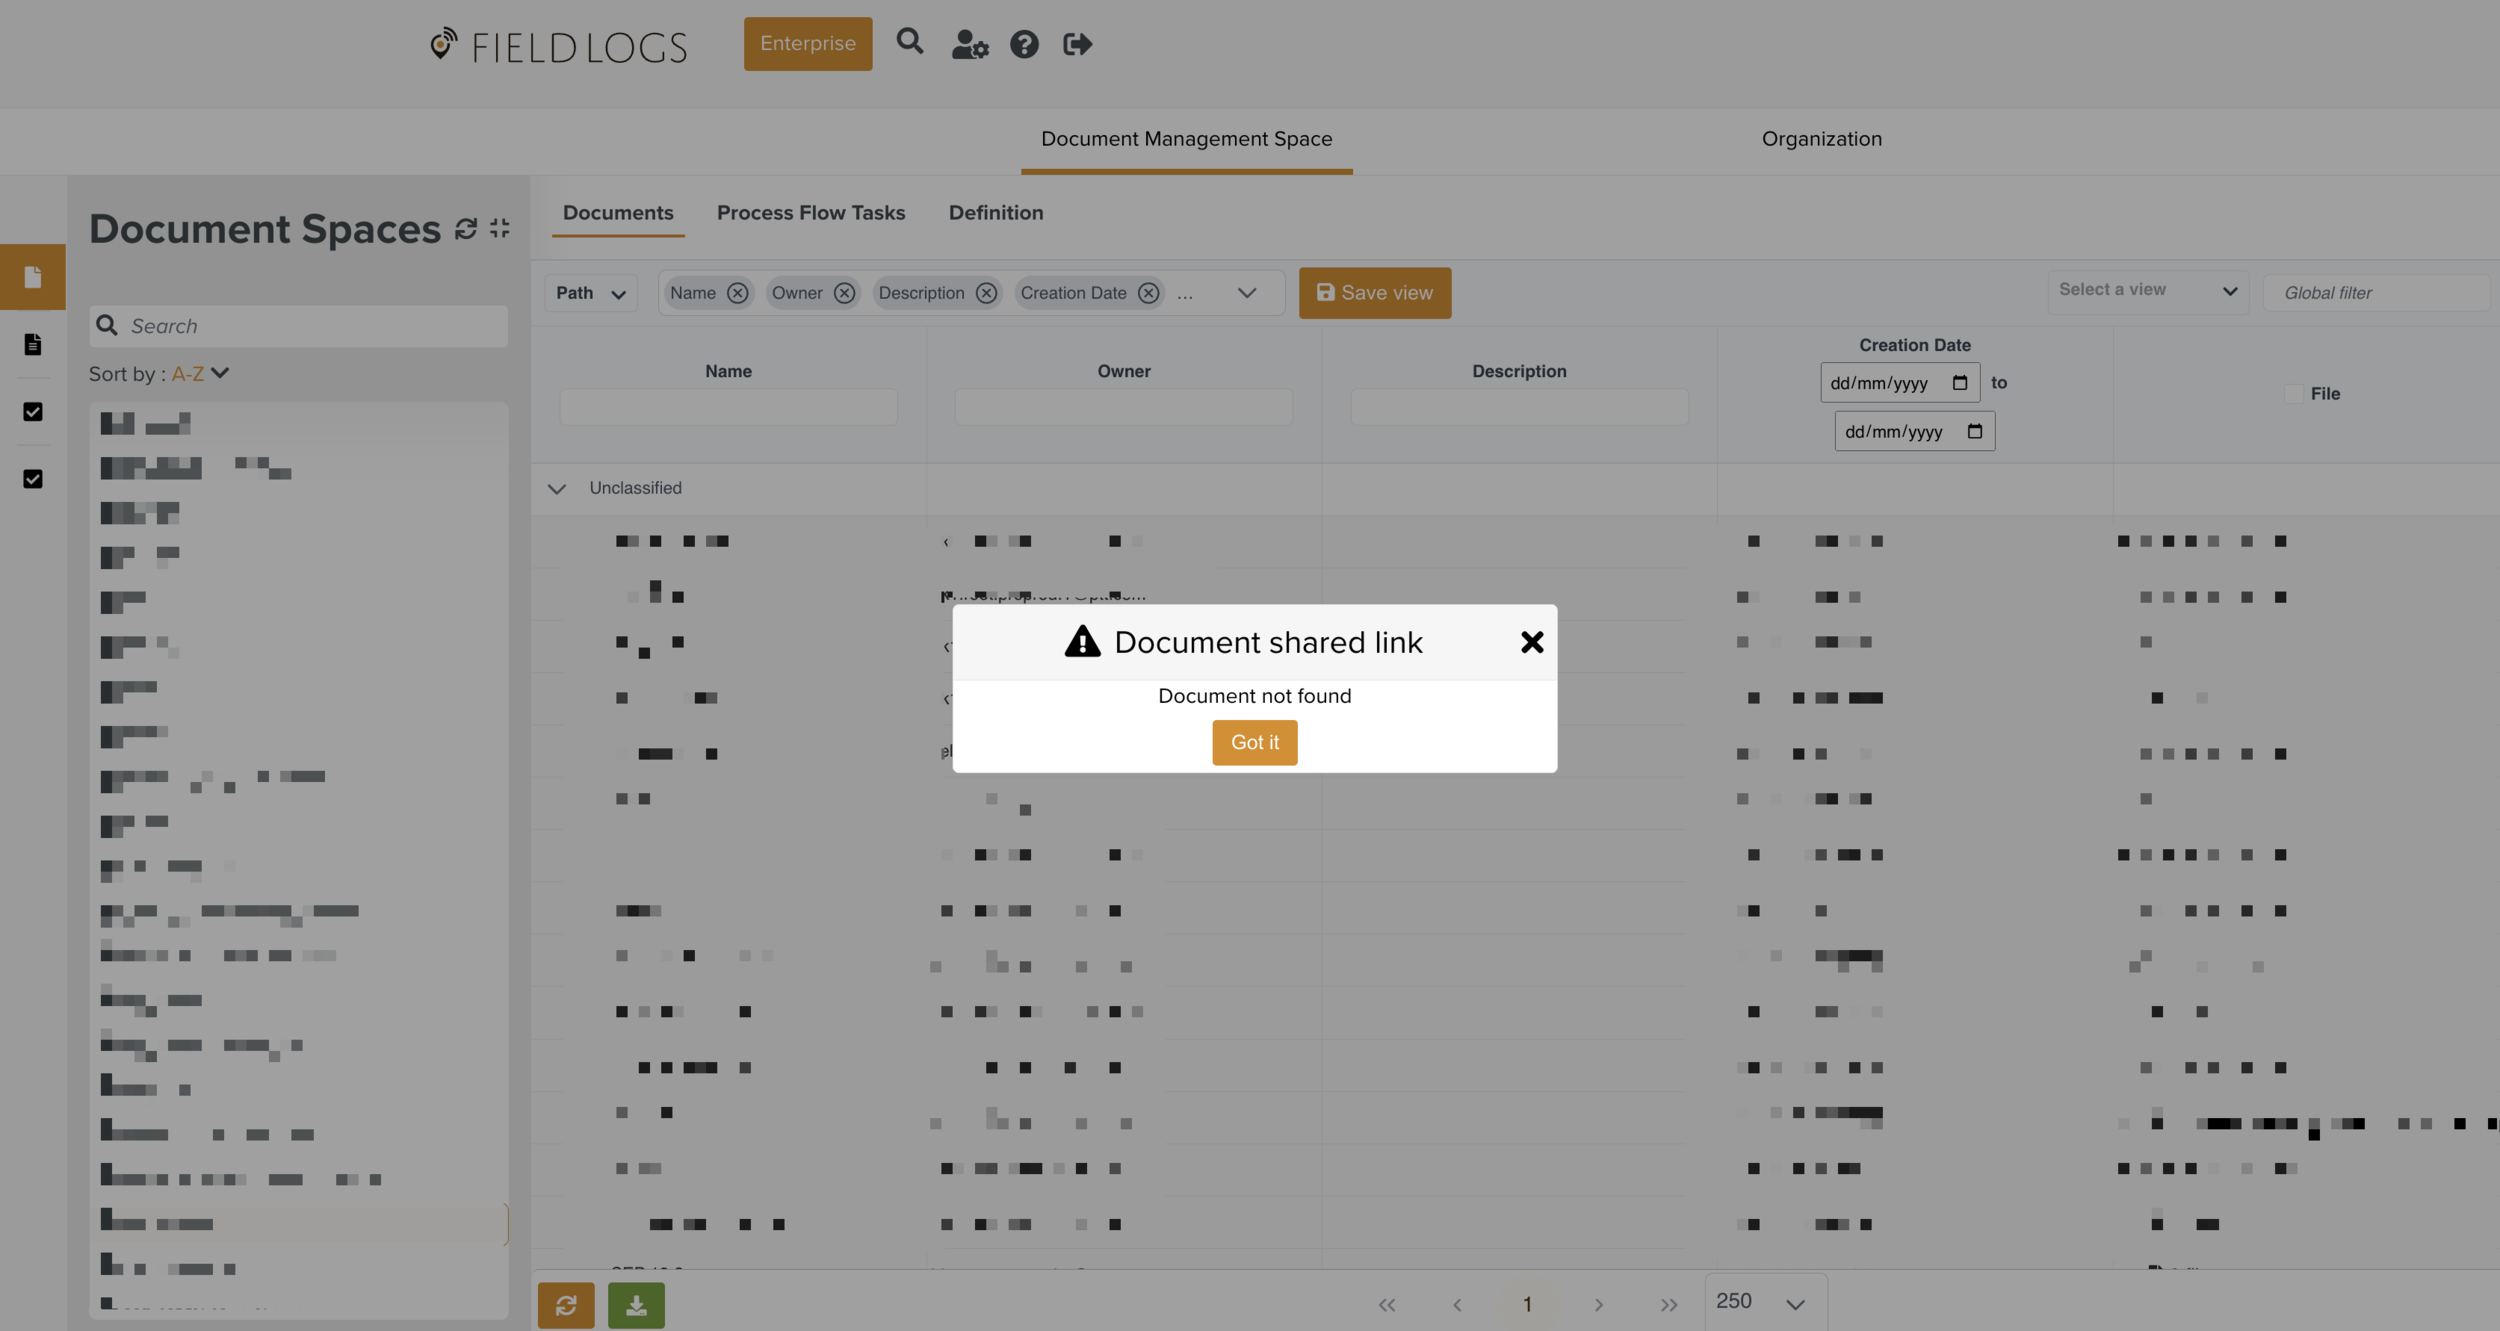
Note
If the Document is deleted, the shared link shows a Document not found error message.
 |
If the user has no access to DMS, then an Access denied popup will appear.
 |