Using Export/Import from the UI
In addition to Templates, the following features can be Imported/Exported from the UI.
Note
When you Export data from the source environment and Import it to the target environment, you need to verify that all the data in the source environment has existed in the target environment. If not it throws a Validation error. It is for all the features mentioned below.
To Export/Import Module Libraries:
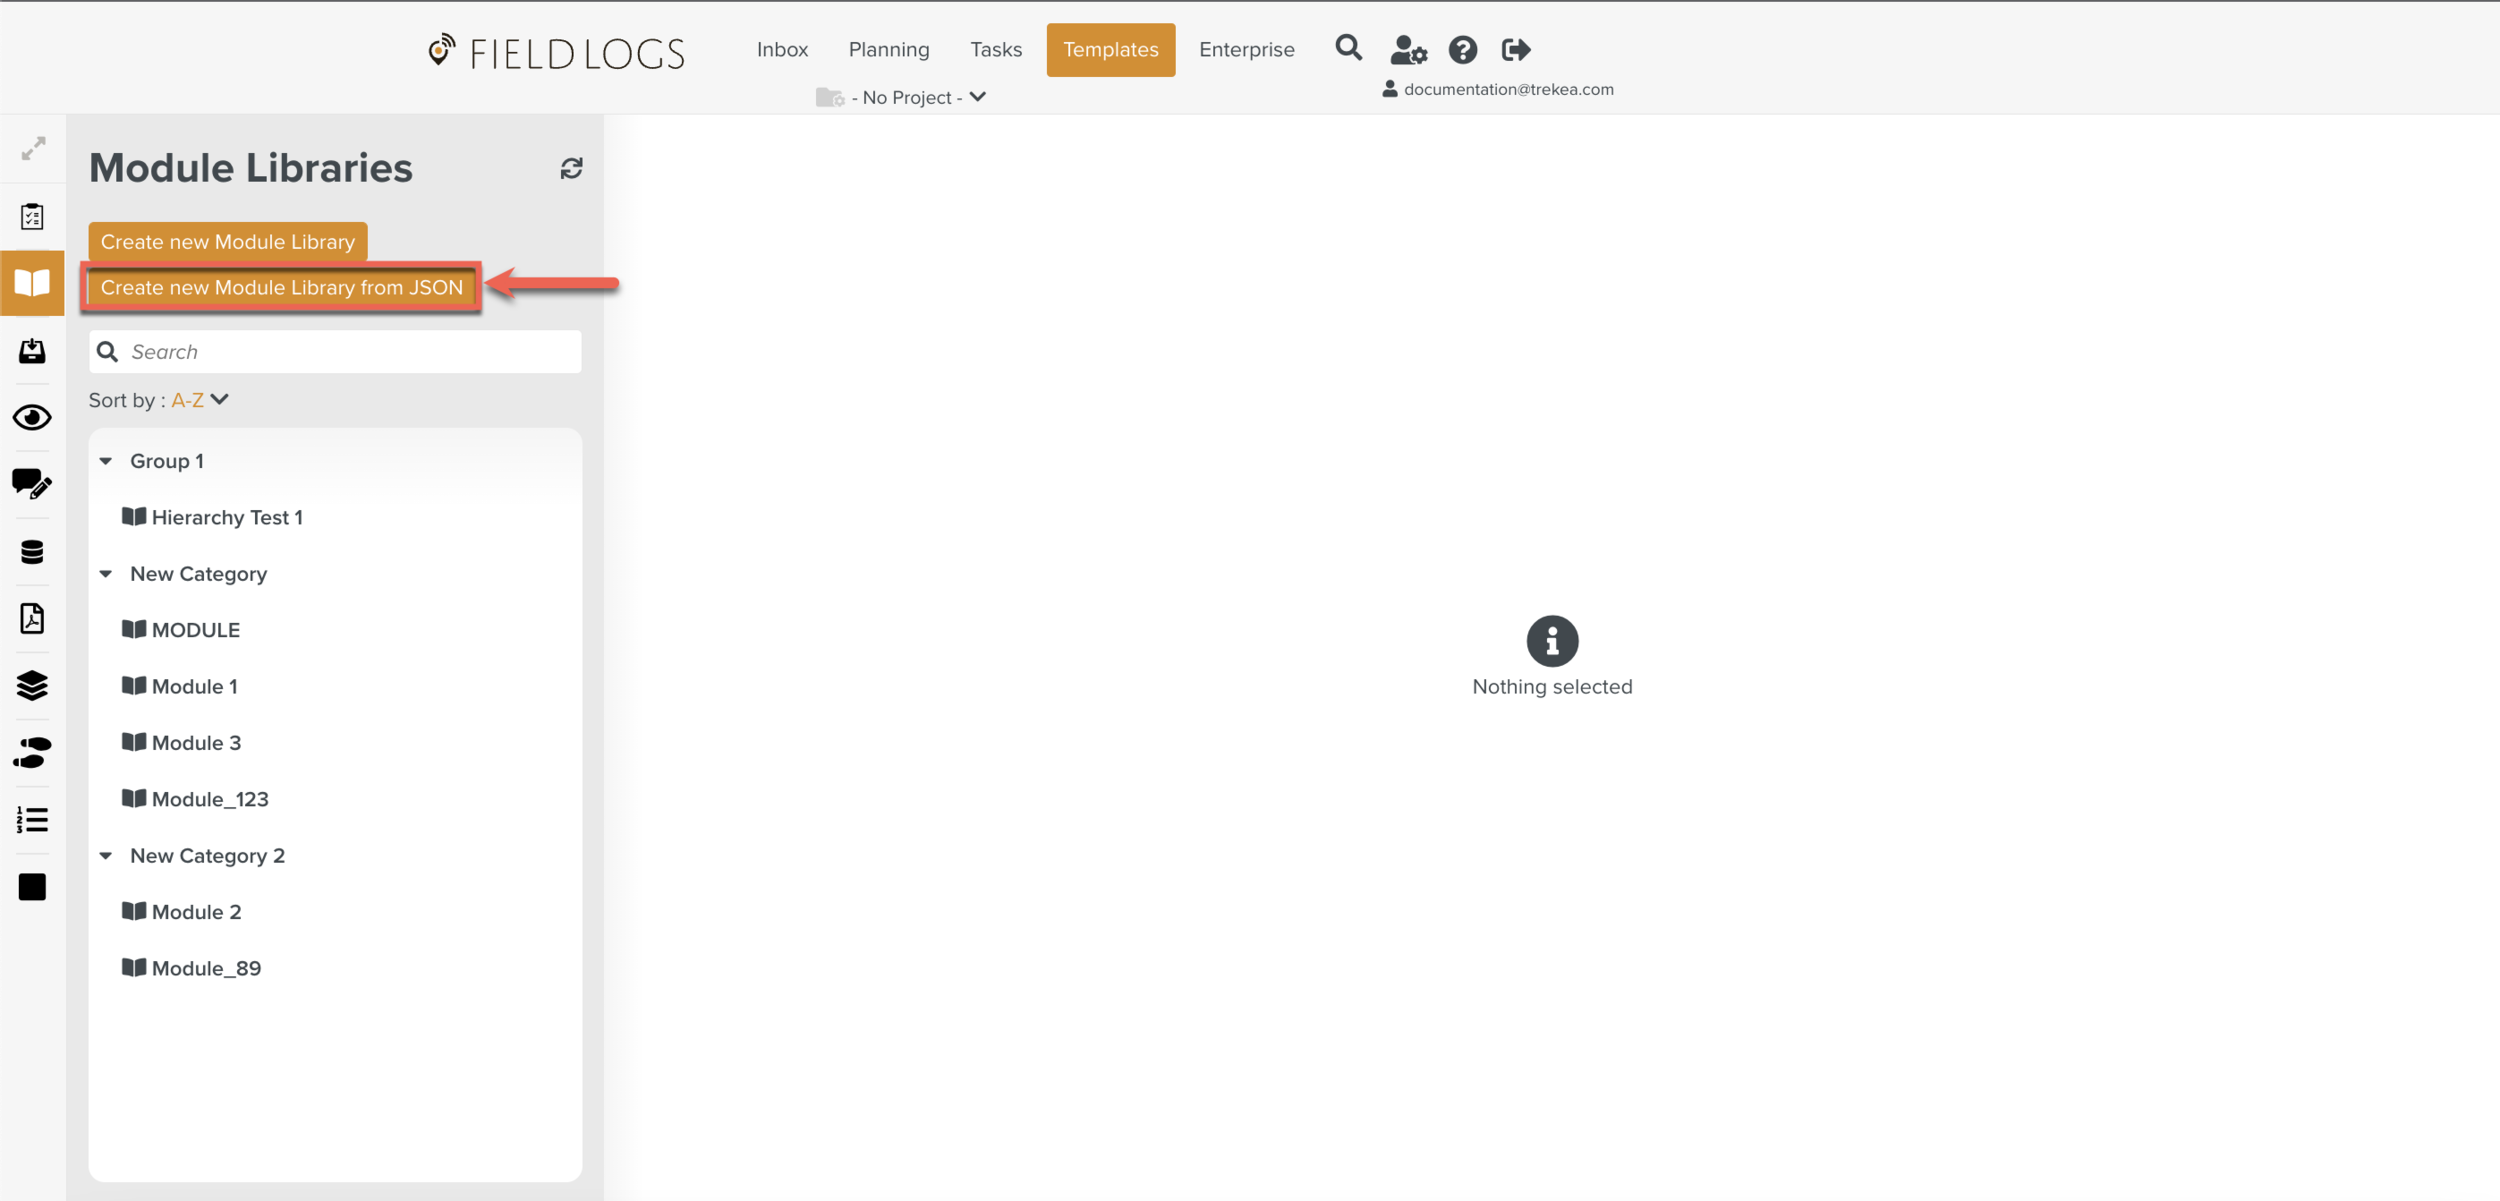
On the main menu, go to Templates > Module Libraries.
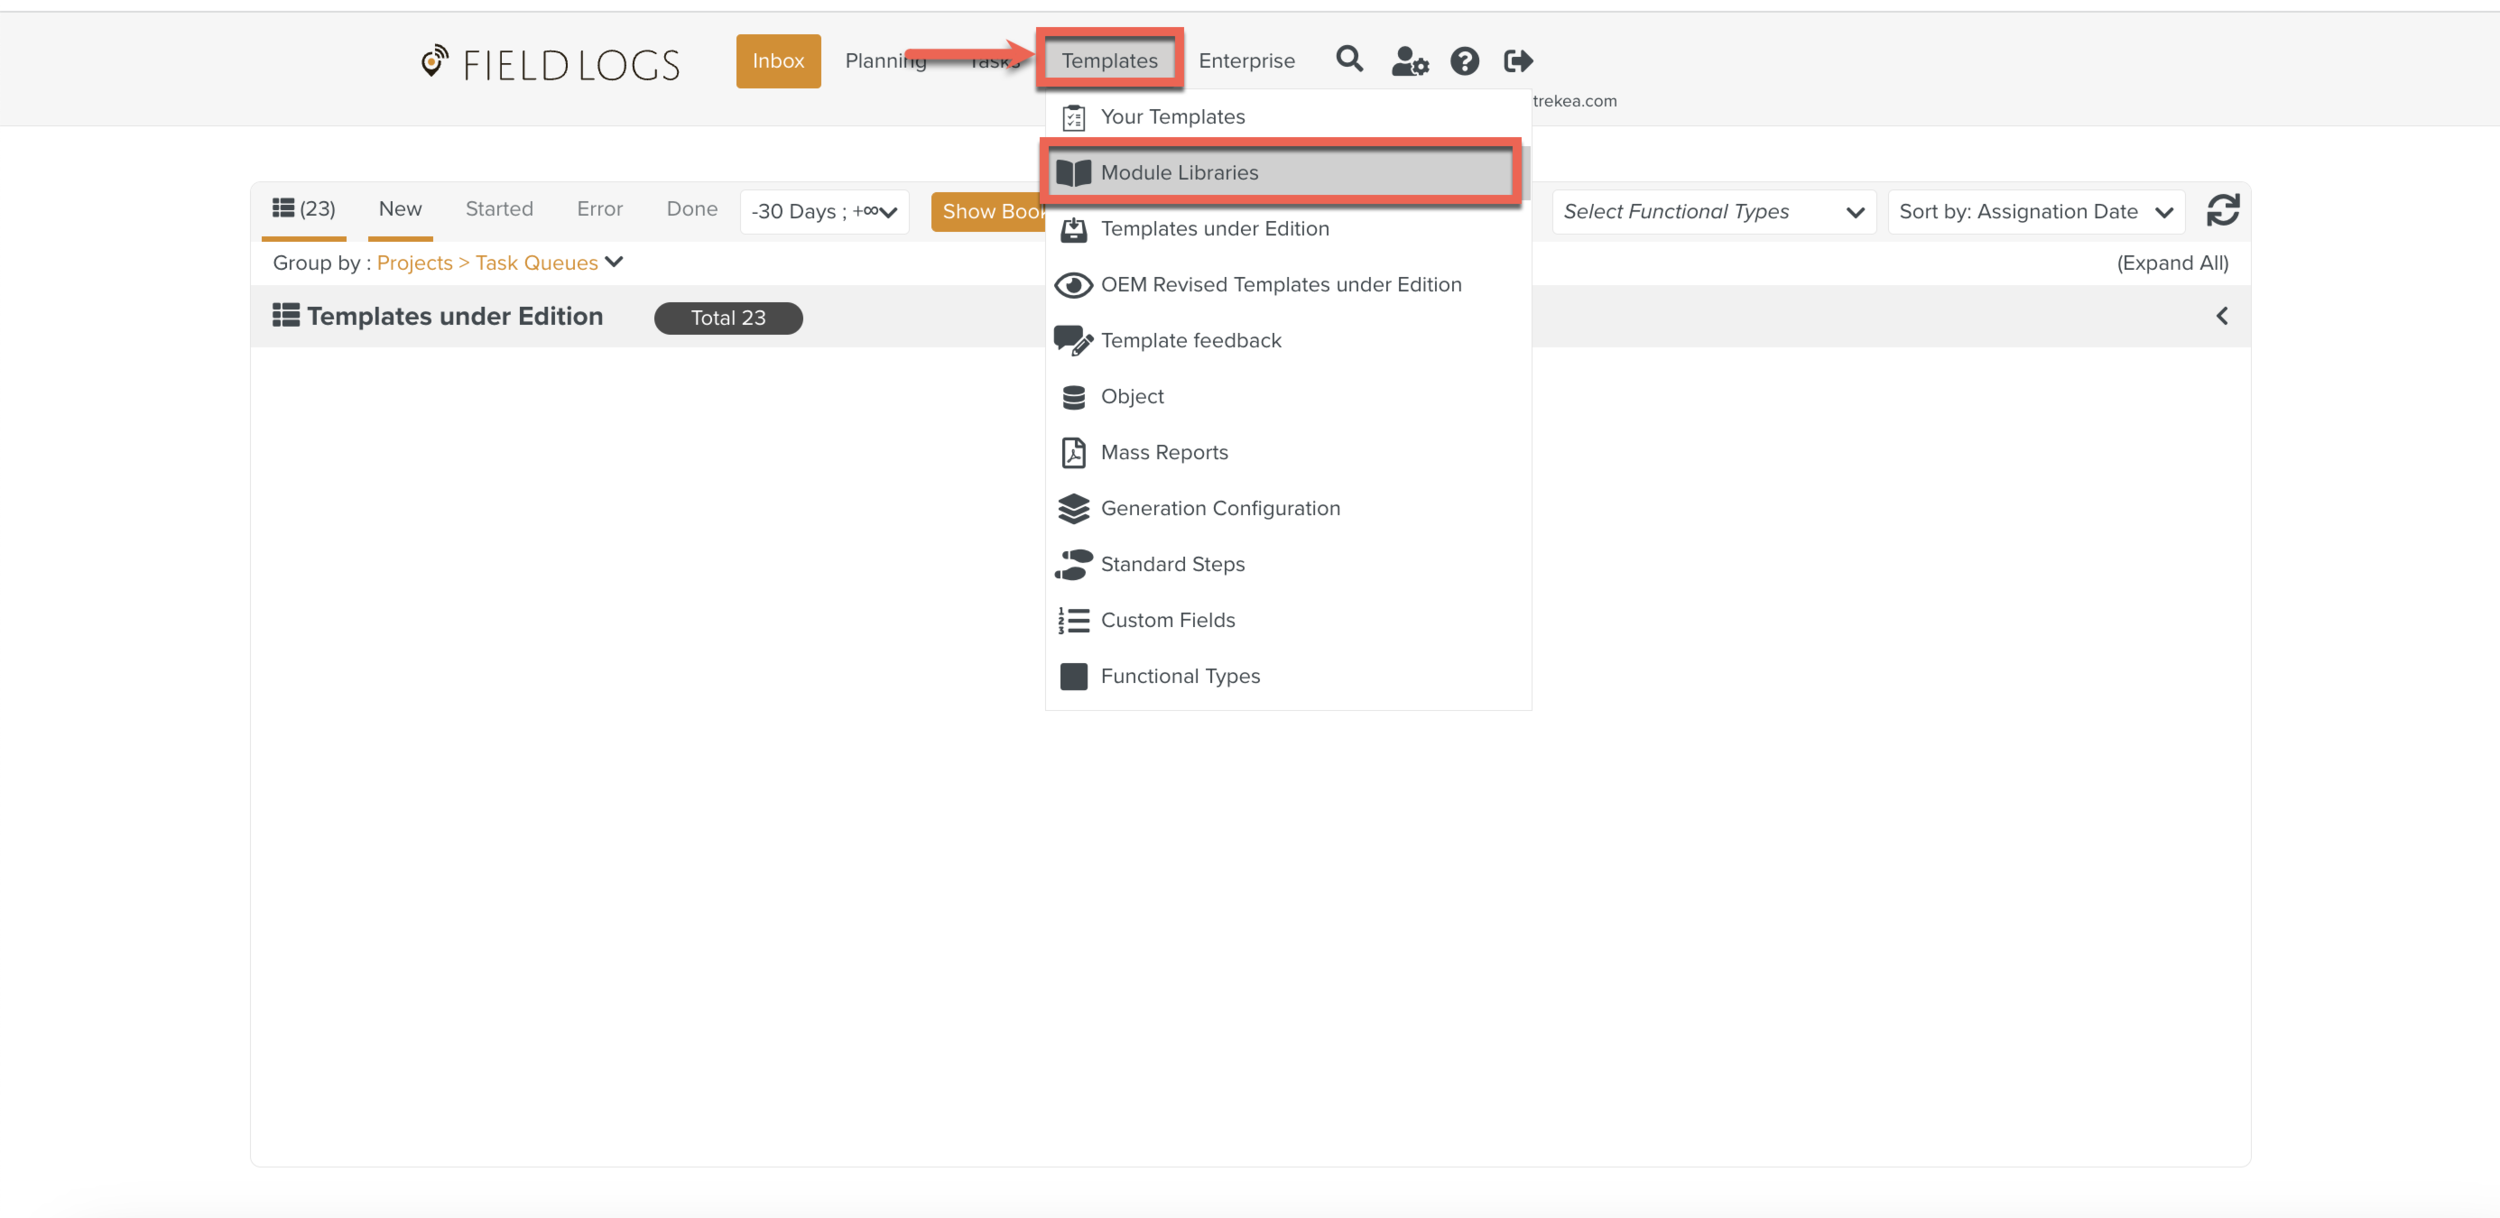
The Module Library page appears.
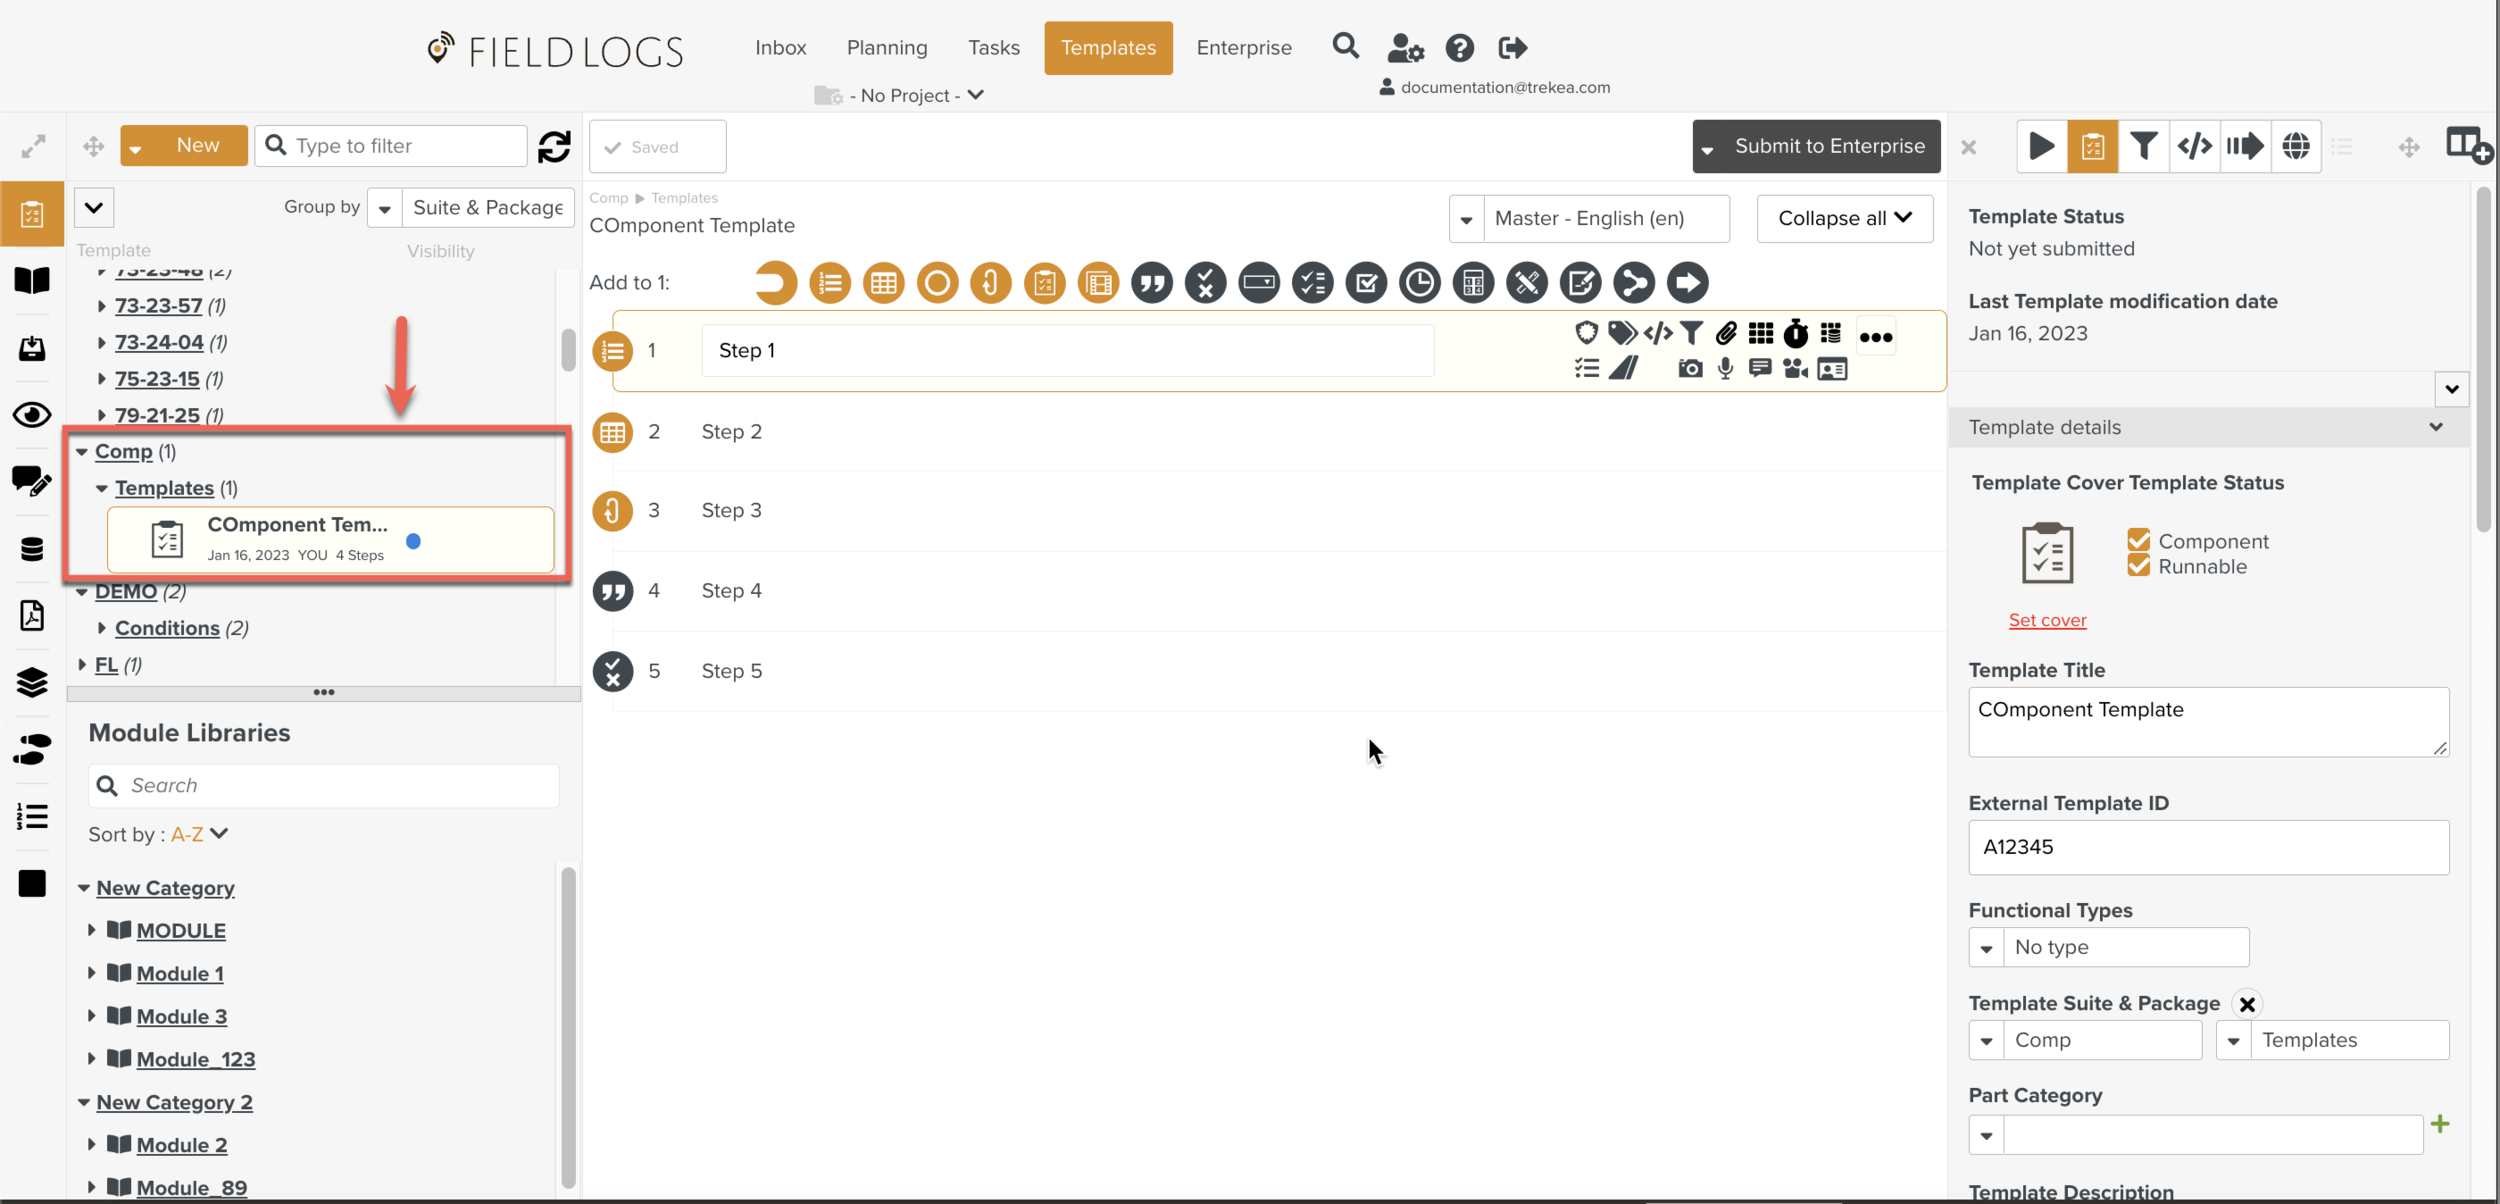
Select a Module from the list as shown below.
Click .

Click .
Click .
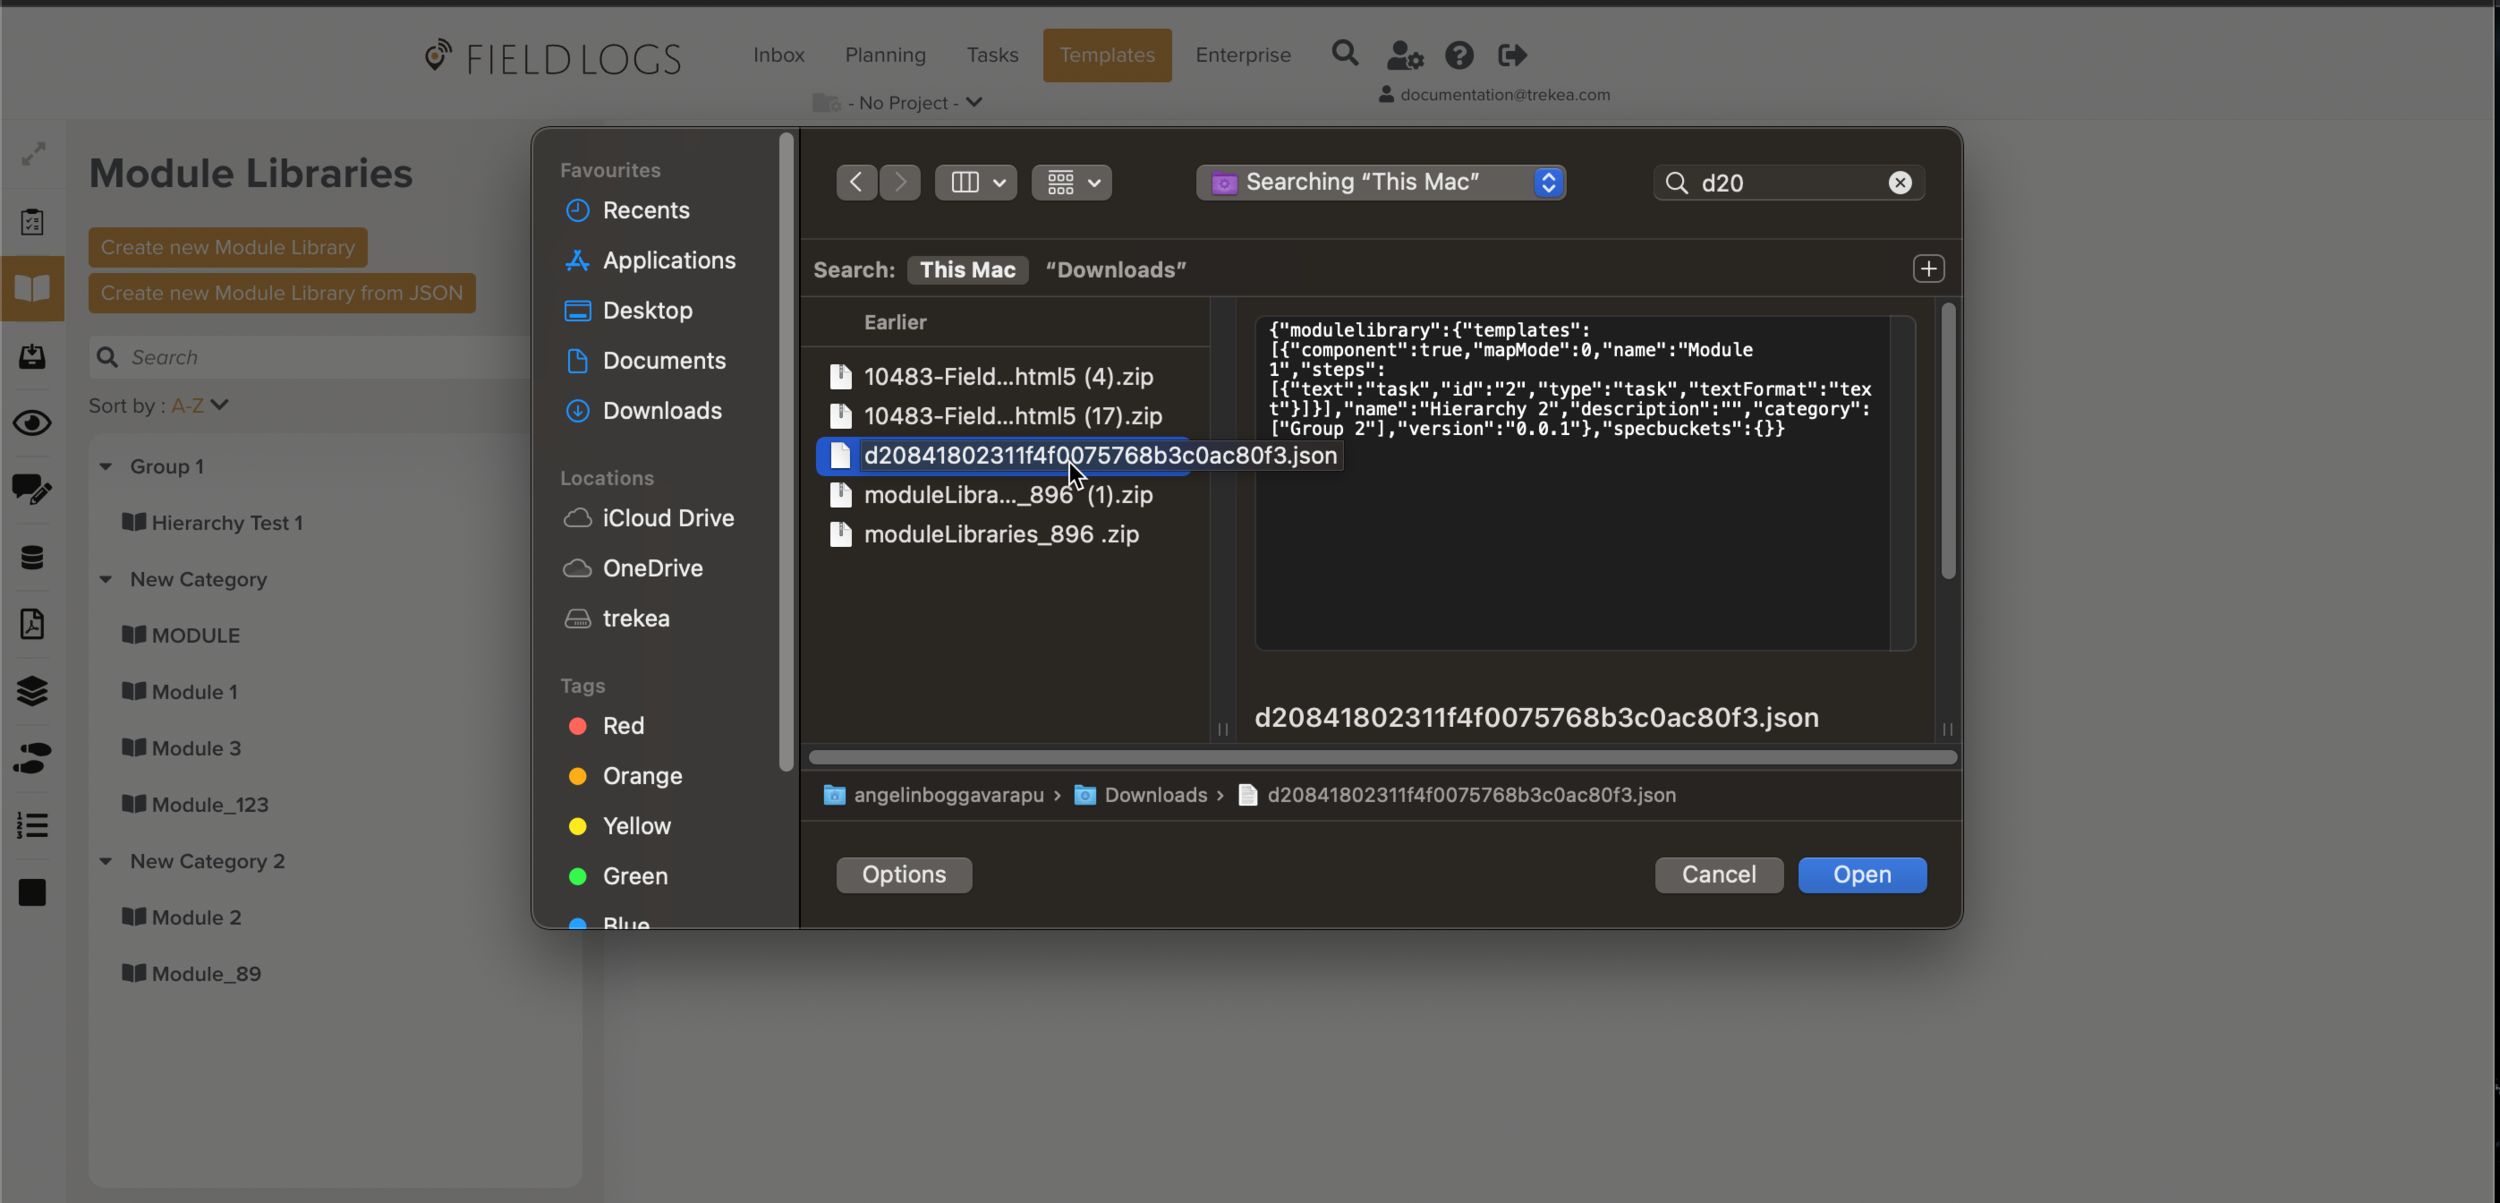
The Module Library JSON file is downloaded as .zip.
Go to the Target environment, and click .
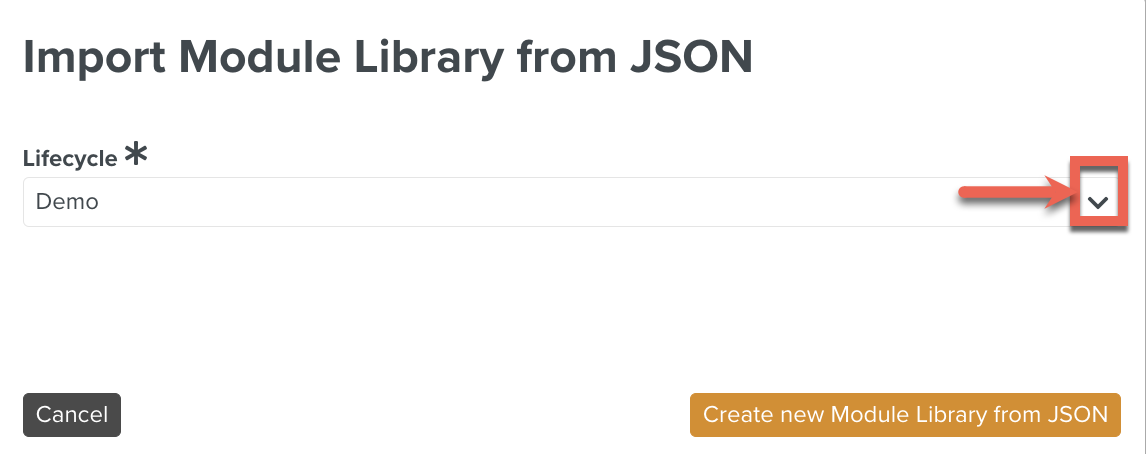
[Mandatory] Click the dropdown to open the list of options.
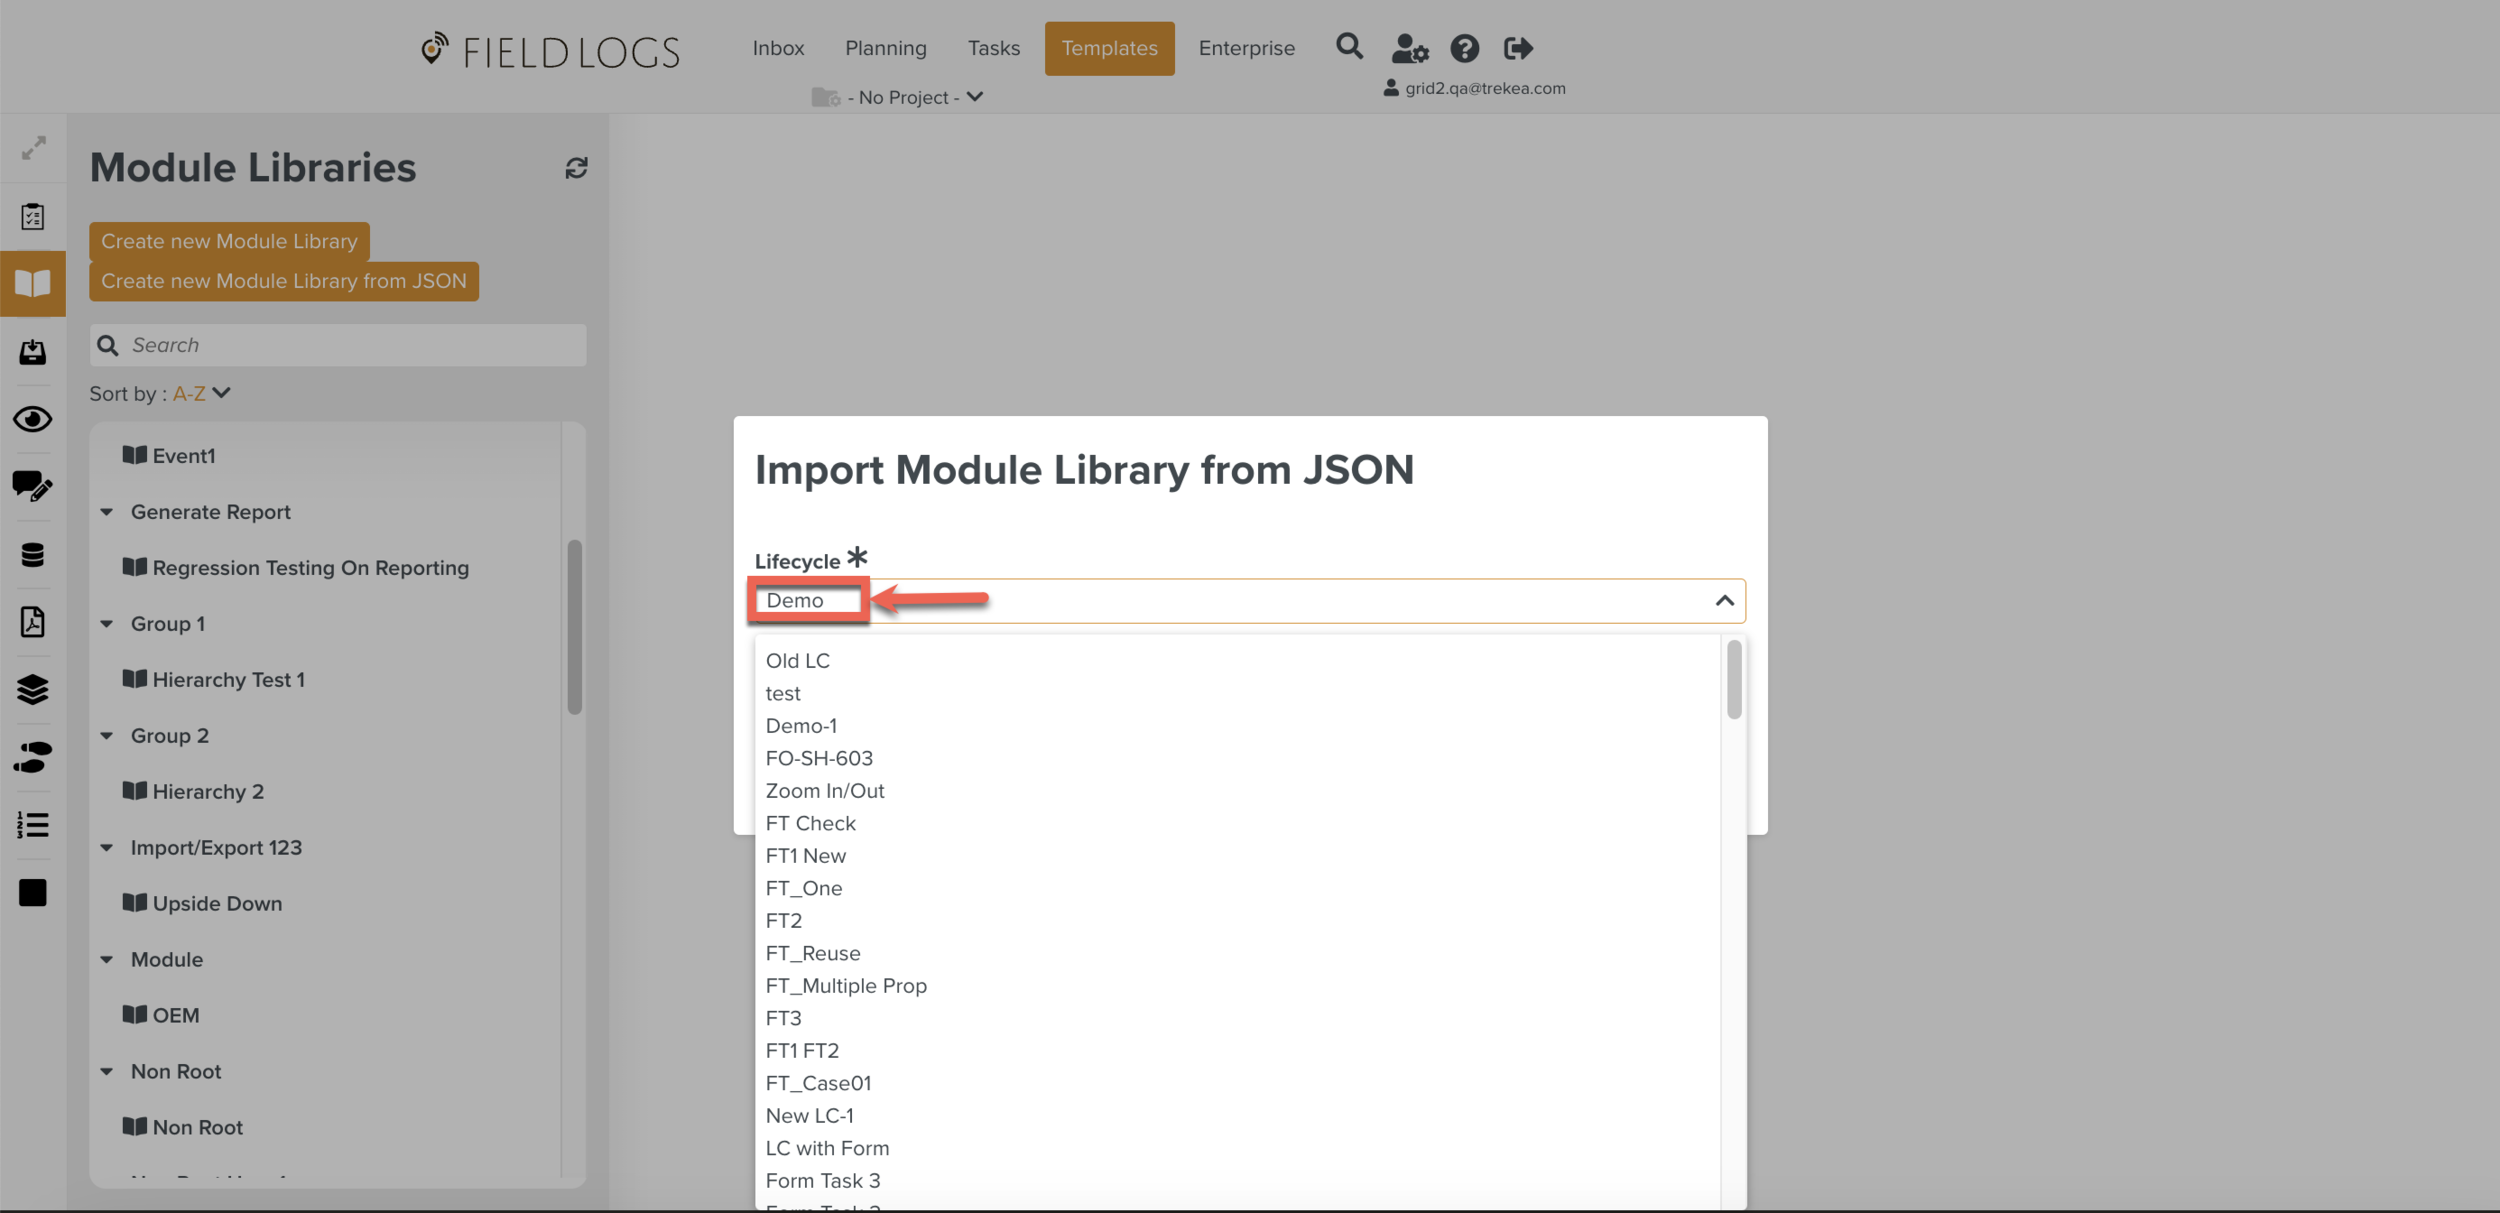
Select a Lifecycle from the list, and click as shown below.
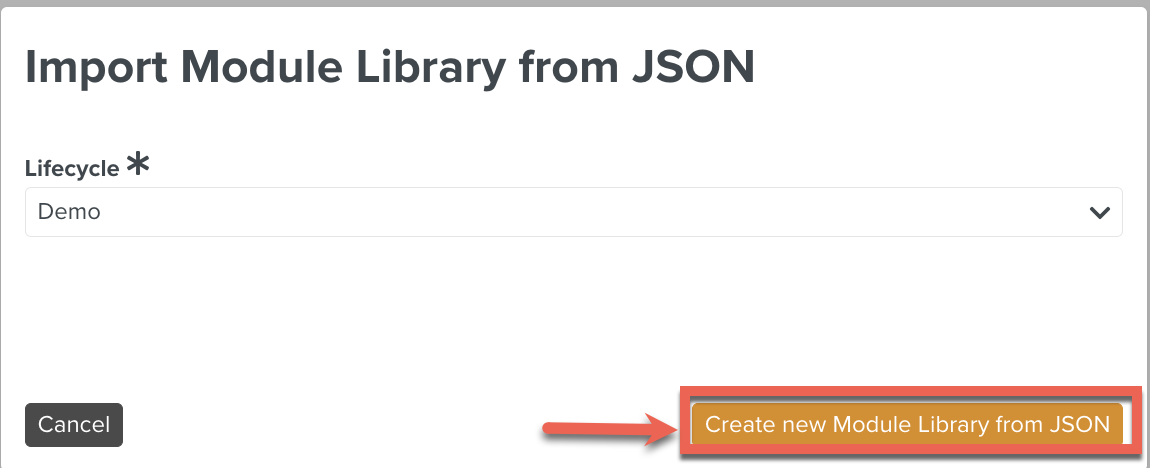
Select the unzipped Module Library JSON file to Import.
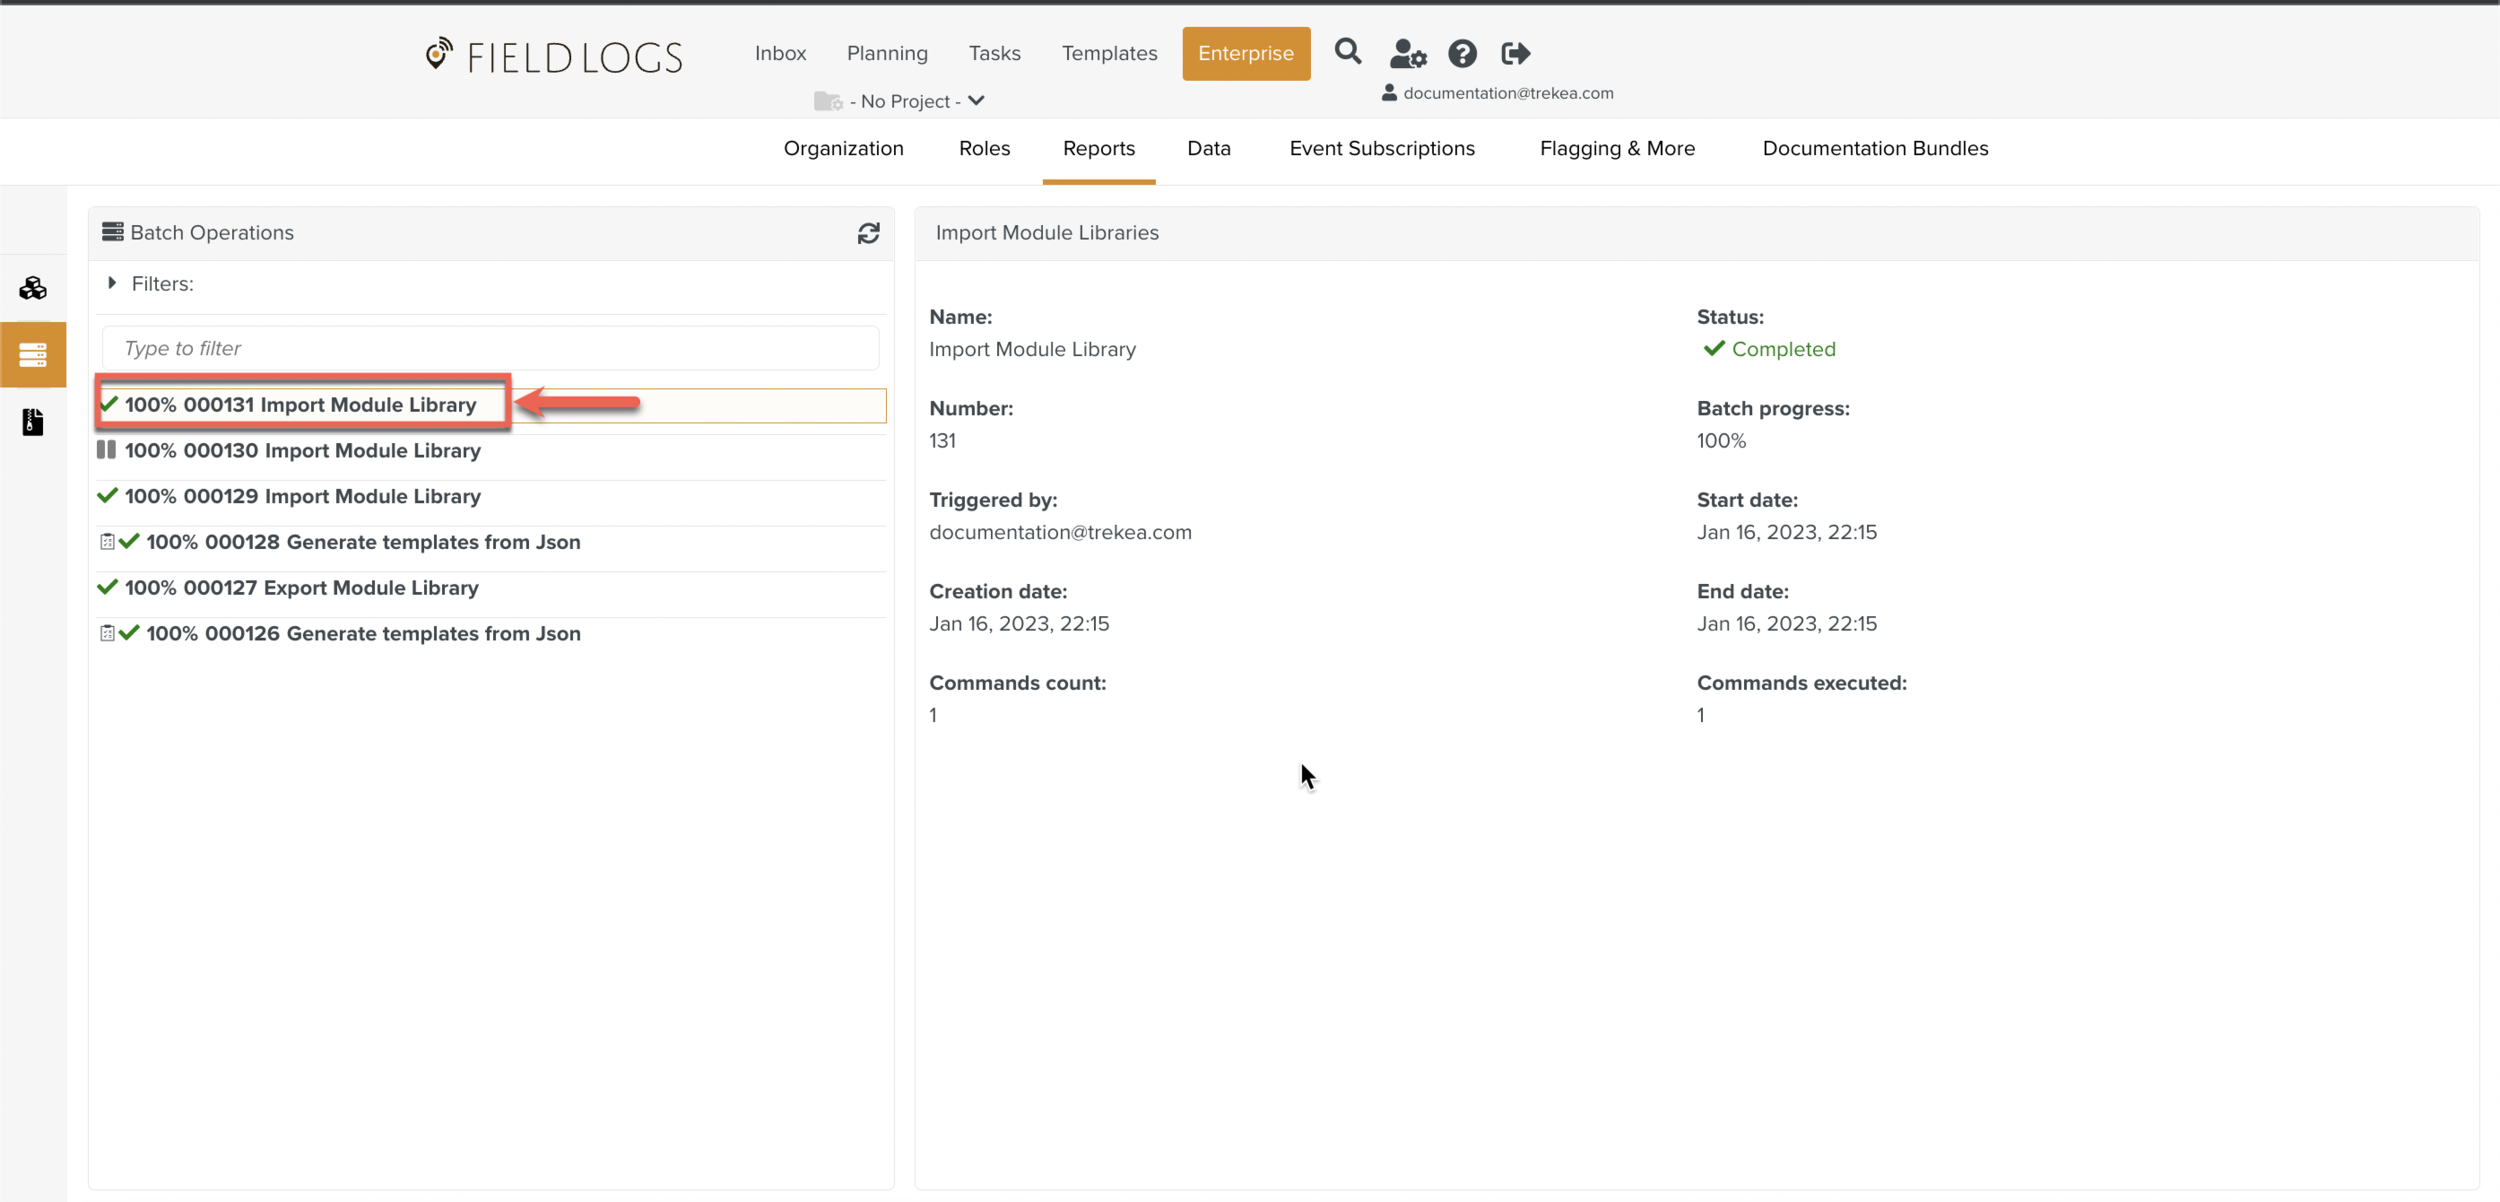
The Module Library JSON file is Imported.
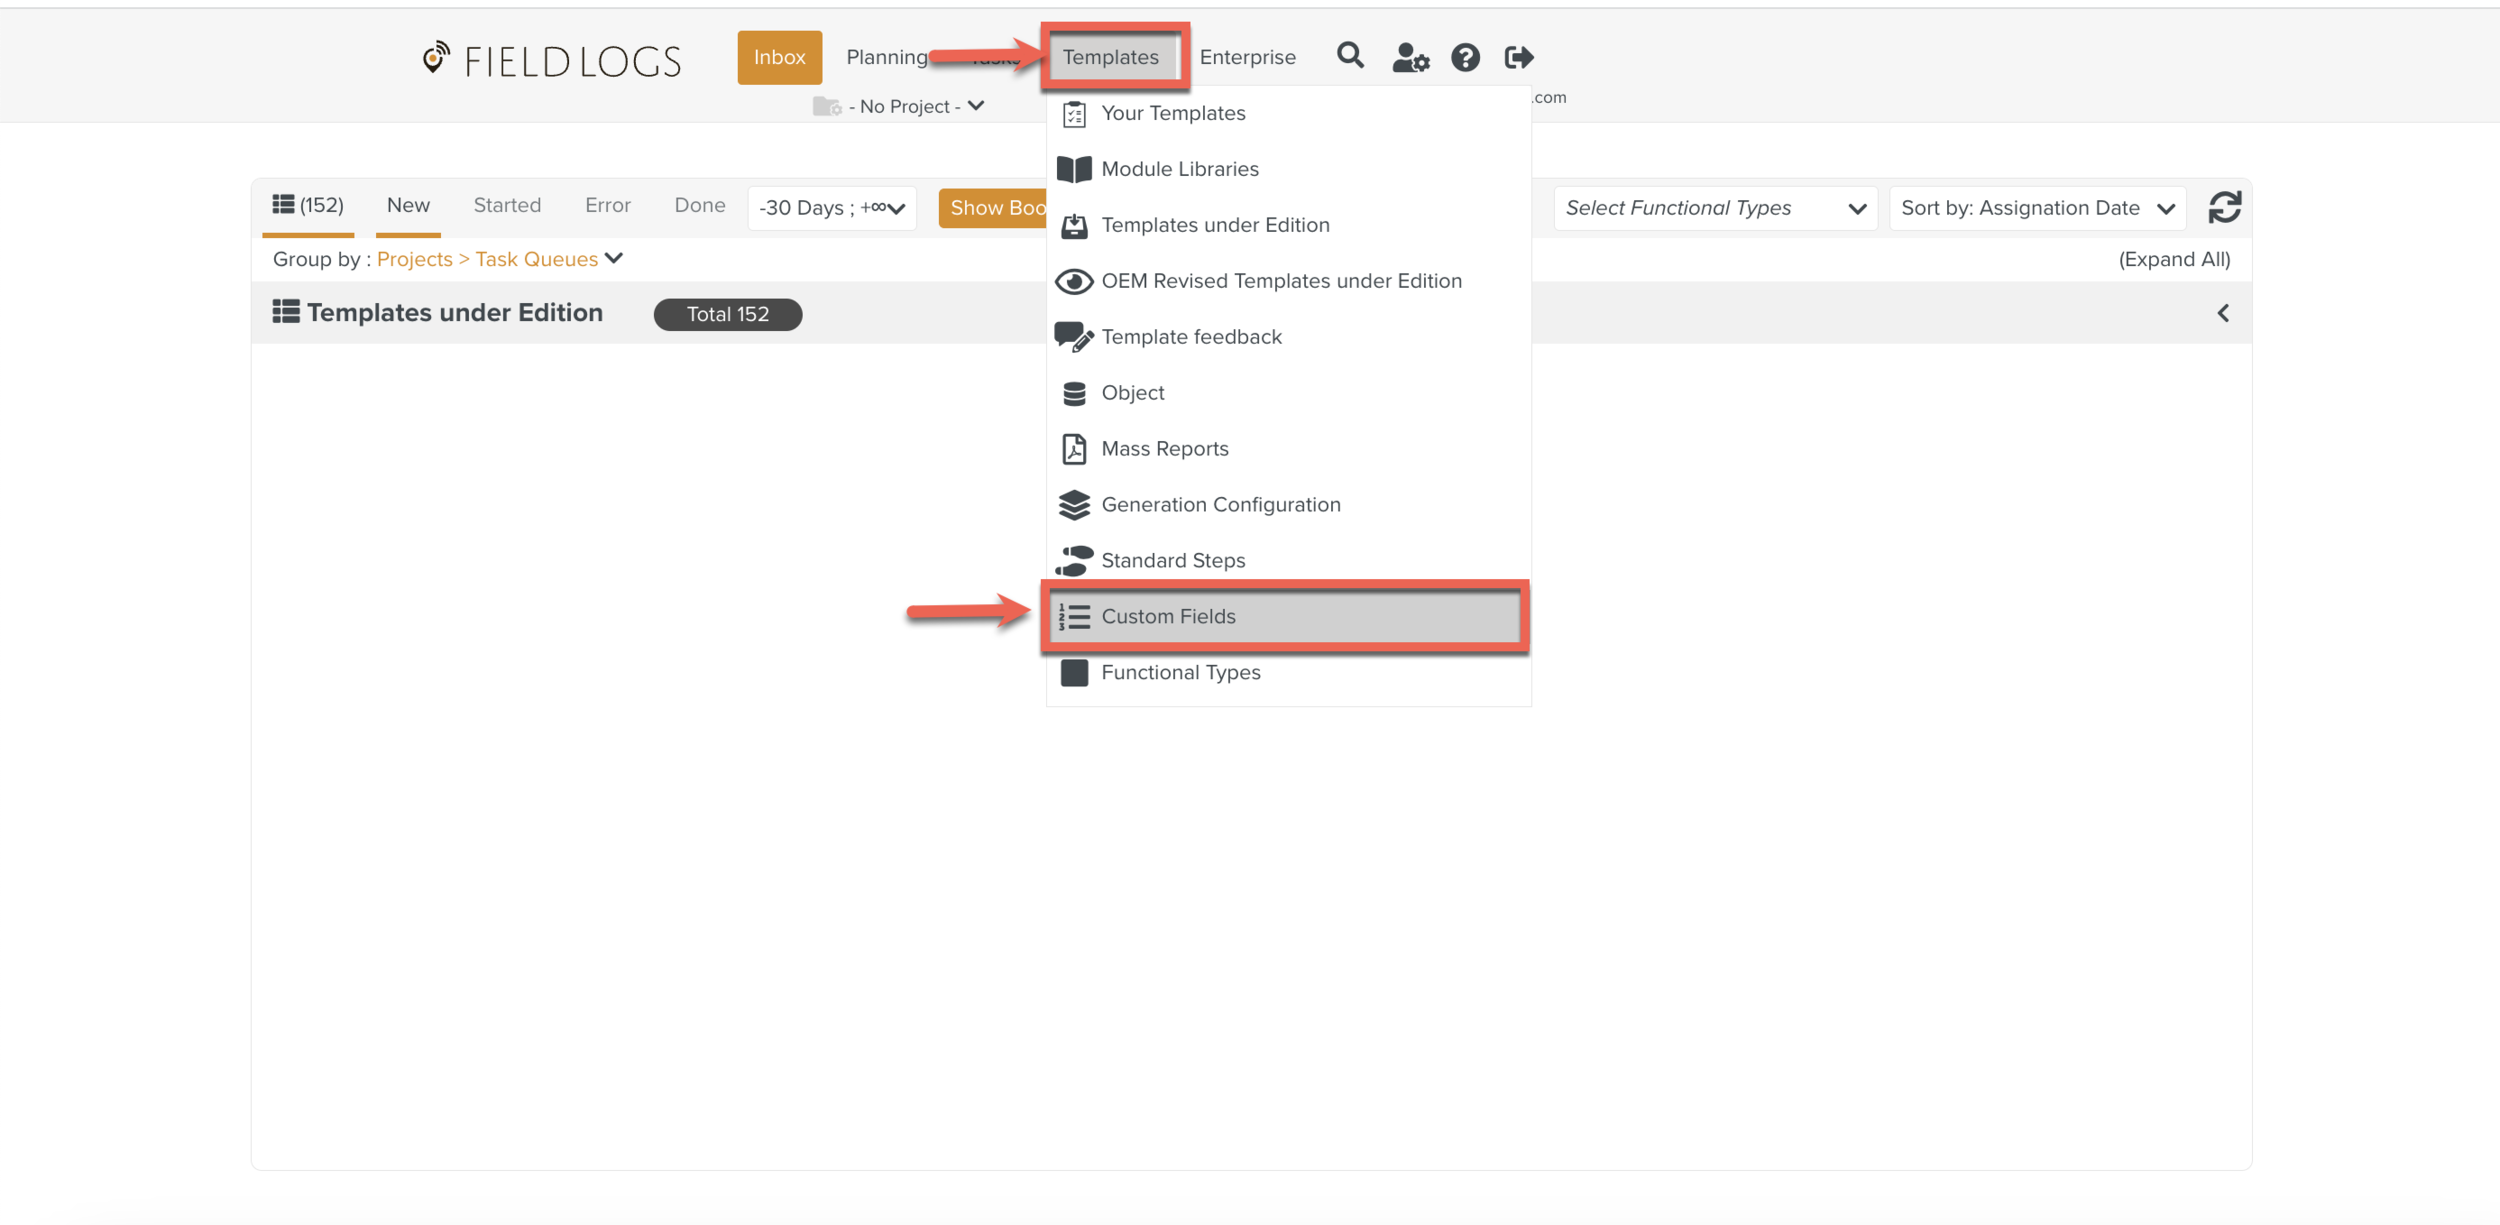
To Export/Import Custom Fields:
On the main menu, go to Templates > Custom Fields.

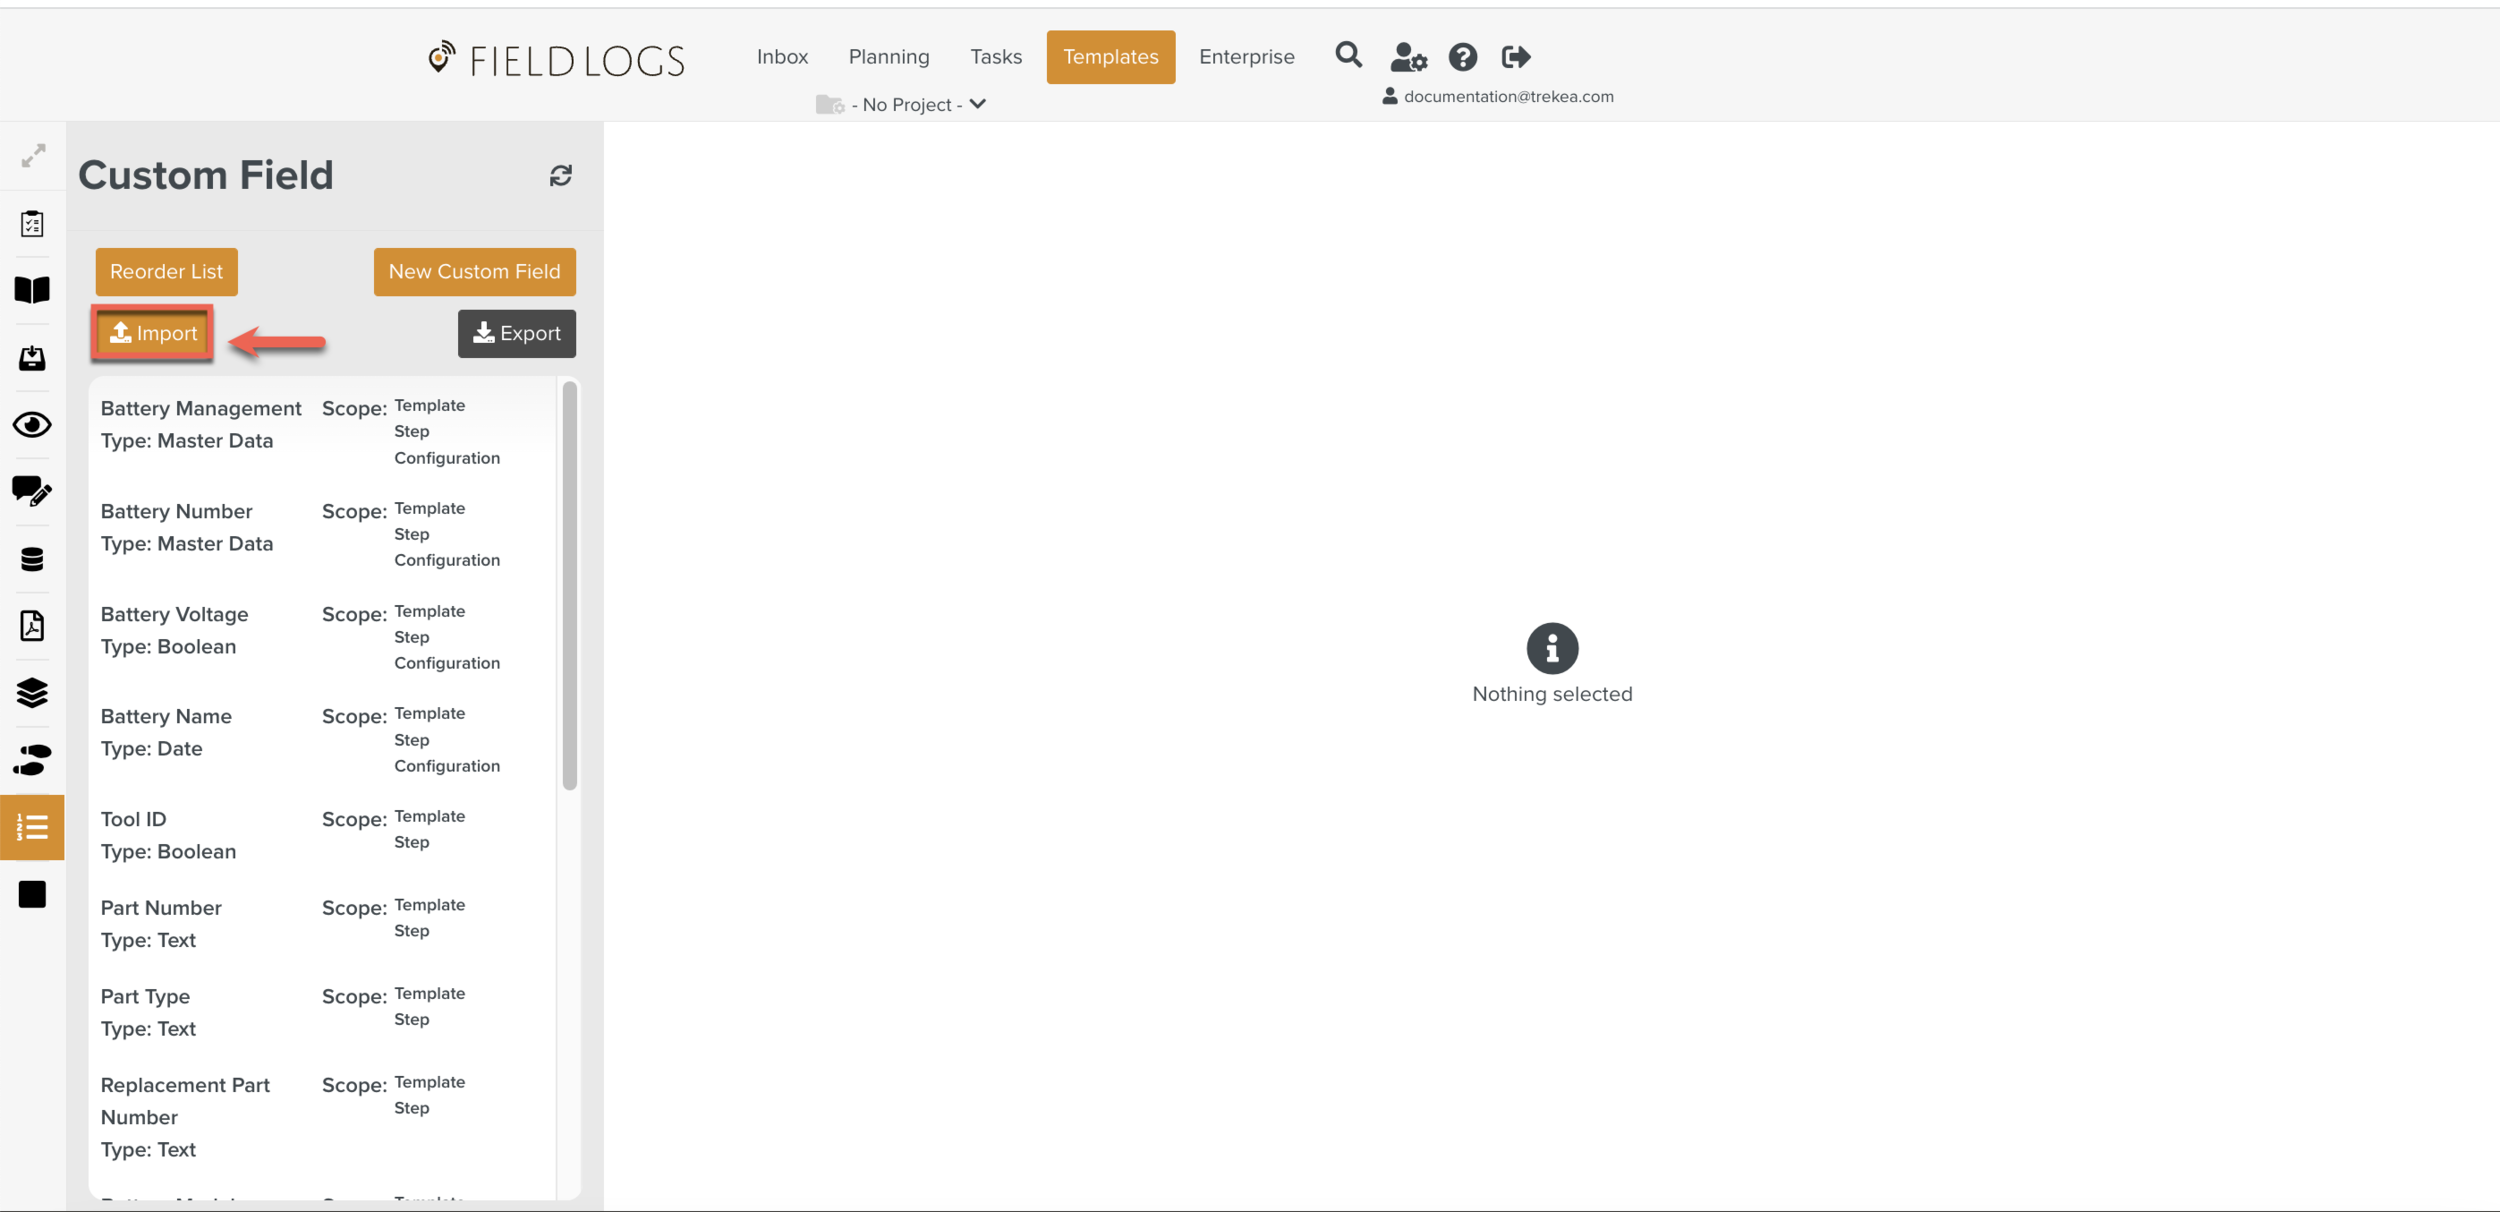
The page Custom Field appears.
Select a Custom Field from the list, and click .
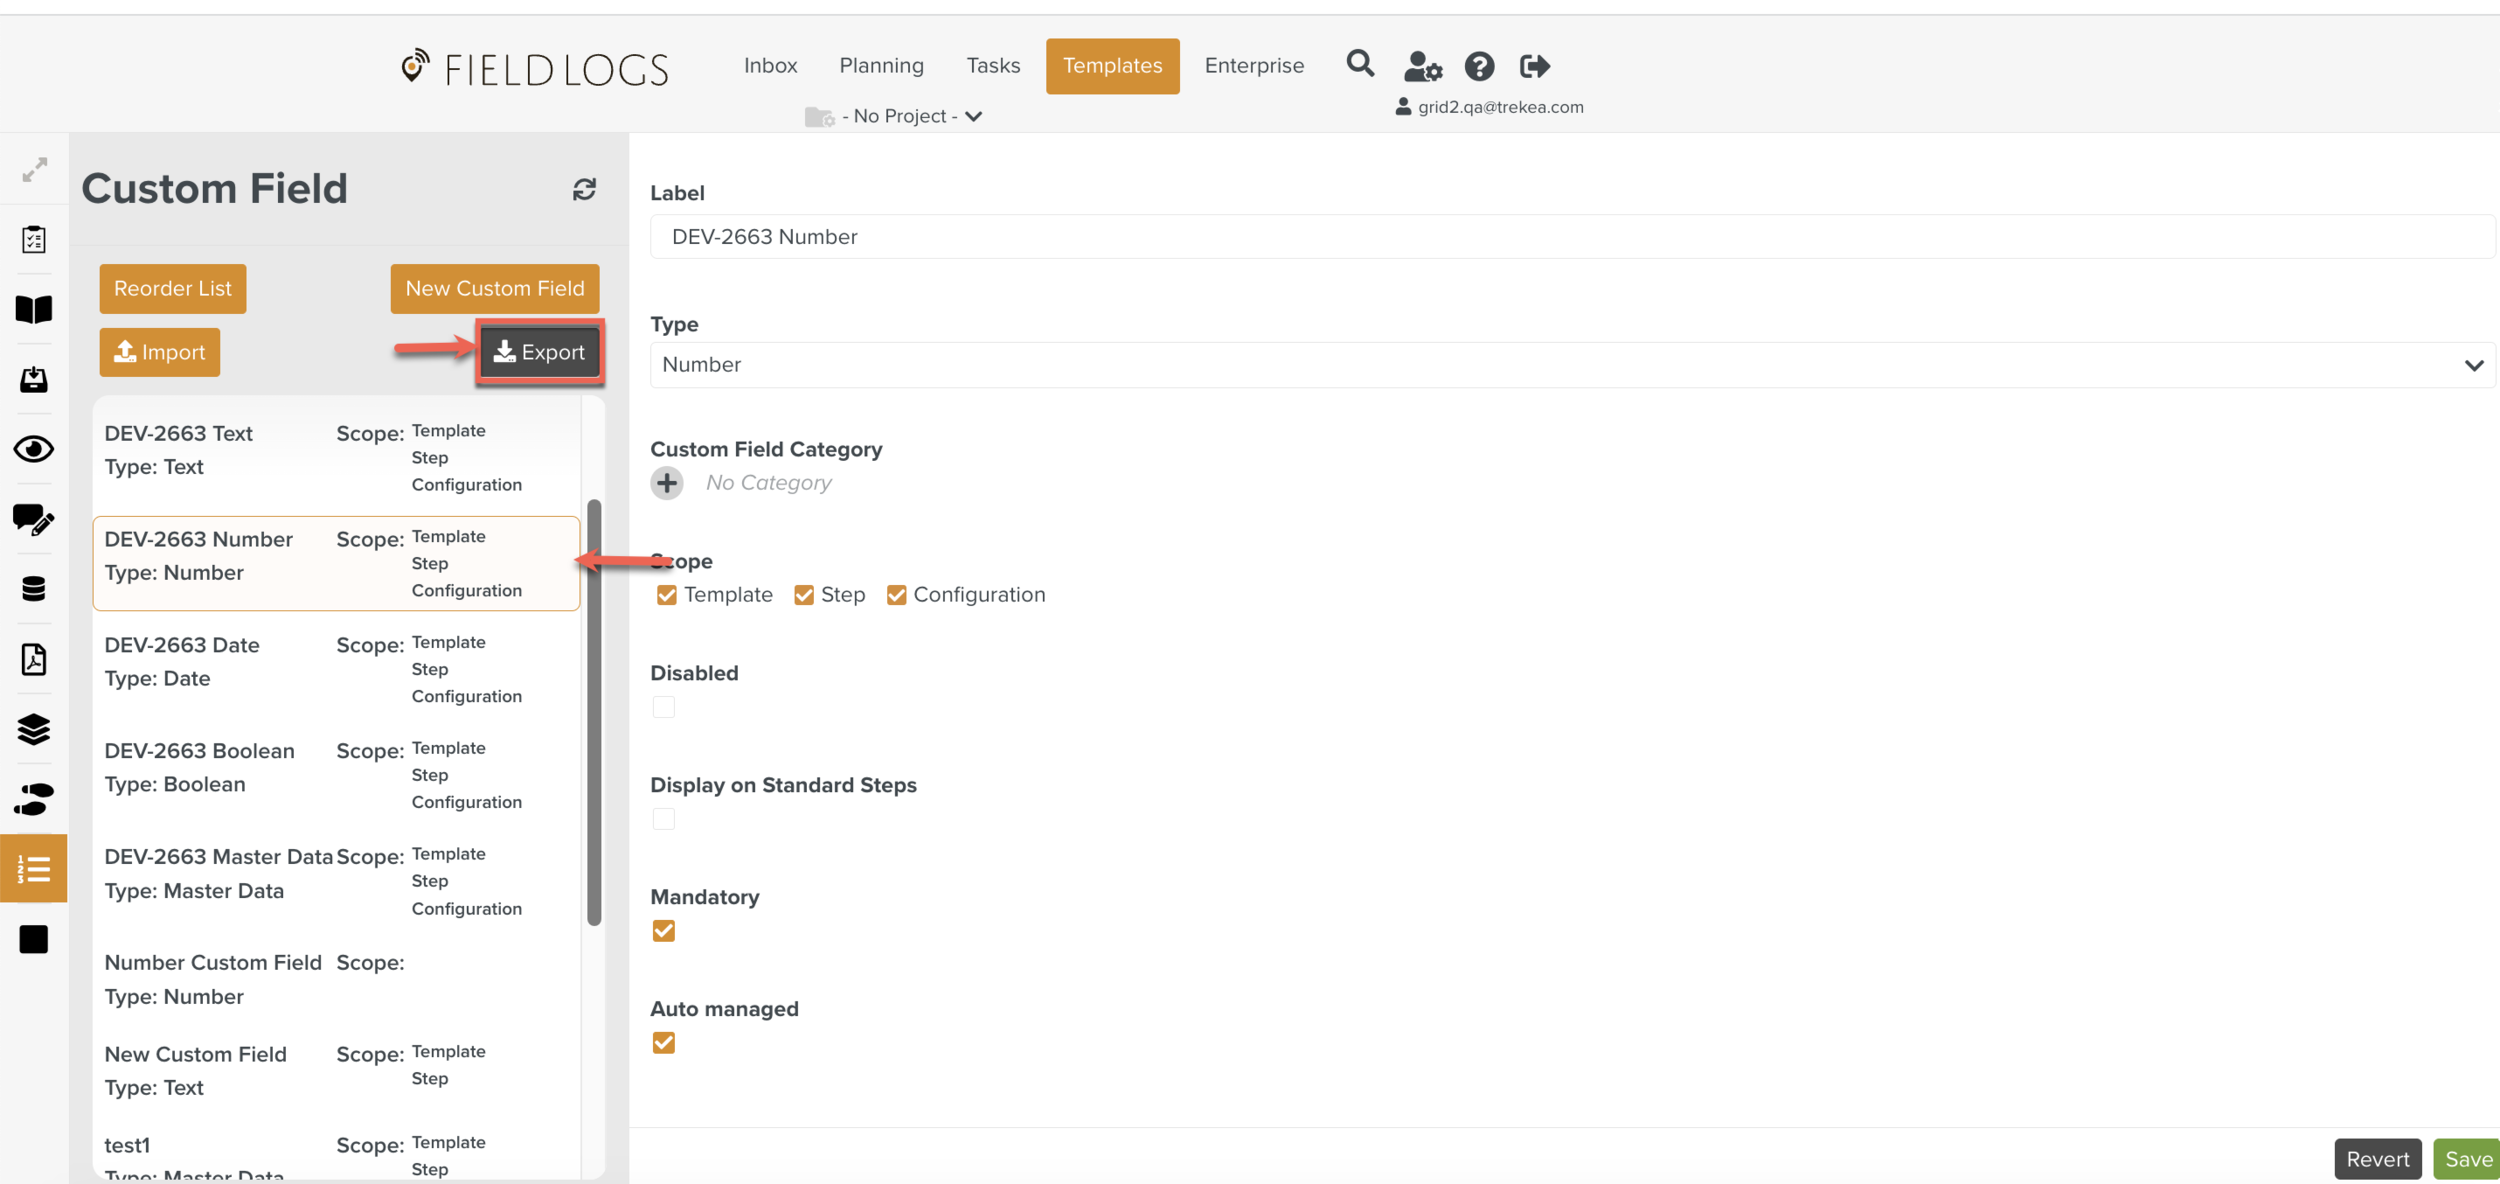
Click .

Click .
Click .
The Custom Field JSON file is downloaded as .zip file.
Go to Target environment, Templates > Custom Fields.
Click .
Select the .zip file to Import.
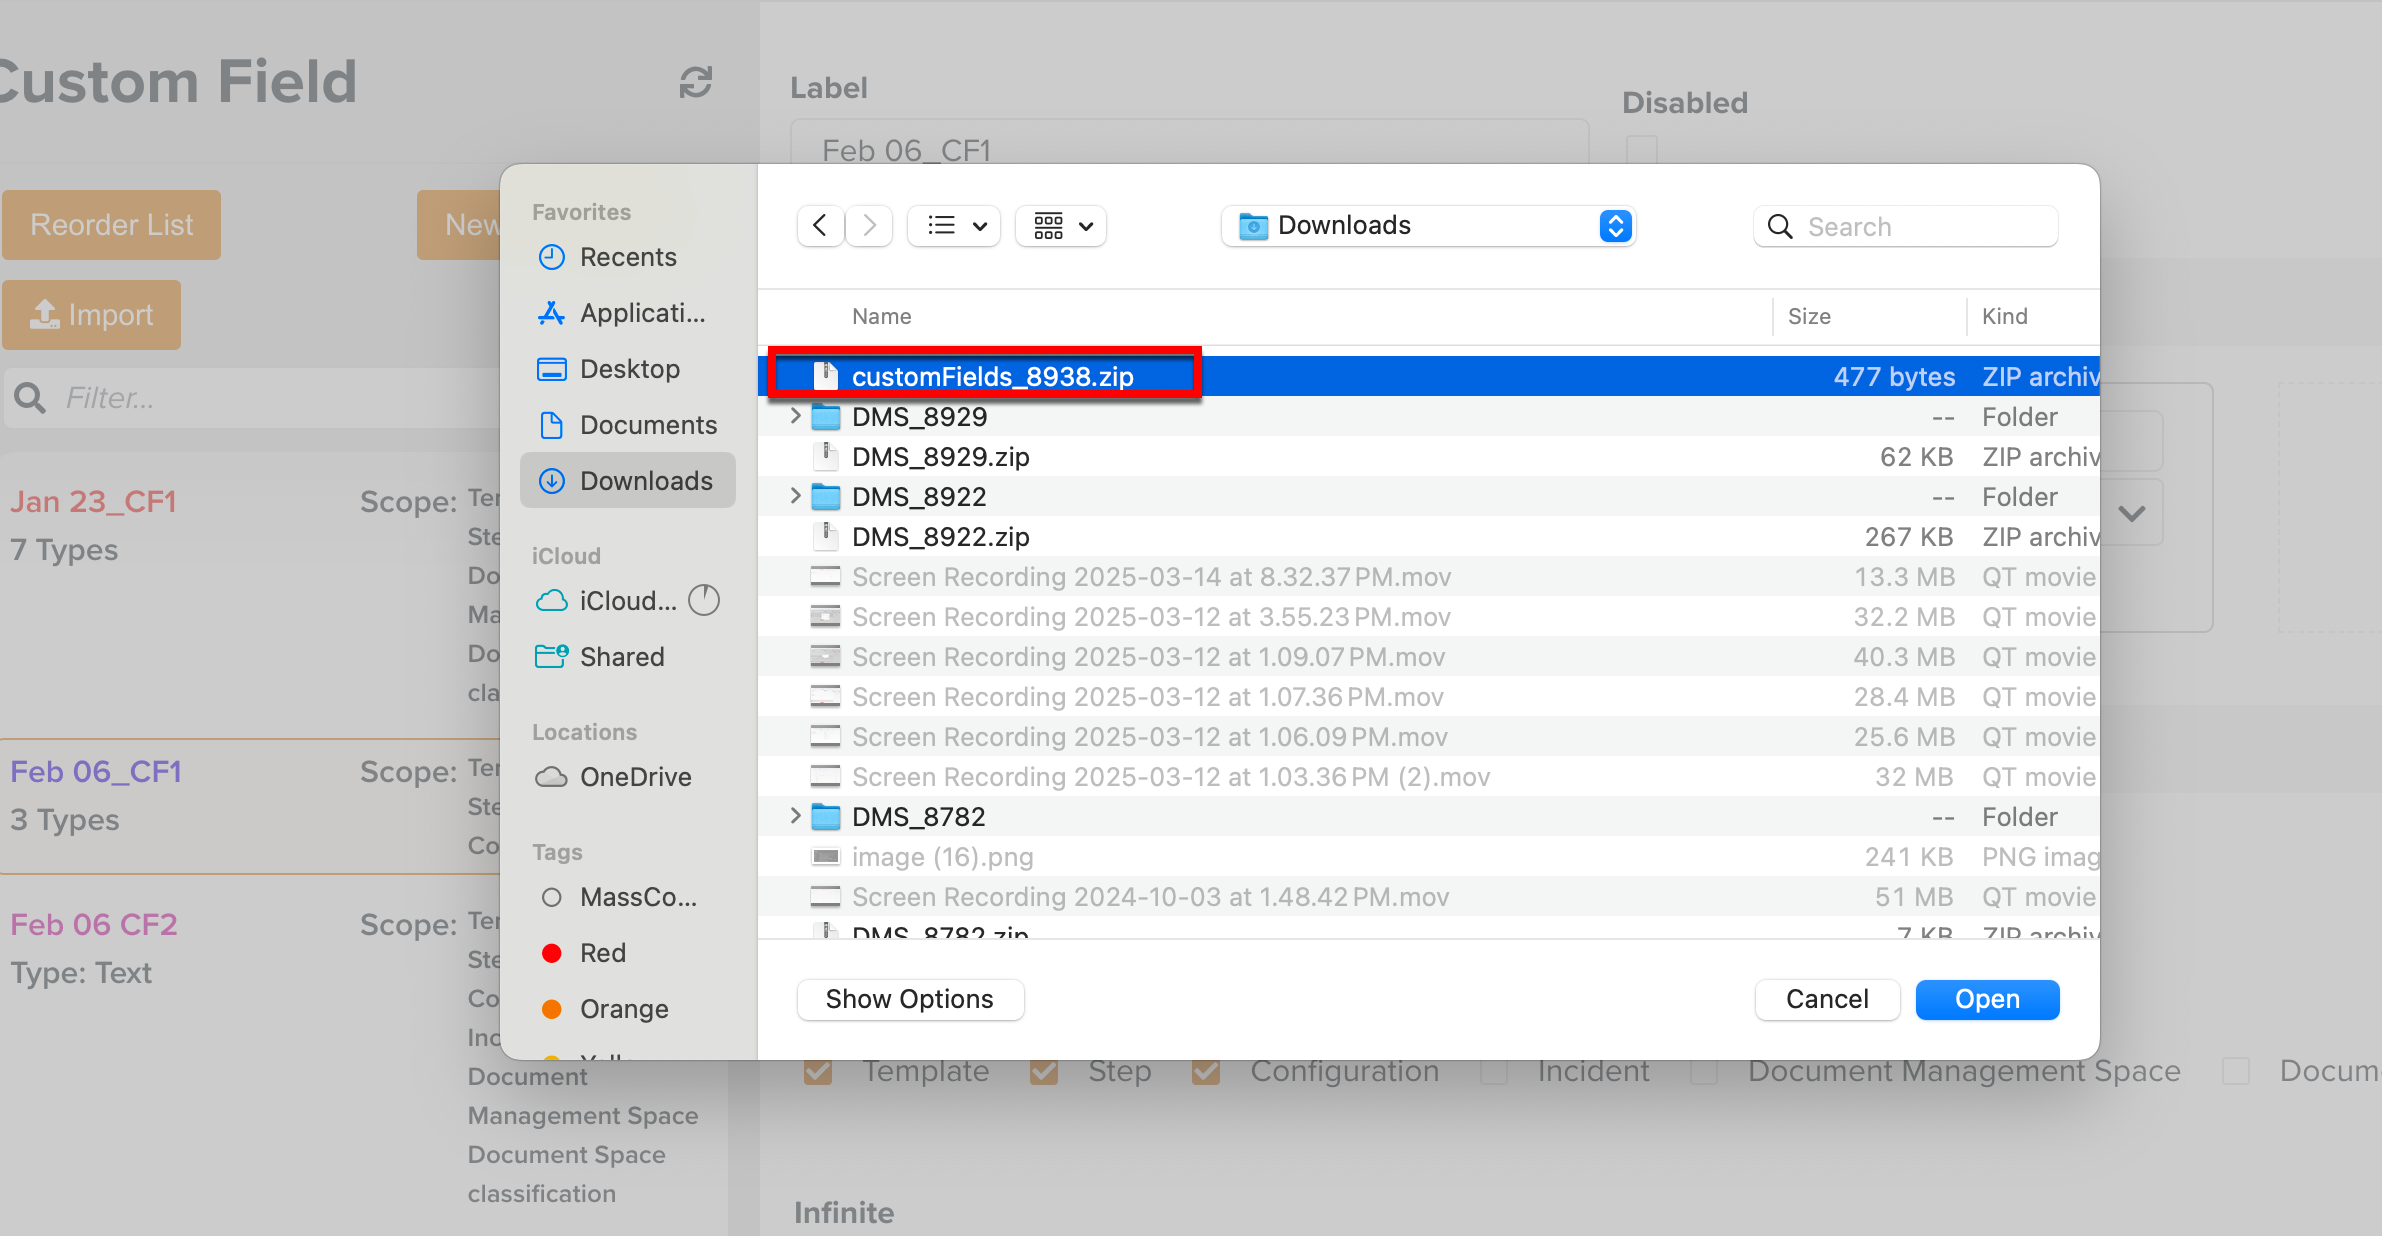
The .zip file is Imported to the Target environment.
To Export/Import Standard Steps:
On the main menu, go to Templates > Standard Steps.
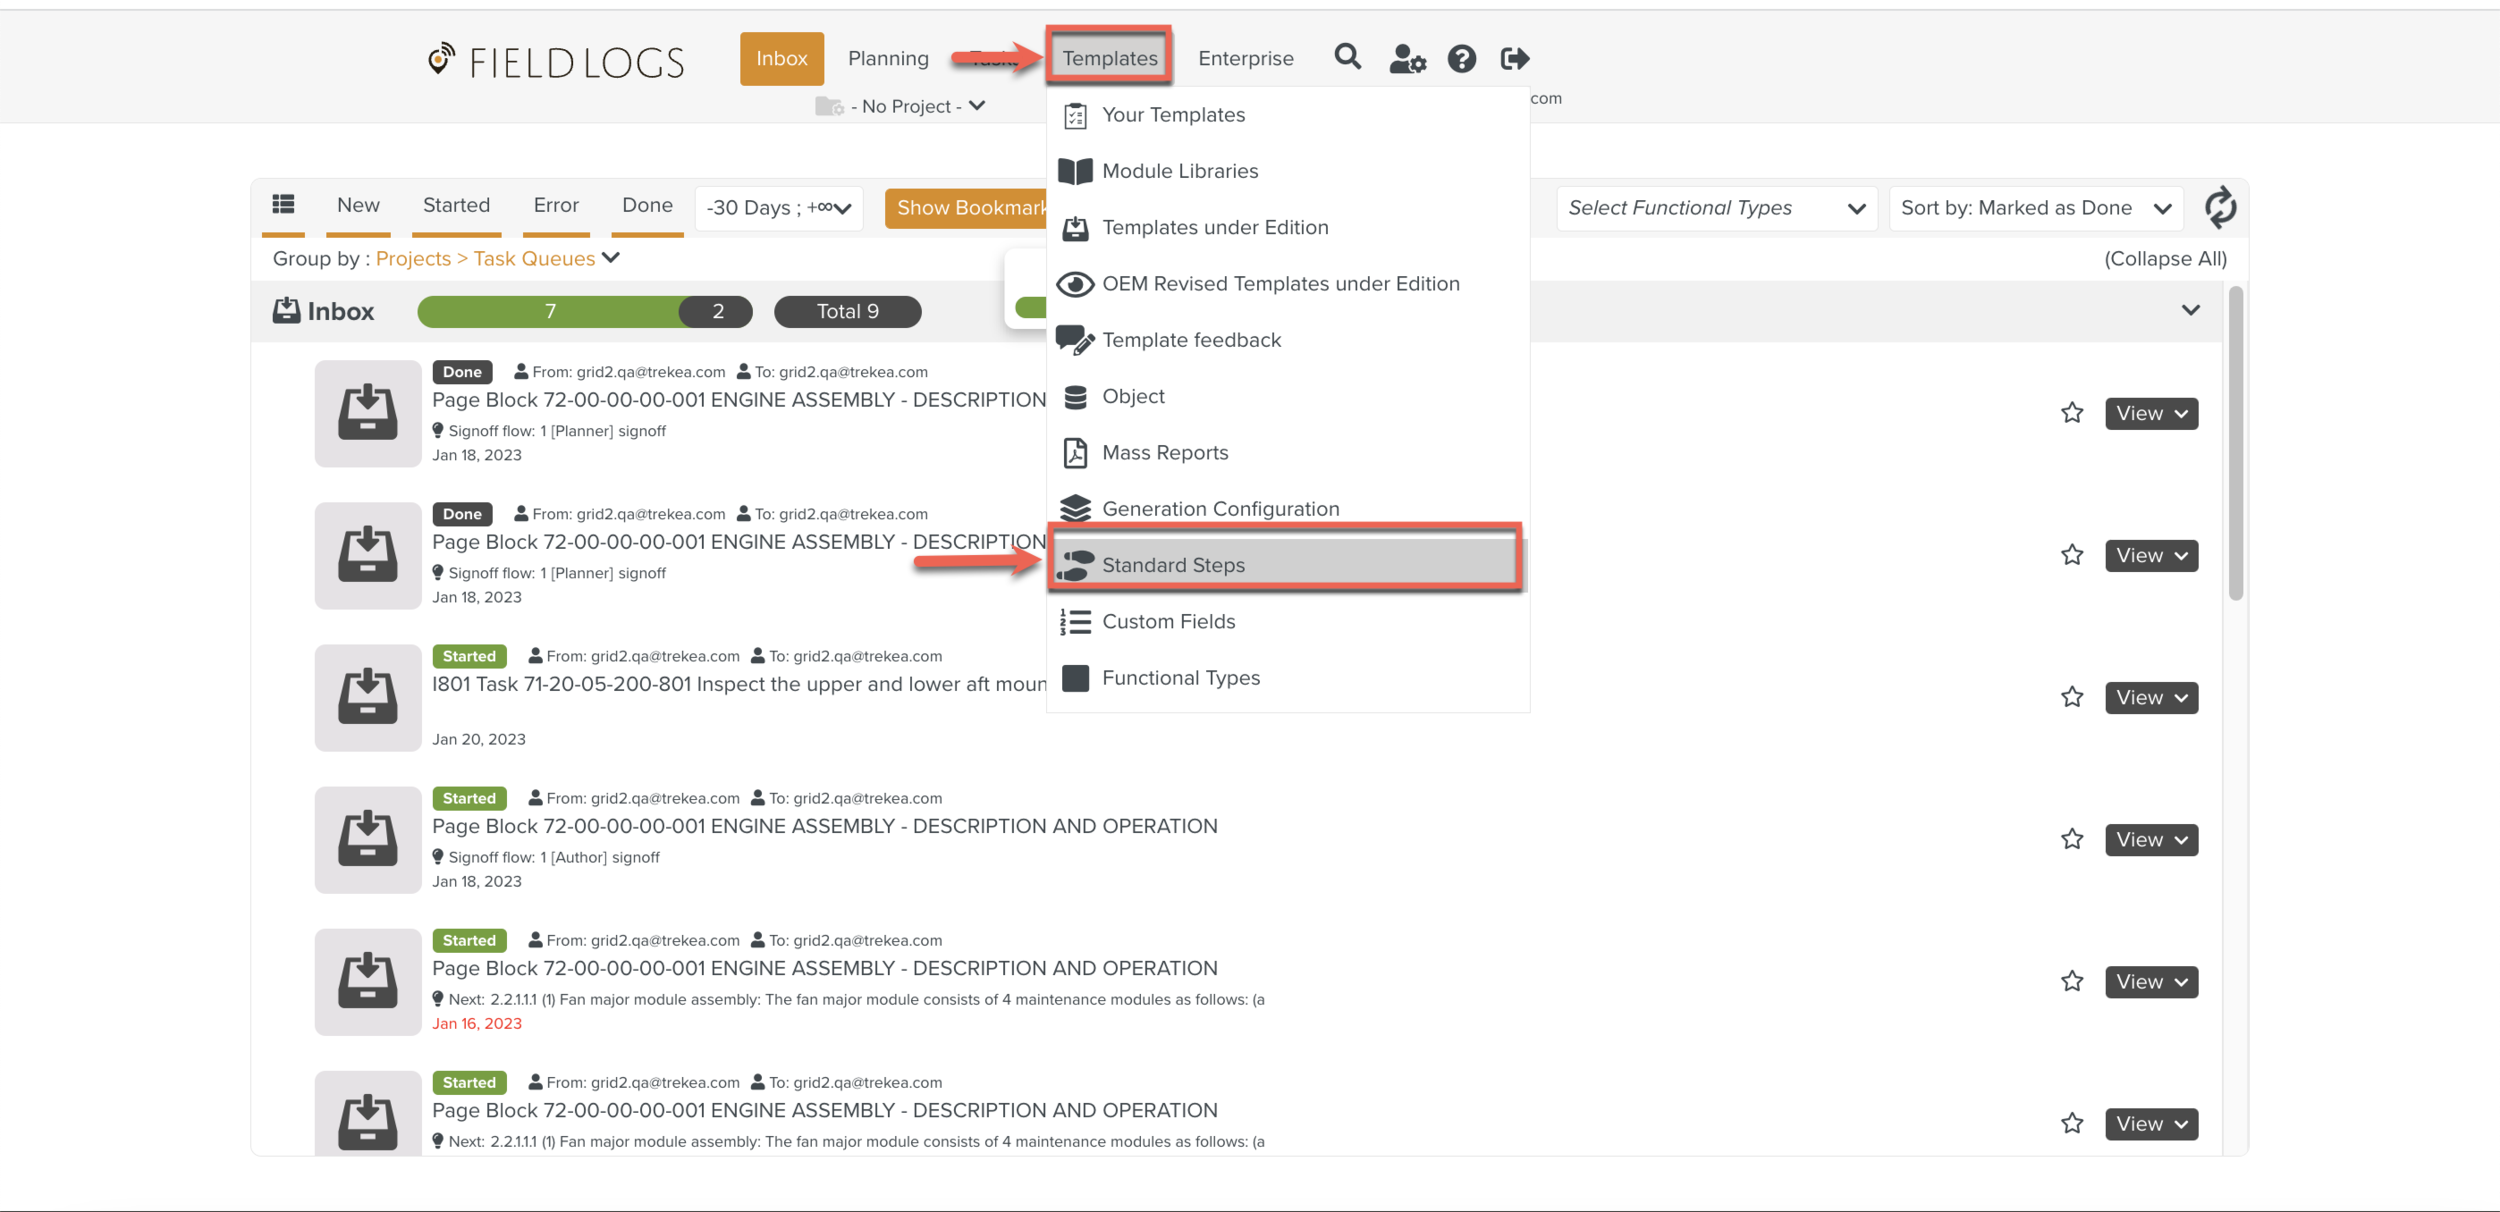
The Standard Steps page appears.
Select a Standard Step from the list, and click .

When you click , the list of all Standard Steps will be selected to Export.
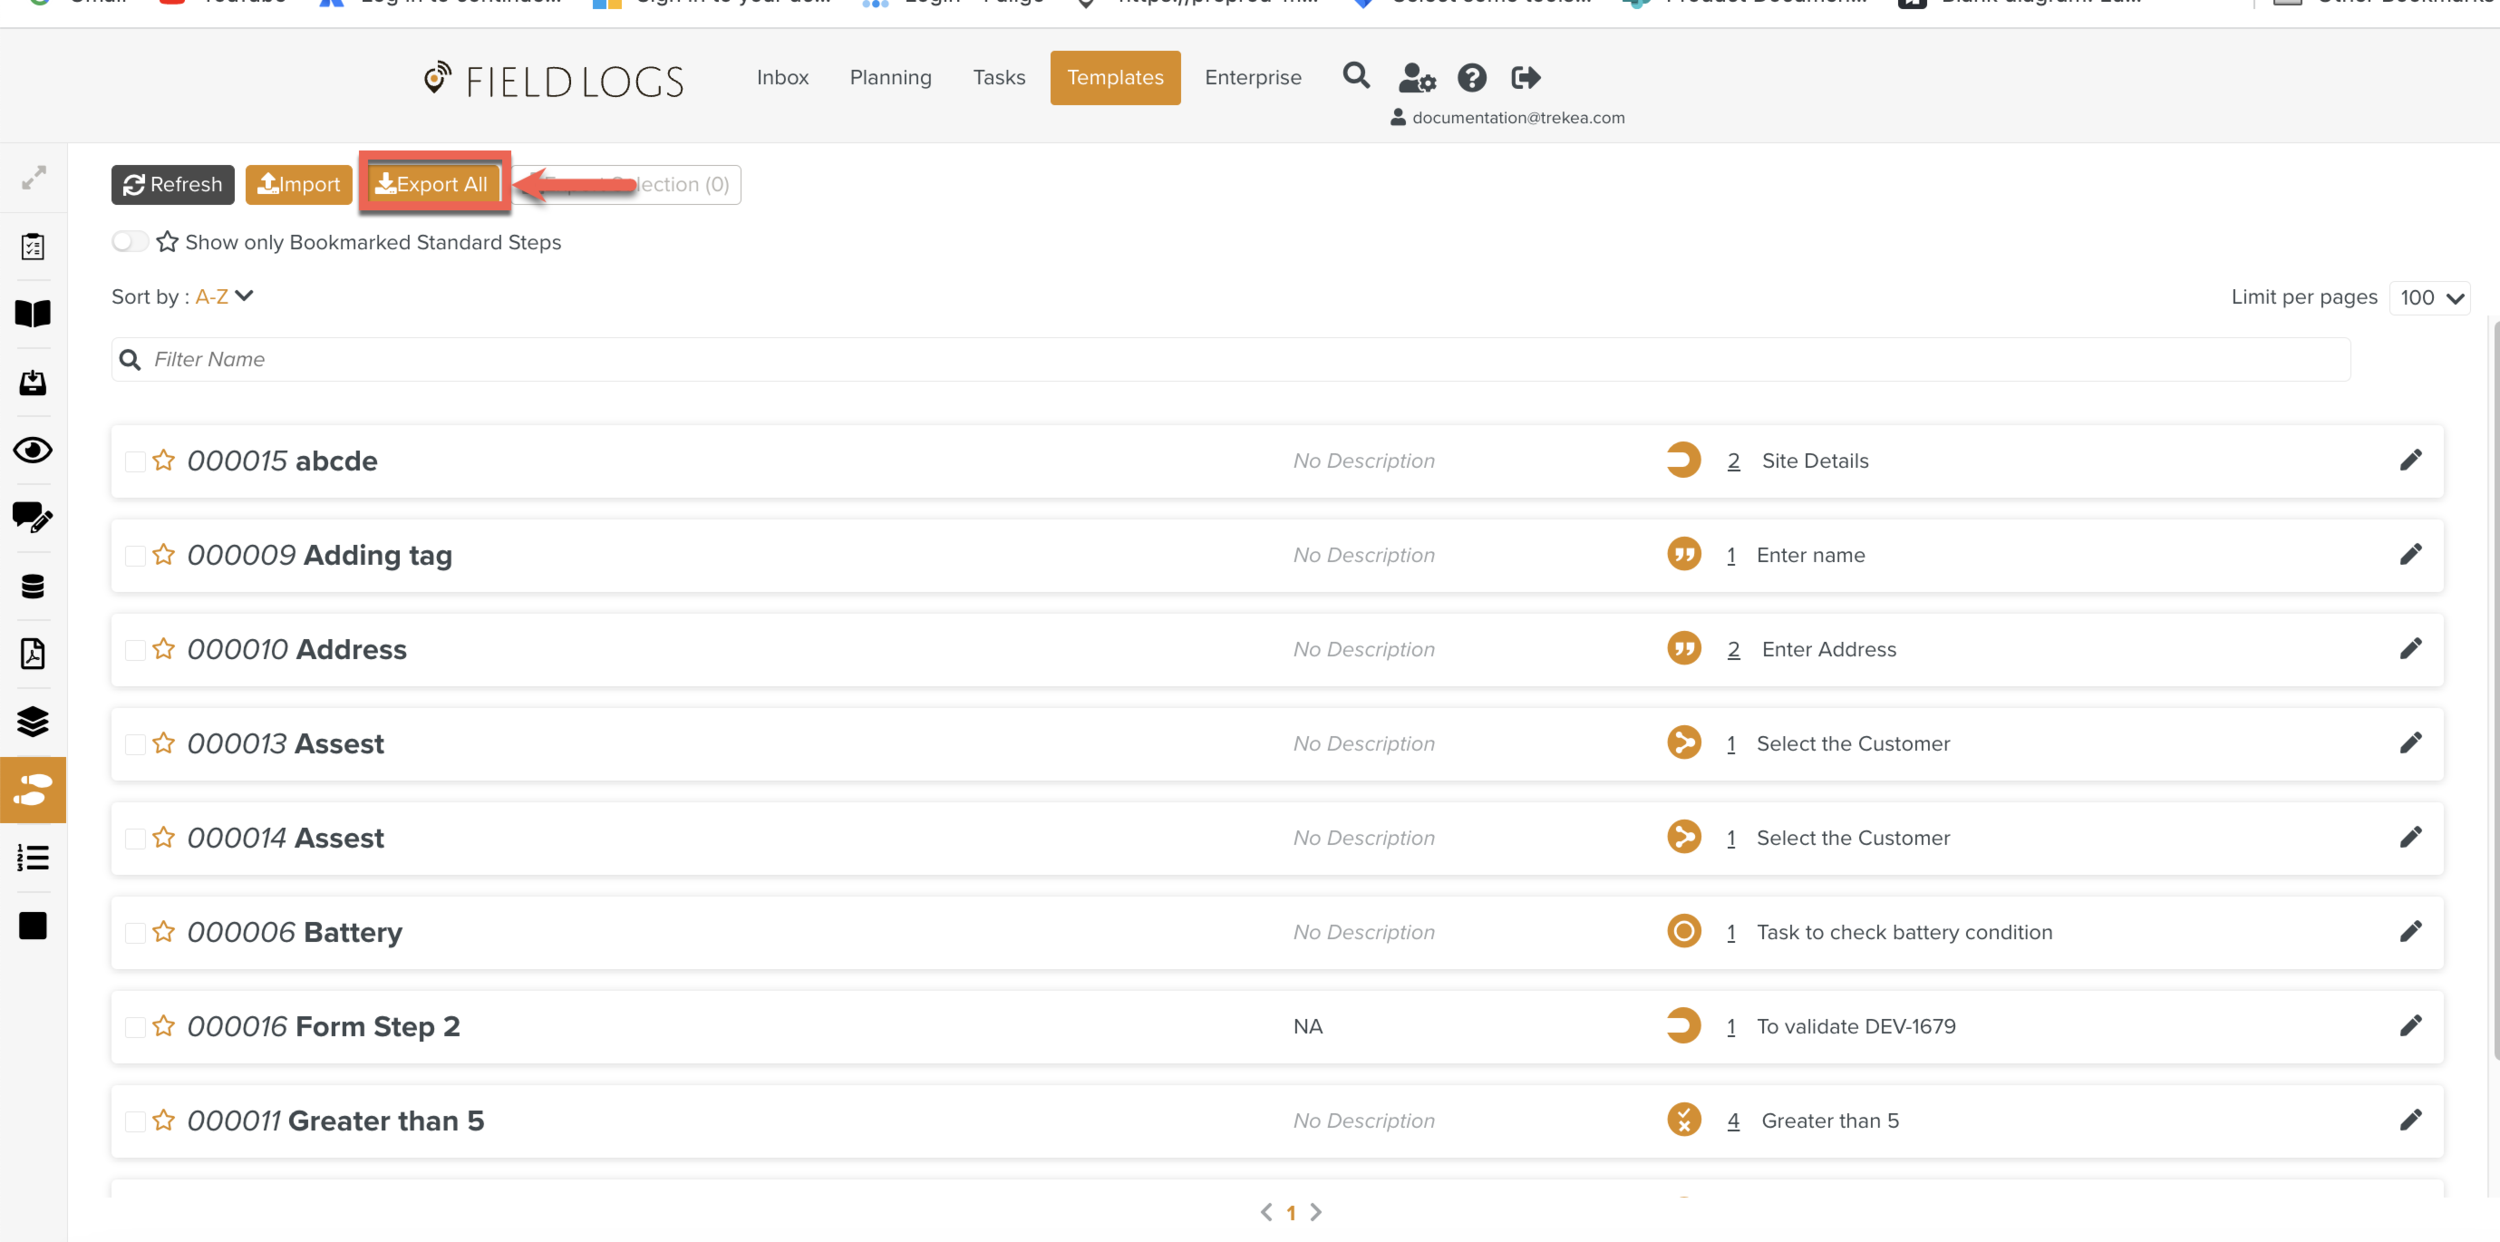
Click .
Click .
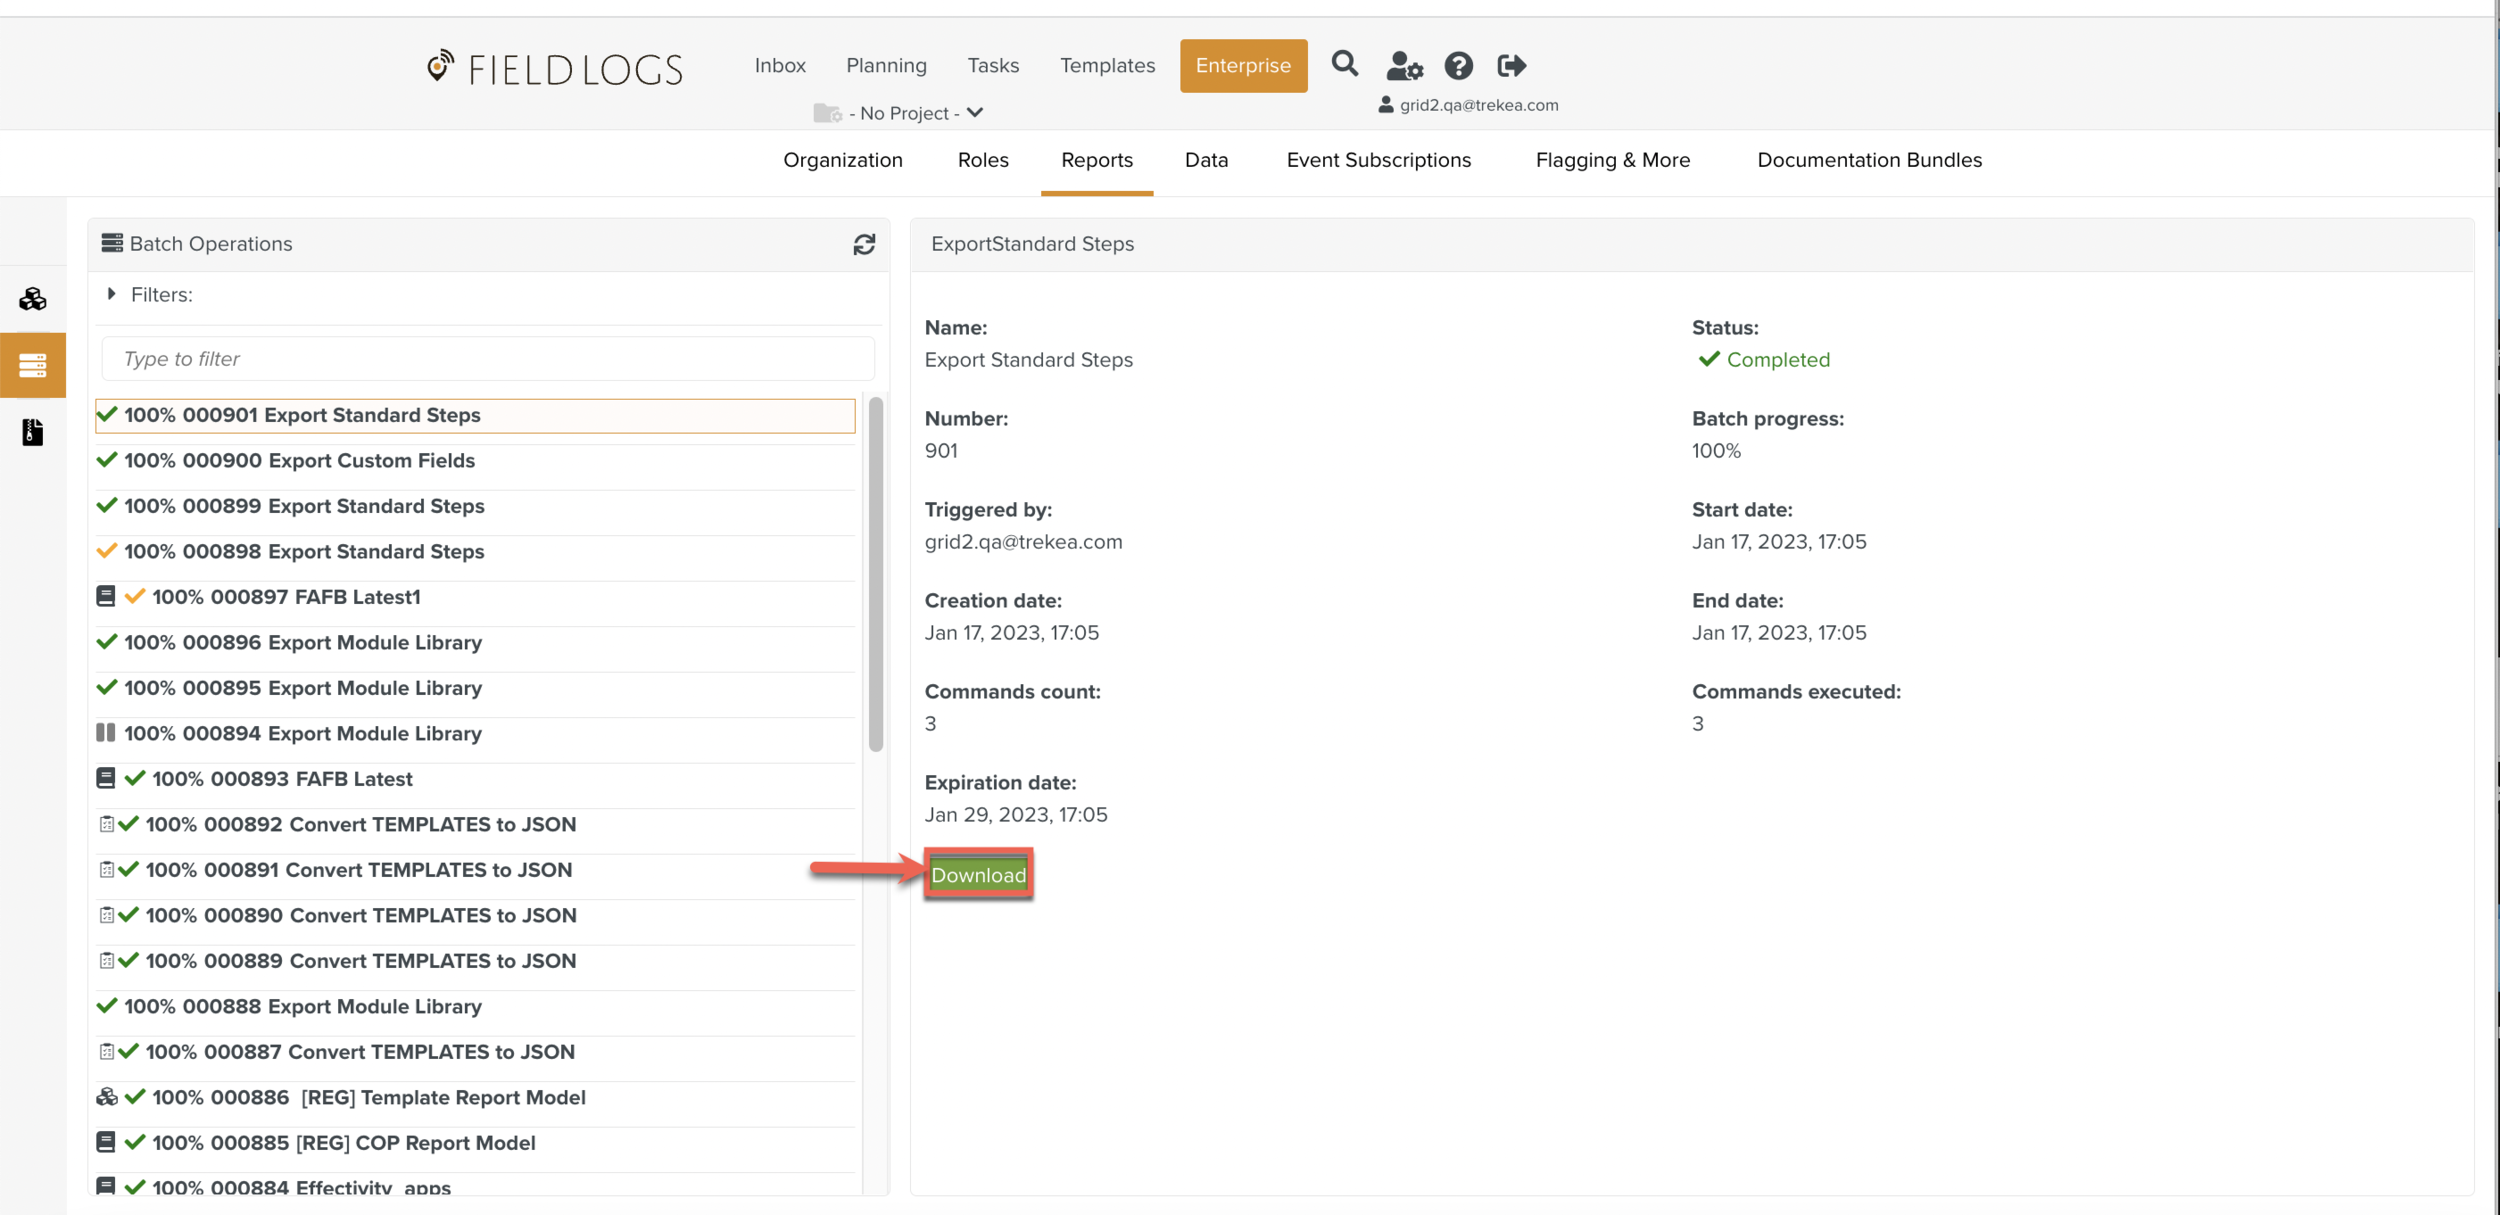
The Standard Step JSON file is downloaded as .zip
Go to Target environment, Templates > Standard Steps.
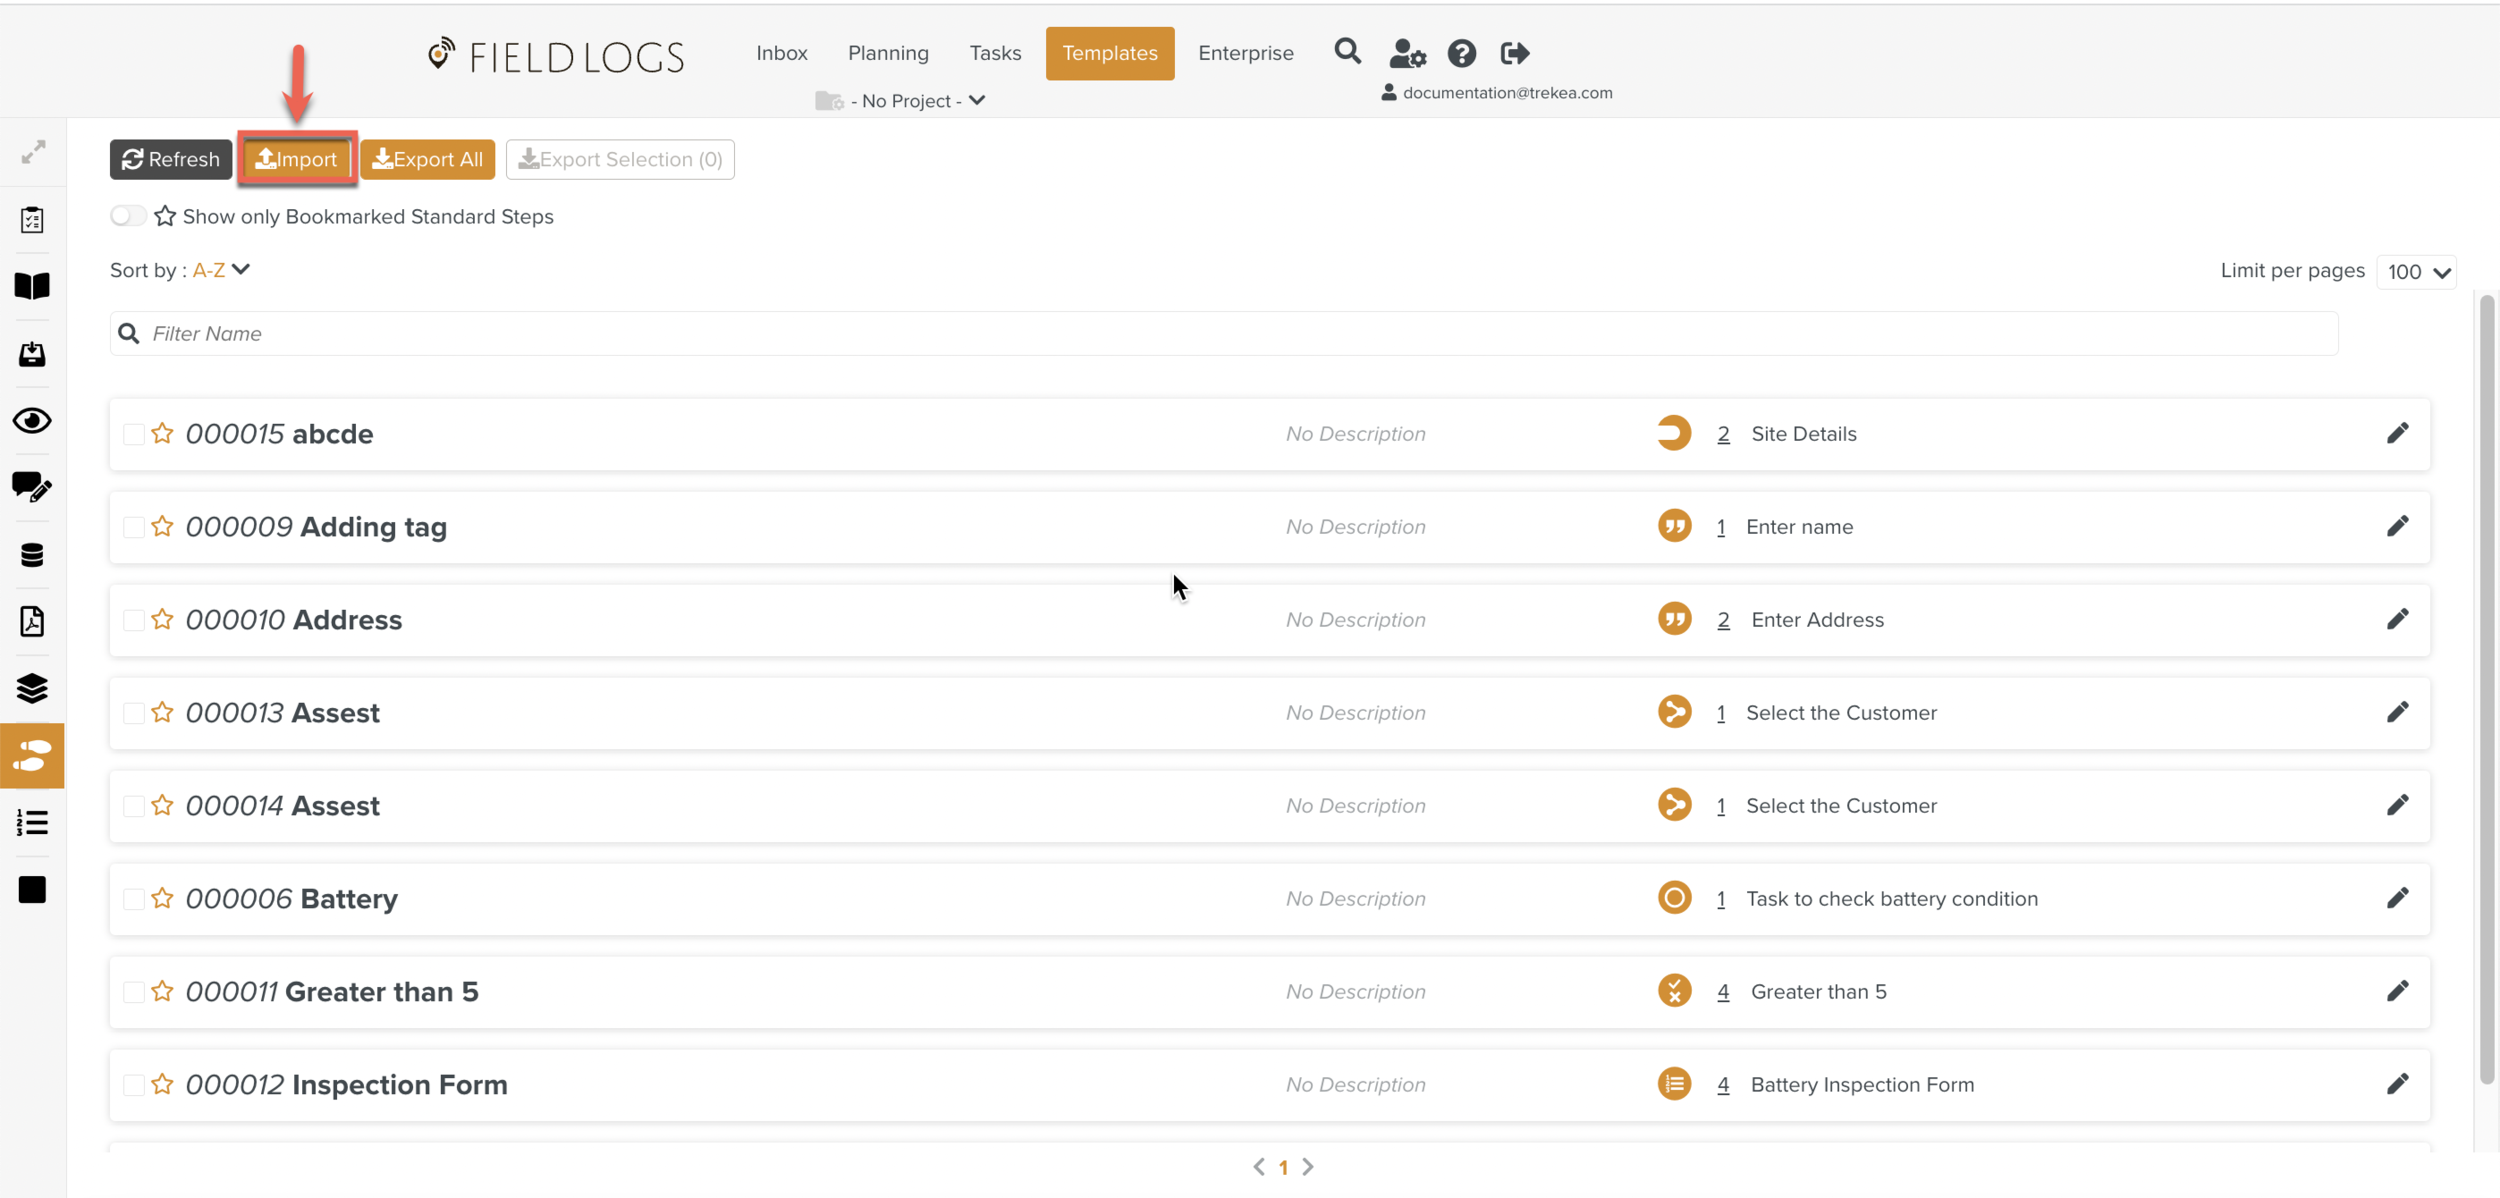
Click .
Select the unzipped Standard Step JSON file to Import.
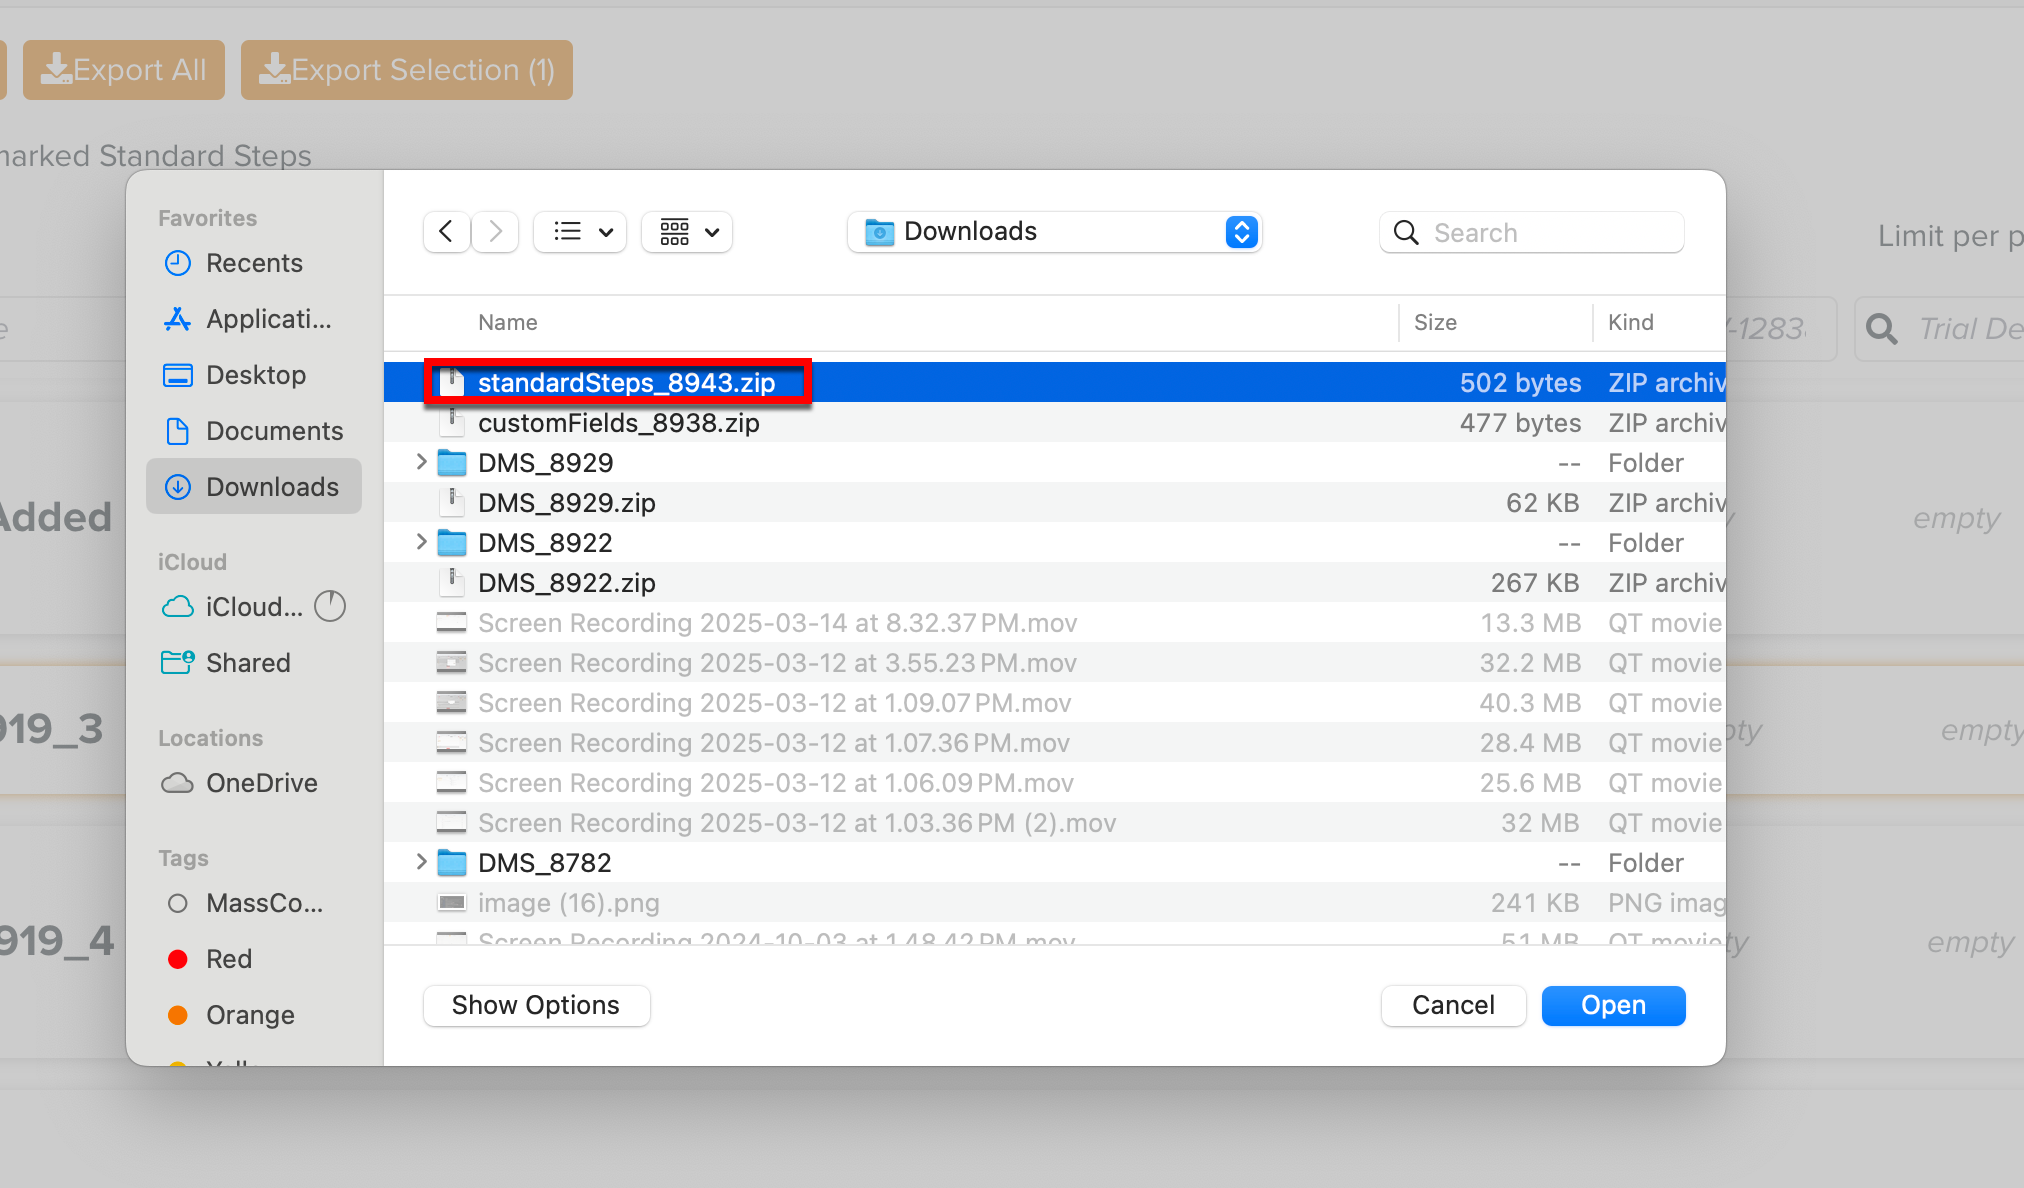
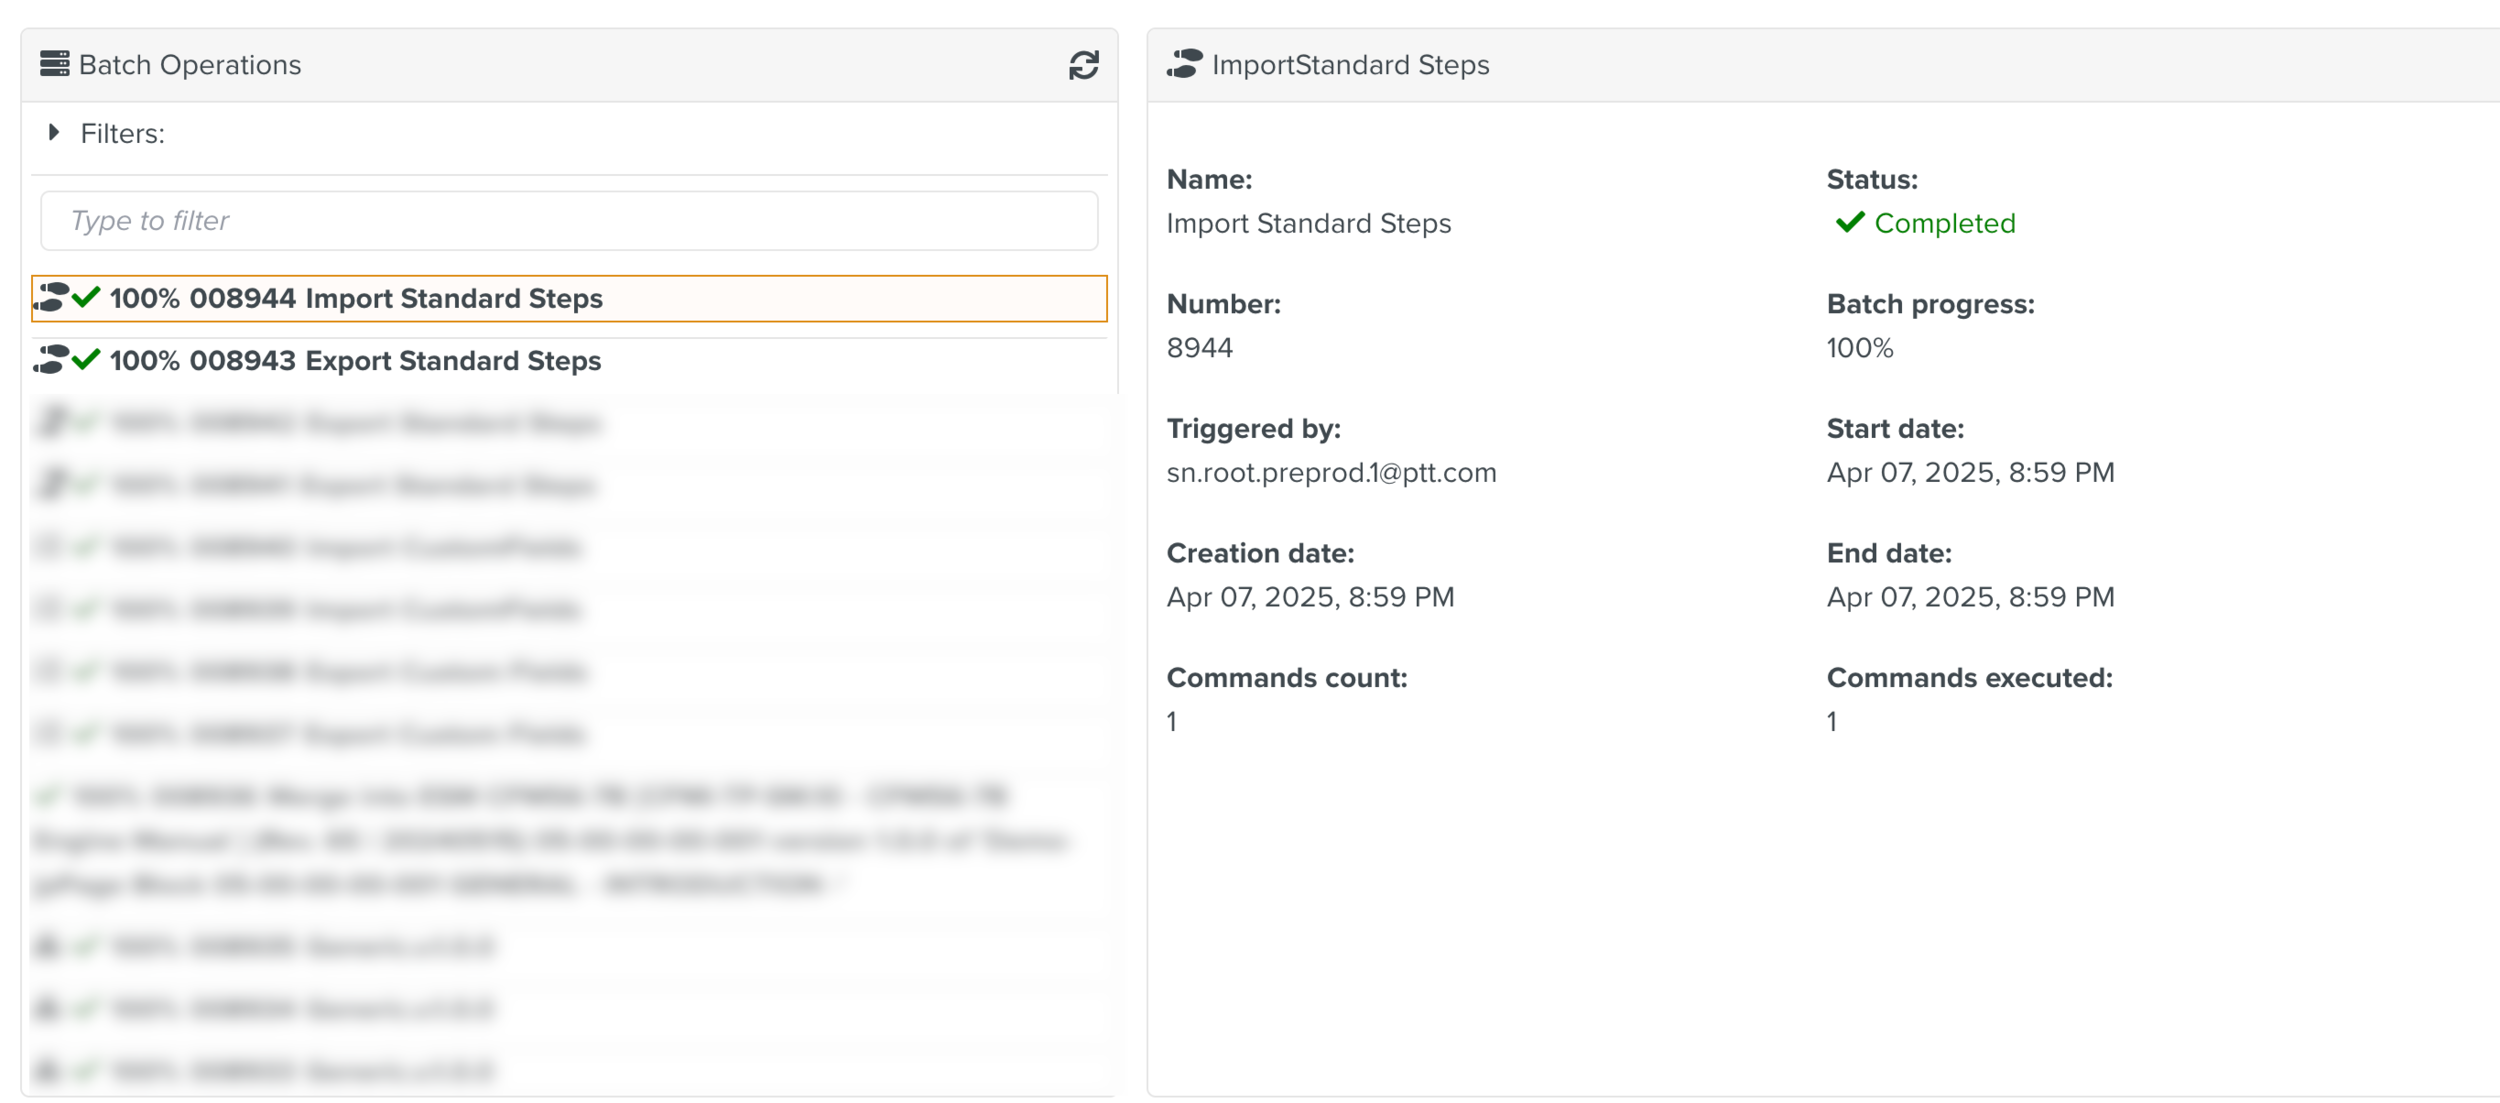
The Standard Step JSON file is Imported to the Target environment.
To Export/Import Quality Validation Rules:
On the main menu, go to Enterprise > Organization > Quality Validation.

The page Quality Validation appears.
Select a Rule from a list, and click .
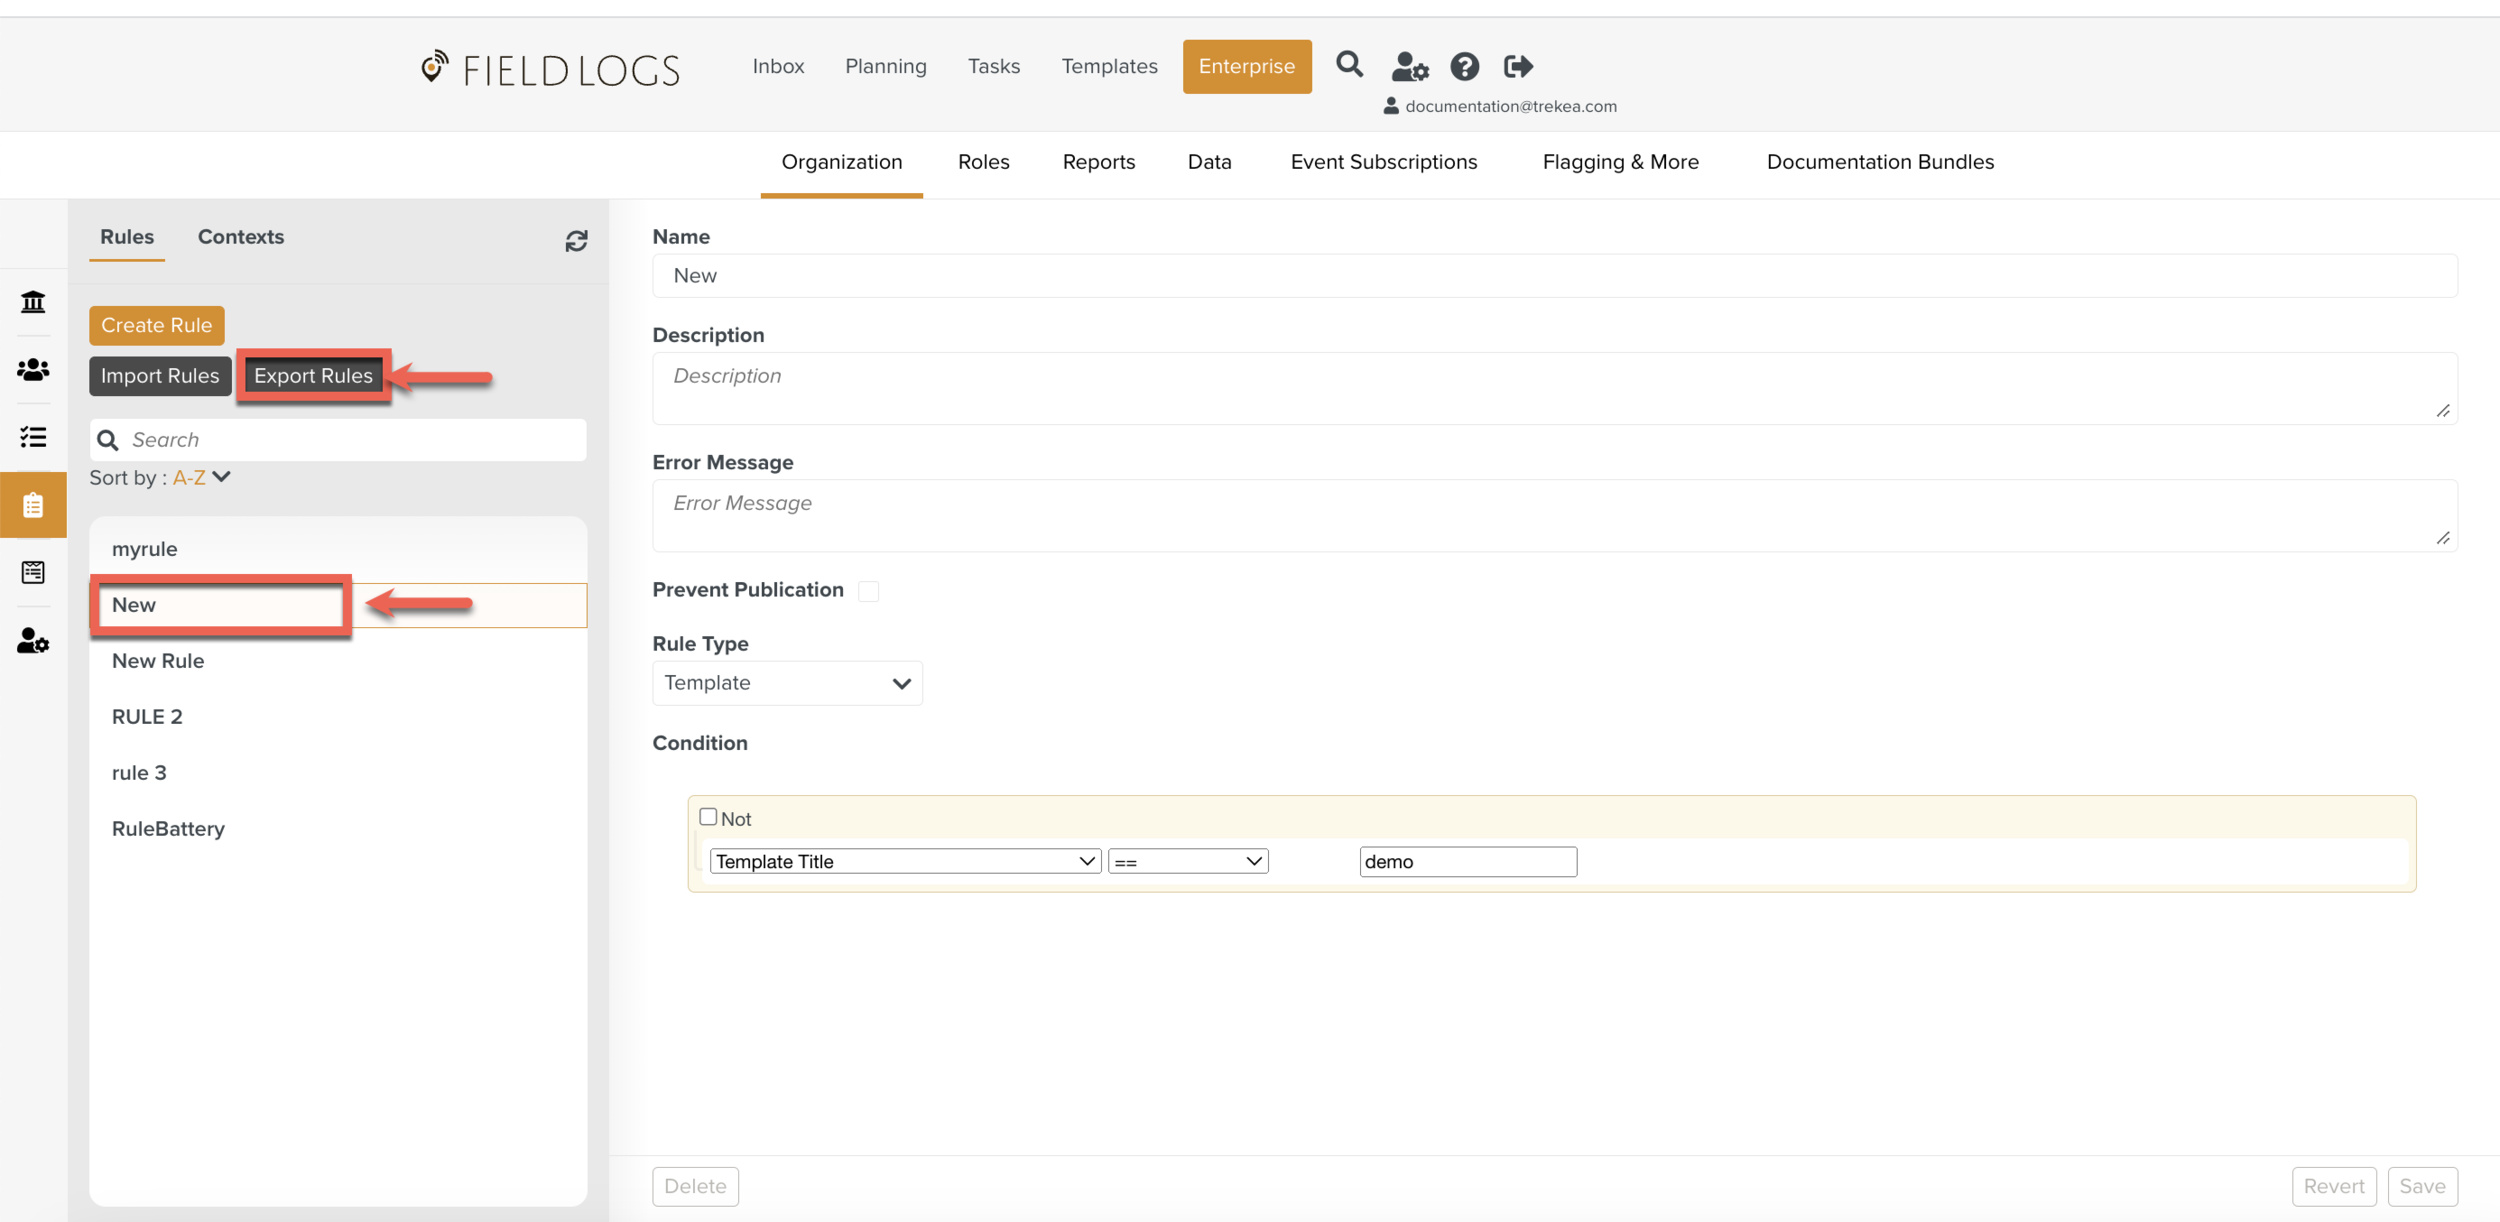
When you click , all the Rules from the list will be selected to Export.
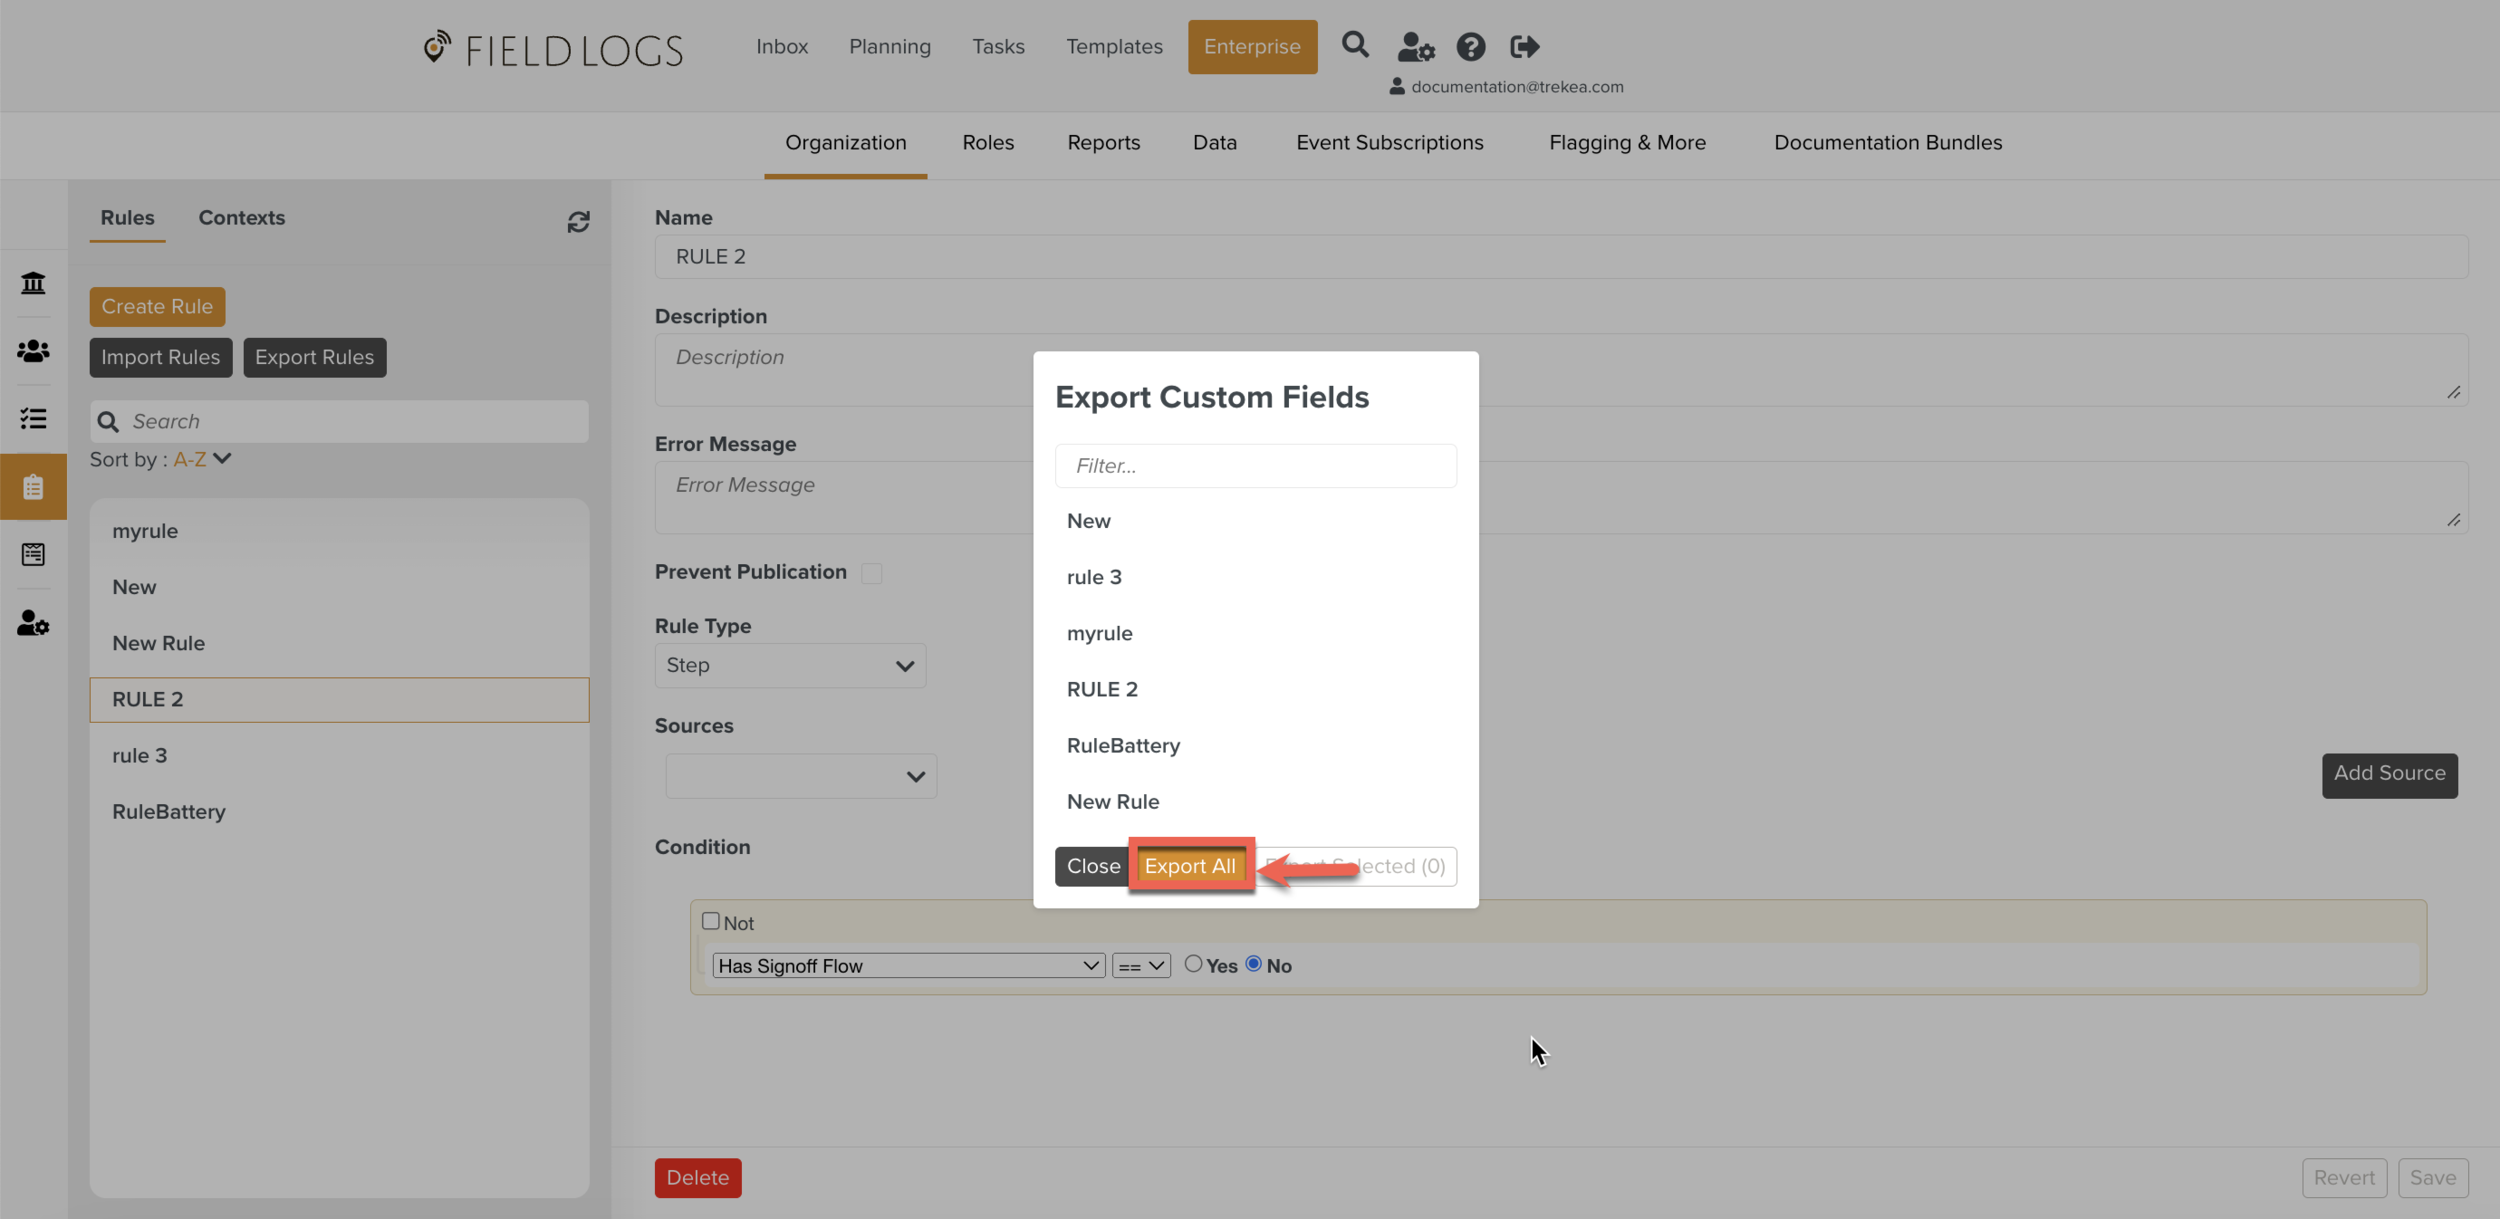
Click .
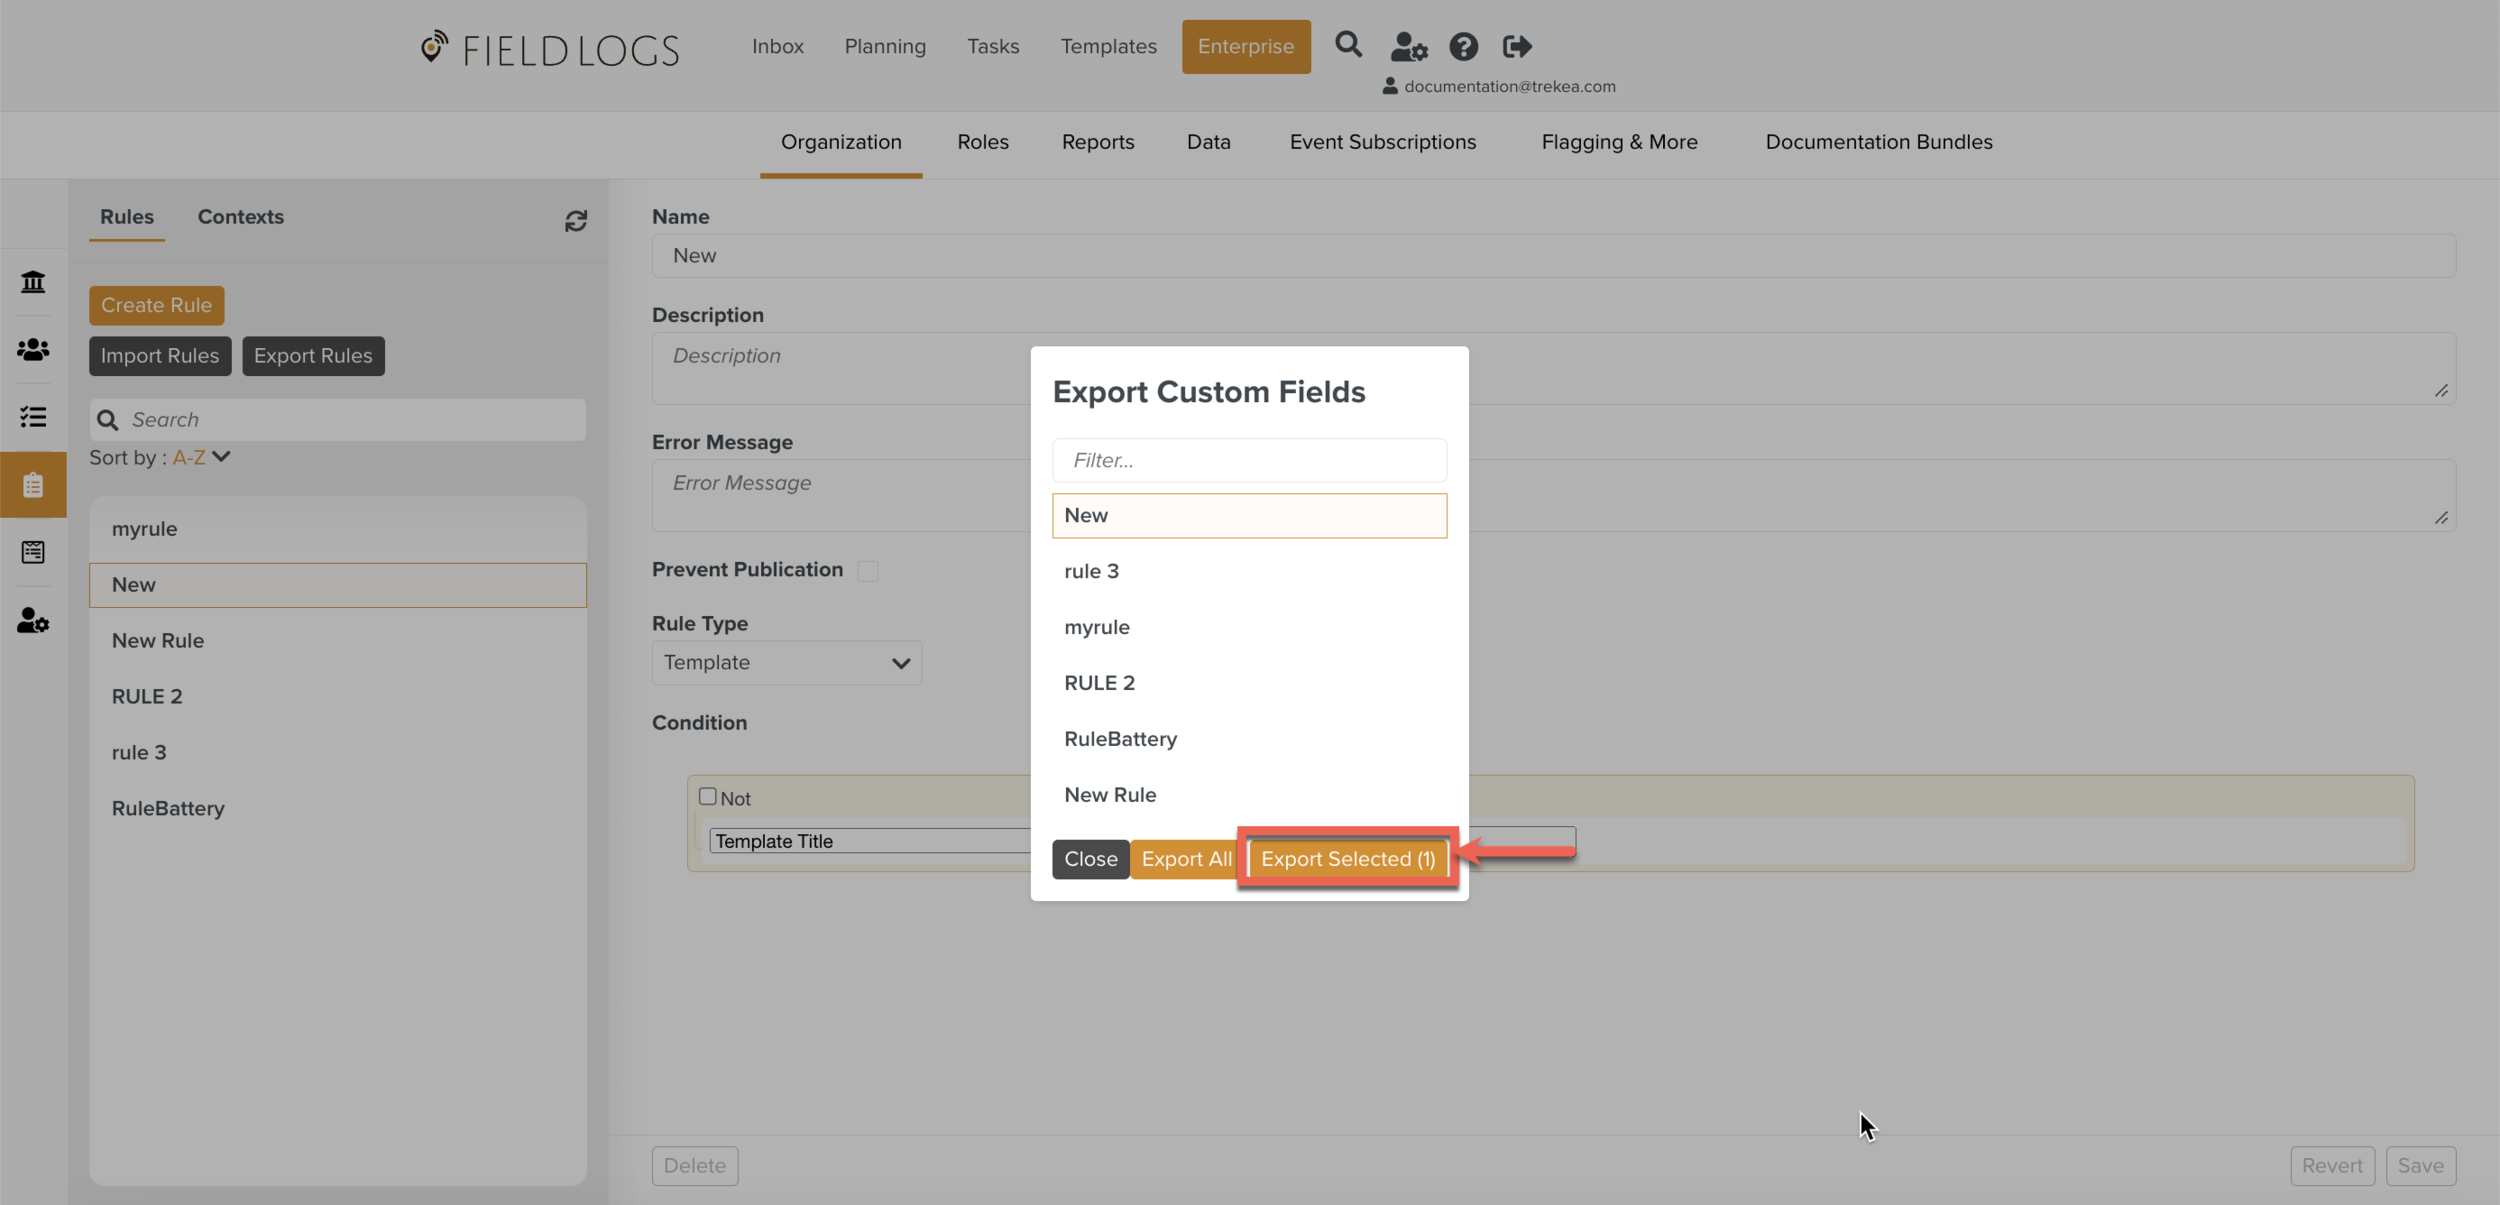
Click .
Click .
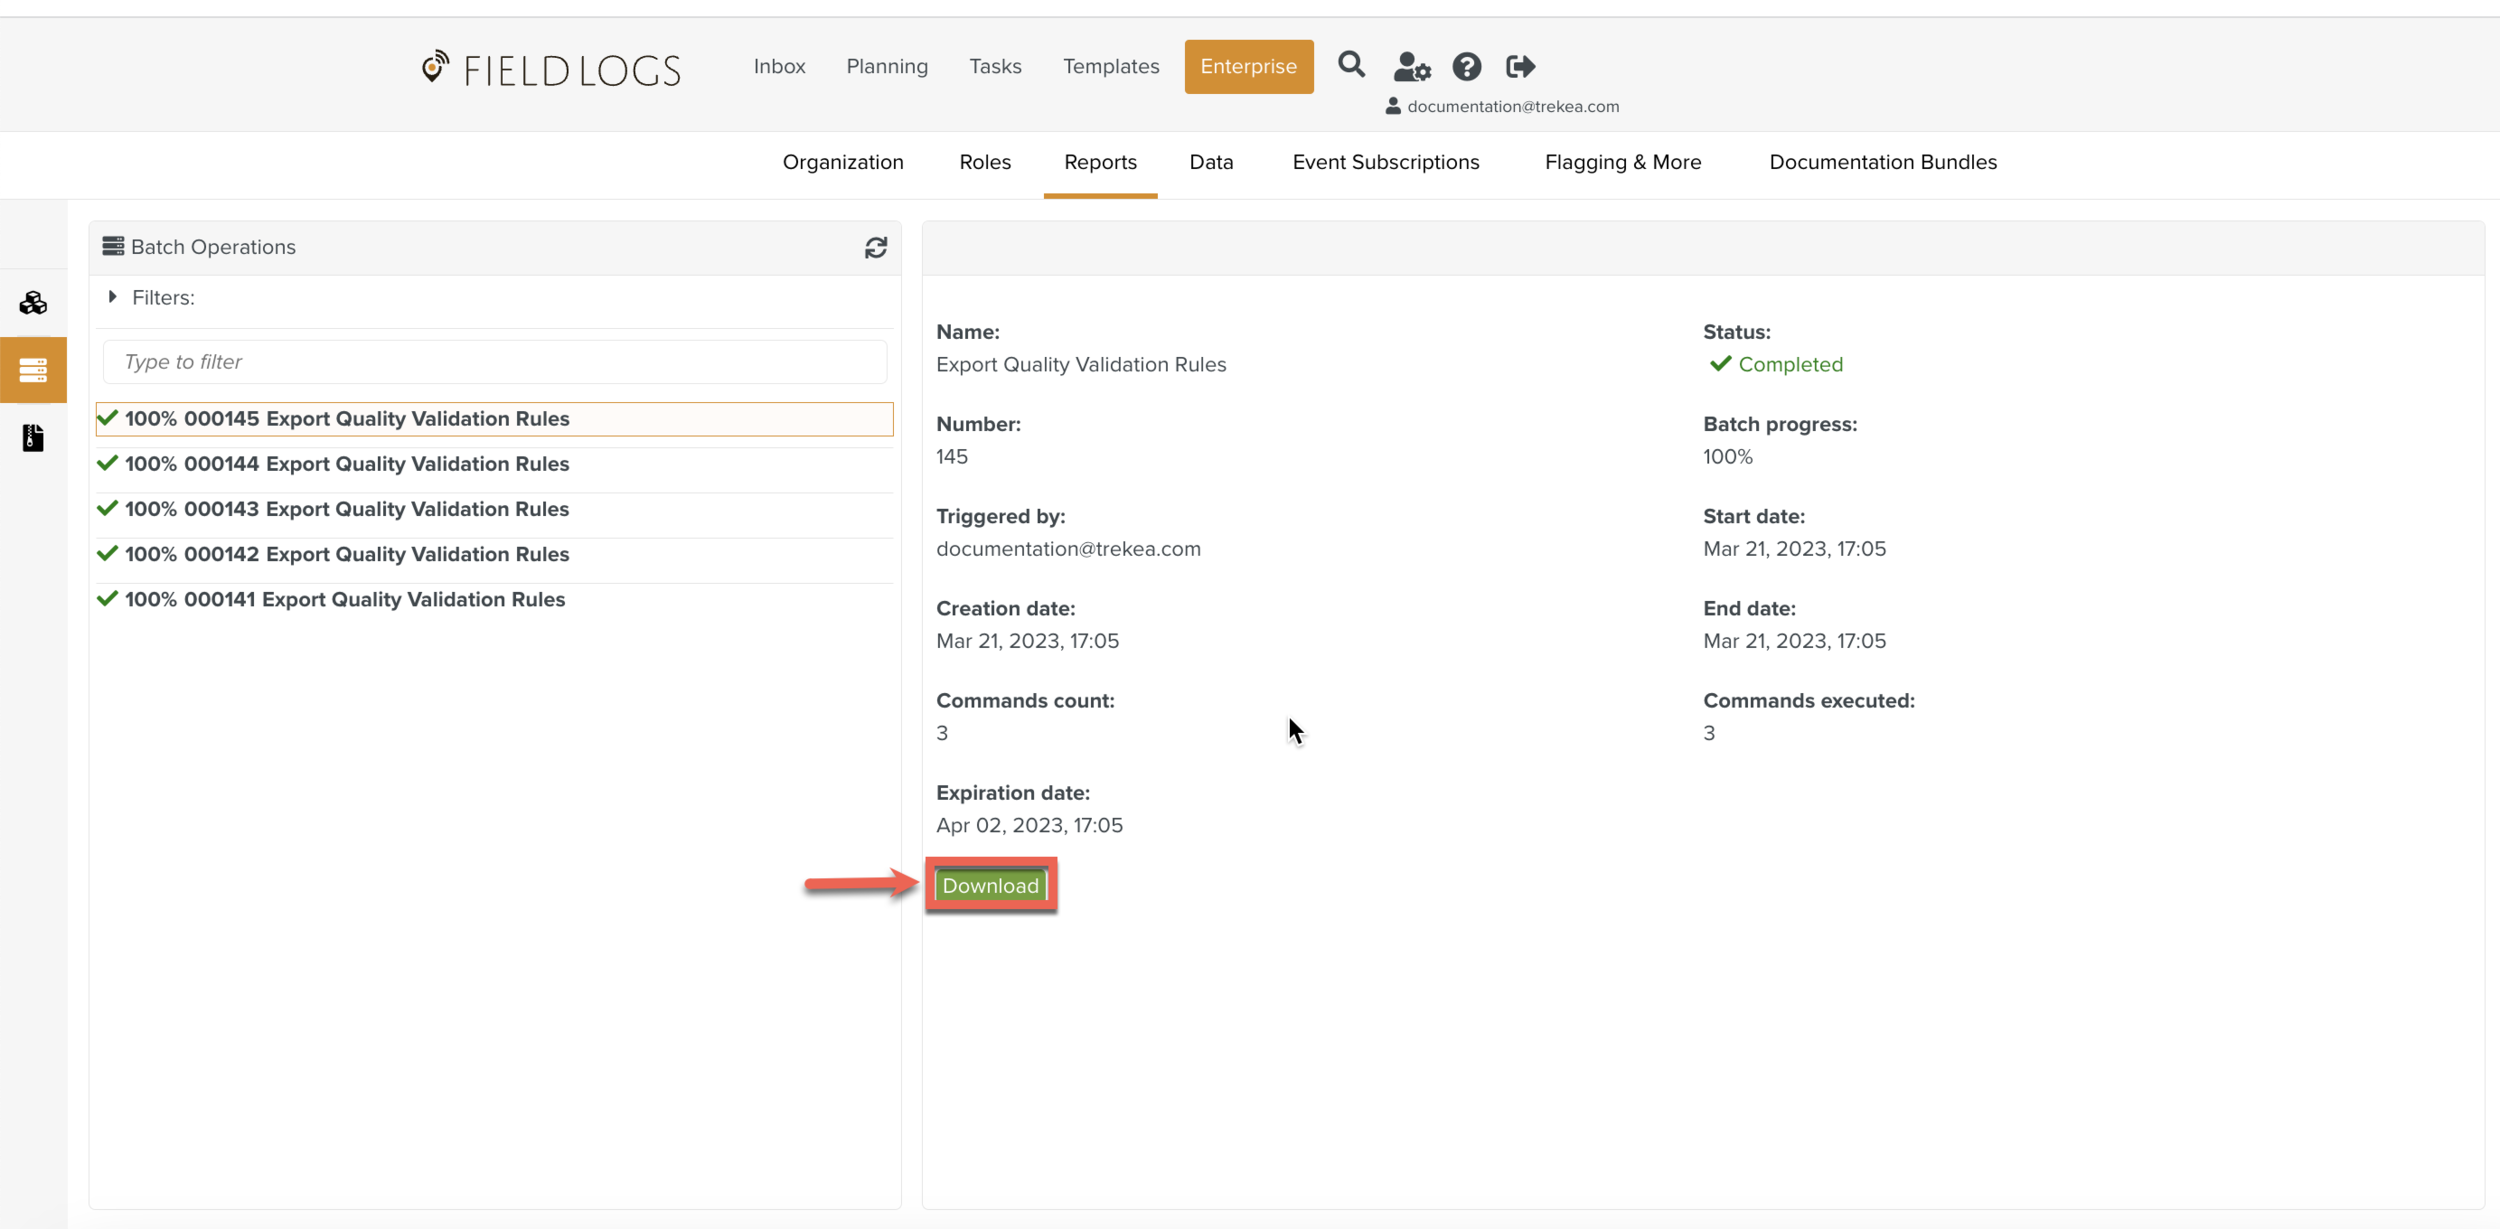
The JSON file of the Quality Validation Rule is downloaded as .zip file.
Go to Target Environment, Enterprise > Organization > Quality Validation.
Click .
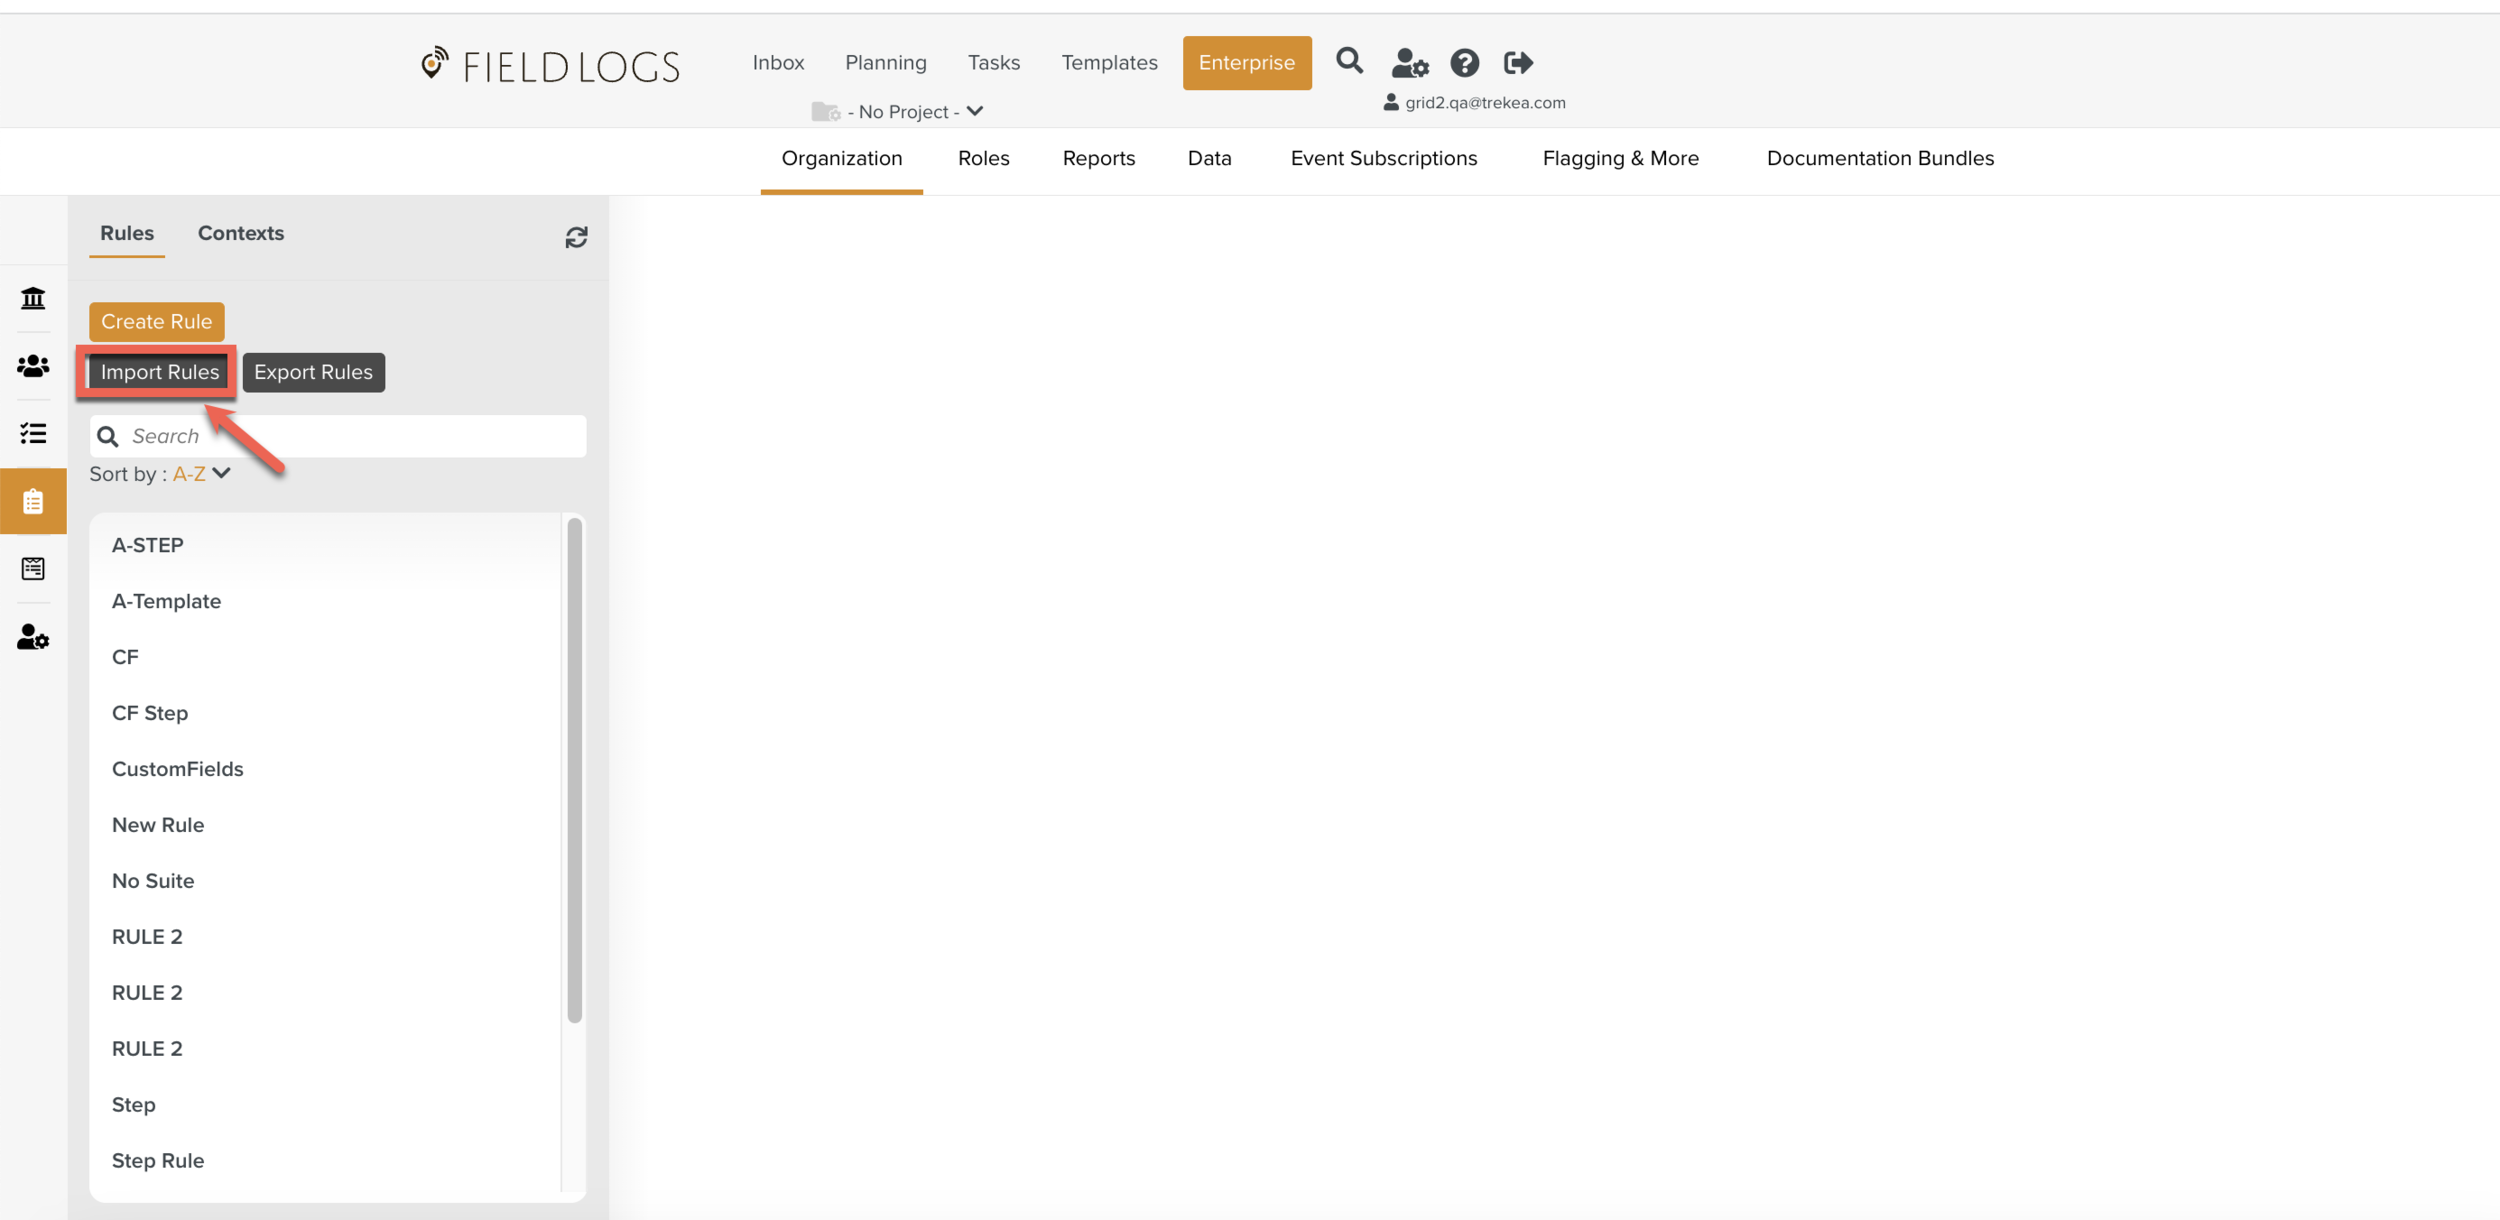
Click .
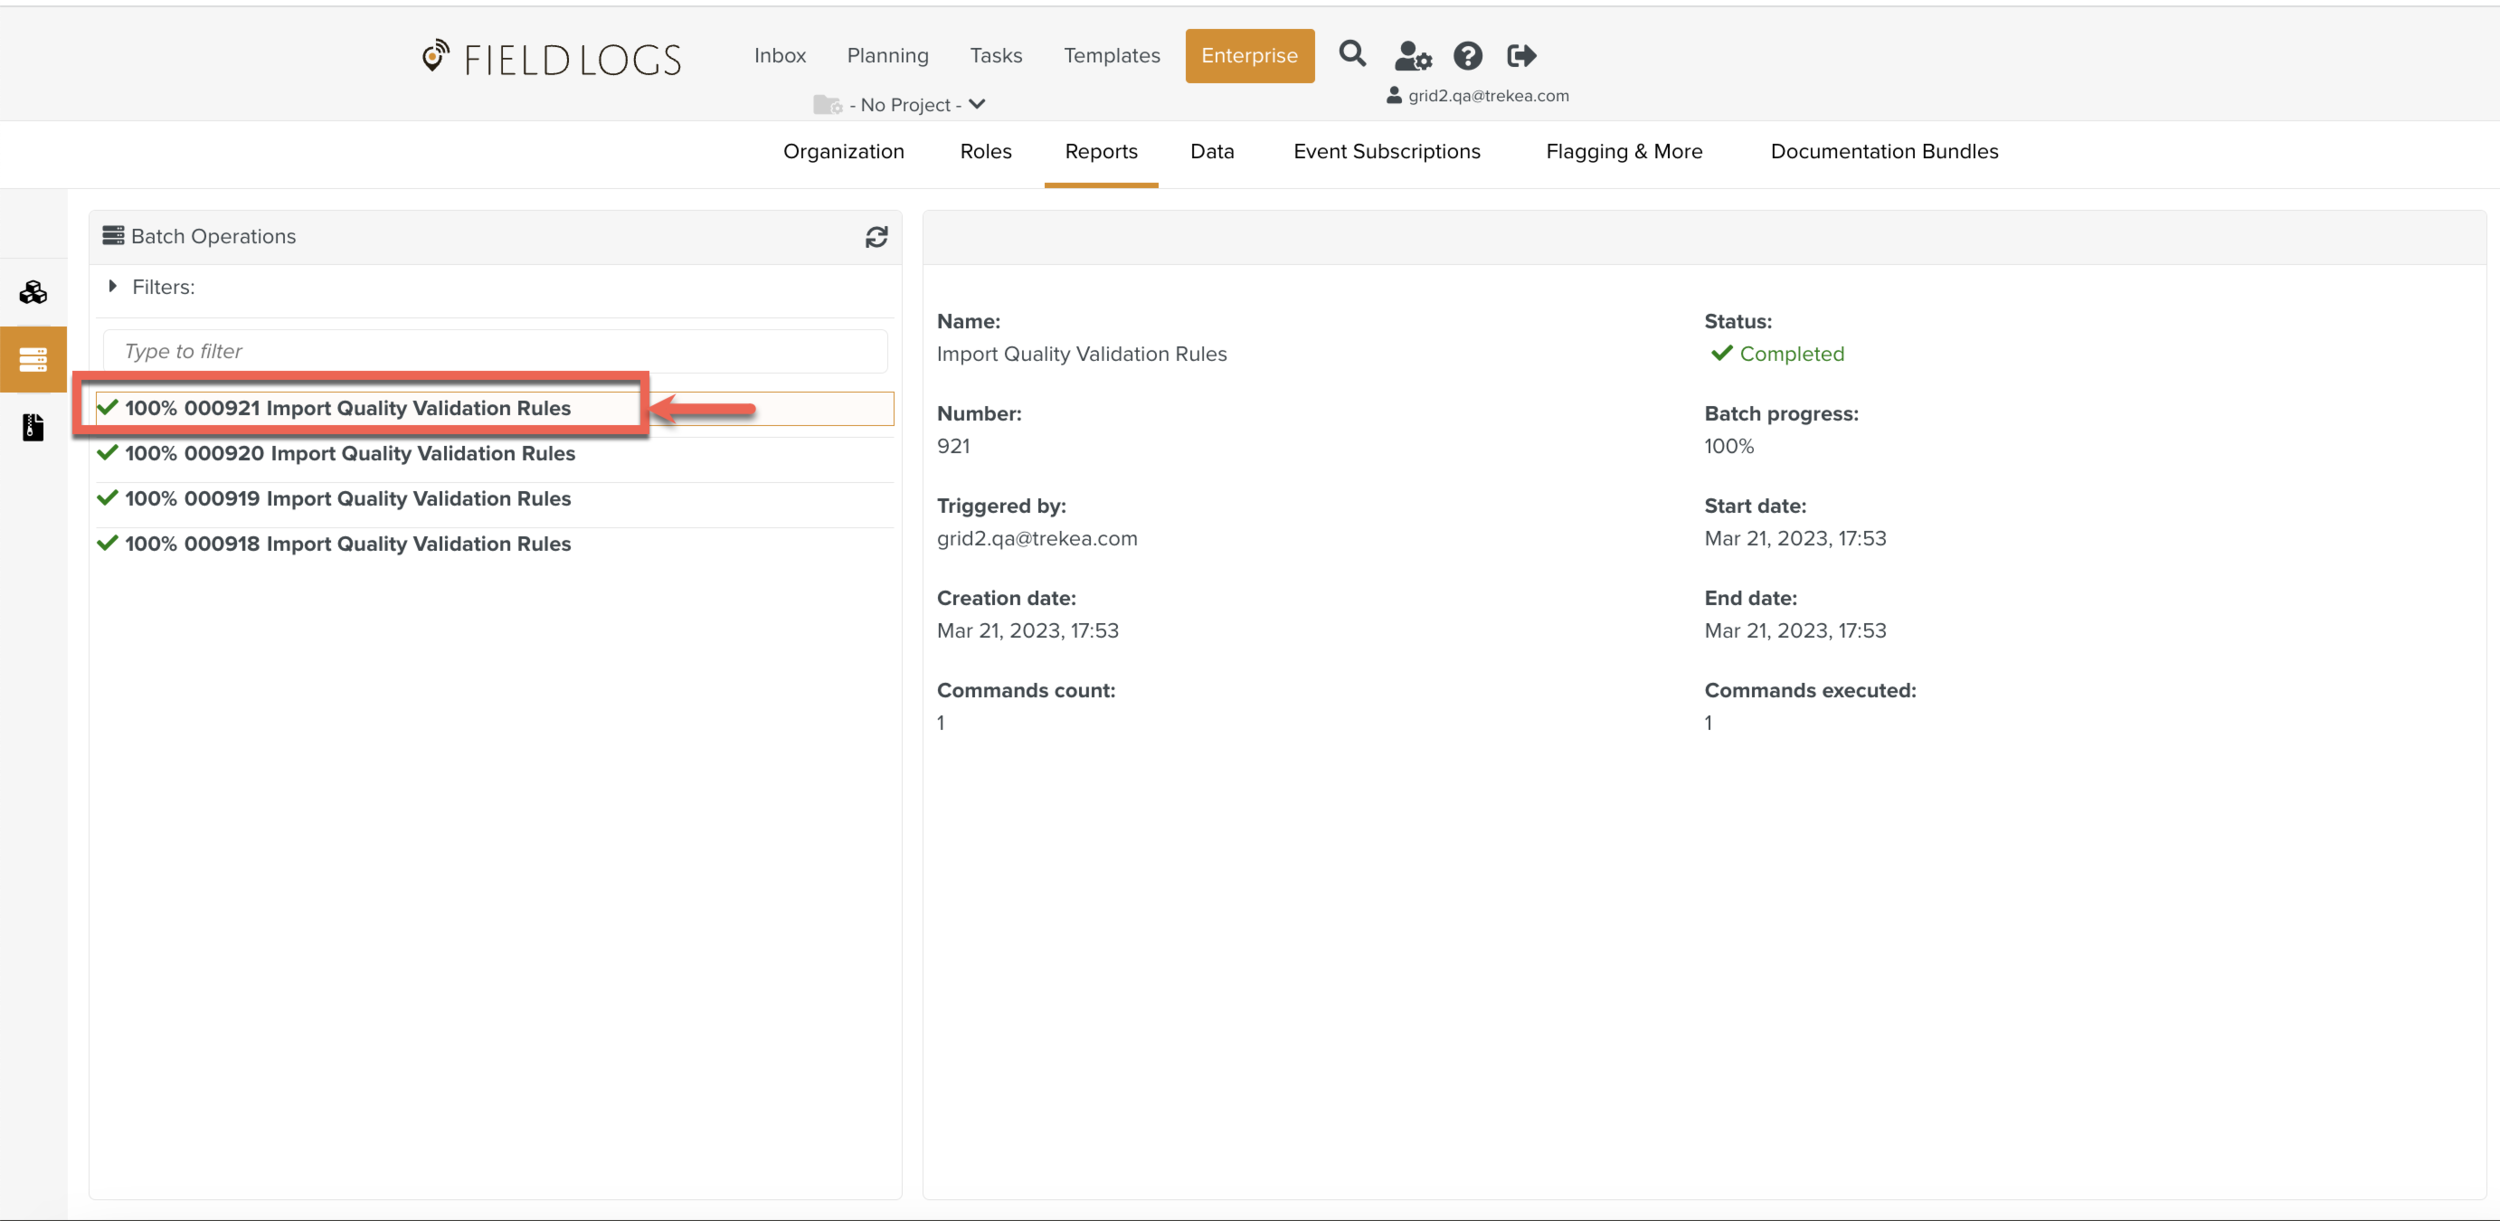
Select the unzipped Quality Validation Rule JSON file to Import.
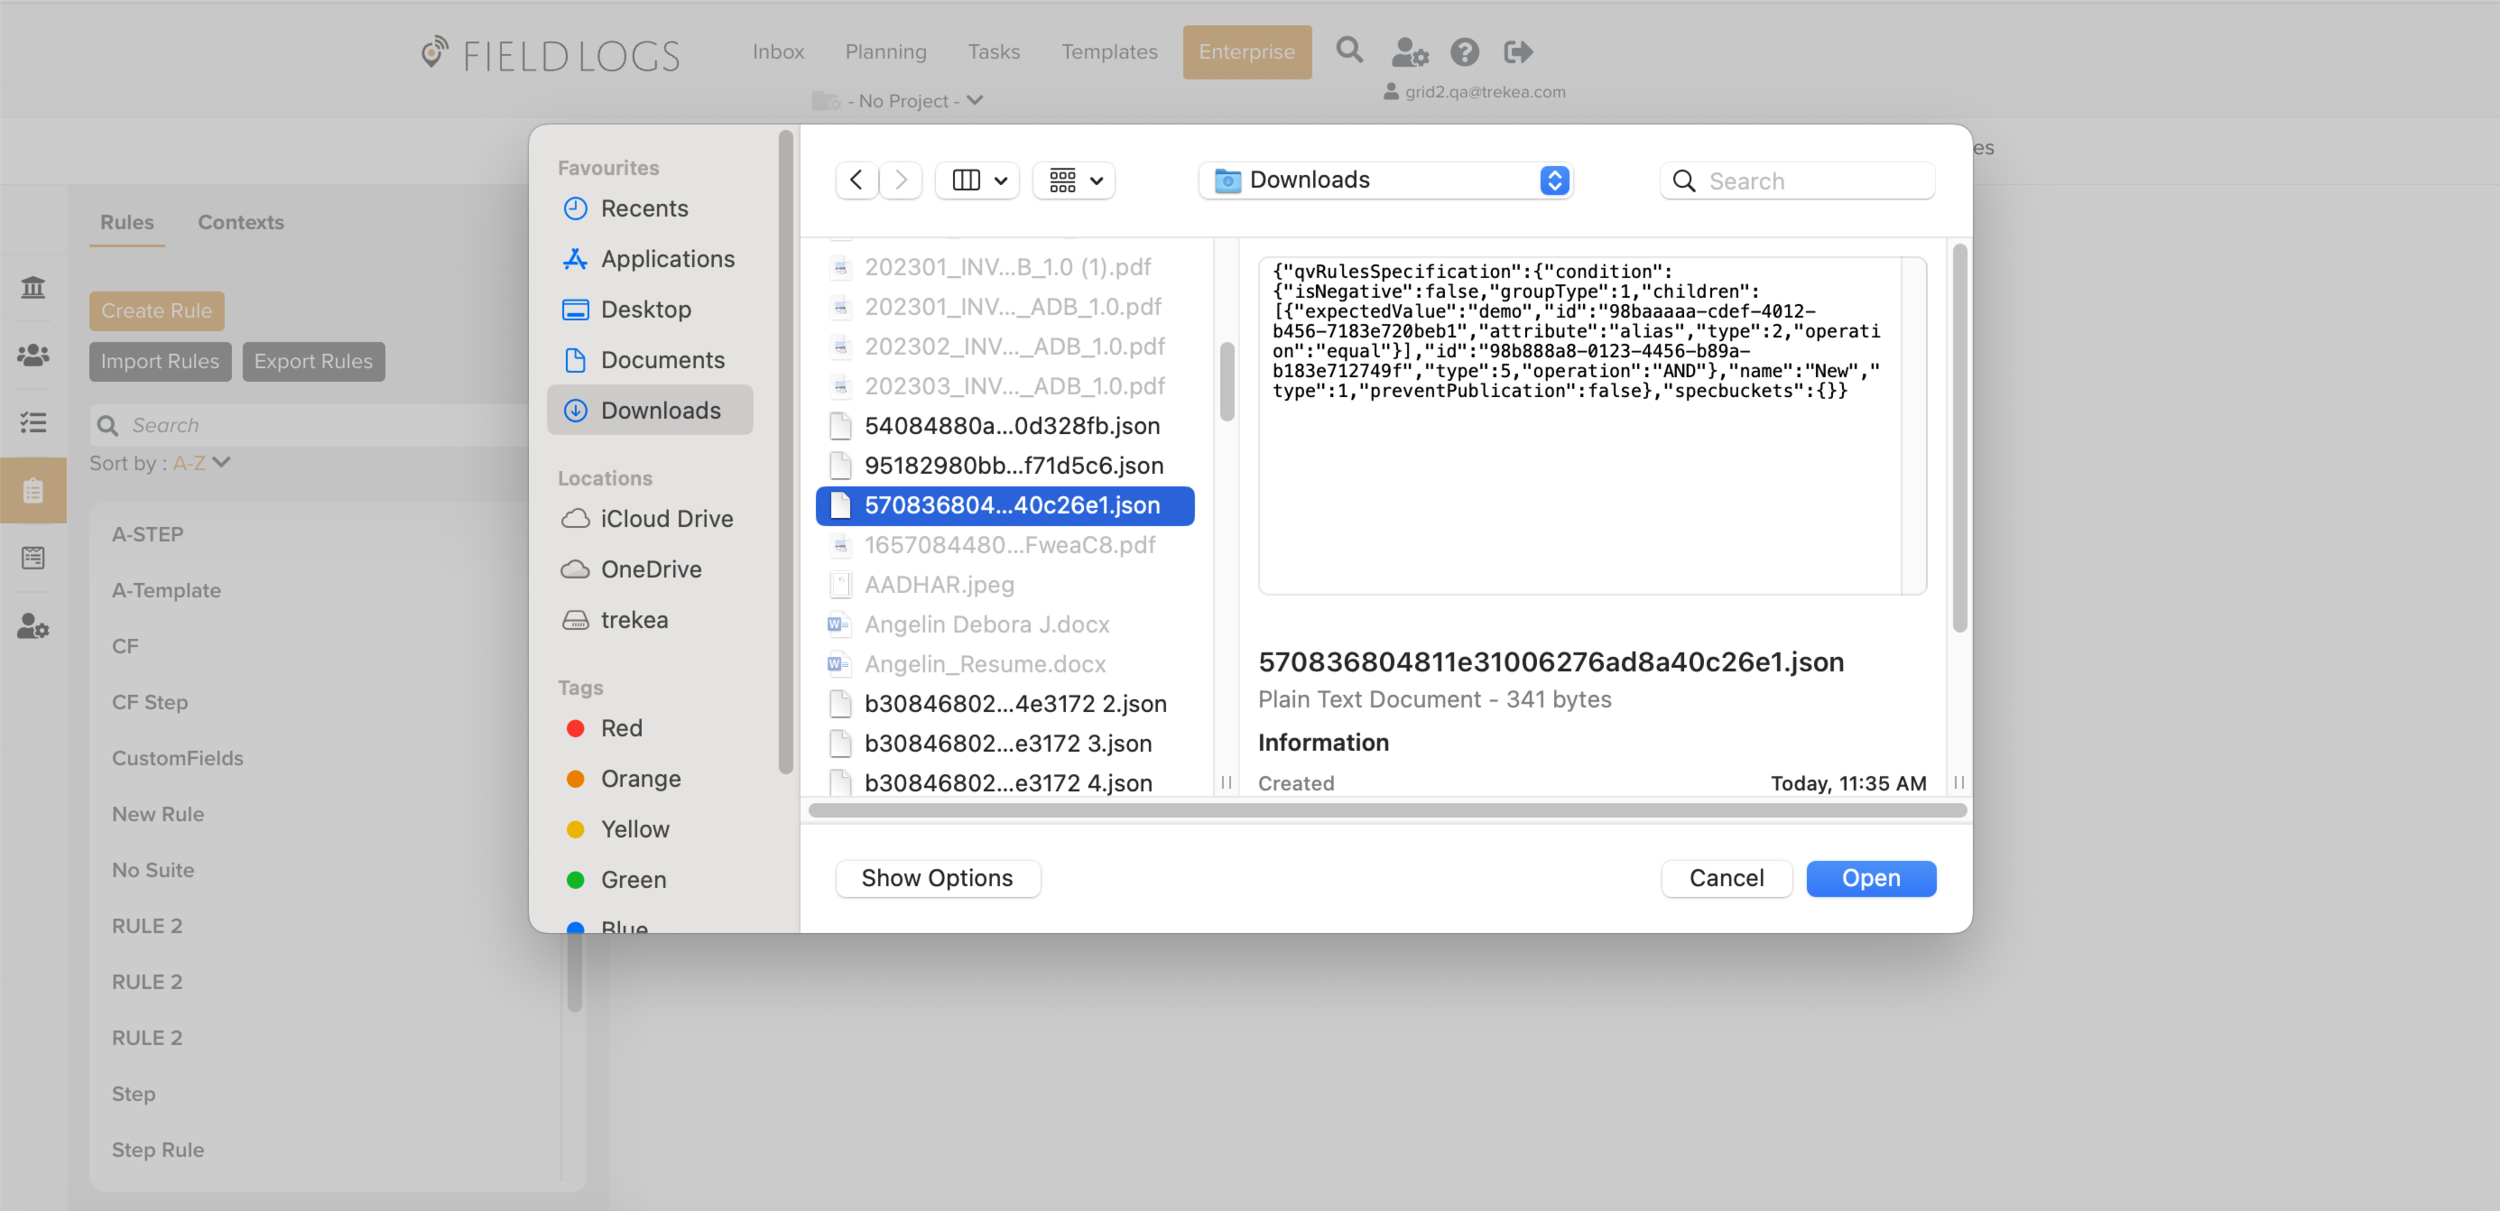
The JSON file is Imported to the Target environment.
Document Spaces can be exported and imported when required.
The export of Document Space downloads a .zip file with the data pertaining to the Document Space. The following data linked to it are exported:
Document Types
Approval Types
Lifecycles
Documents
The import of a Document Space in .zip format results in the following actions:
Creates a new Document Space.
Creates the Document Type, Document Approval Type, and Documents associated to the Document Space.
Creates the Custom Fields of all types except Master Data.
Adds the Lifecycle associated to the Approval Type if it does not exist. However, you should manually select the User Roles of the User Tasks.
Note
Documents in Draft status can be exported or imported. You cannot edit these Documents but only view them.
To Export Document Spaces:
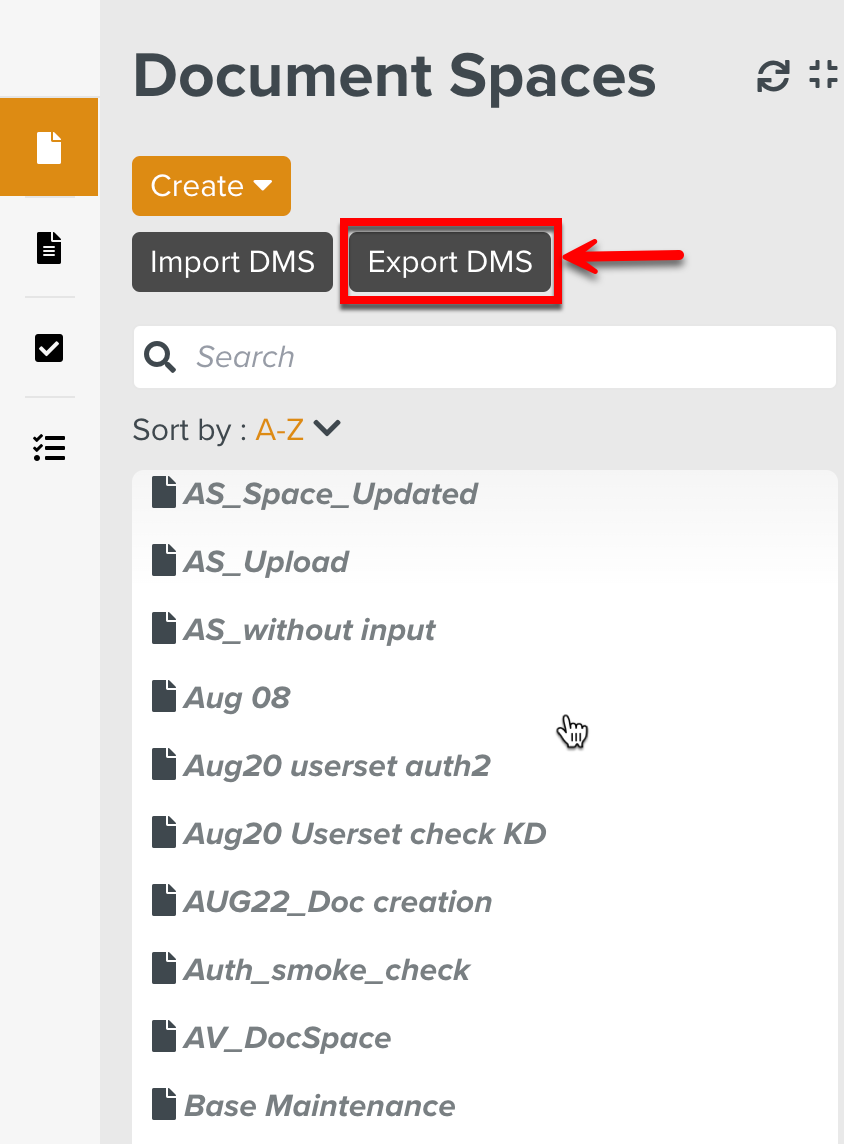
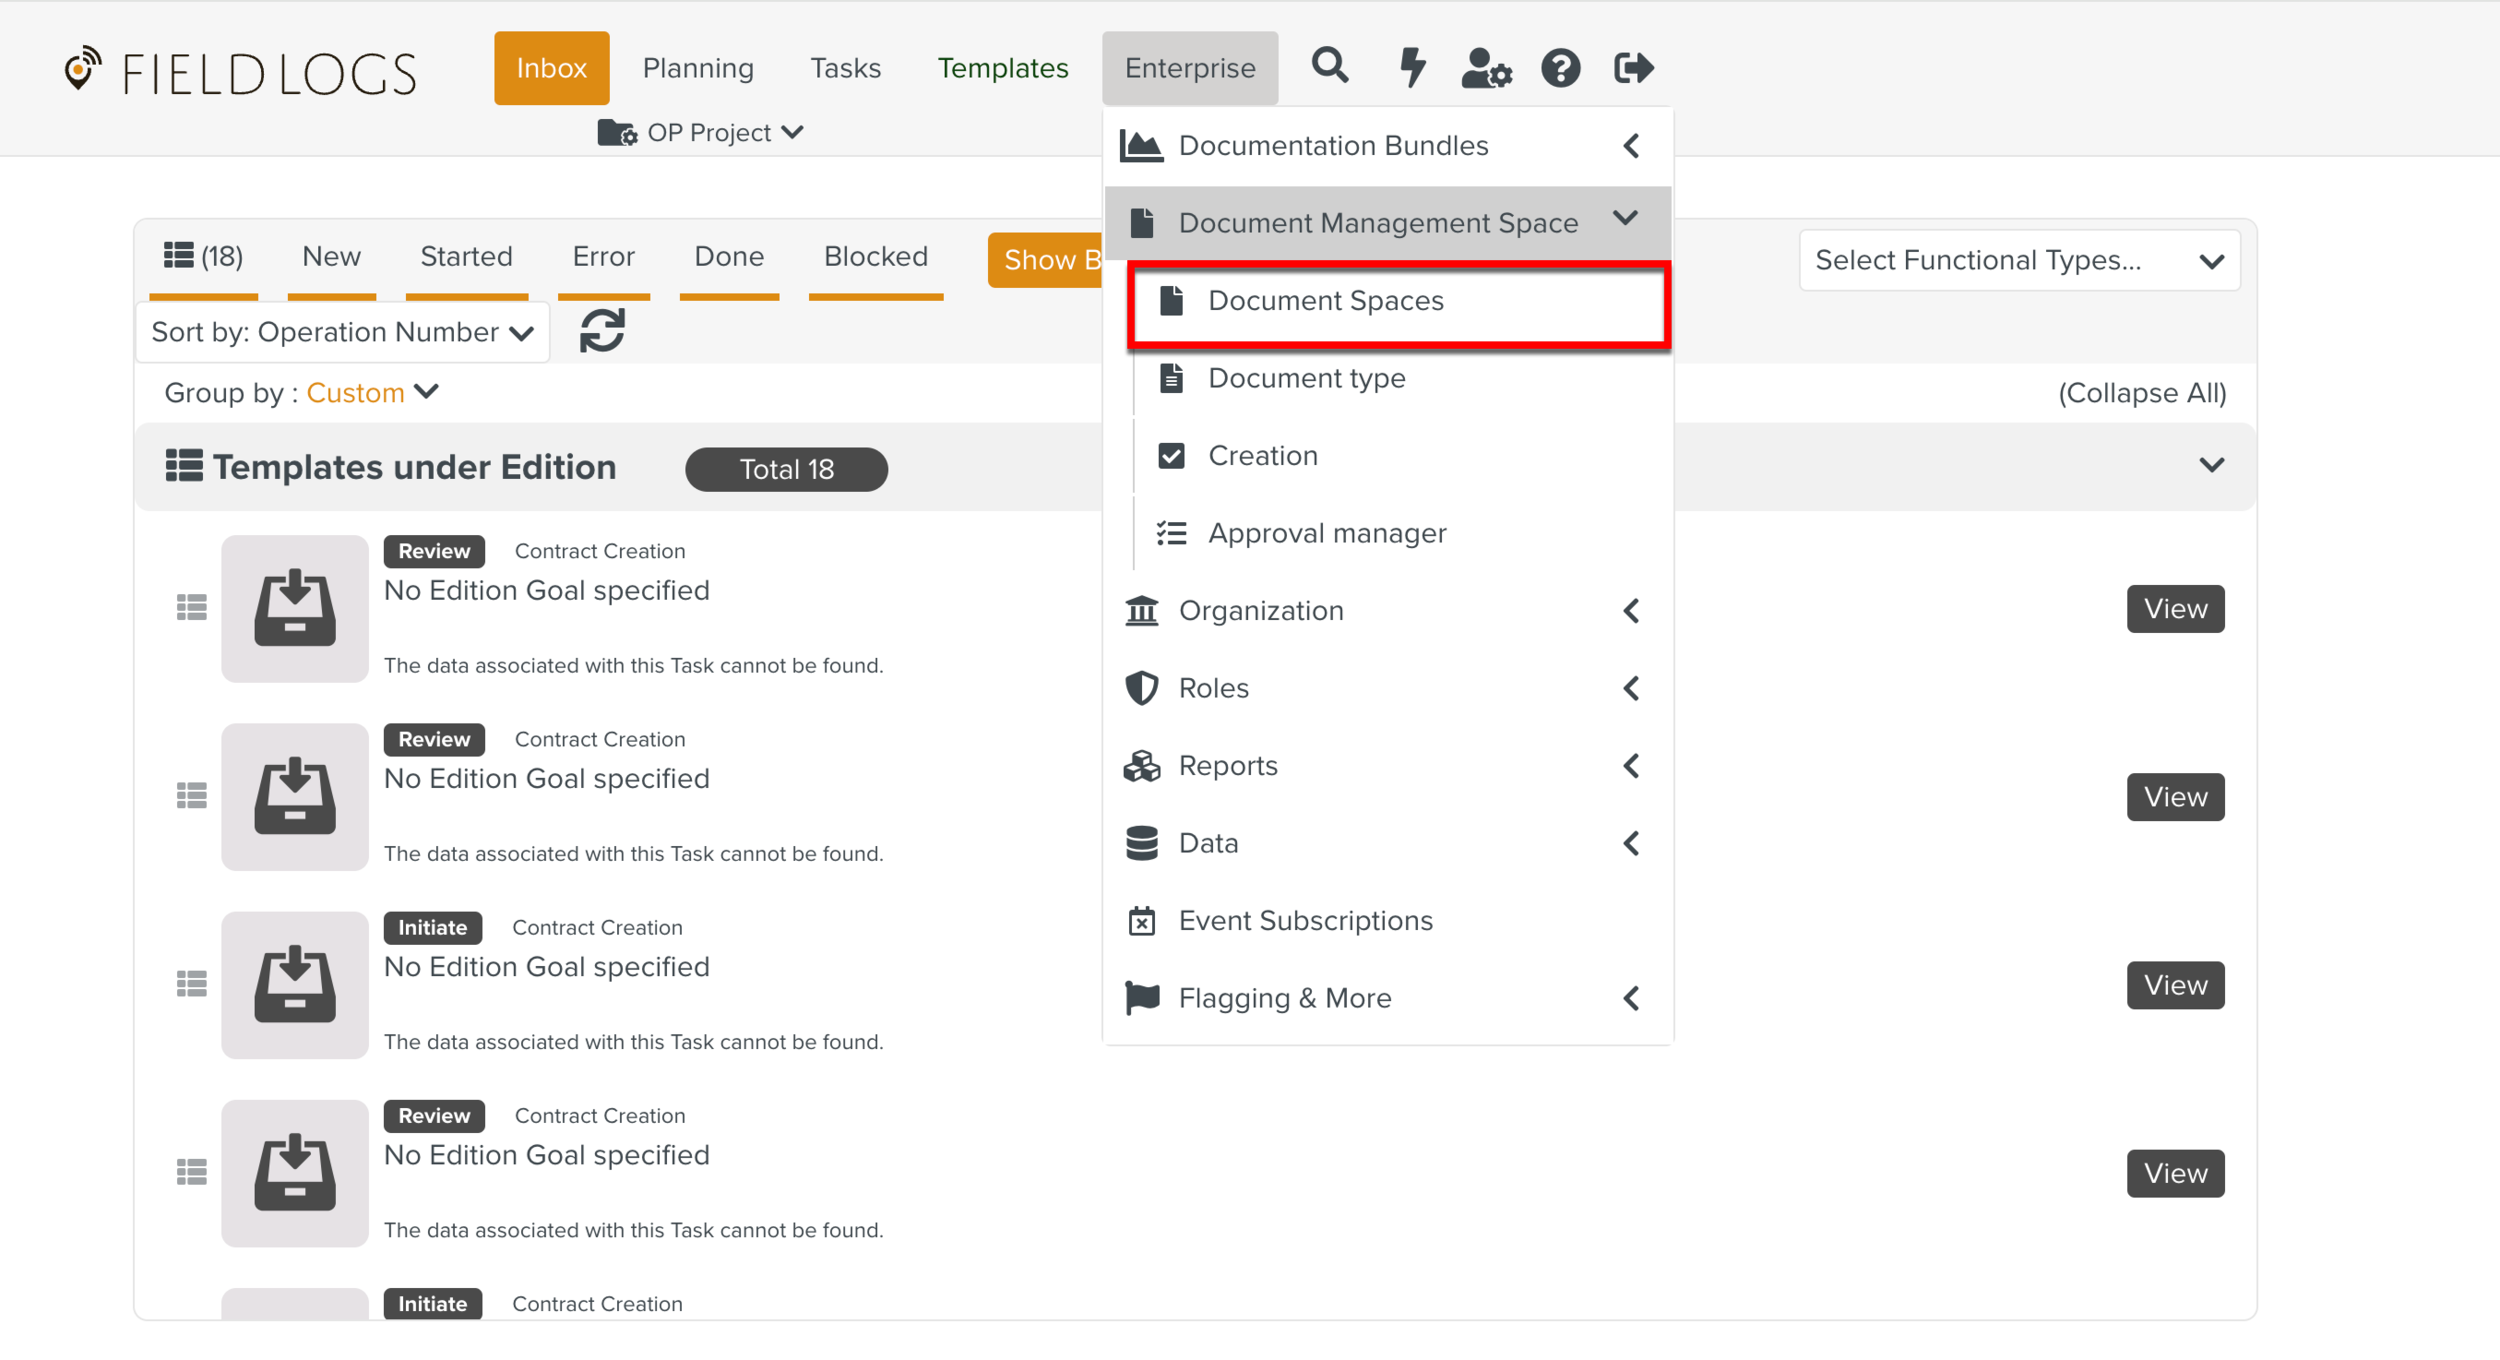
On the main menu, go to Enterprise > Document Management Space > Document Spaces.

The page Document Spaces appears.
Click Export DMS.
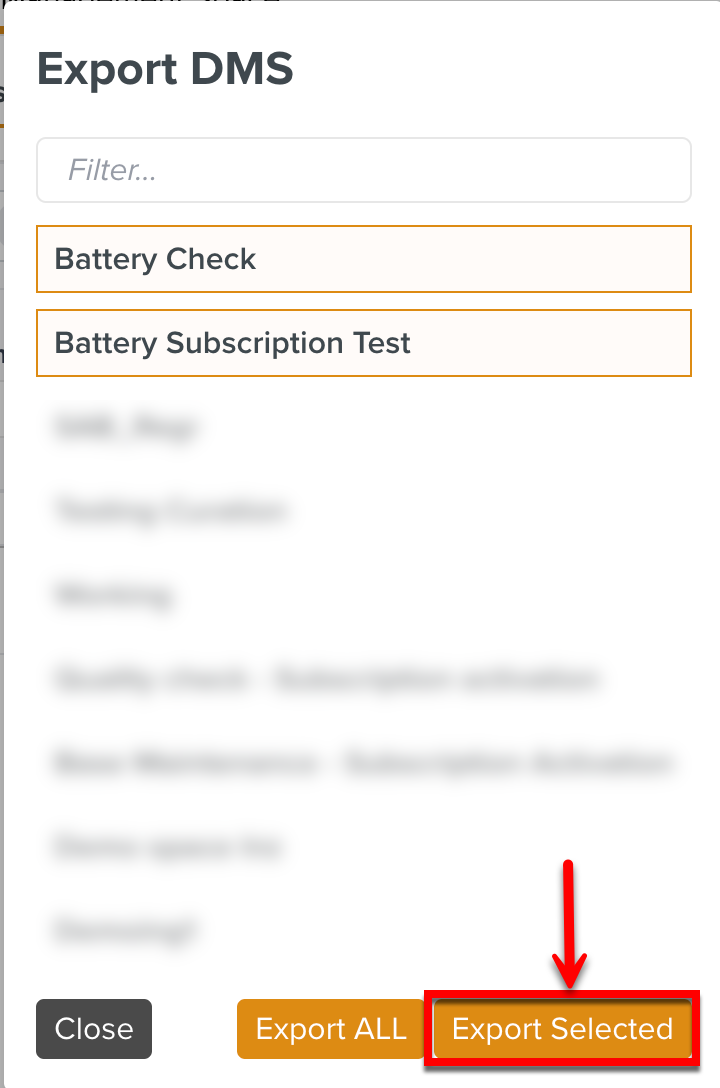
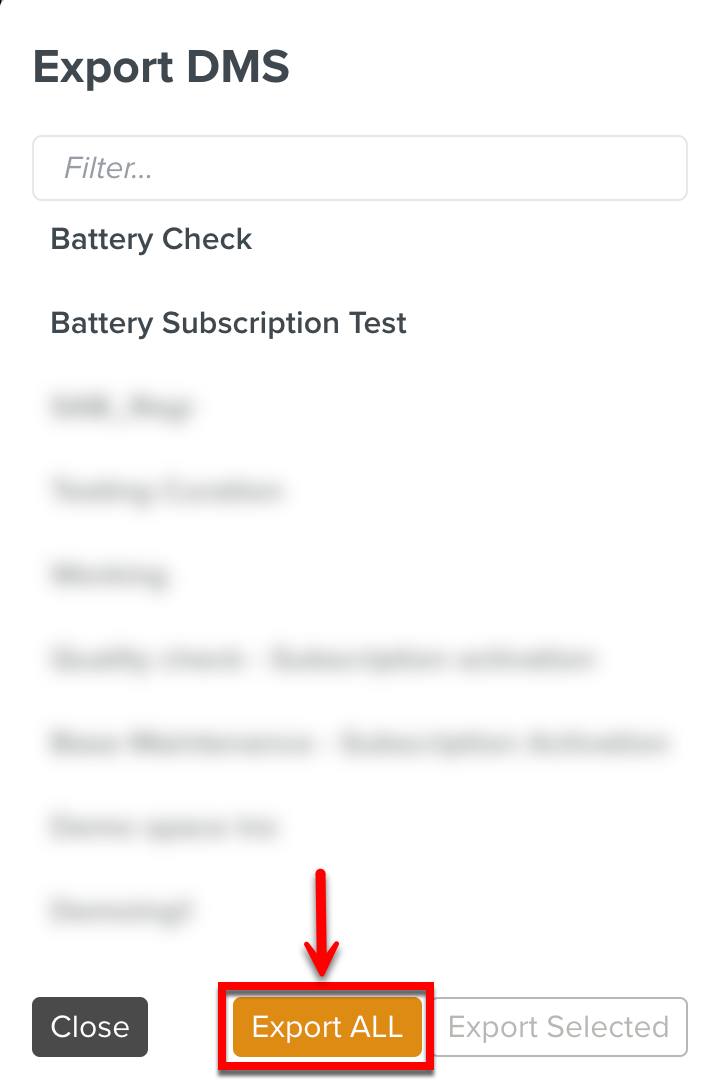
Select one or more Document Spaces to export.
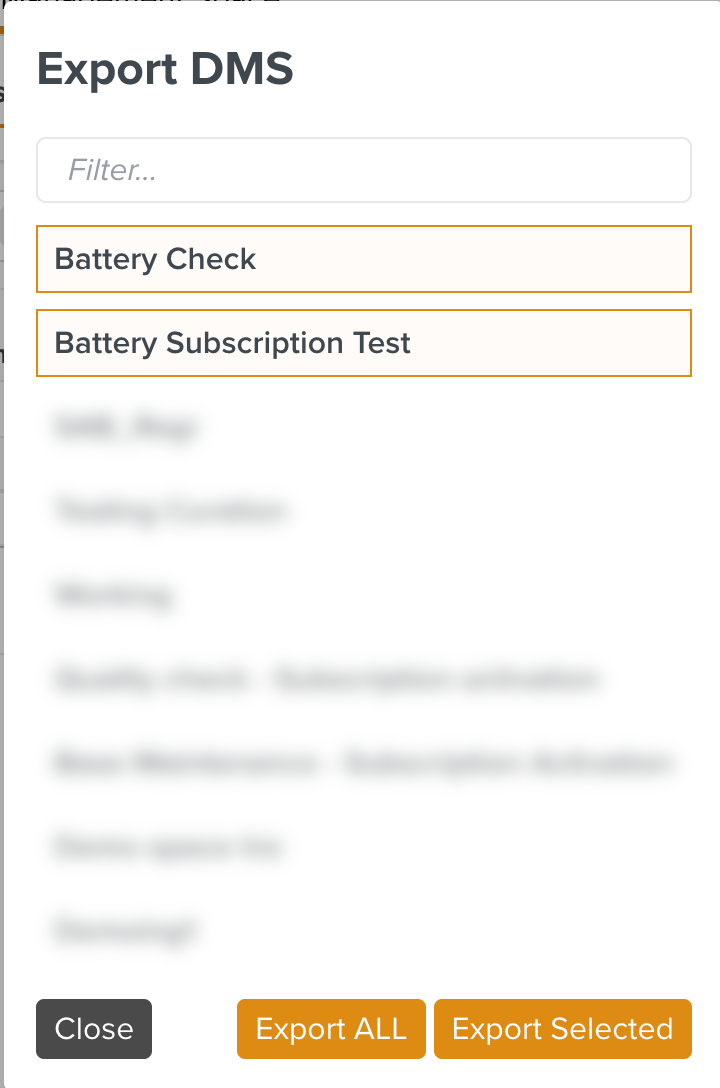
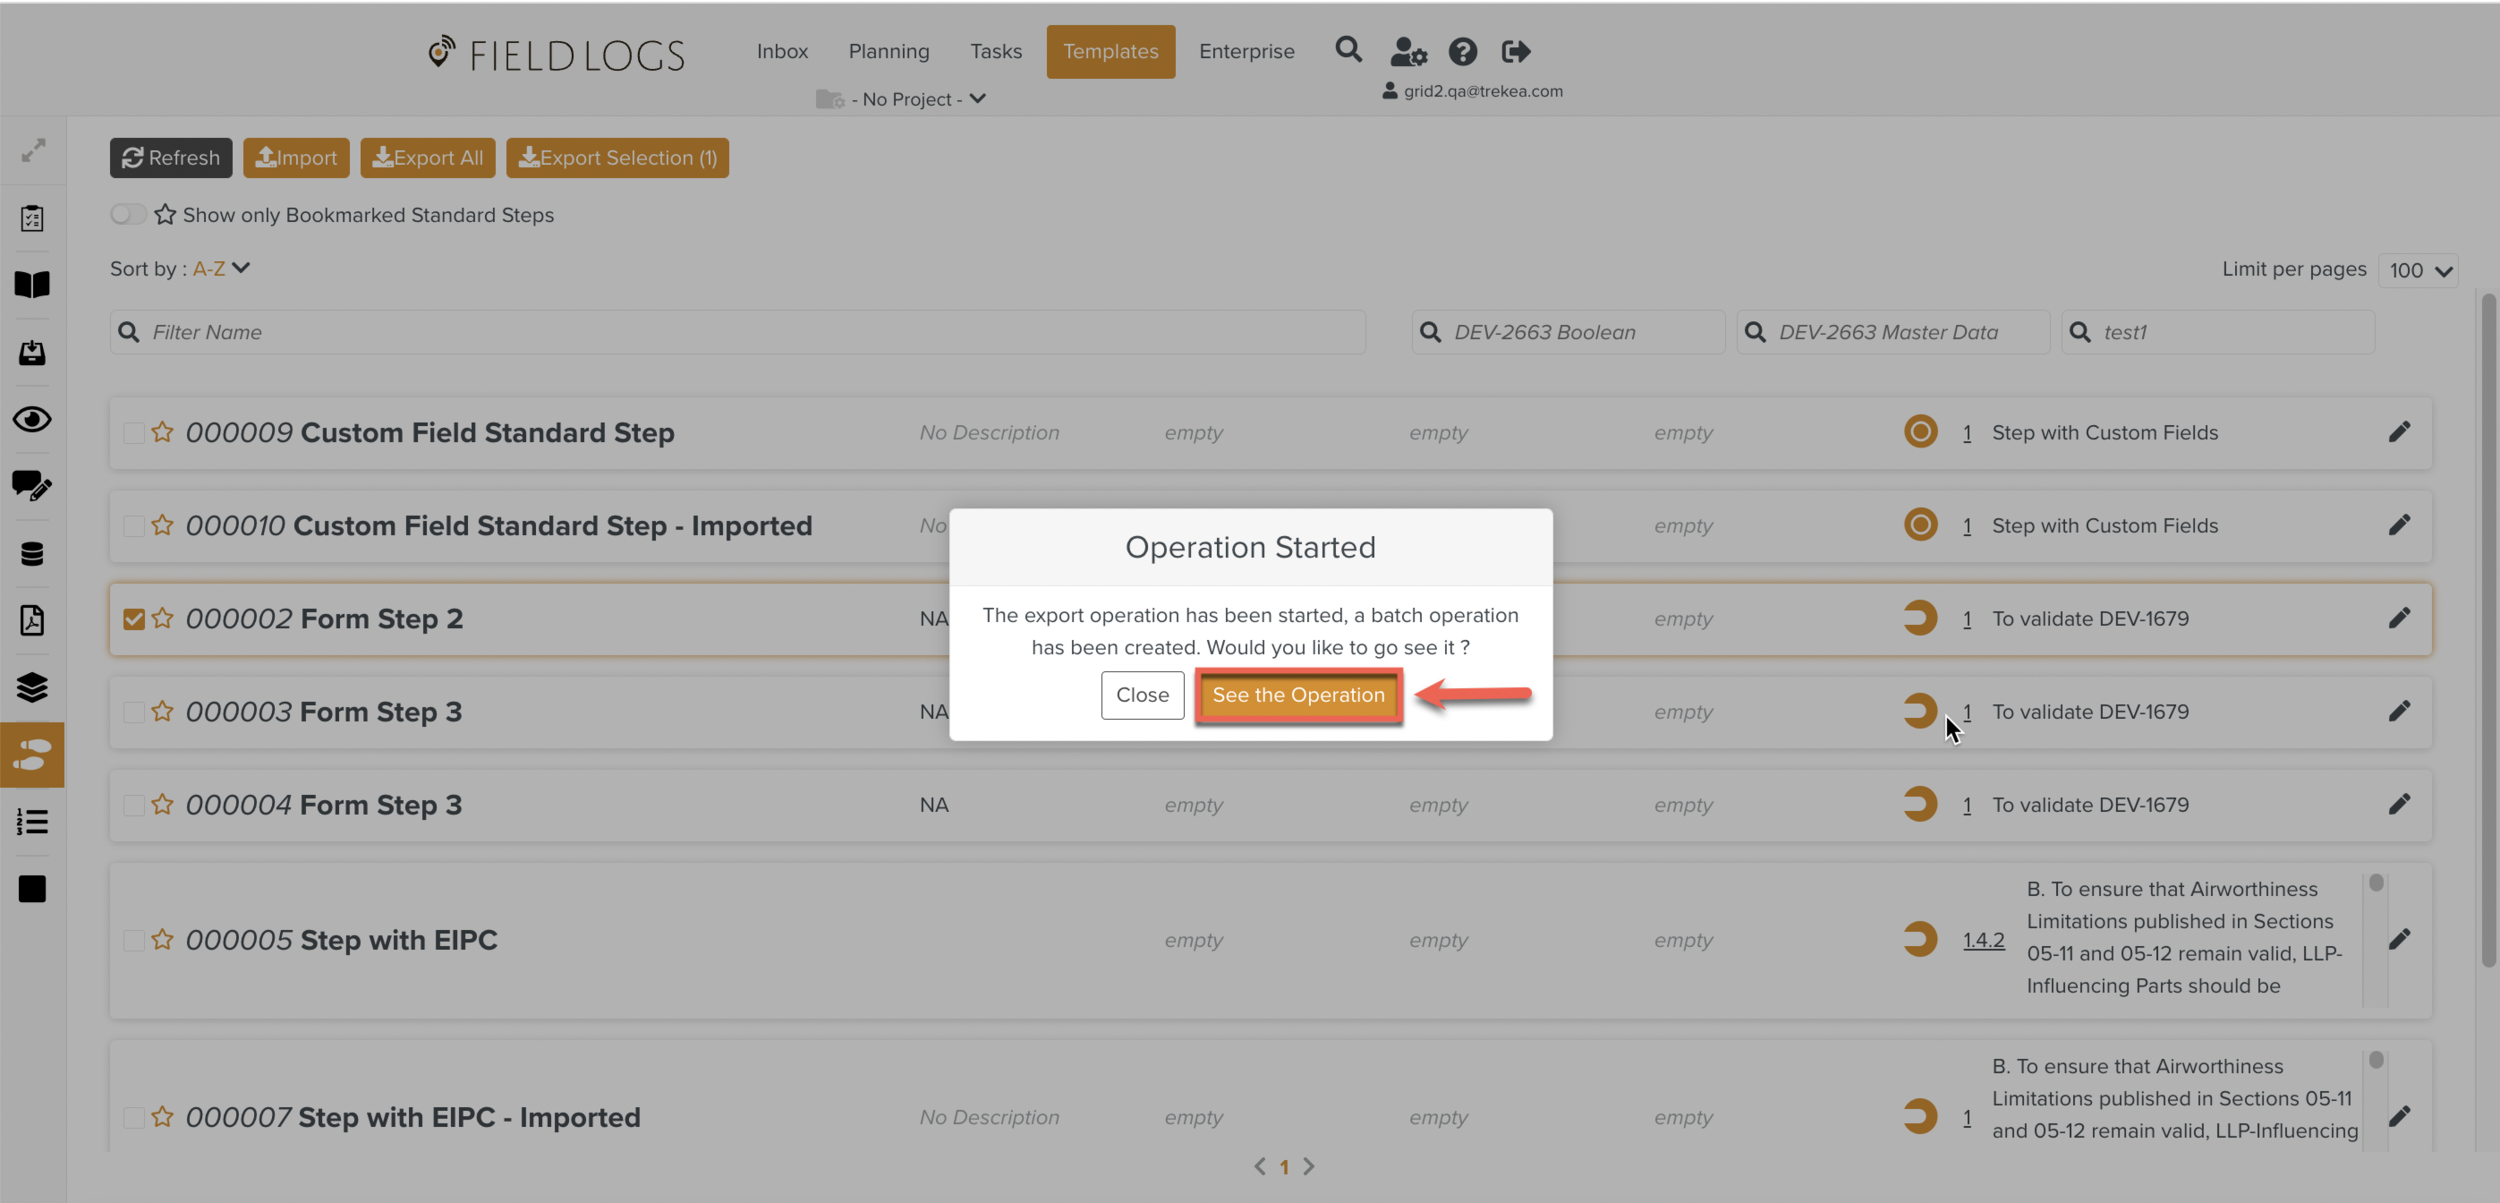
Click Export Selected.
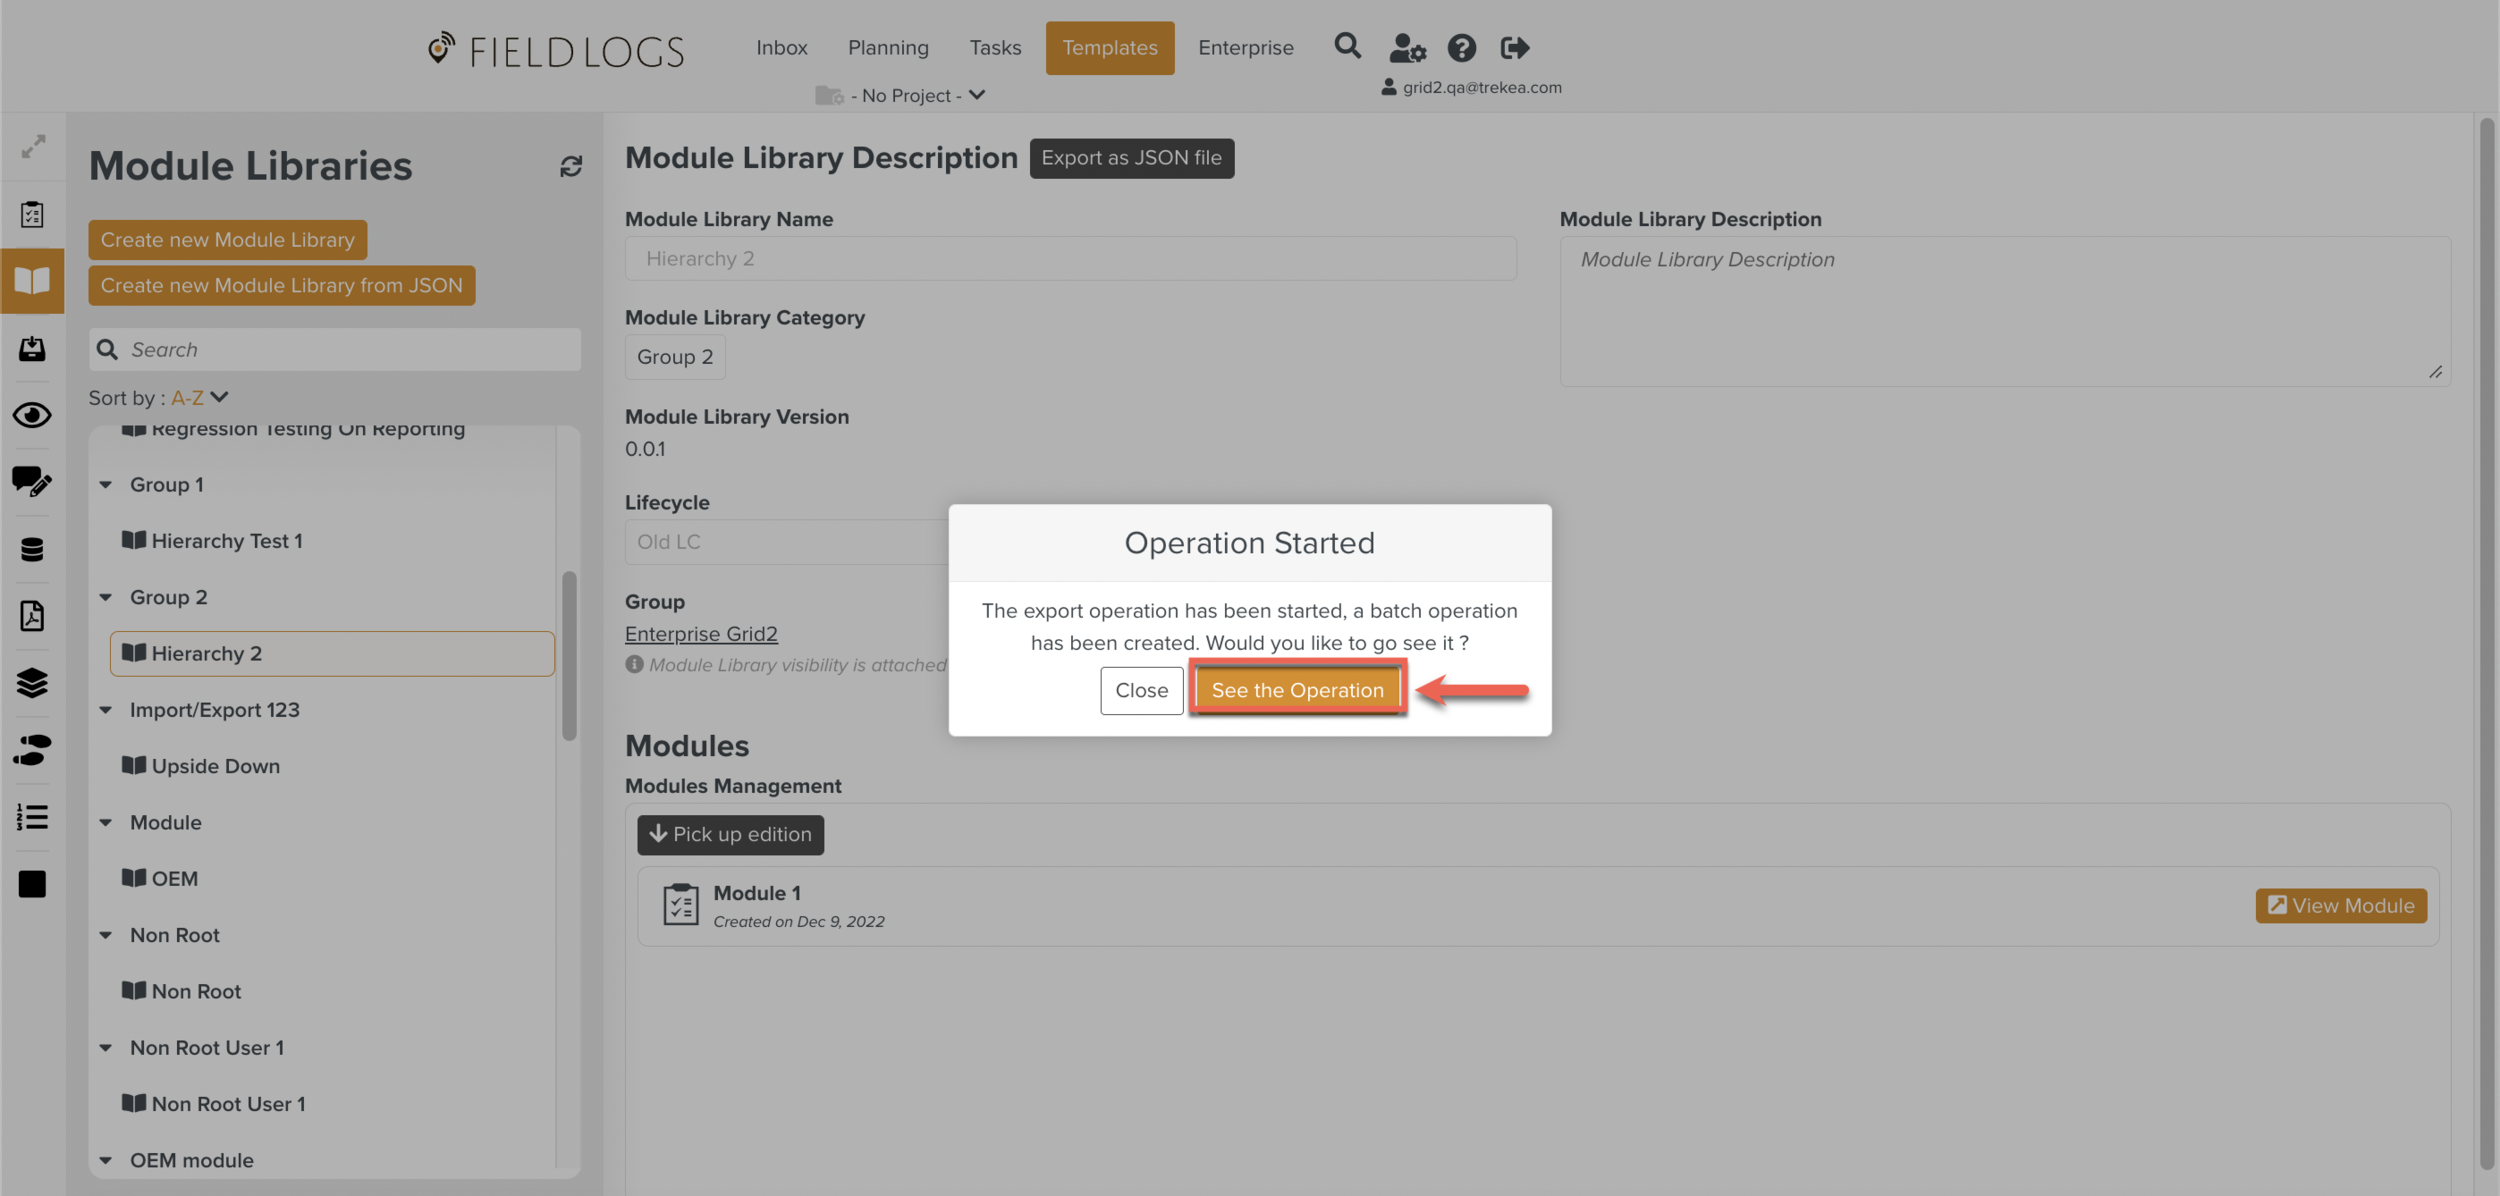
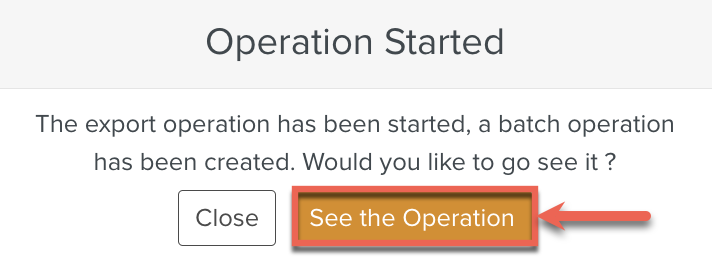
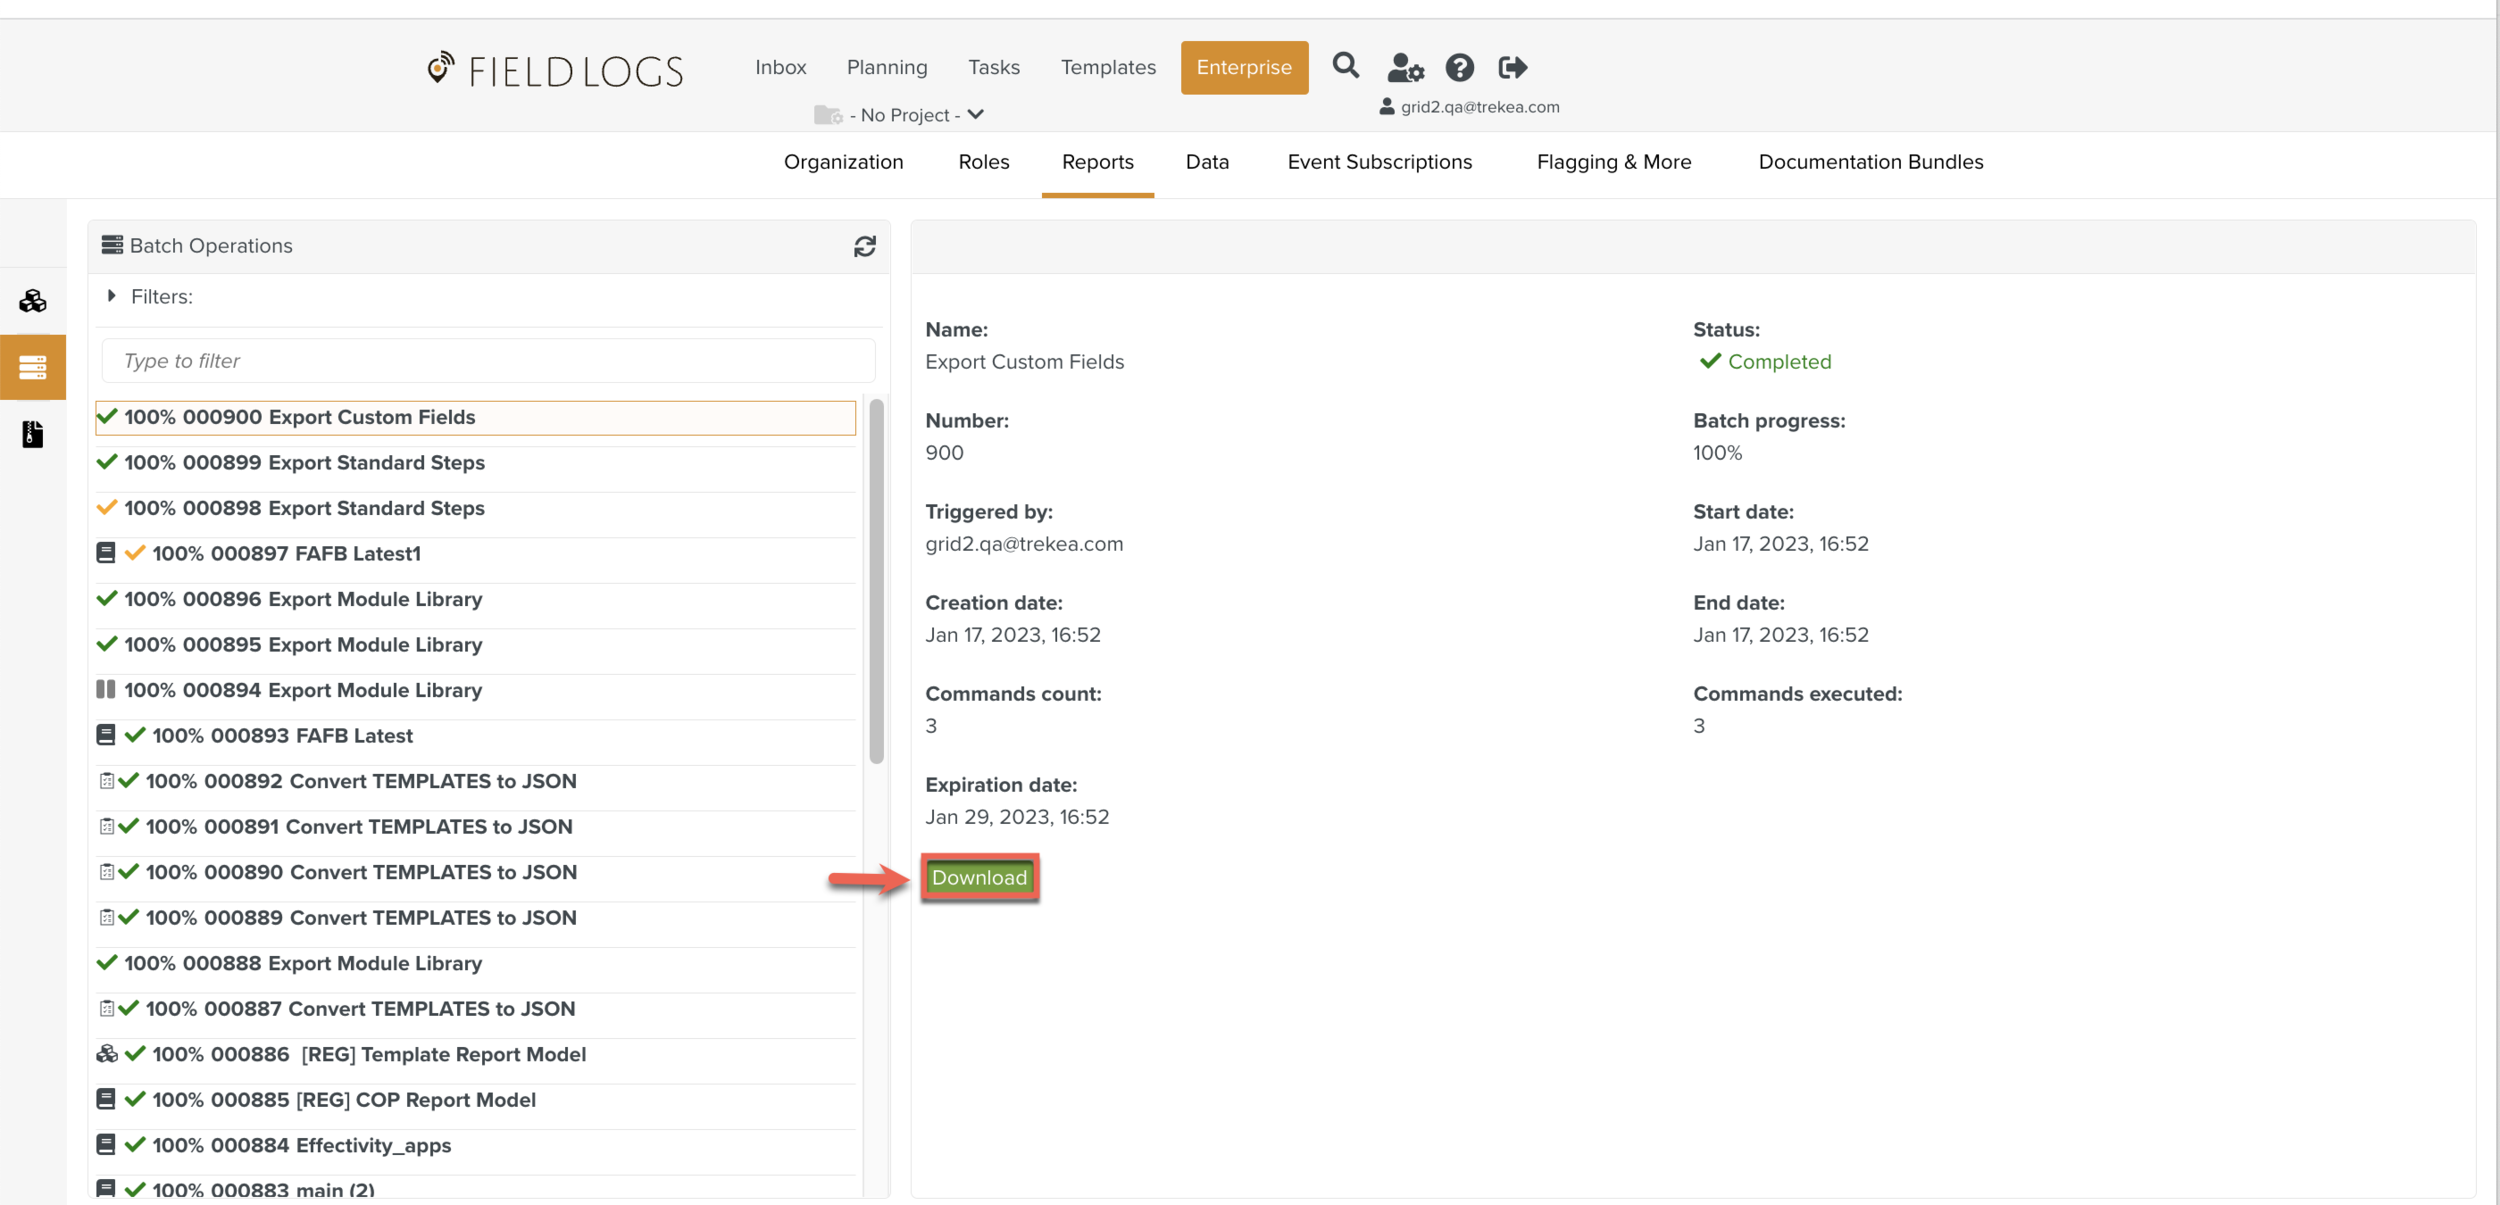
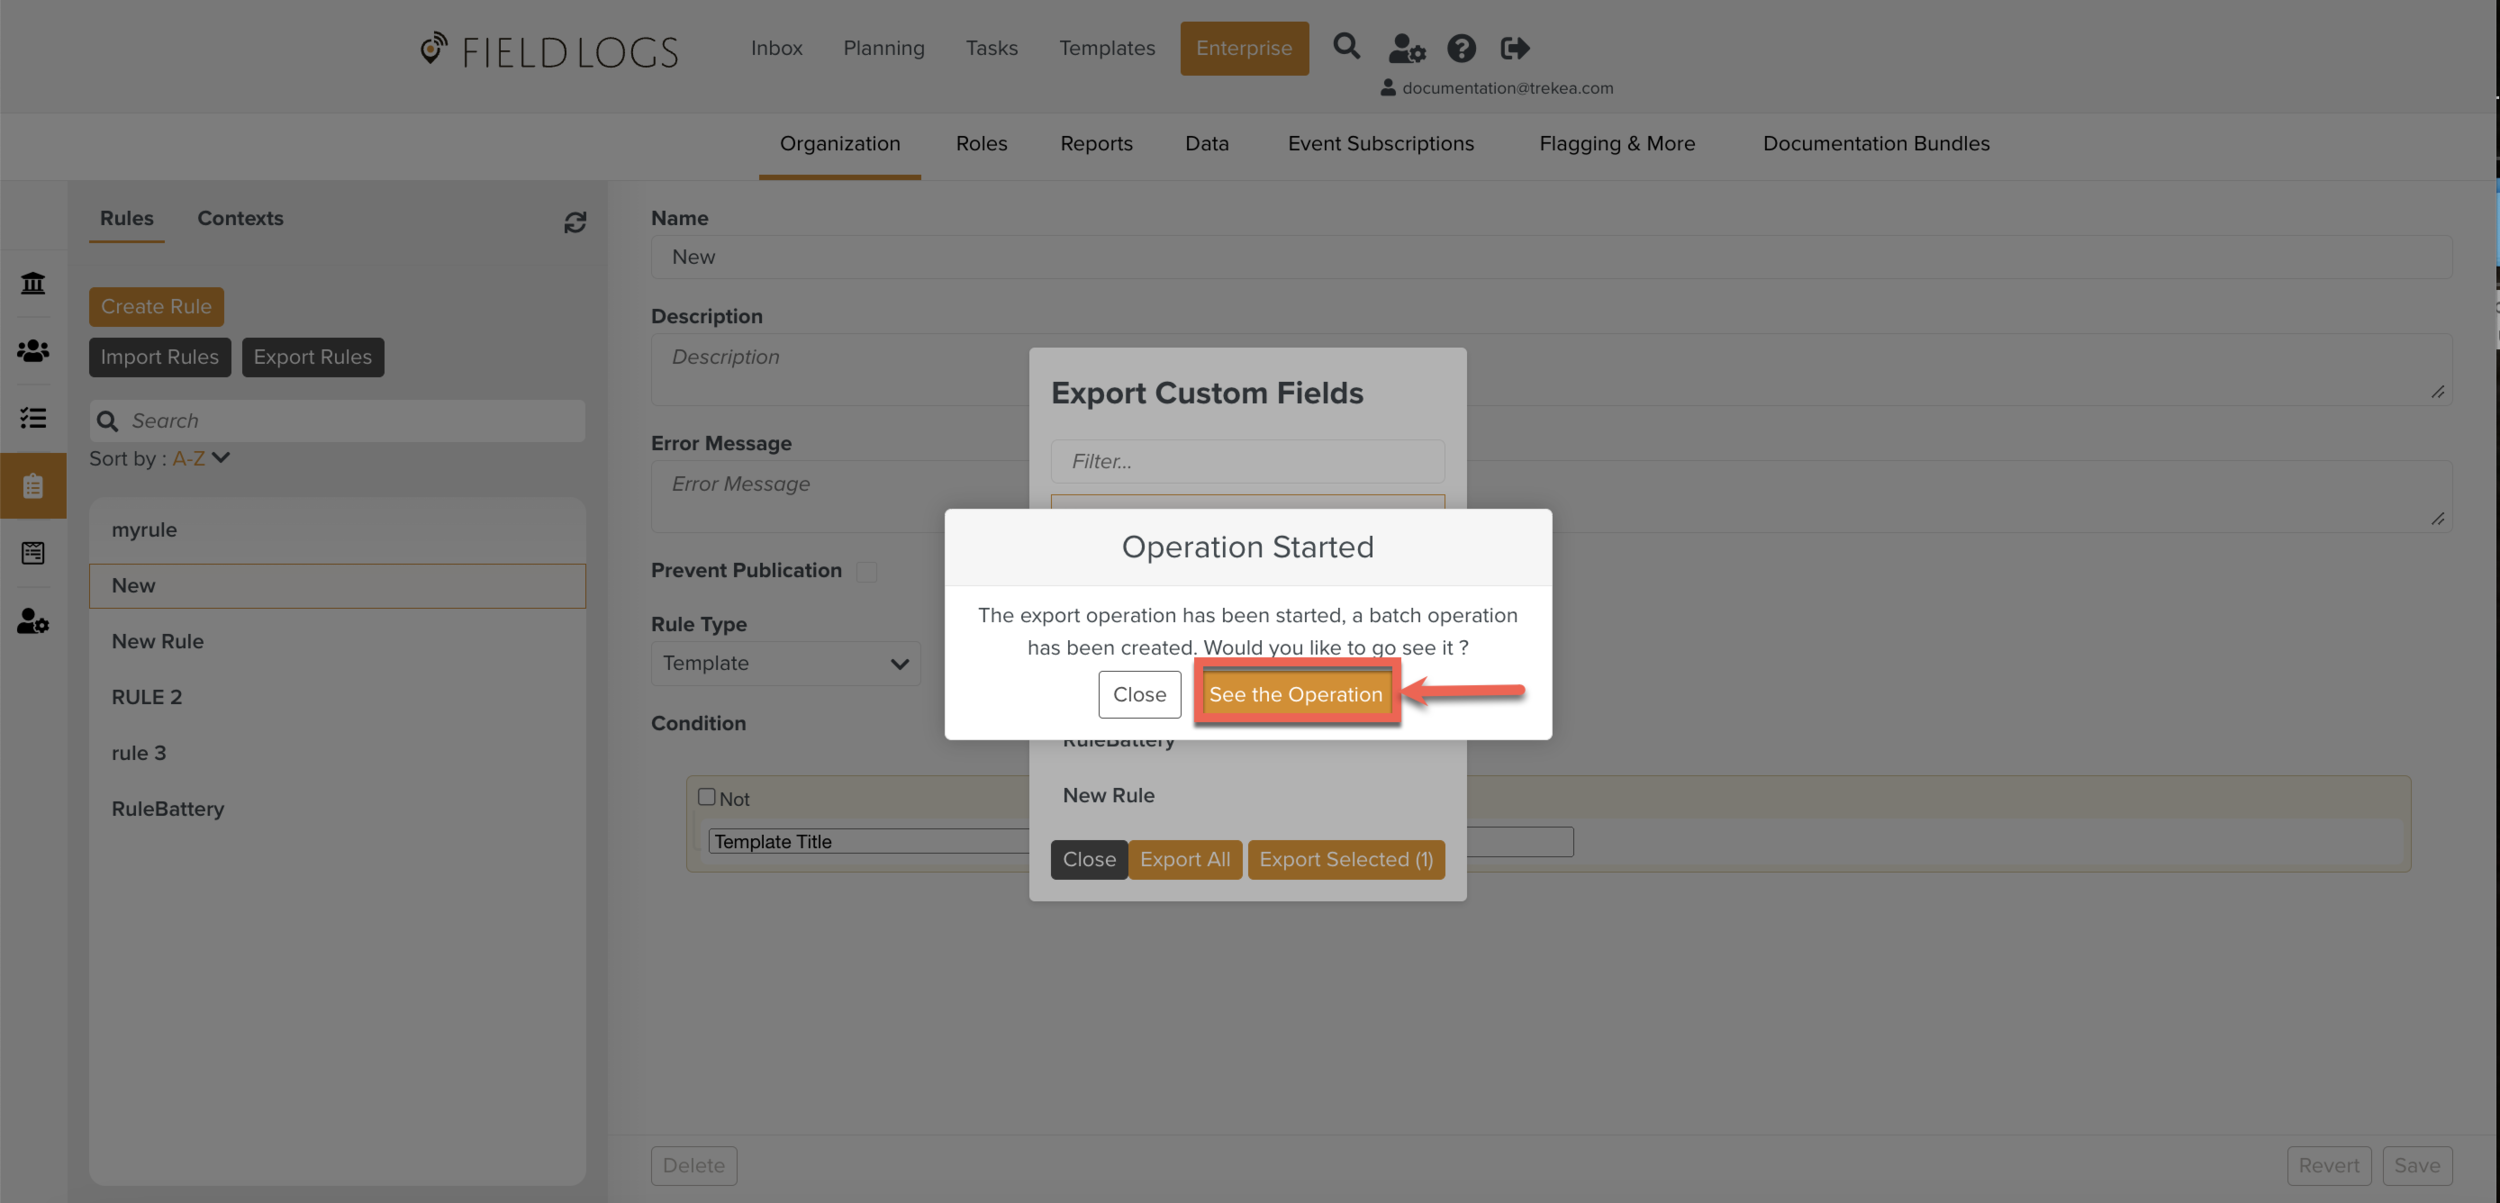
A Batch Operation starts and the Operation Started dialog appears.
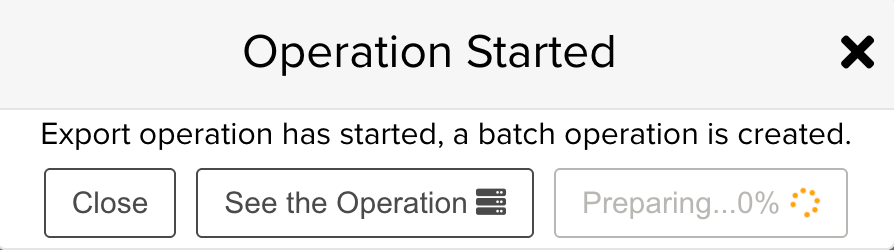
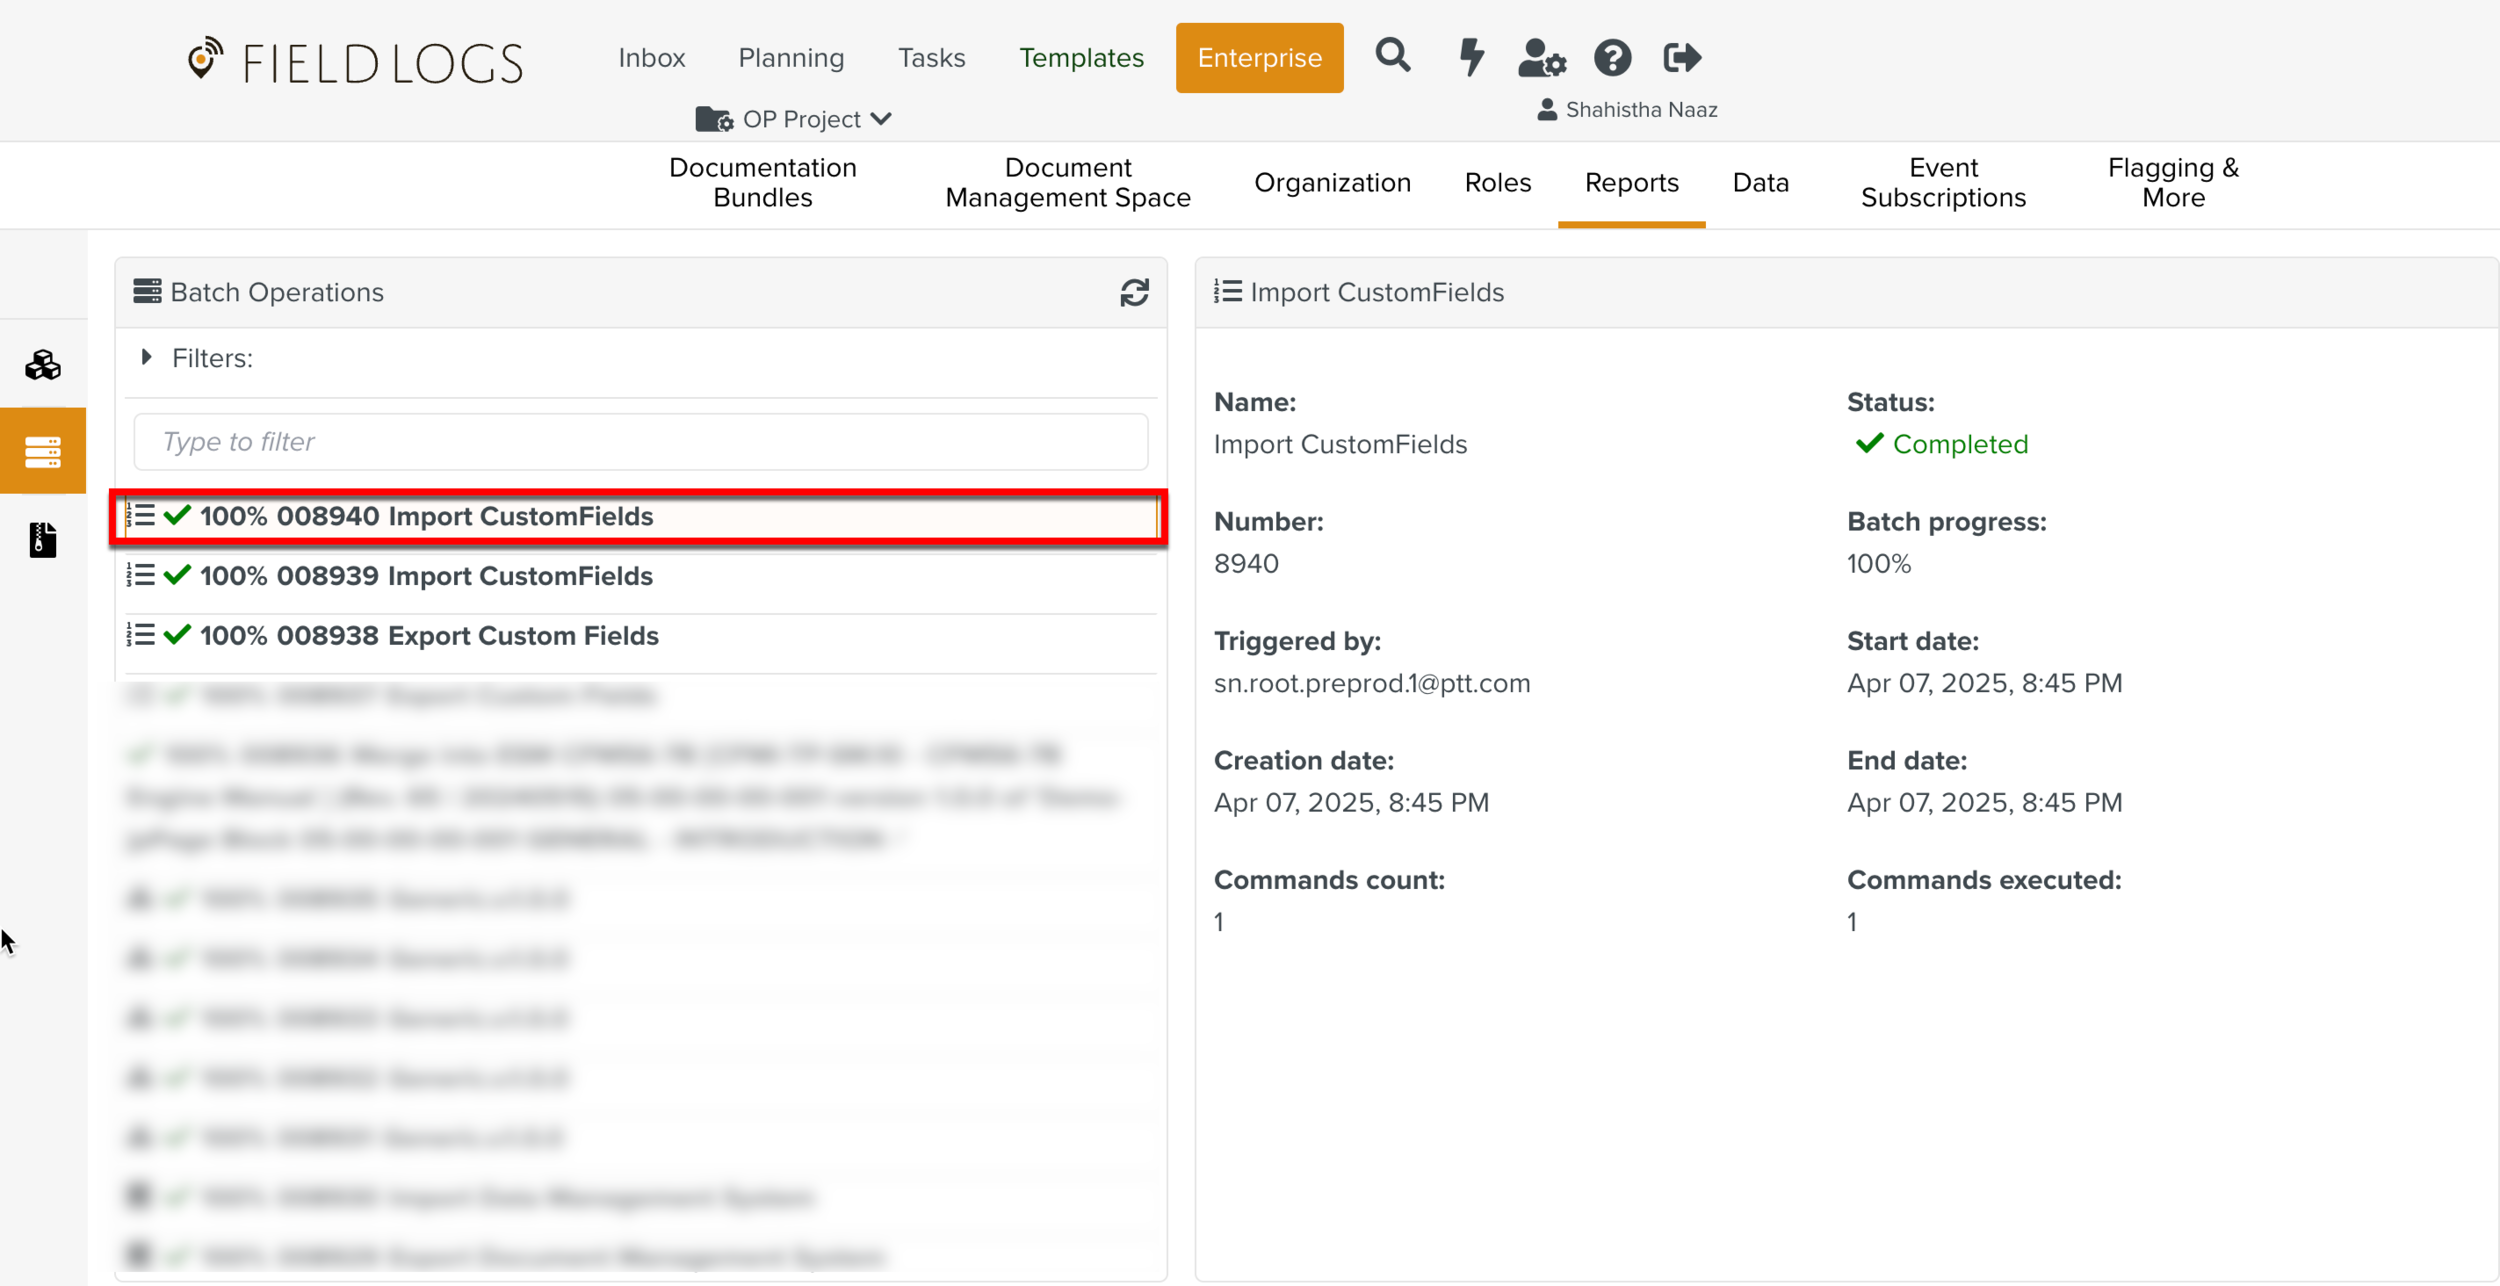
Click .
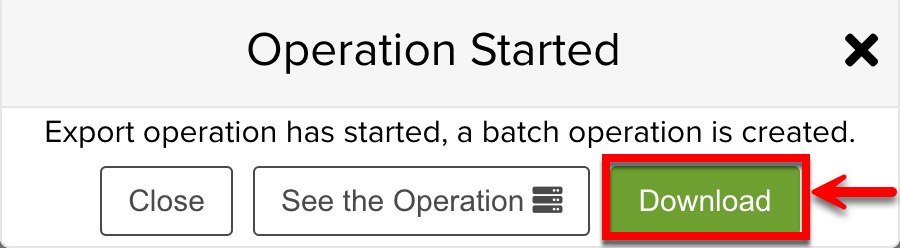
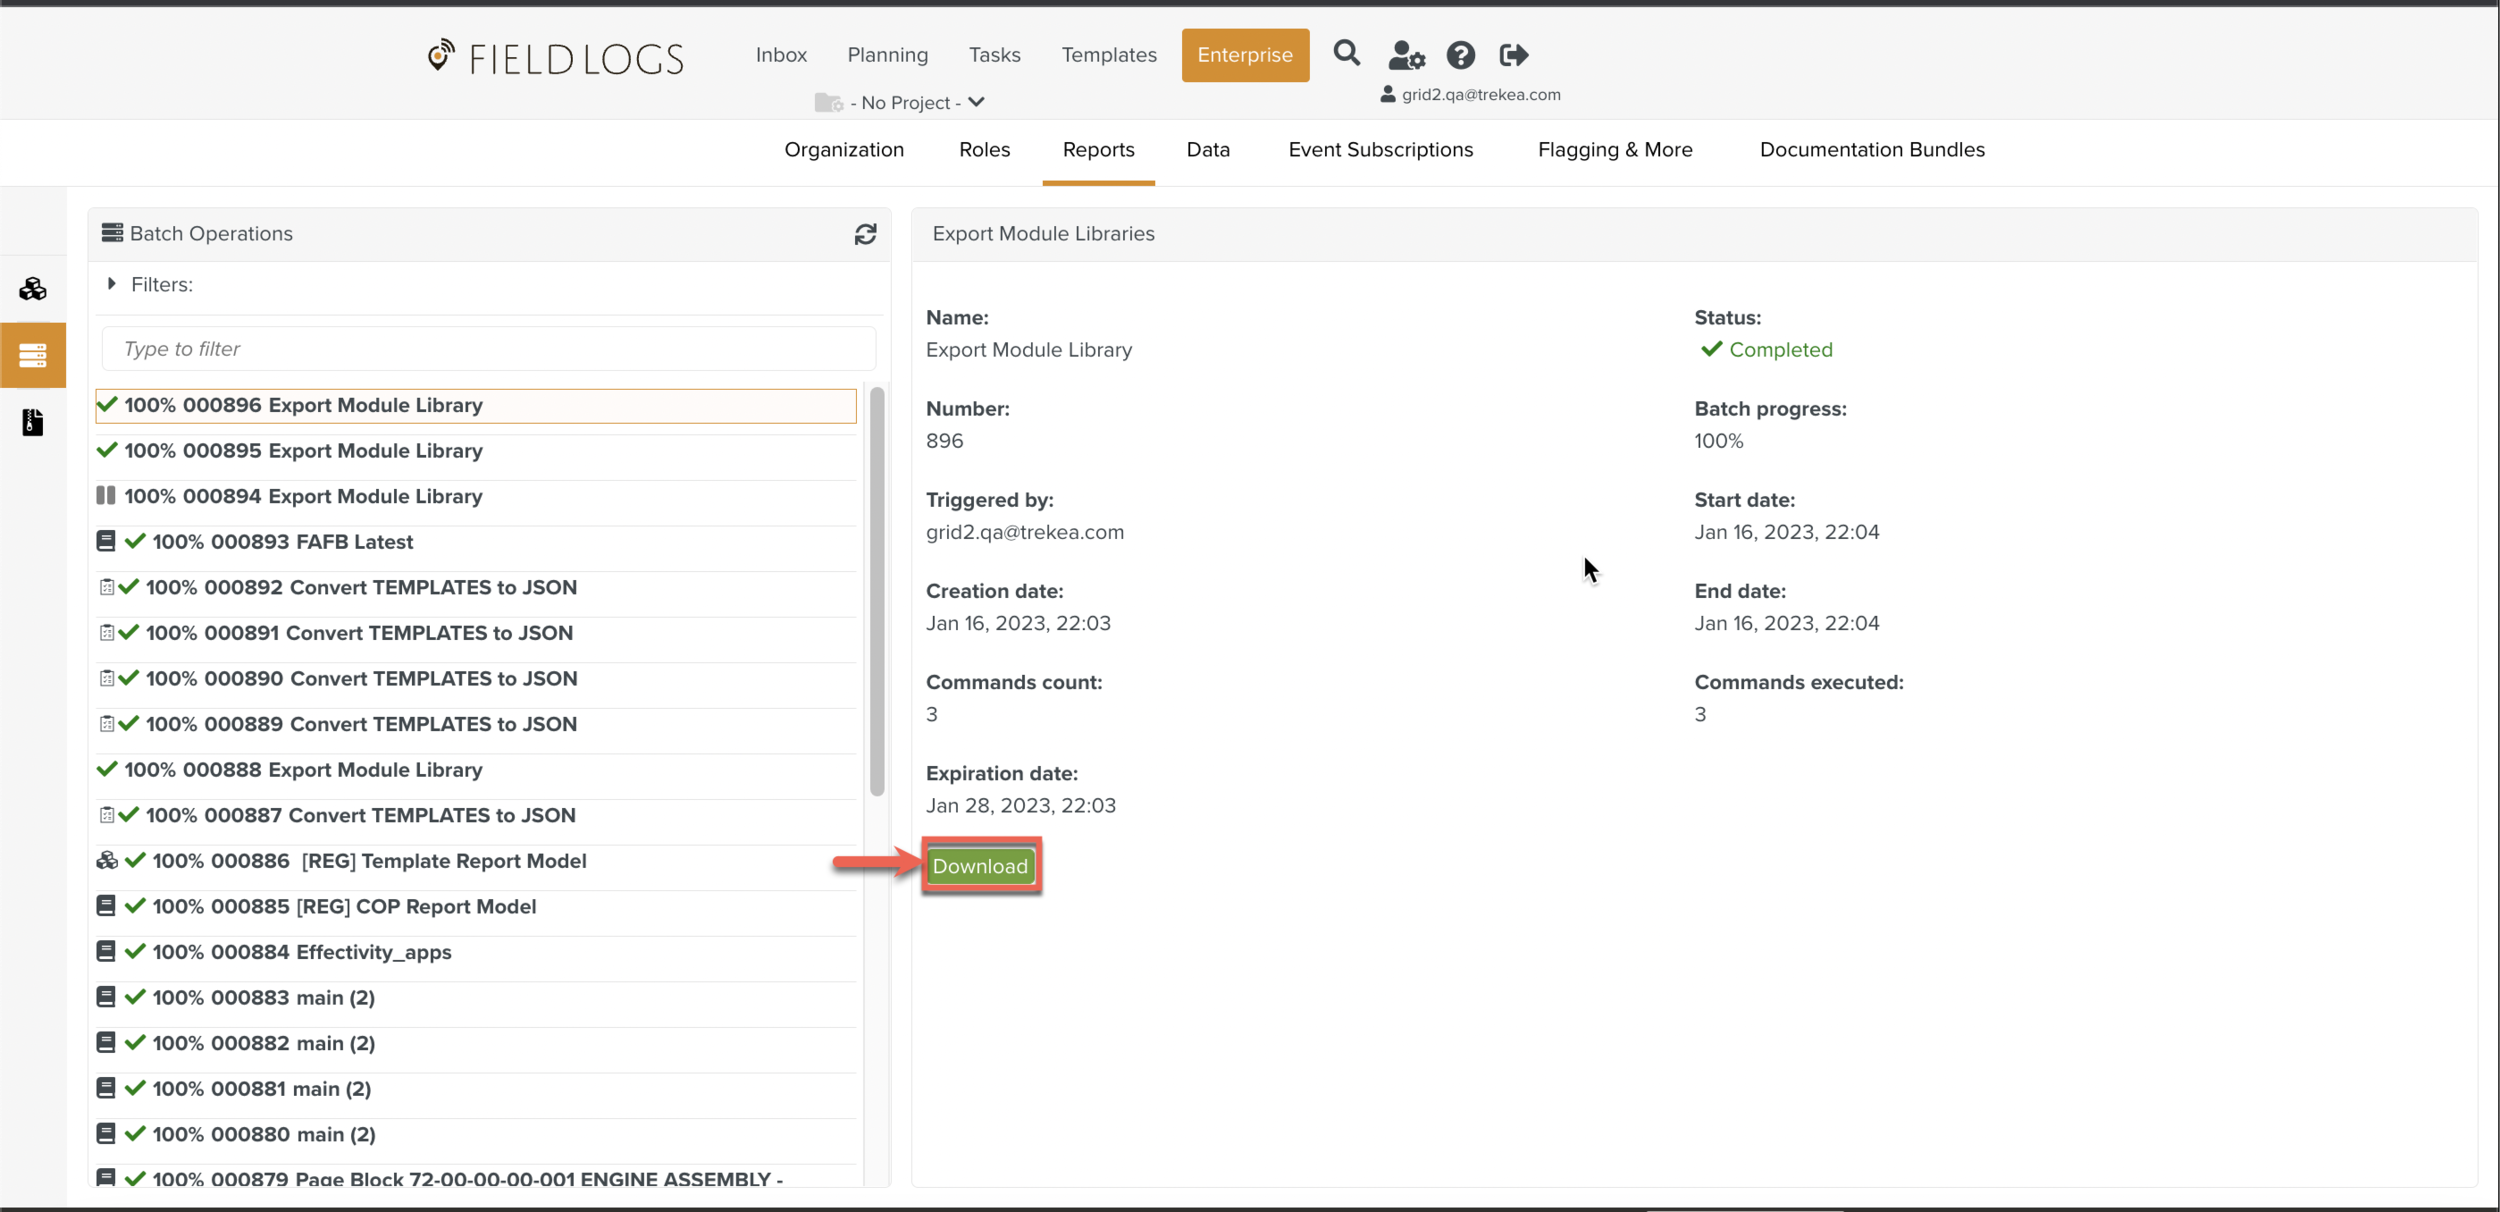
A .zip file is downloaded with a JSON file and a folder named Binaries.
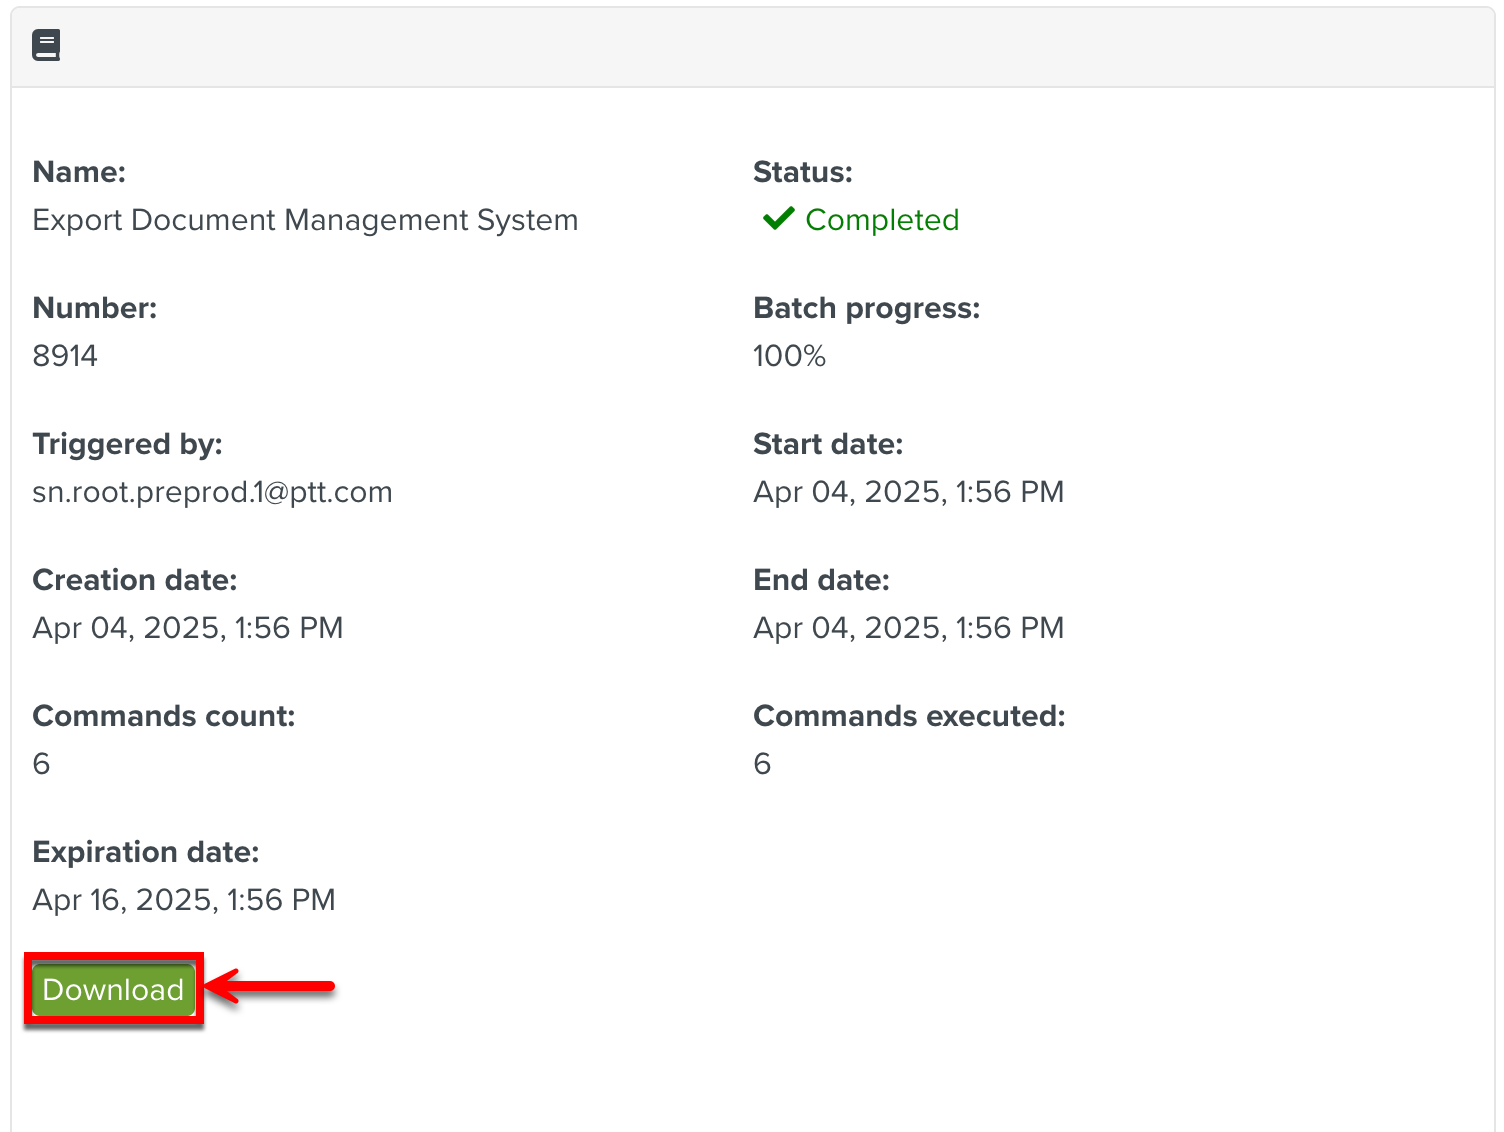
However, if you click button, you will be redirected to the page Batch Operations from where you can download the file.
You can also export all the Document Spaces by clicking . A Batch Operation starts to export all the Document Spaces.
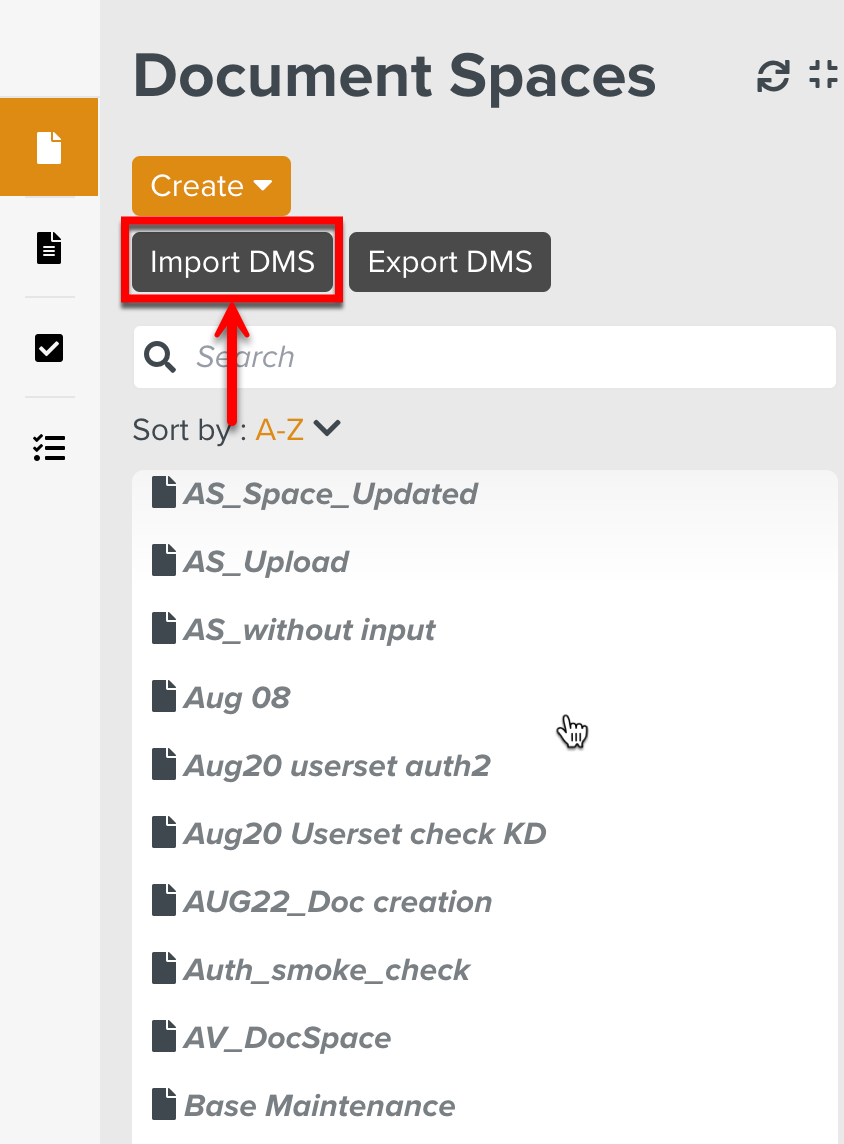
To import Document Spaces, go to Target Environment, Enterprise > Document Management Space > Document Spaces.
Click .
Before you import a Document Space .zip file, perform the below actions:
Ensure that the Approved Documents are exported, as deleted or non-existent Documents cannot be imported.
Ensure that the Lifecycles exist in the target environment under the same name before you import. If it does not exist, an instance of the Lifecycle is created but you should manually add the User Roles to the User Task.
Ensure that the Custom Fields are exported and imported in the target environment before you import the Document Spaces.
Select the .zip file to Import.

The JSON file is imported to the Target environment.
When a DMS .zip file is imported, Document Type, Approval Type, Lifecycle, and Documents linked to it are imported.
Note
If Lifecycles and Custom fields already exist, they are mapped to their existing counterparts.
Custom Fields of all types (Text, Number, Date, Formatted Date, and Boolean) except Master Data are imported if it does not exist in the Enterprise.